
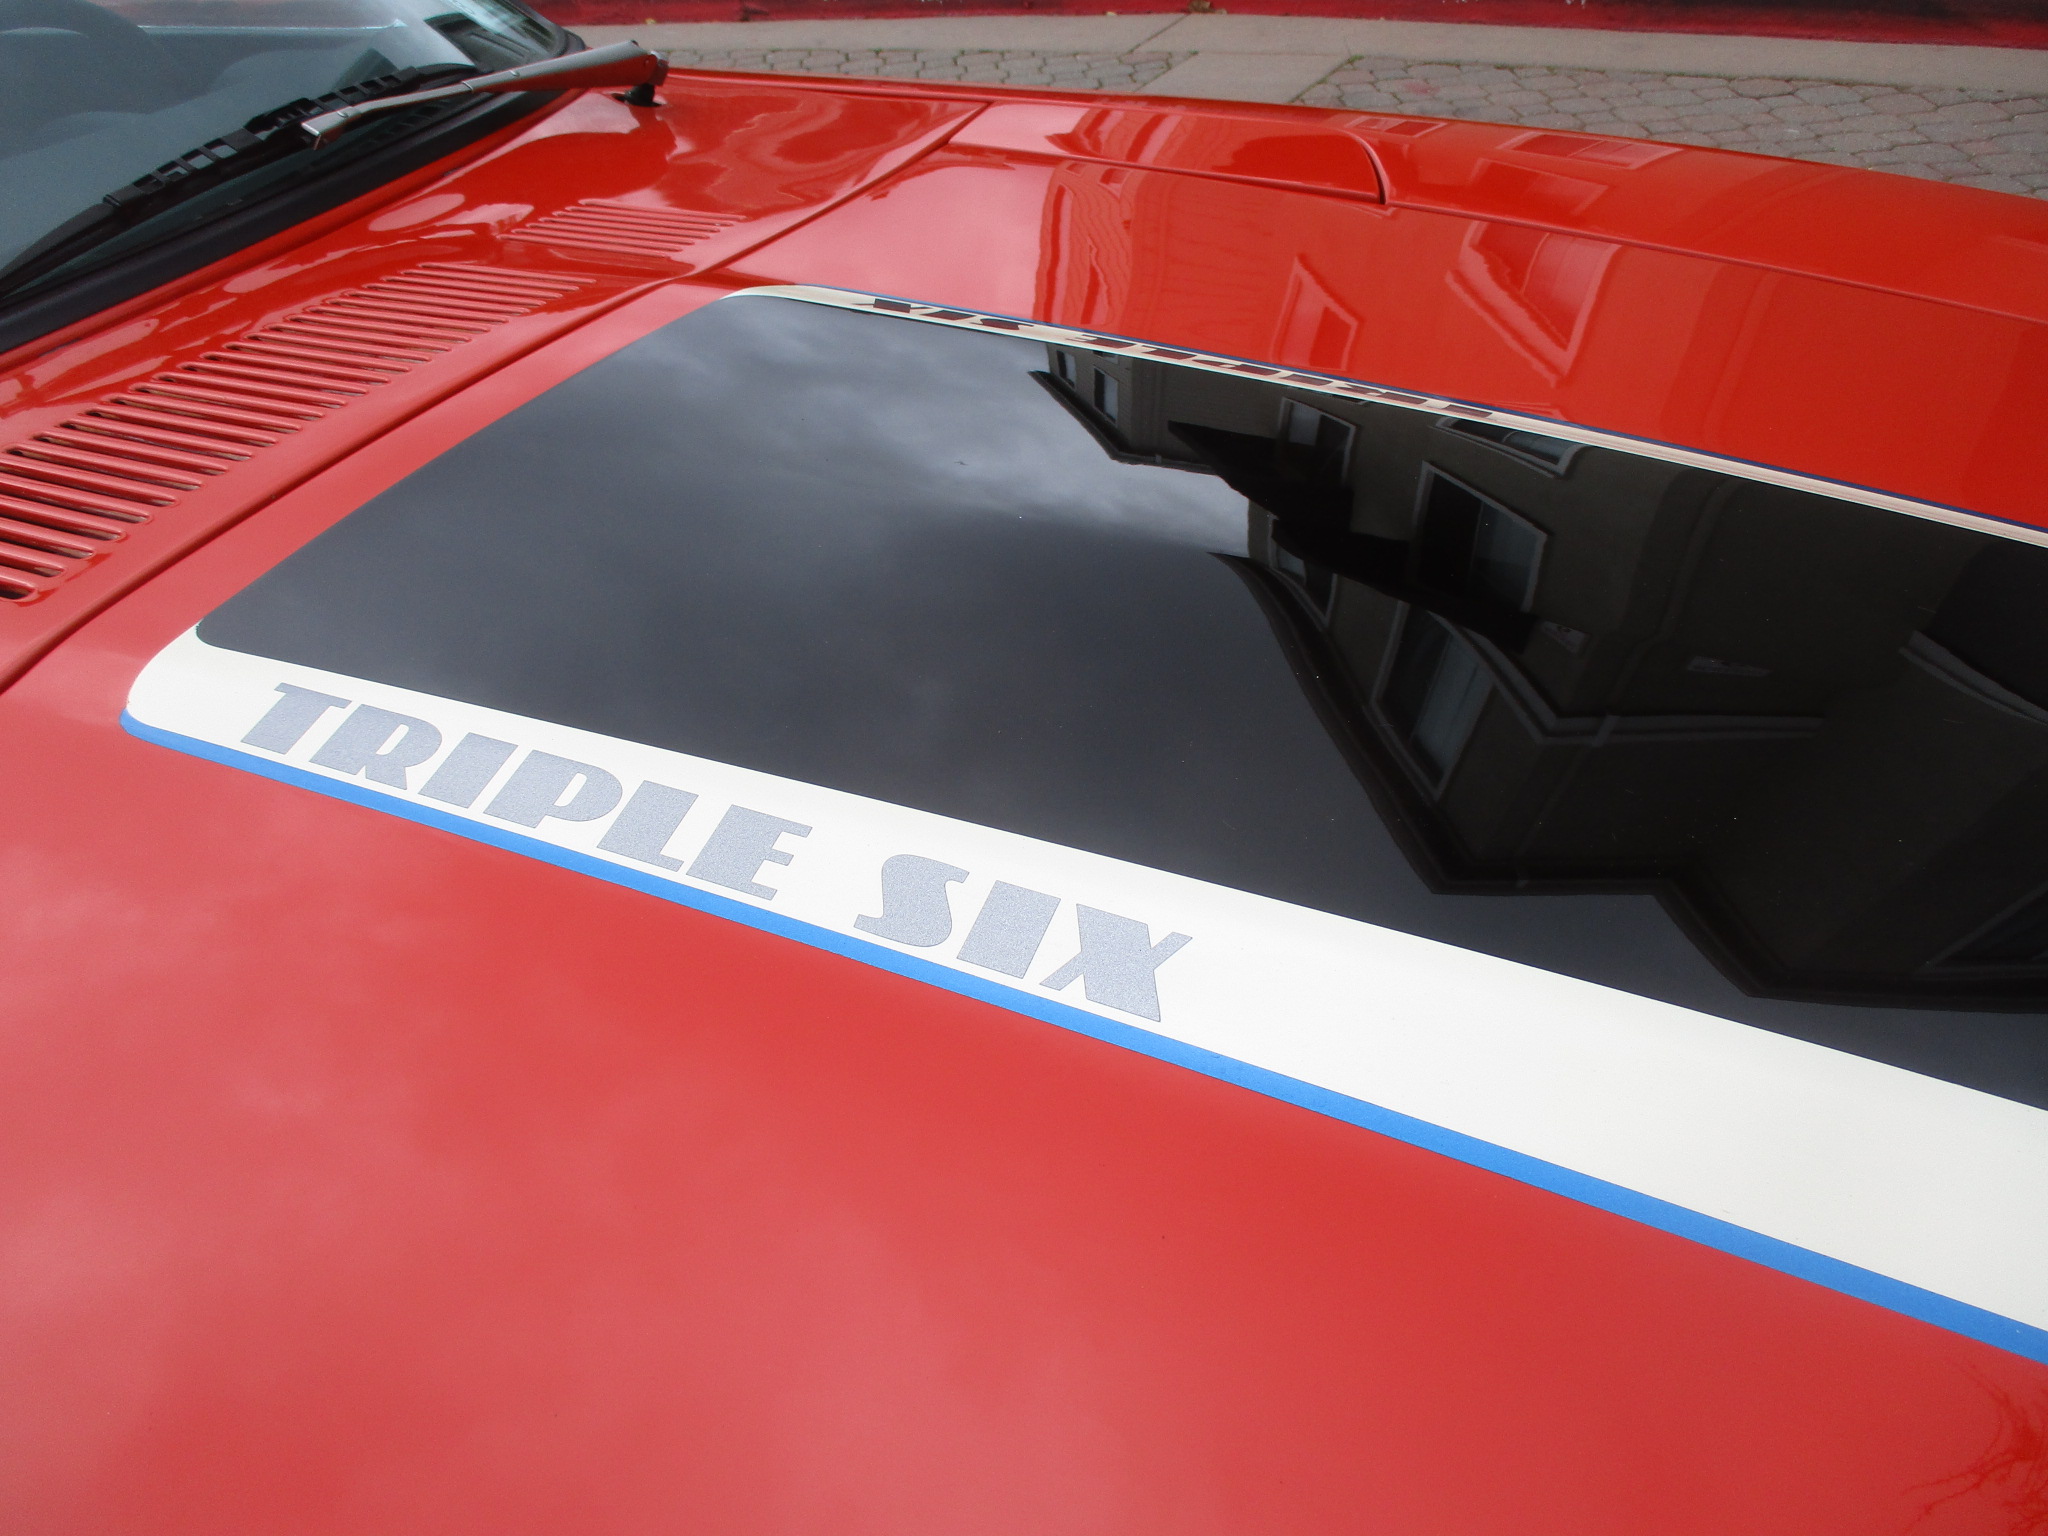
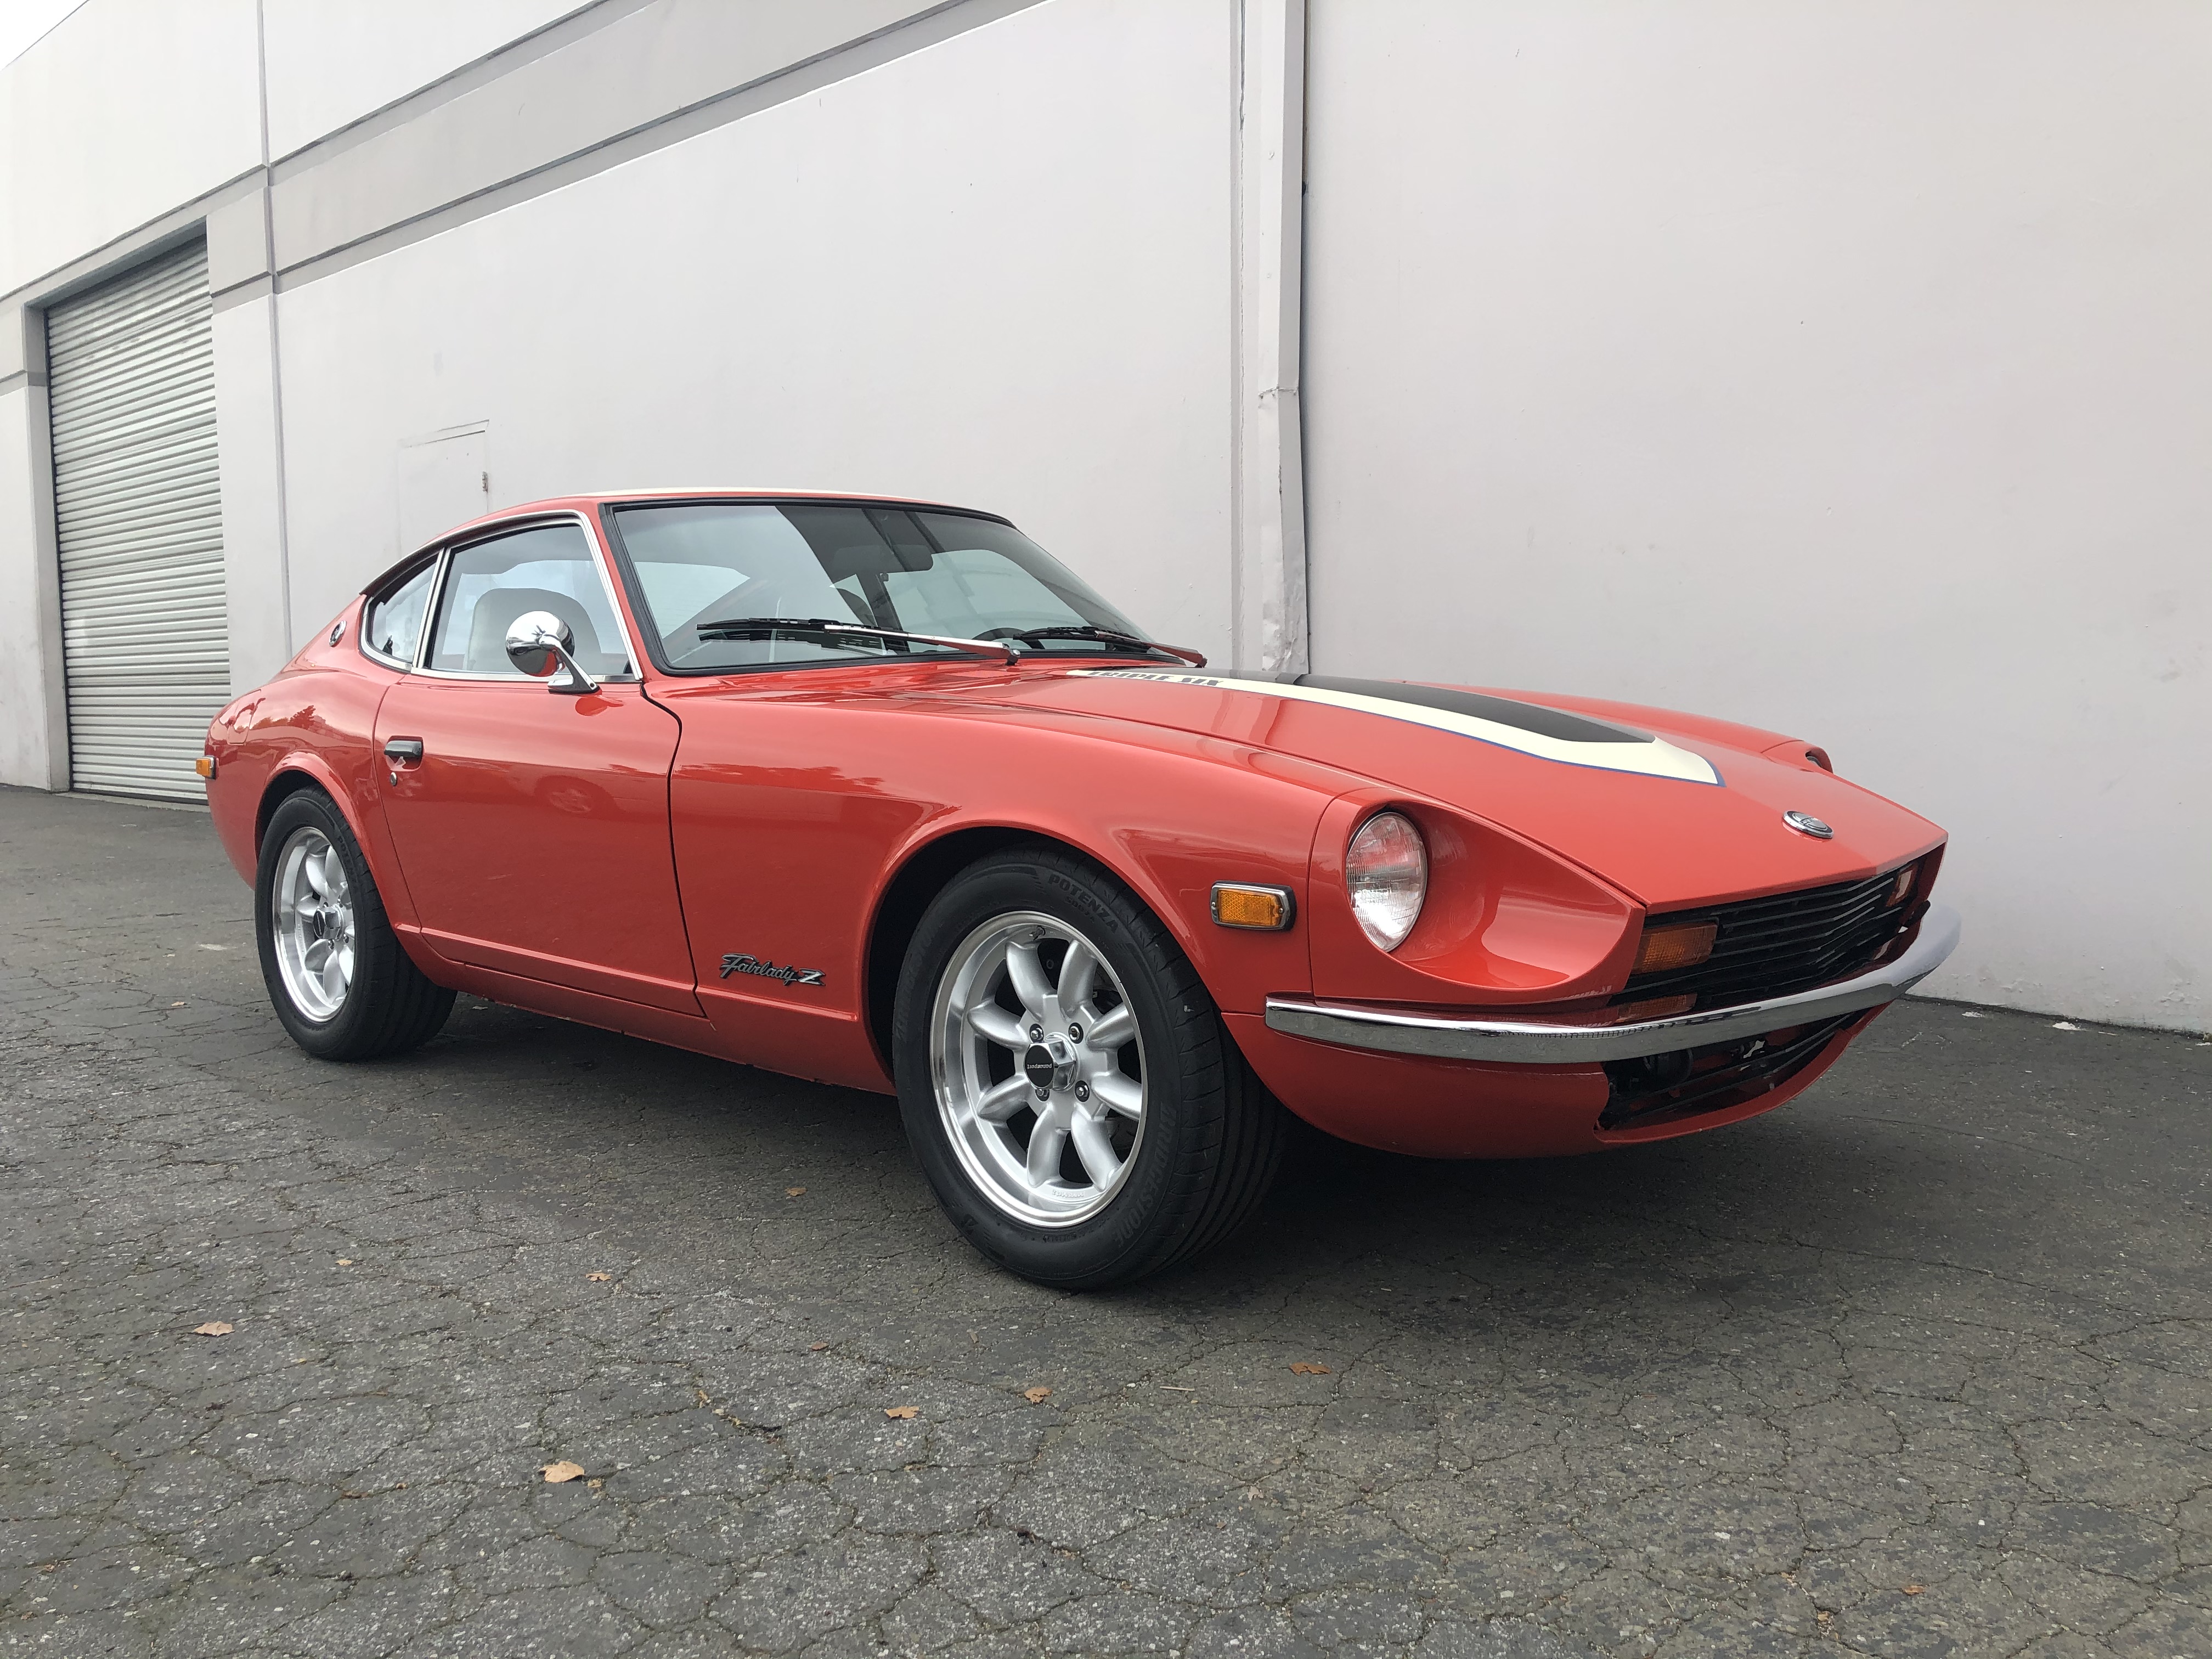
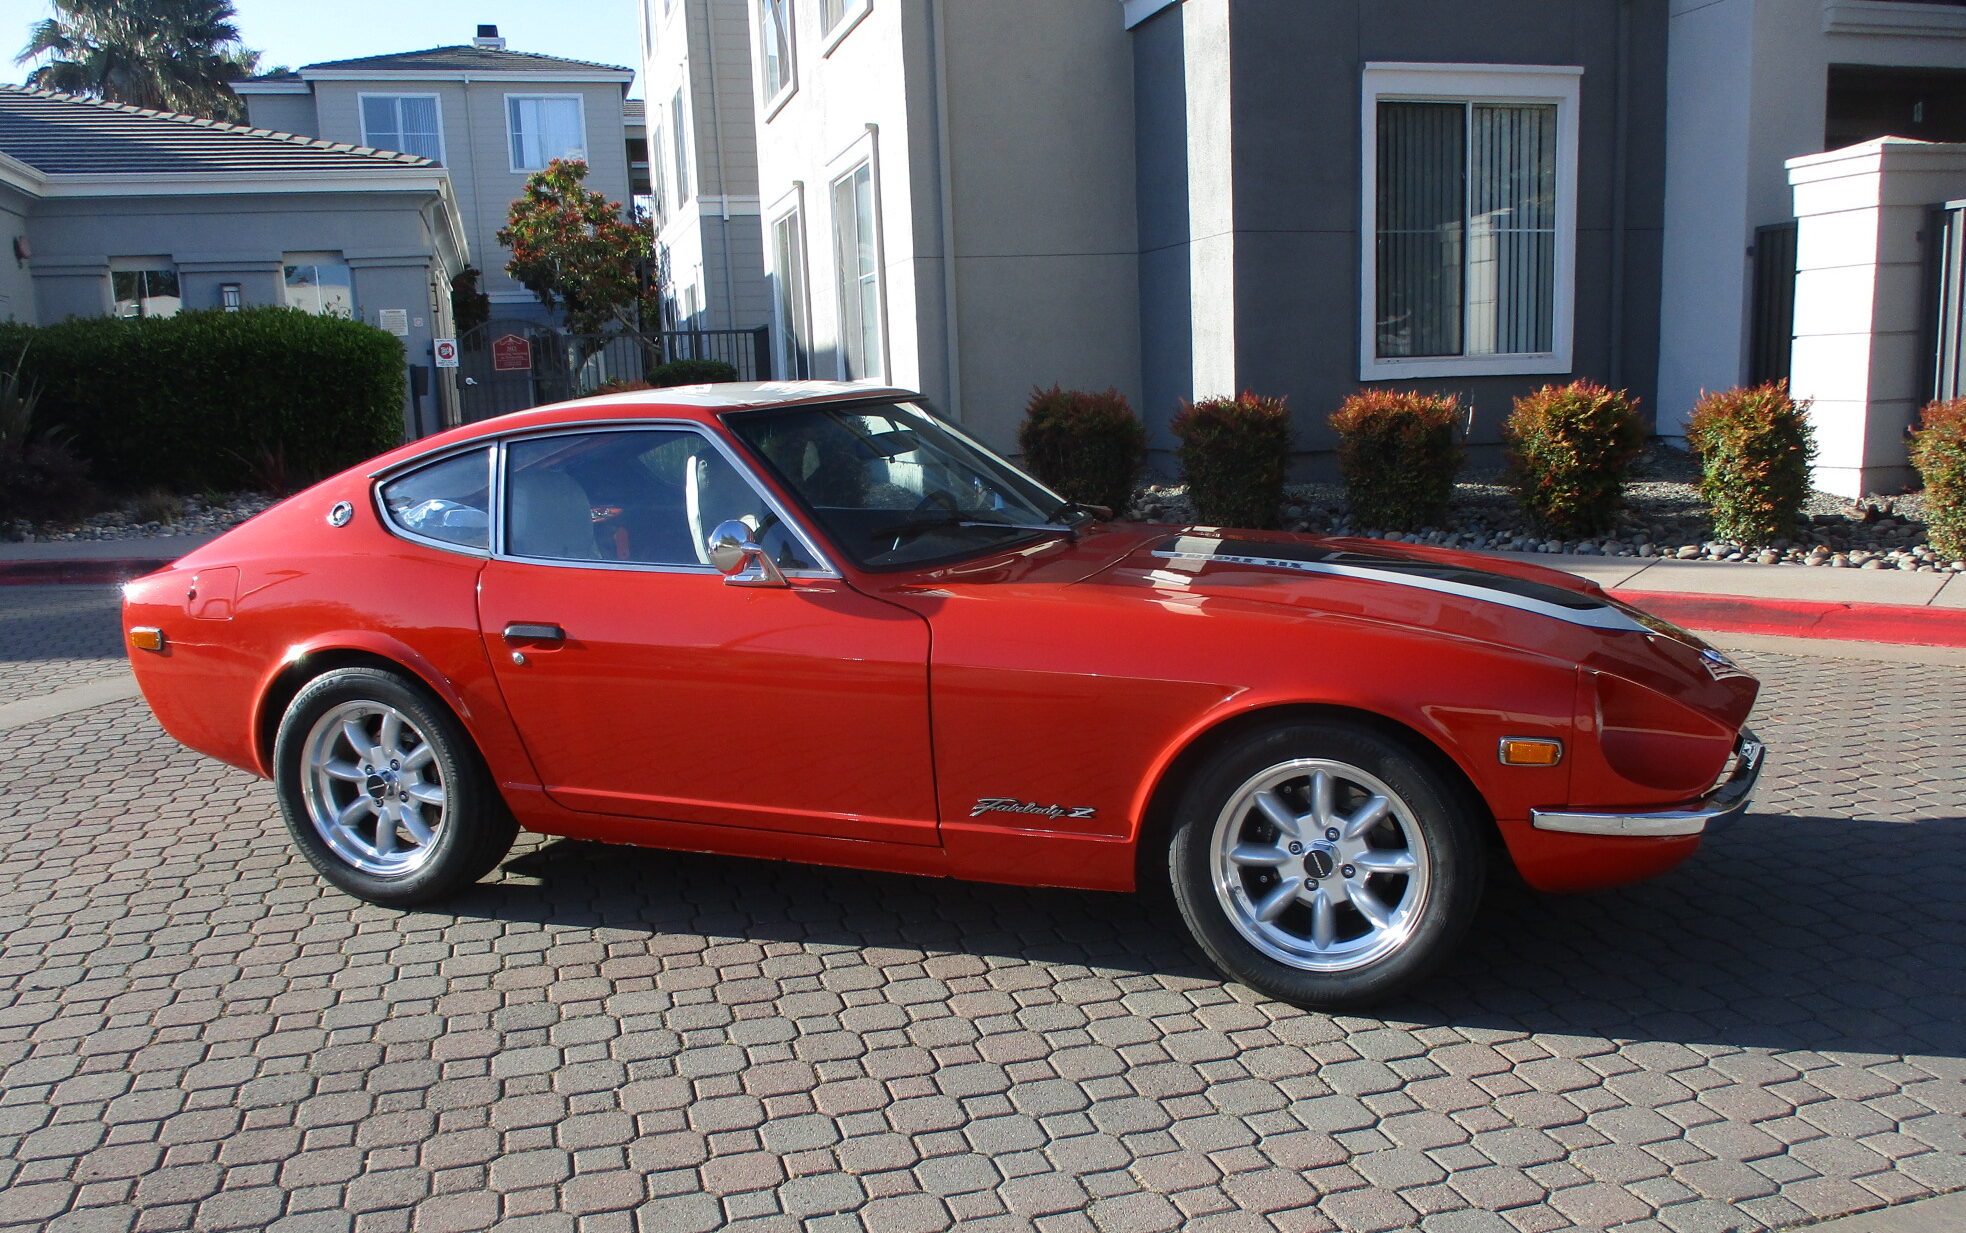
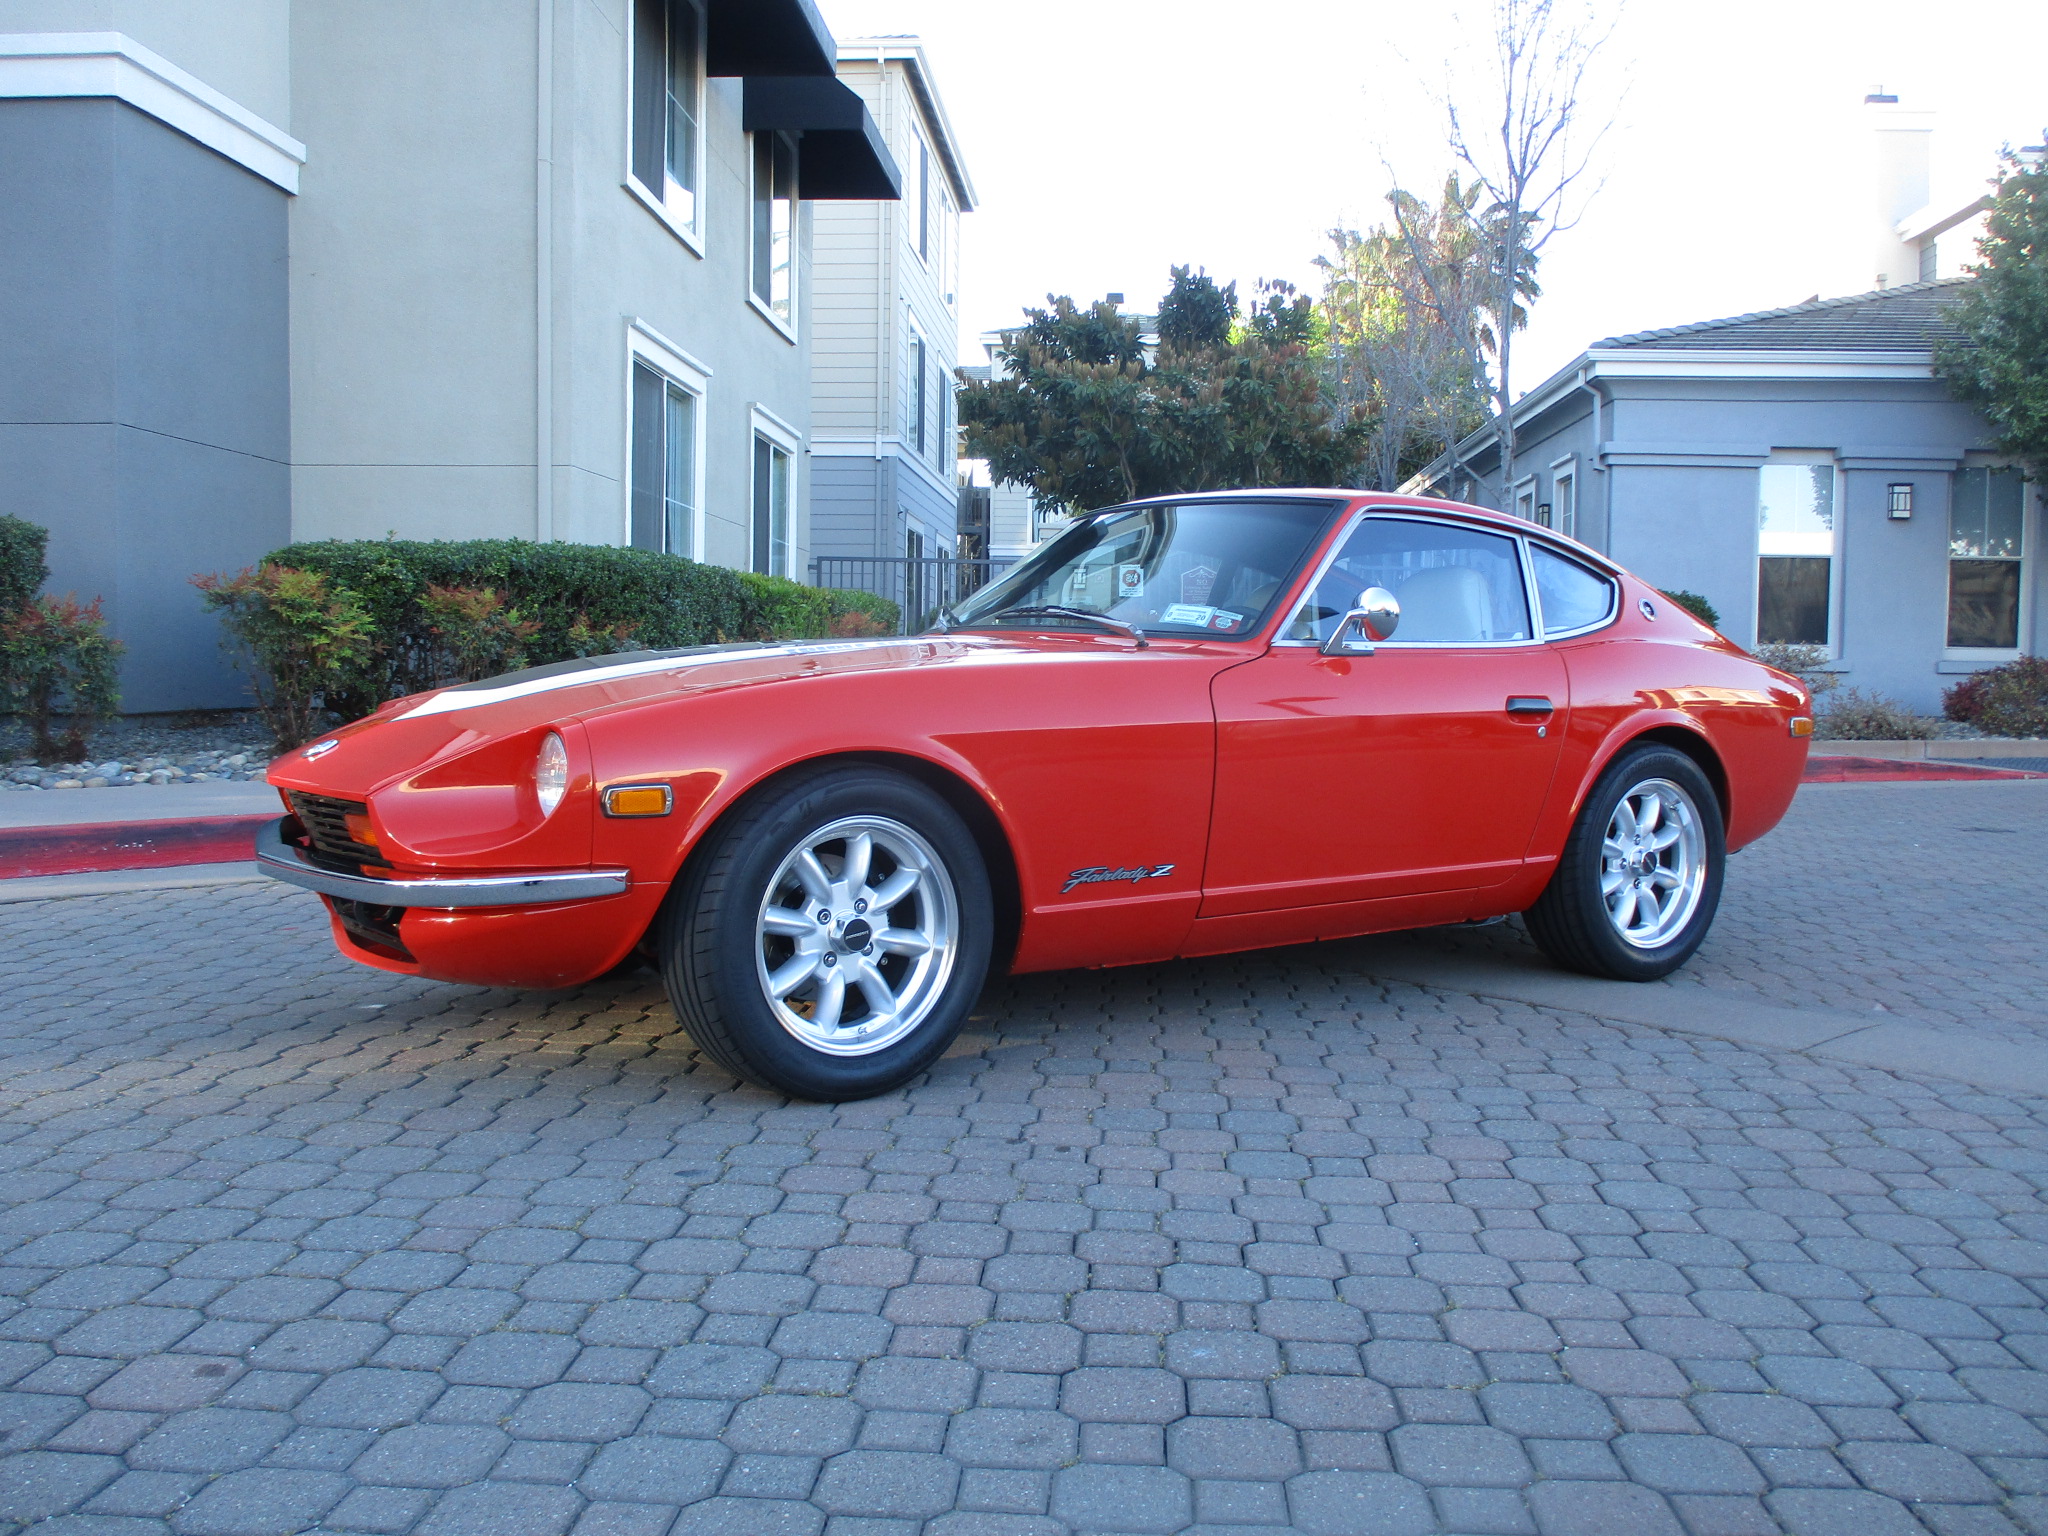
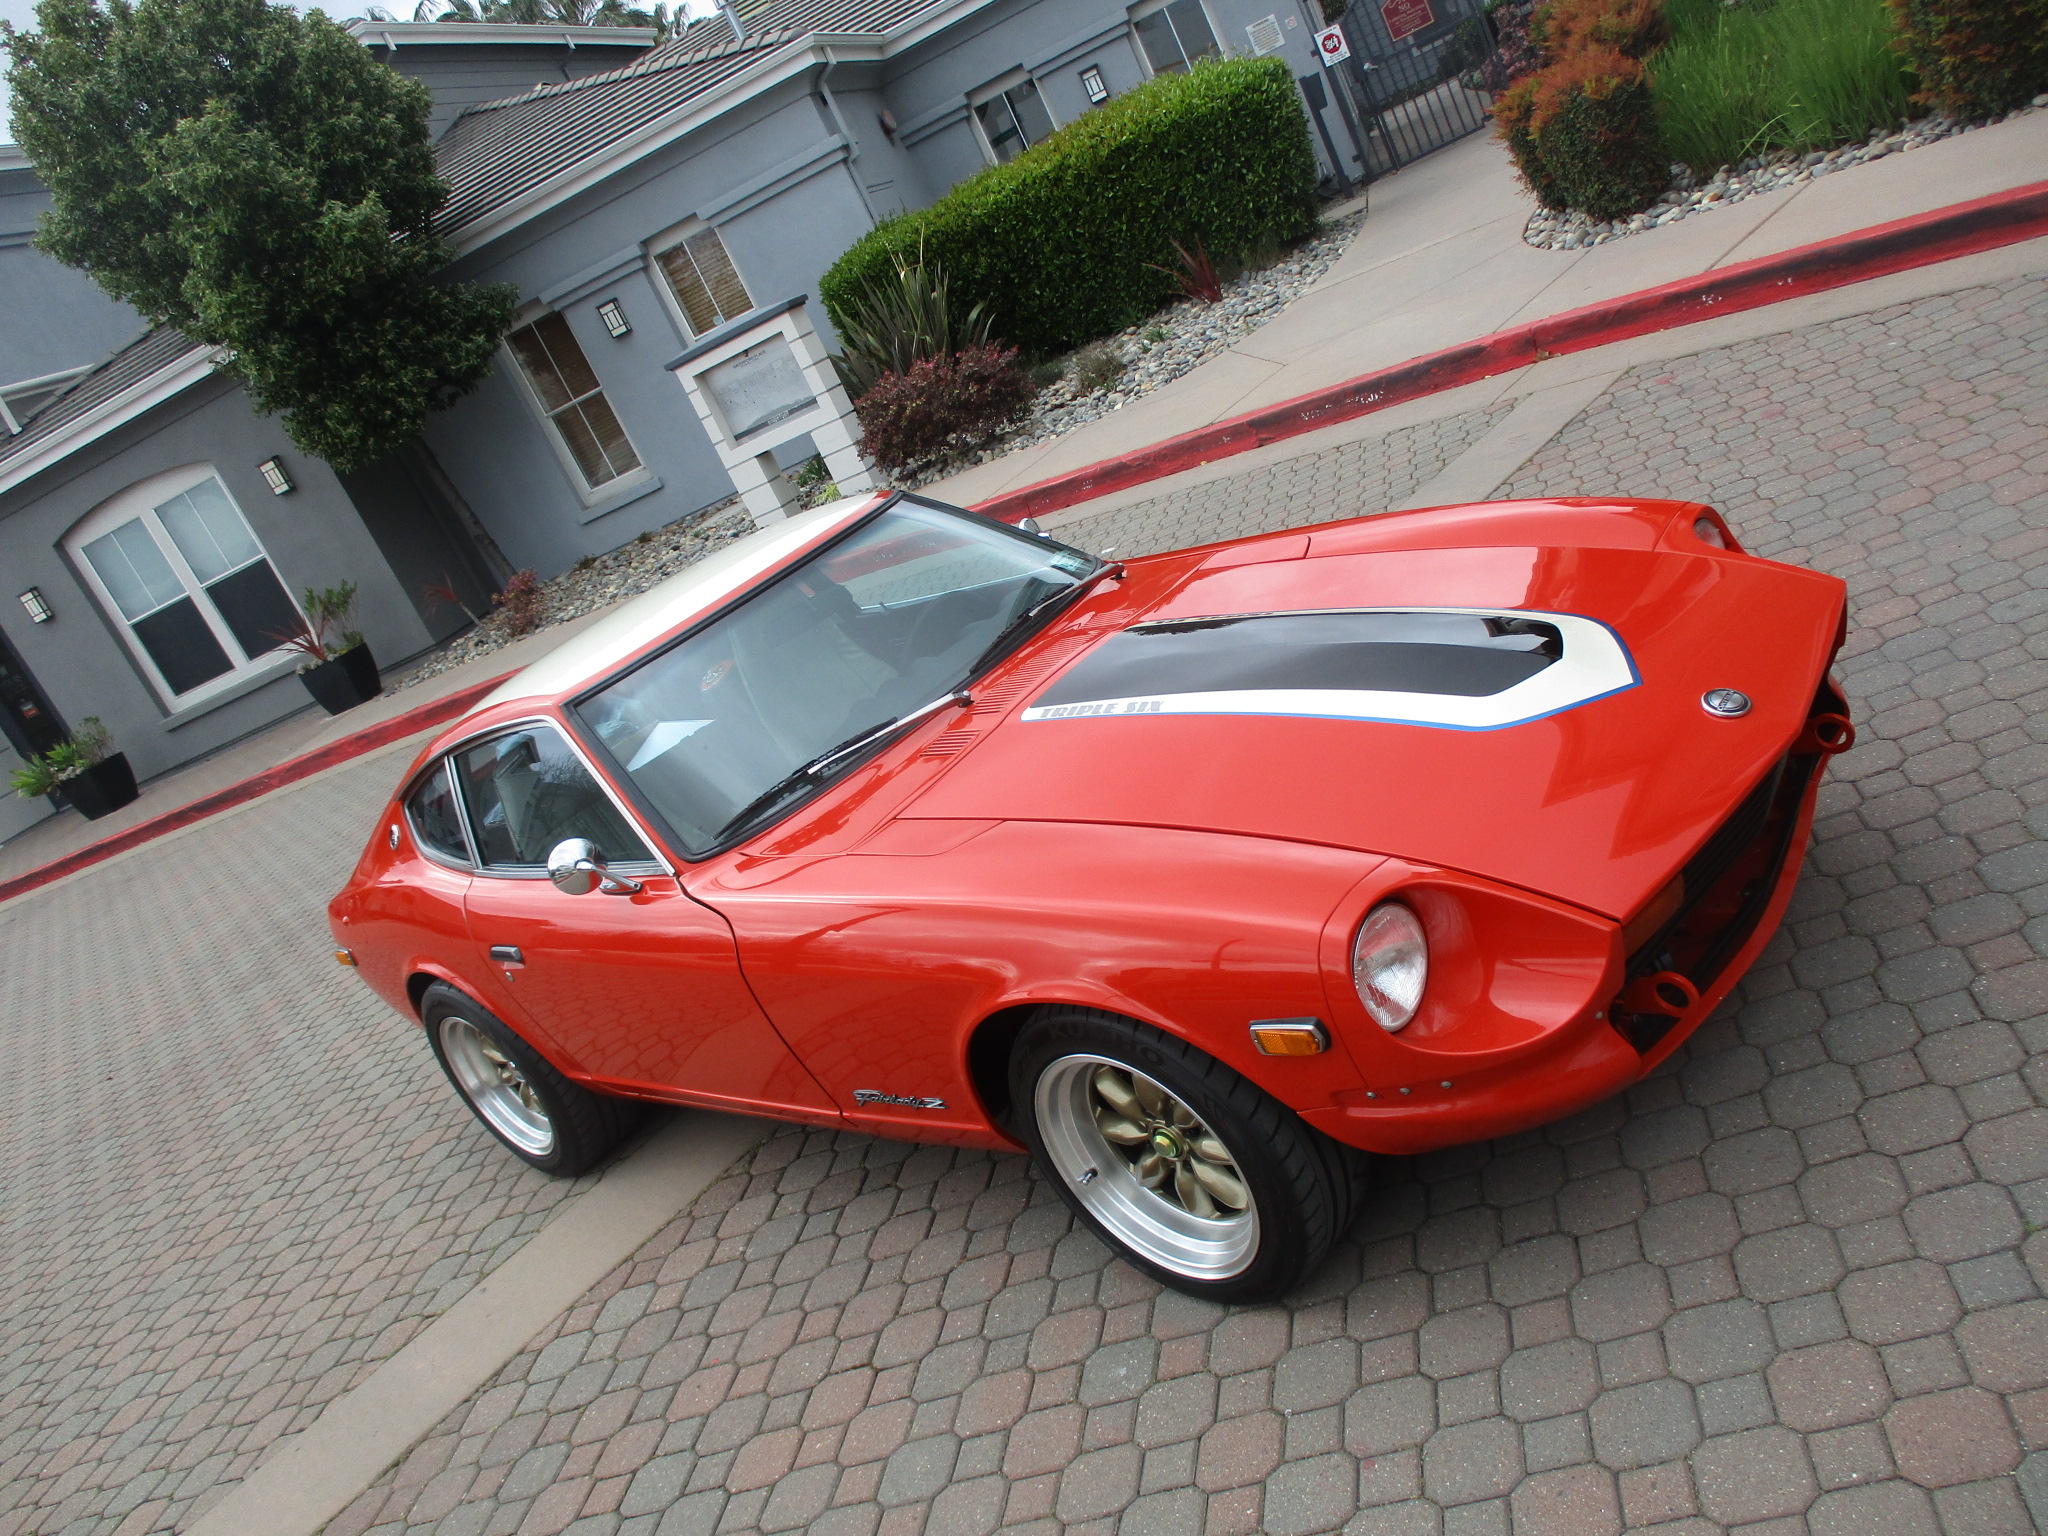
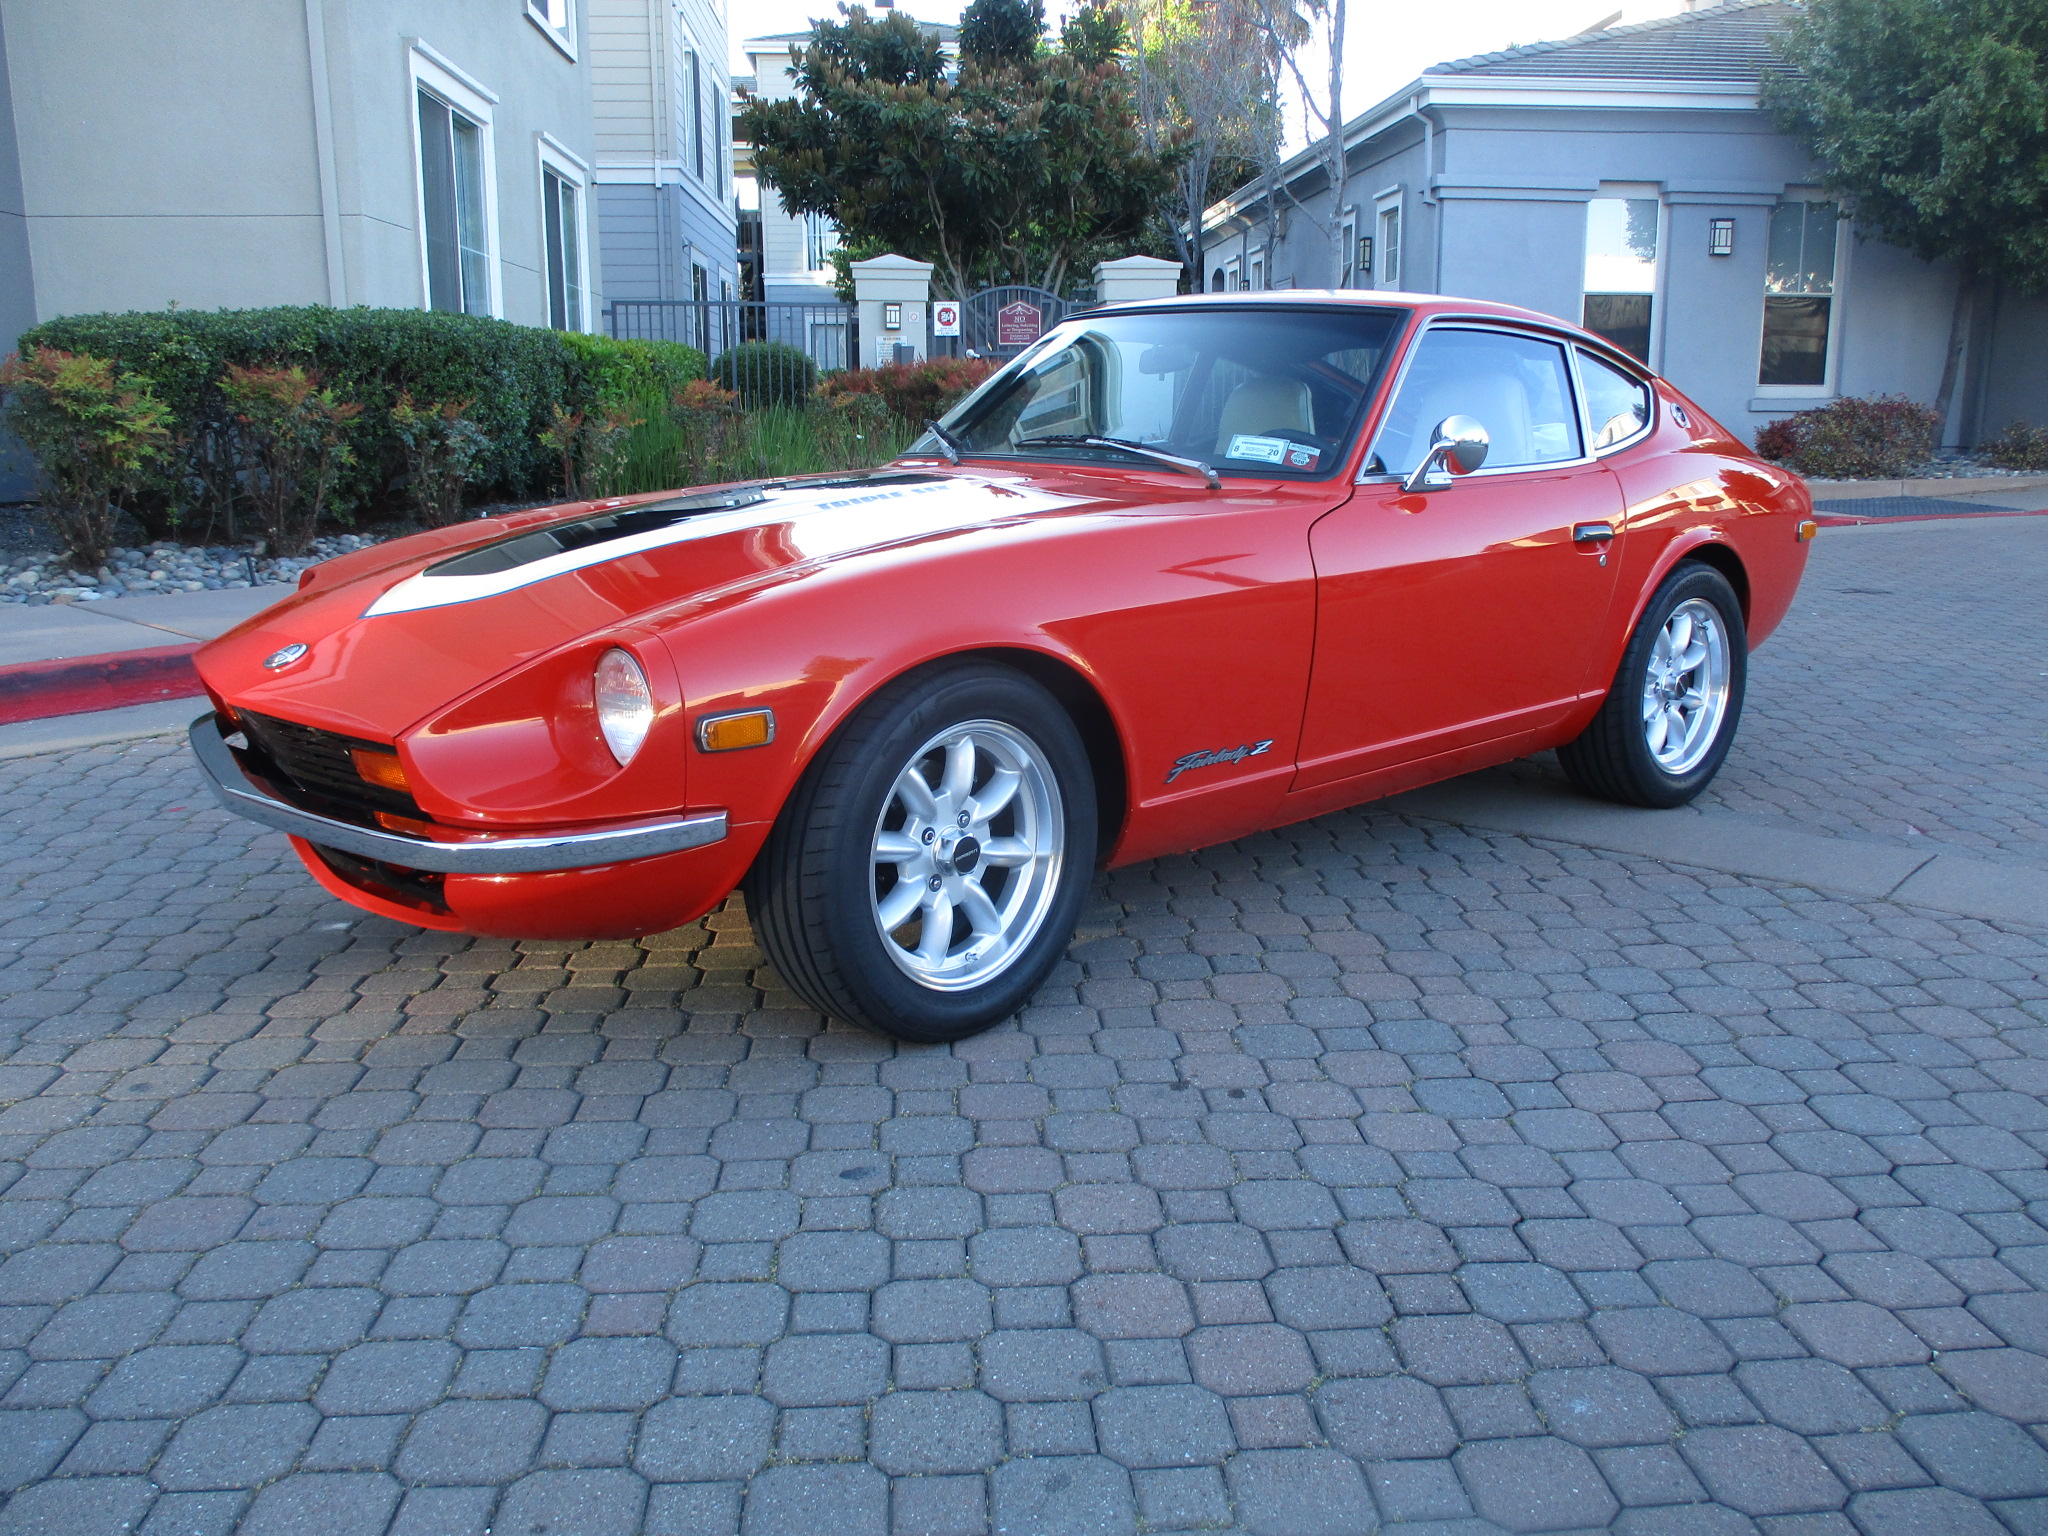
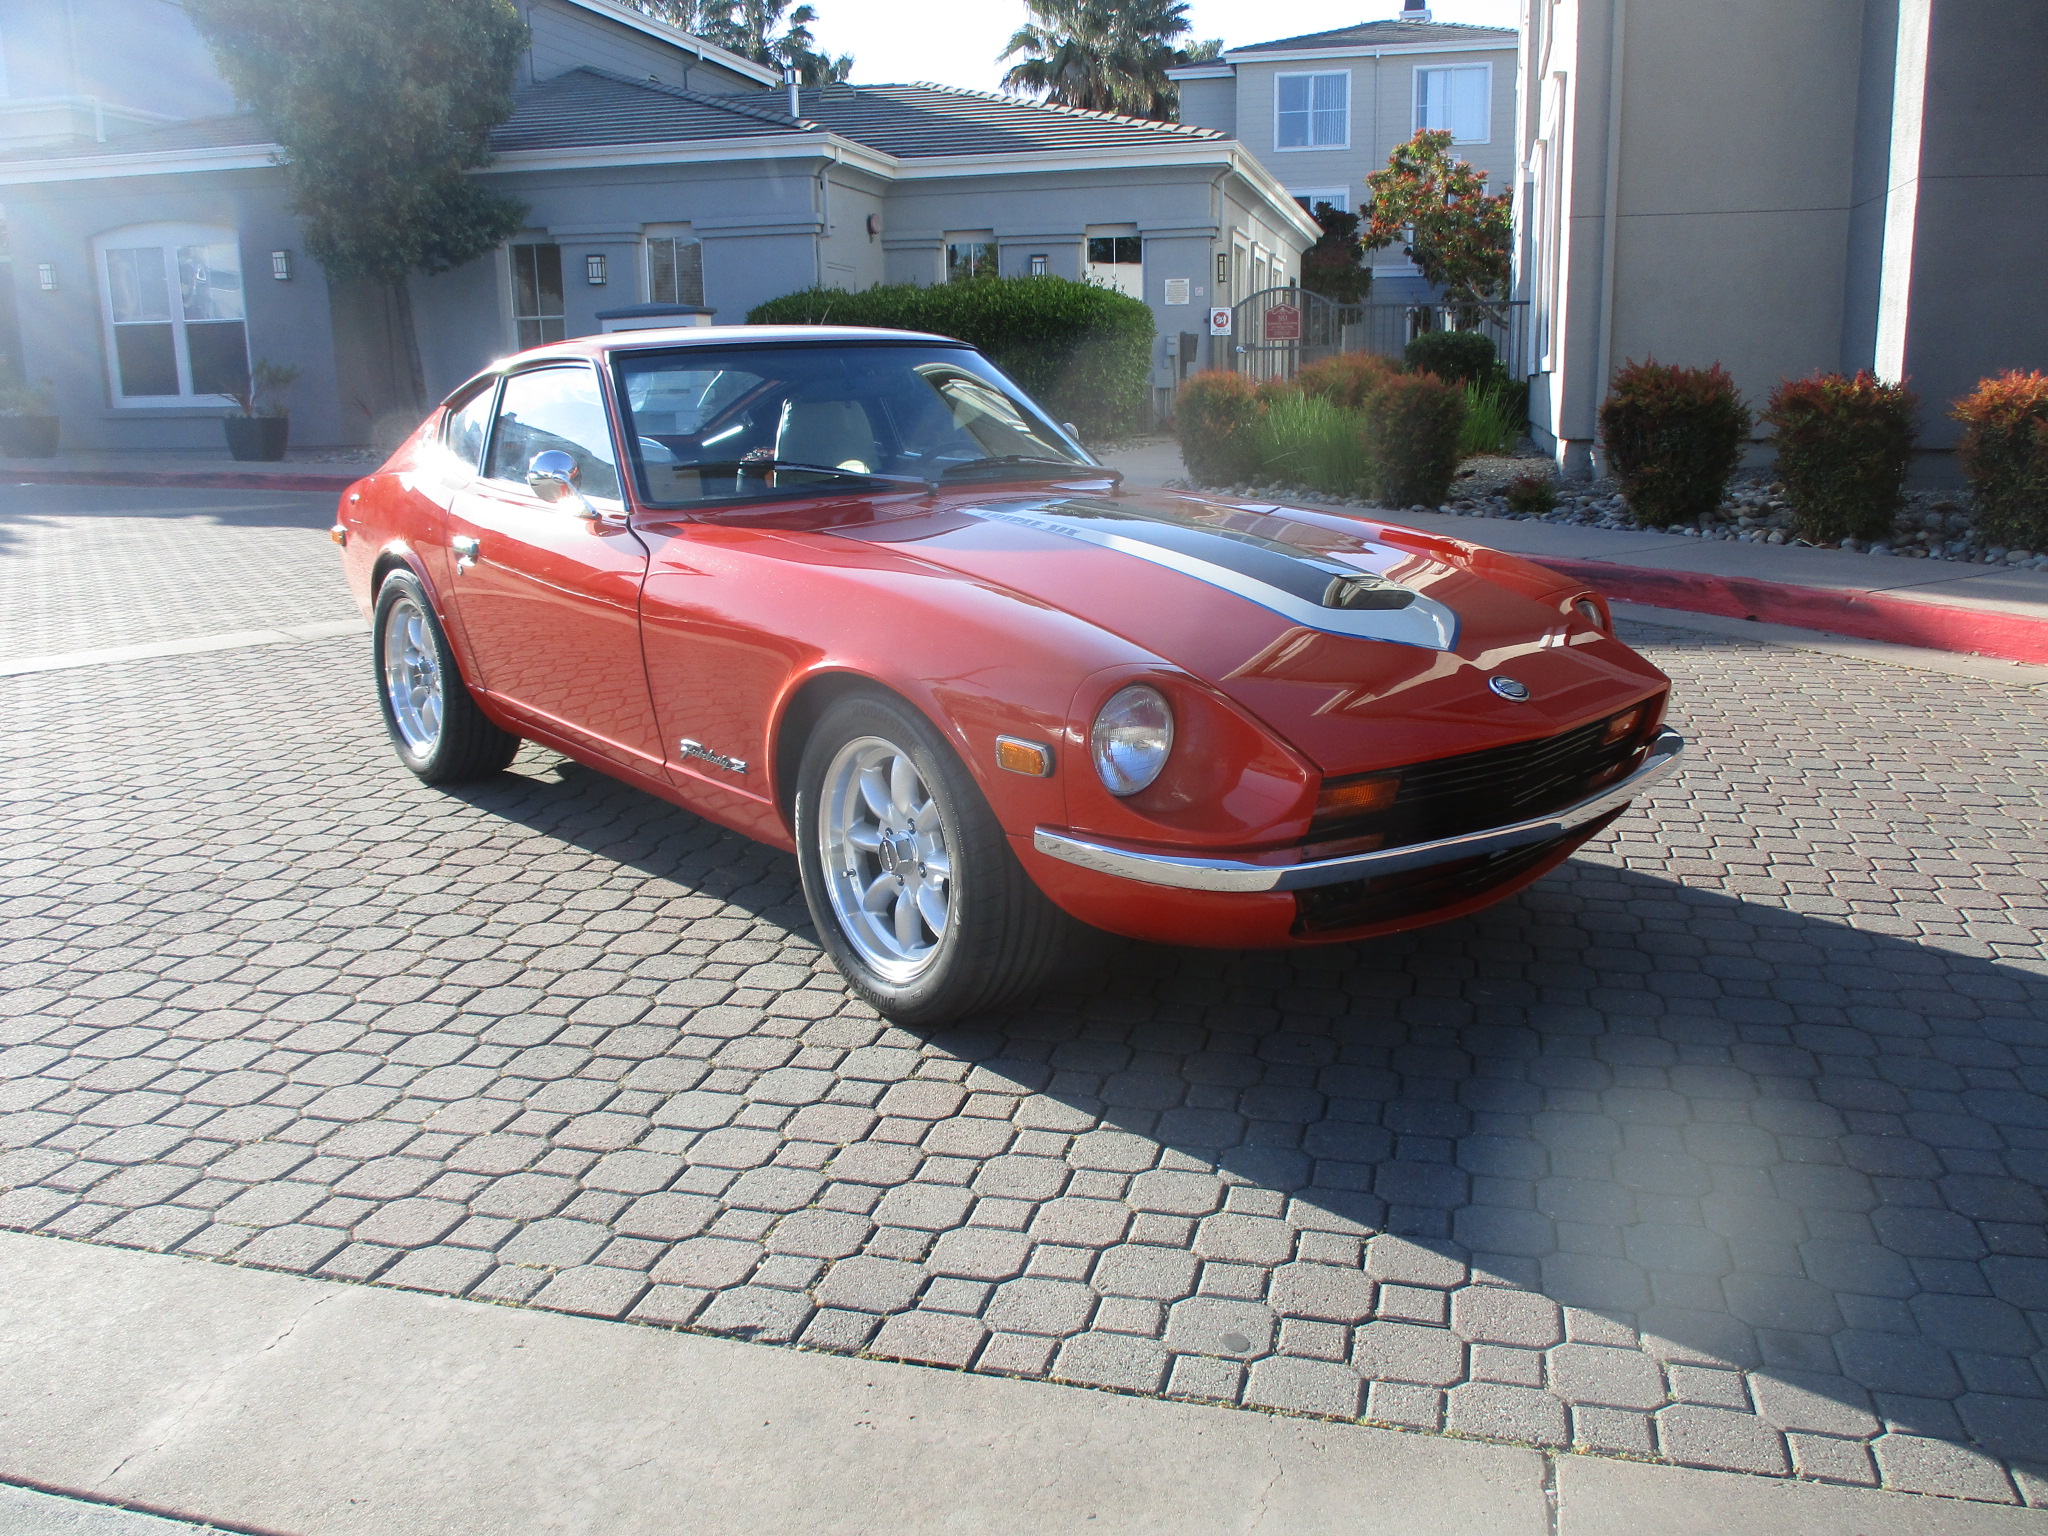
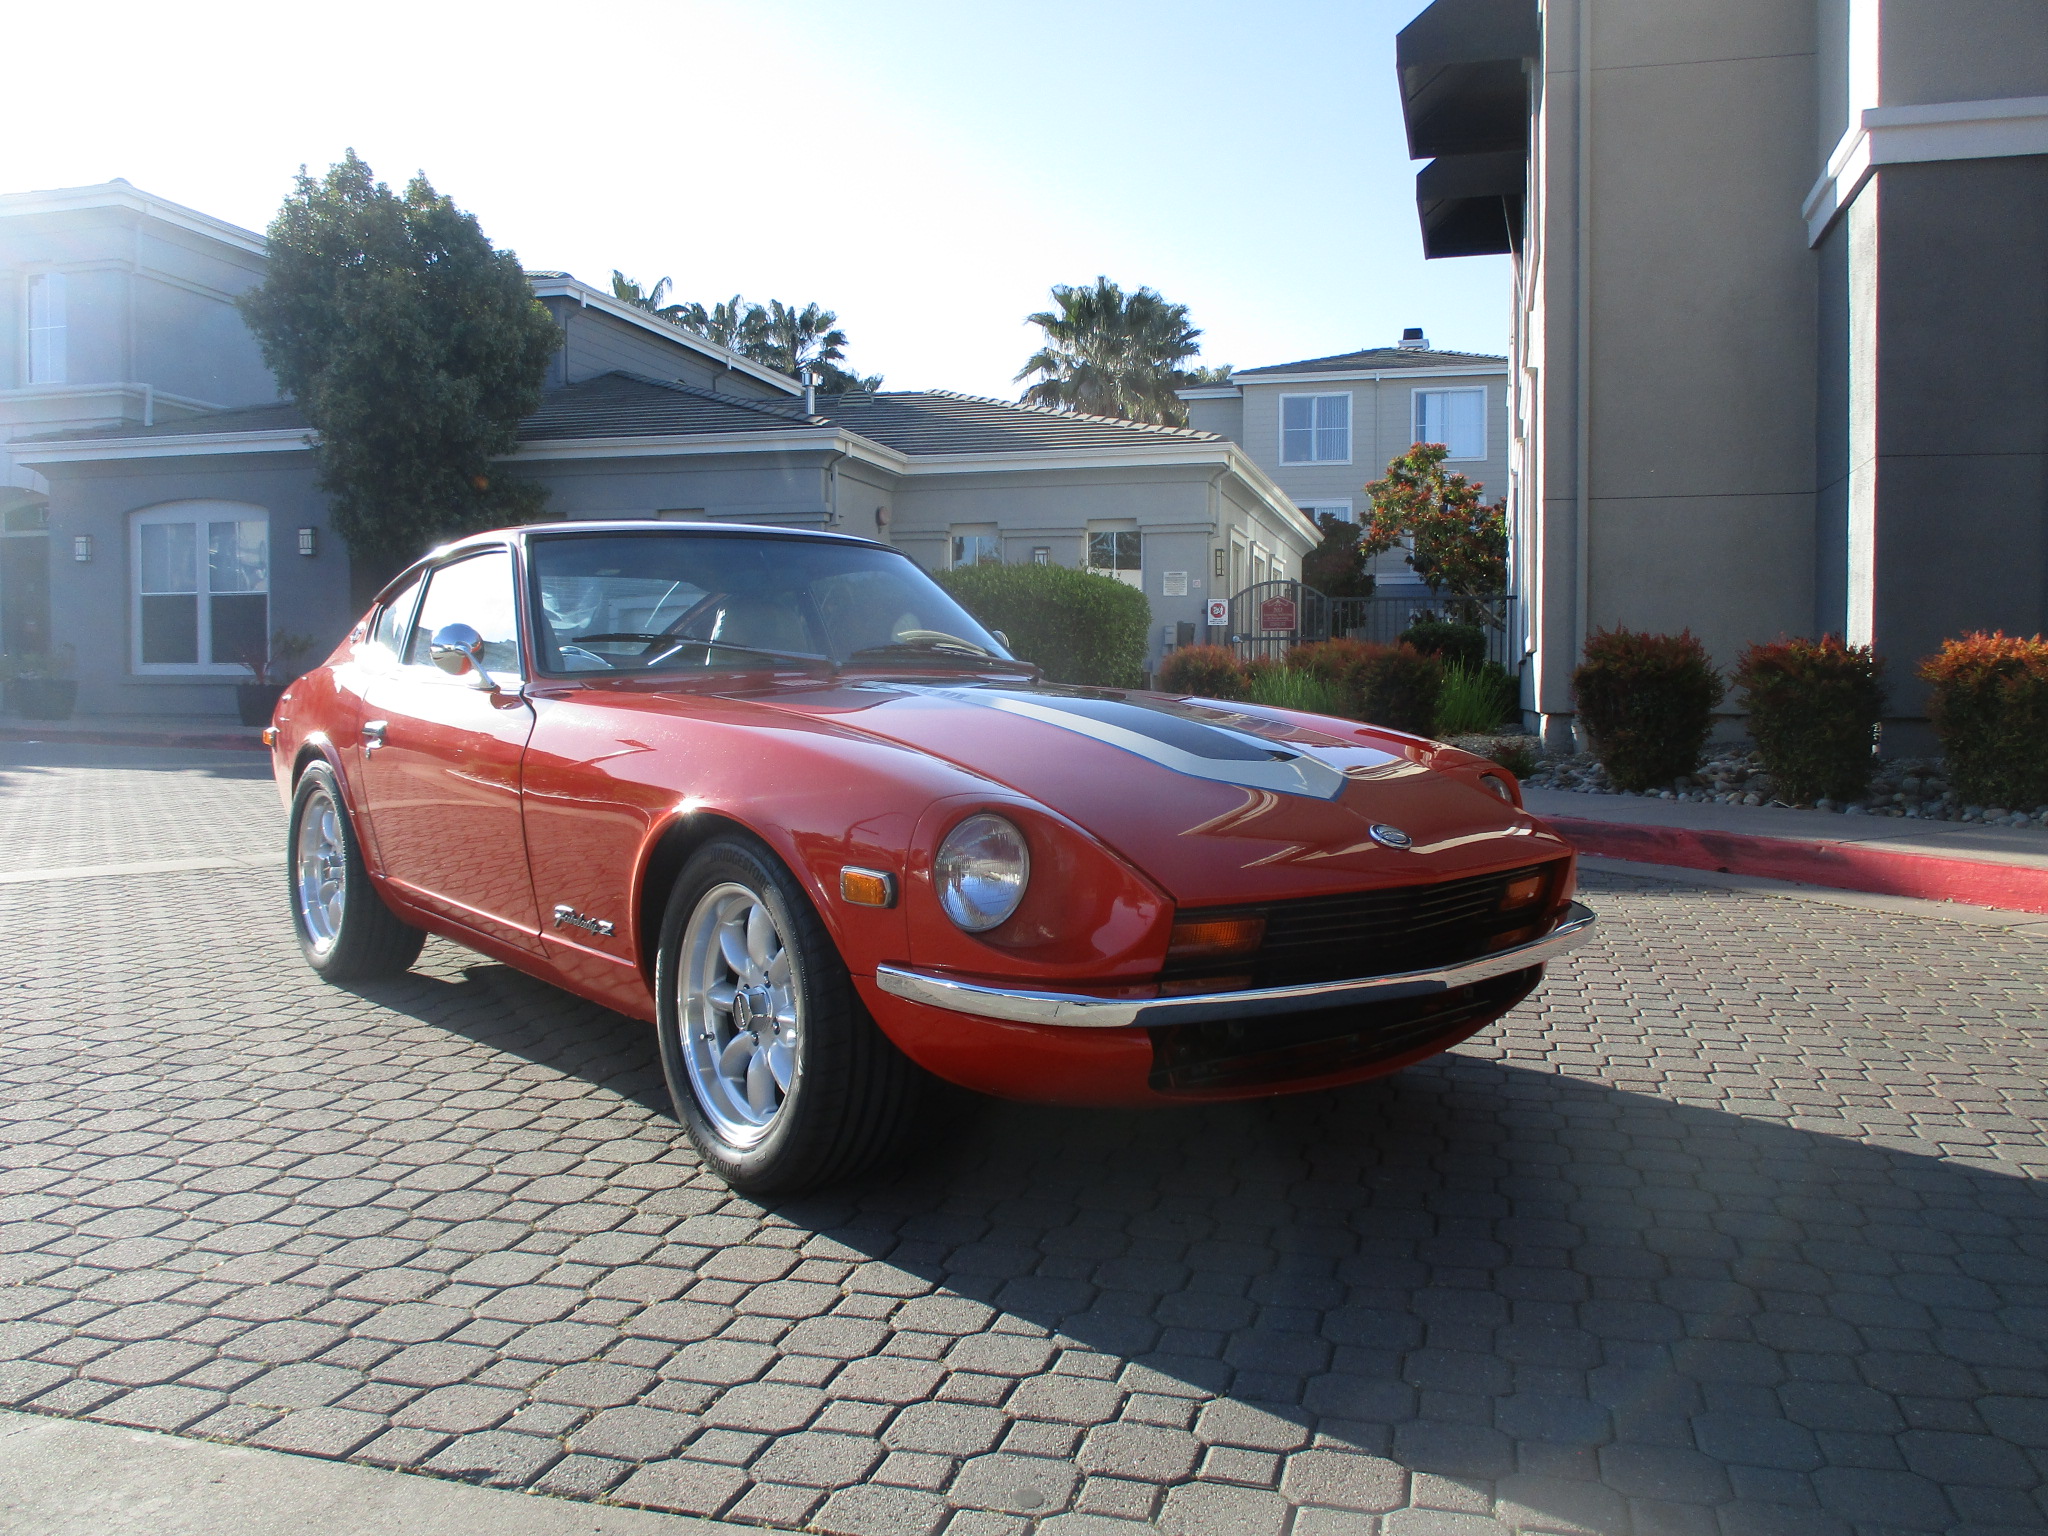
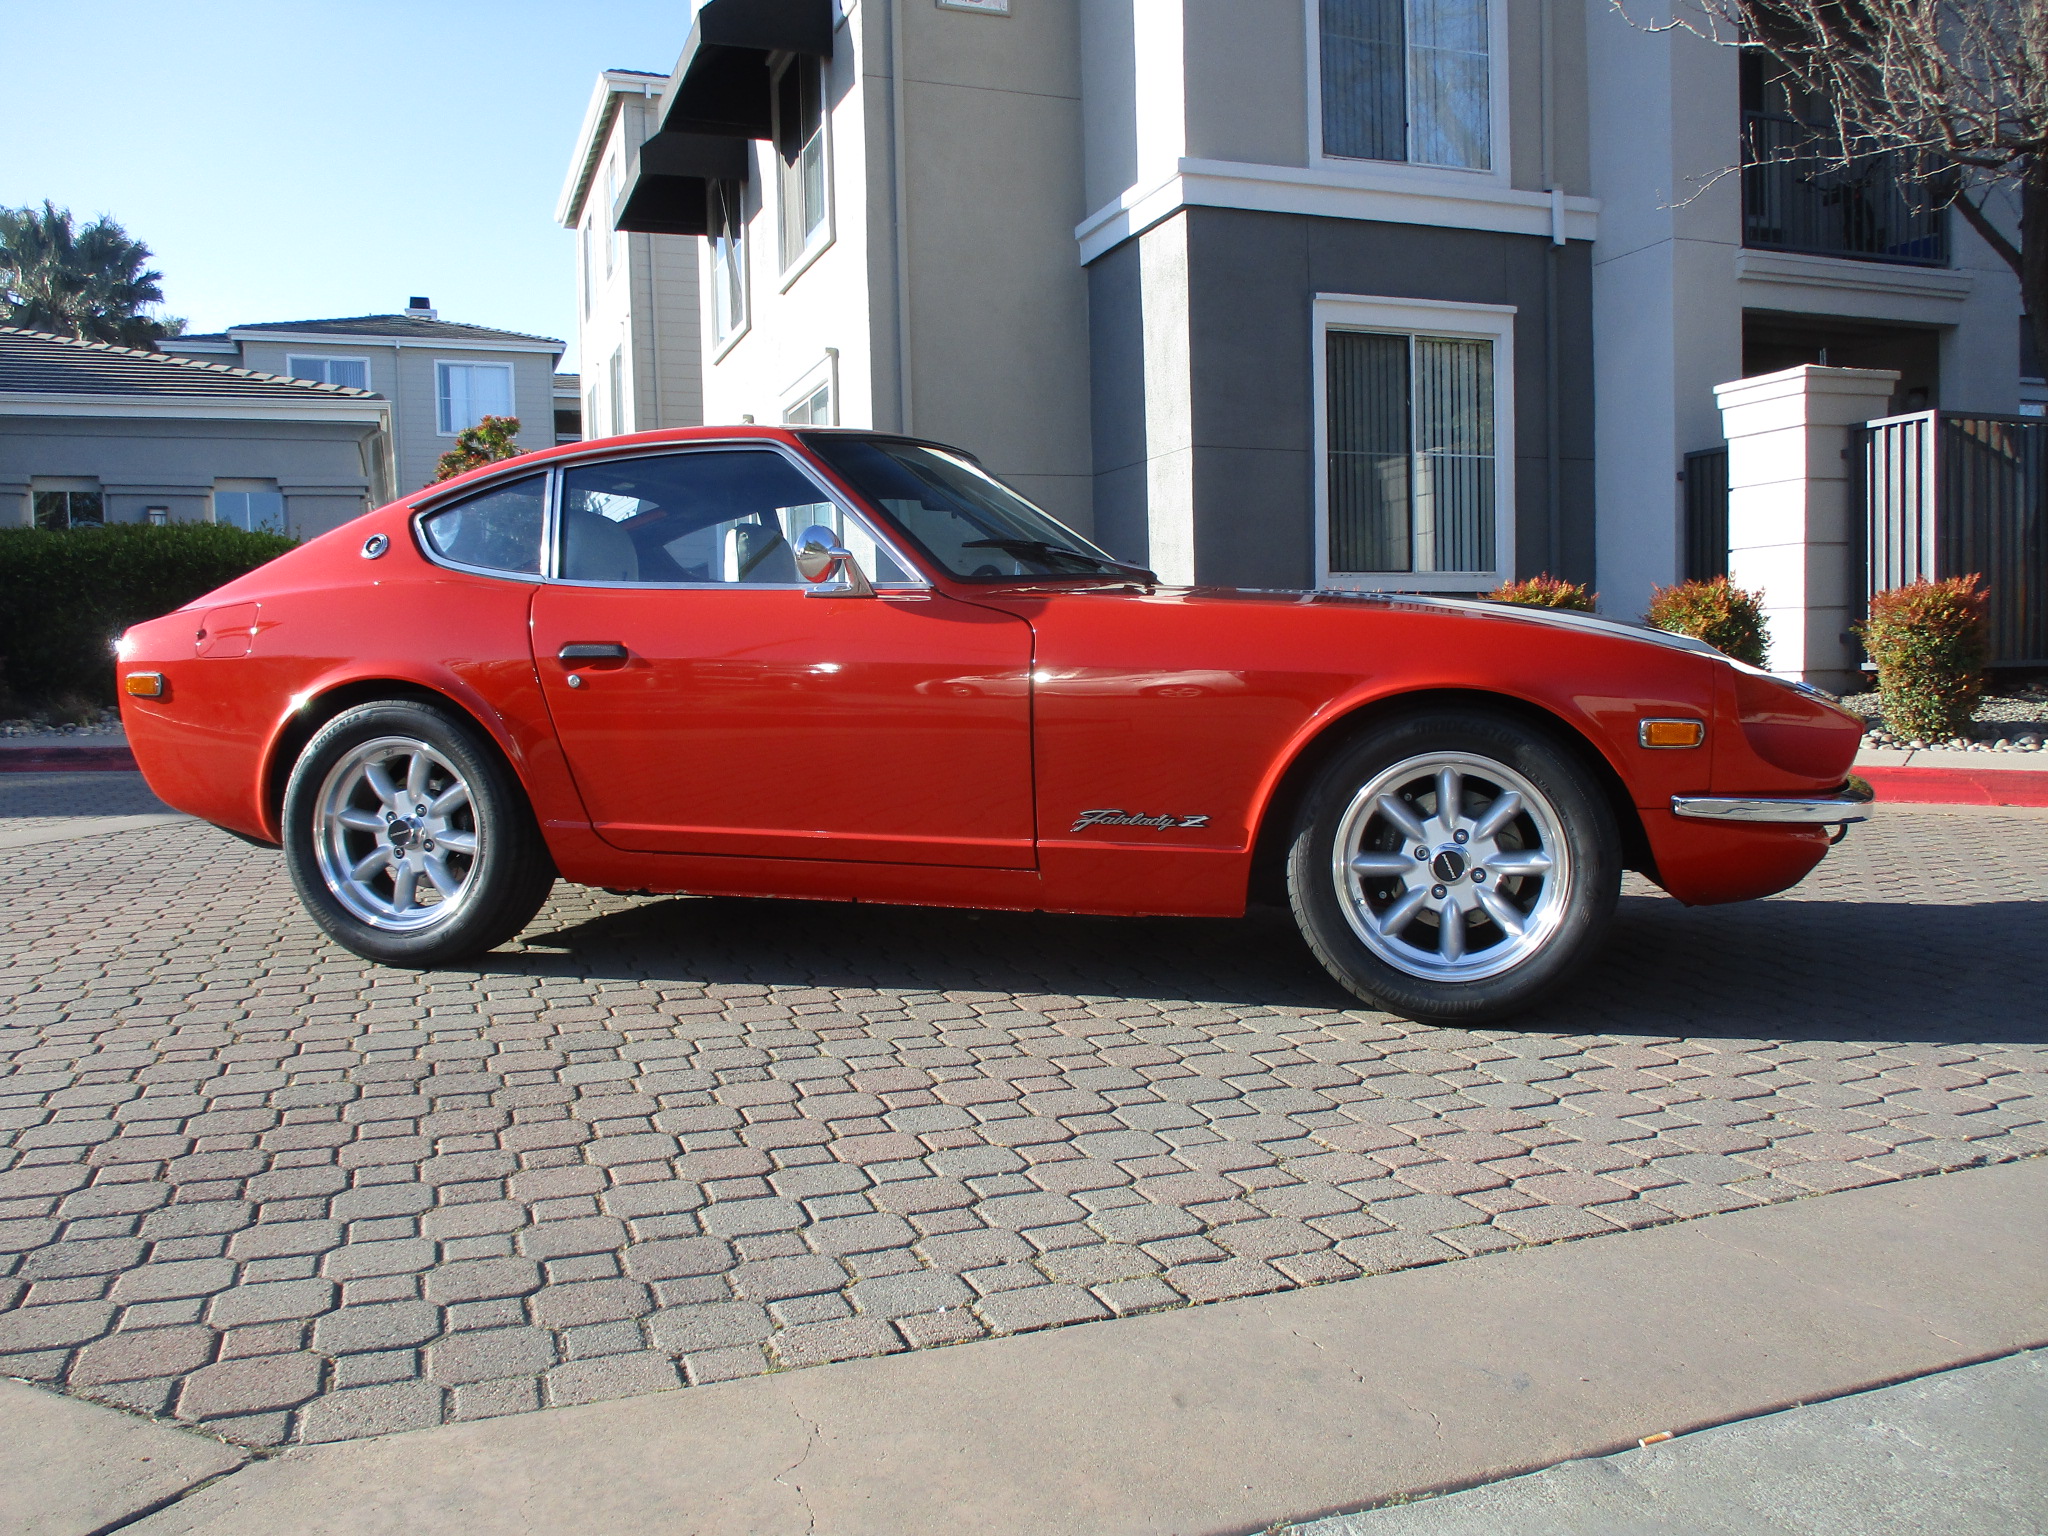
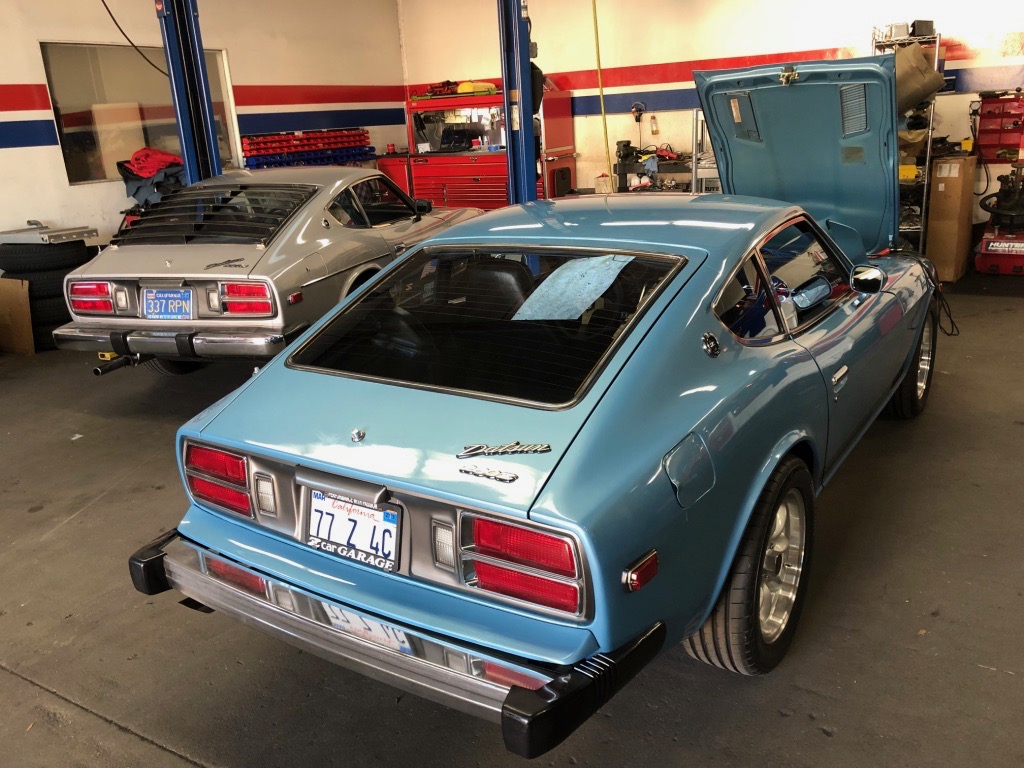
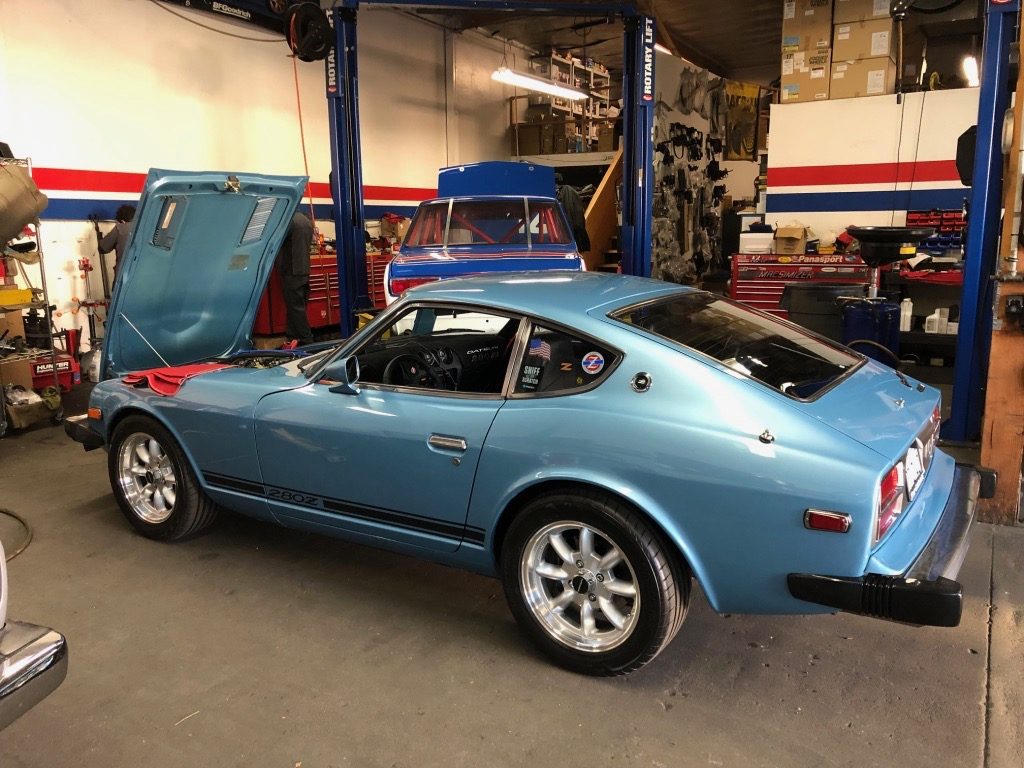
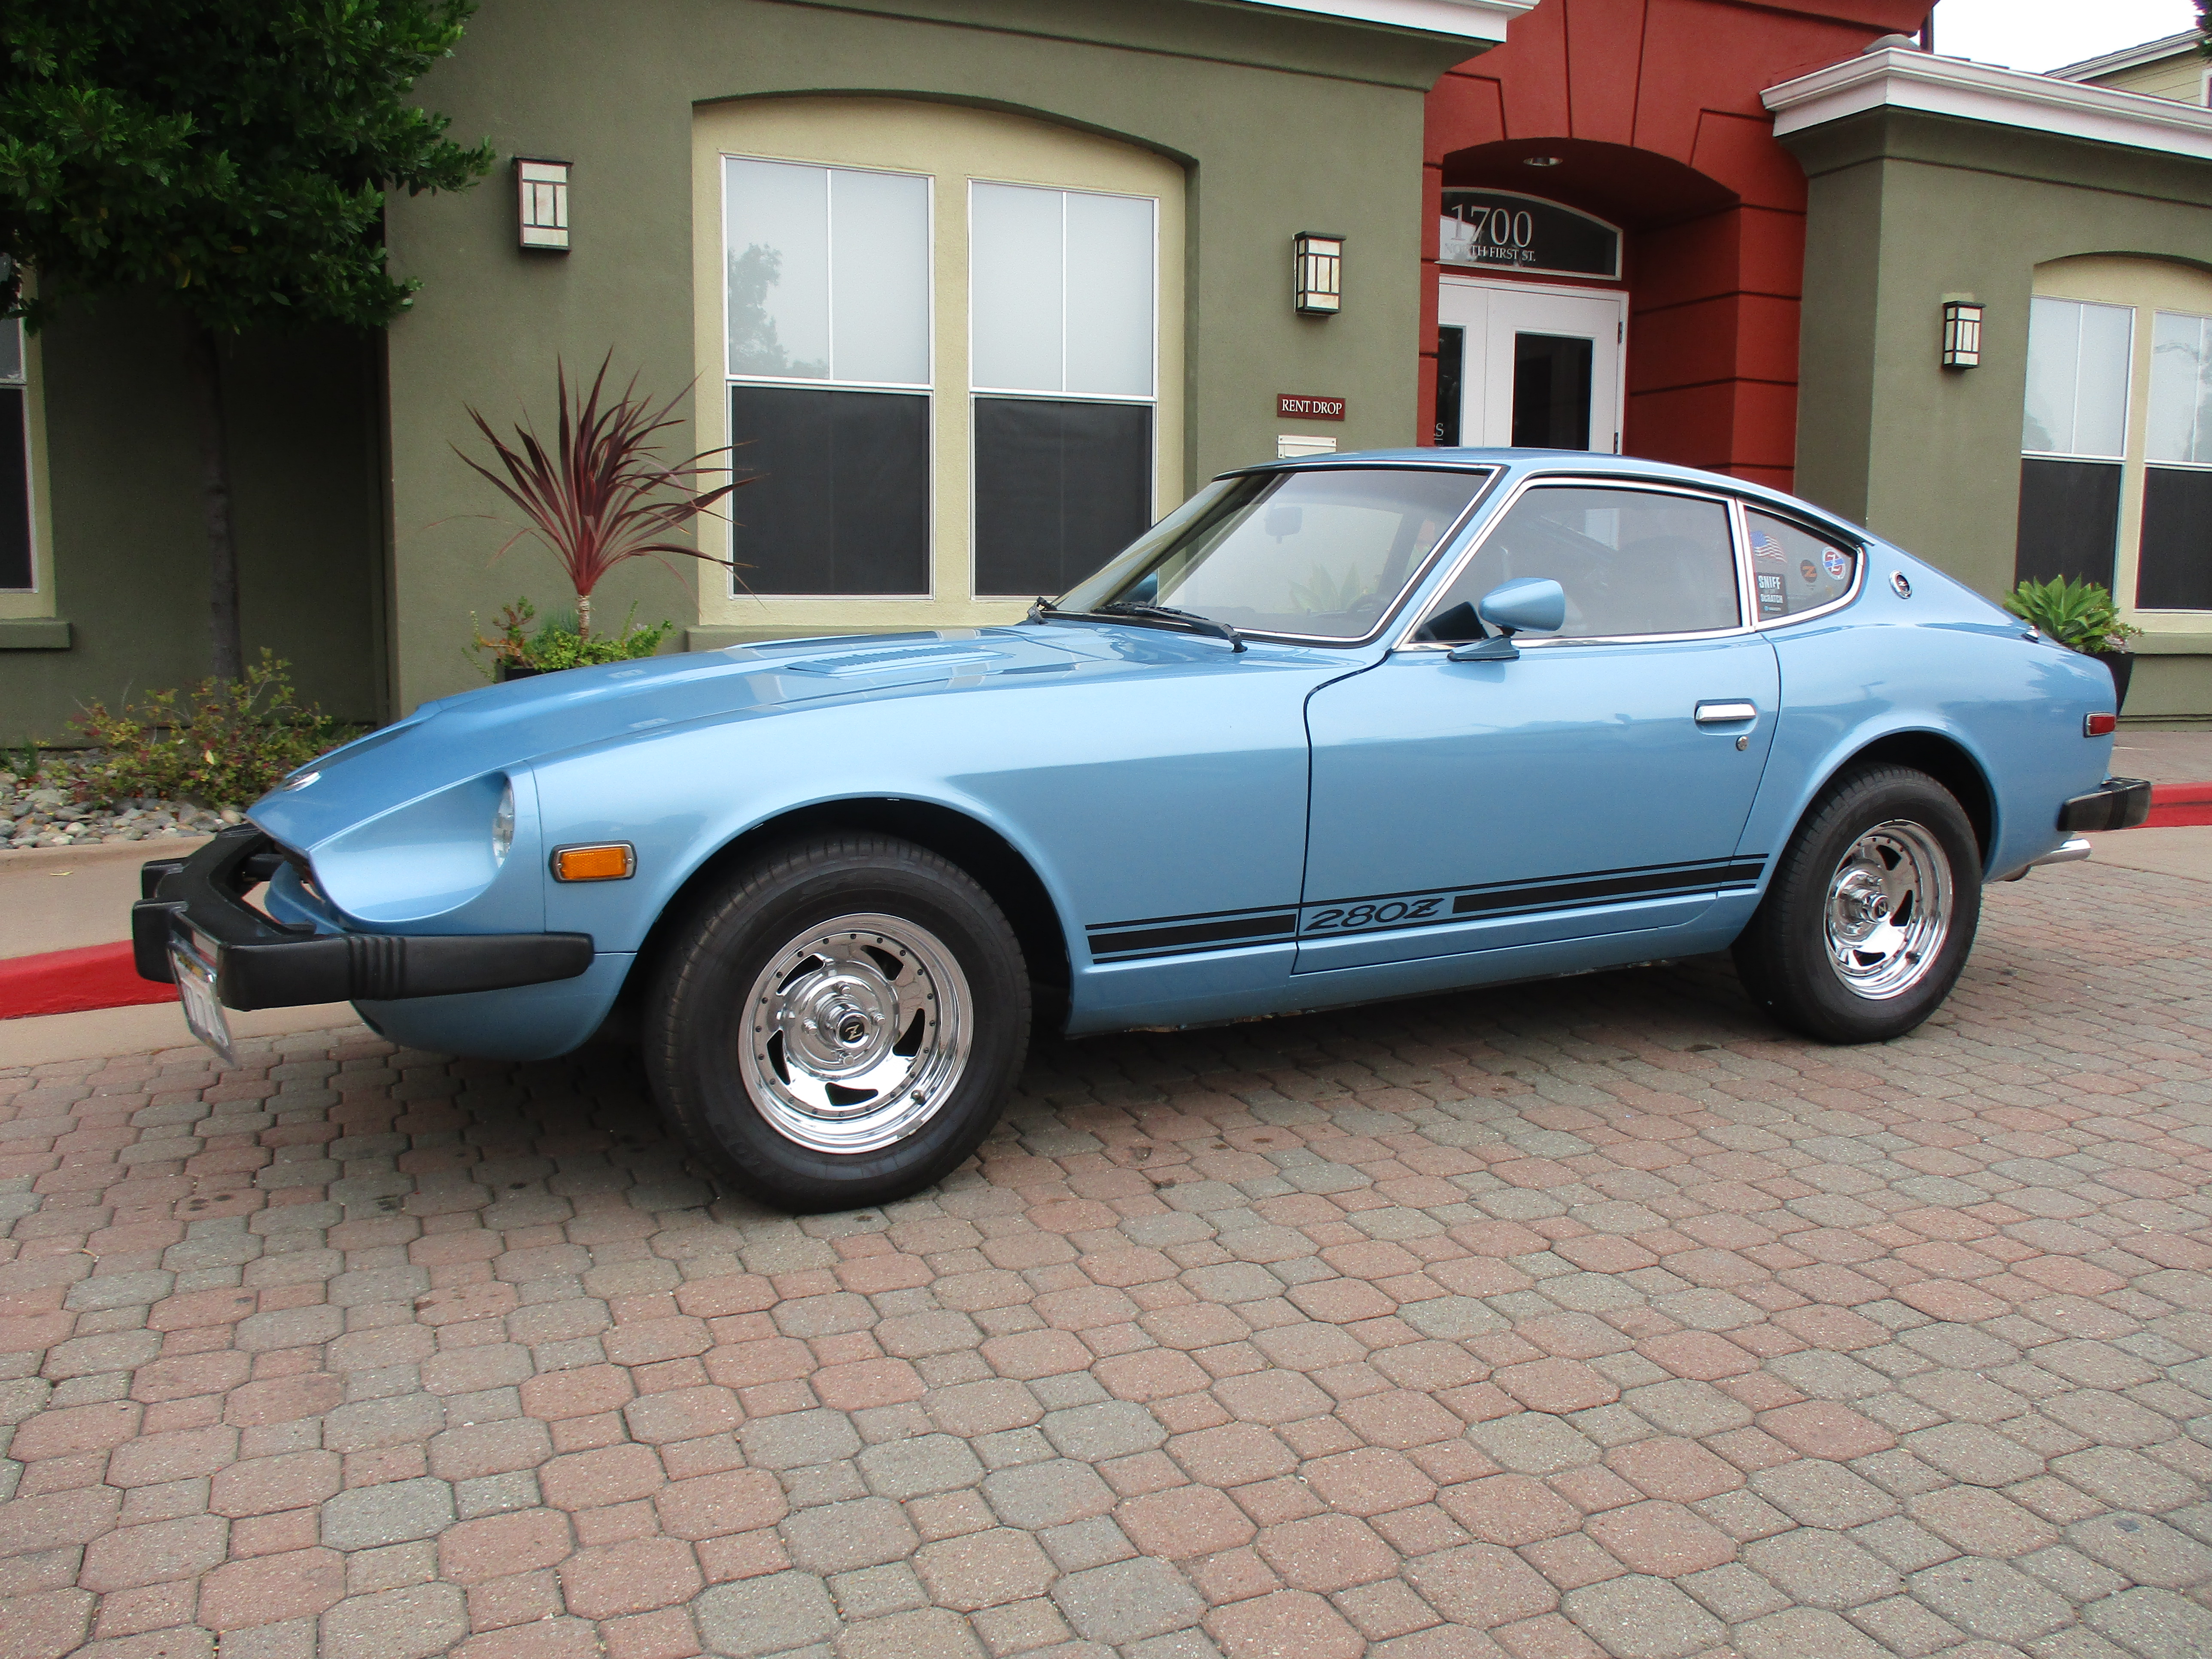
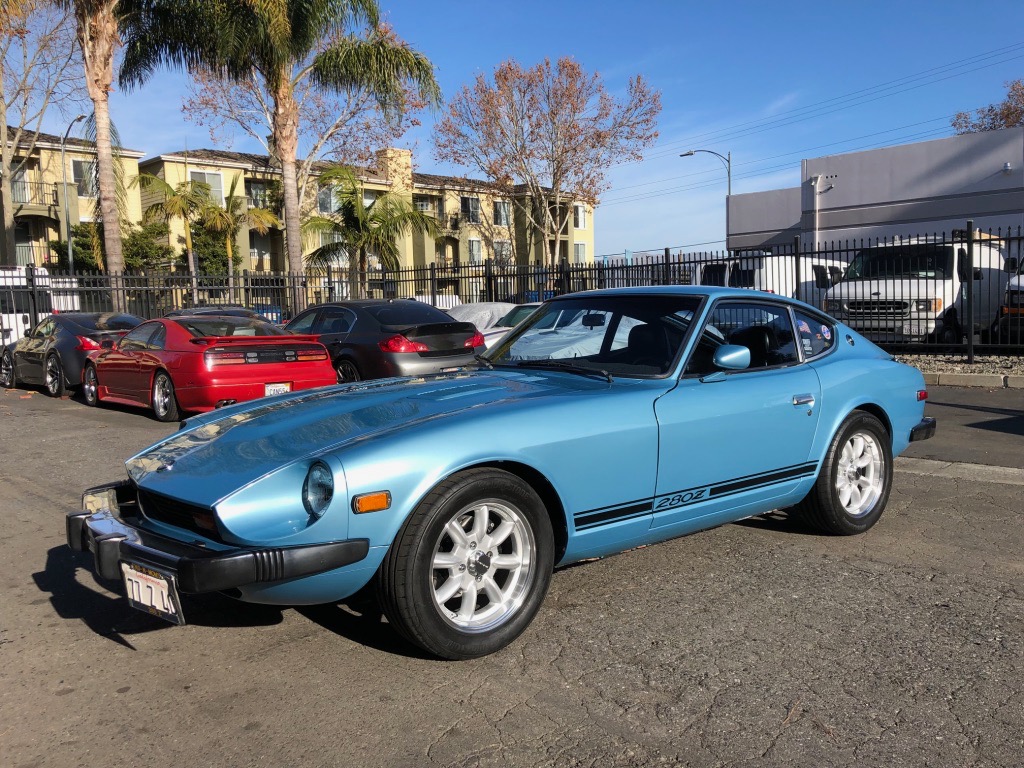
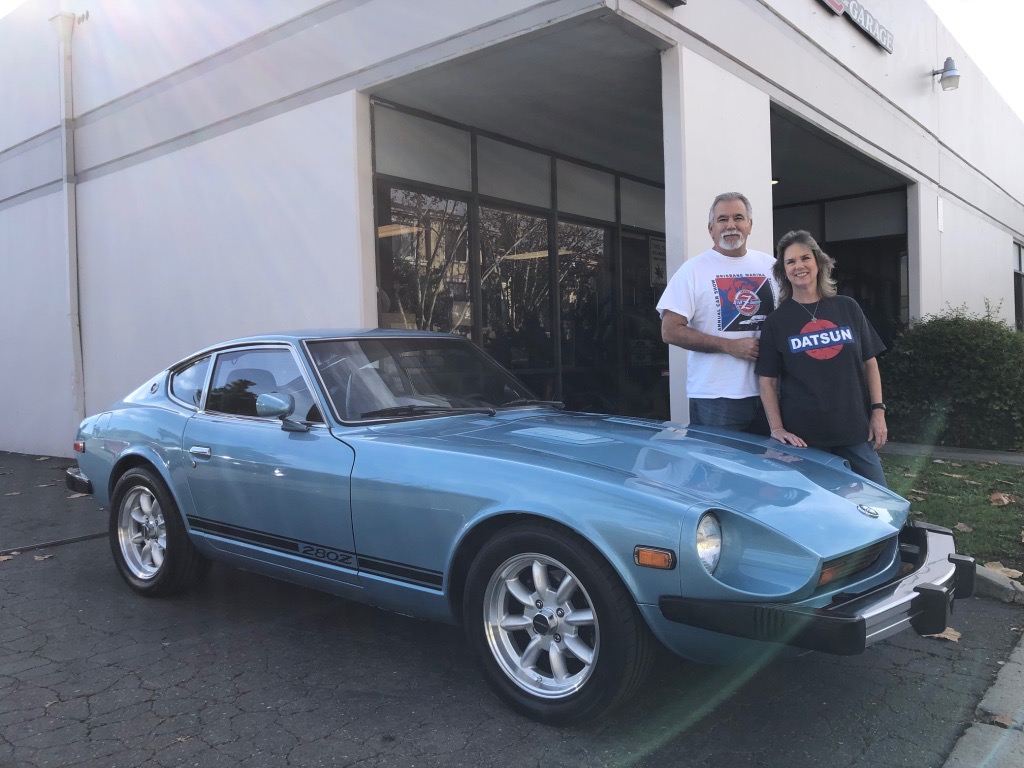
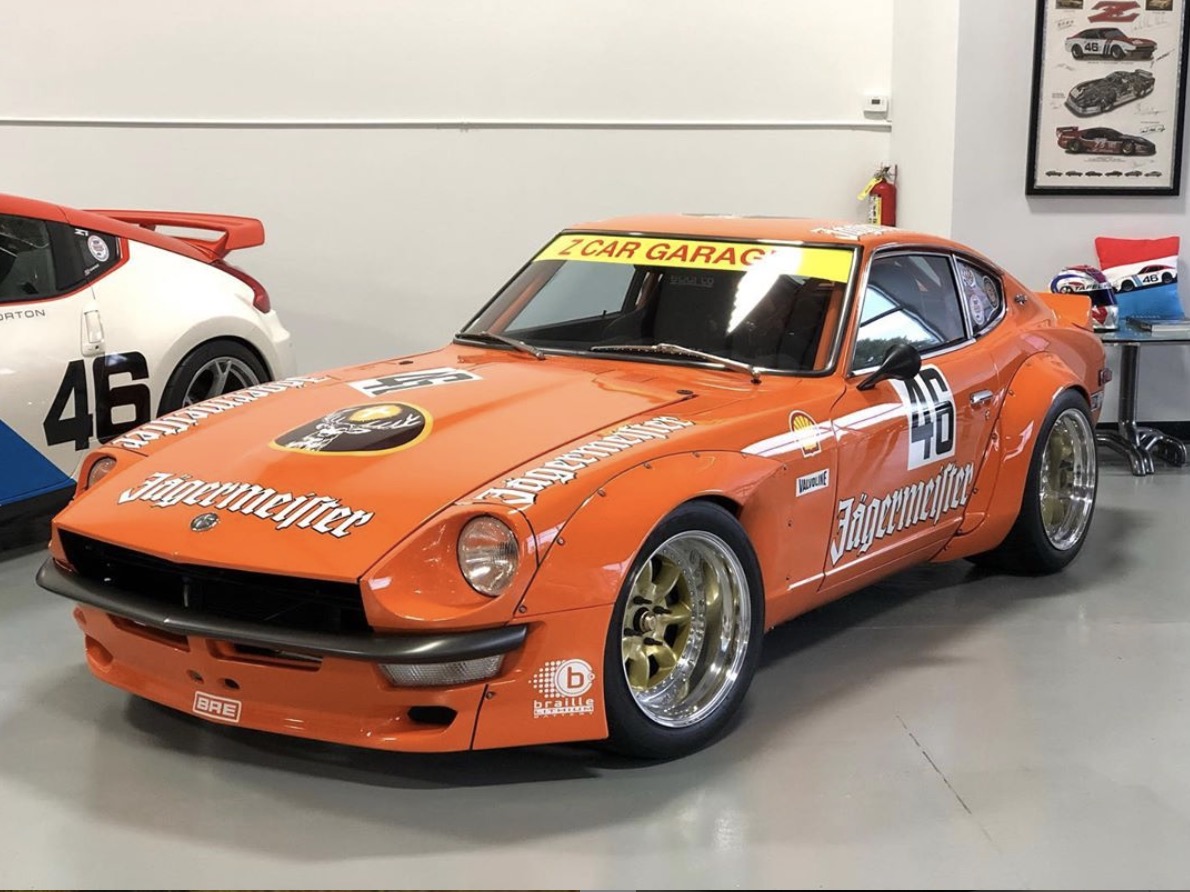
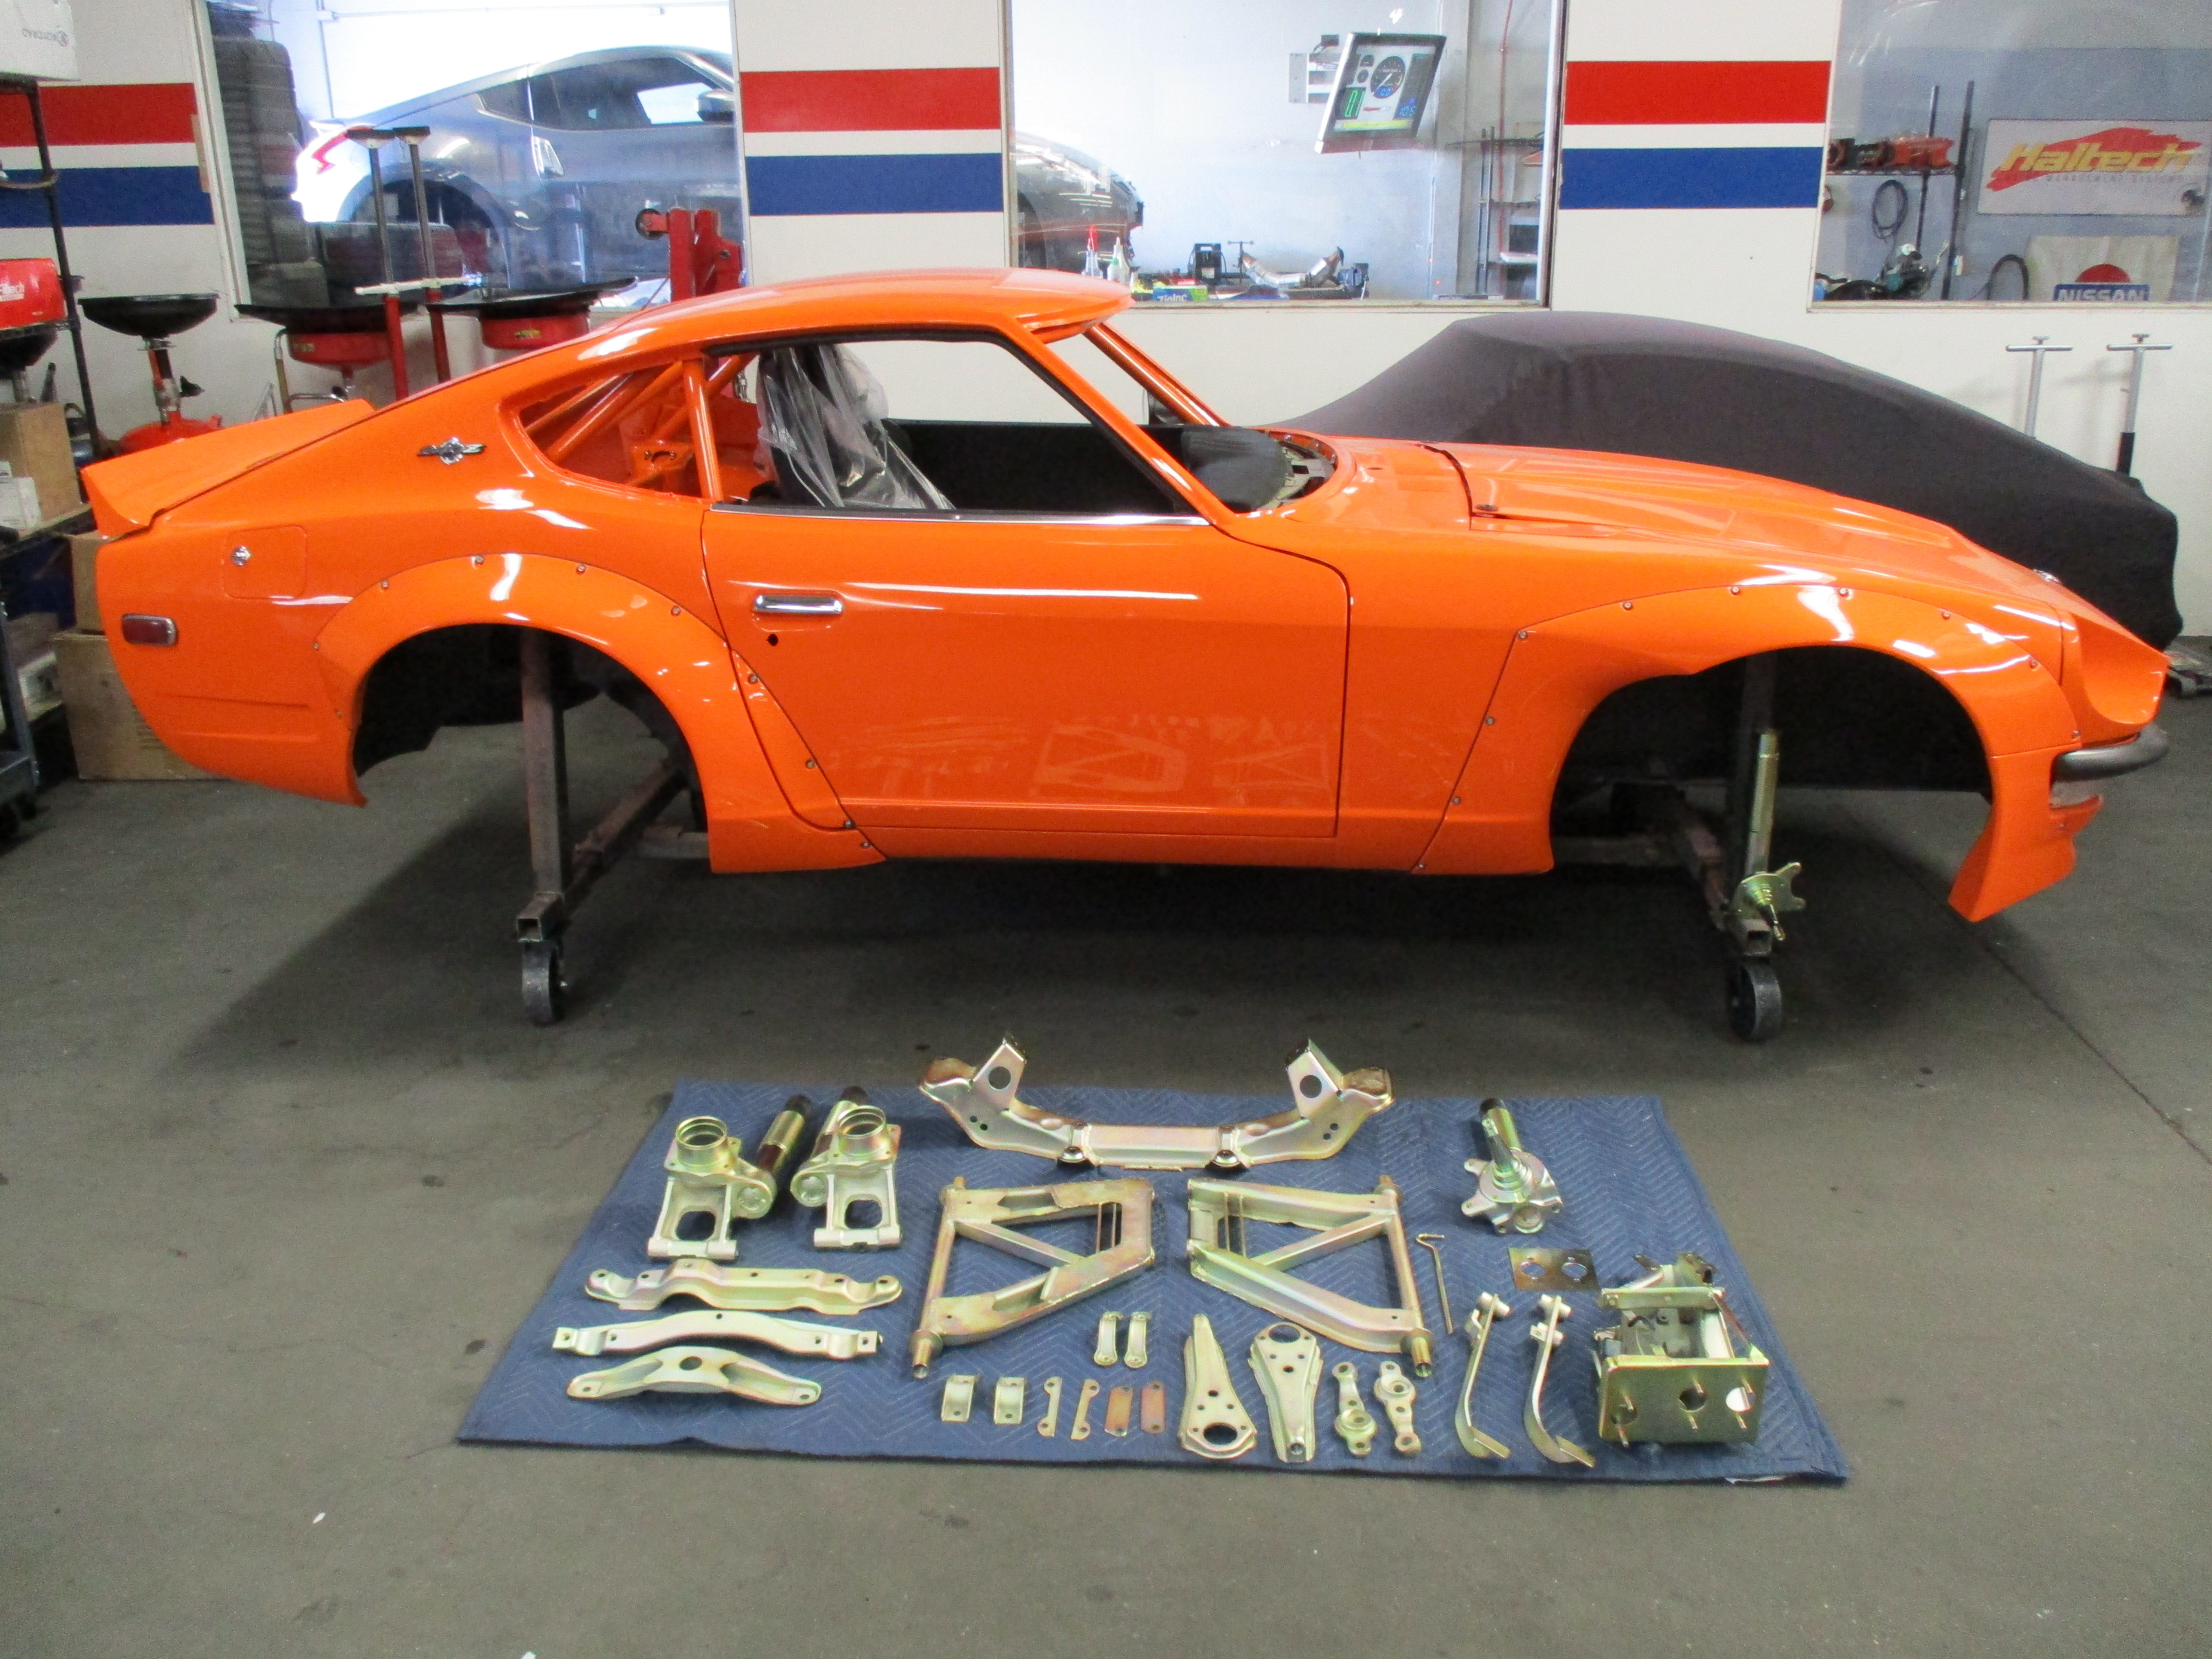
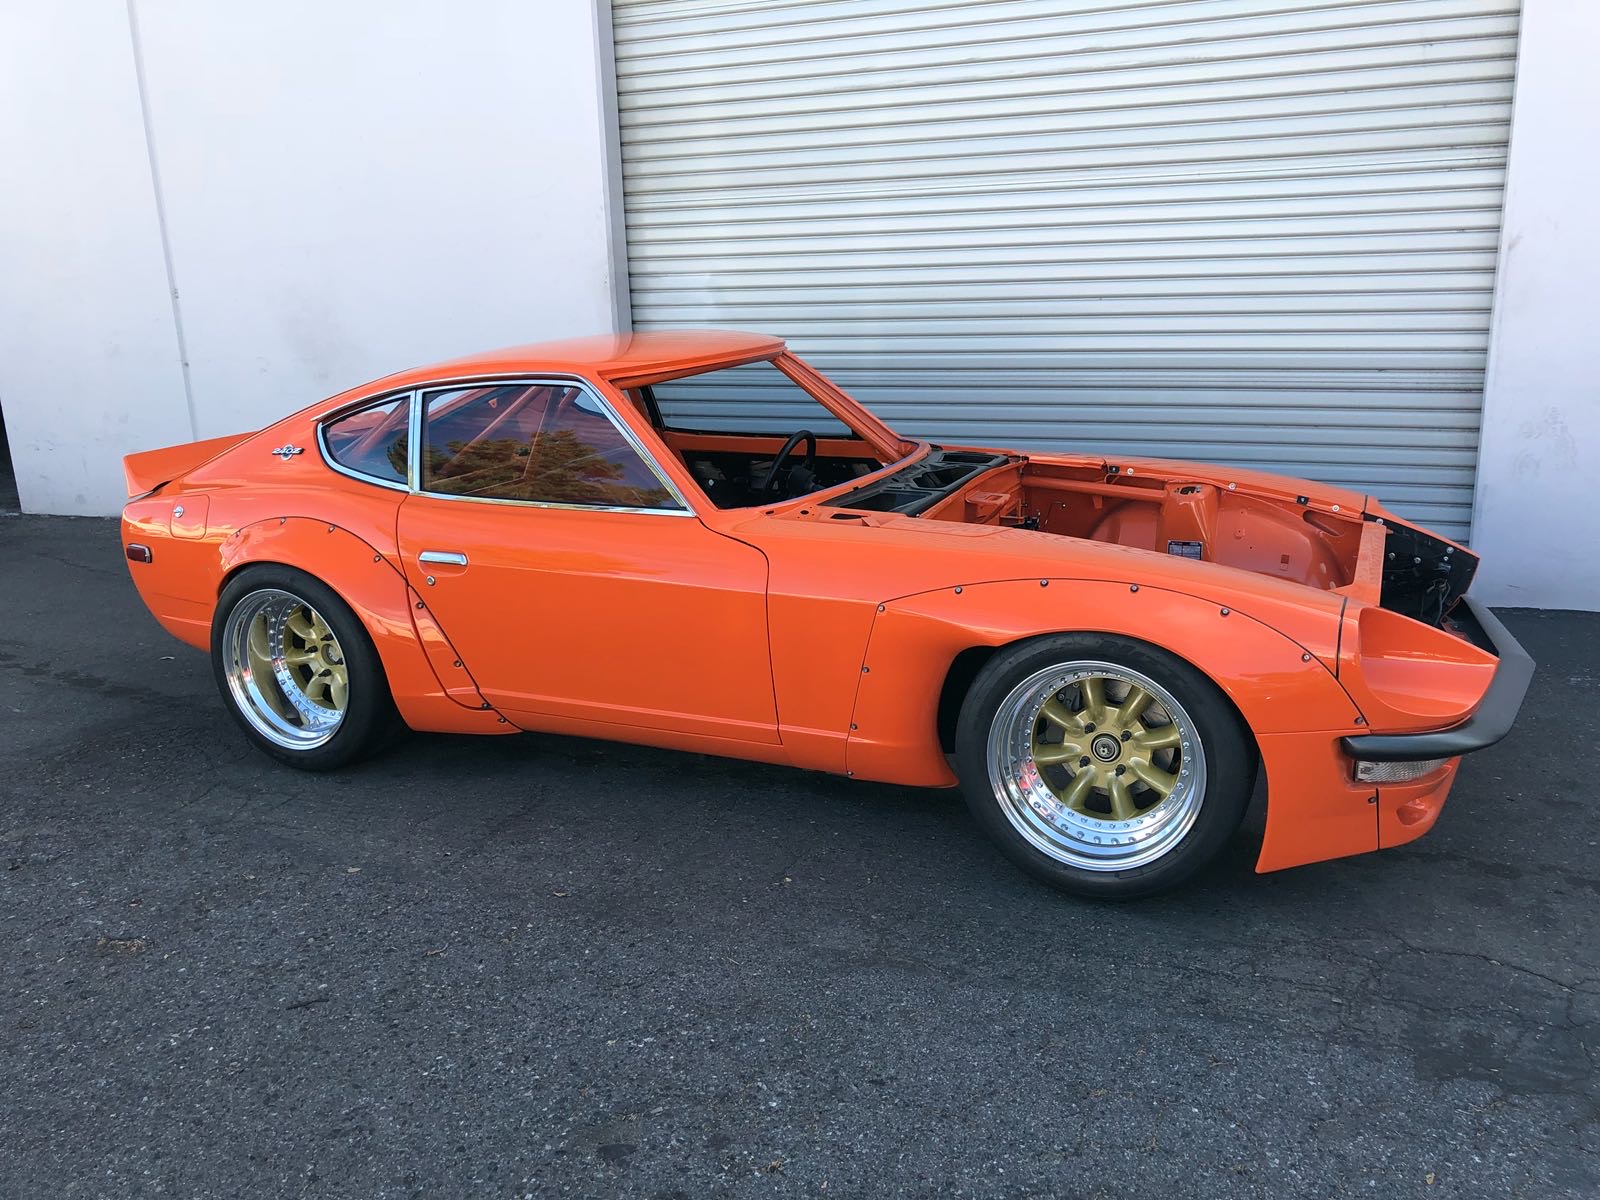
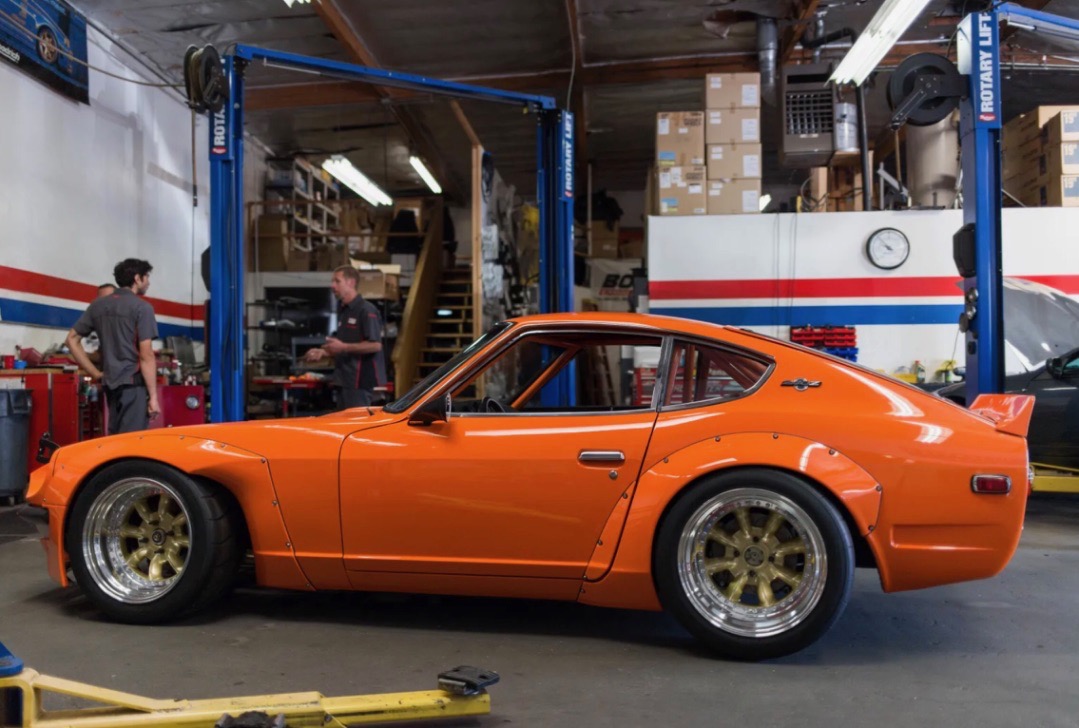
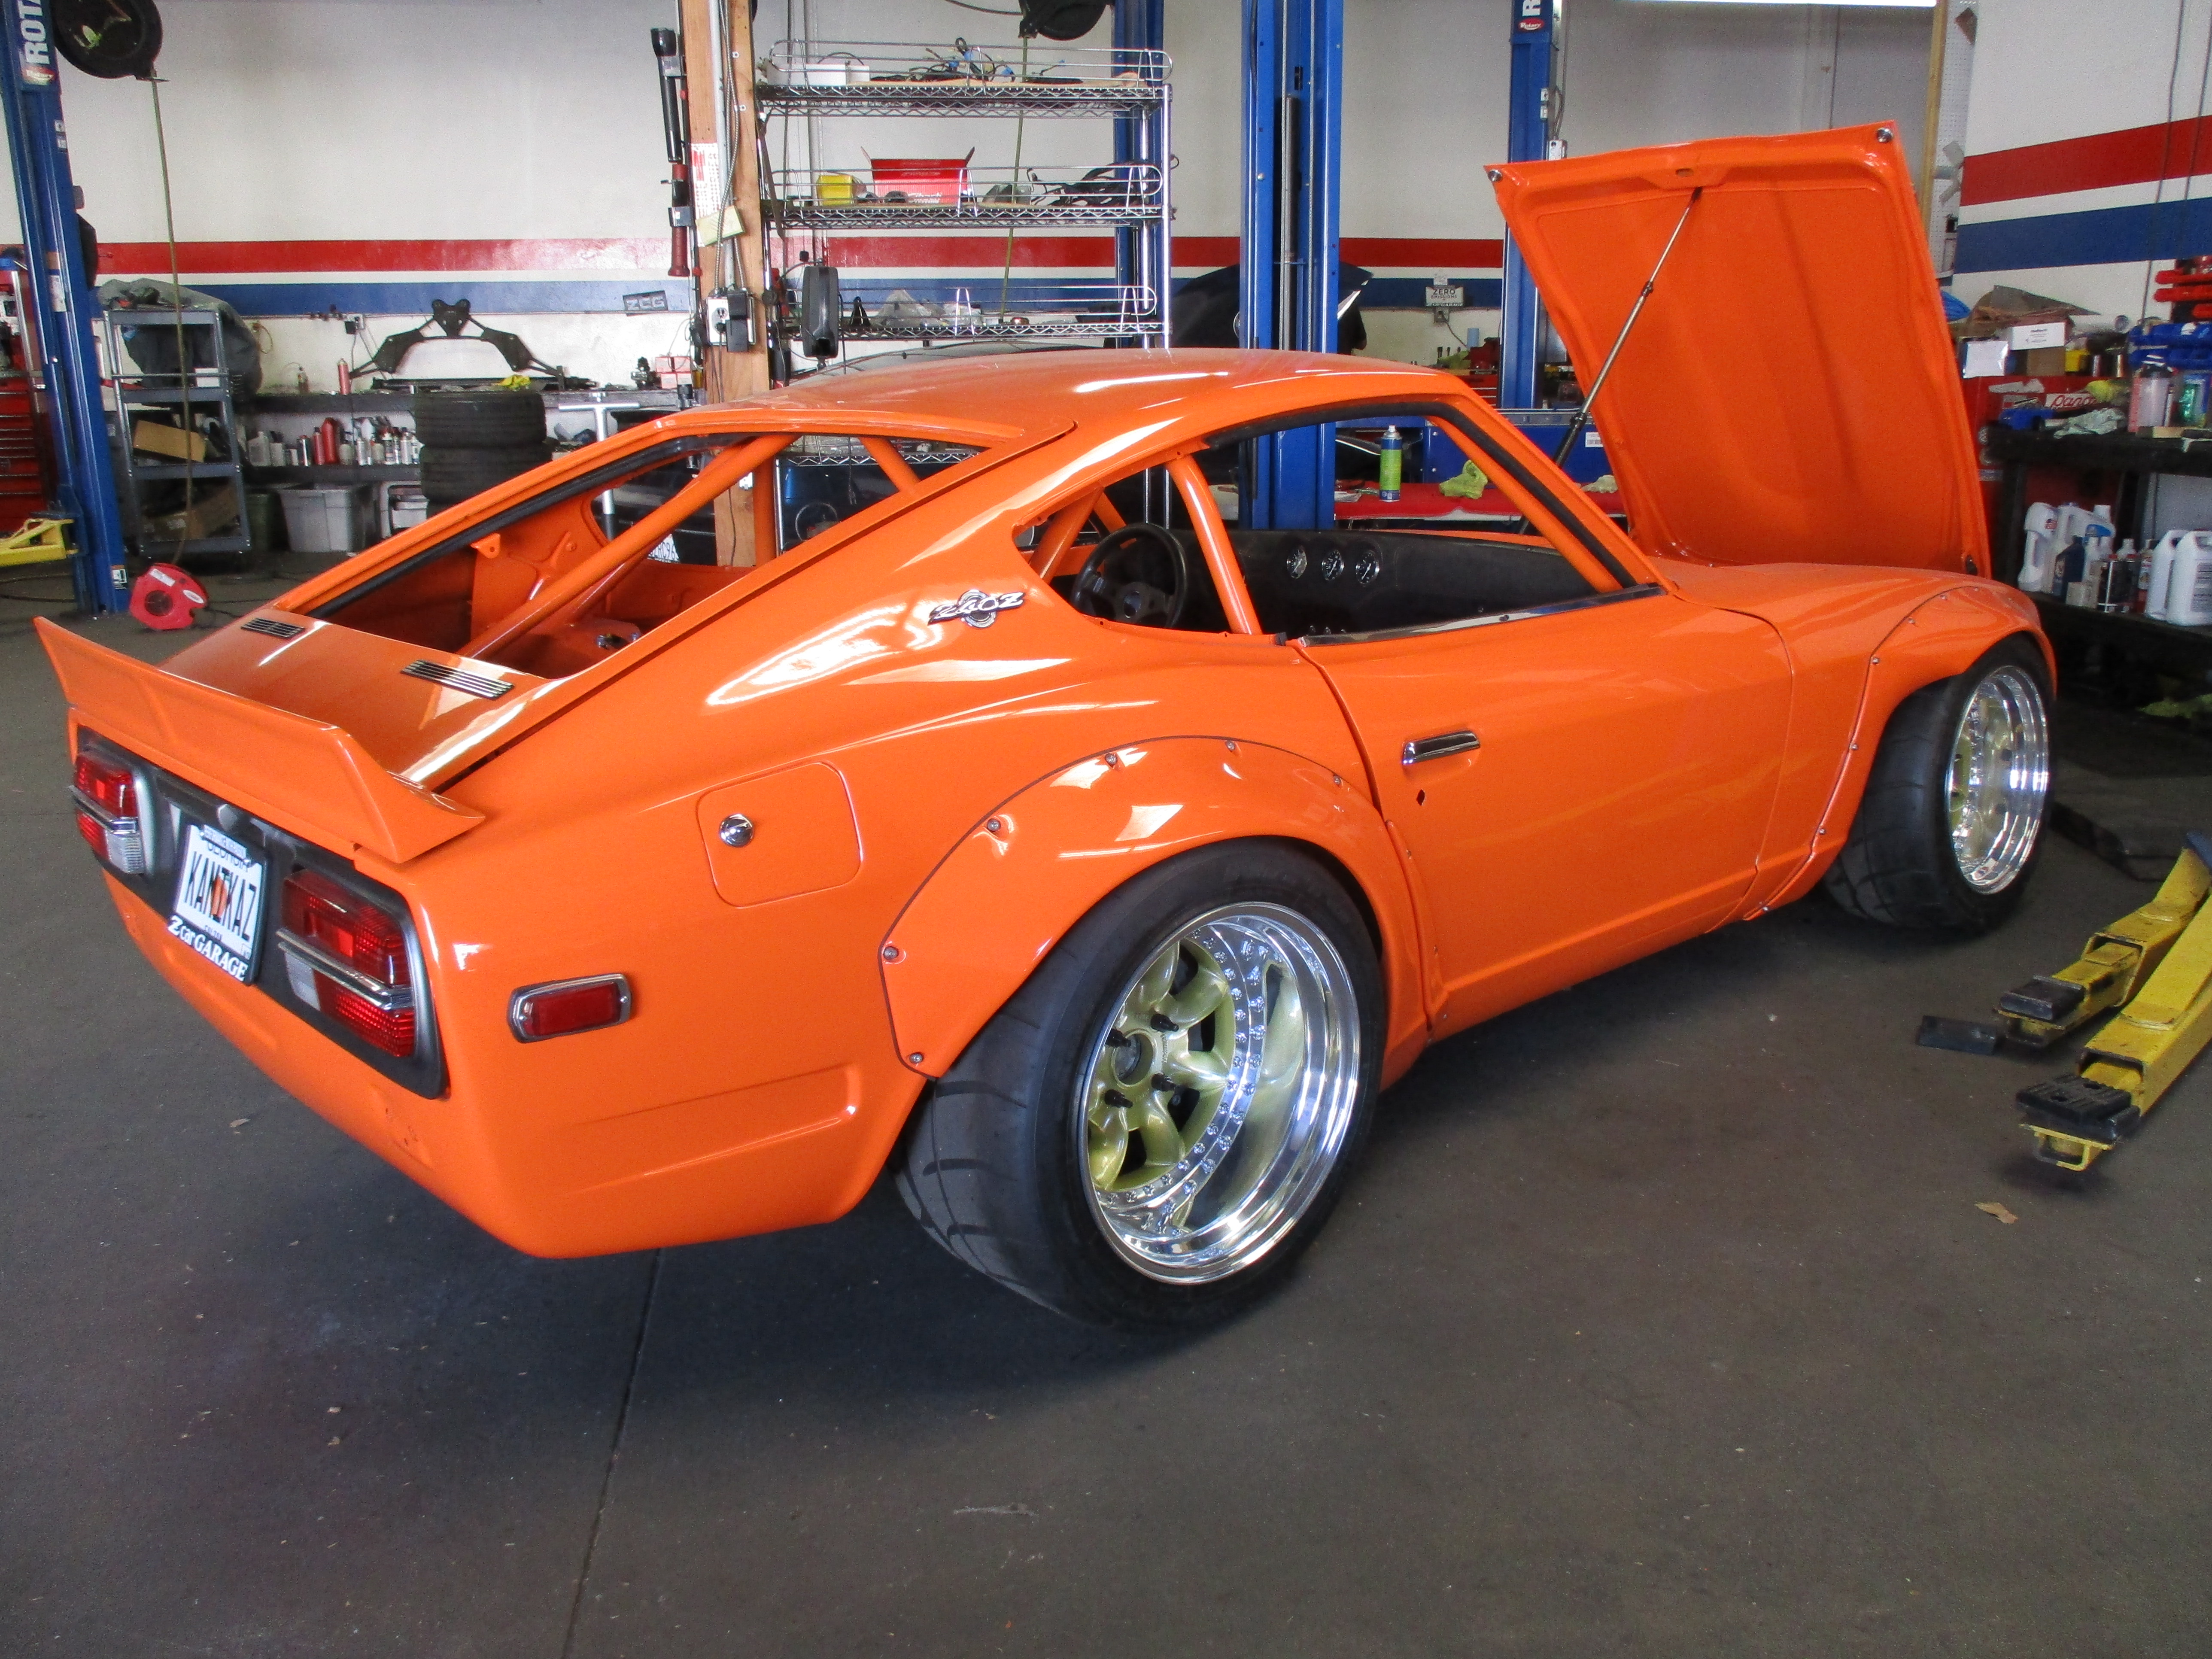
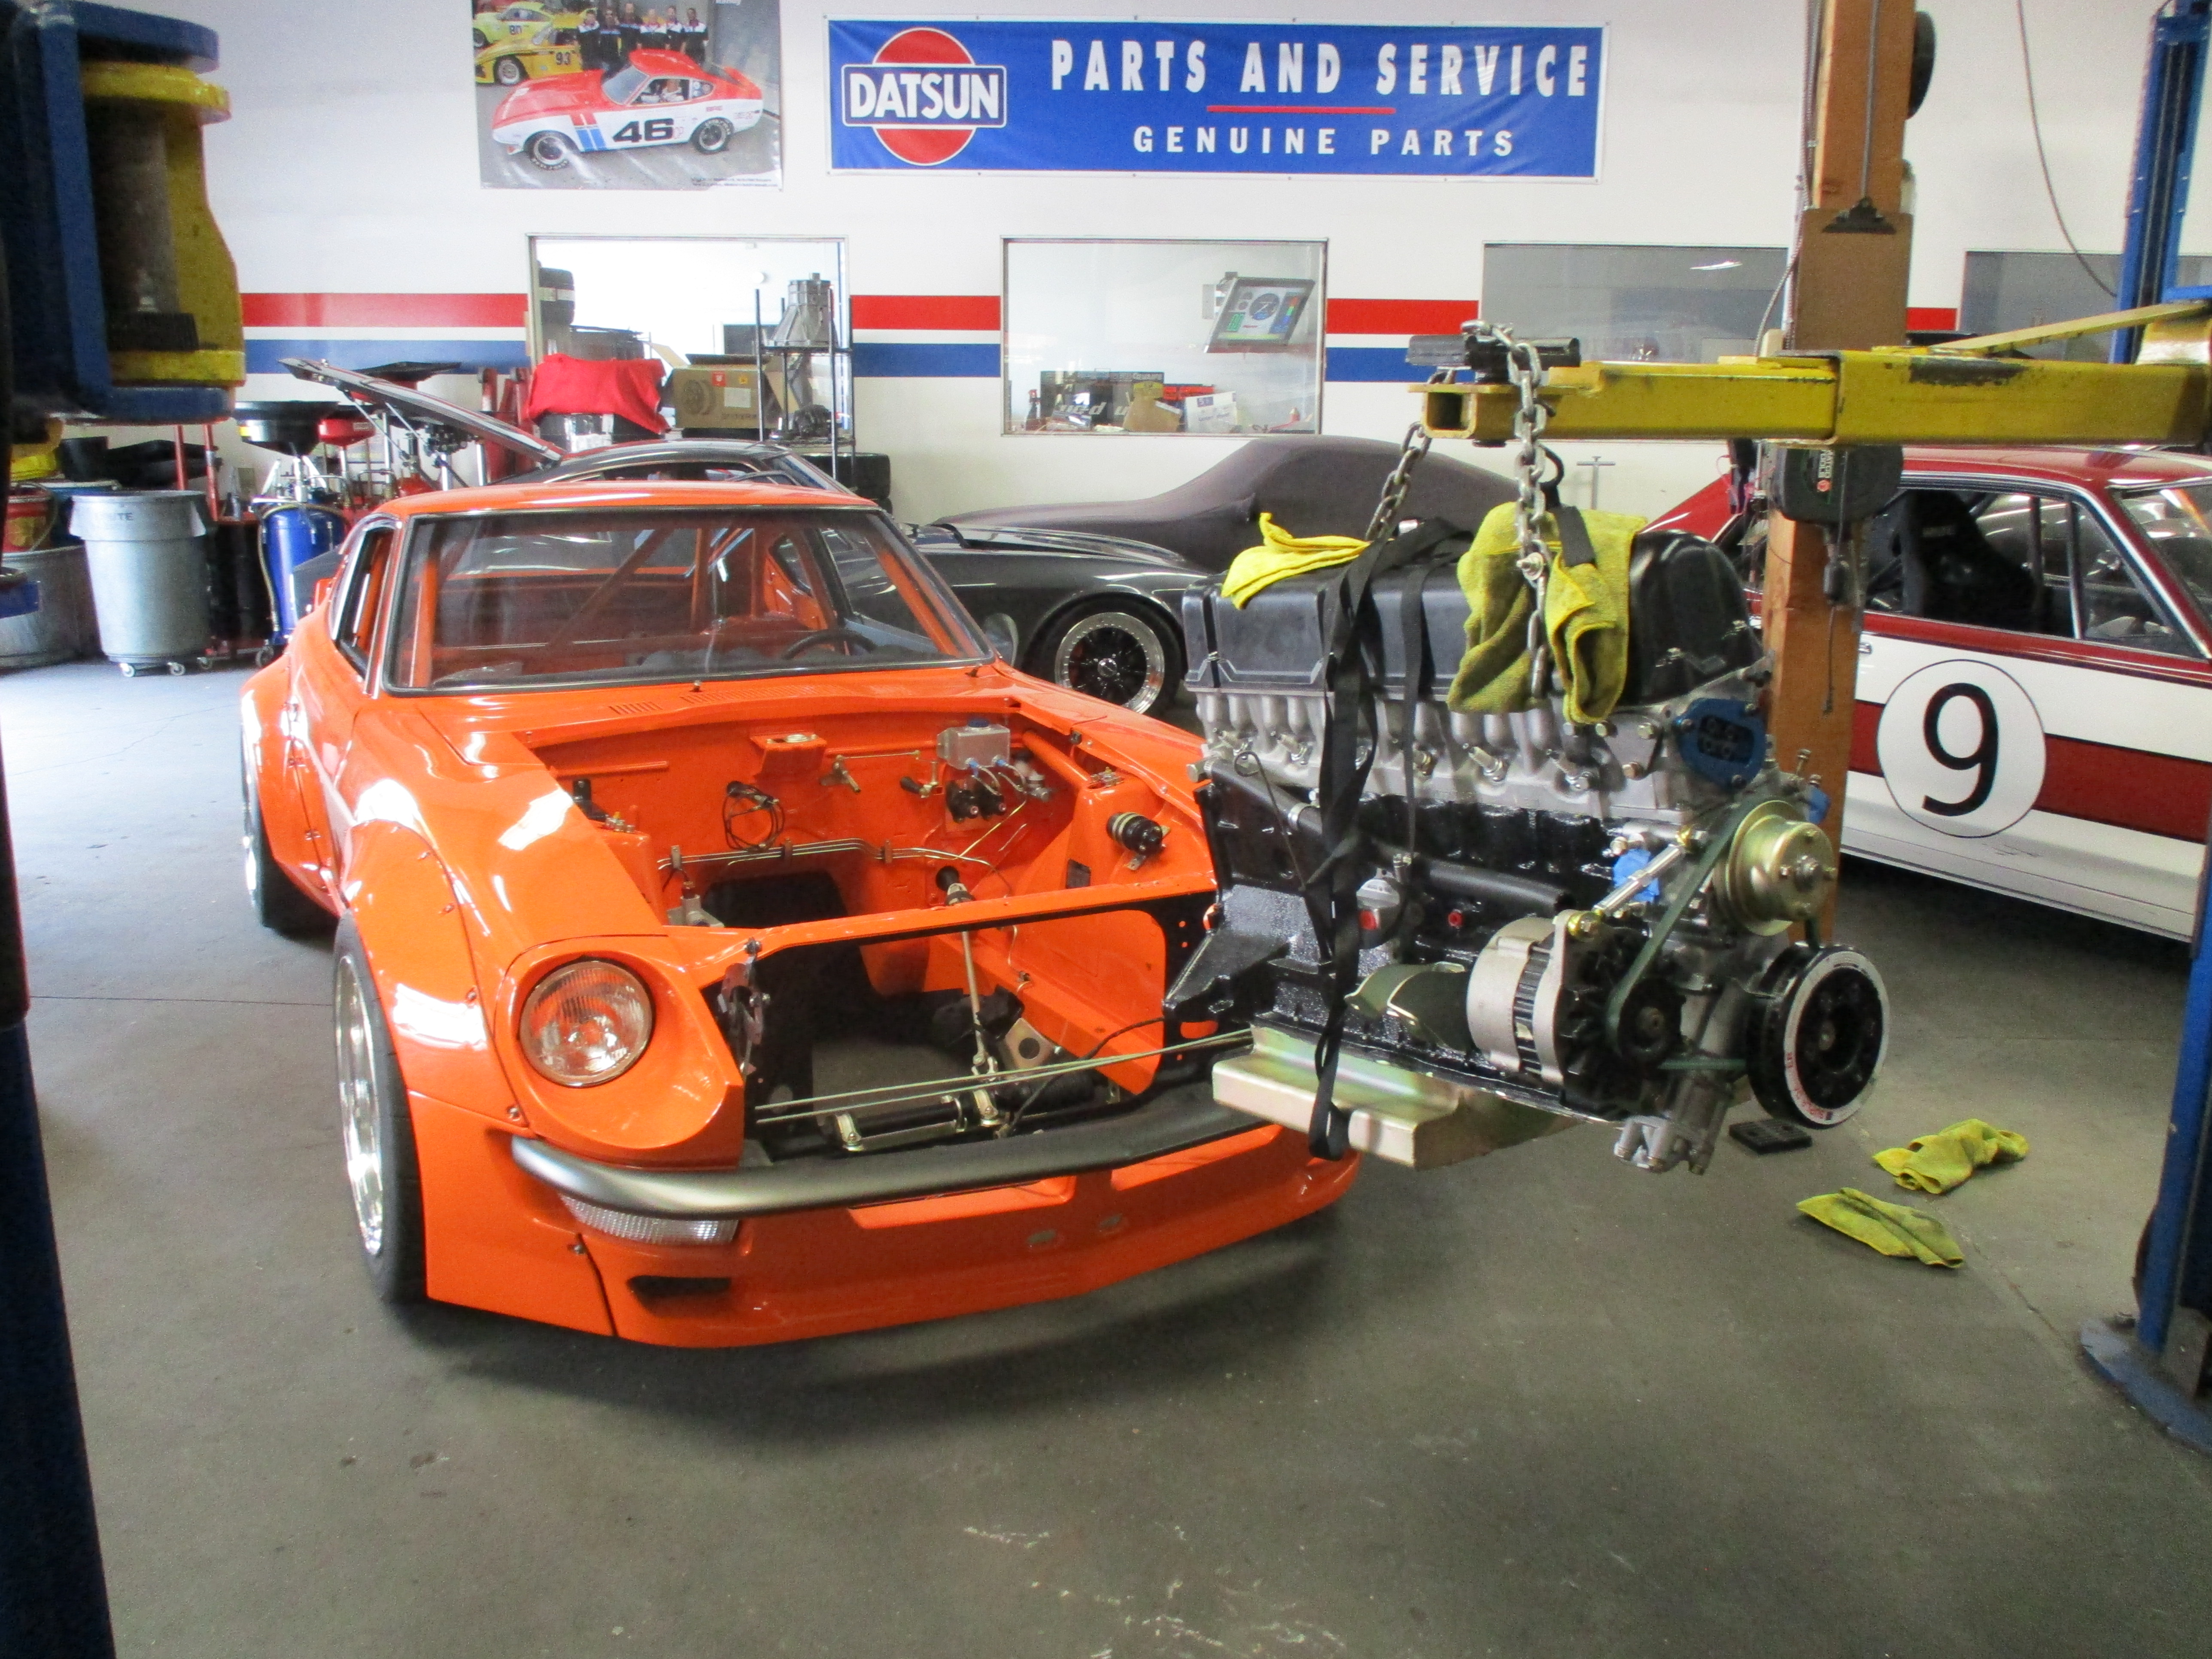
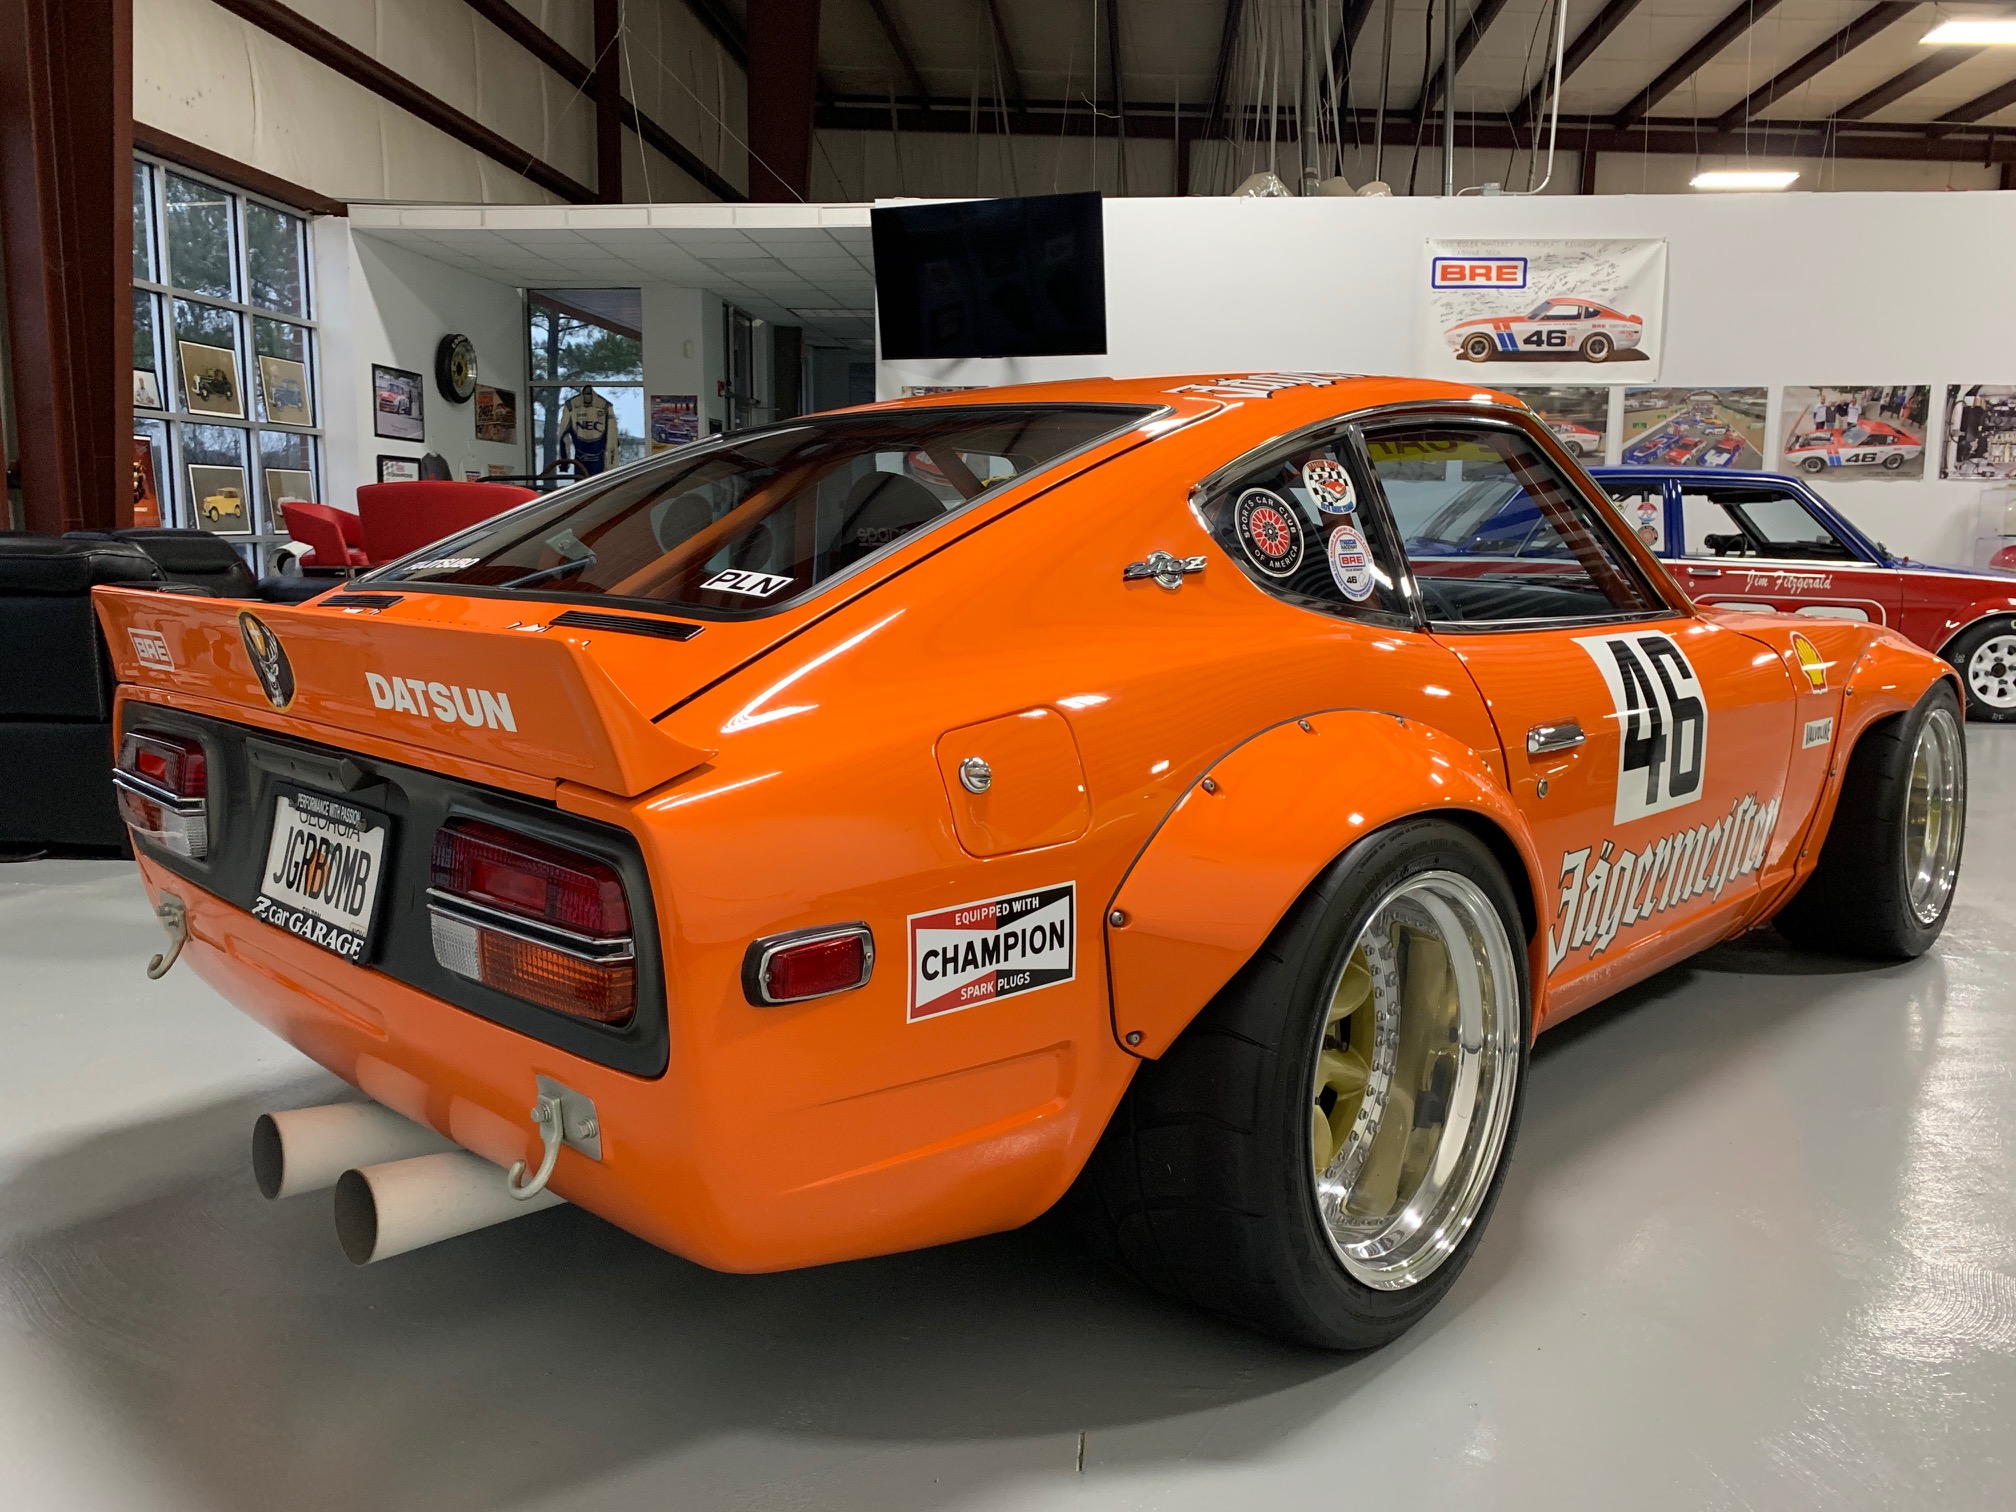
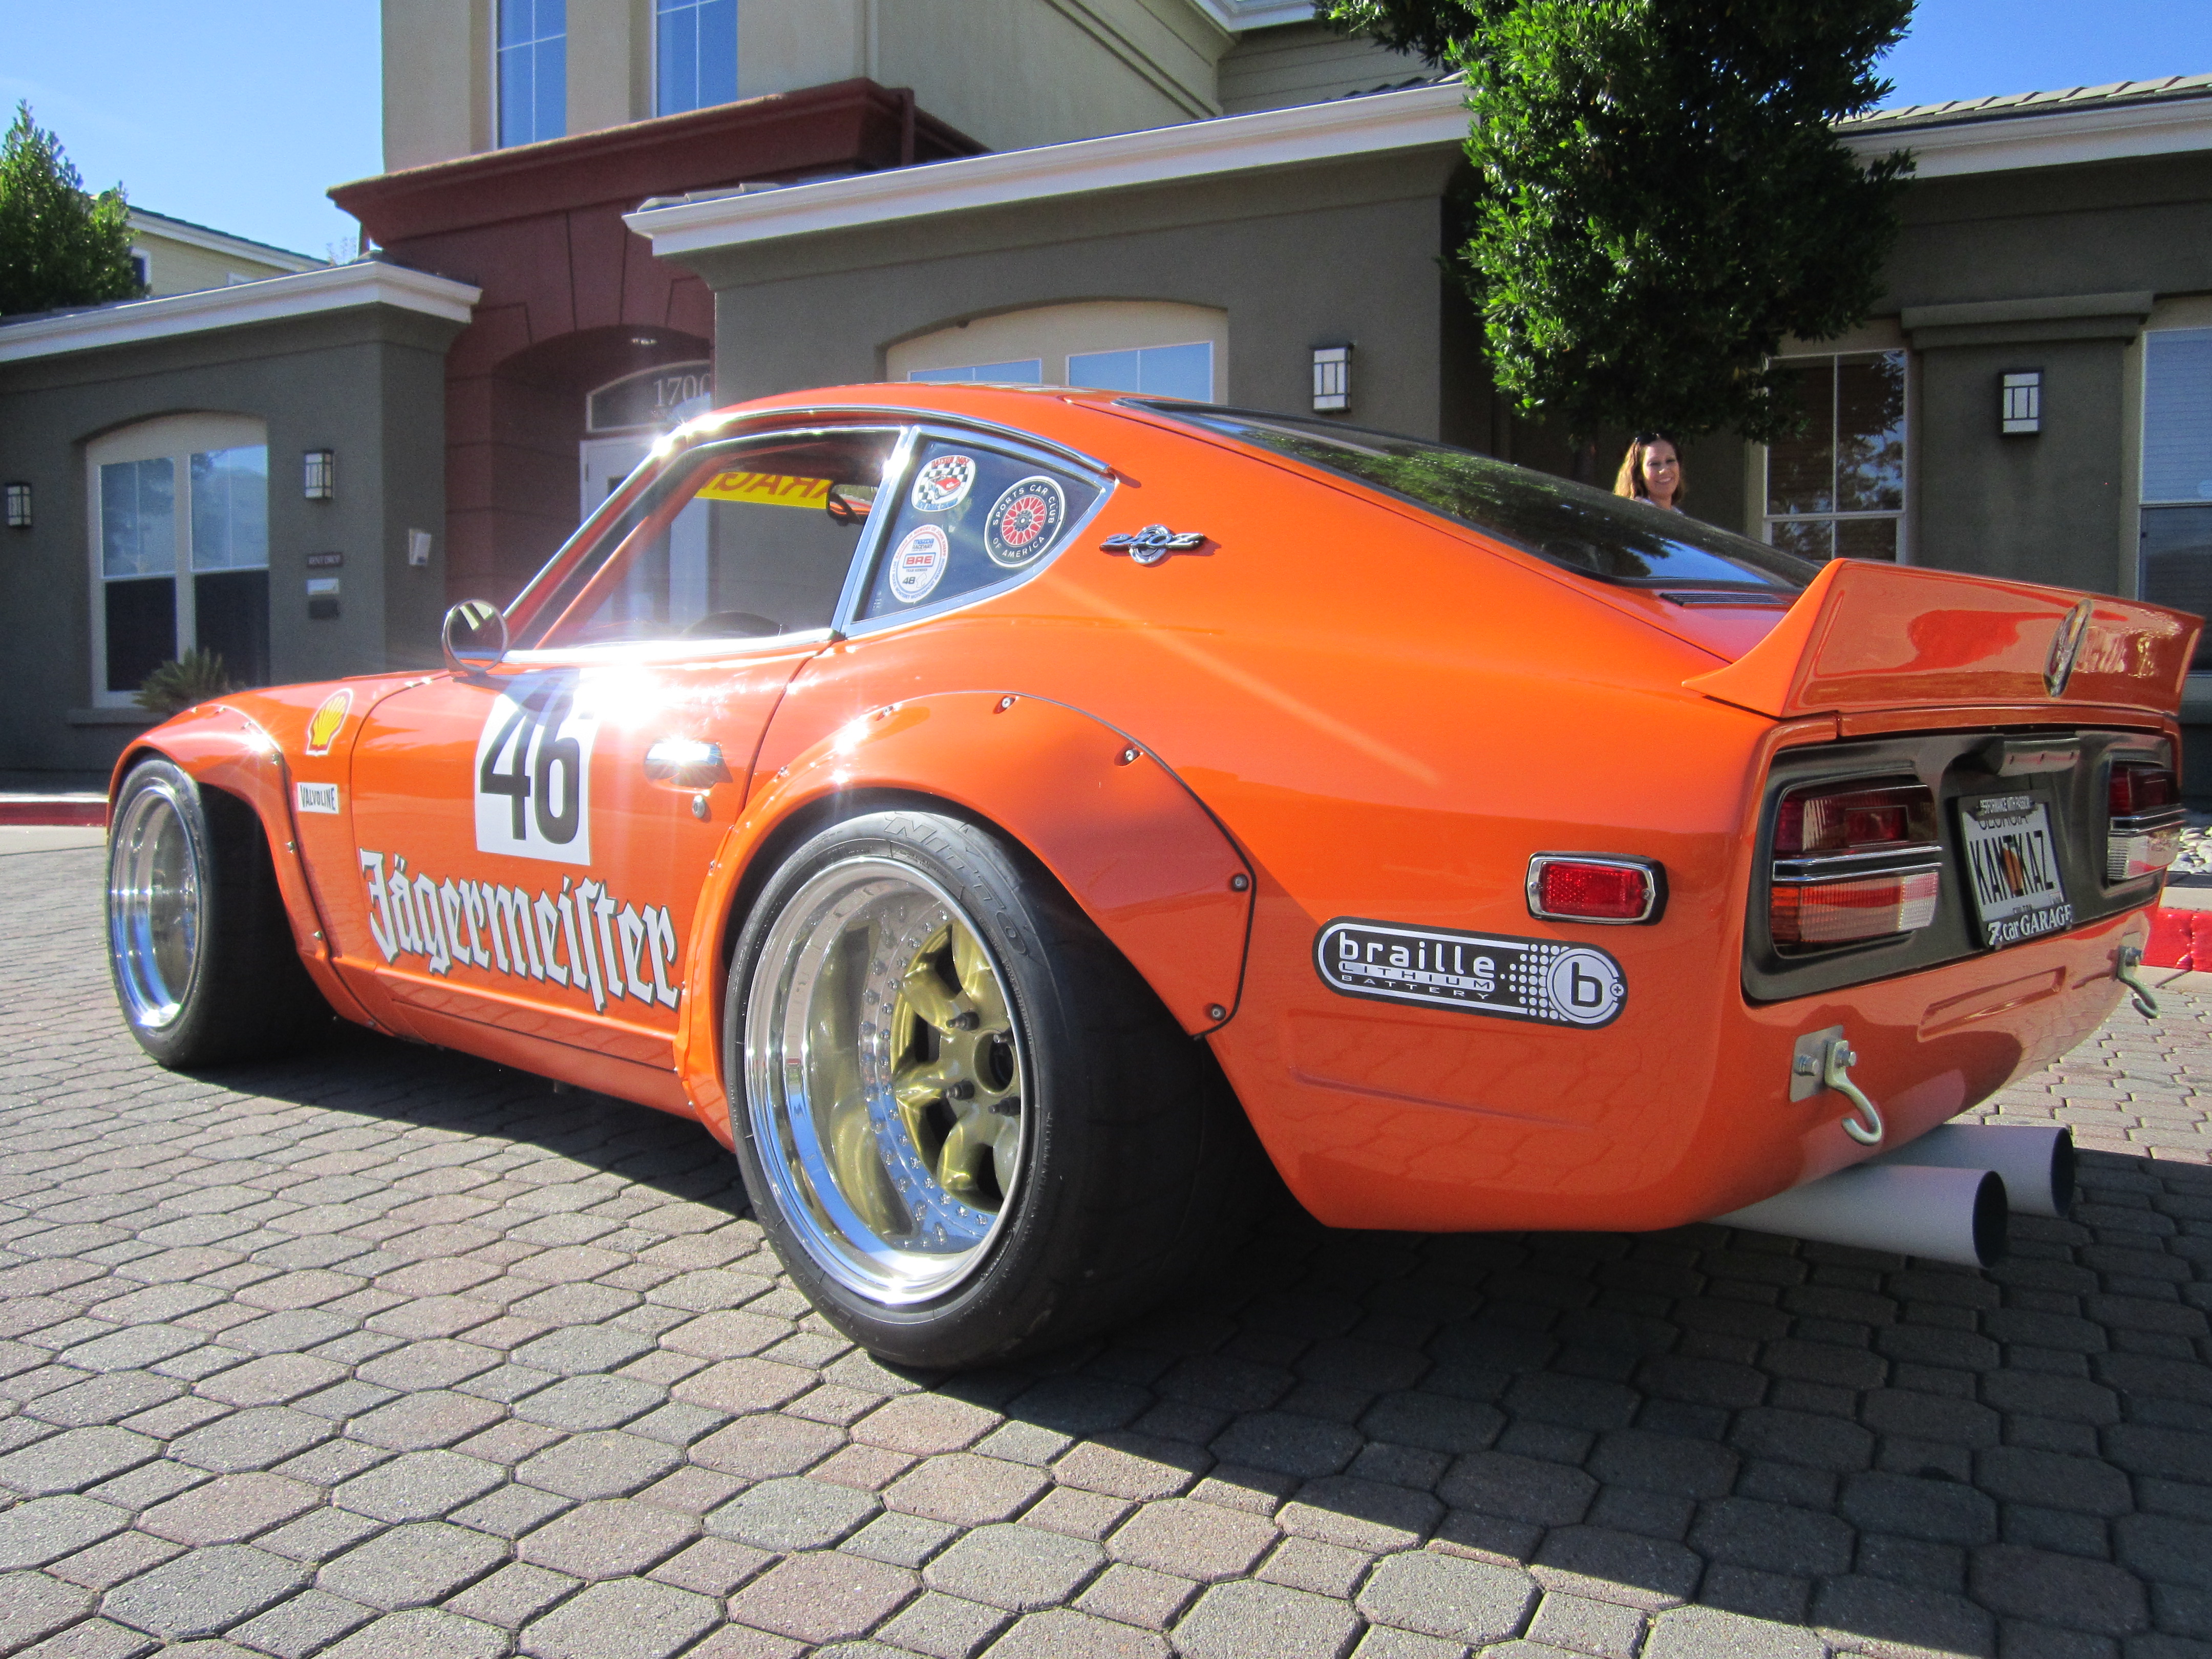
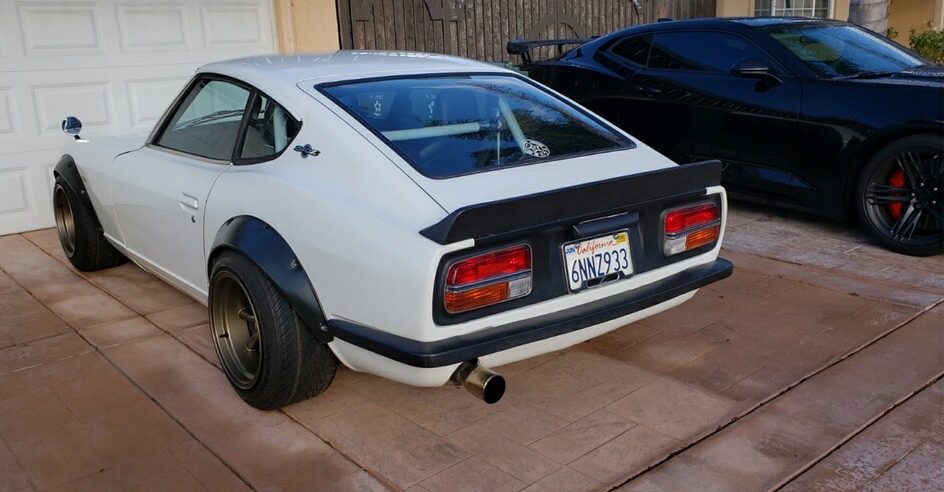
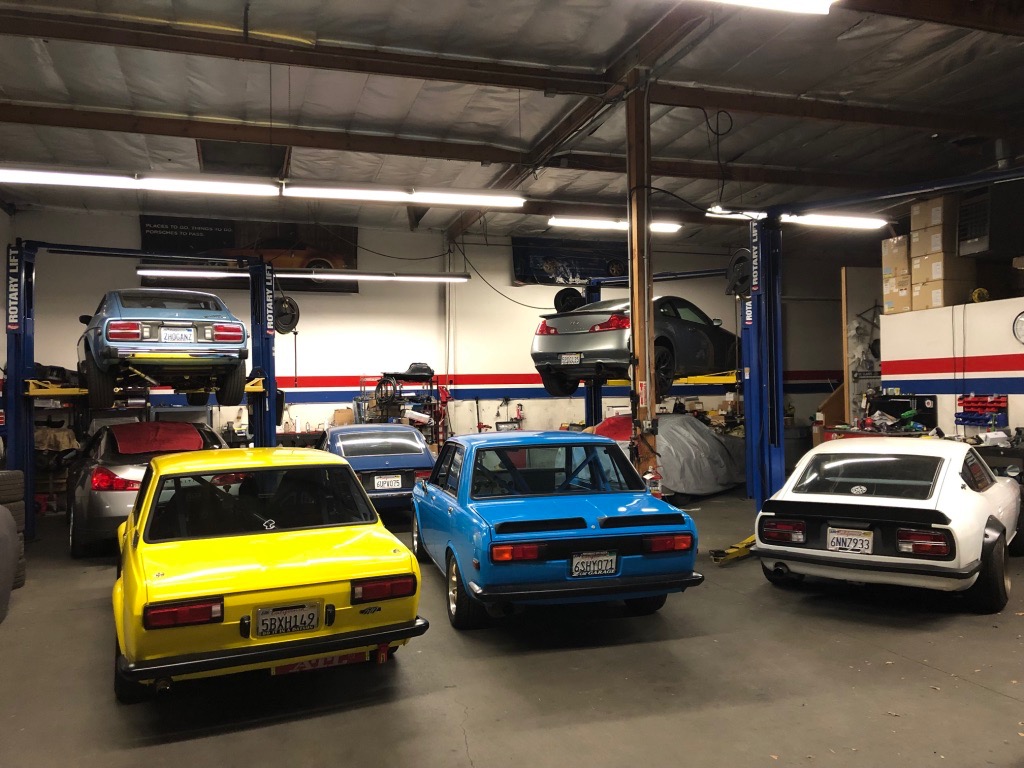
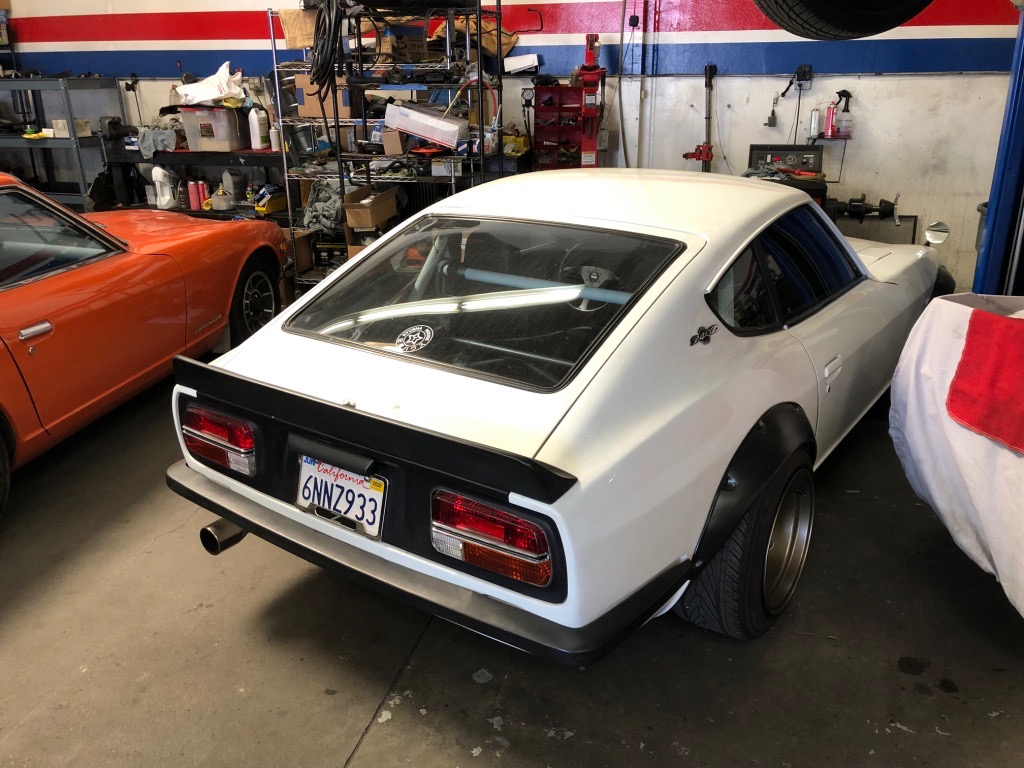
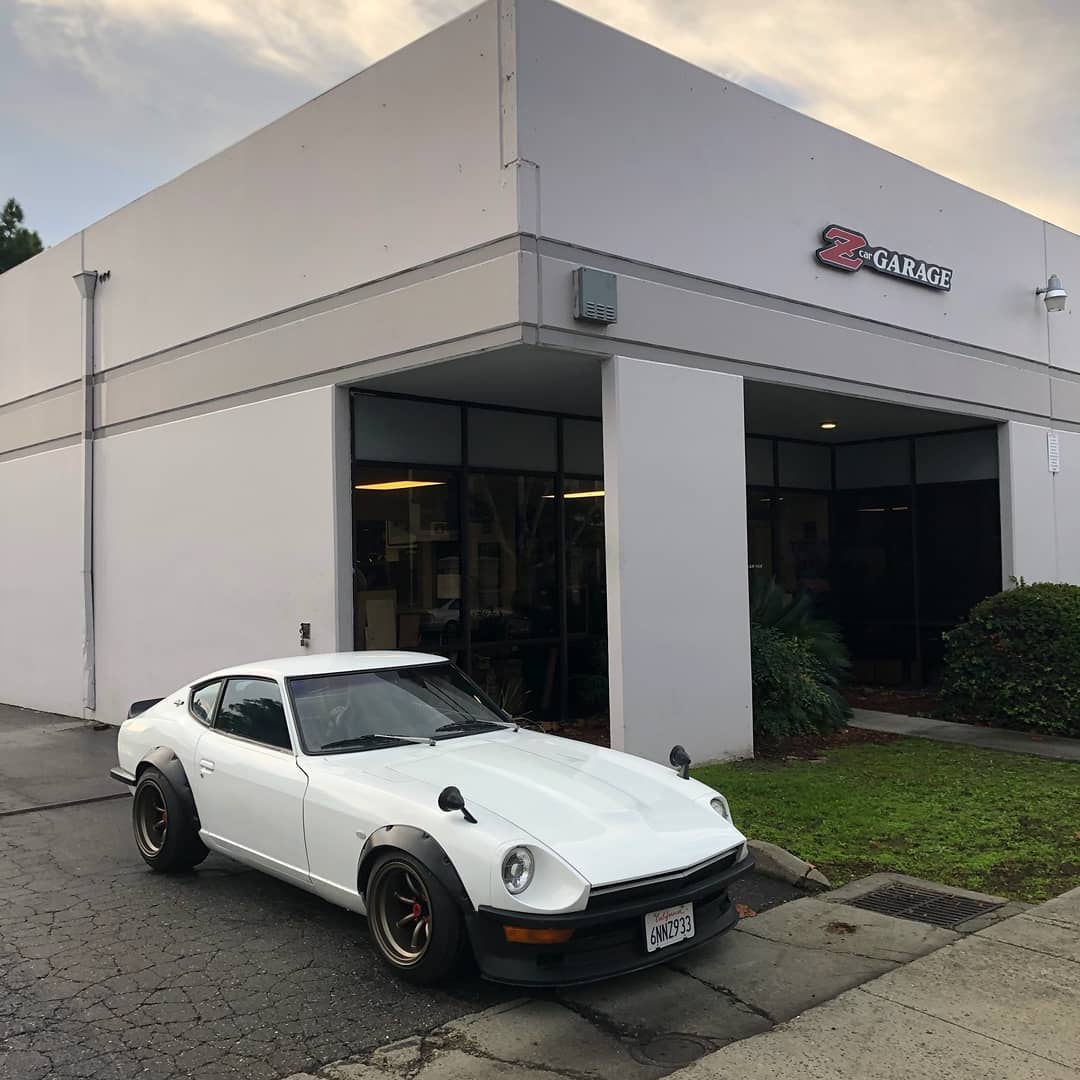
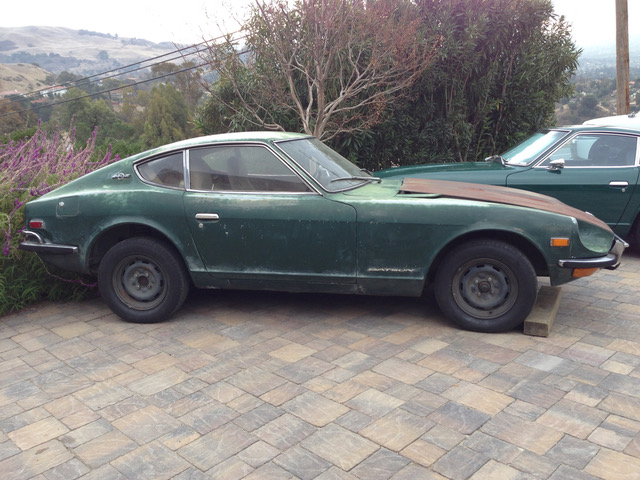
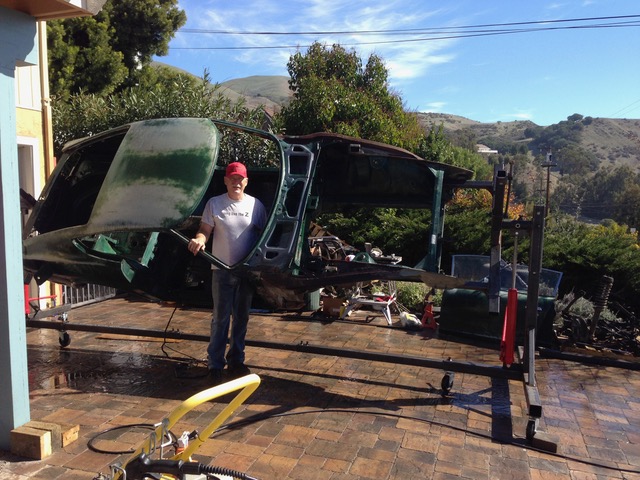
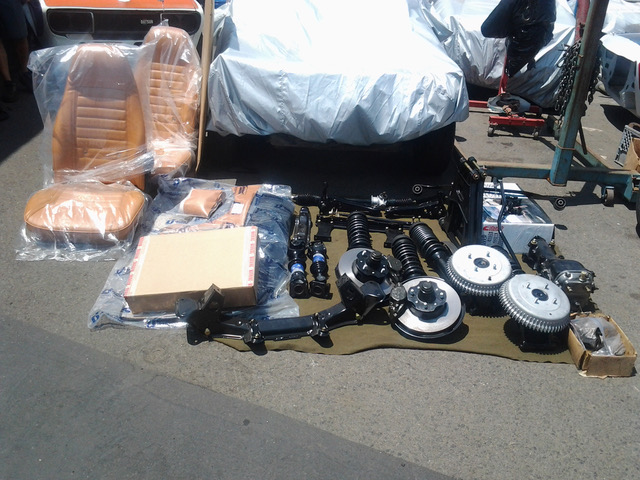
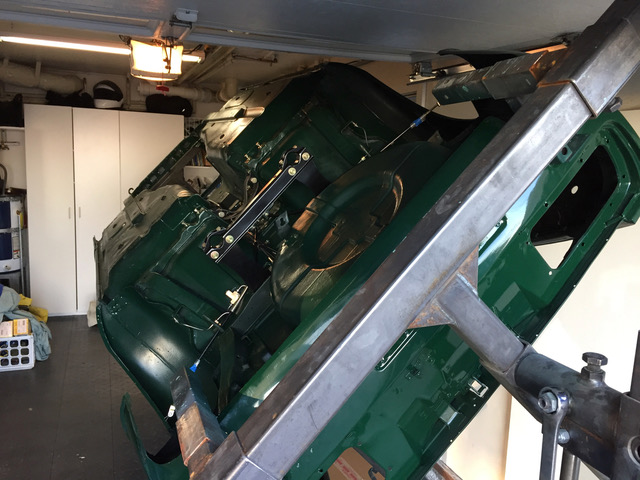
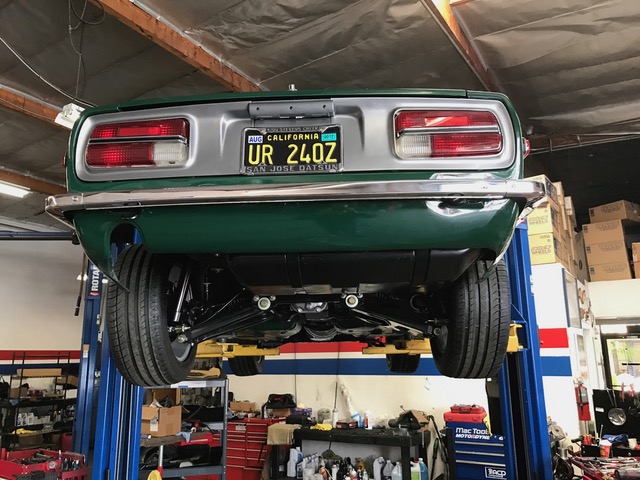
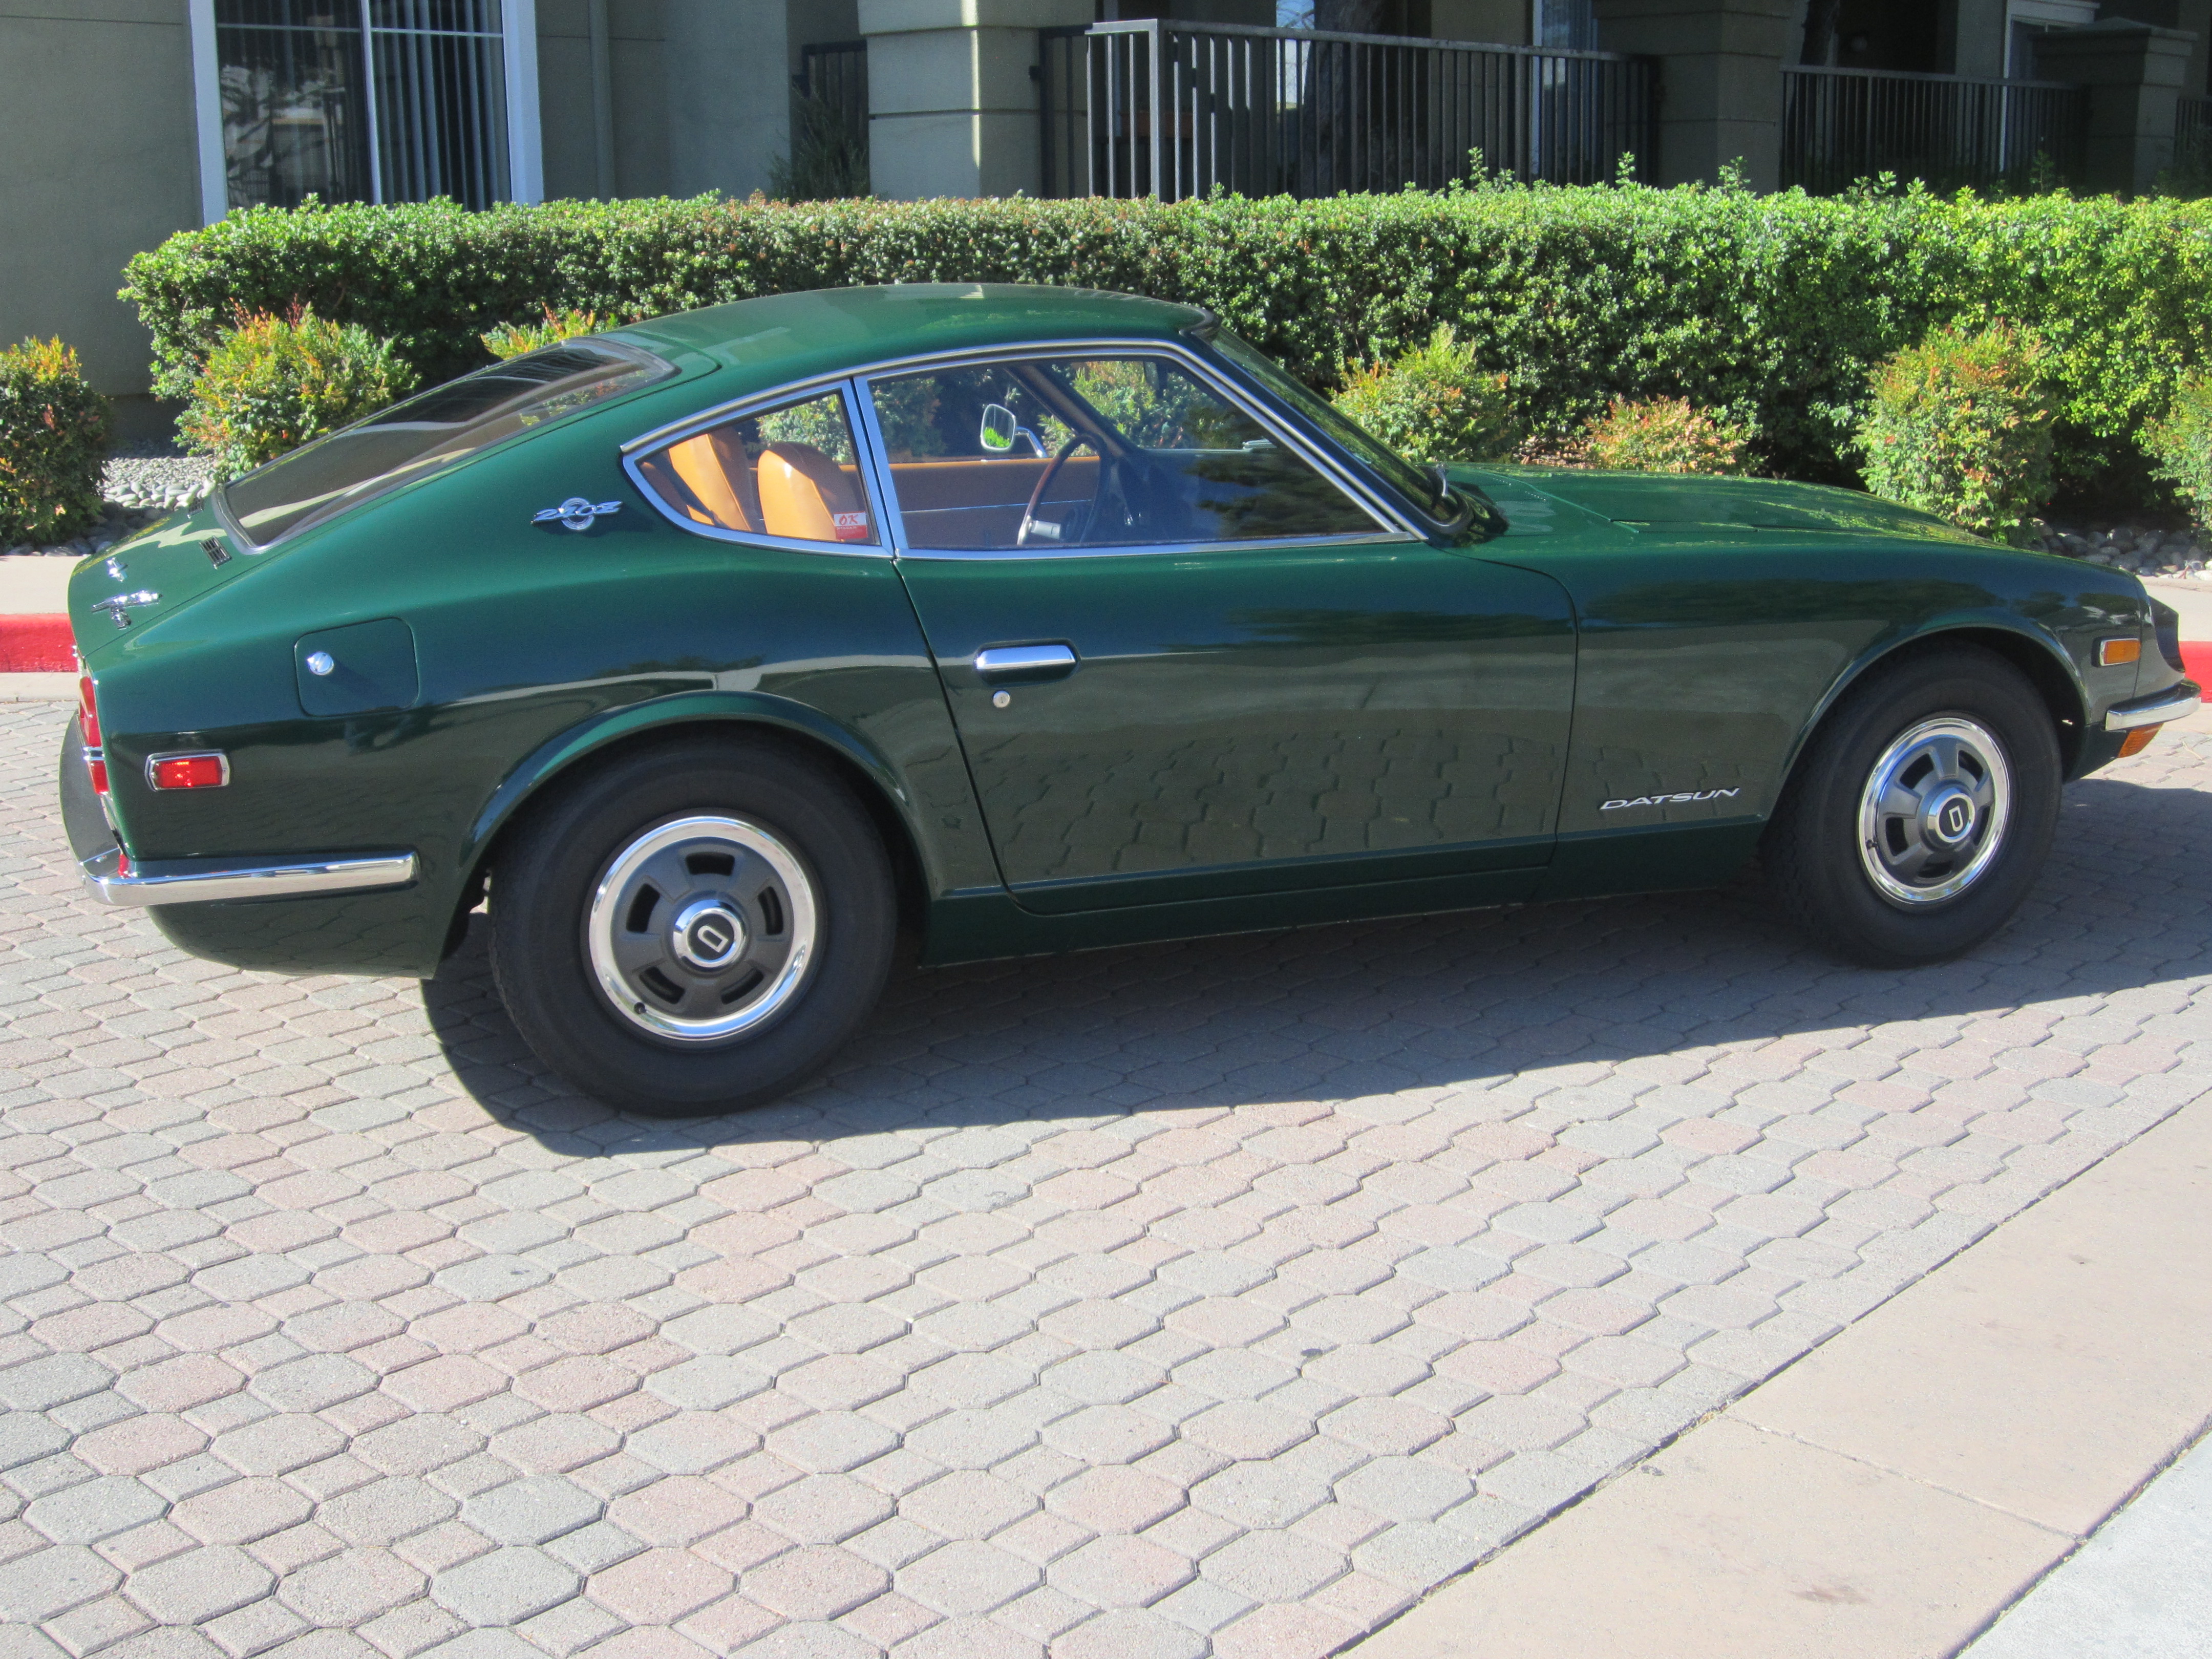
Affectionately called “Triple Six”, the Z arrived at our shop from the East Coast via Masney Auto Transport (Thanks David). David had not seen the Z in person yet since purchasing and it needed some attention, Z Car Garage style.
The car was not running upon arrival and Rob had many suggestions after the initial assessment. From David:
“When Rob called to tell me that my car had made it there I said ‘Ok great. Can I tell you what I want done?’ to which Rob replied ‘Nope’. He said ‘I want you to come down here, drive my car and then say to me, OK I want you to do to my car whatever it was that you did to yours’, and after driving his car I did say those exact words.”
ZCG Big-Brakes and CV Axles
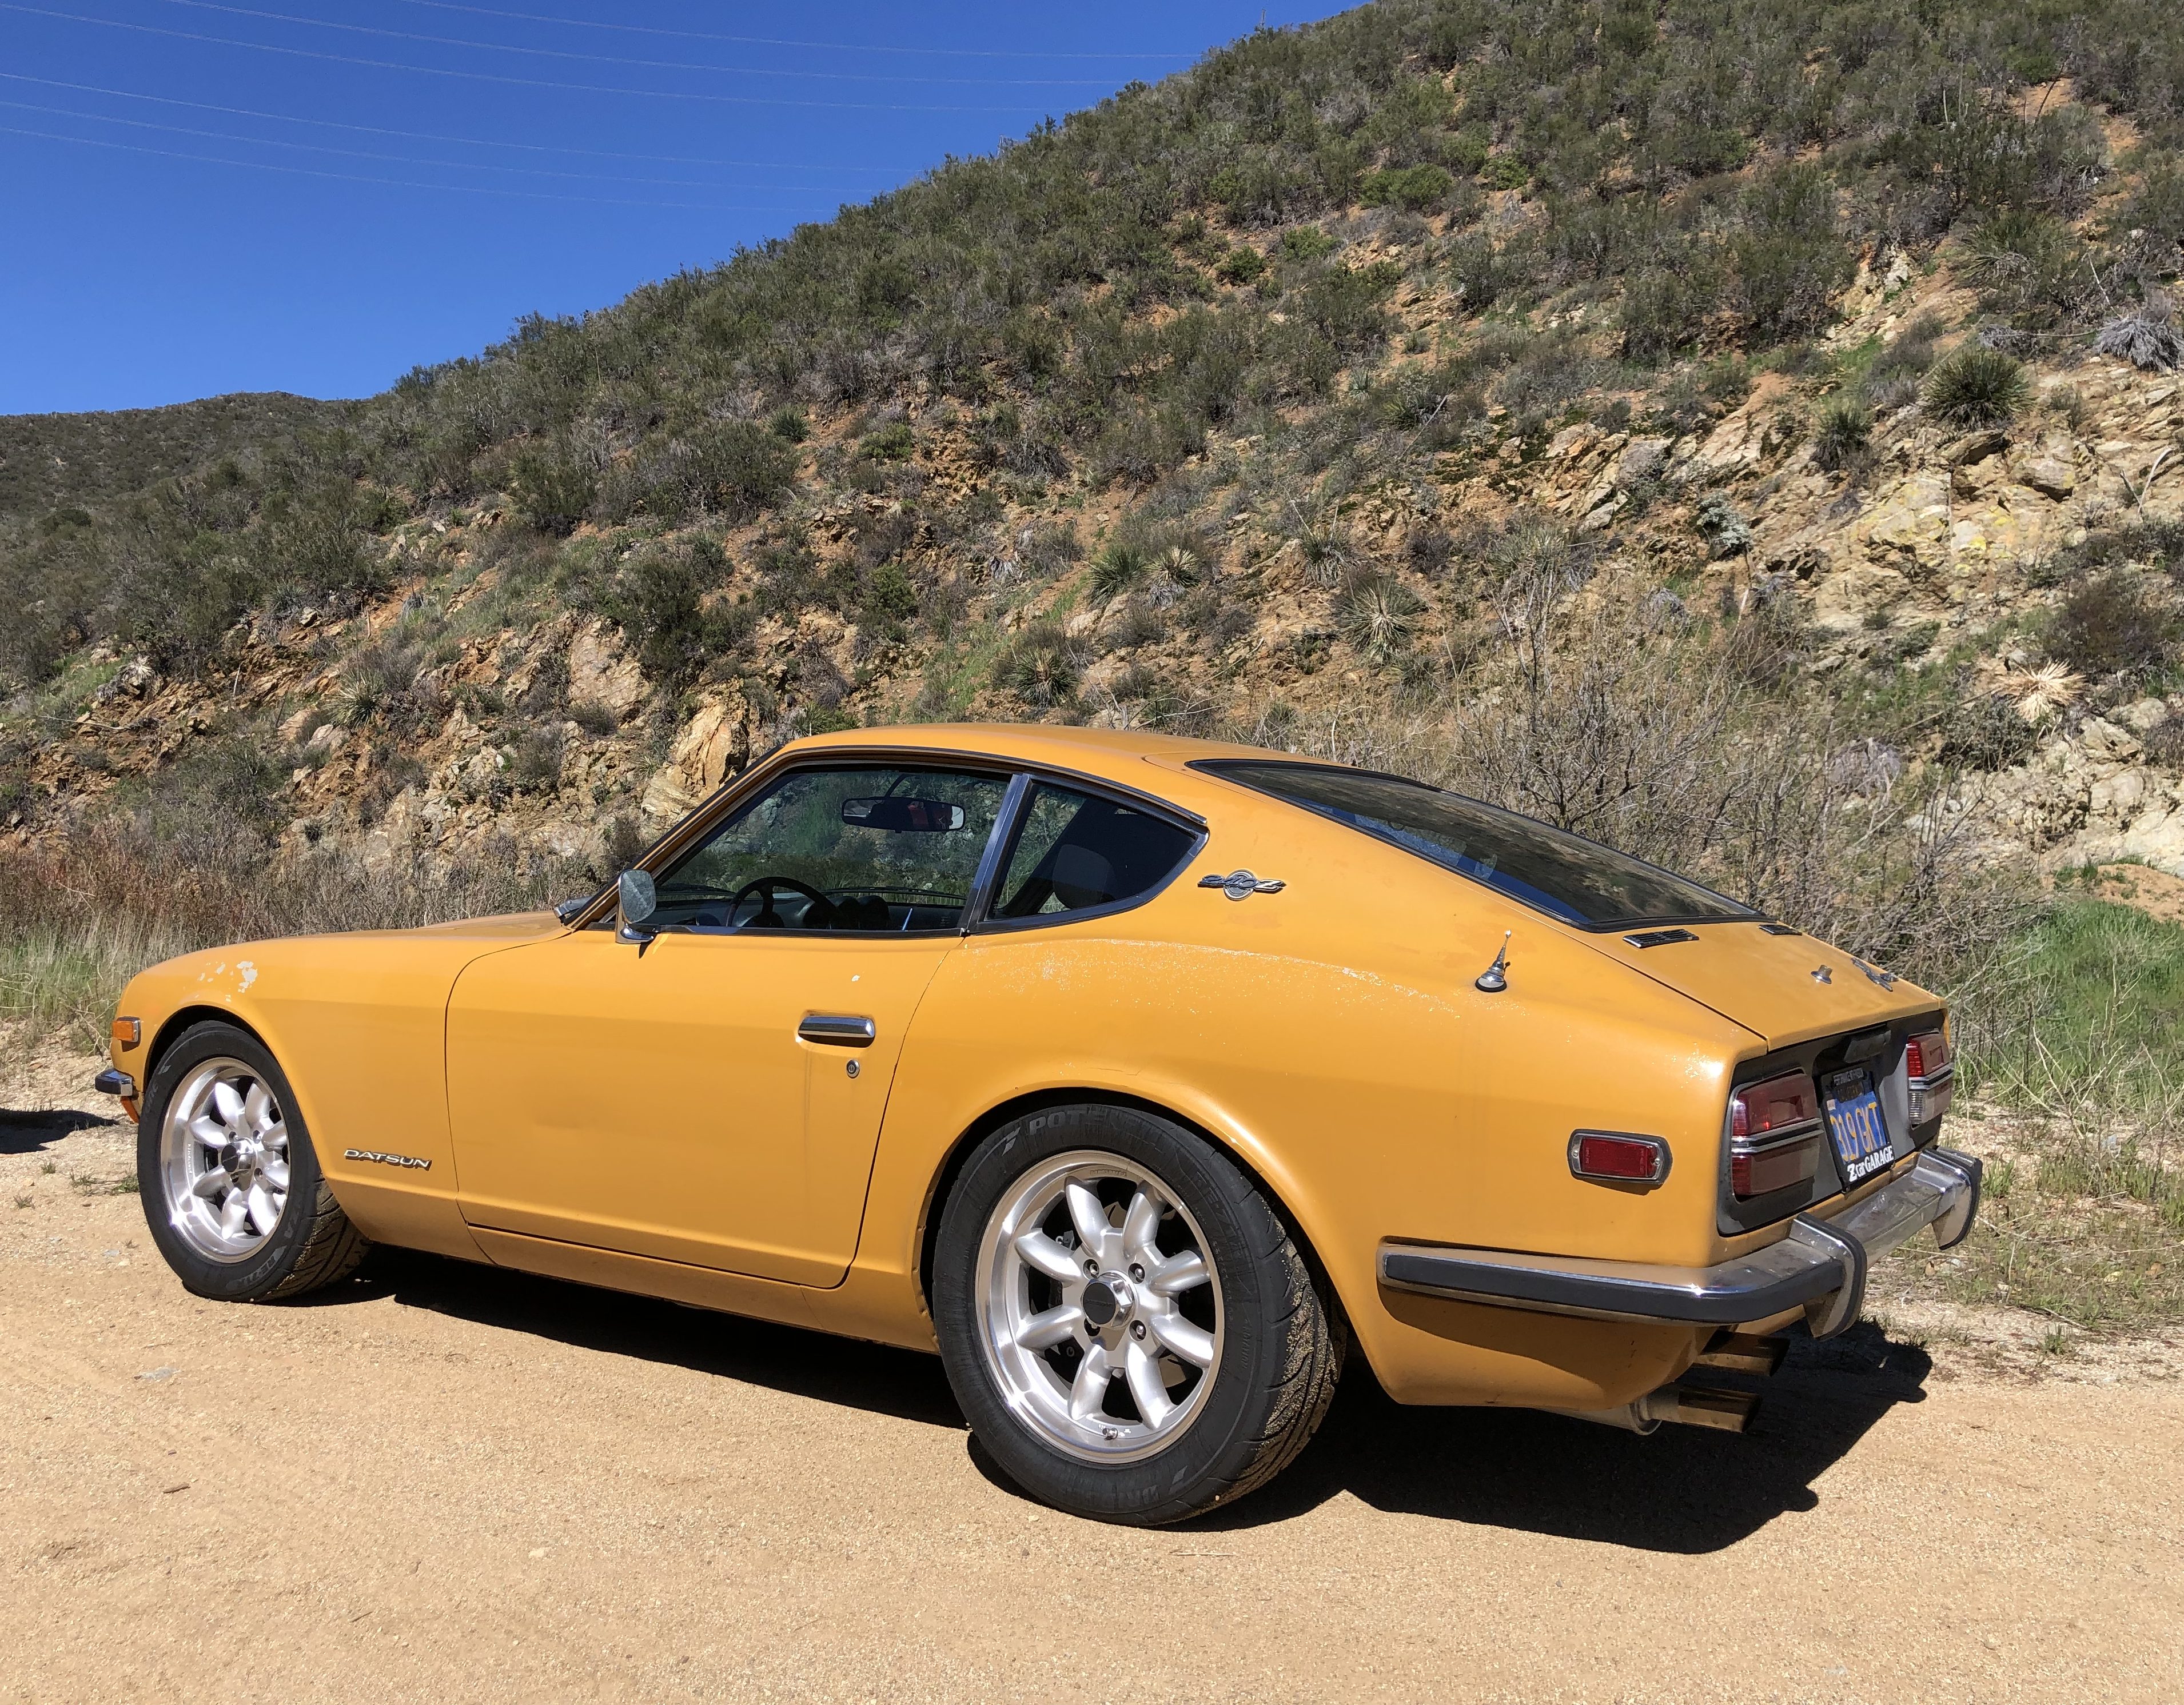
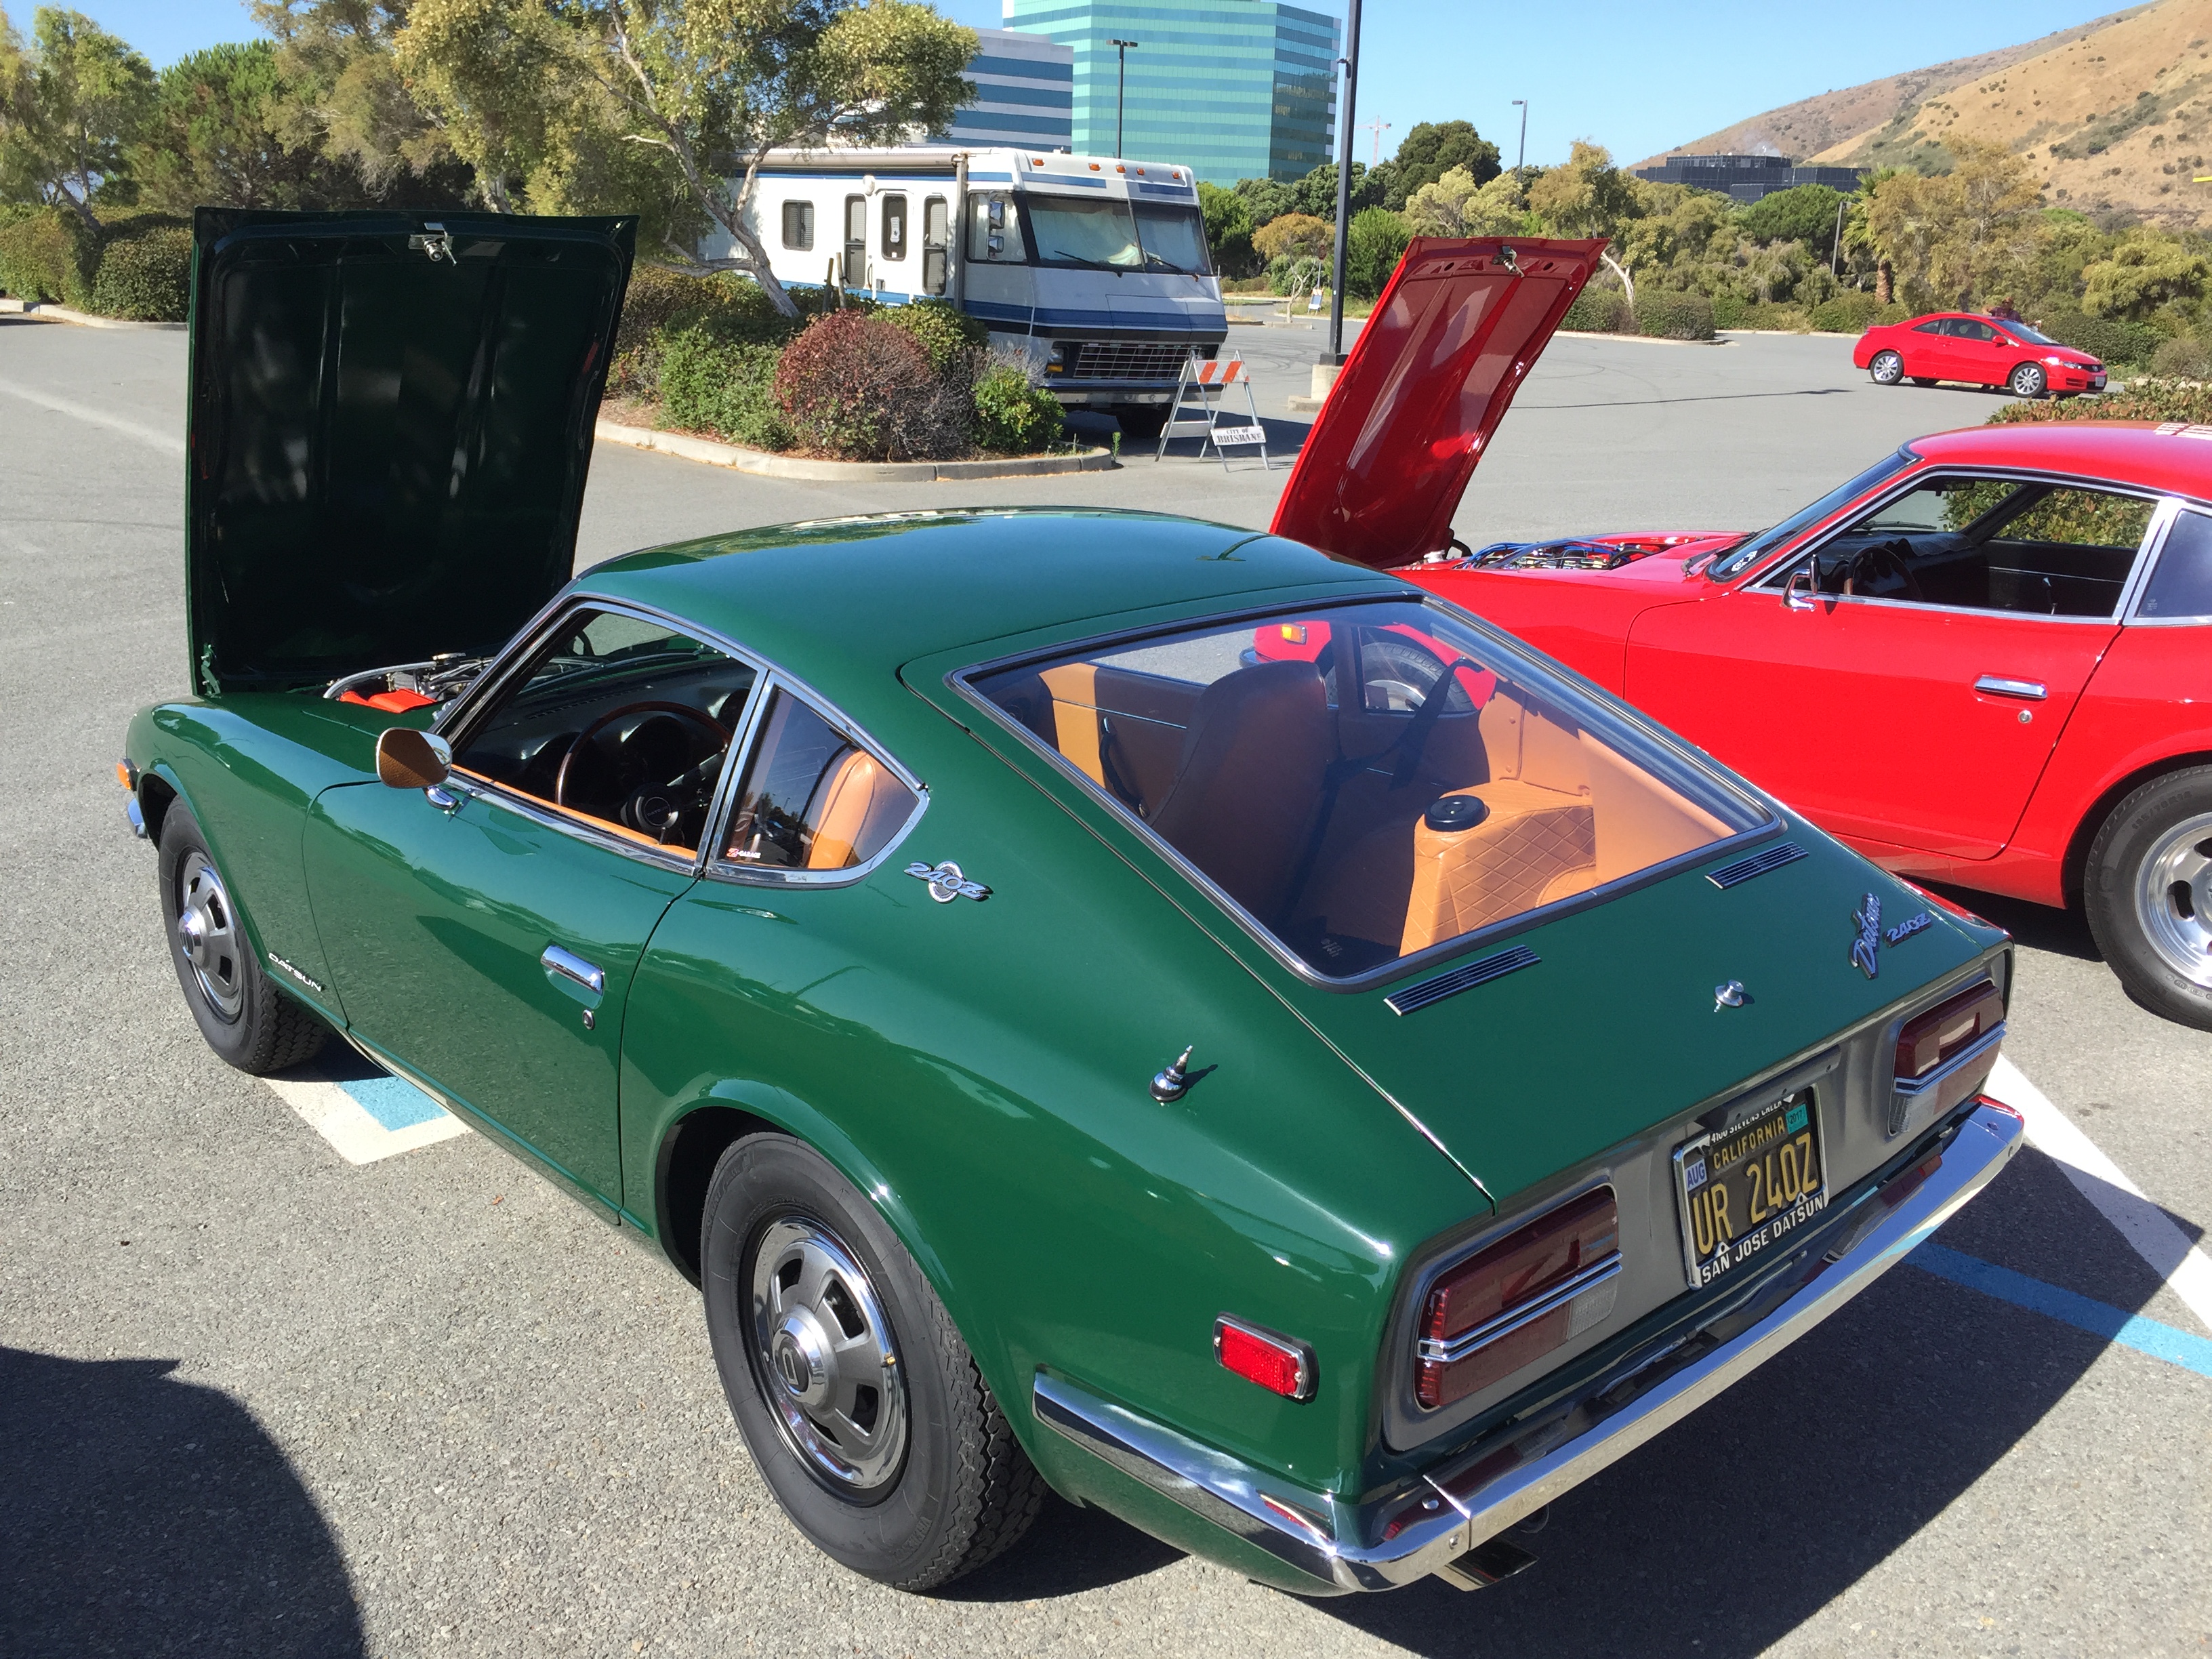
Indeed, we had David test drive “Mrs. Butters”, our 1971 Series 1 240z shop demo car with full suspension and our ZCG Big-Brakes:
“I drove Rob’s unassuming, Safari Gold 240Z, that he appropriately named Butters, and God damn was it fun! I was surprised when he told me it had 275 horsepower, not a small number for a car that’s so small and light, its just that it felt much more powerful than I ever thought a sub 300 hp car could feel.”

After the test drive he was sold on our Z Car Garage Big-Brakes and Z Car Garage CV Axles! Butters has a way of doing this to our customers 🙂 Read below for a brief description of these parts:
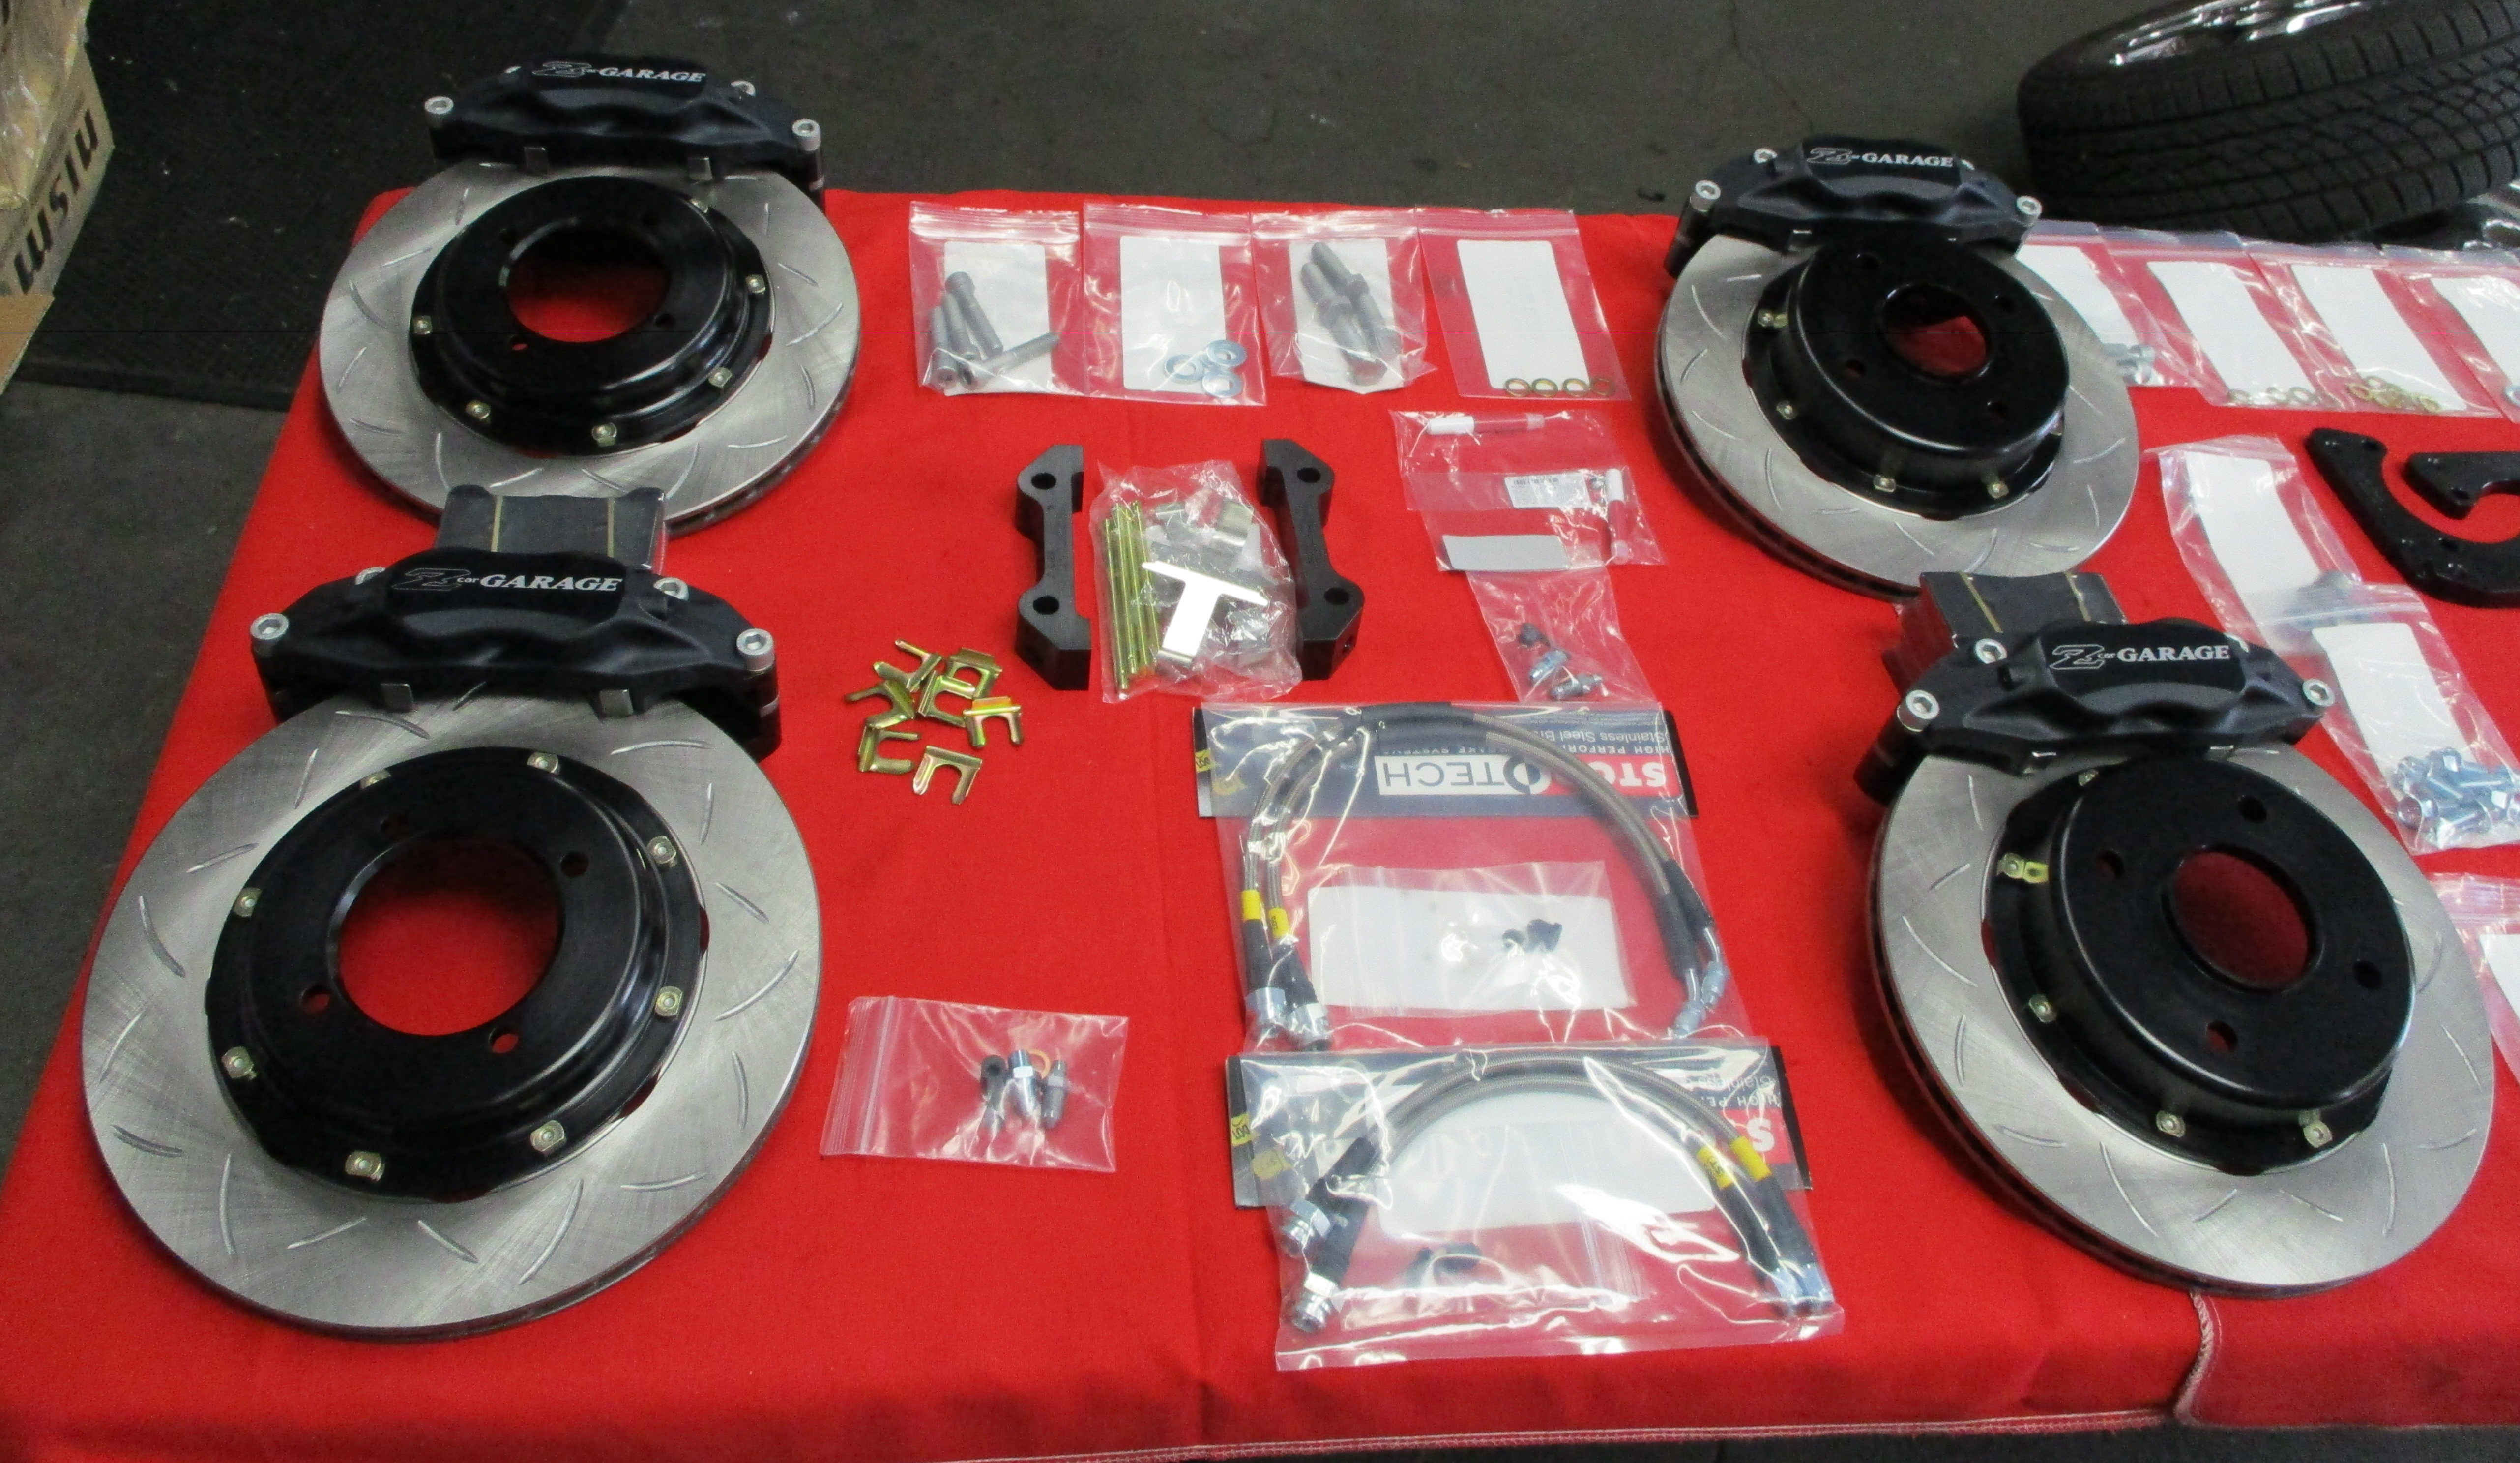
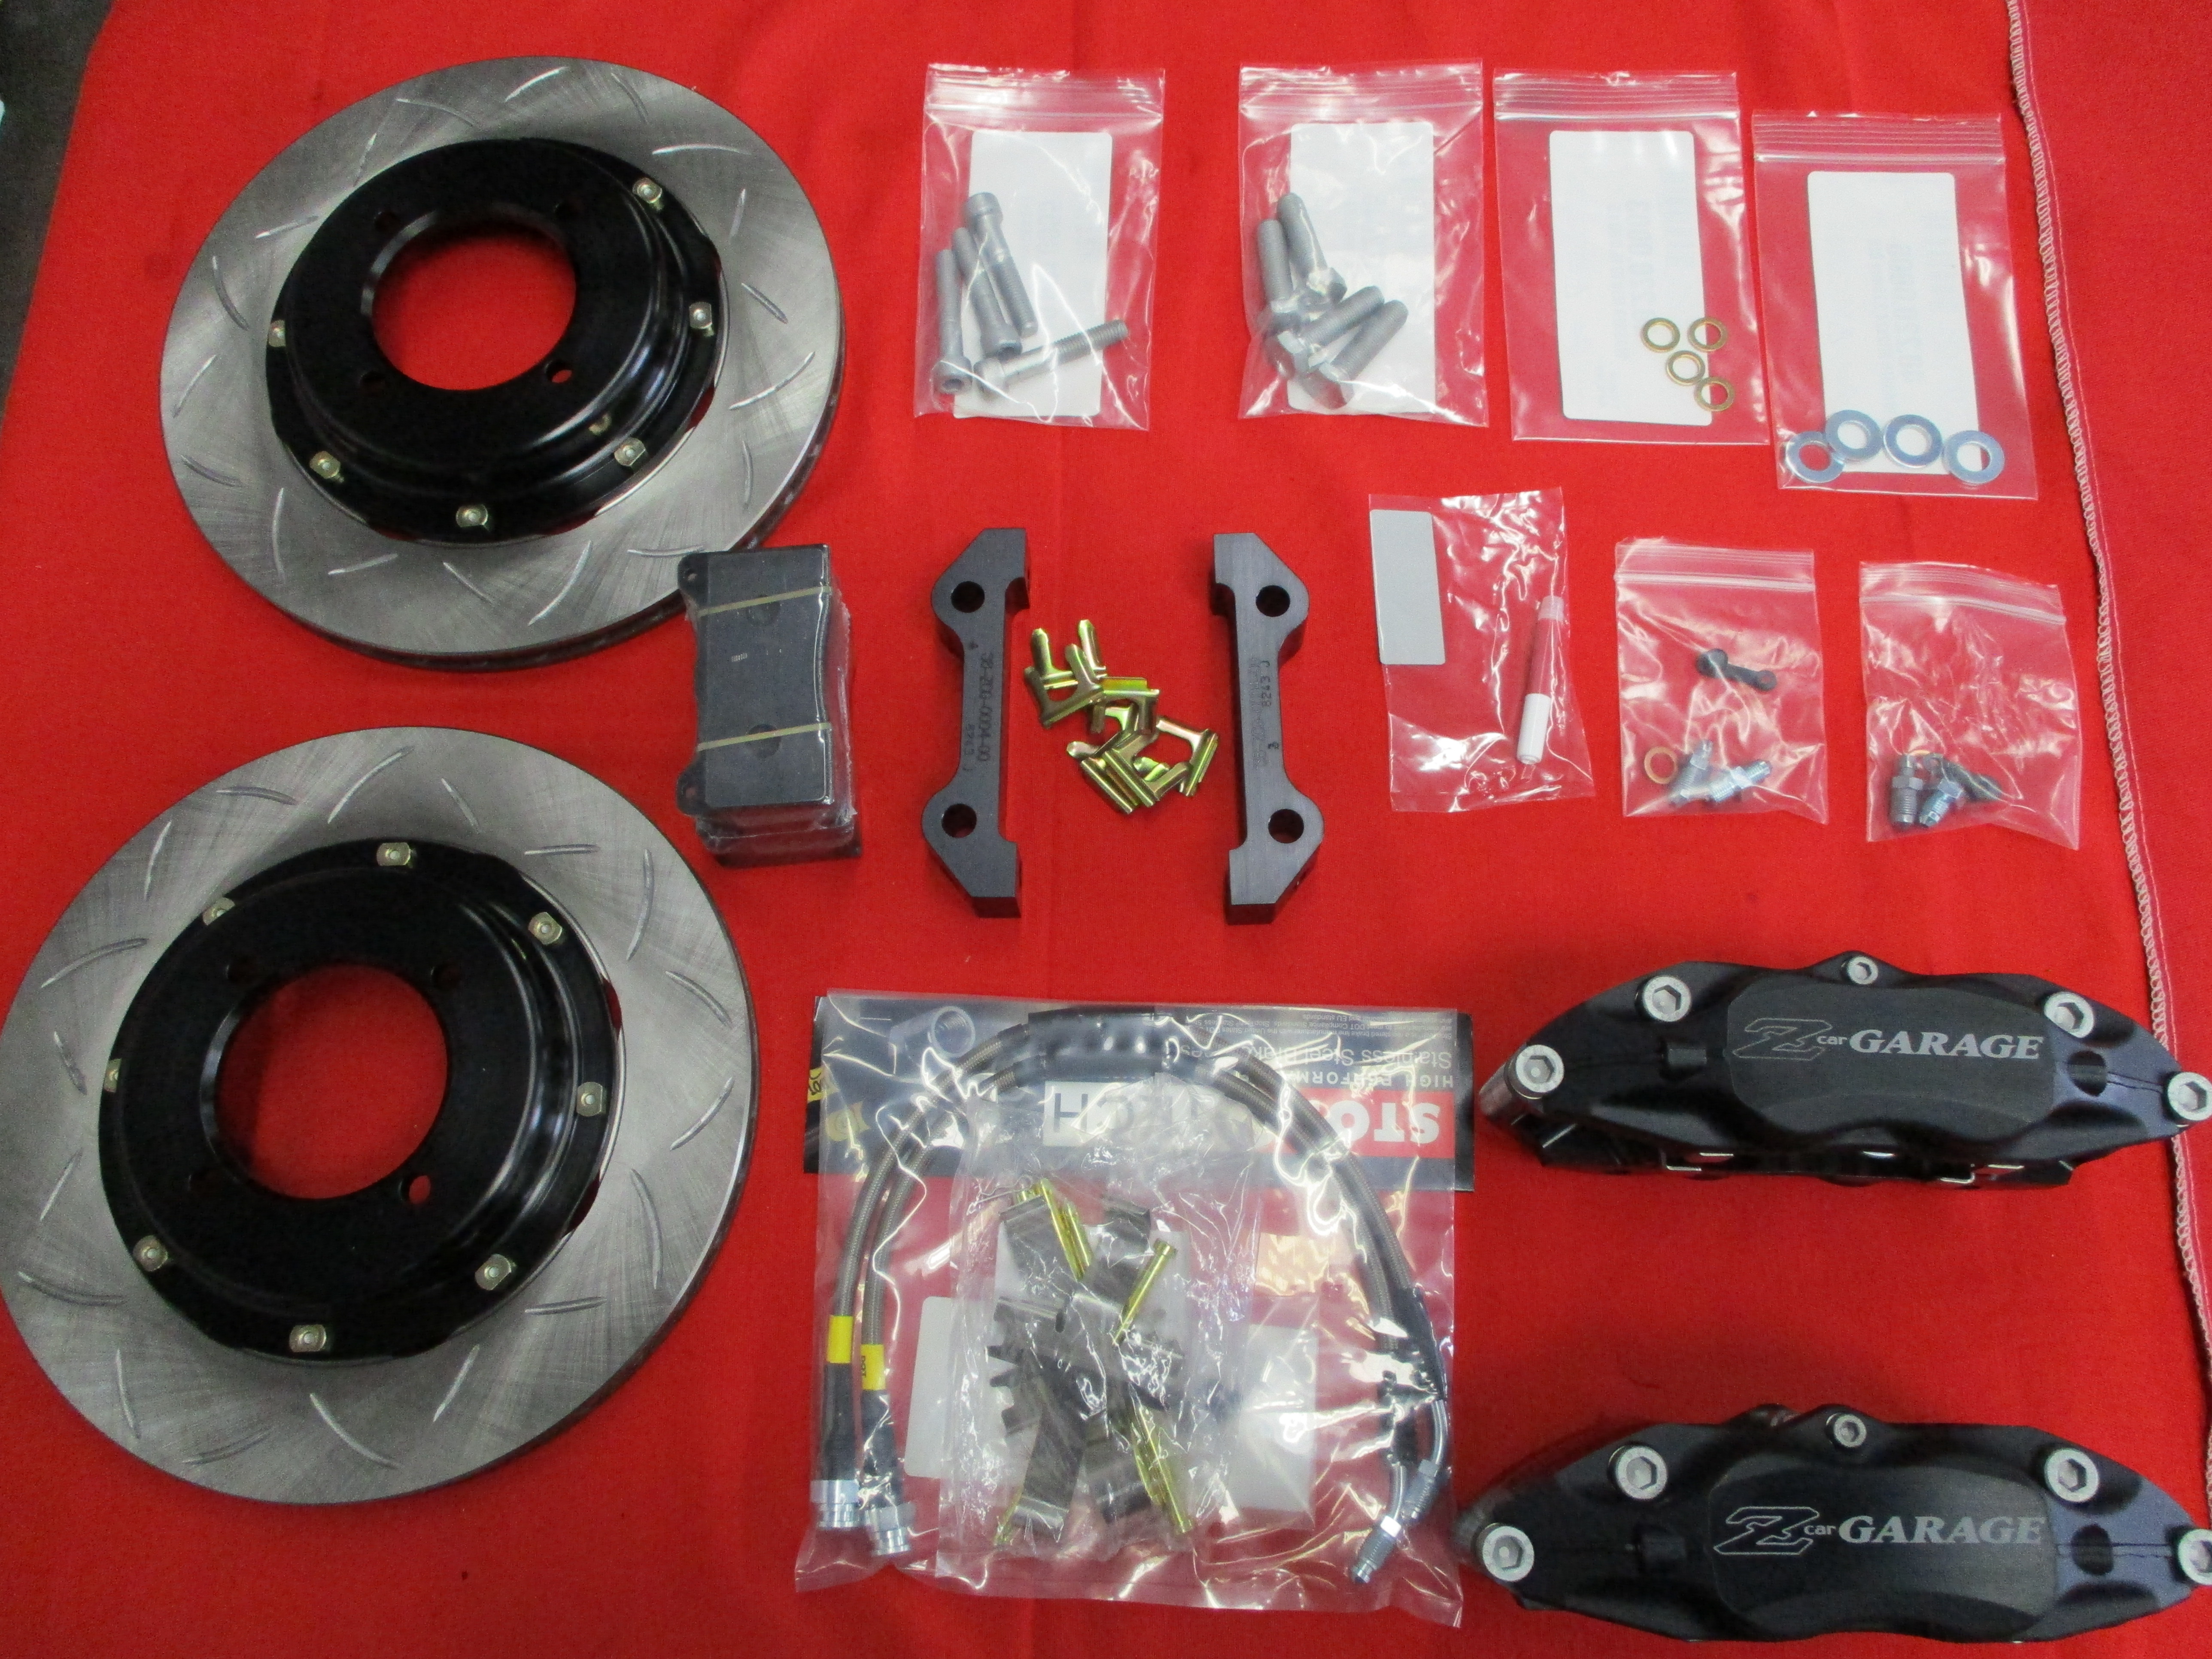
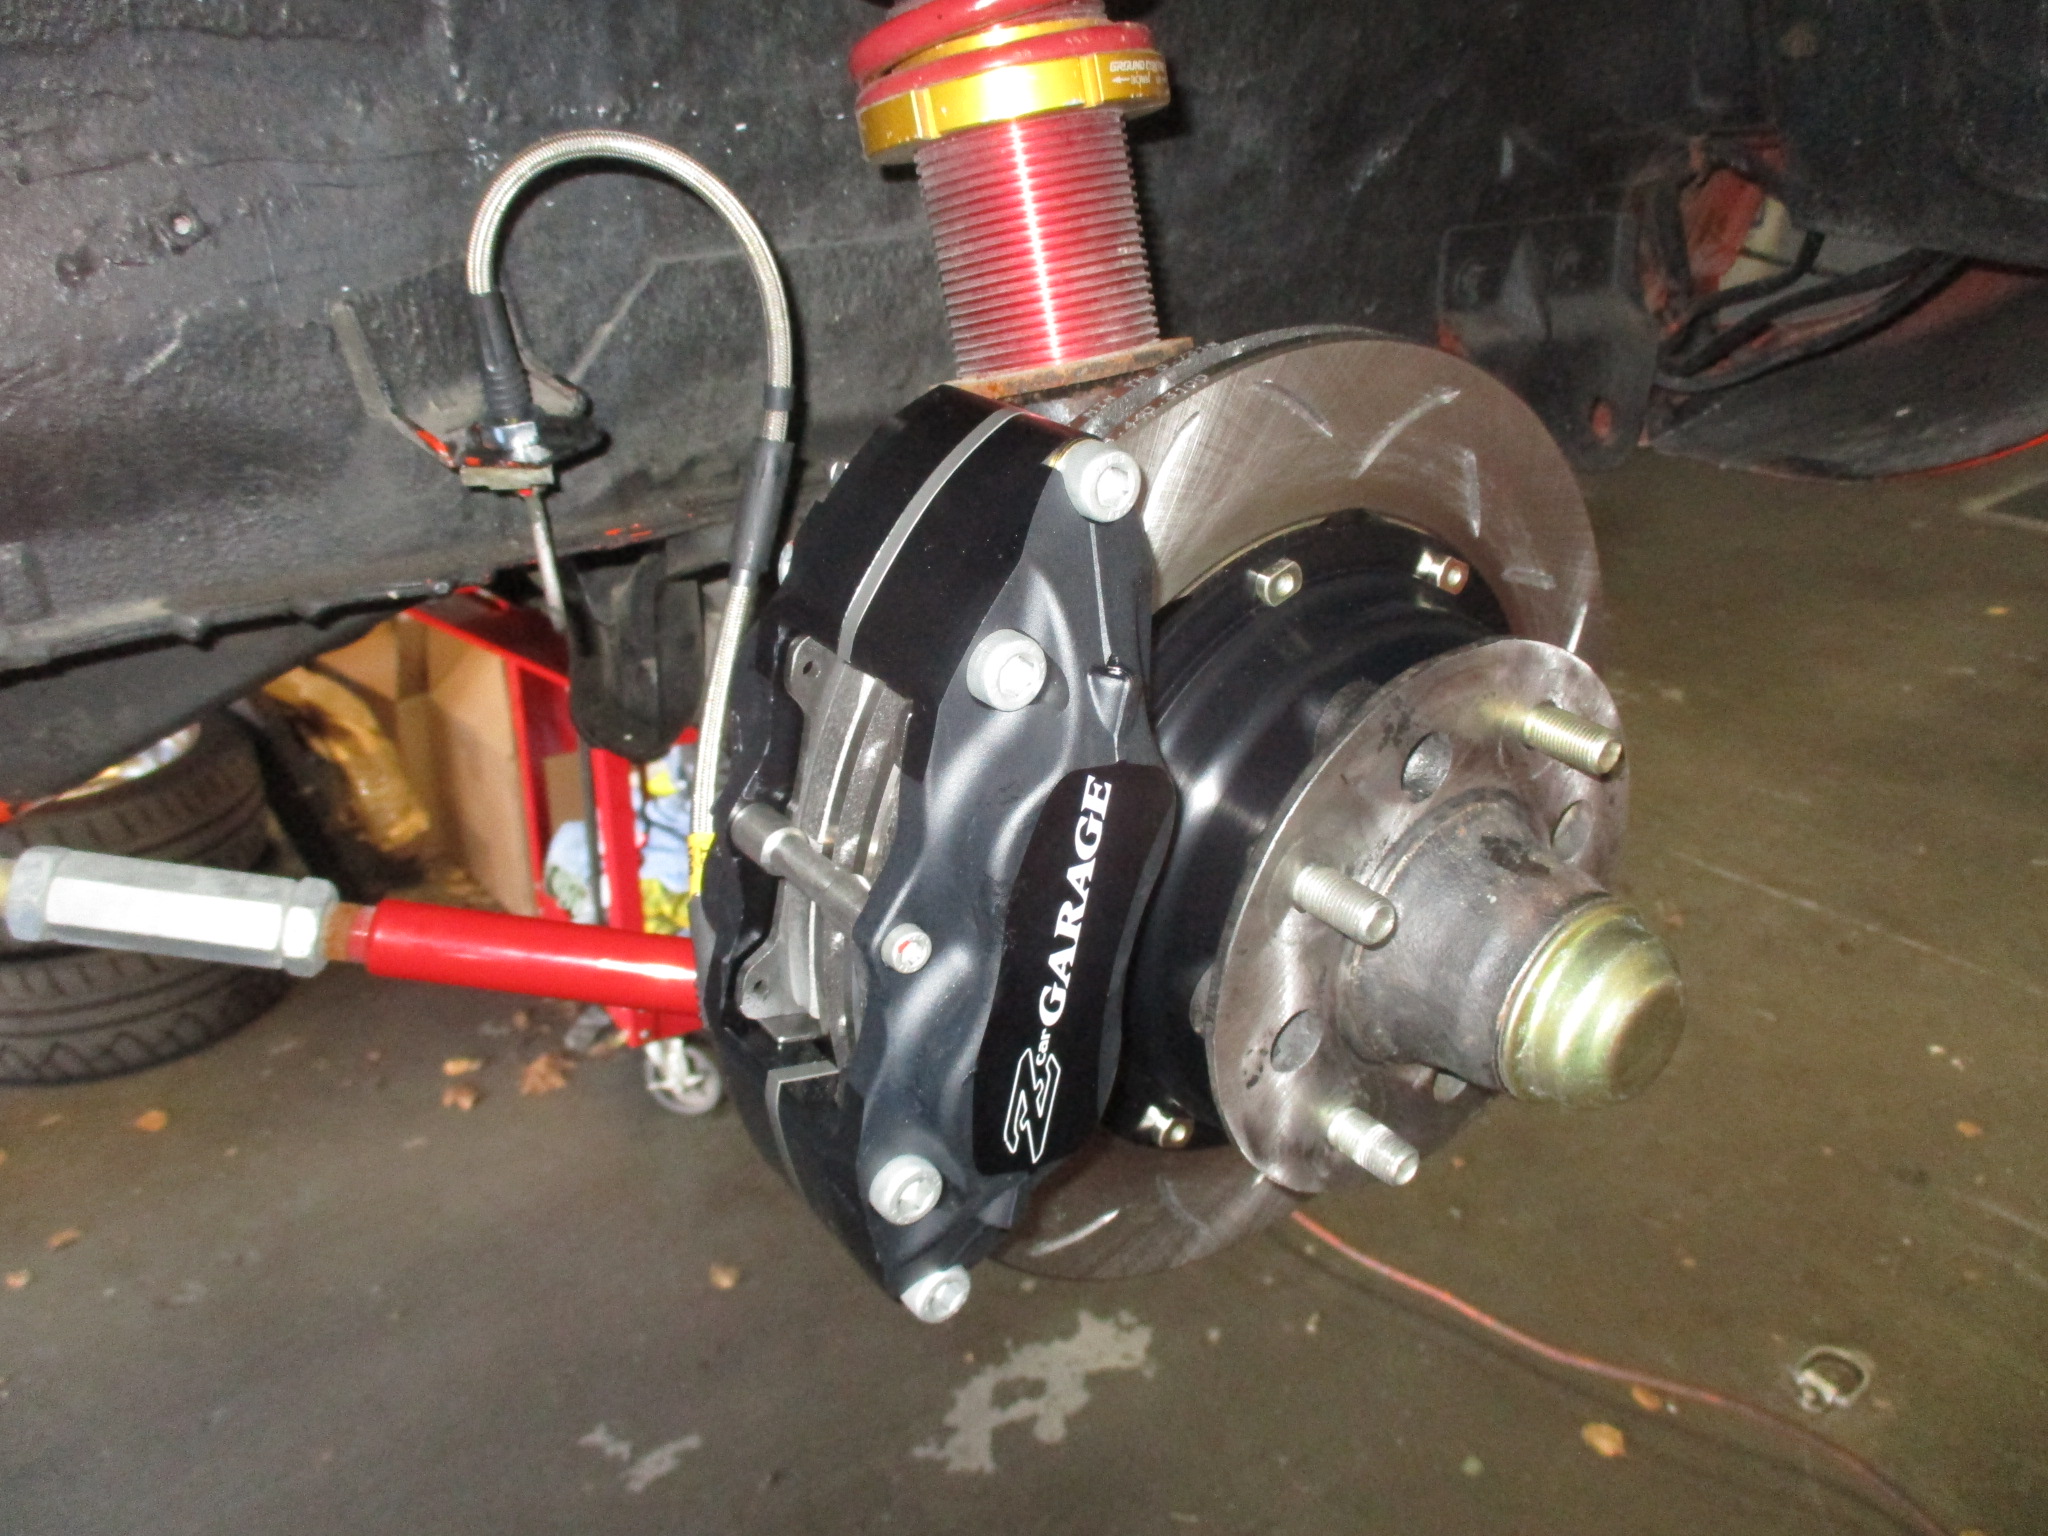
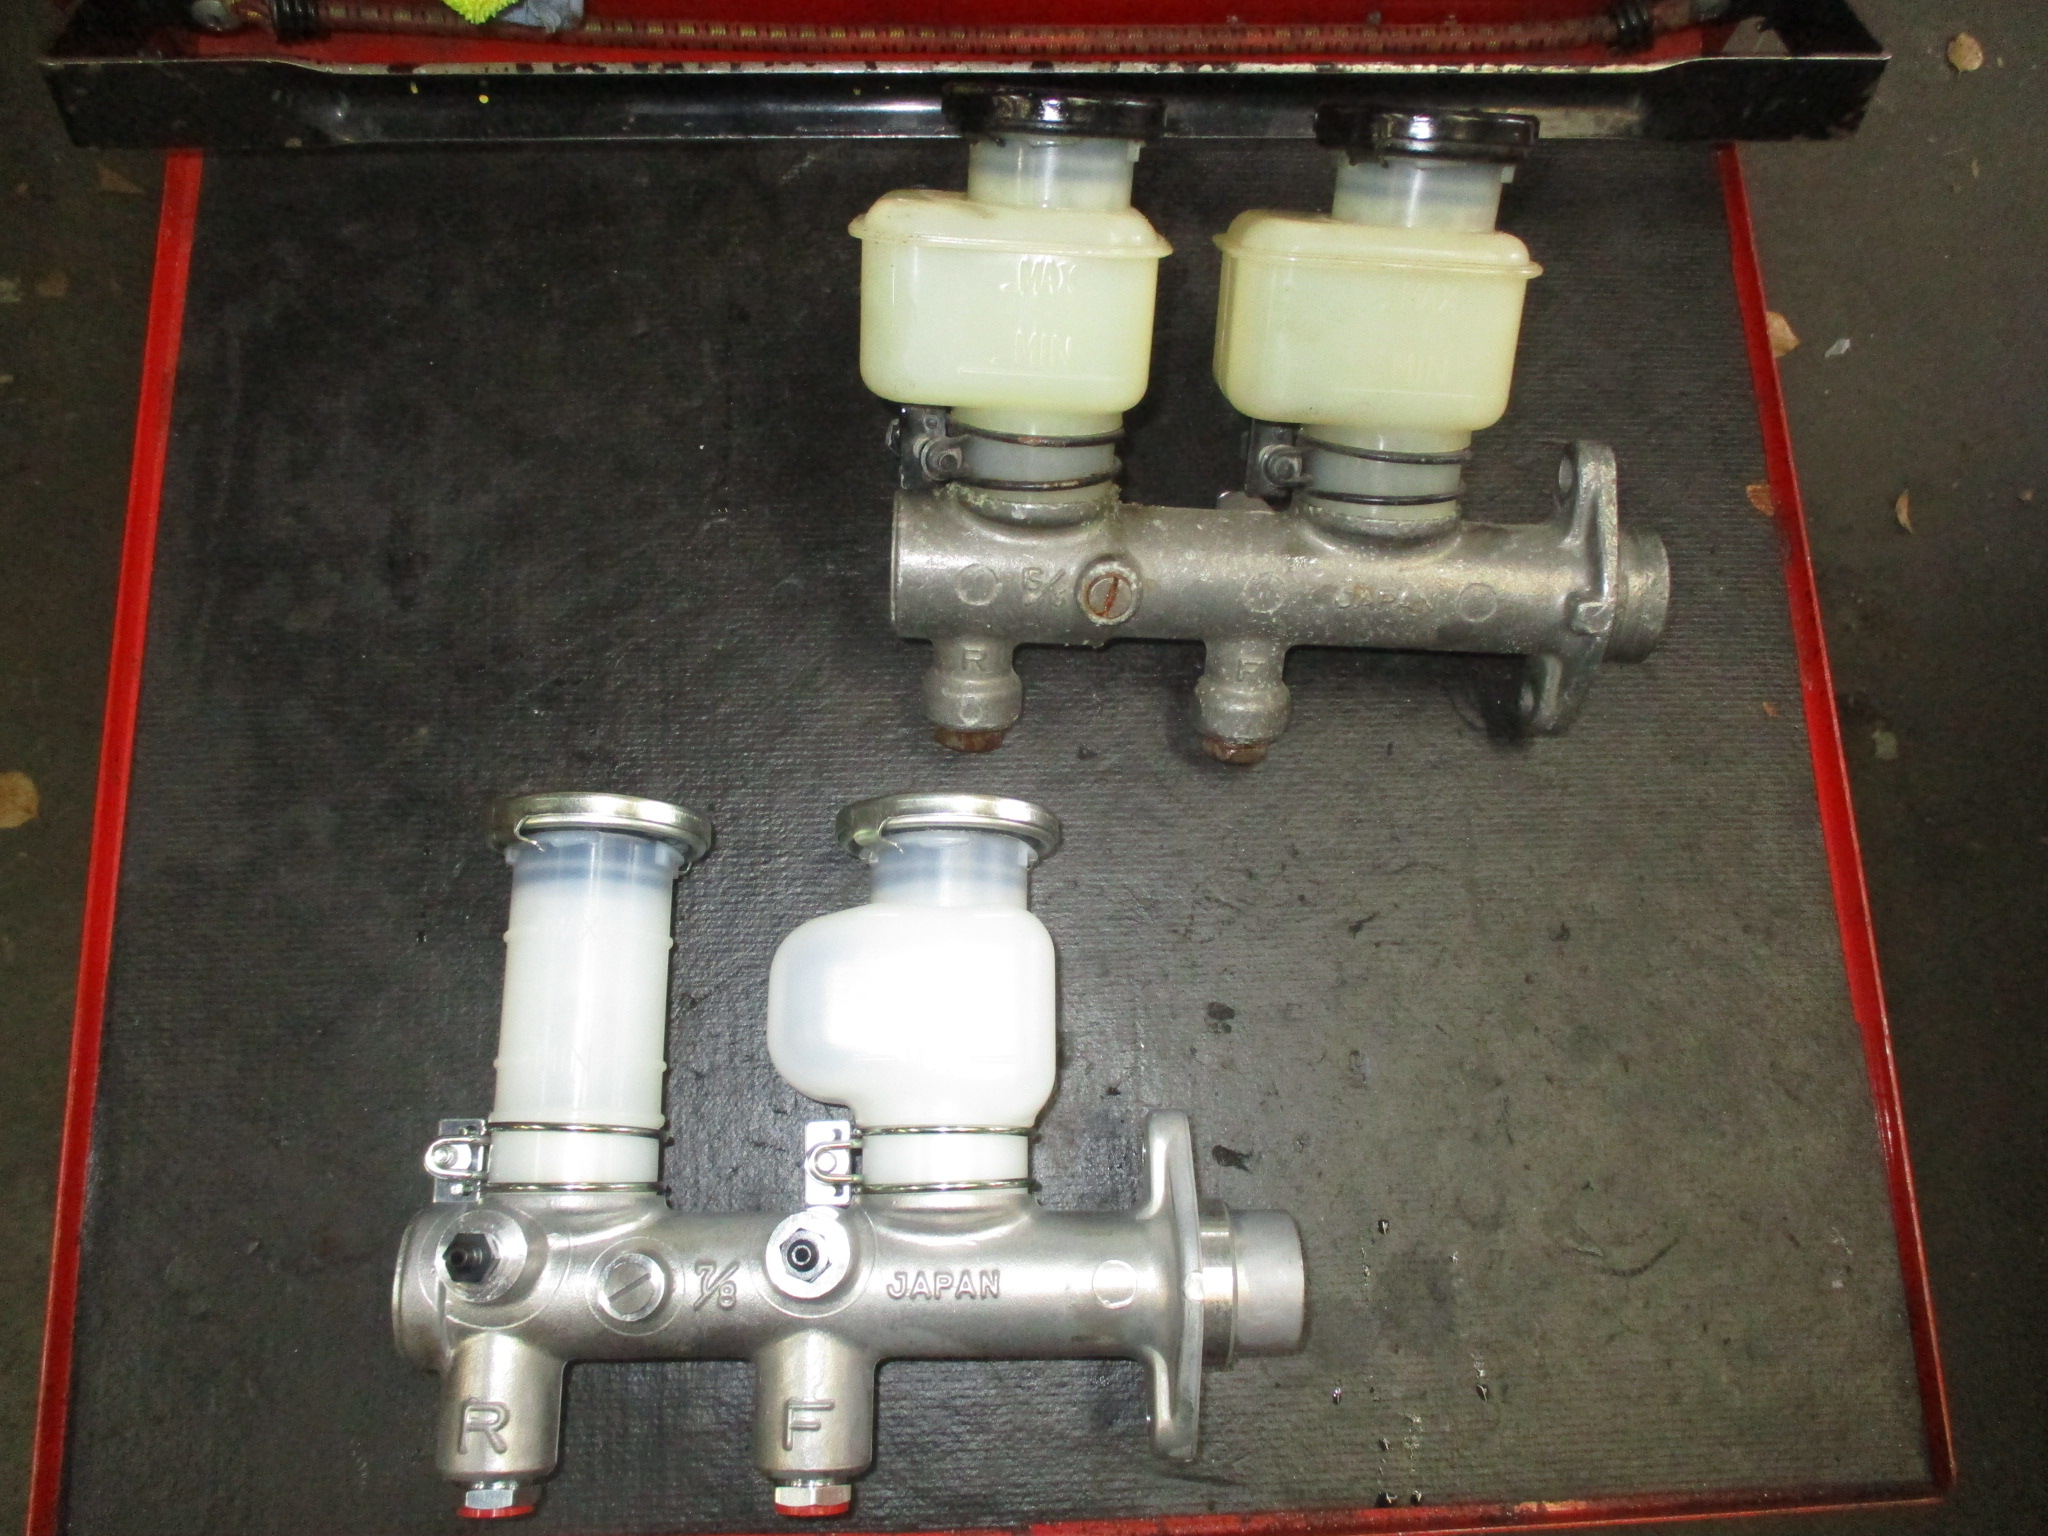
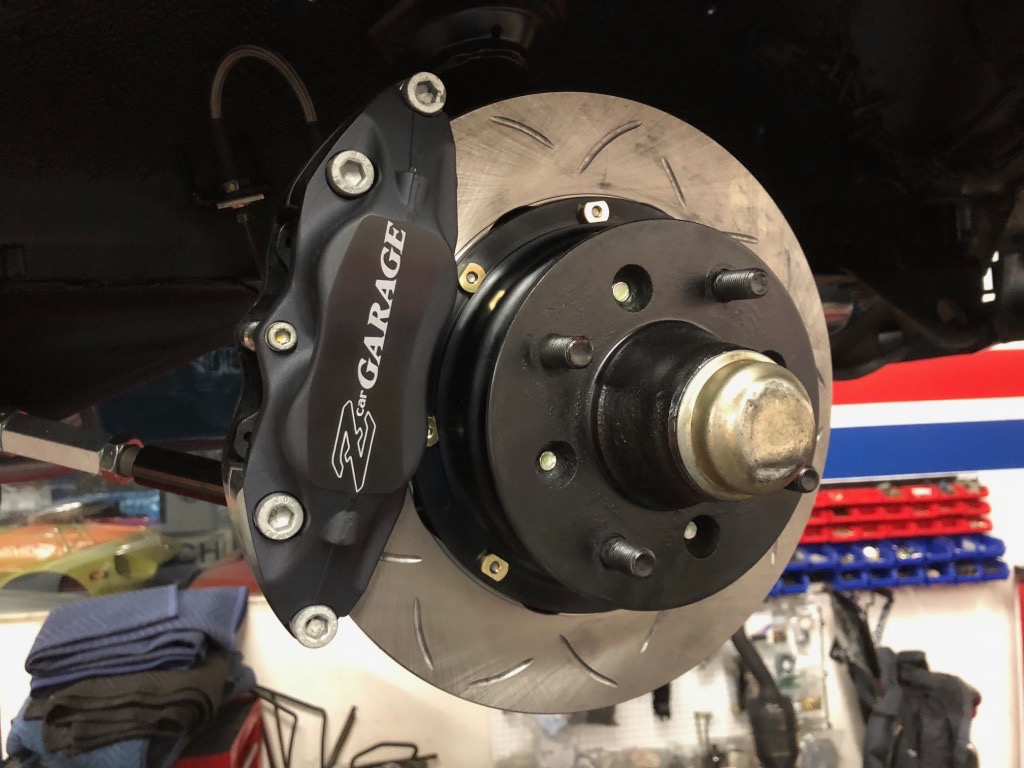
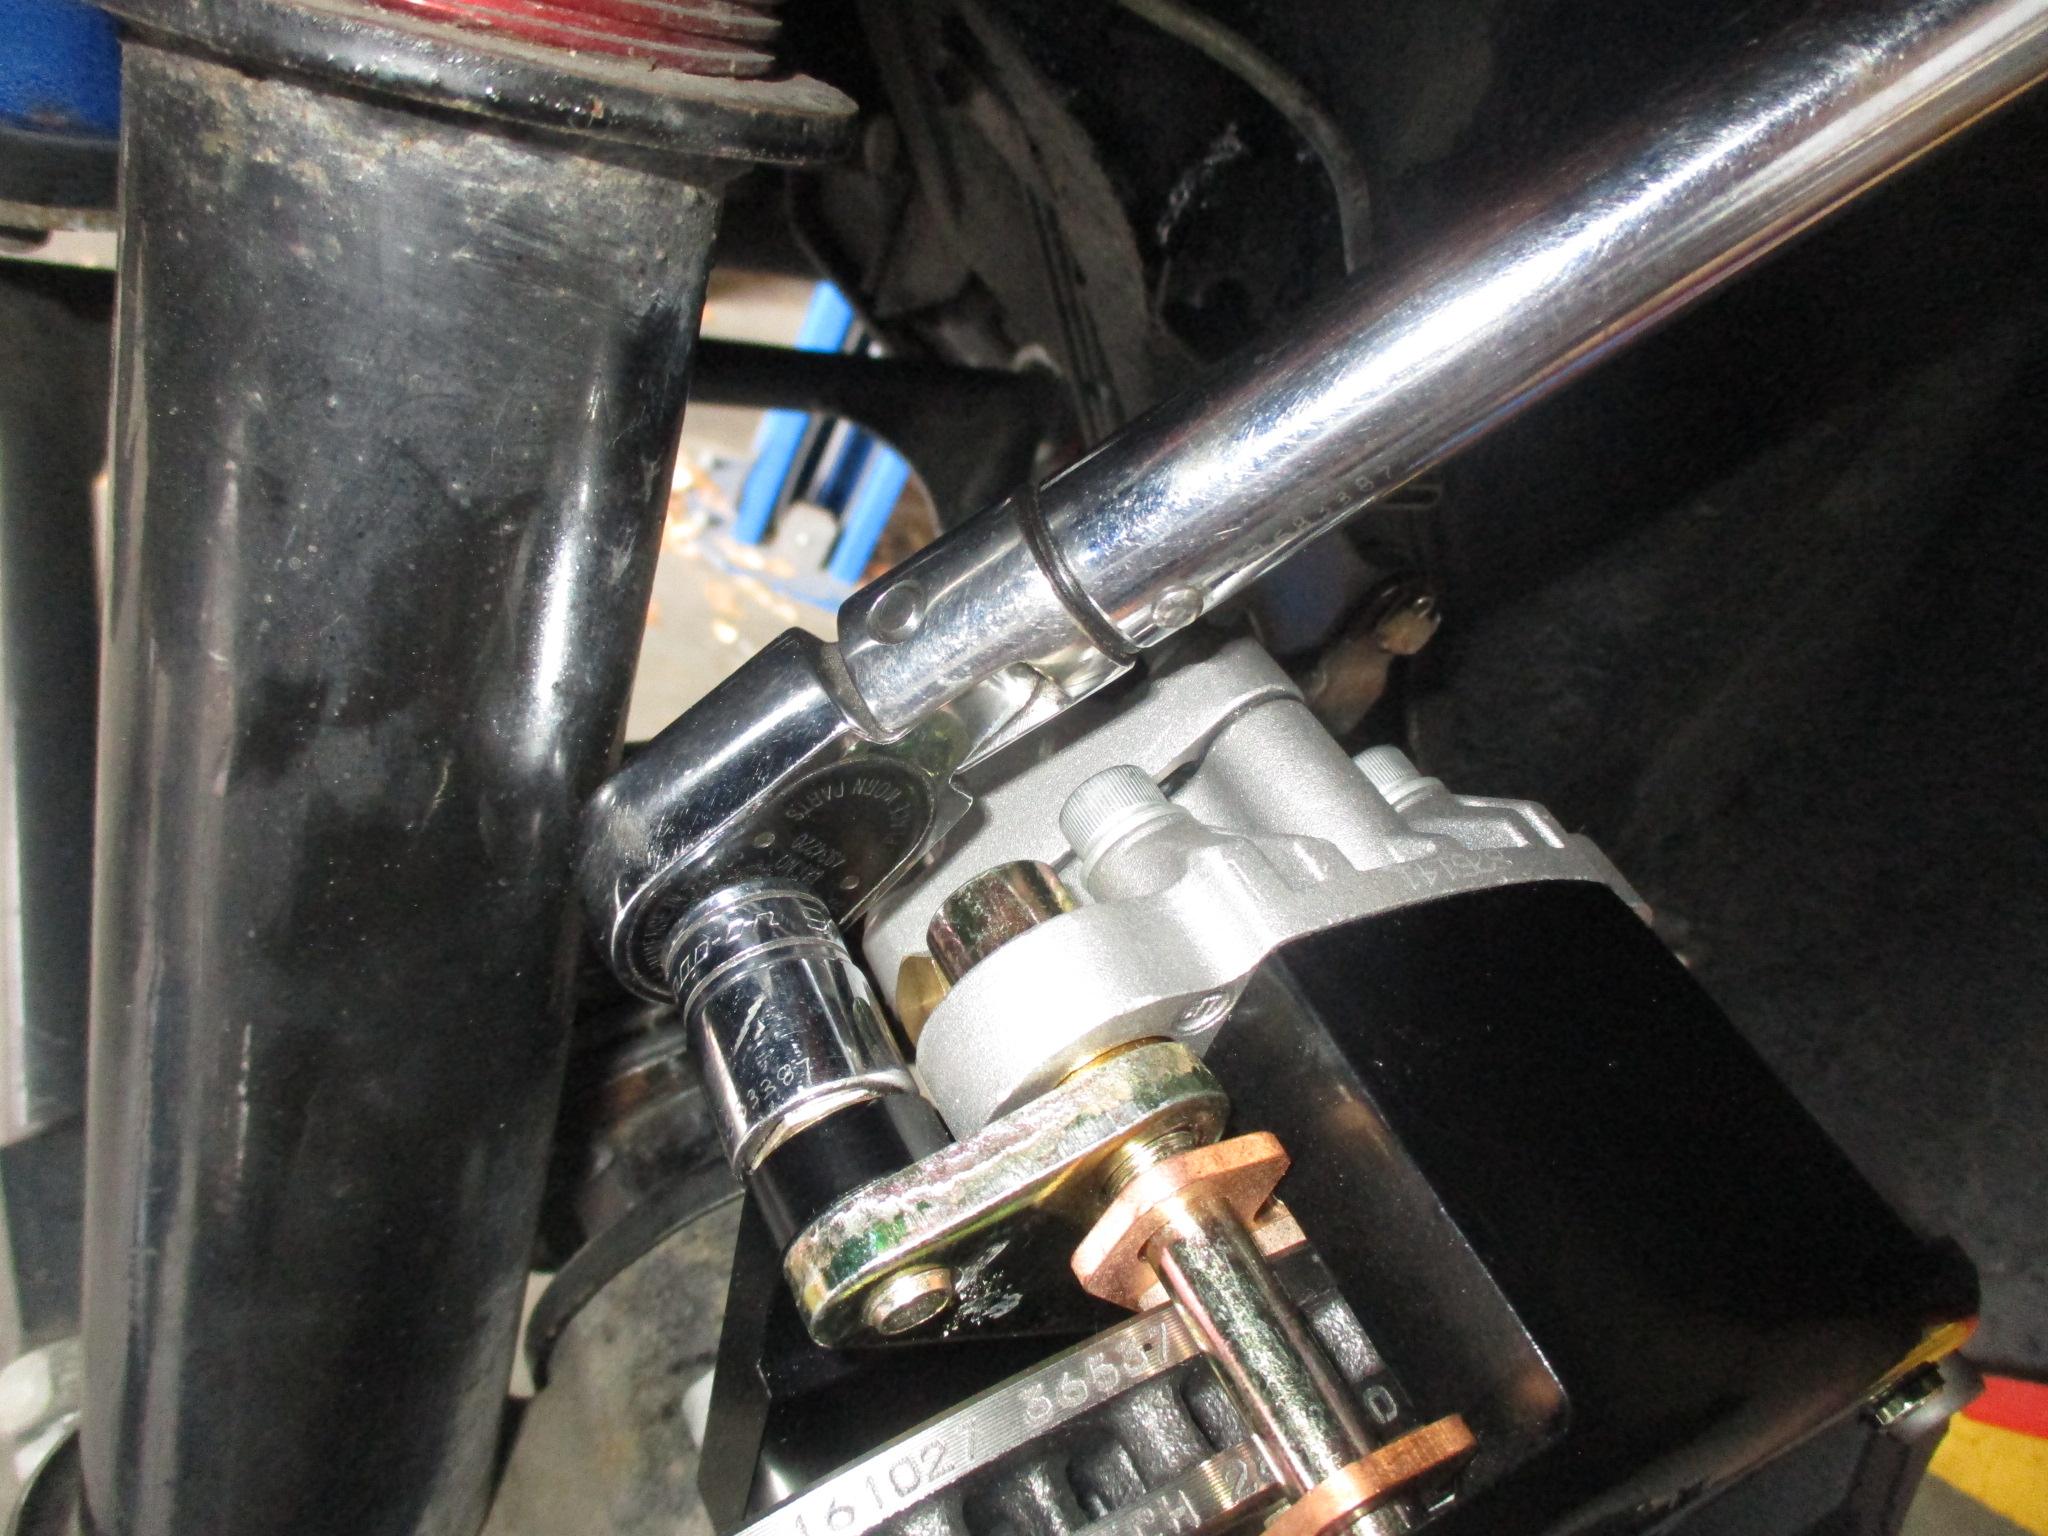
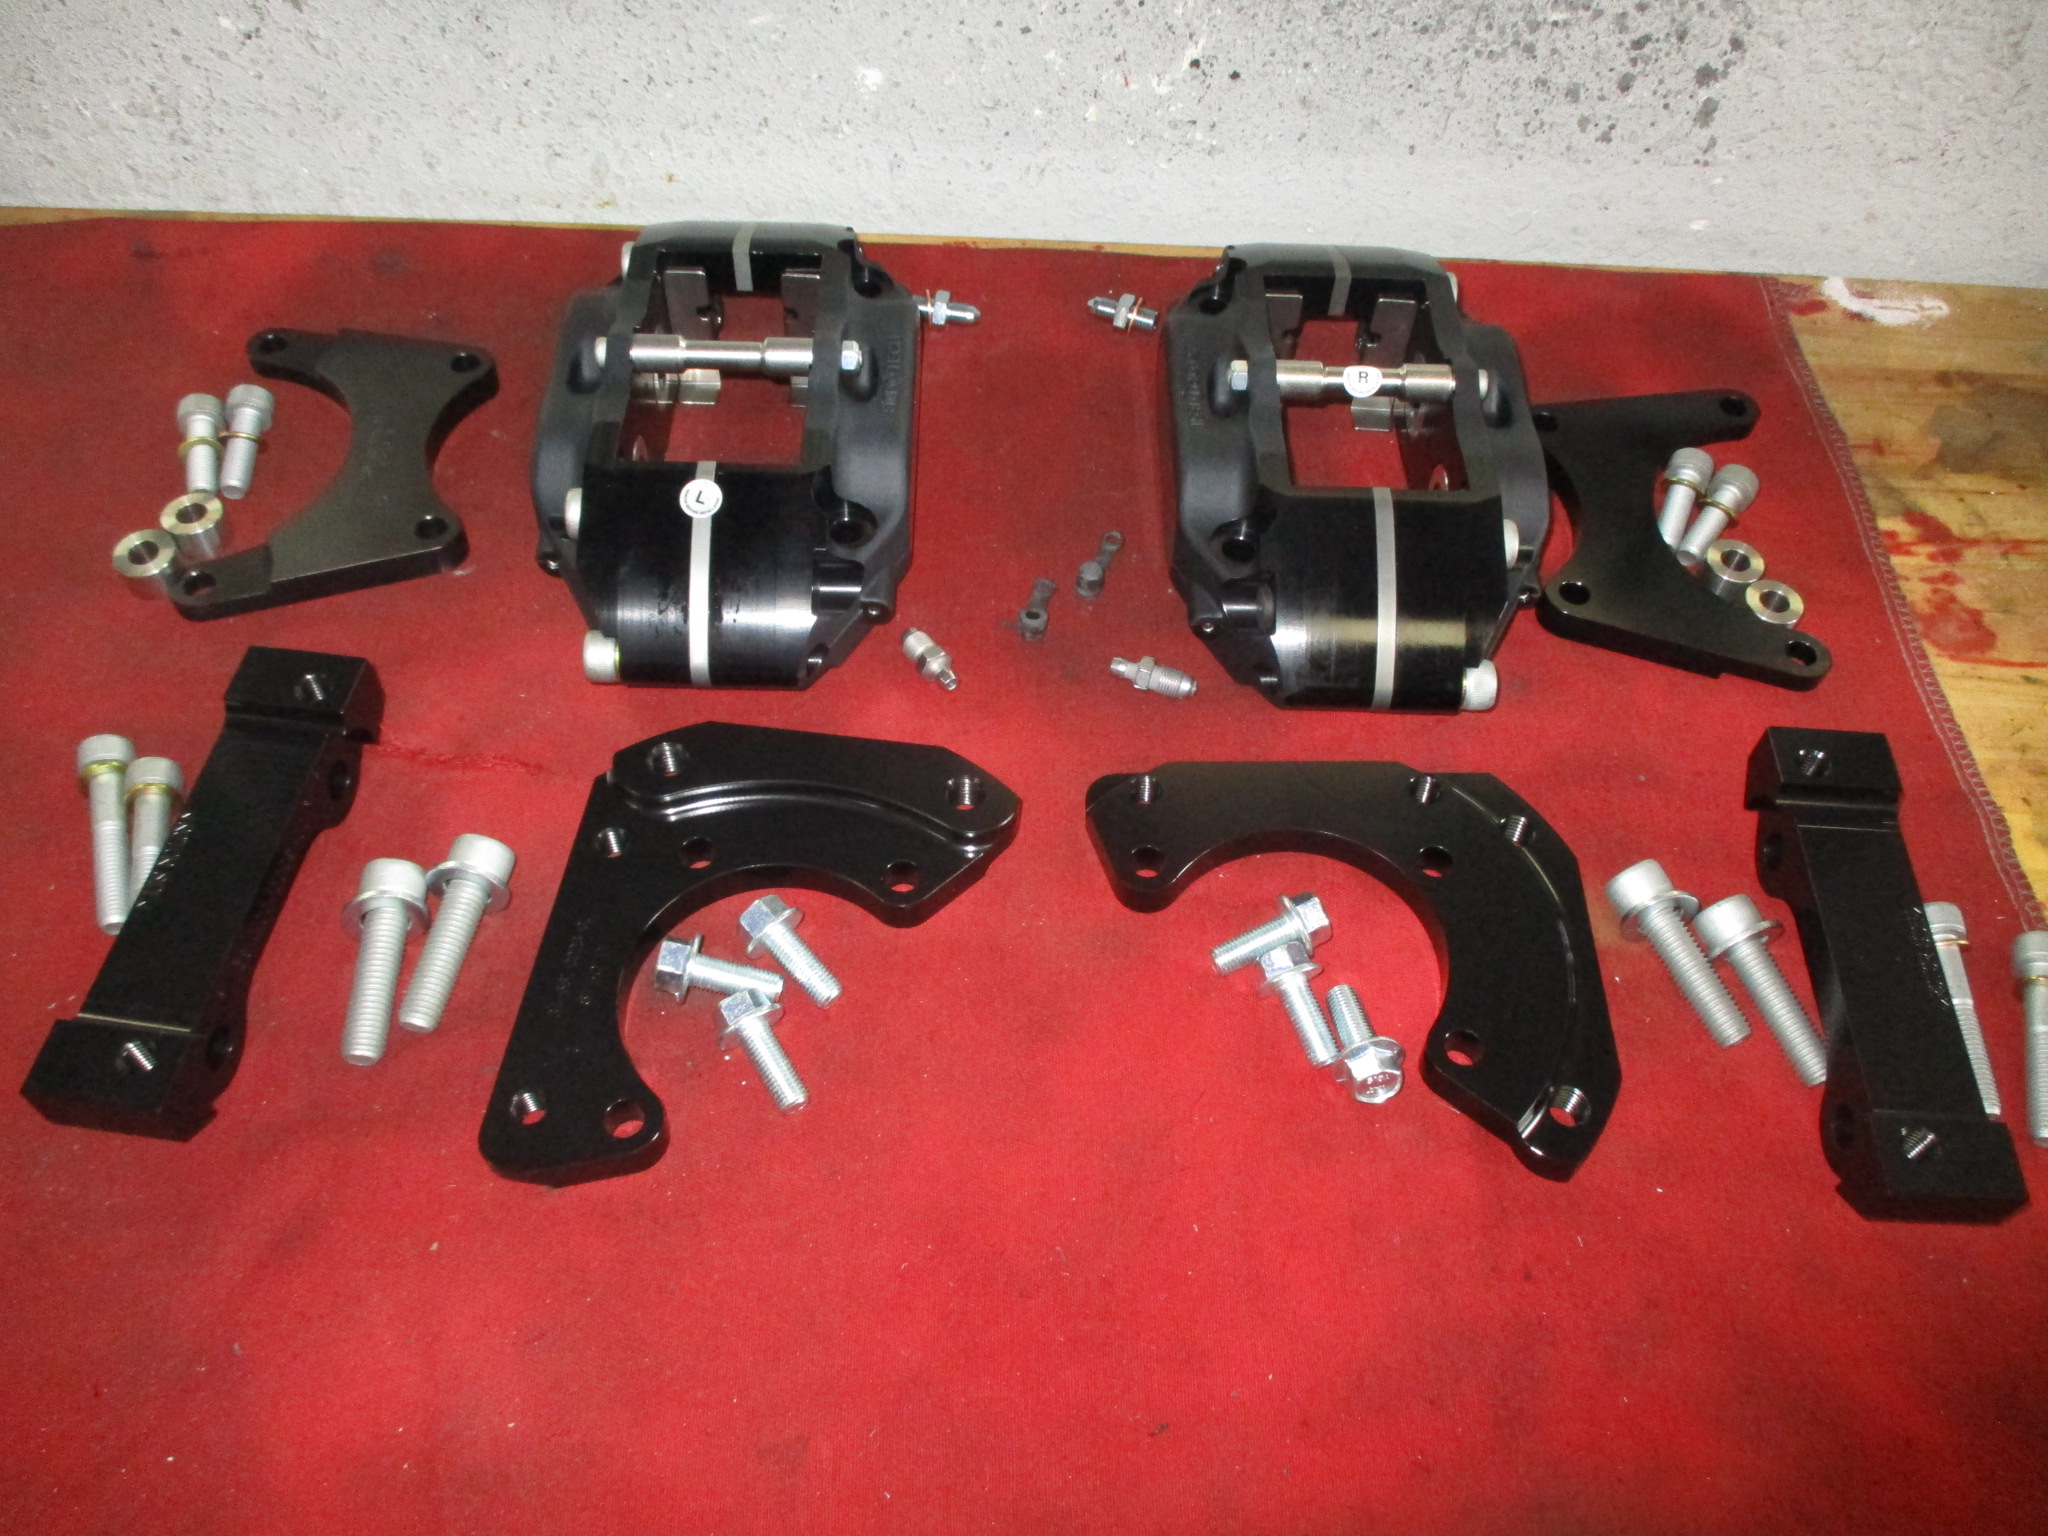
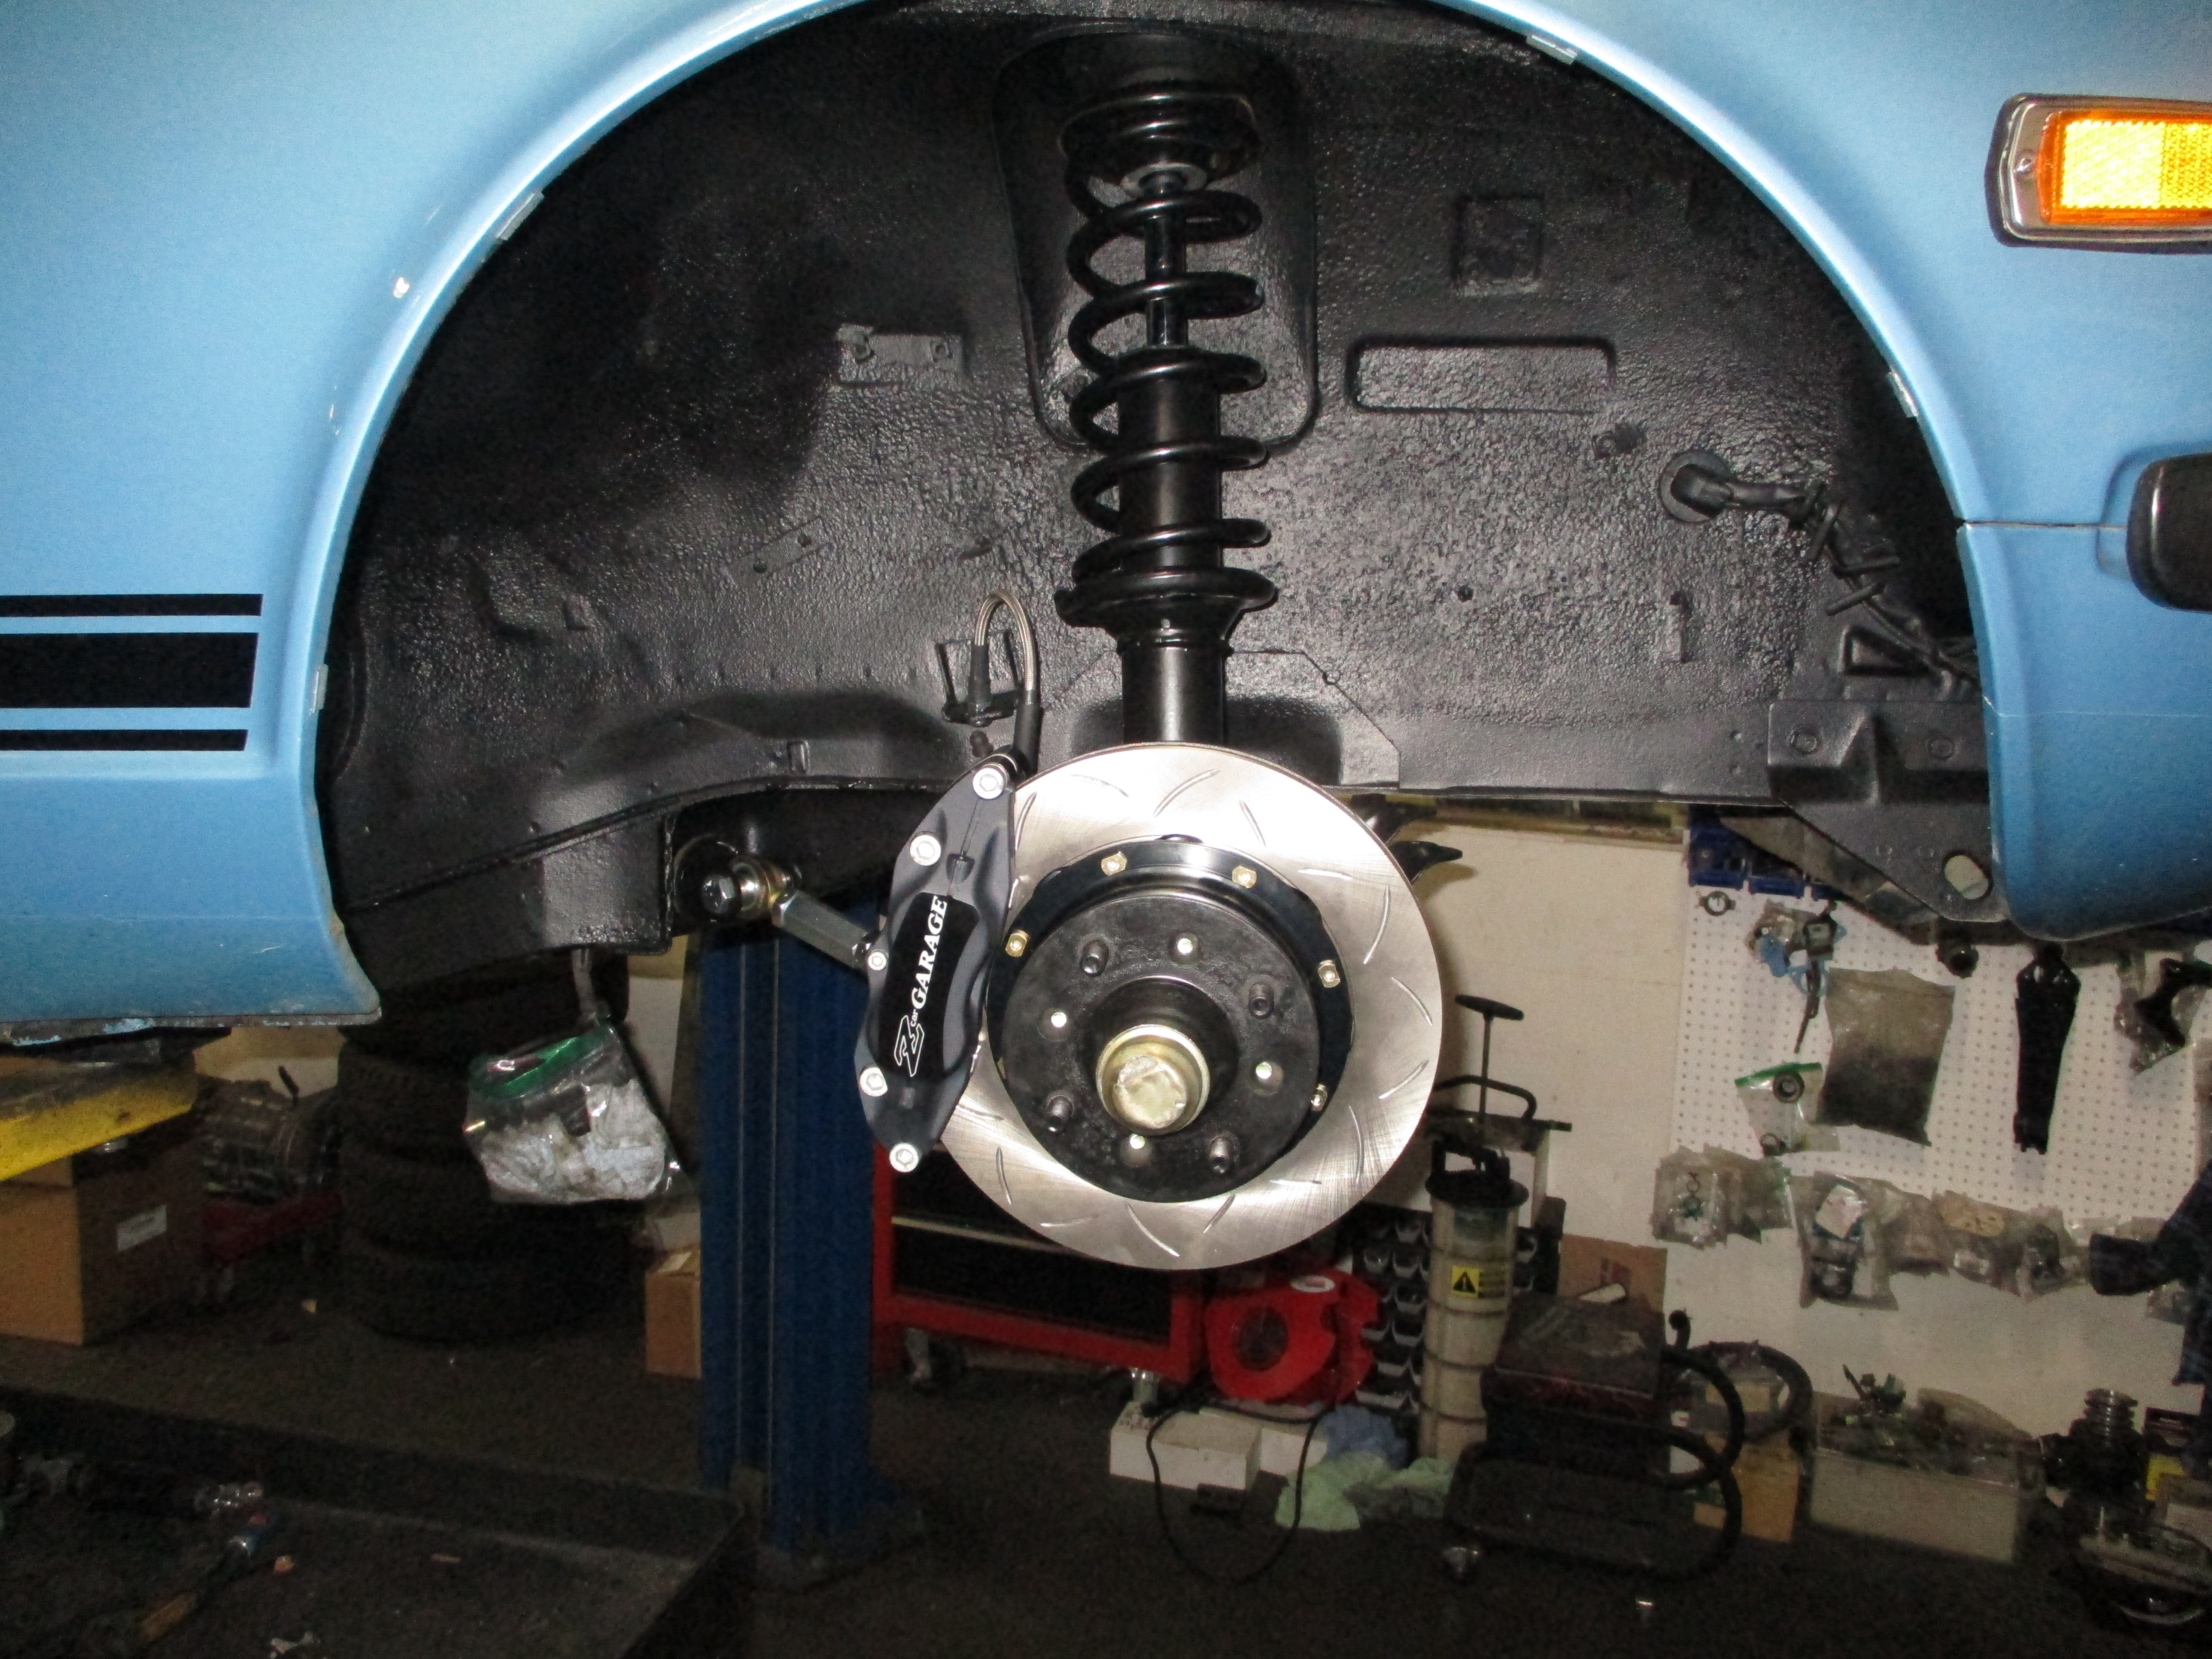
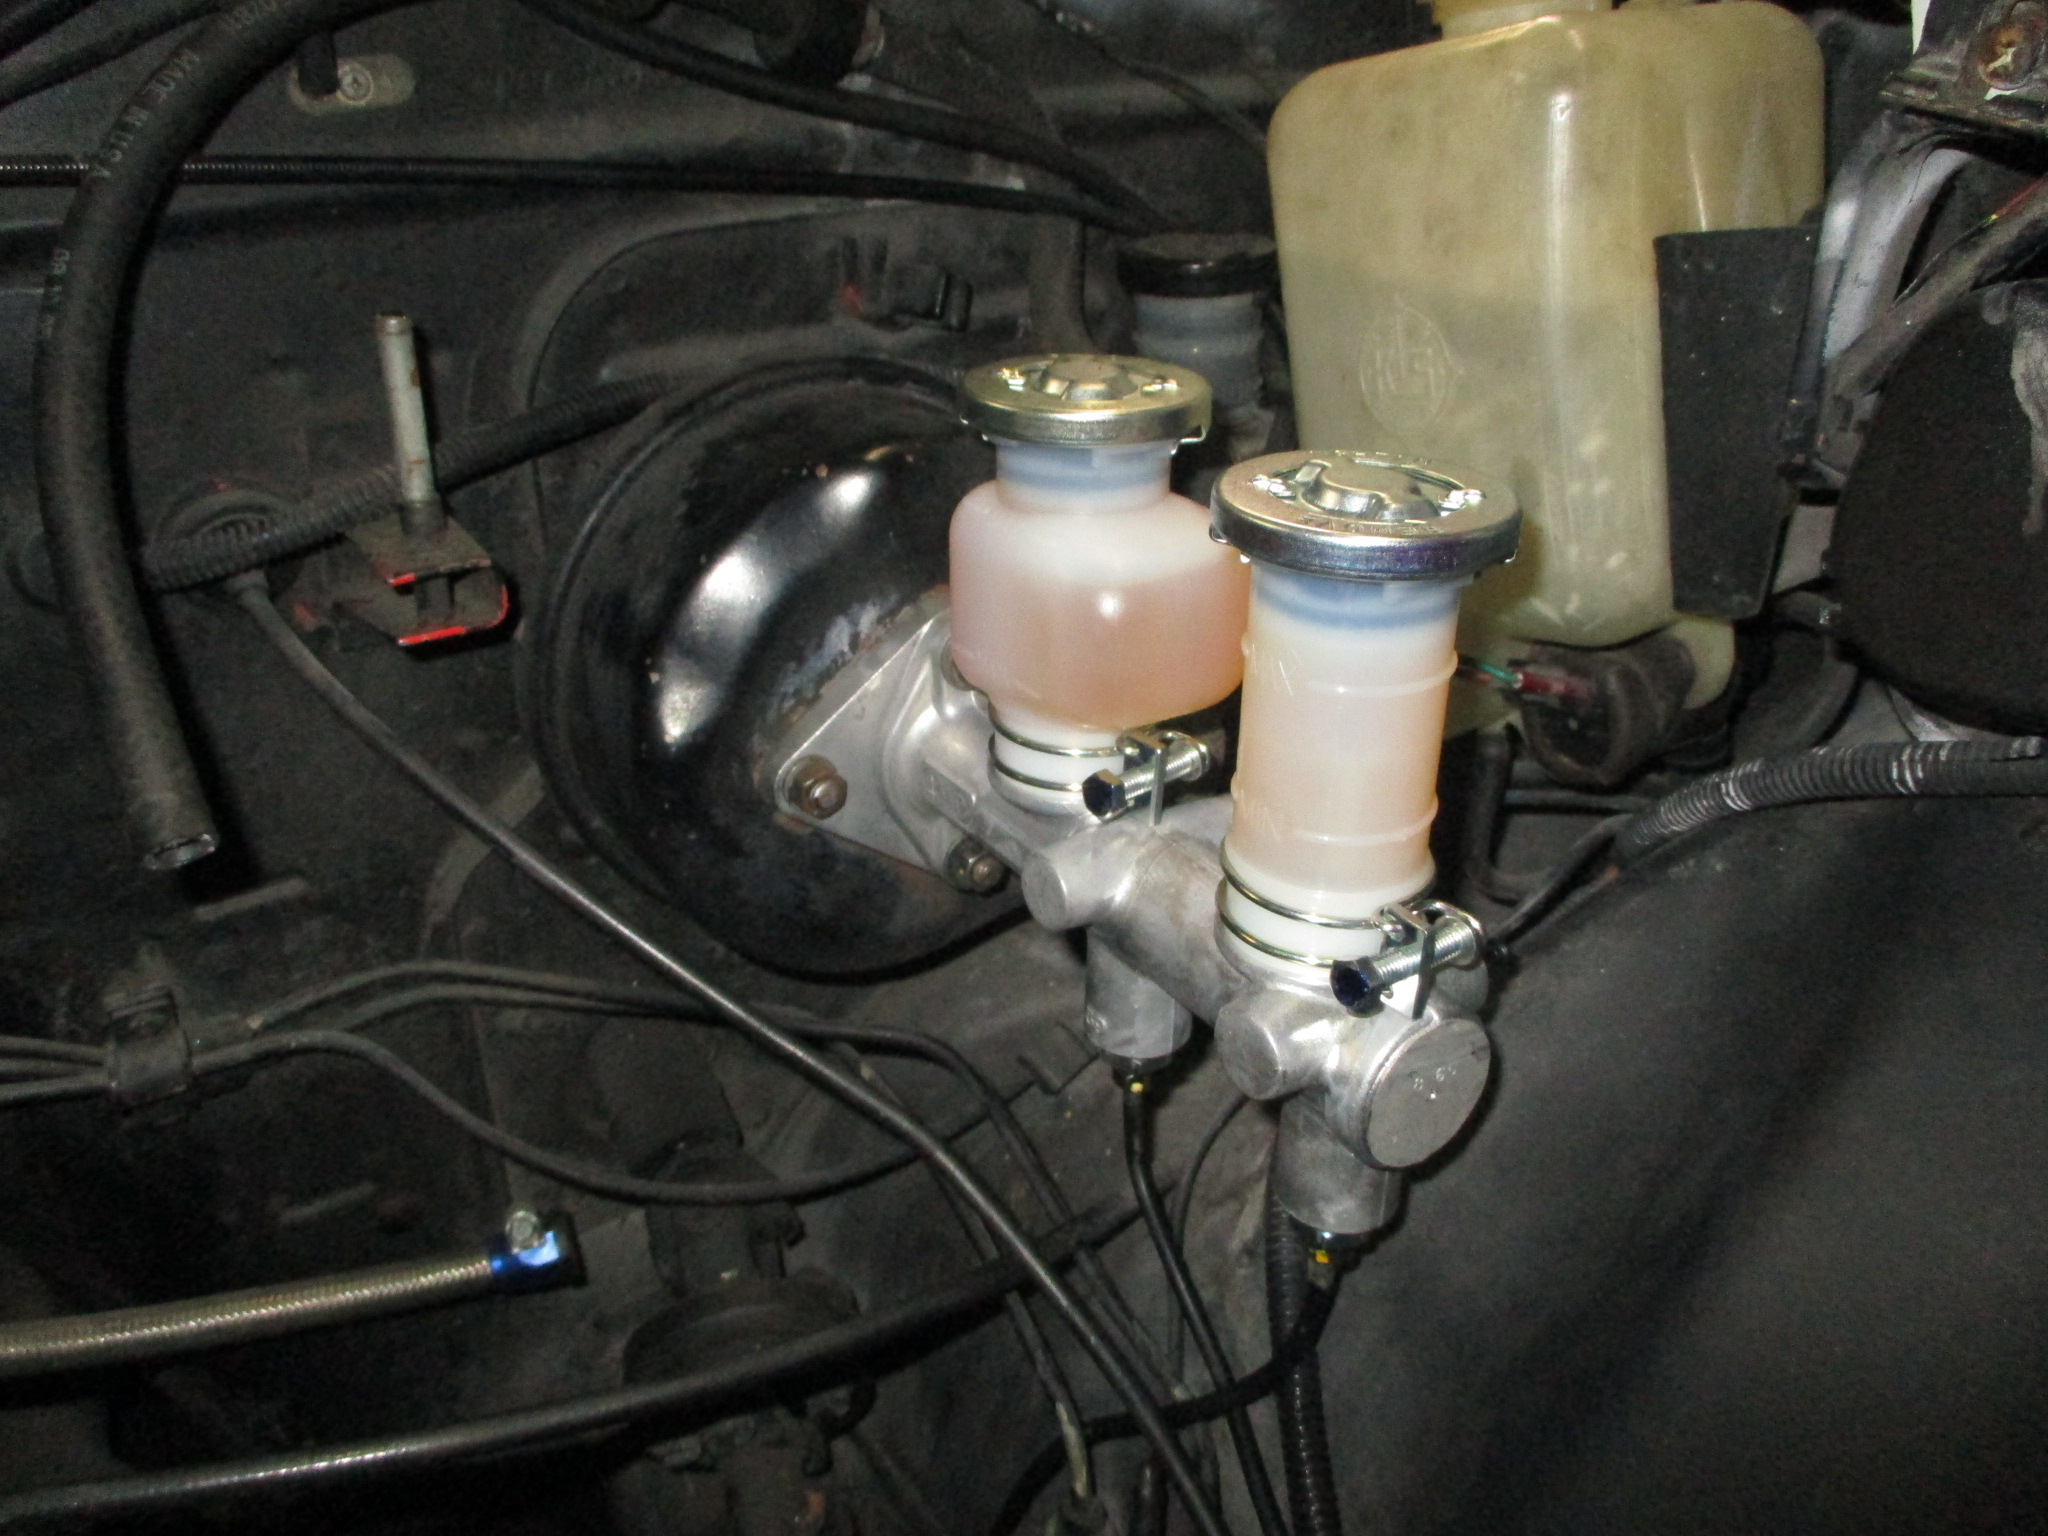
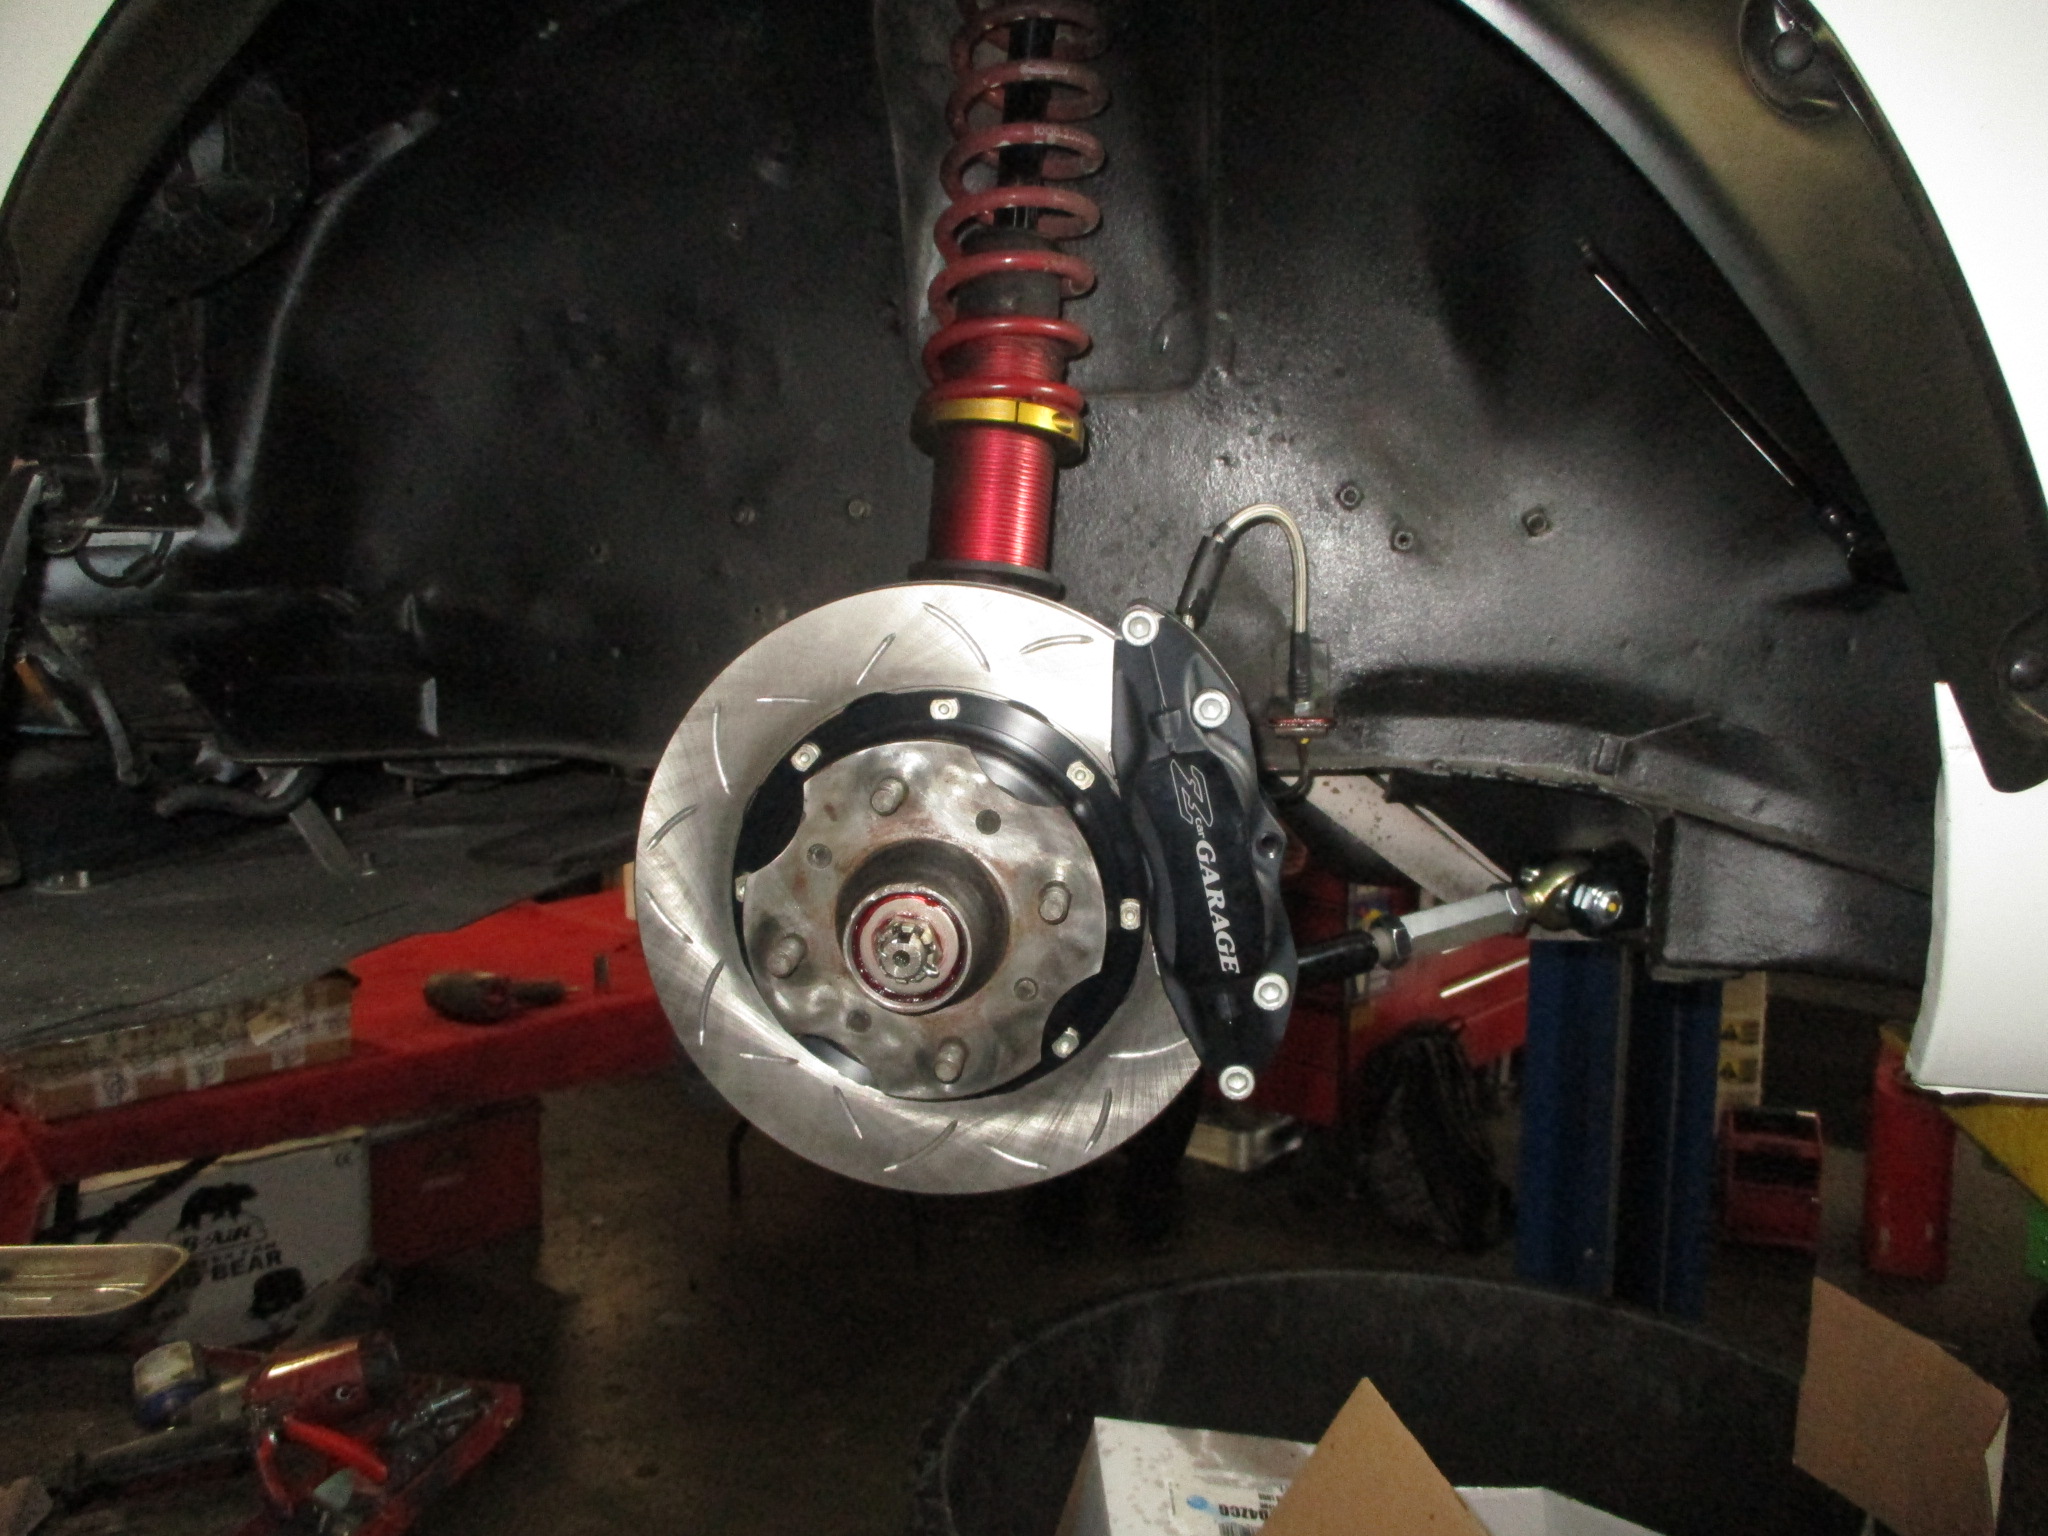
As fellow S30 owner/racer Glenn C mentioned in his review, on top of braking performance, pedal feel is extremely important and our Big-Brakes deliver. This is a direct result of working with engineers at Stoptech to create a totally bolt-in solution requiring no M/C change or additional proportioning valve/adjustments. All fitting behind a 15″ Watanabe or Panasport wheel (and some 14″ wheels) and retaining factory emergency brake lever! A few details below:
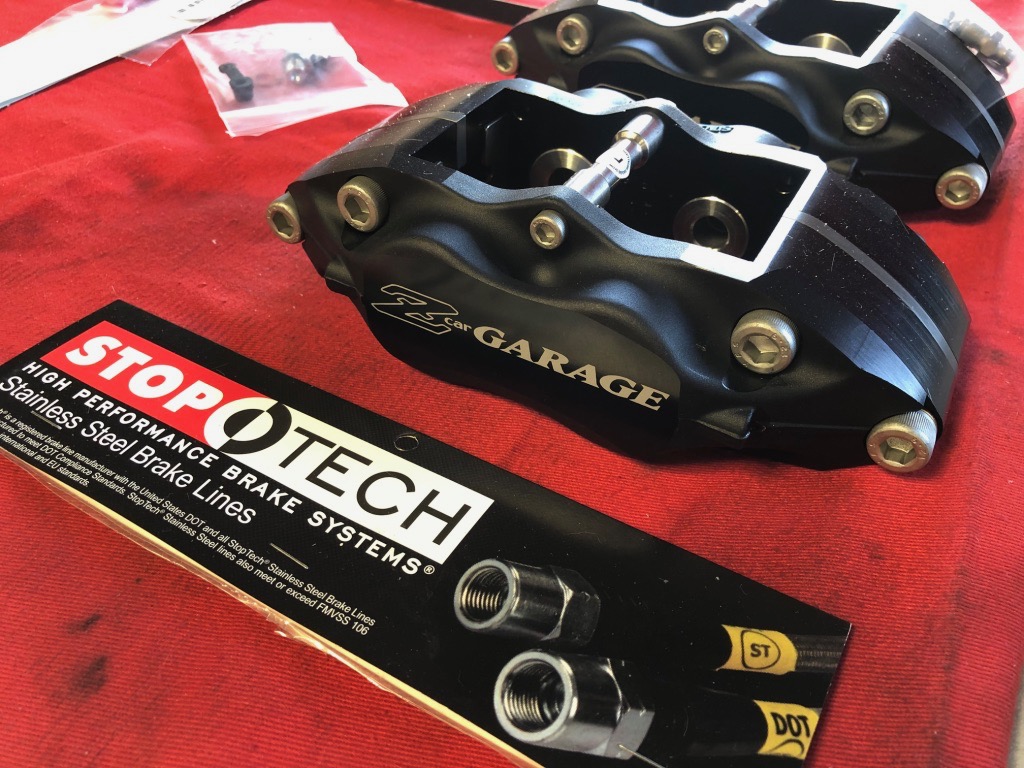
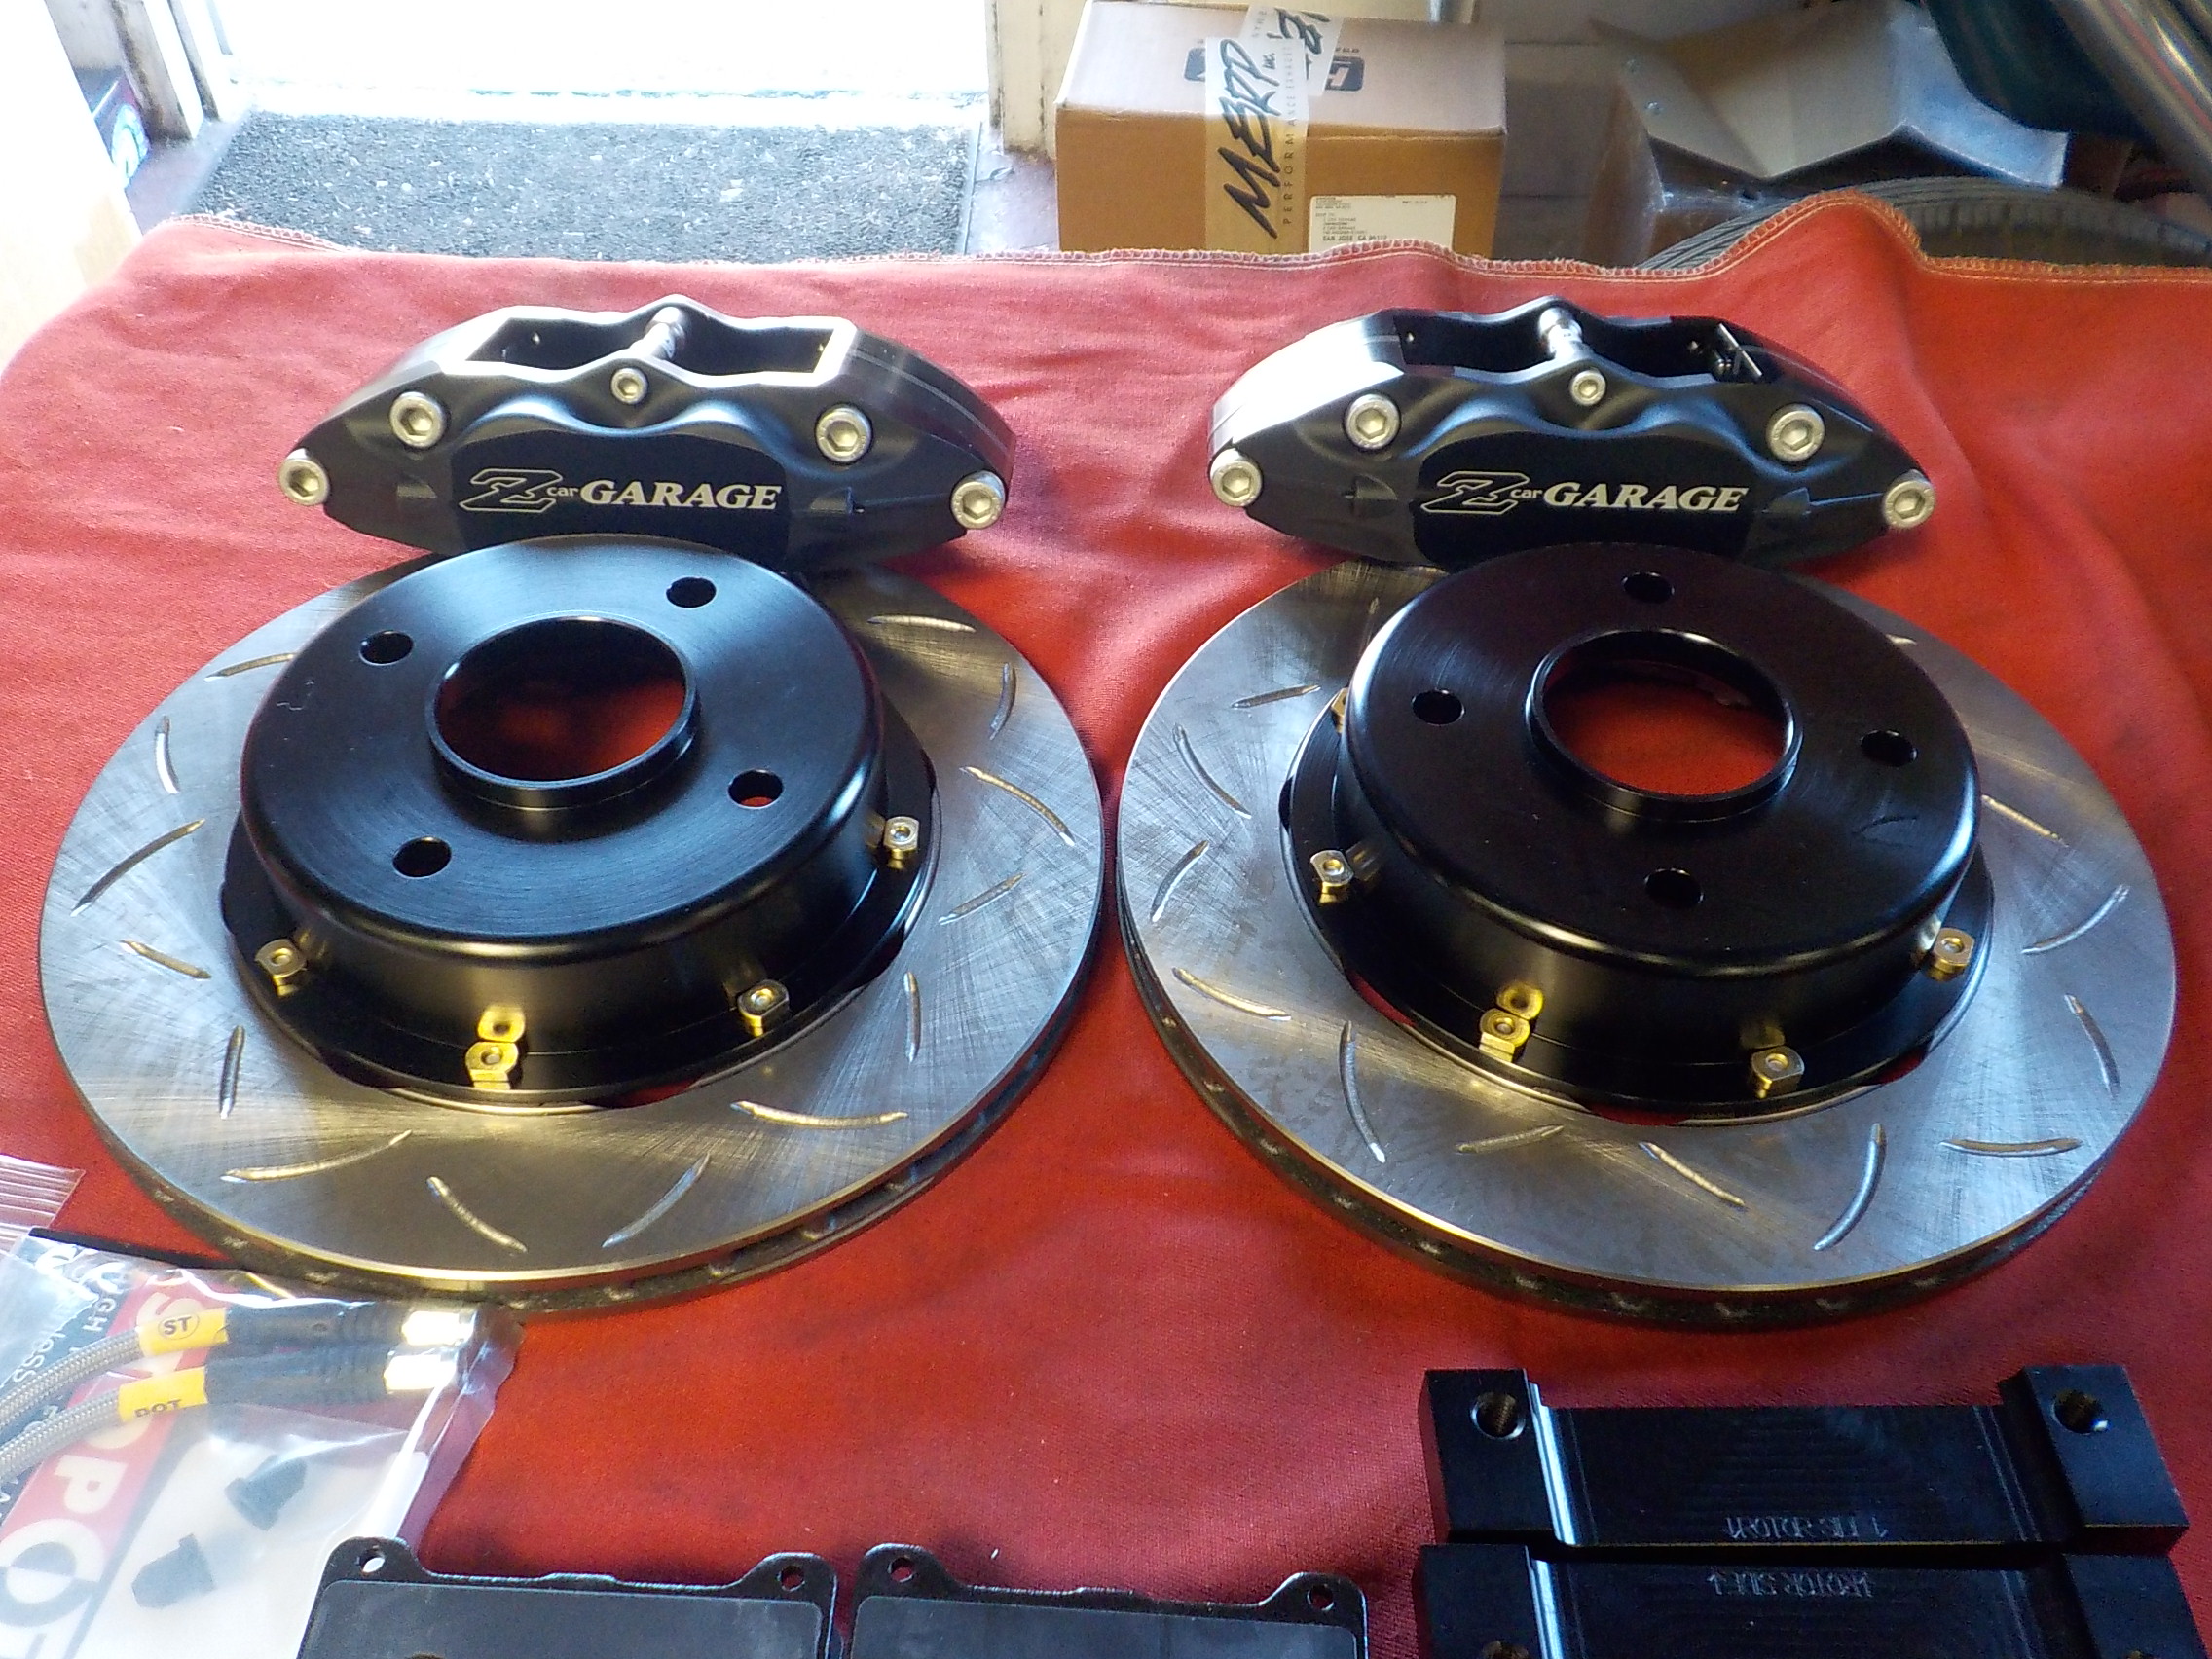
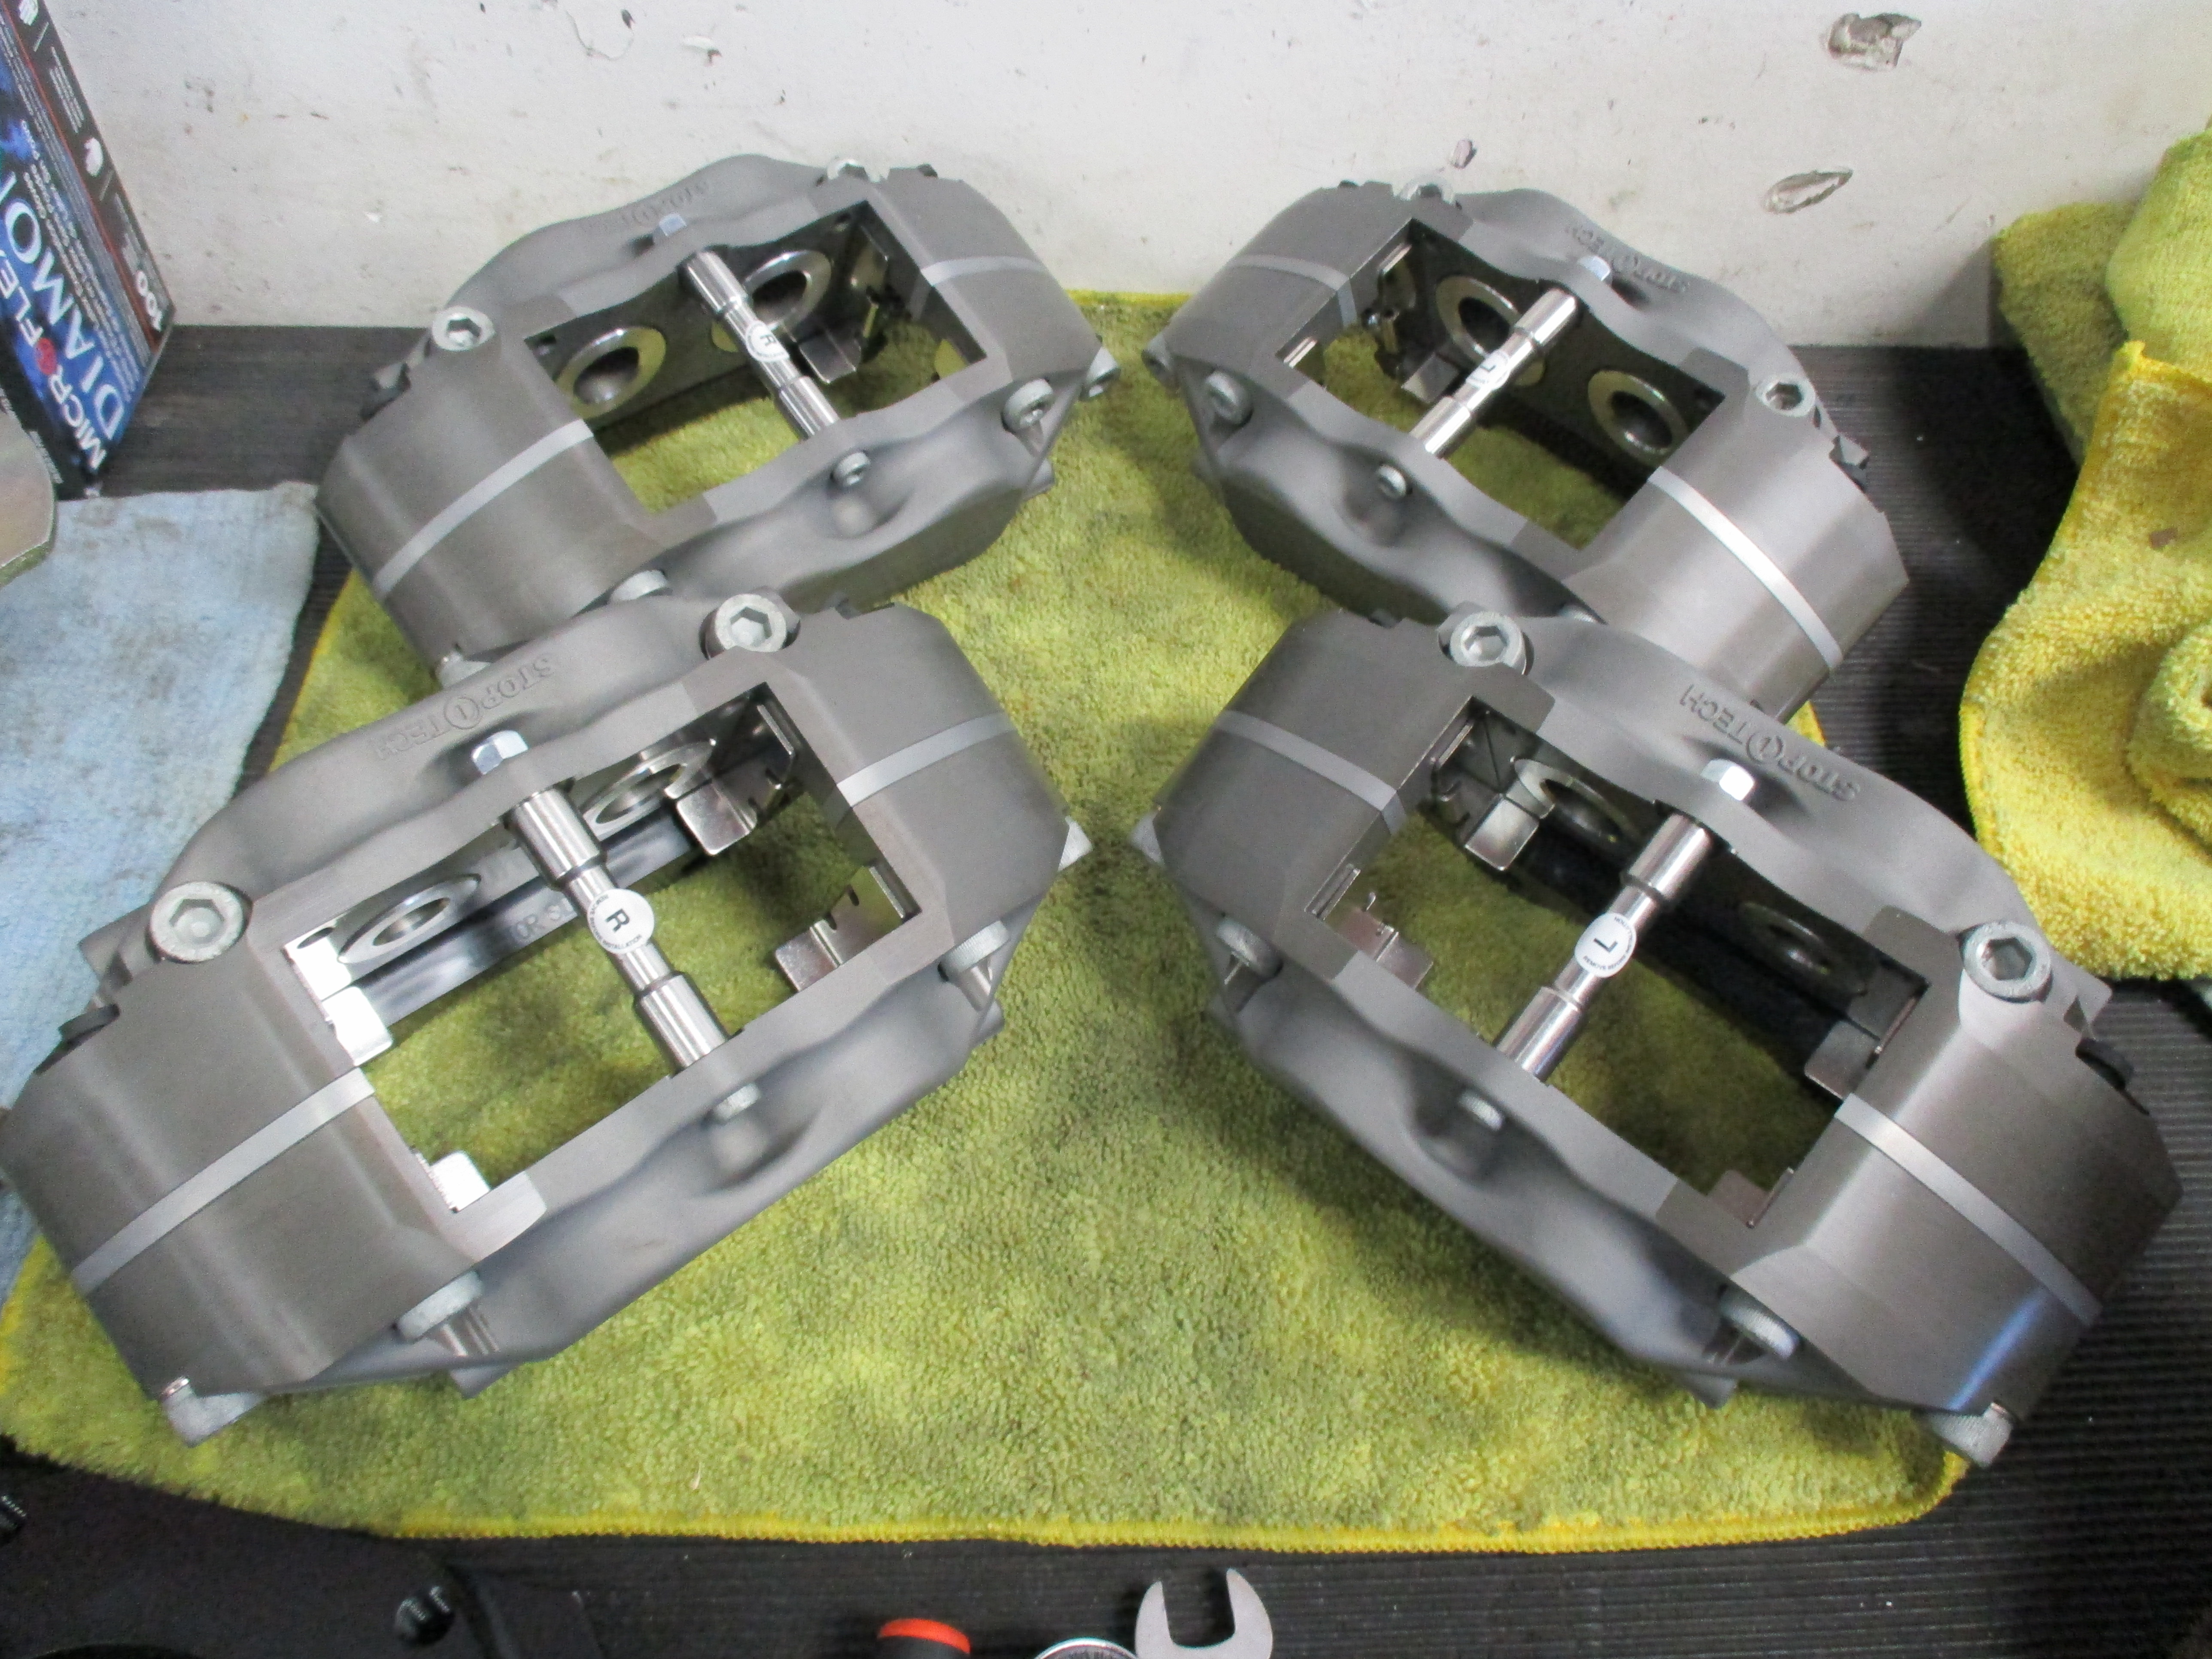
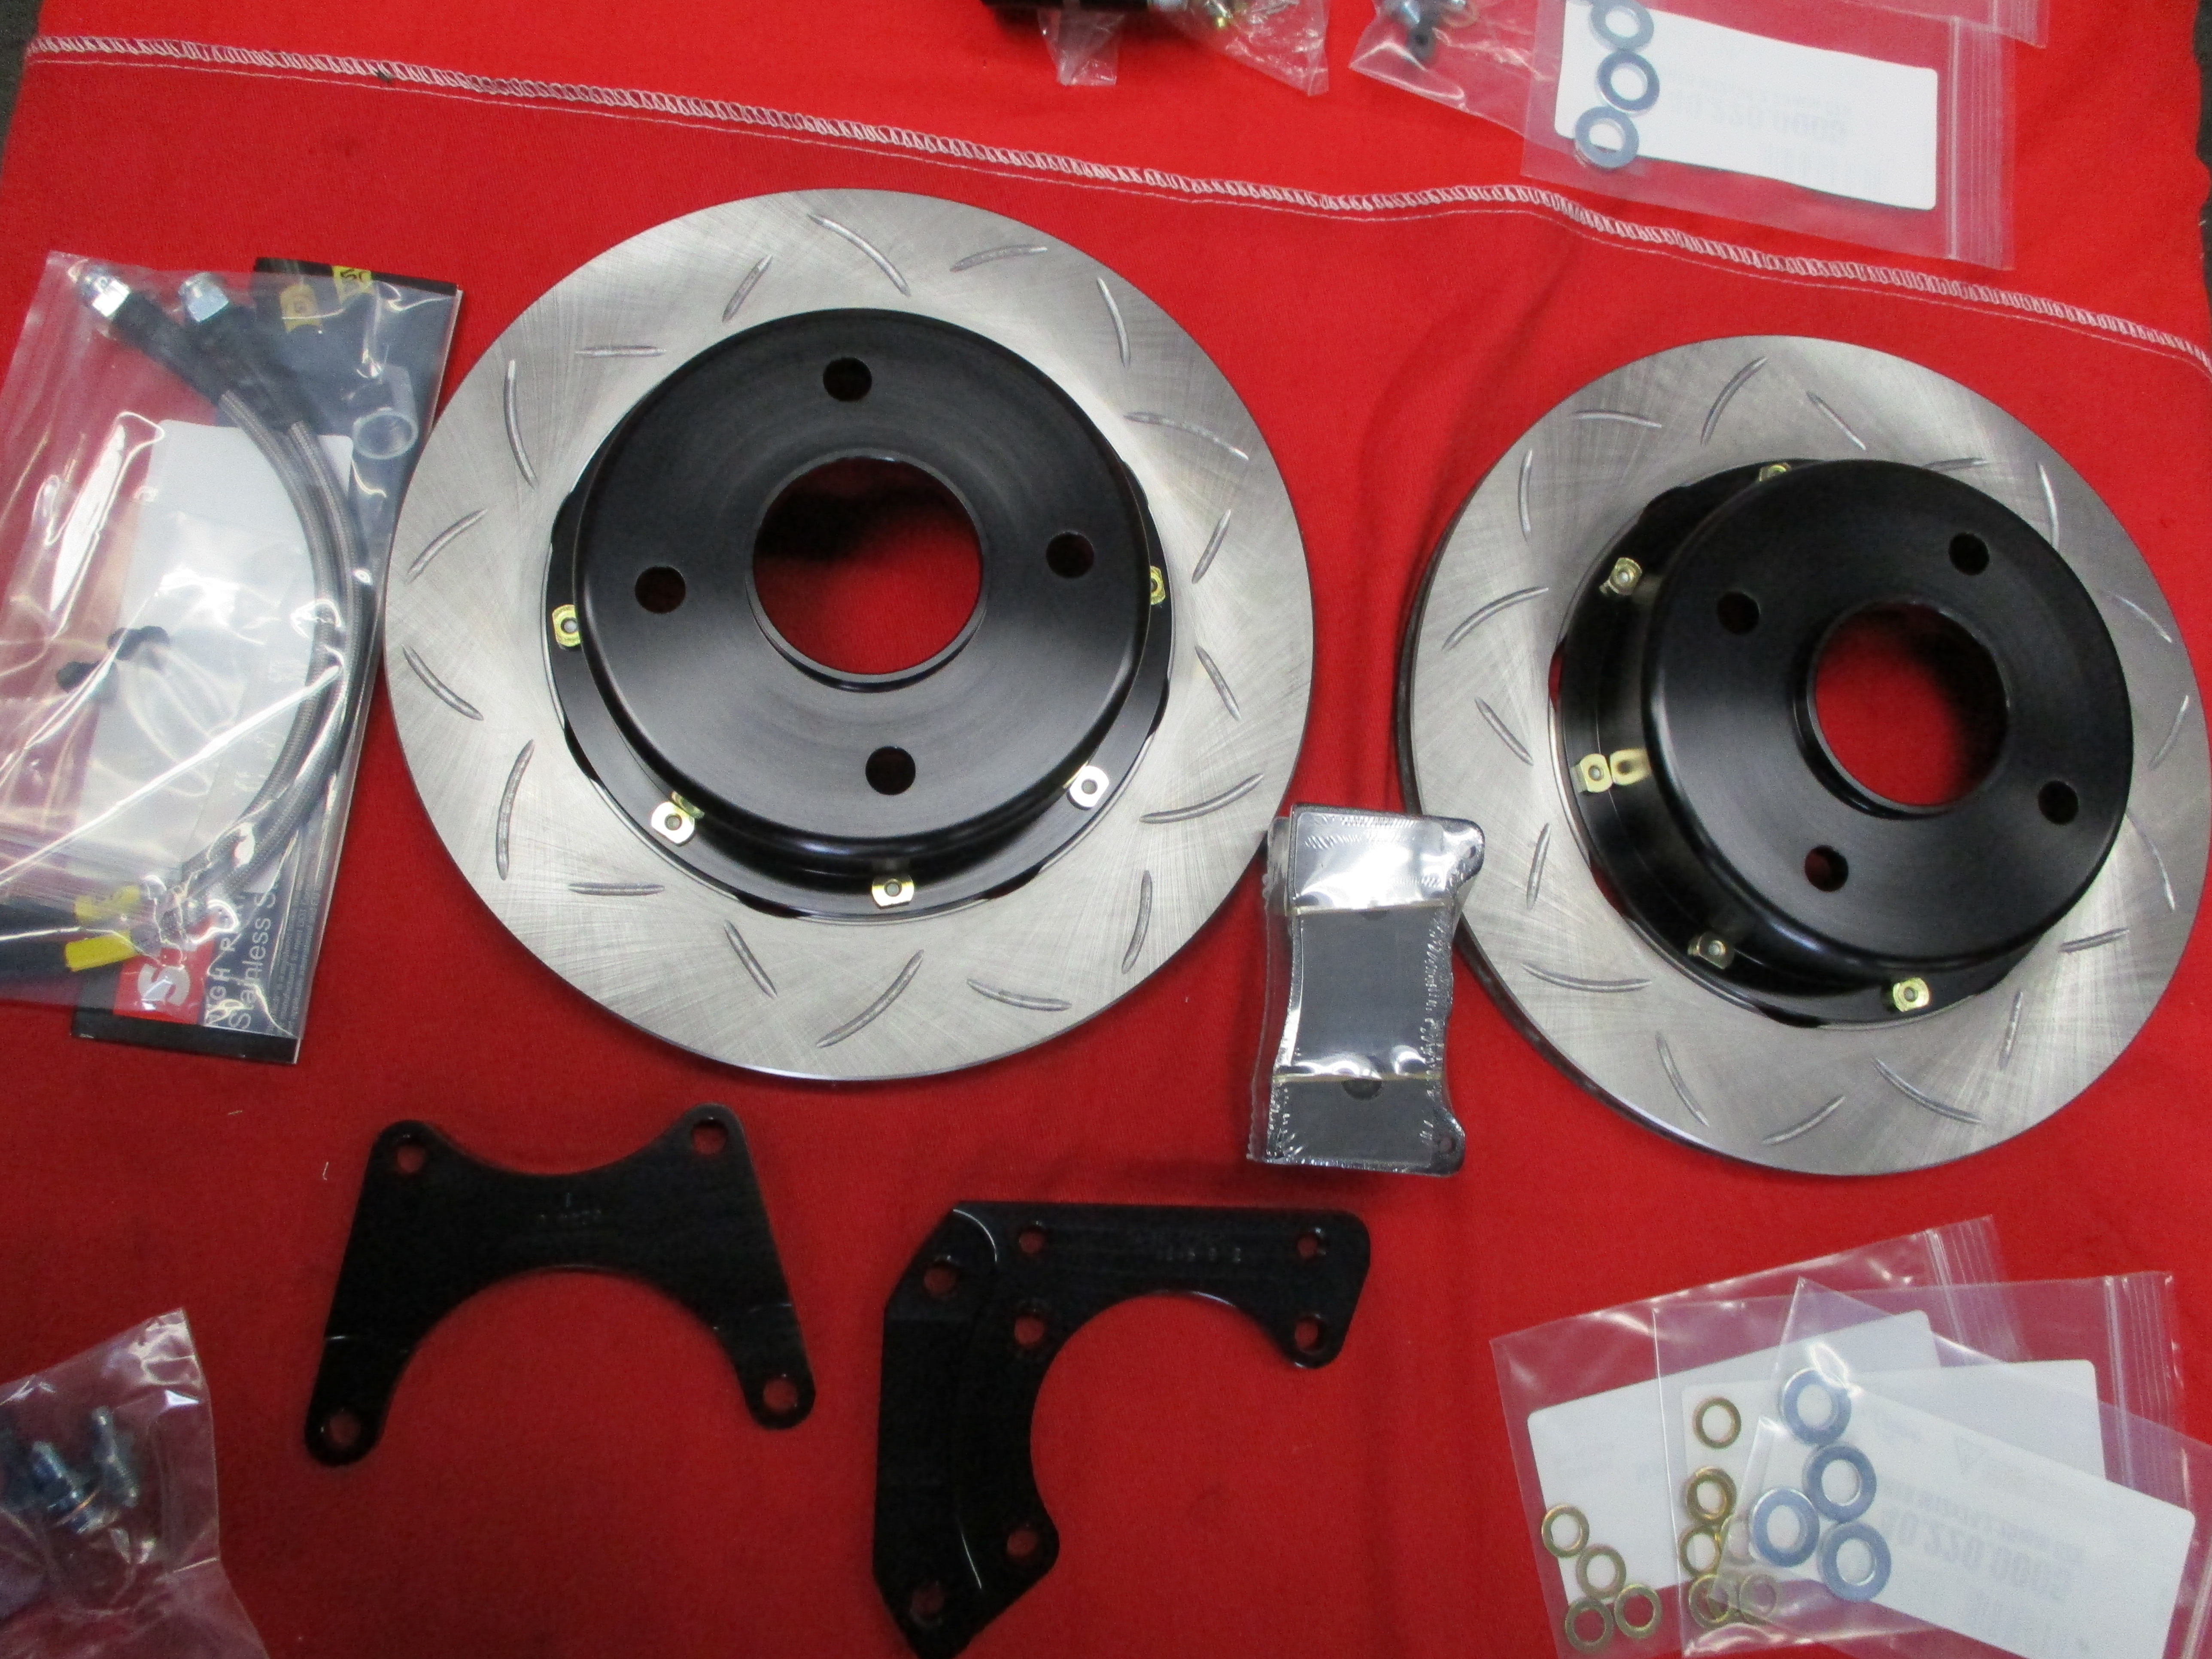
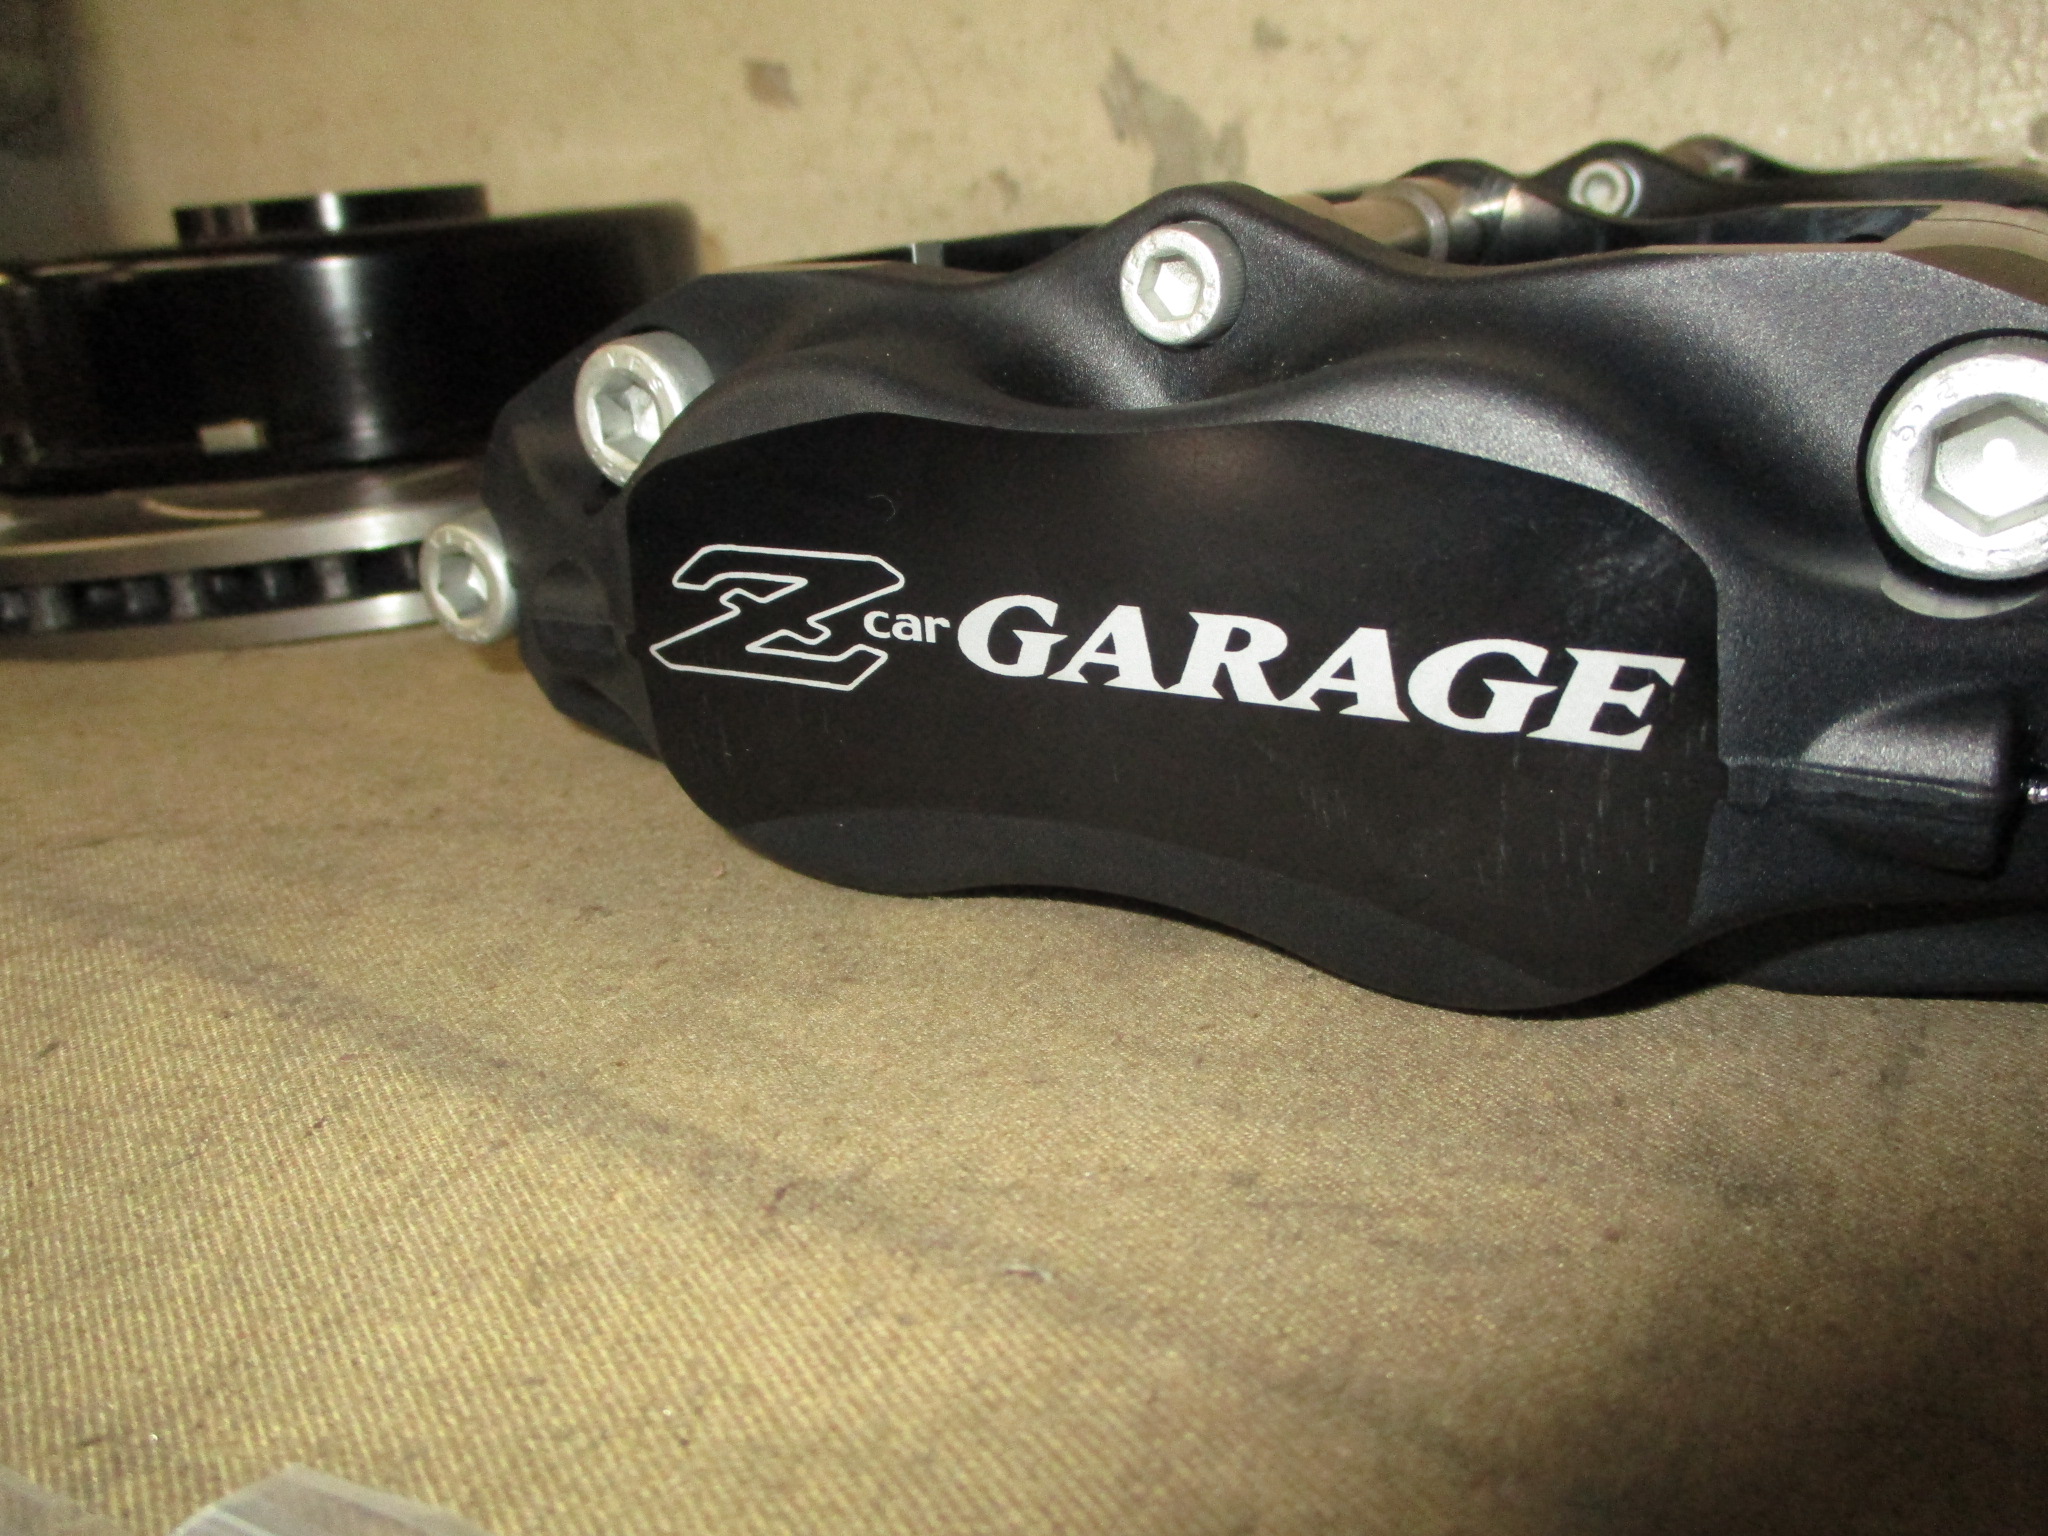
Calipers: Stoptech ST42 4-piston front & rear race calipers (Alum 6061 mil-spec Type III anodized)
Rotors: 280mm x 20.6 with Alum 7075 hats
Pads: Stoptech 309 sport street pads
Blog posts documenting all of our customers running the ZCG Big-Brakes can be found HERE.
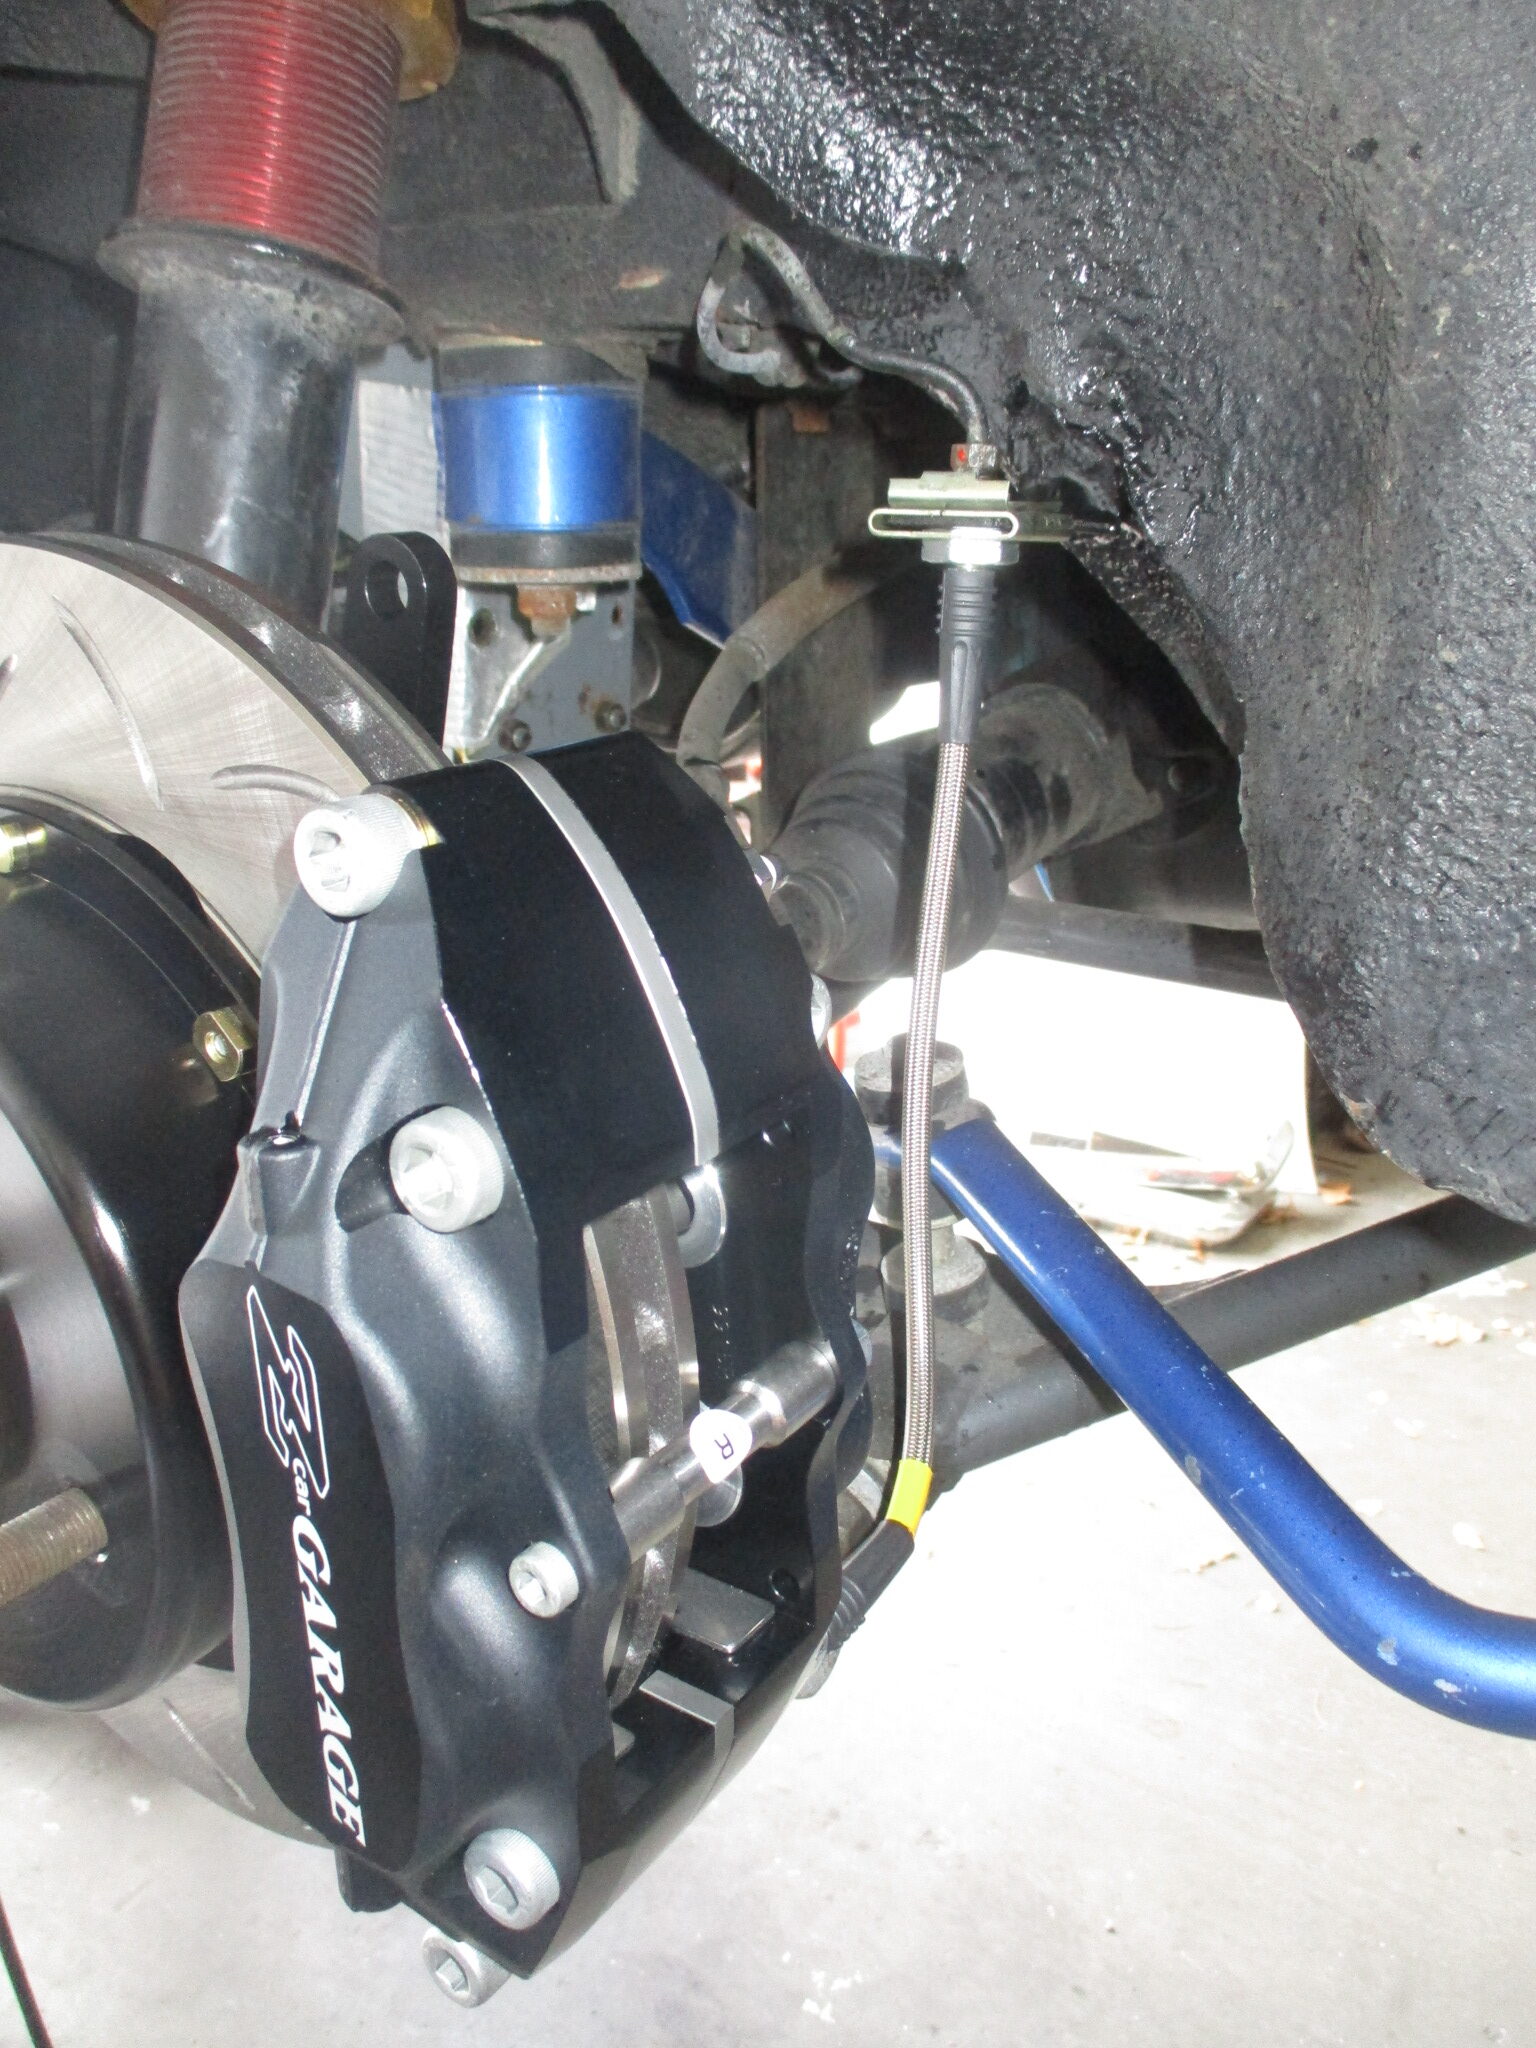
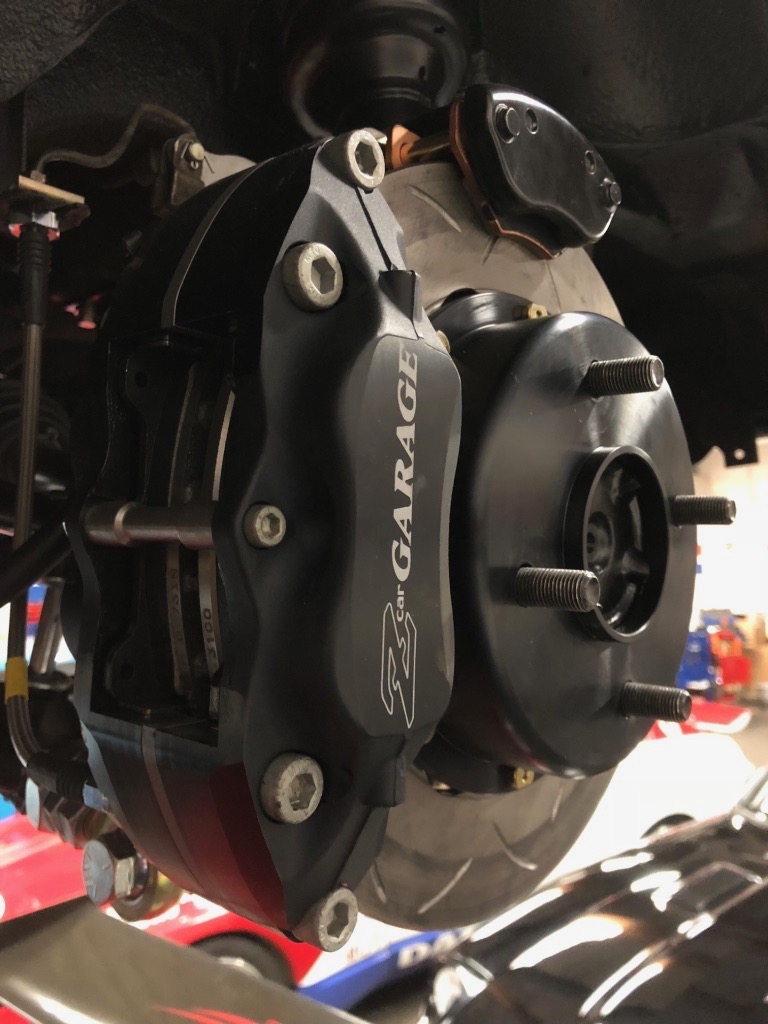
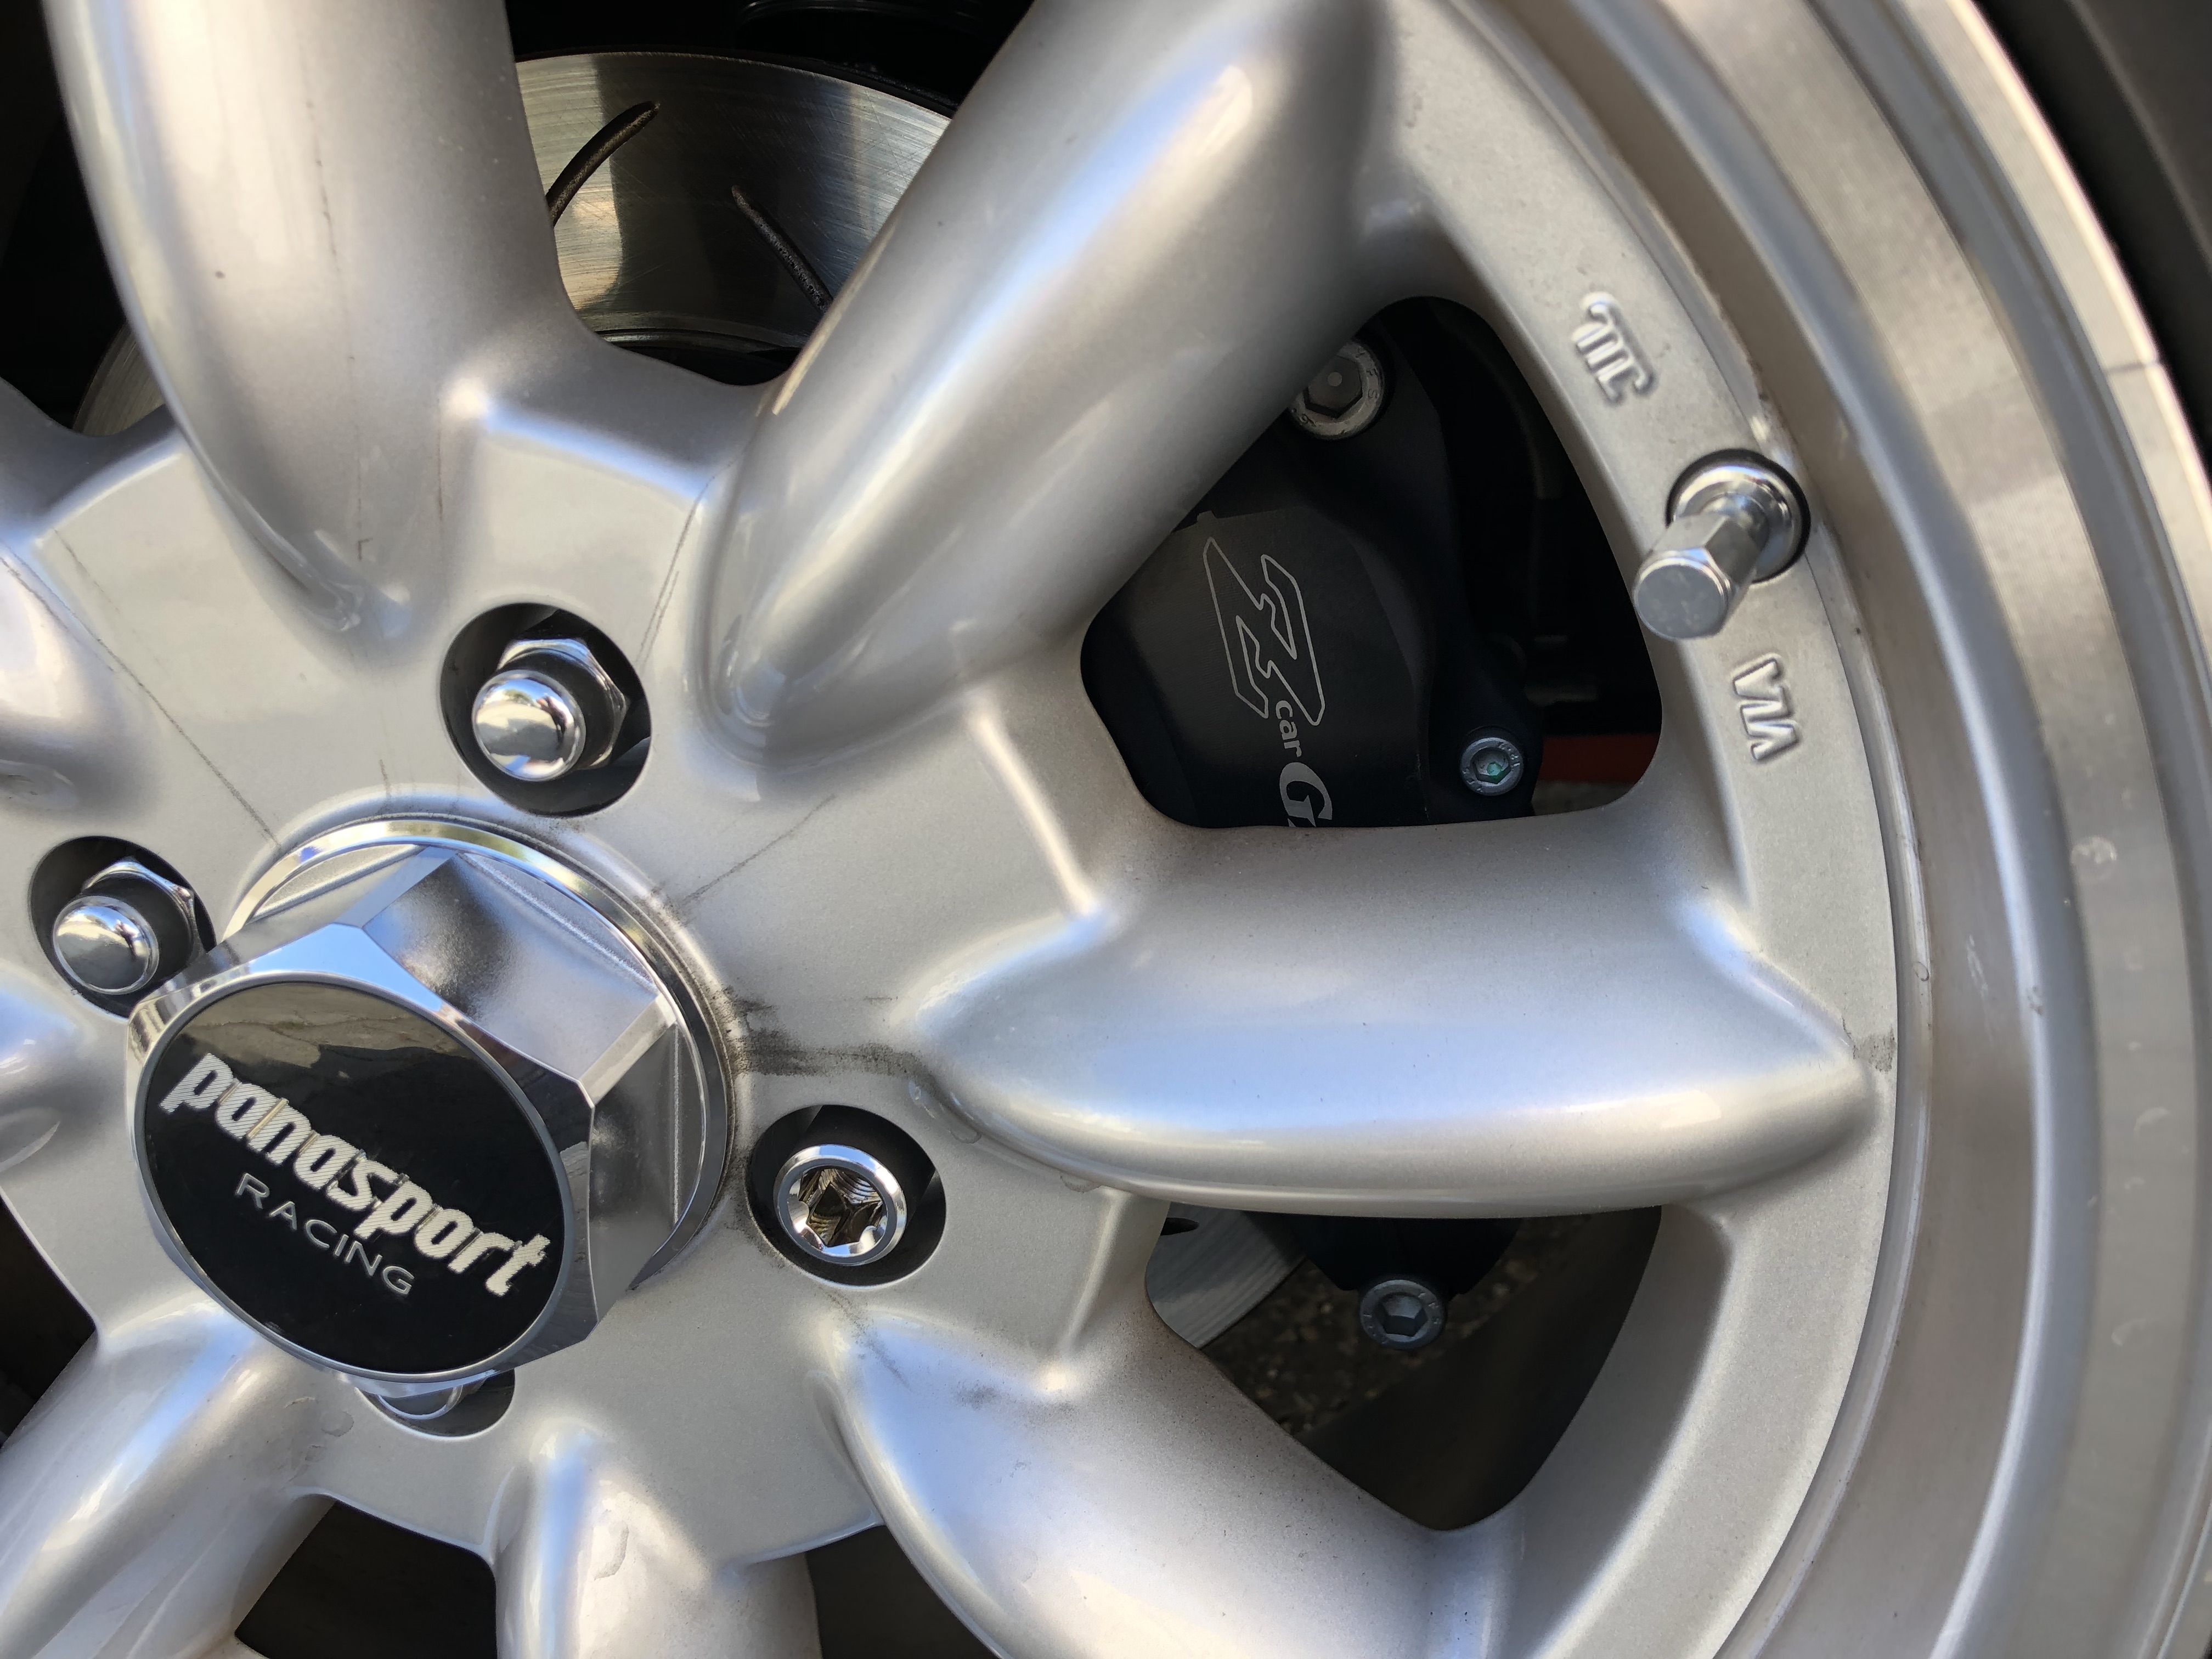
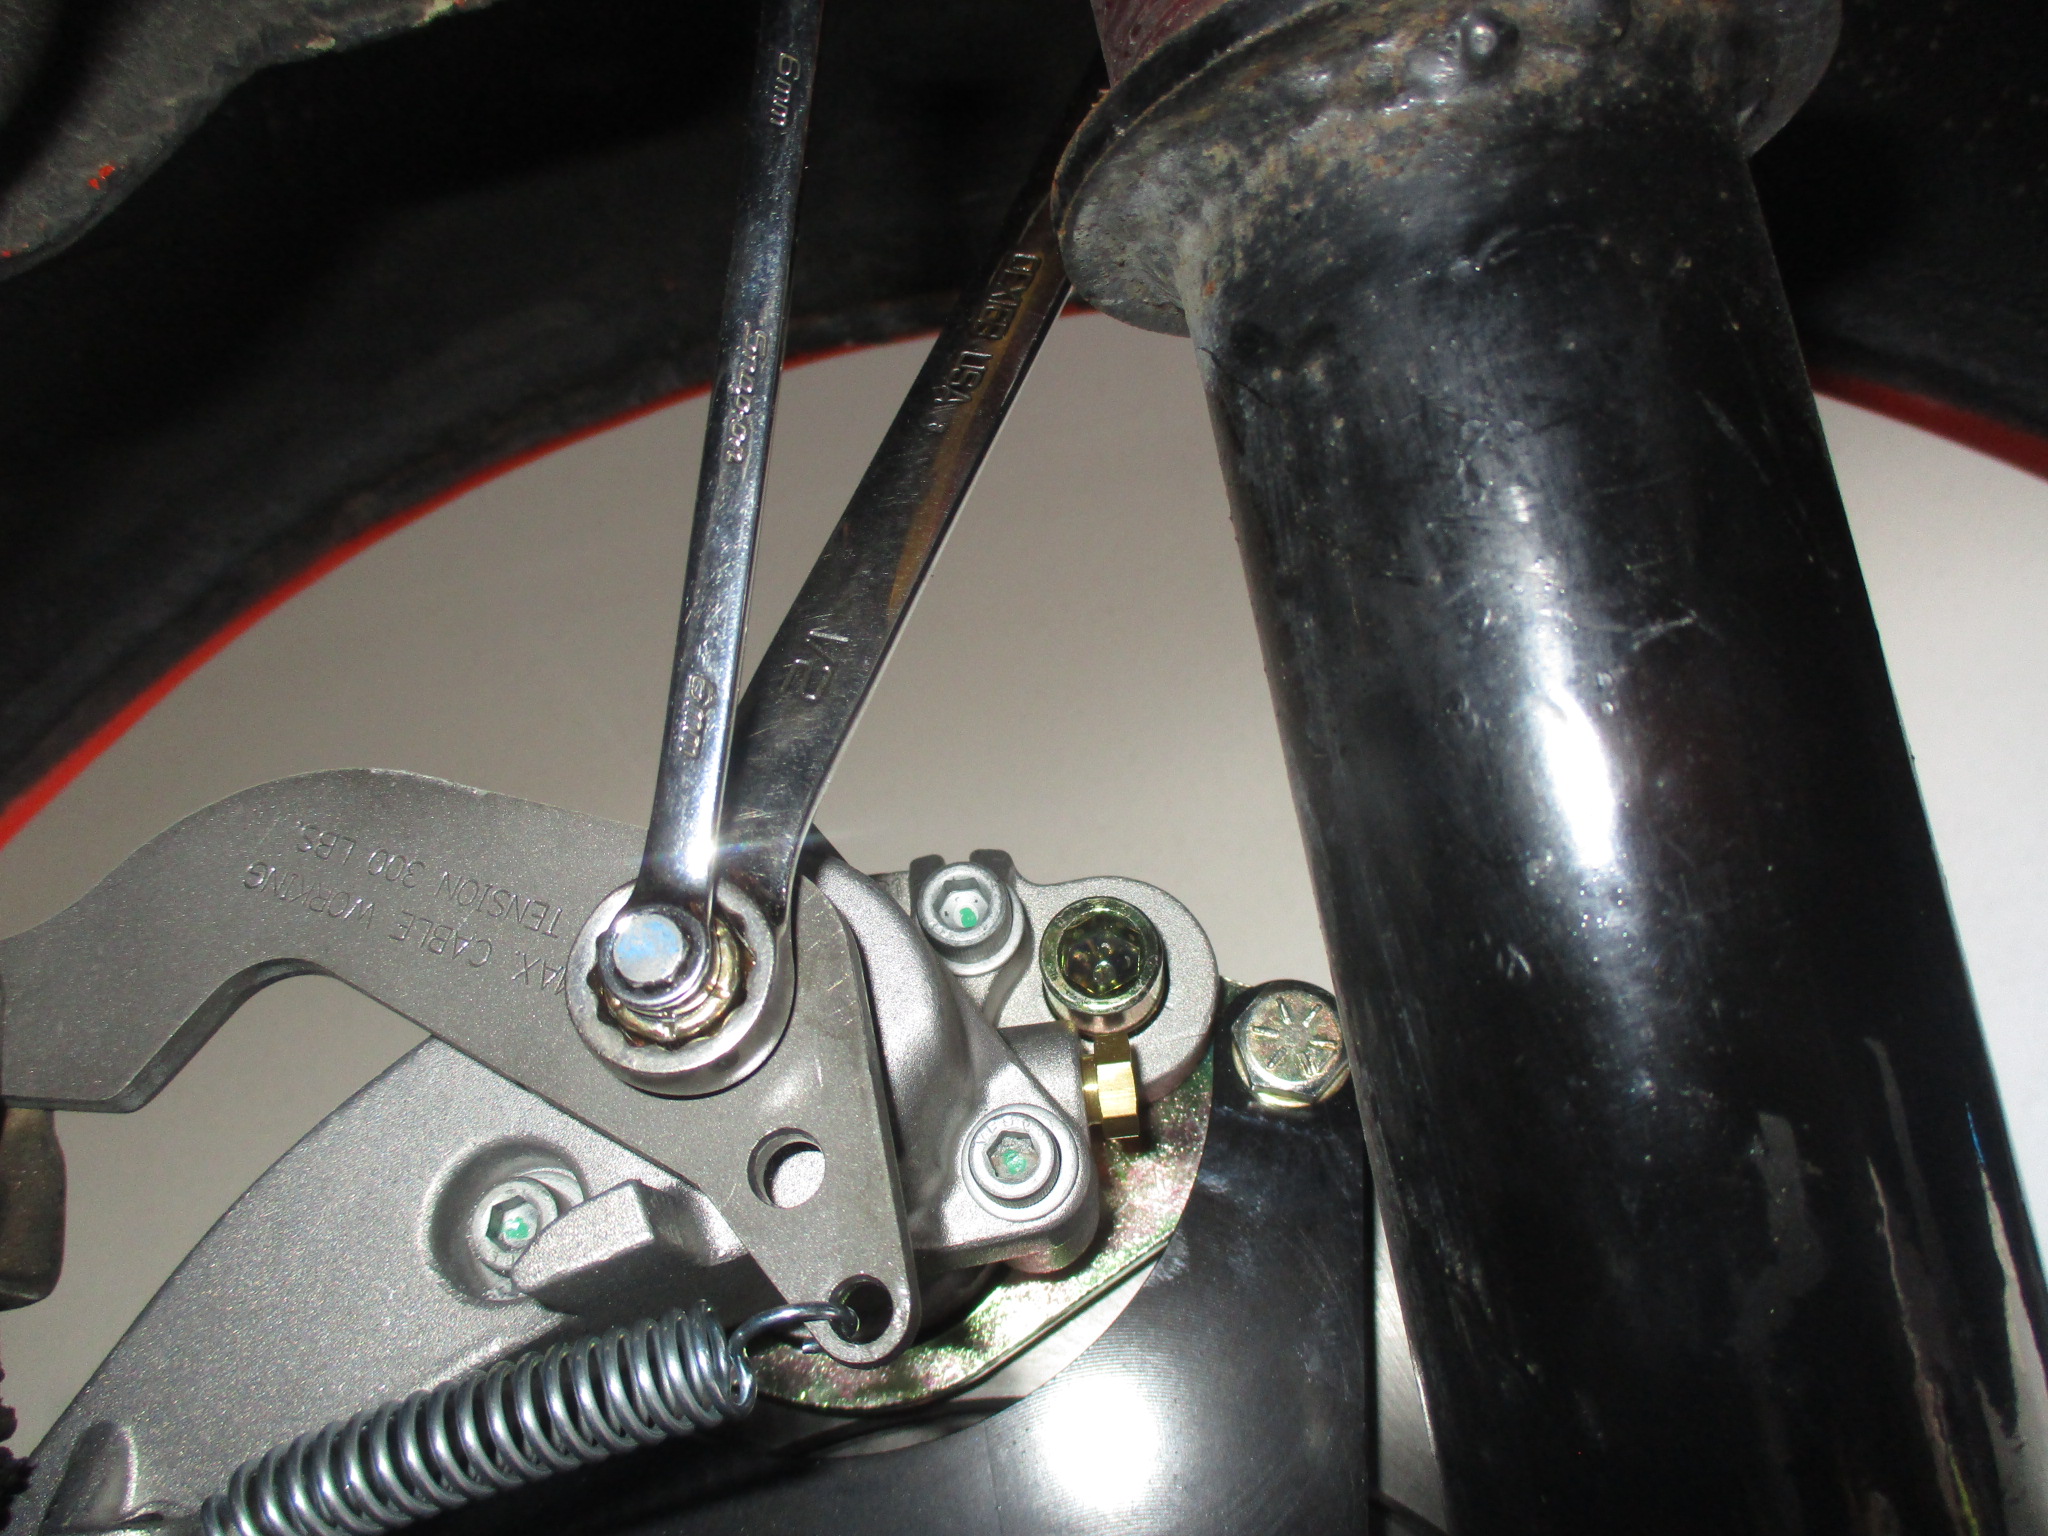
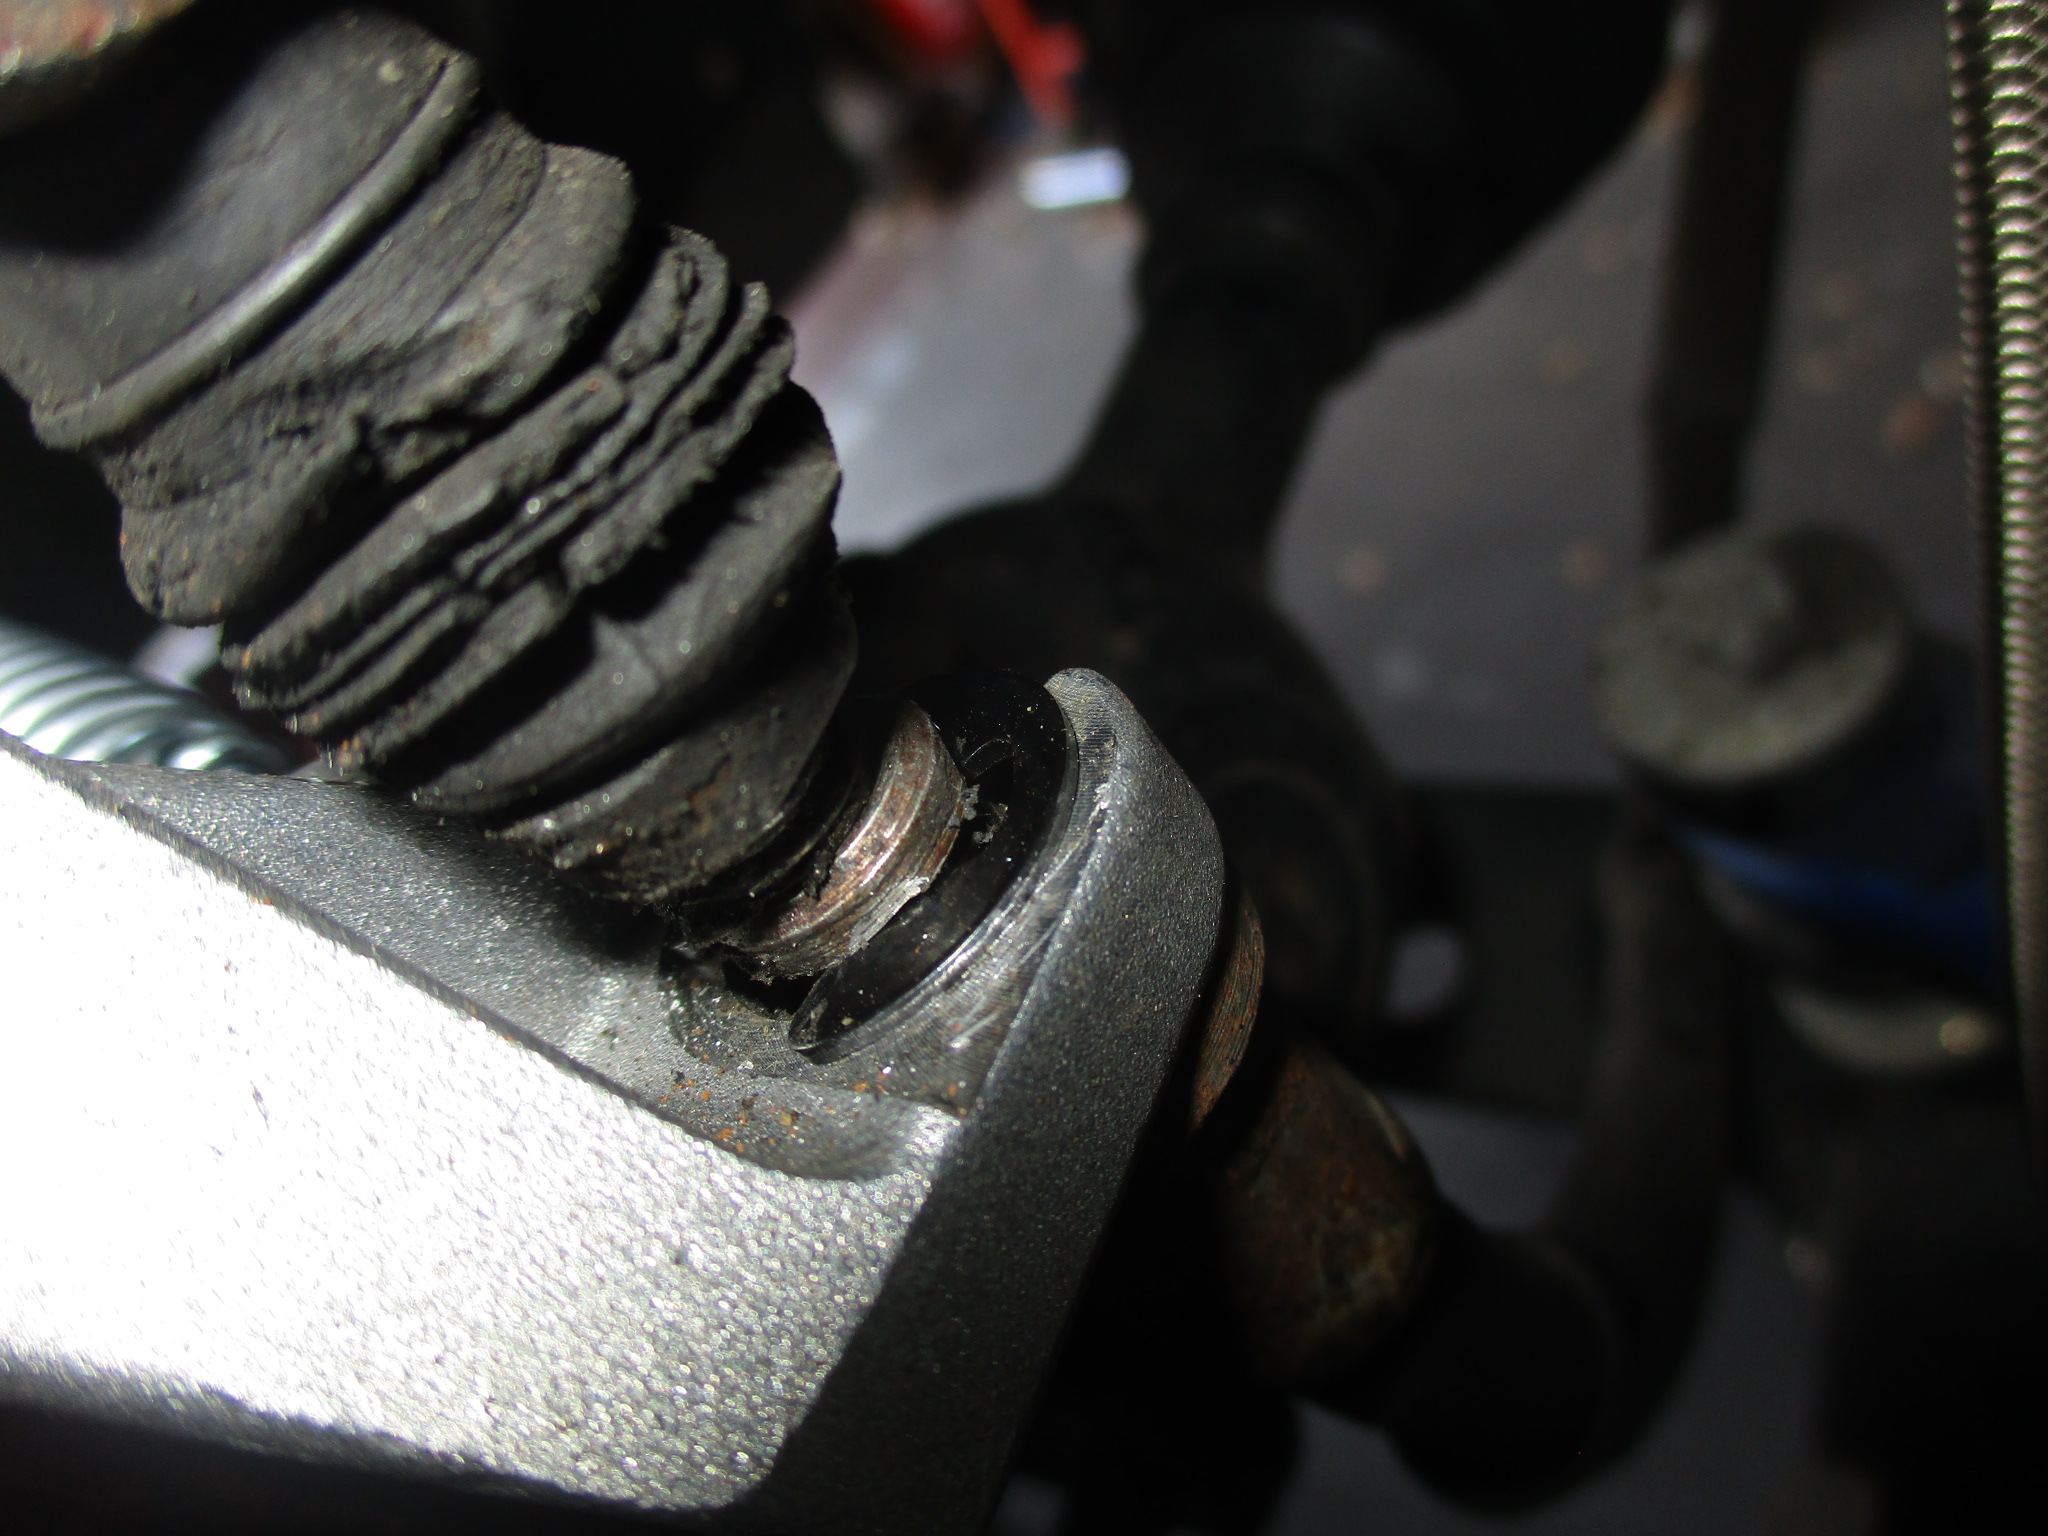
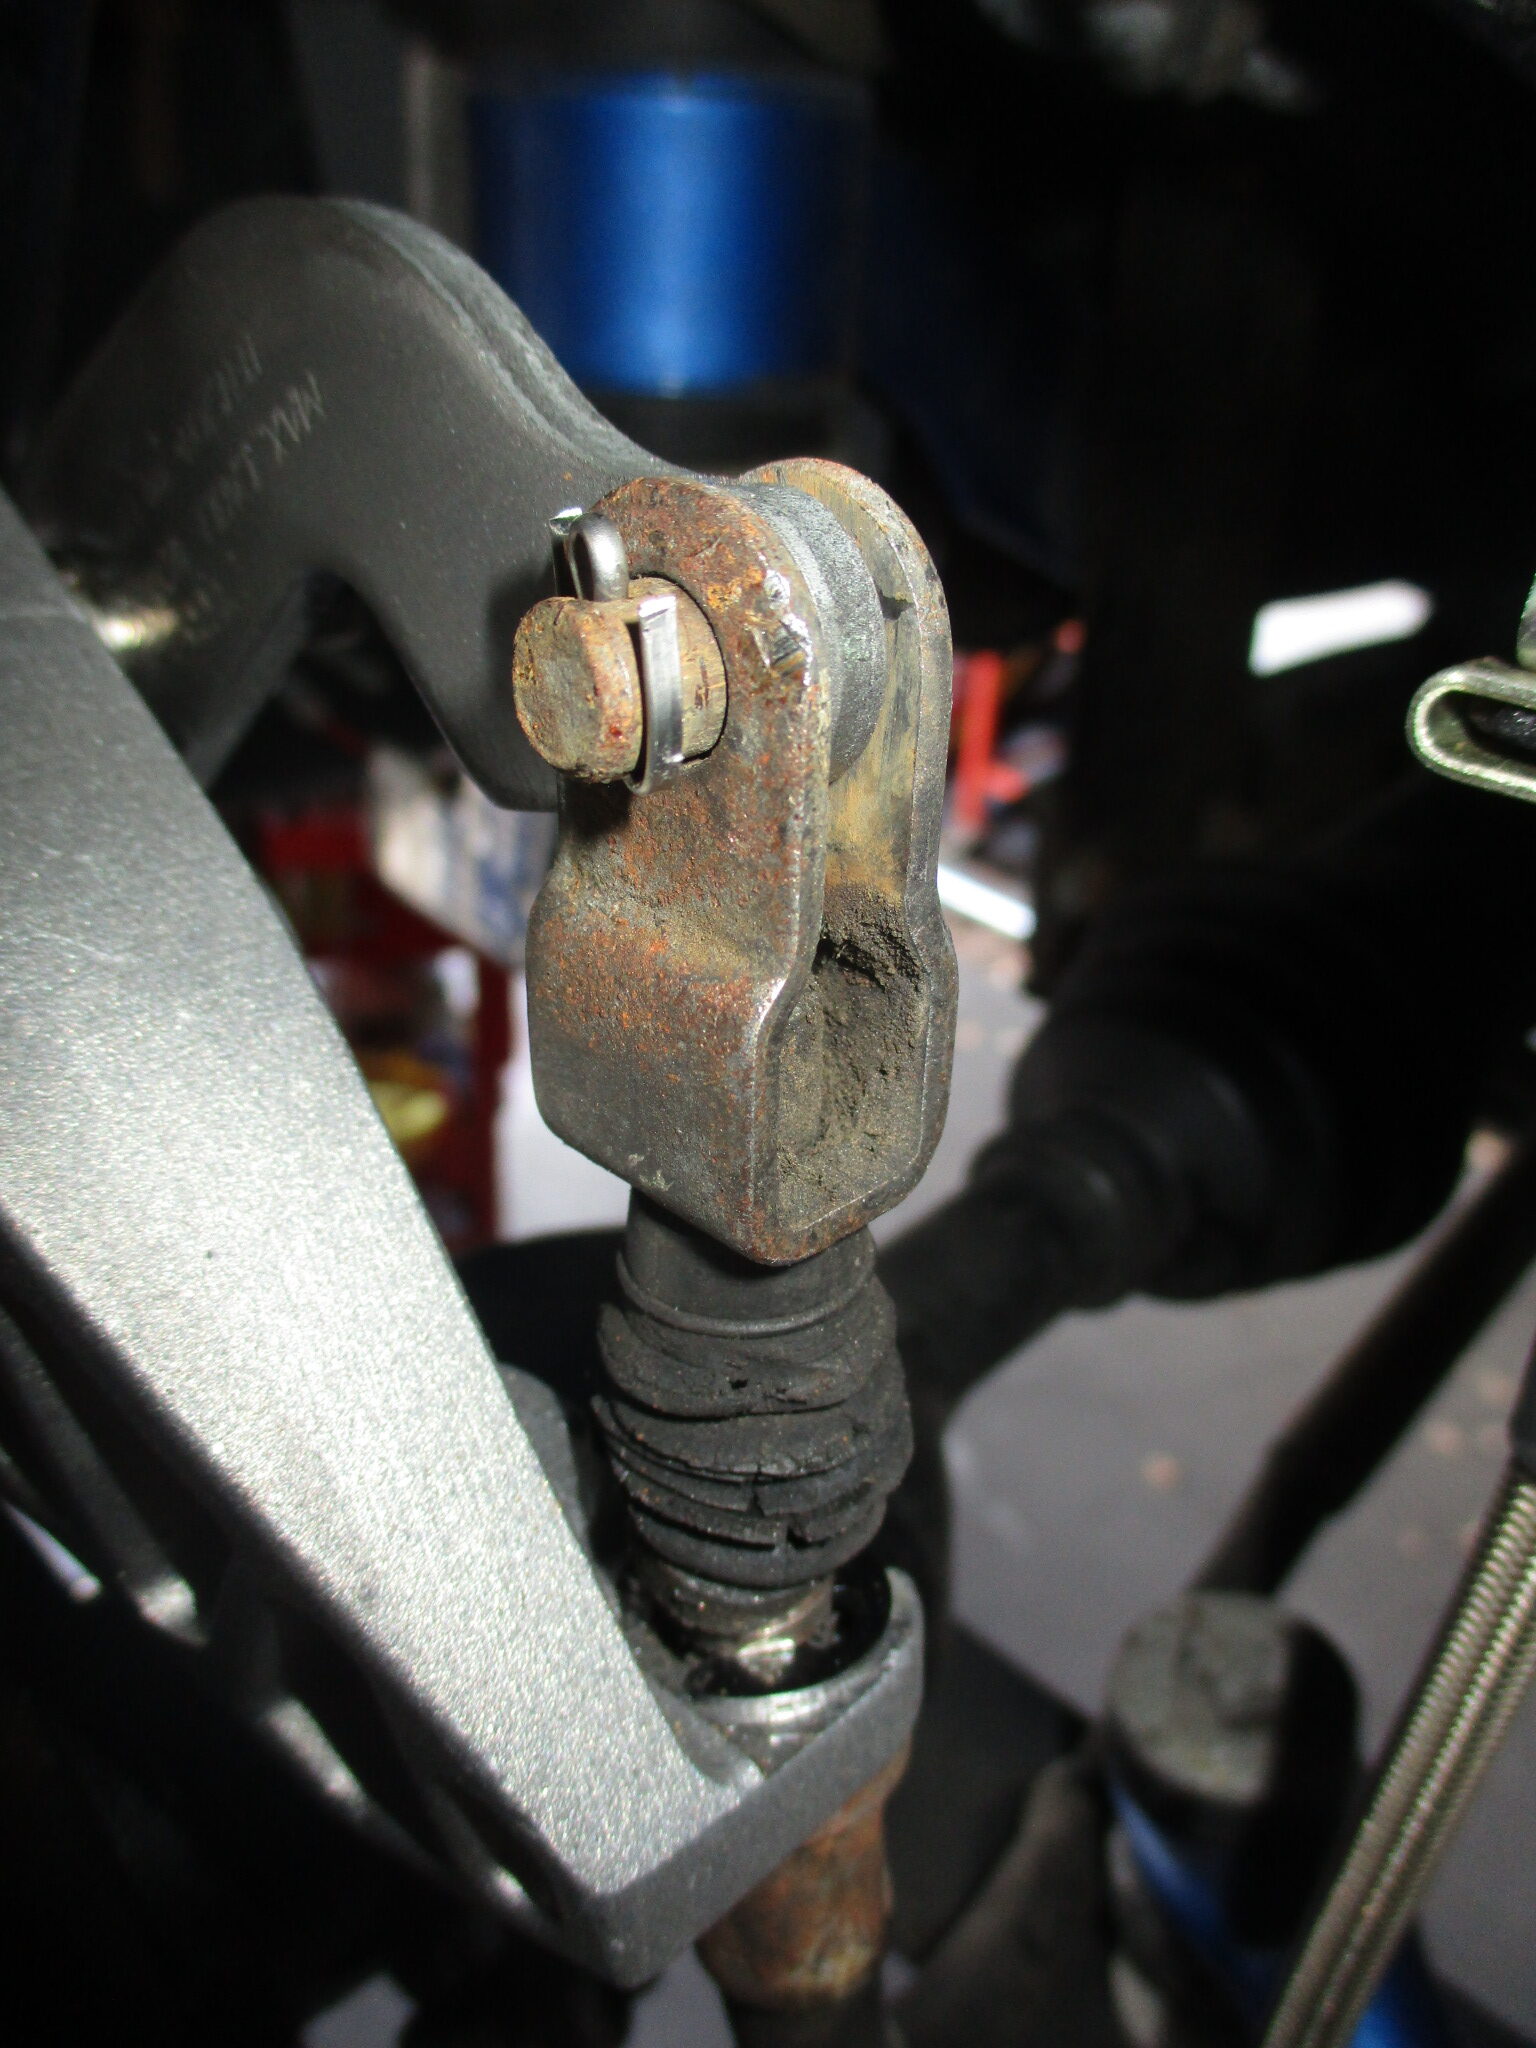
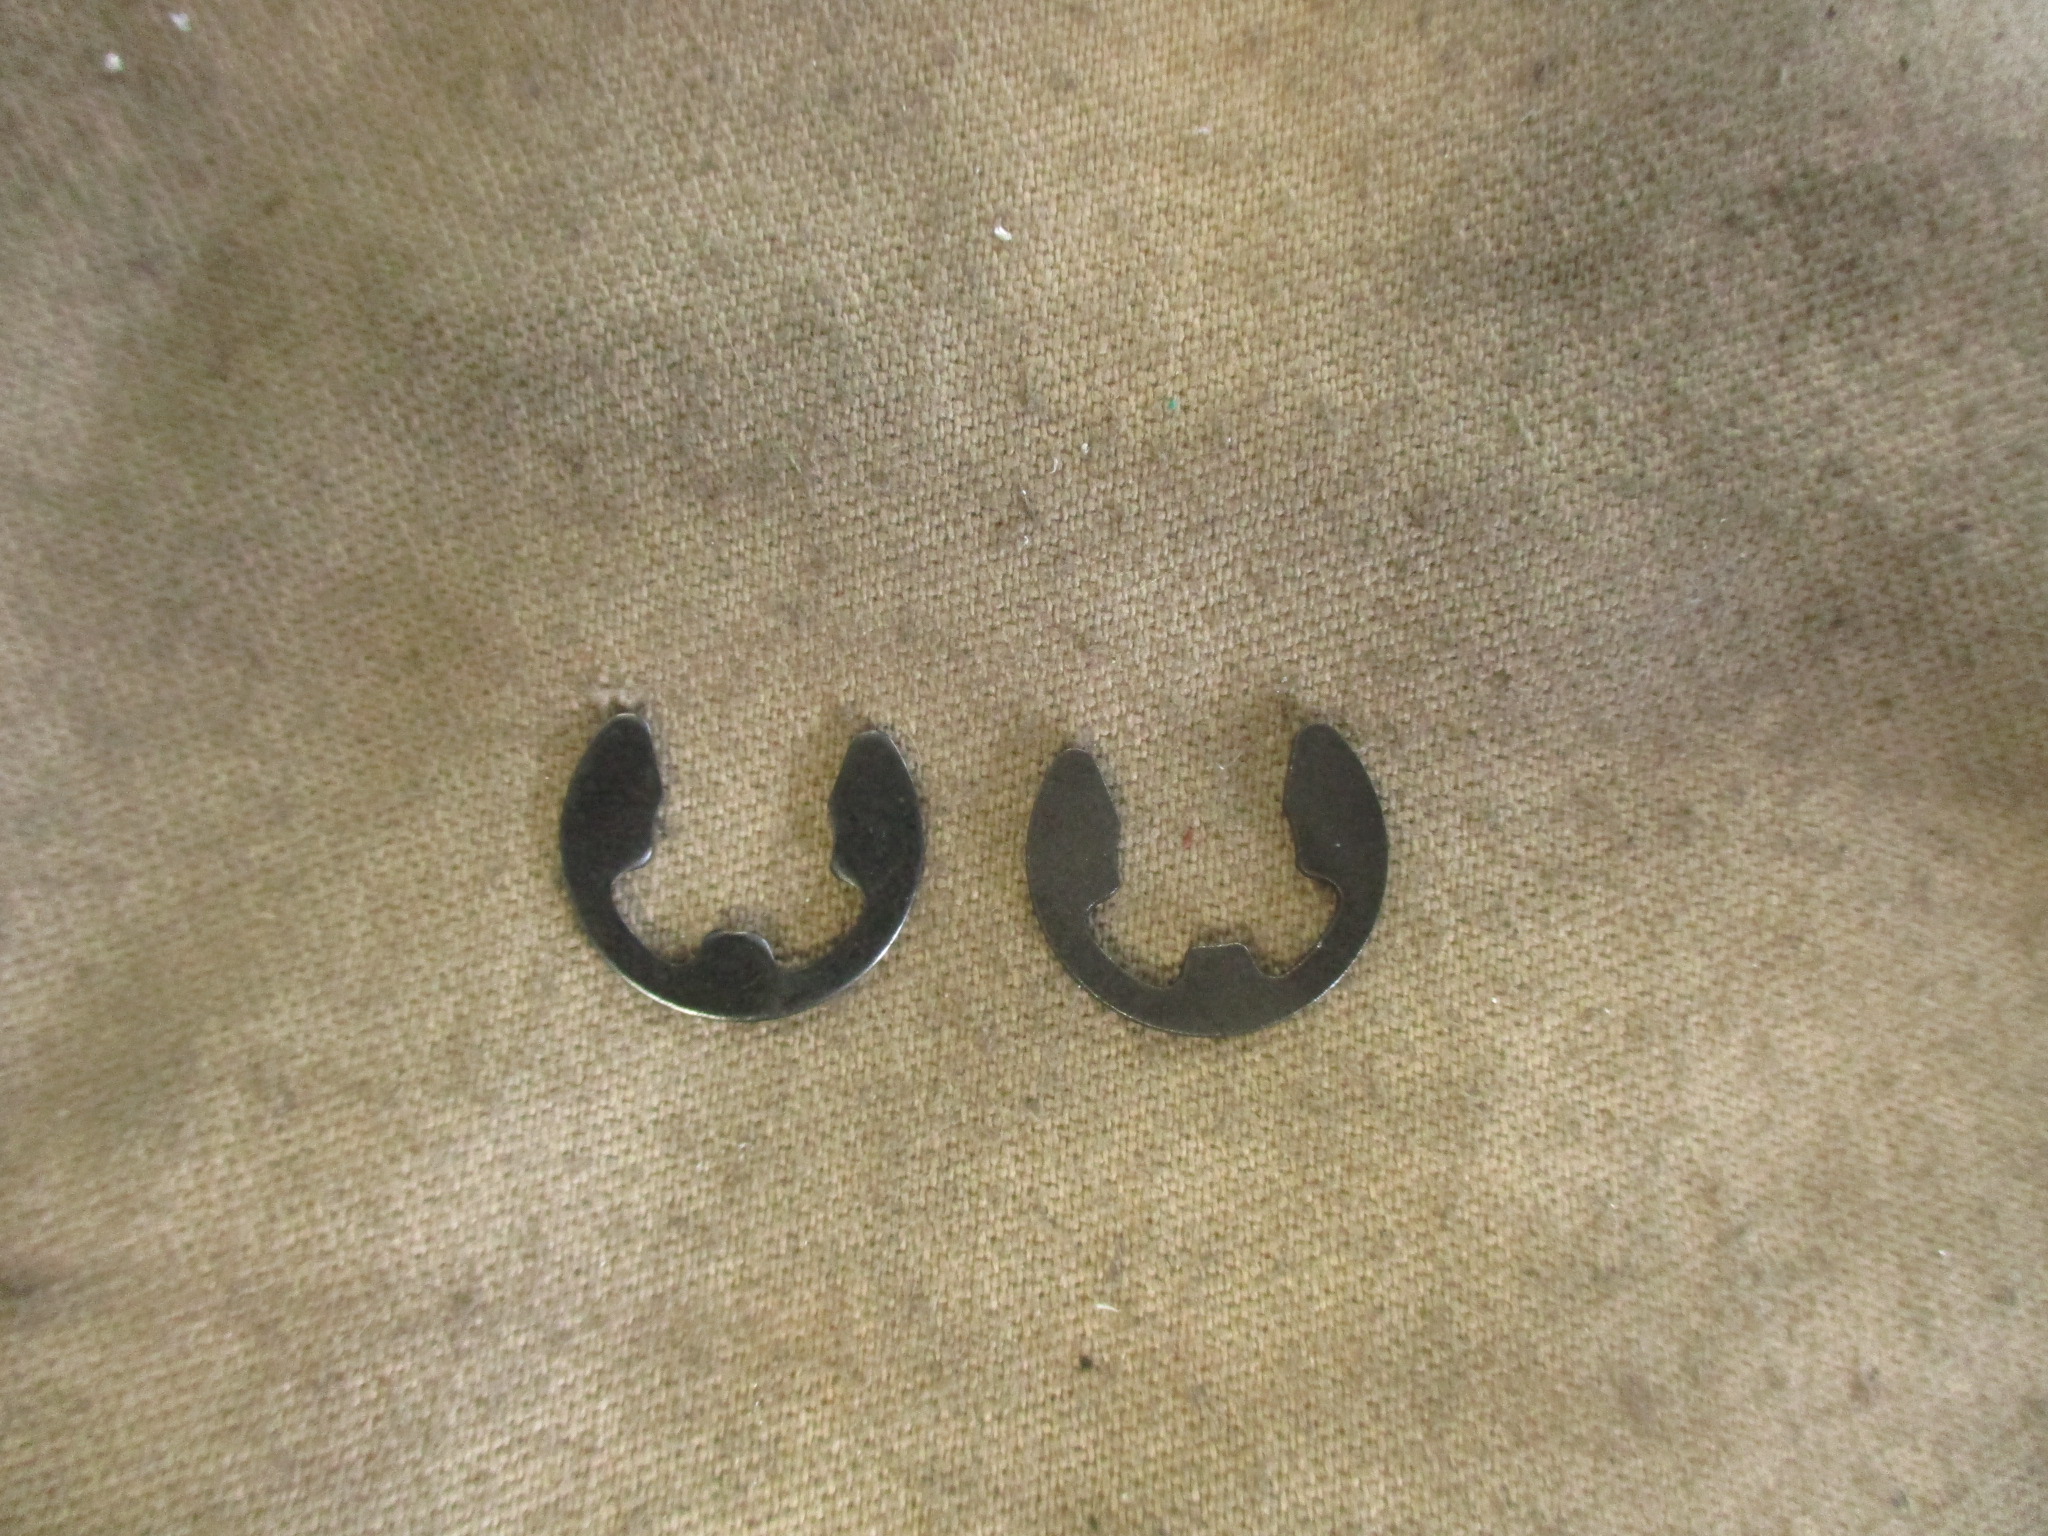
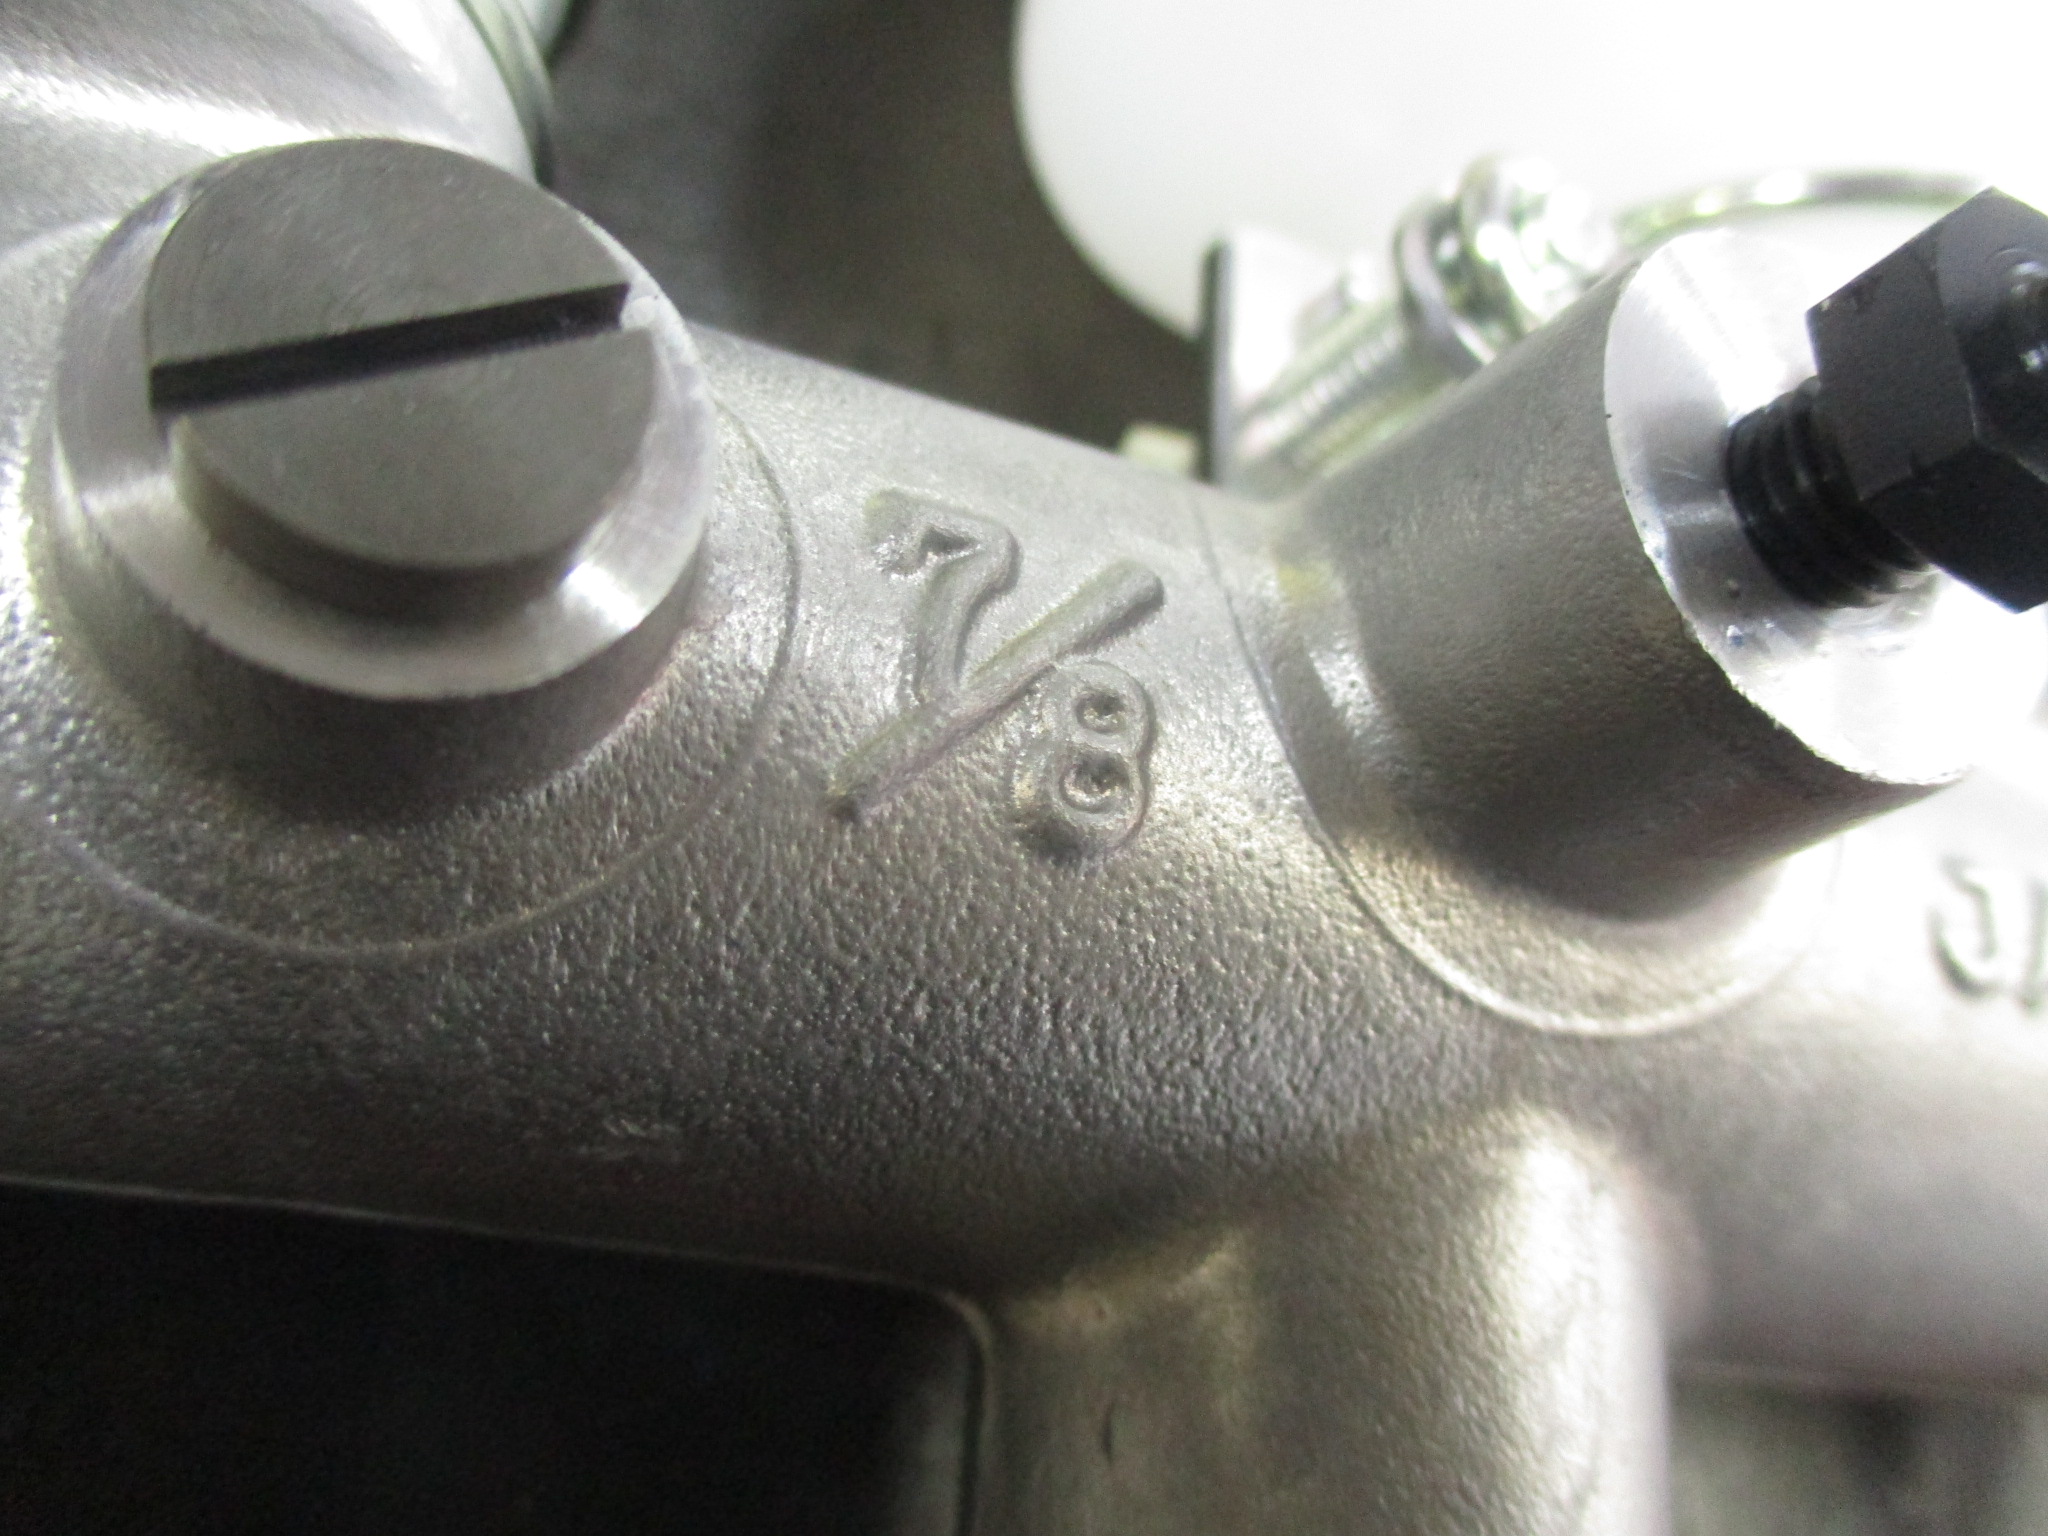
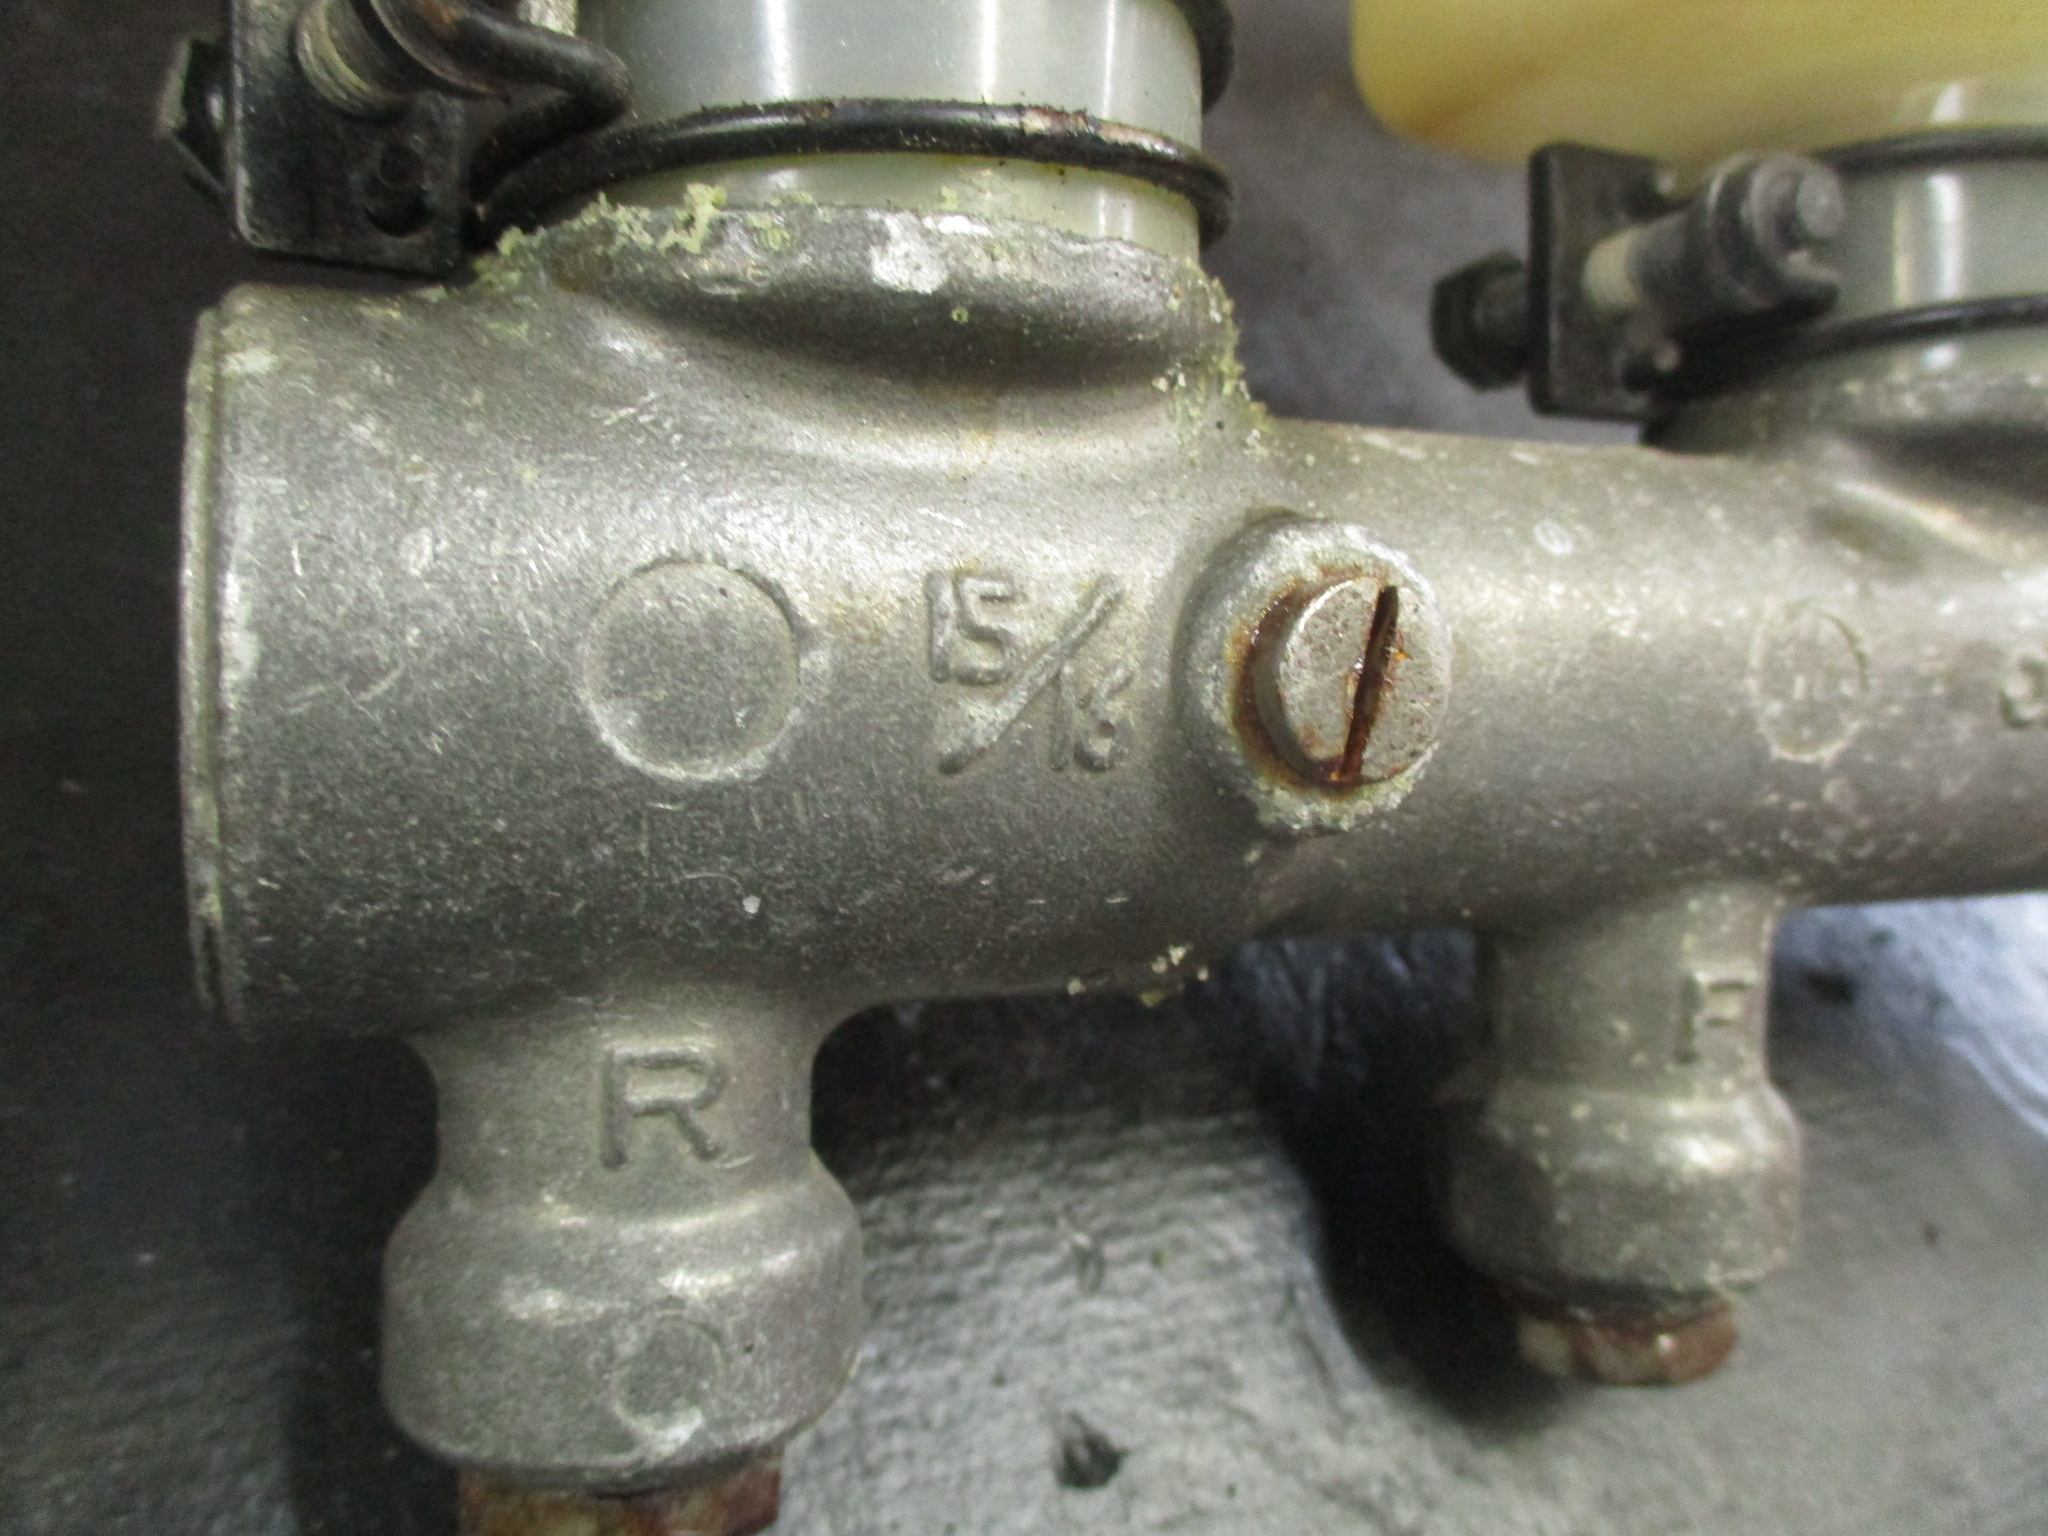
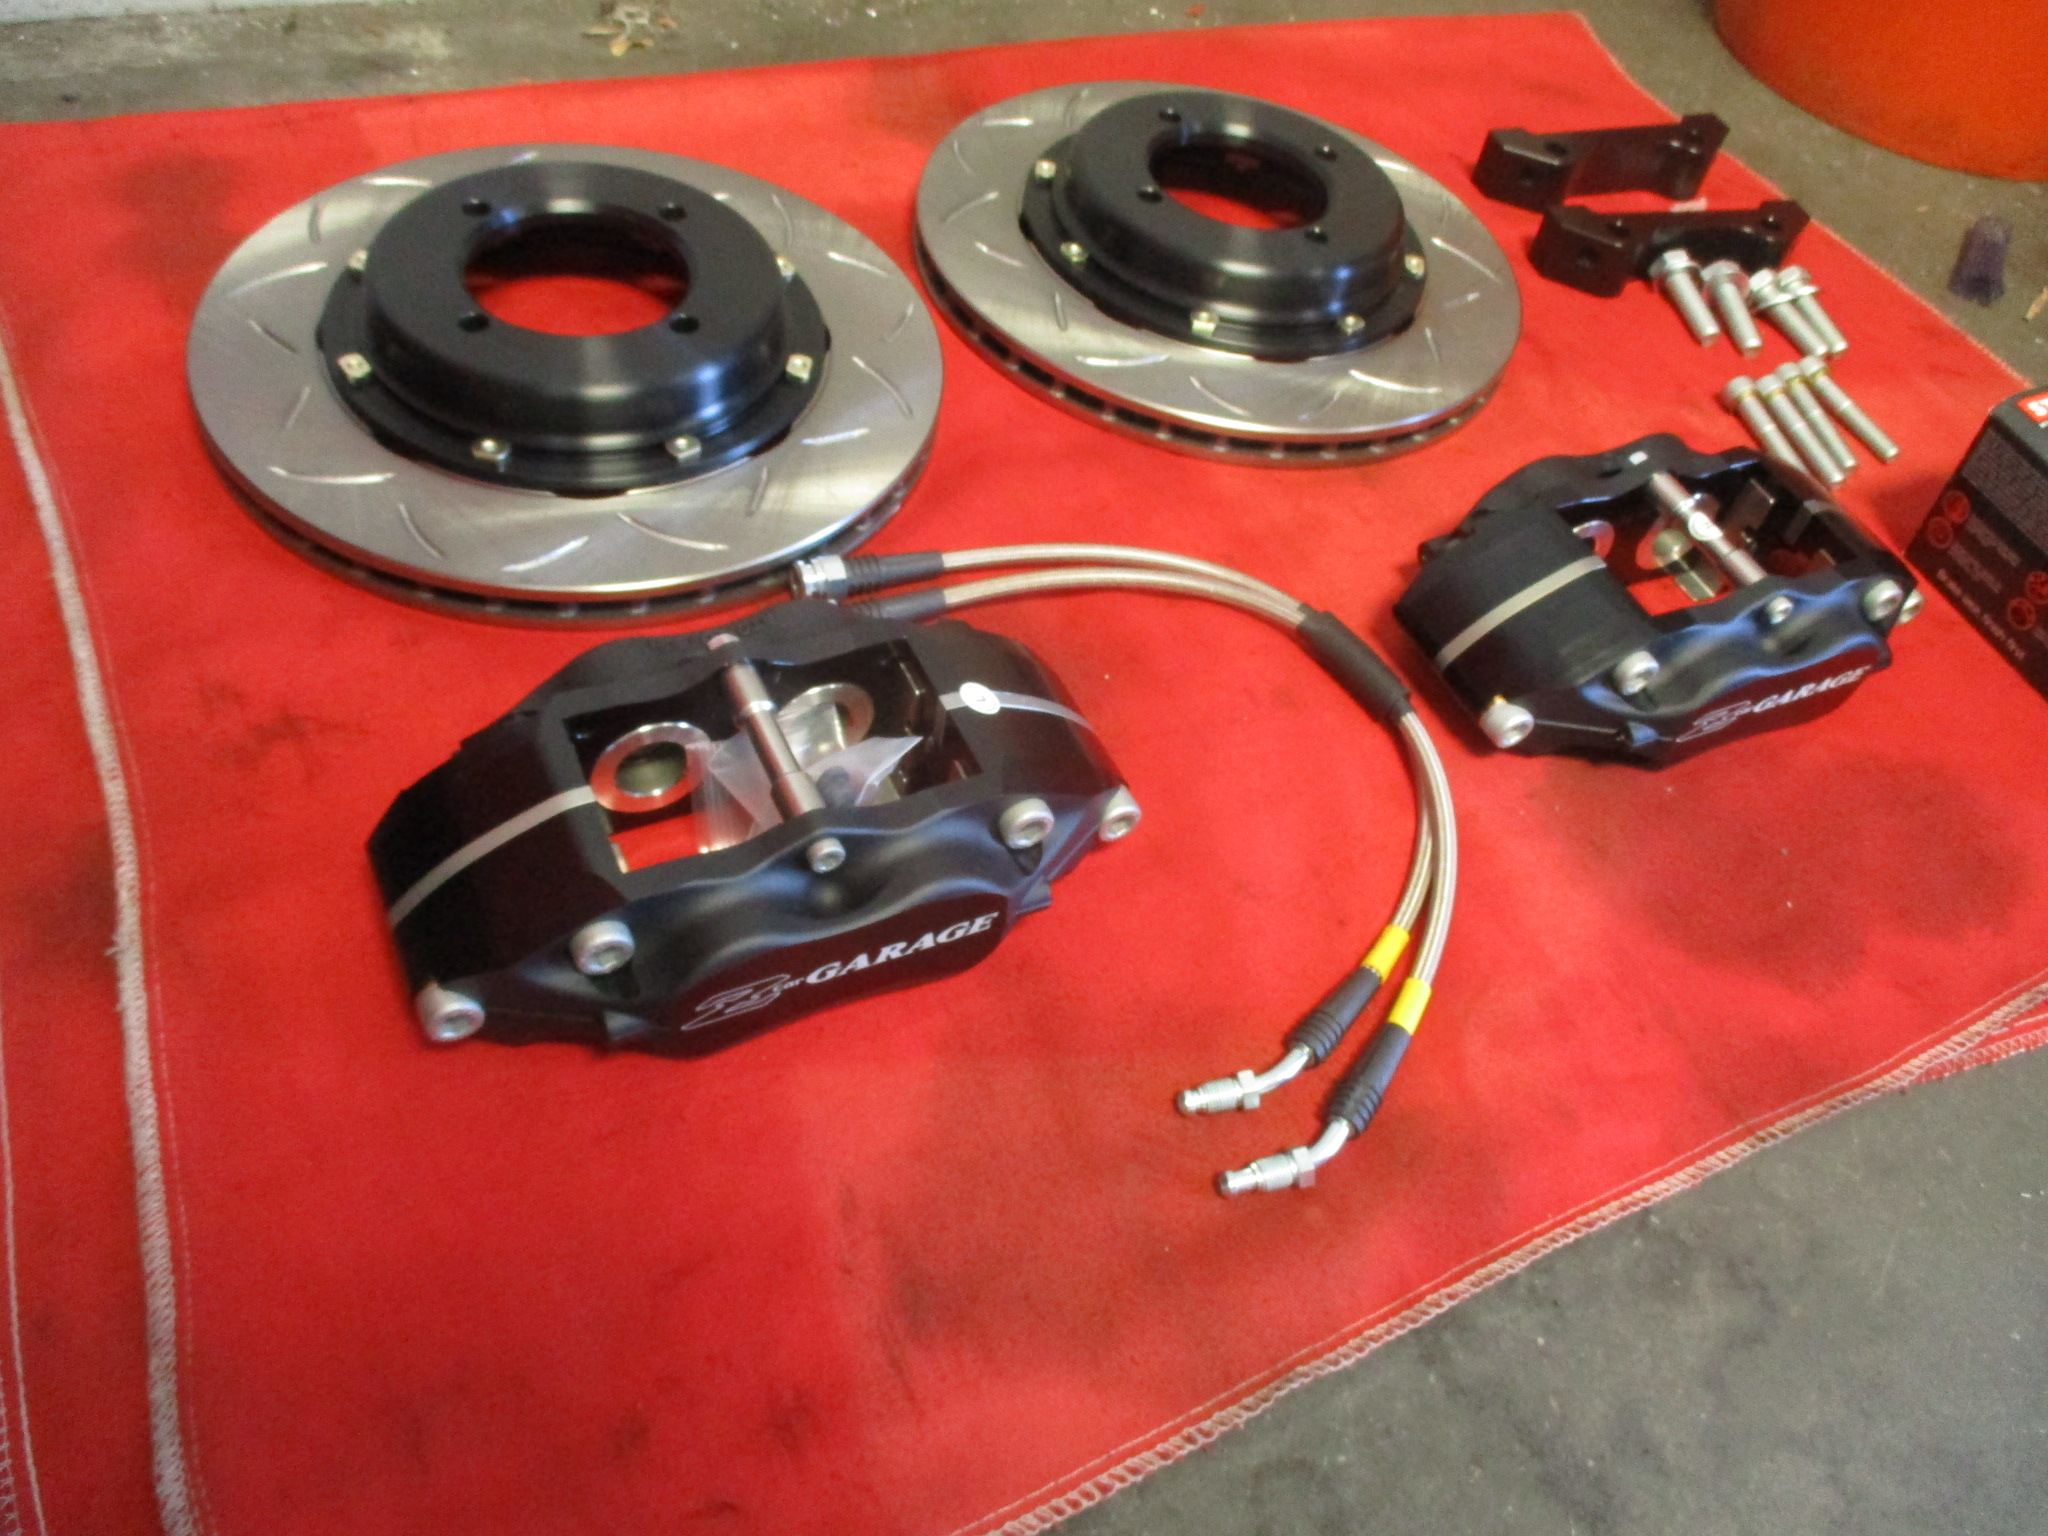
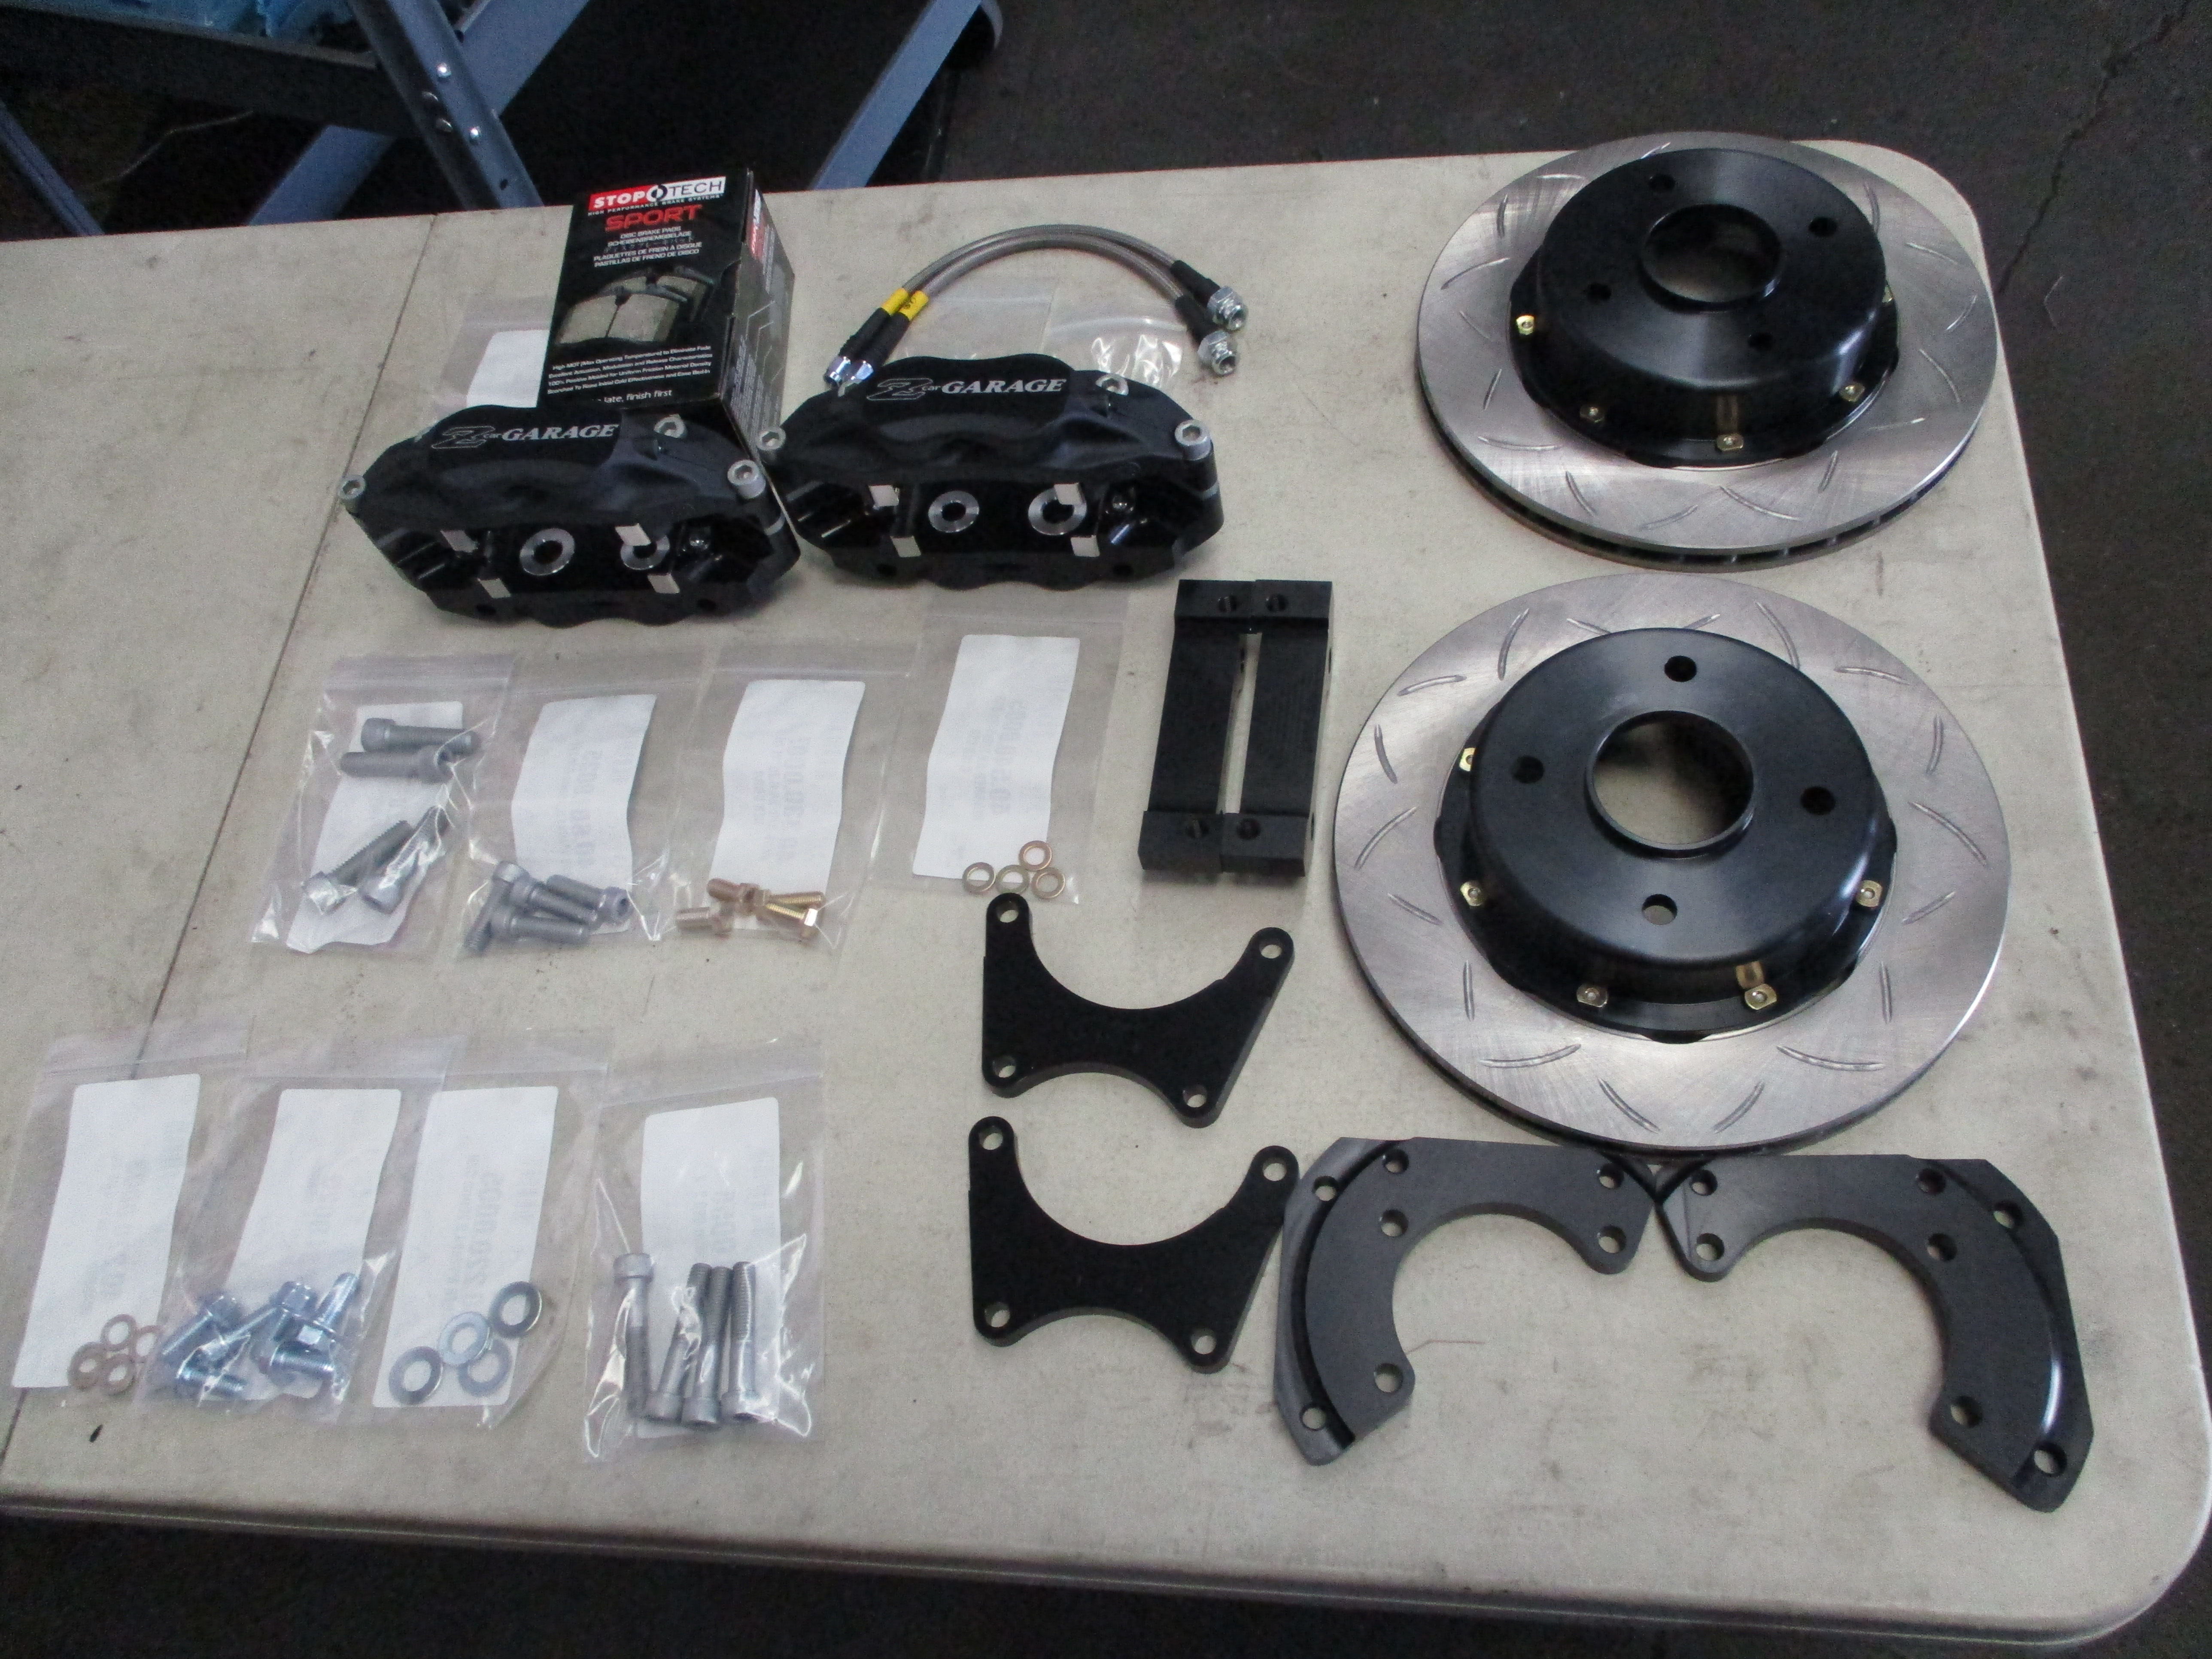
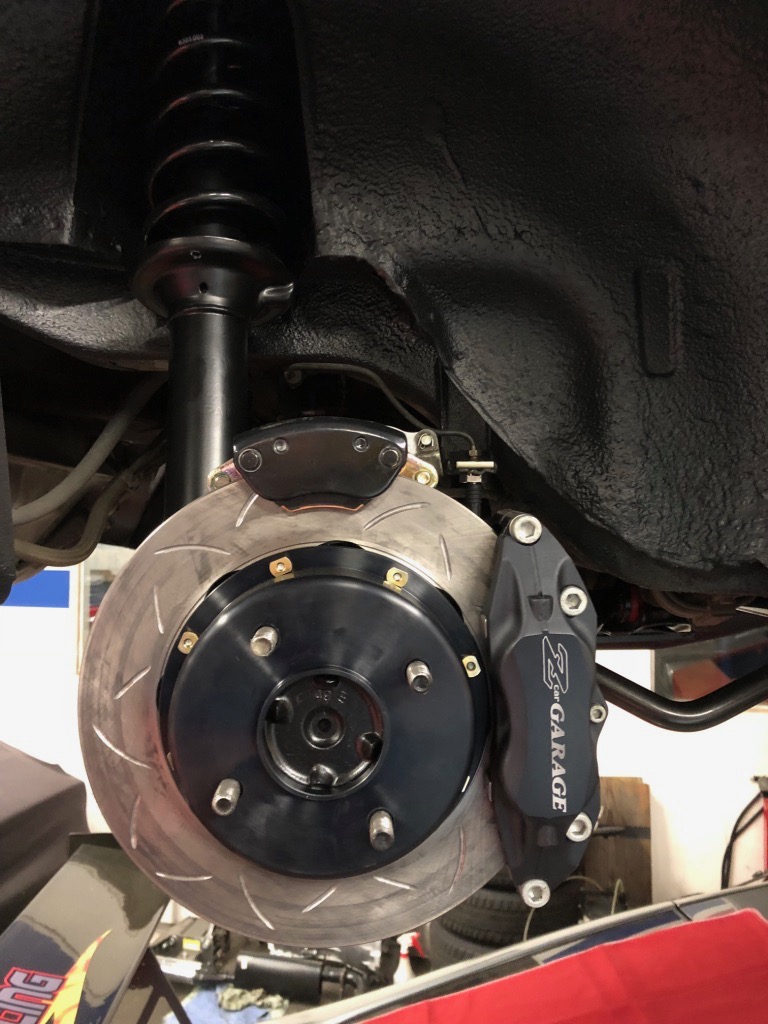
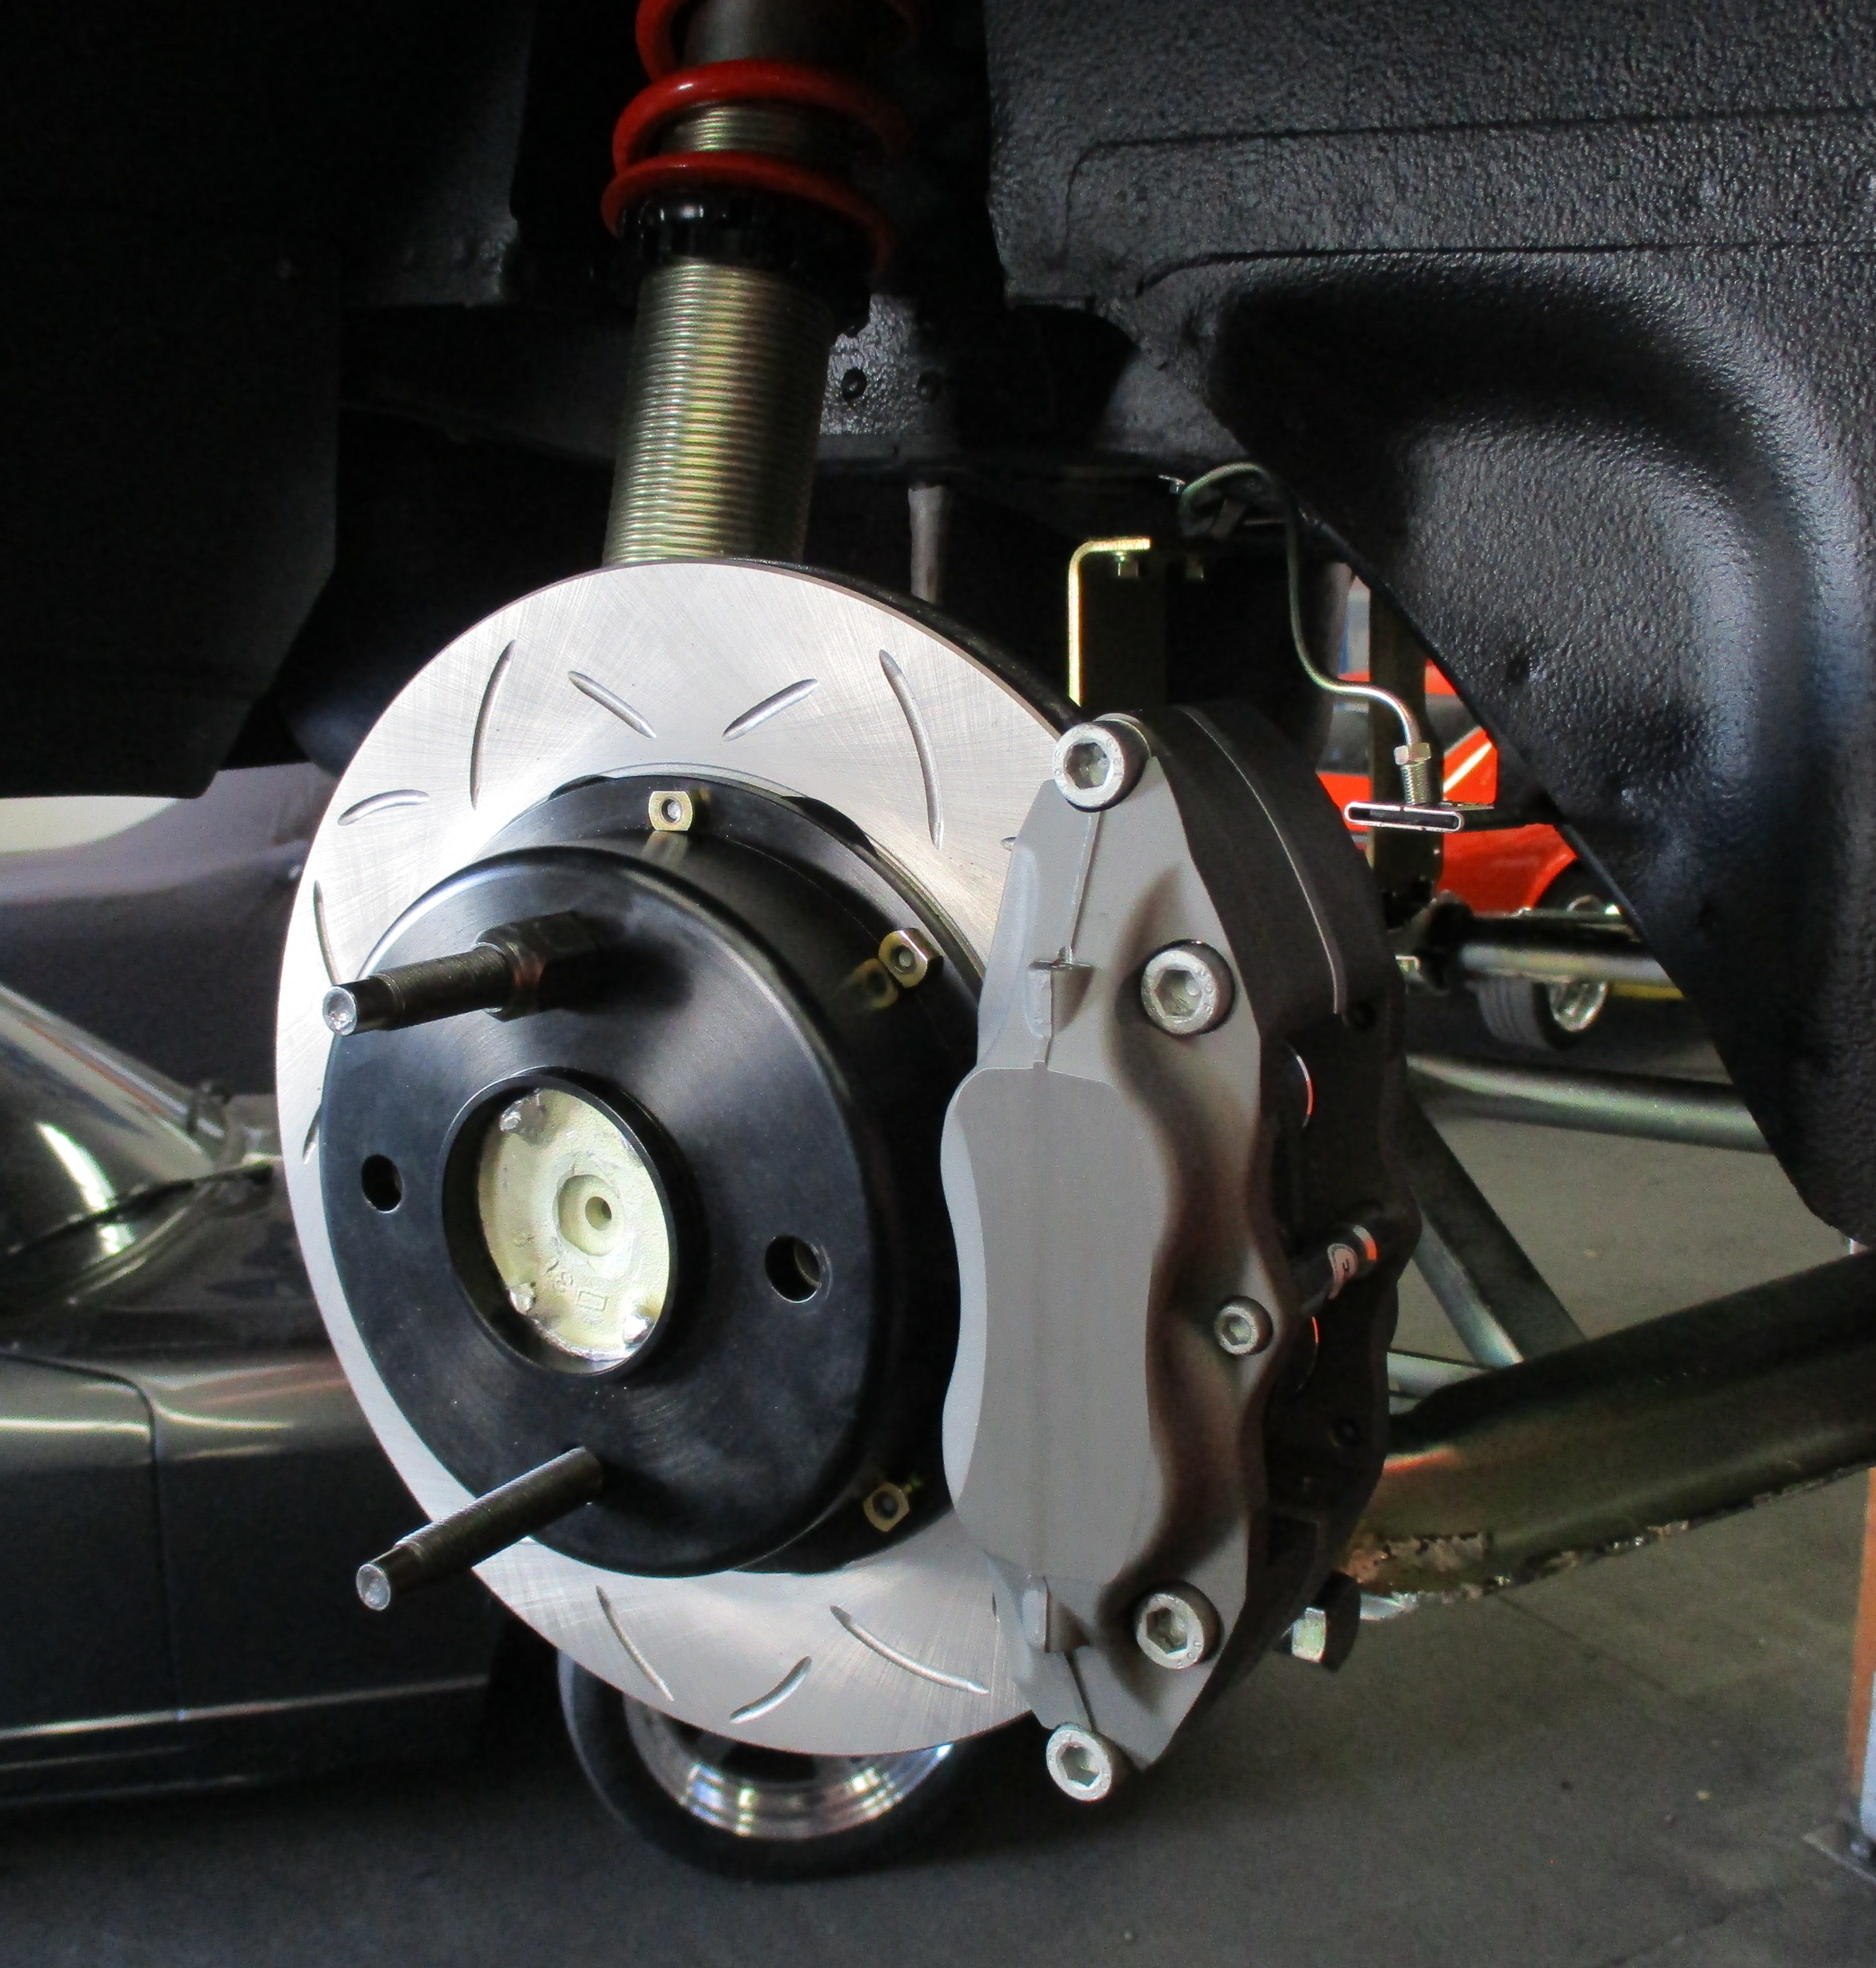
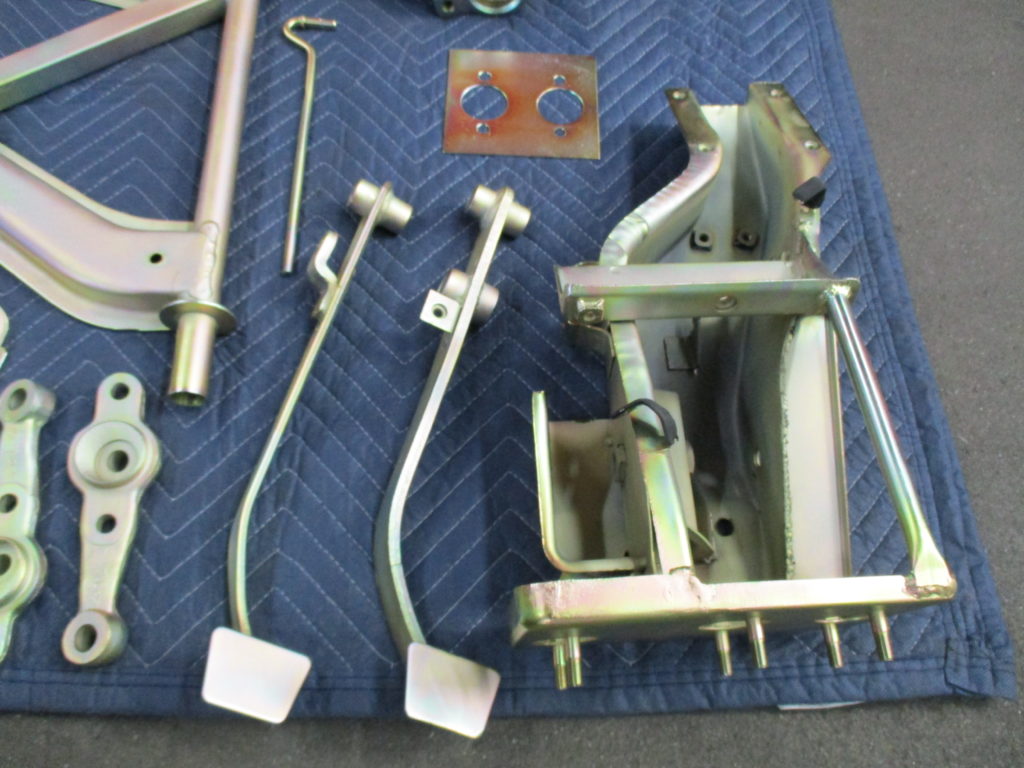
A few closer detail shots of the calipers, rotors and hardware:
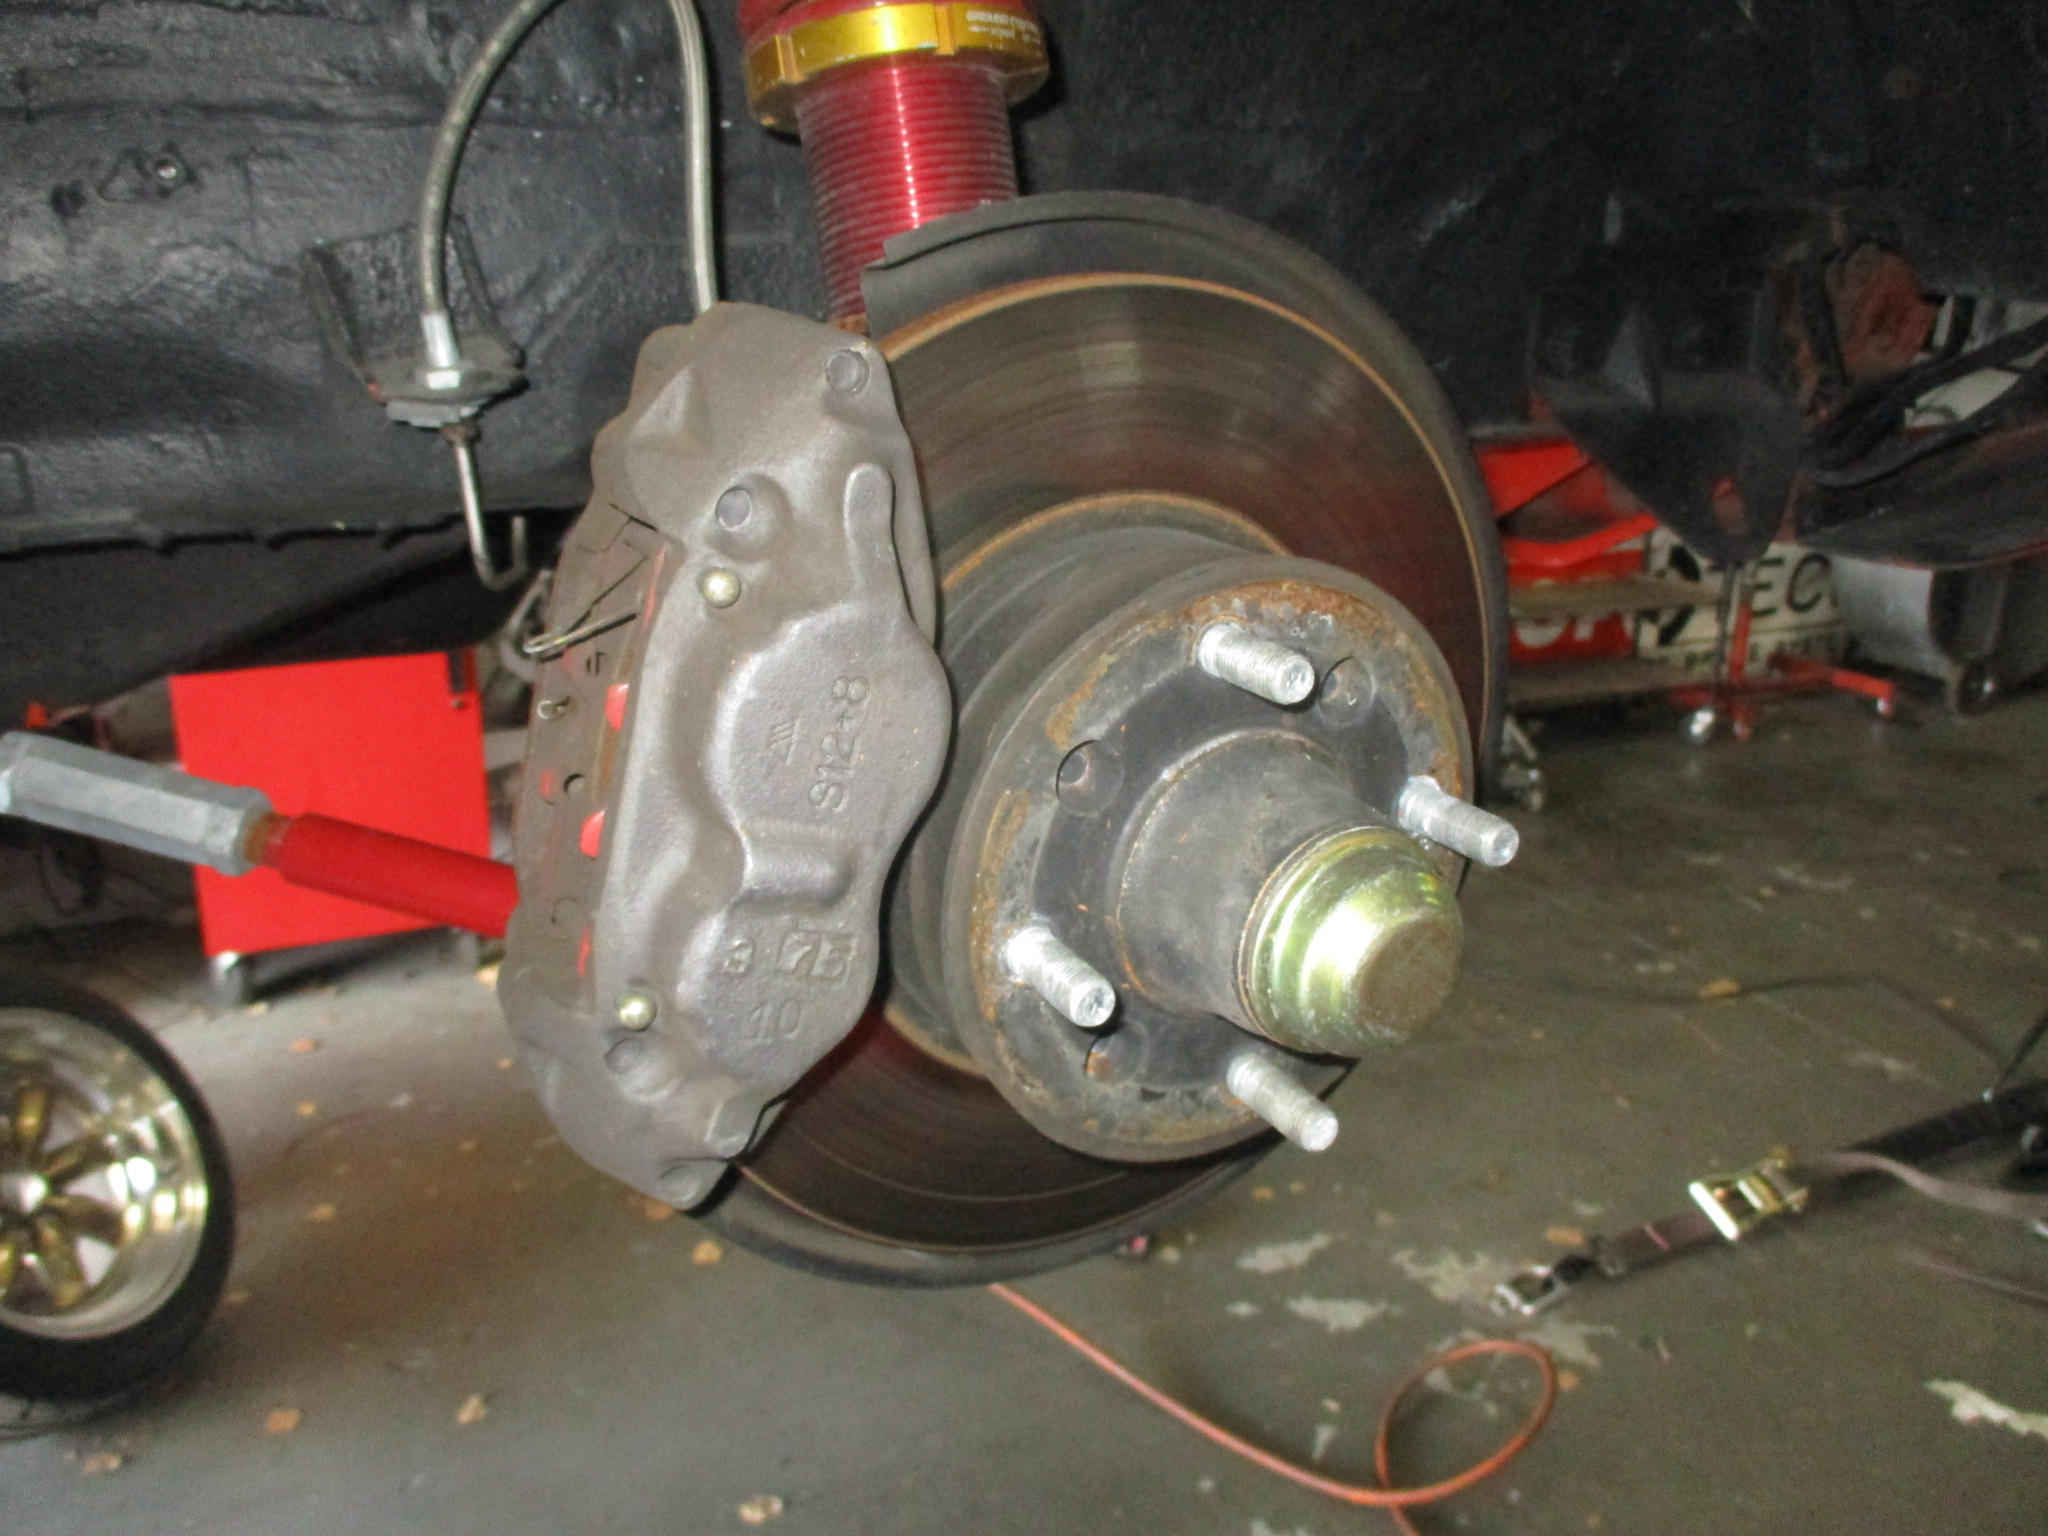
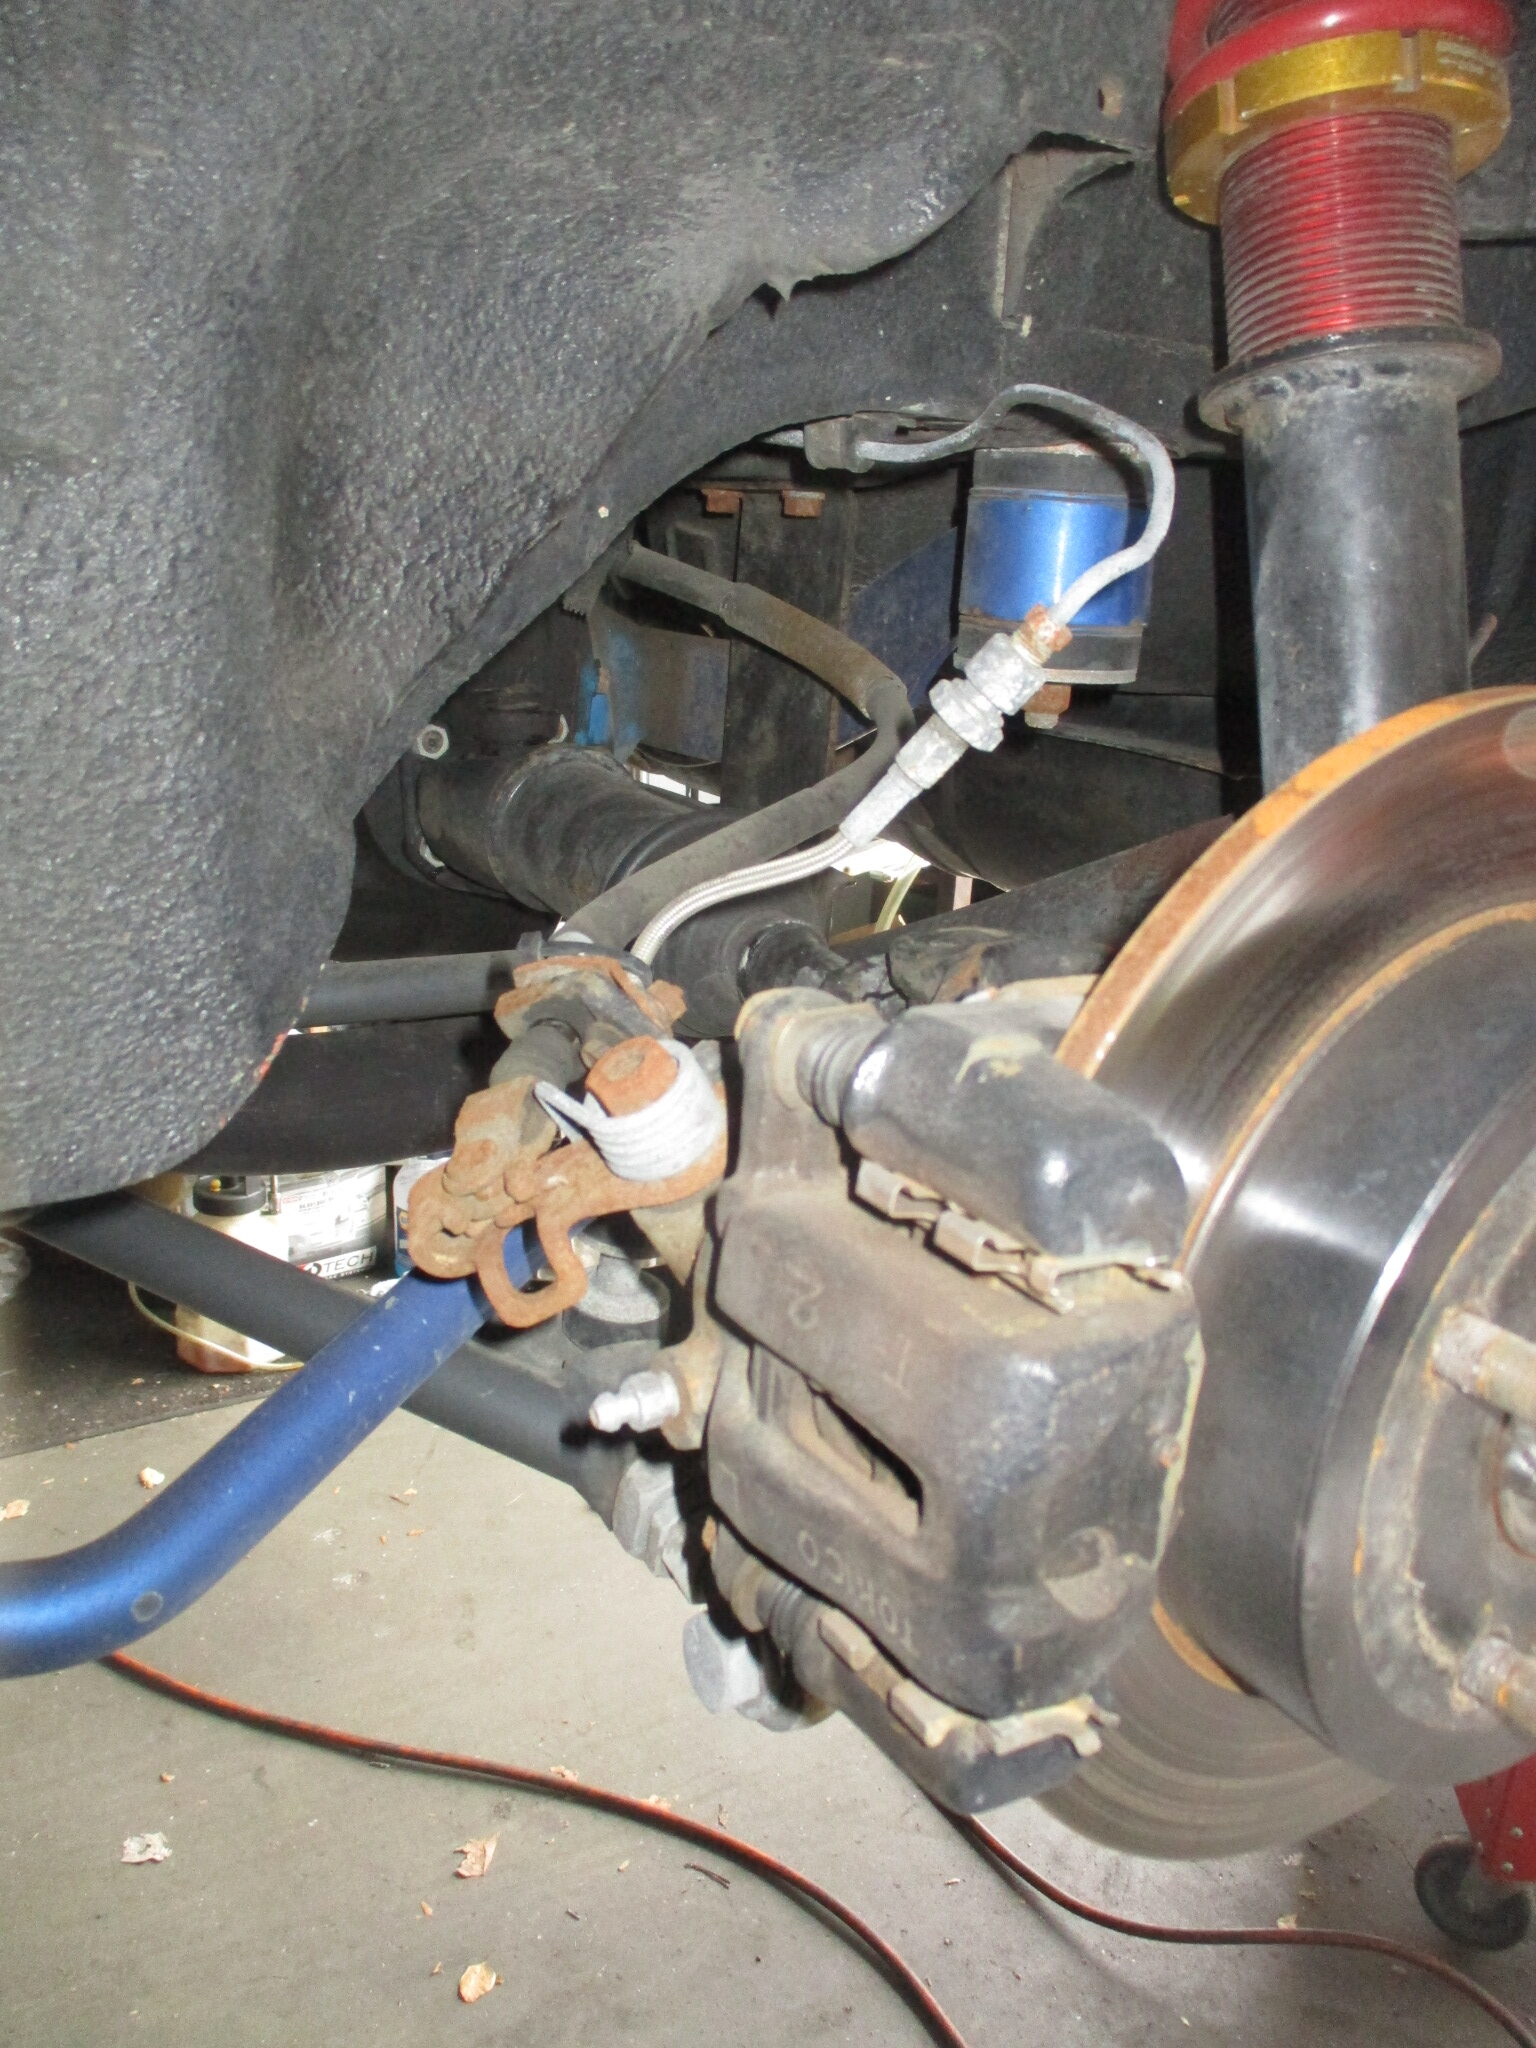
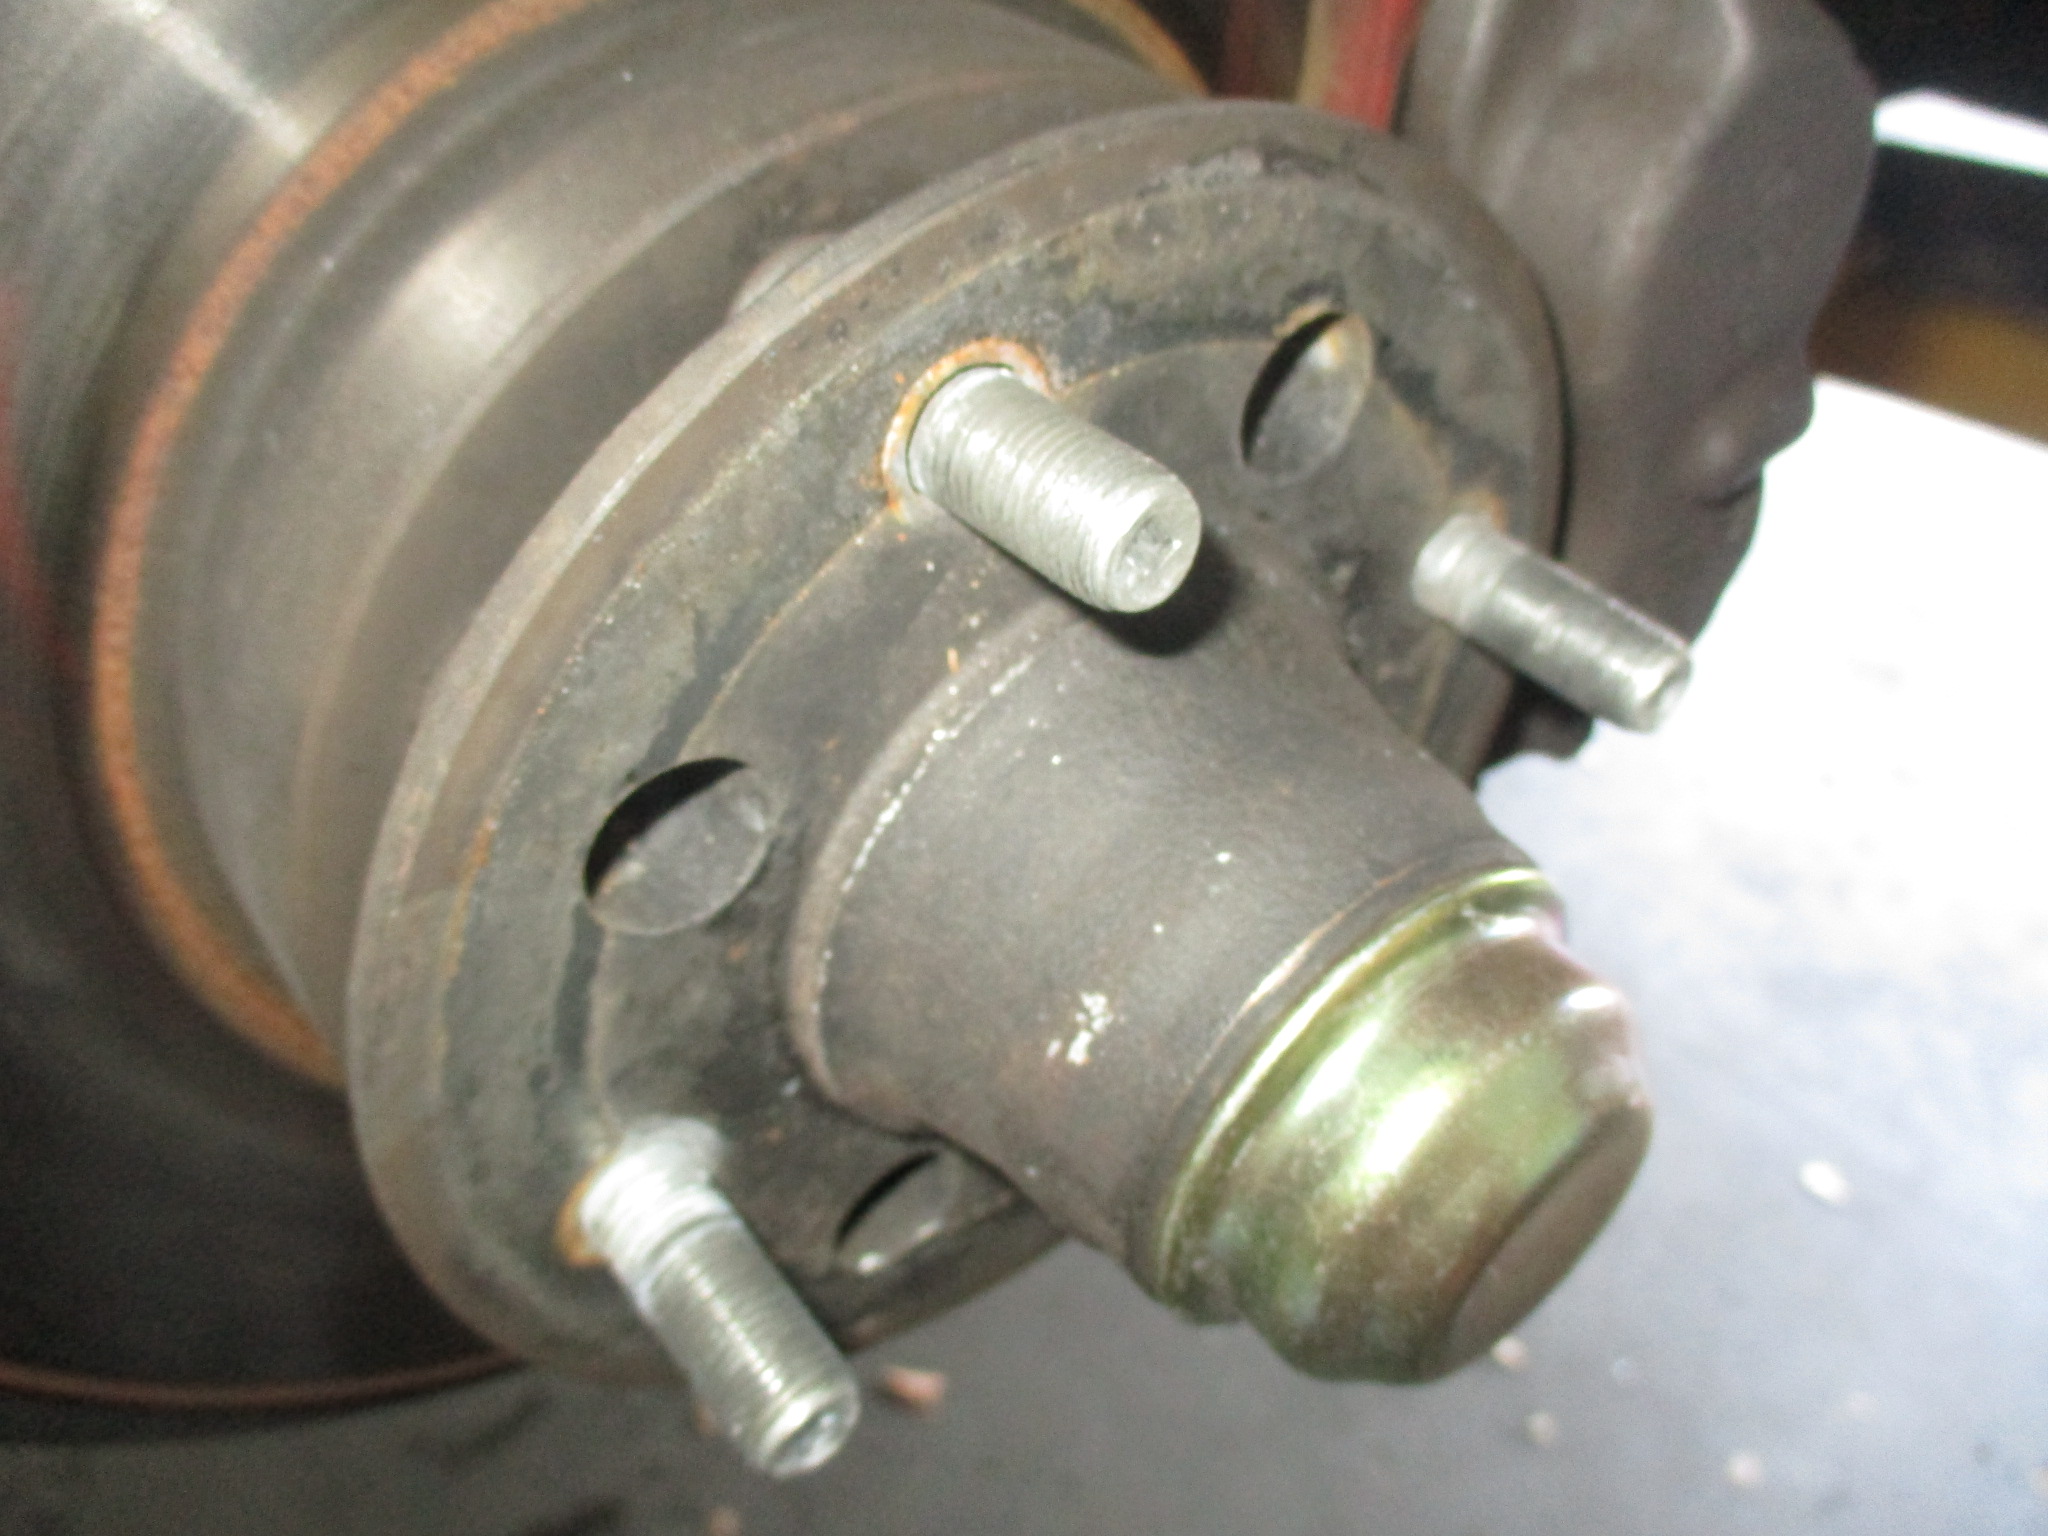
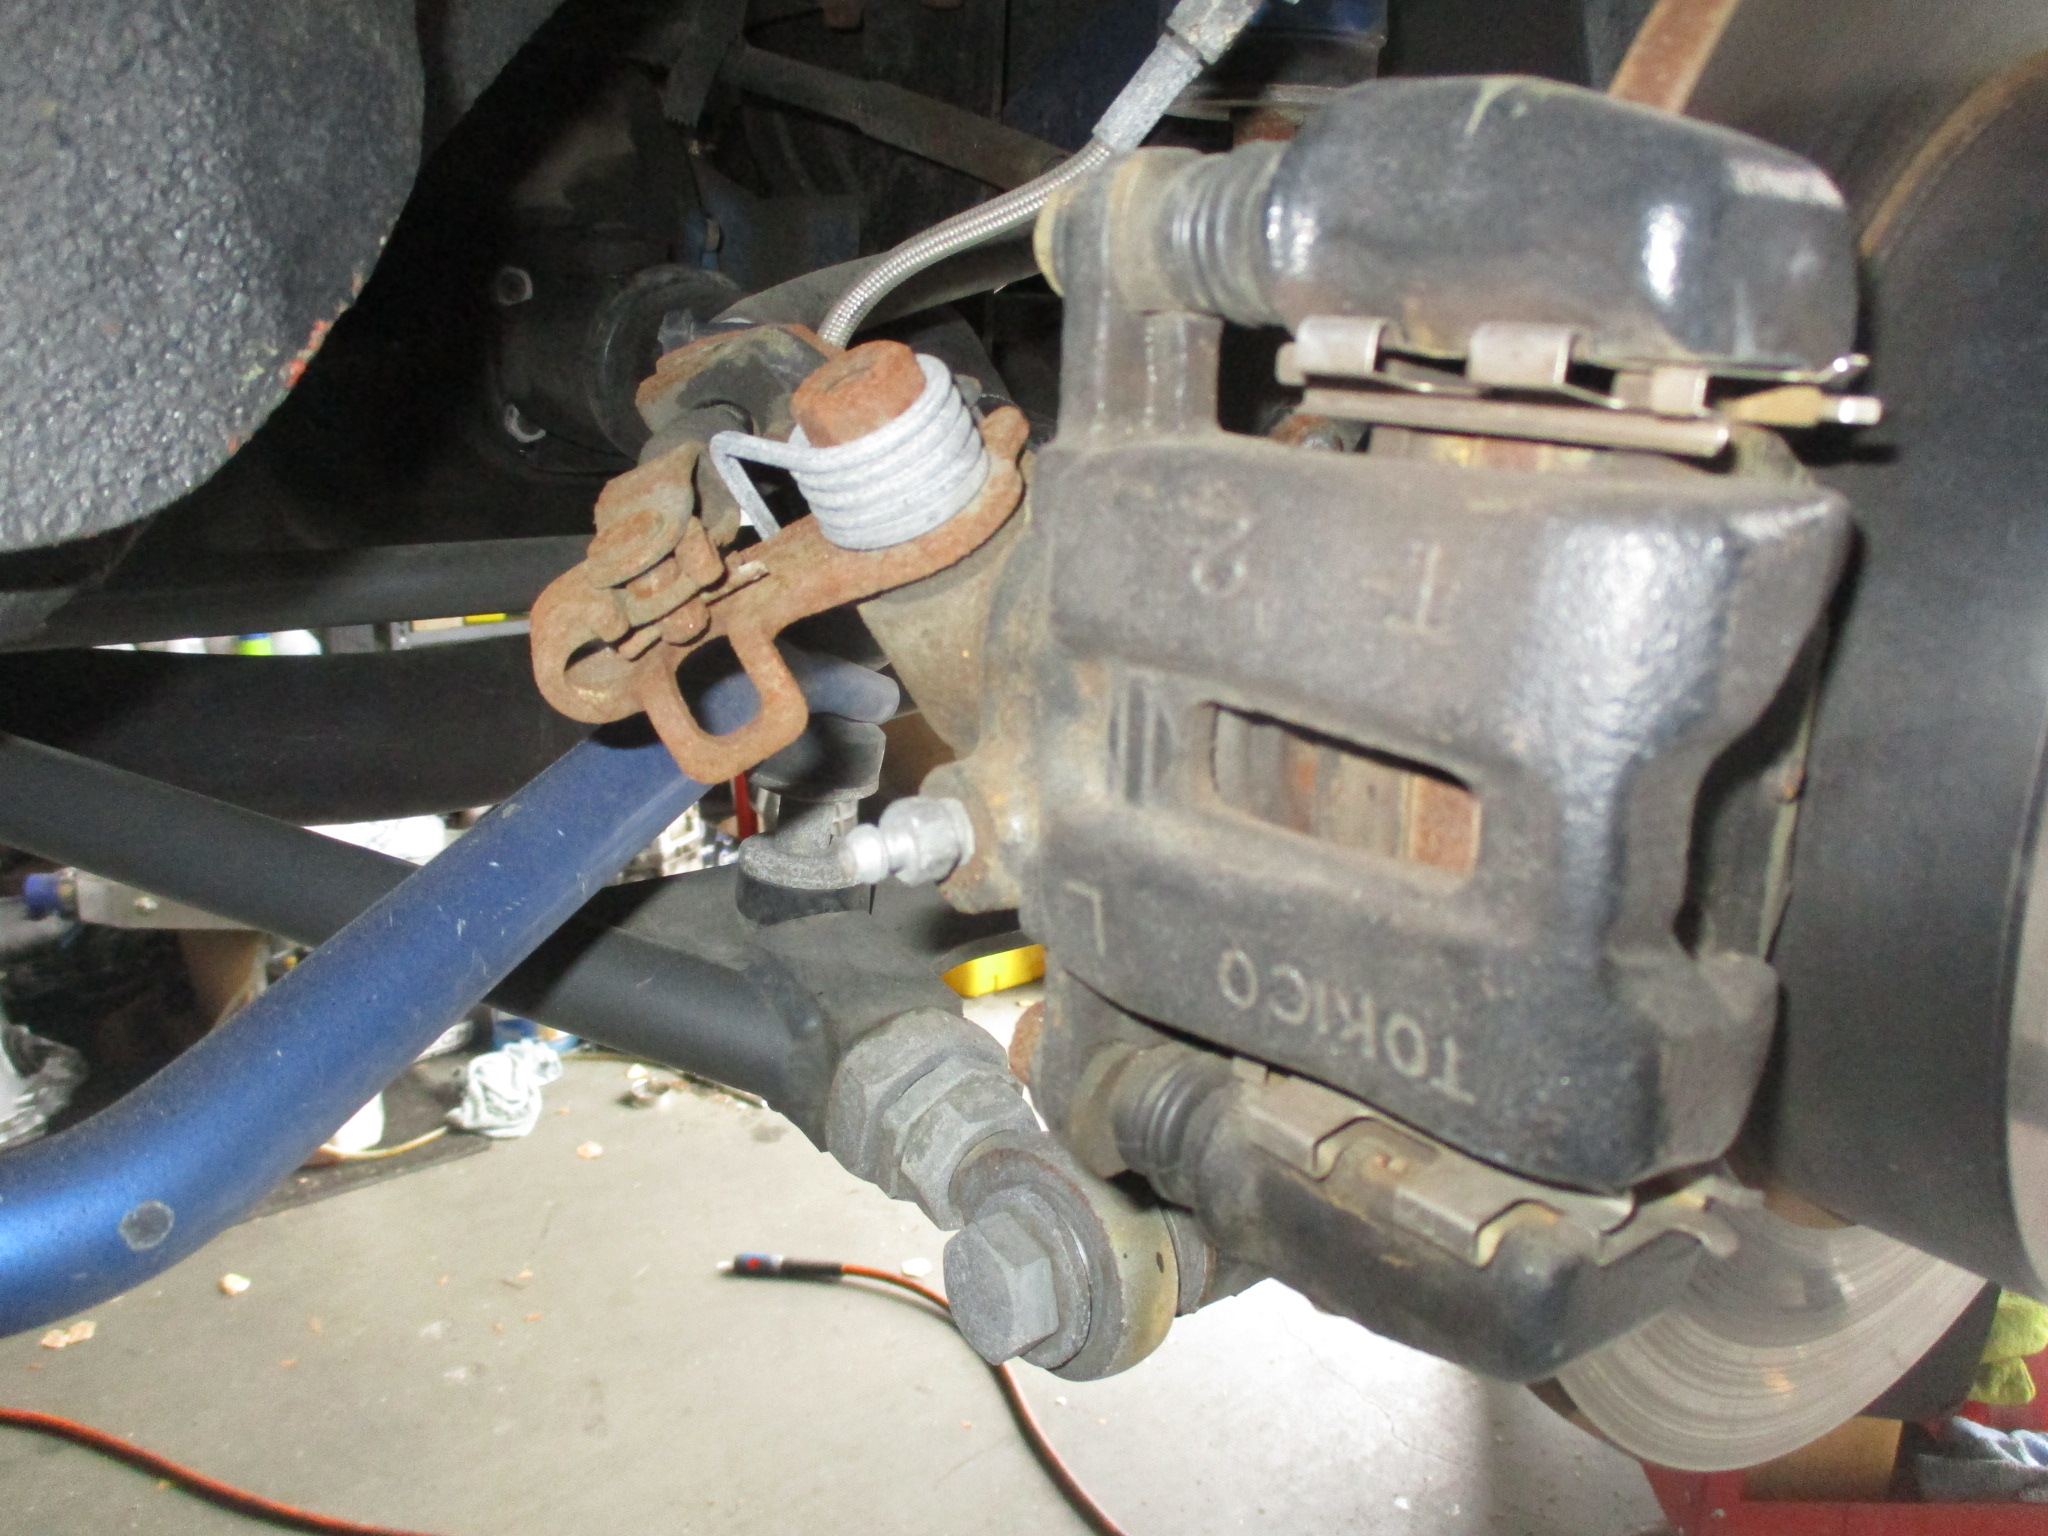
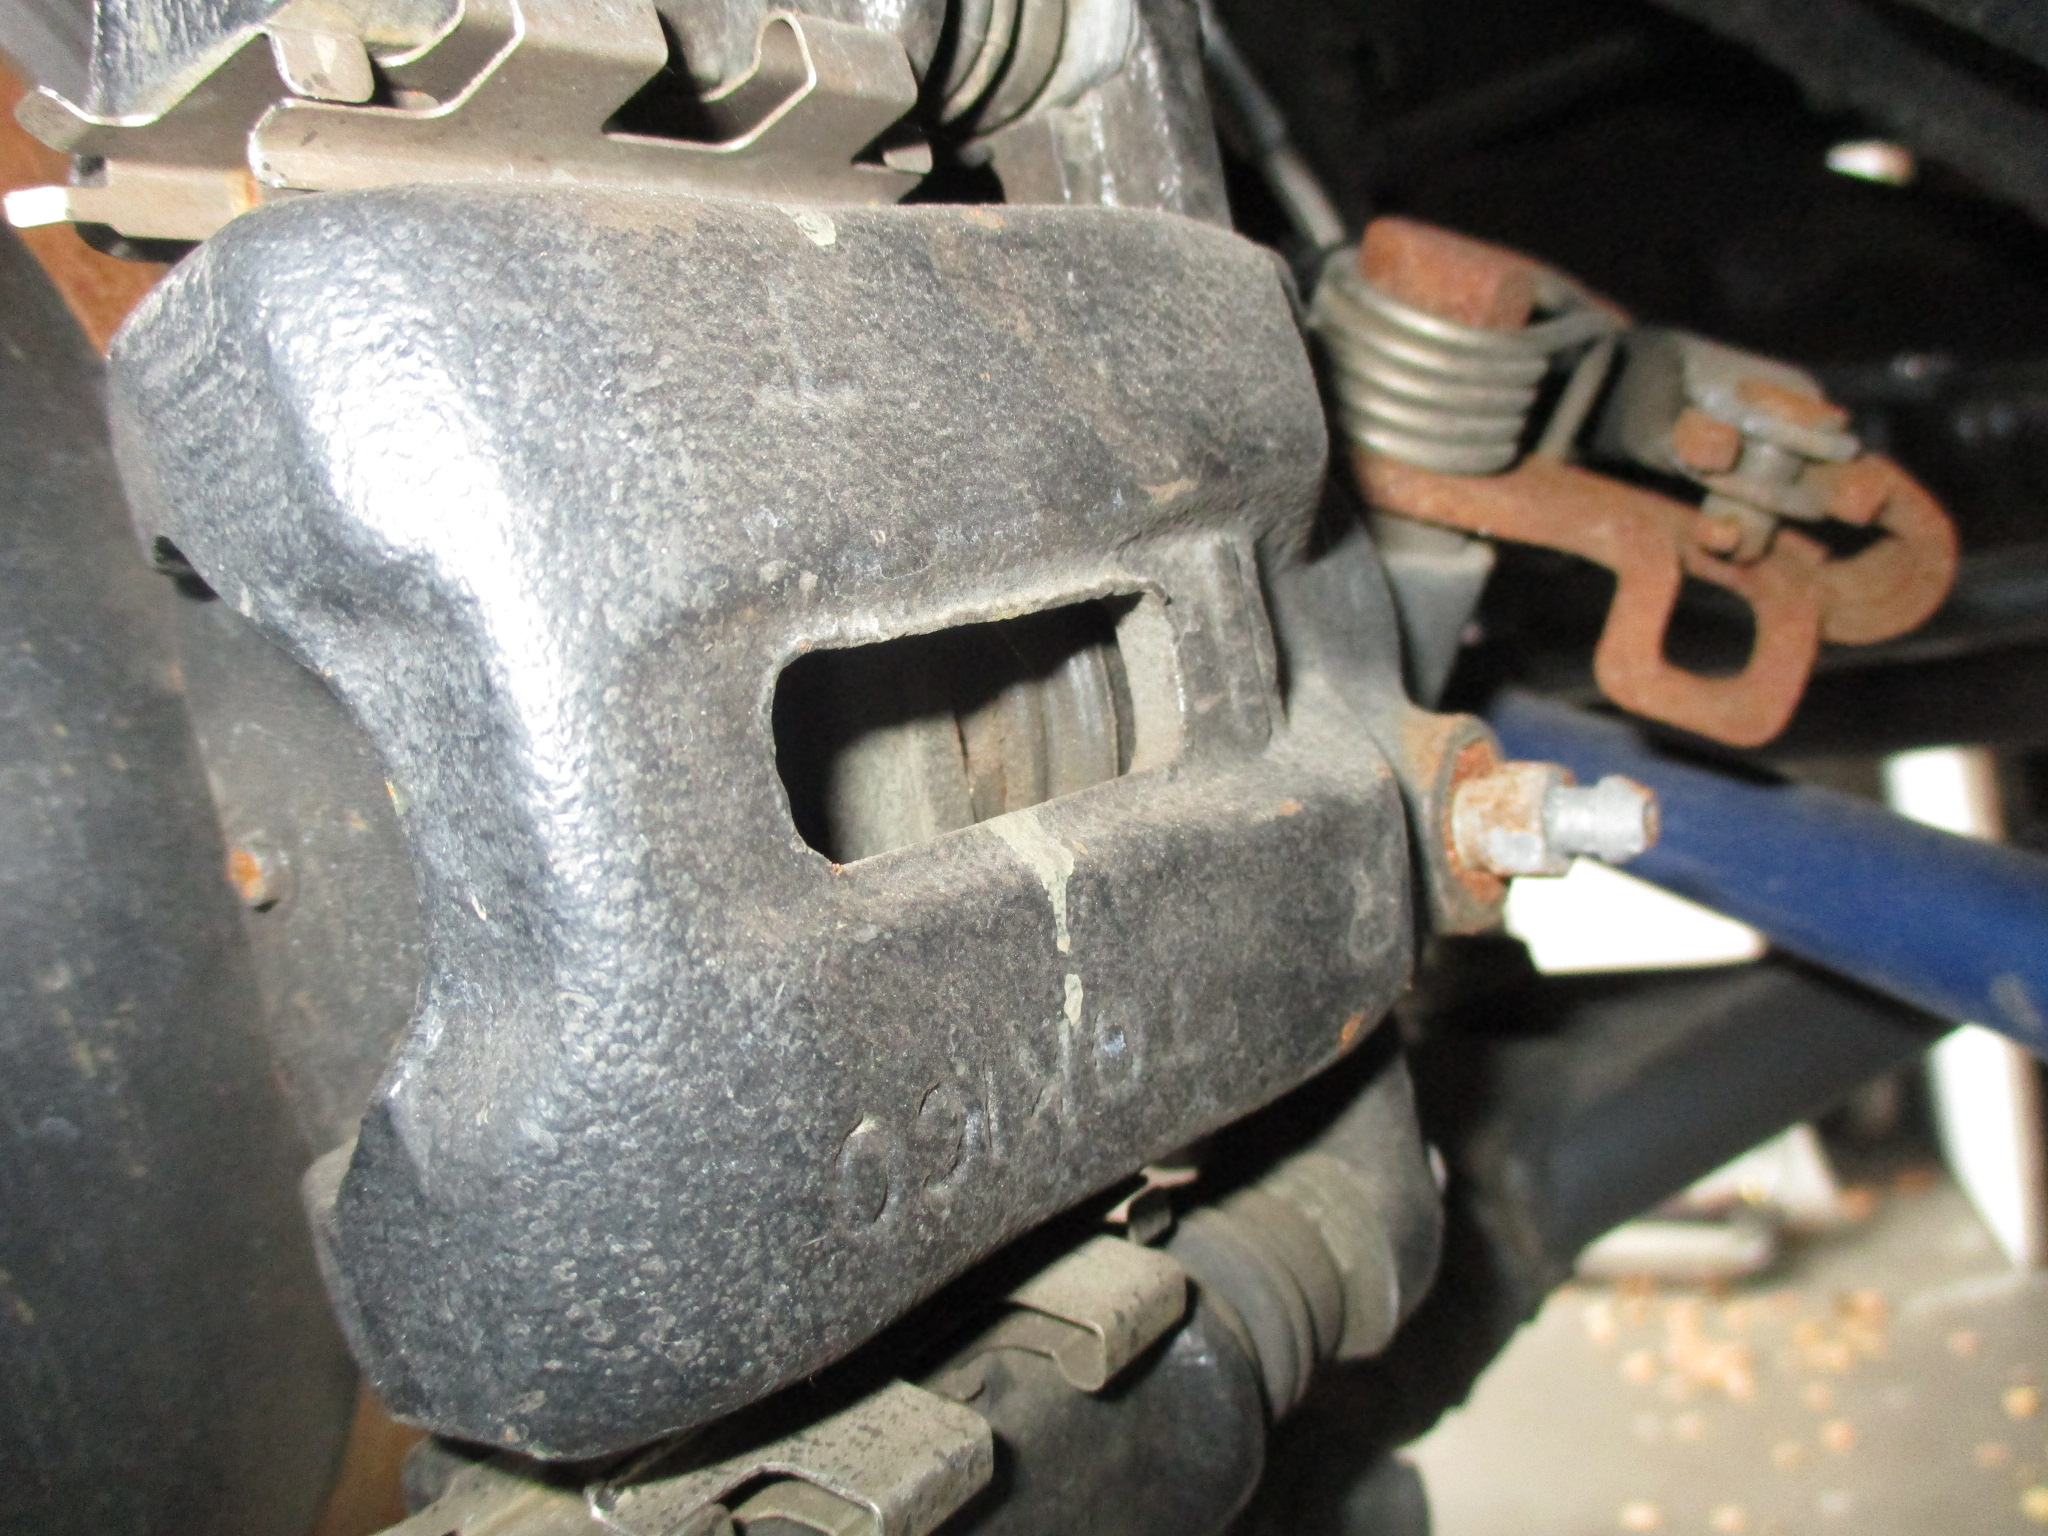
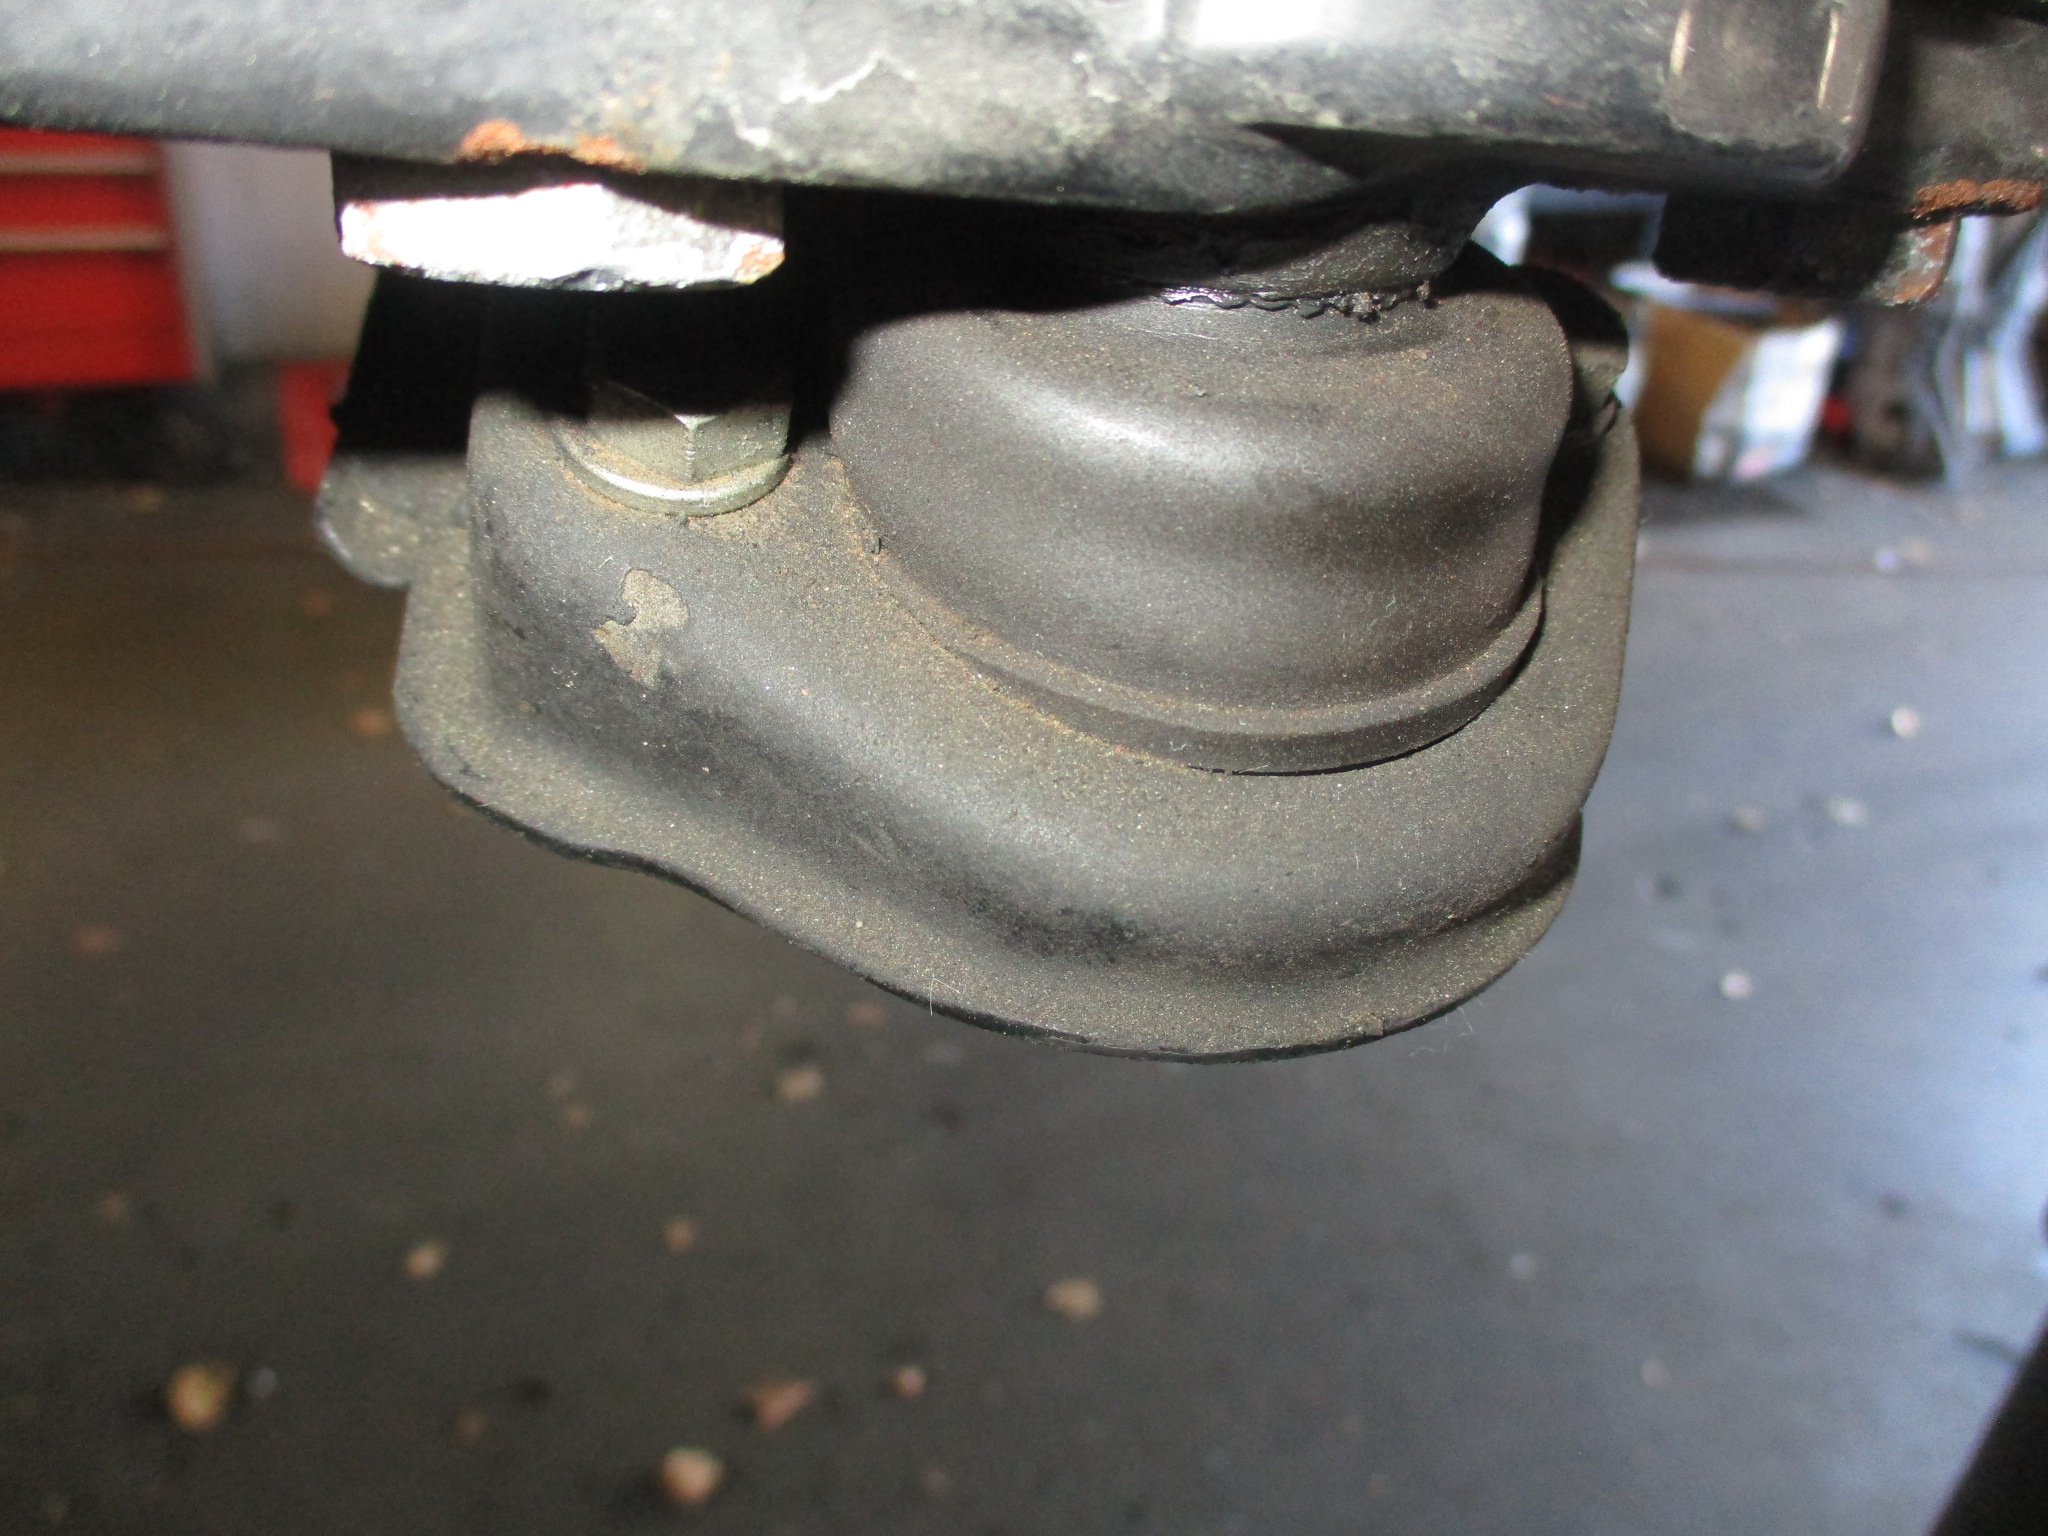
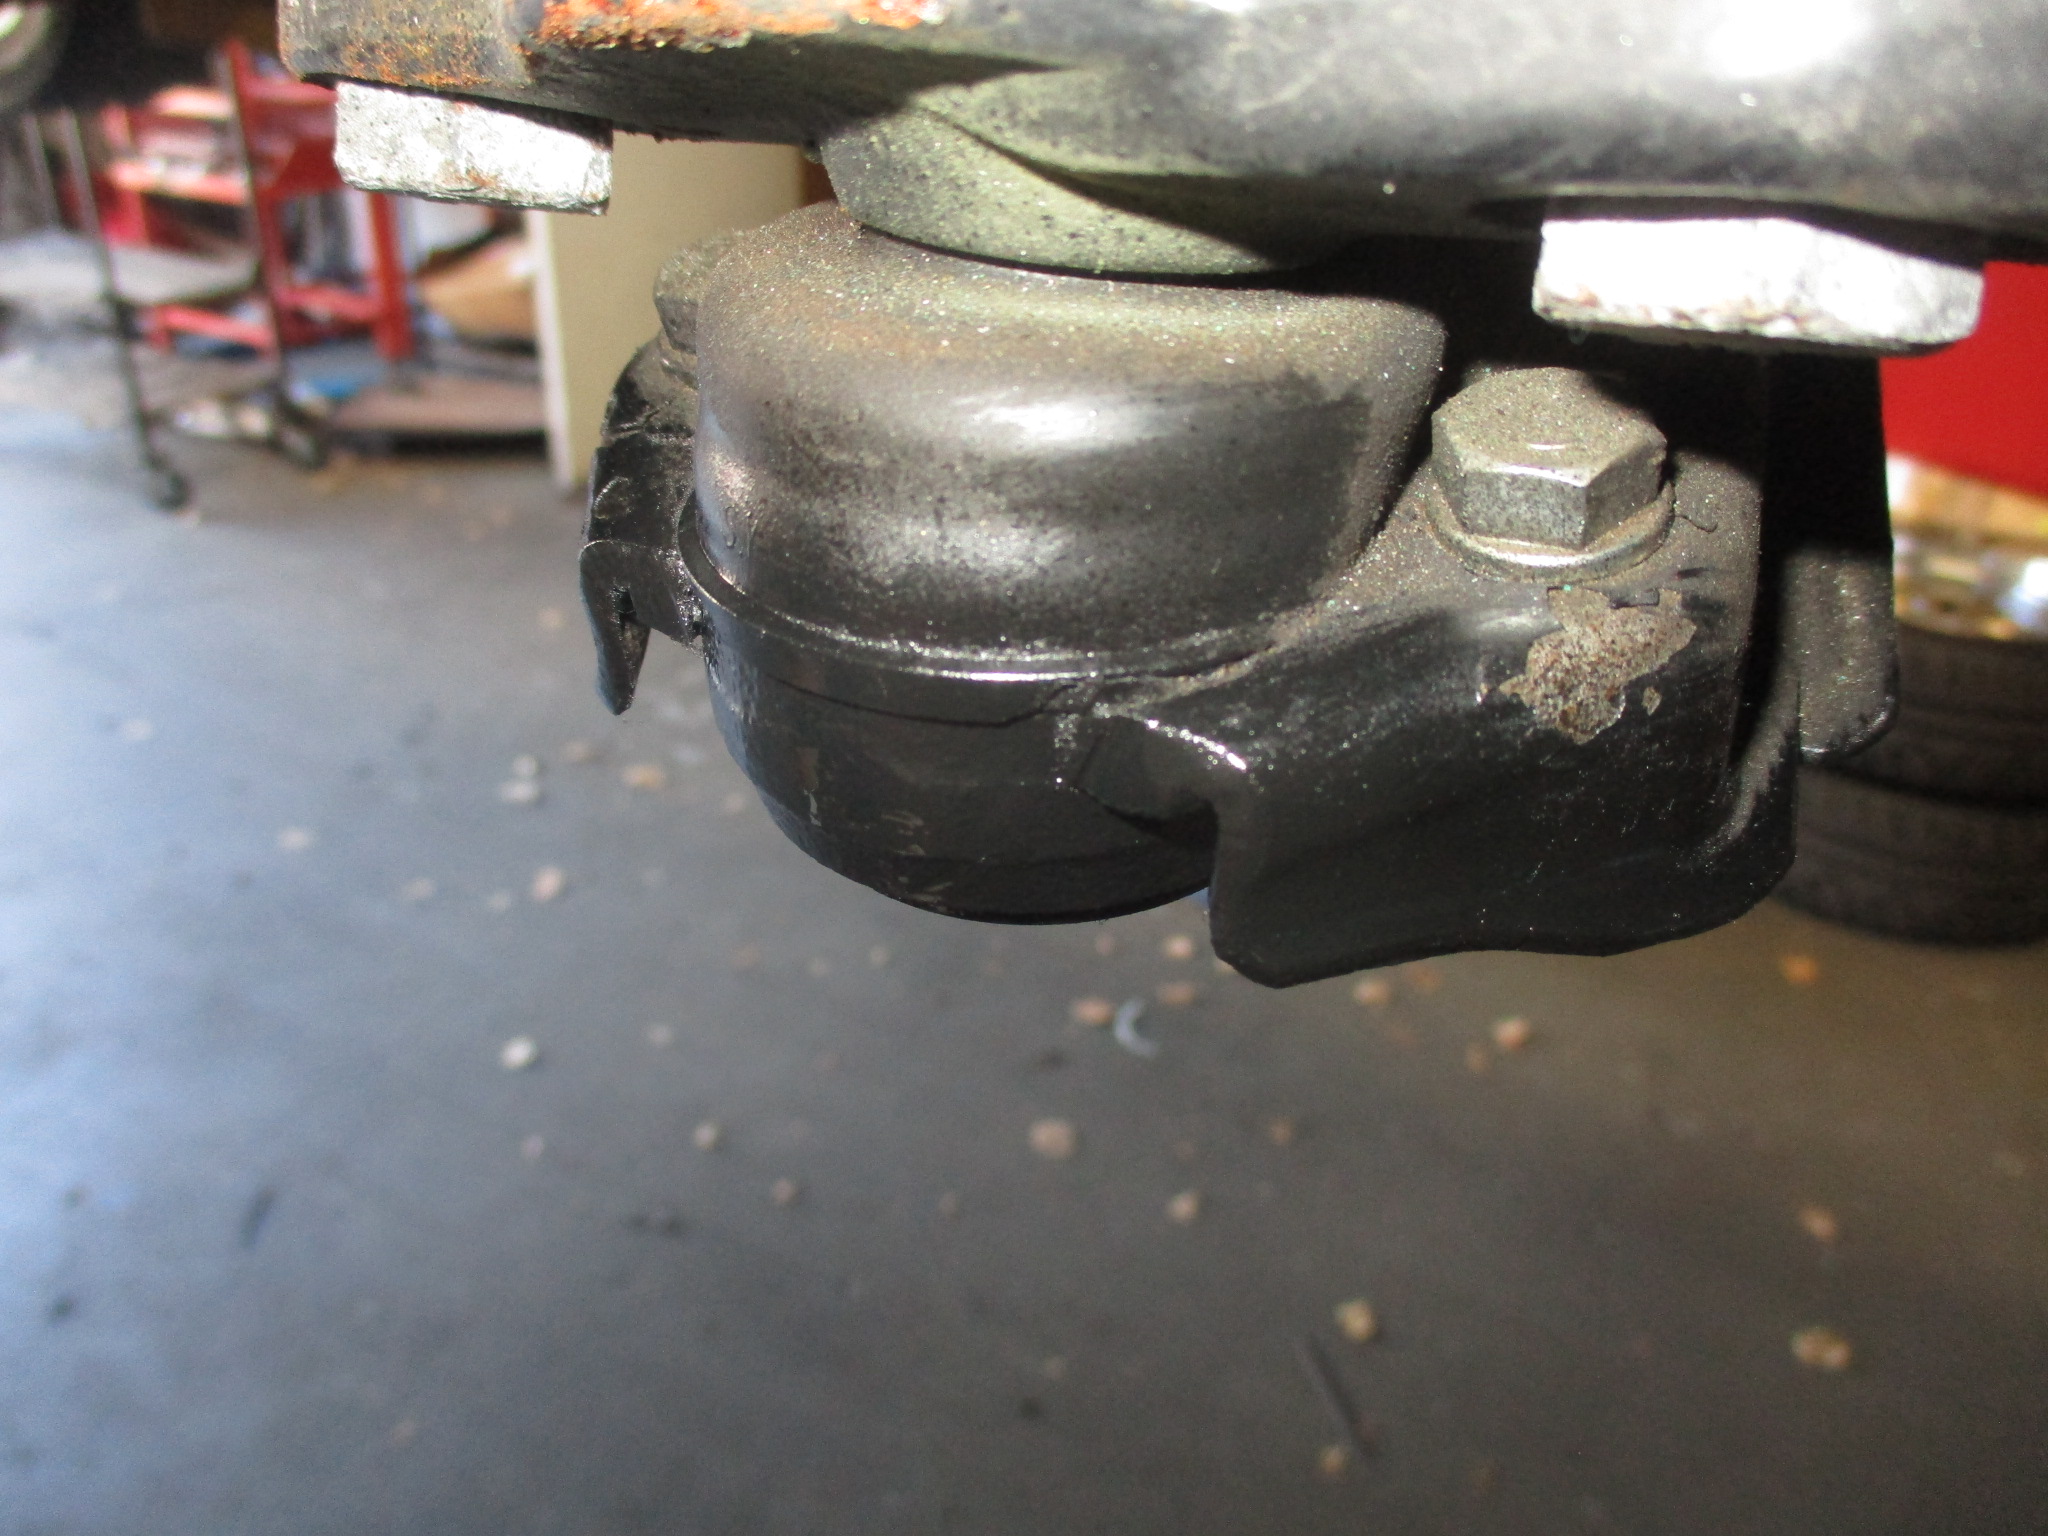
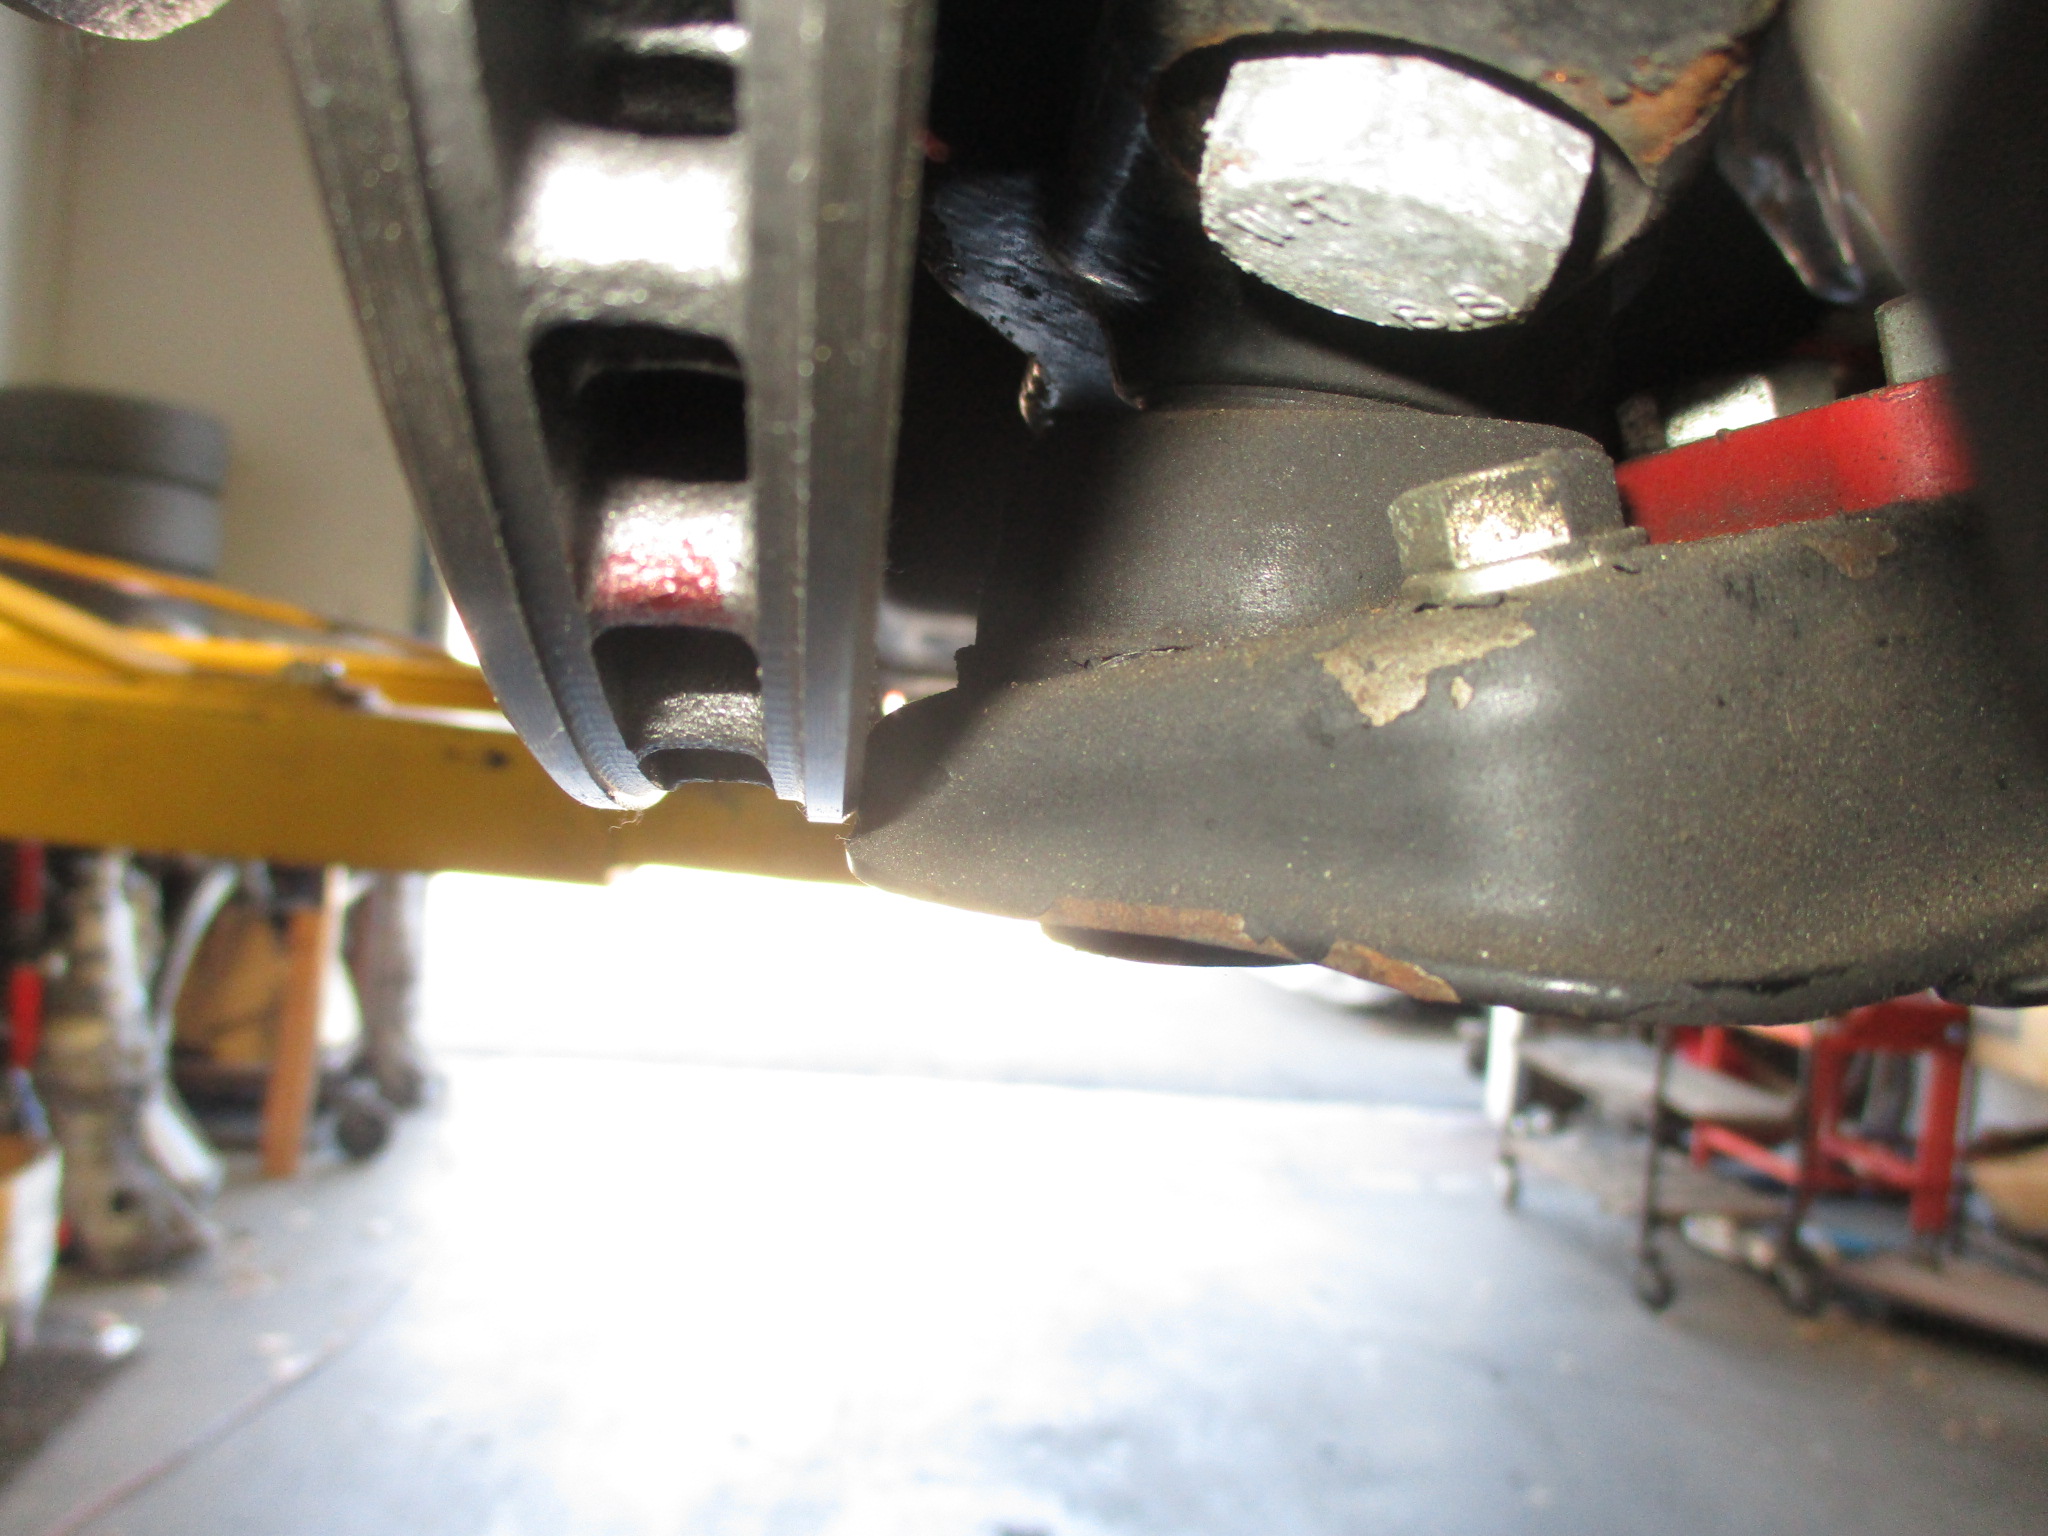
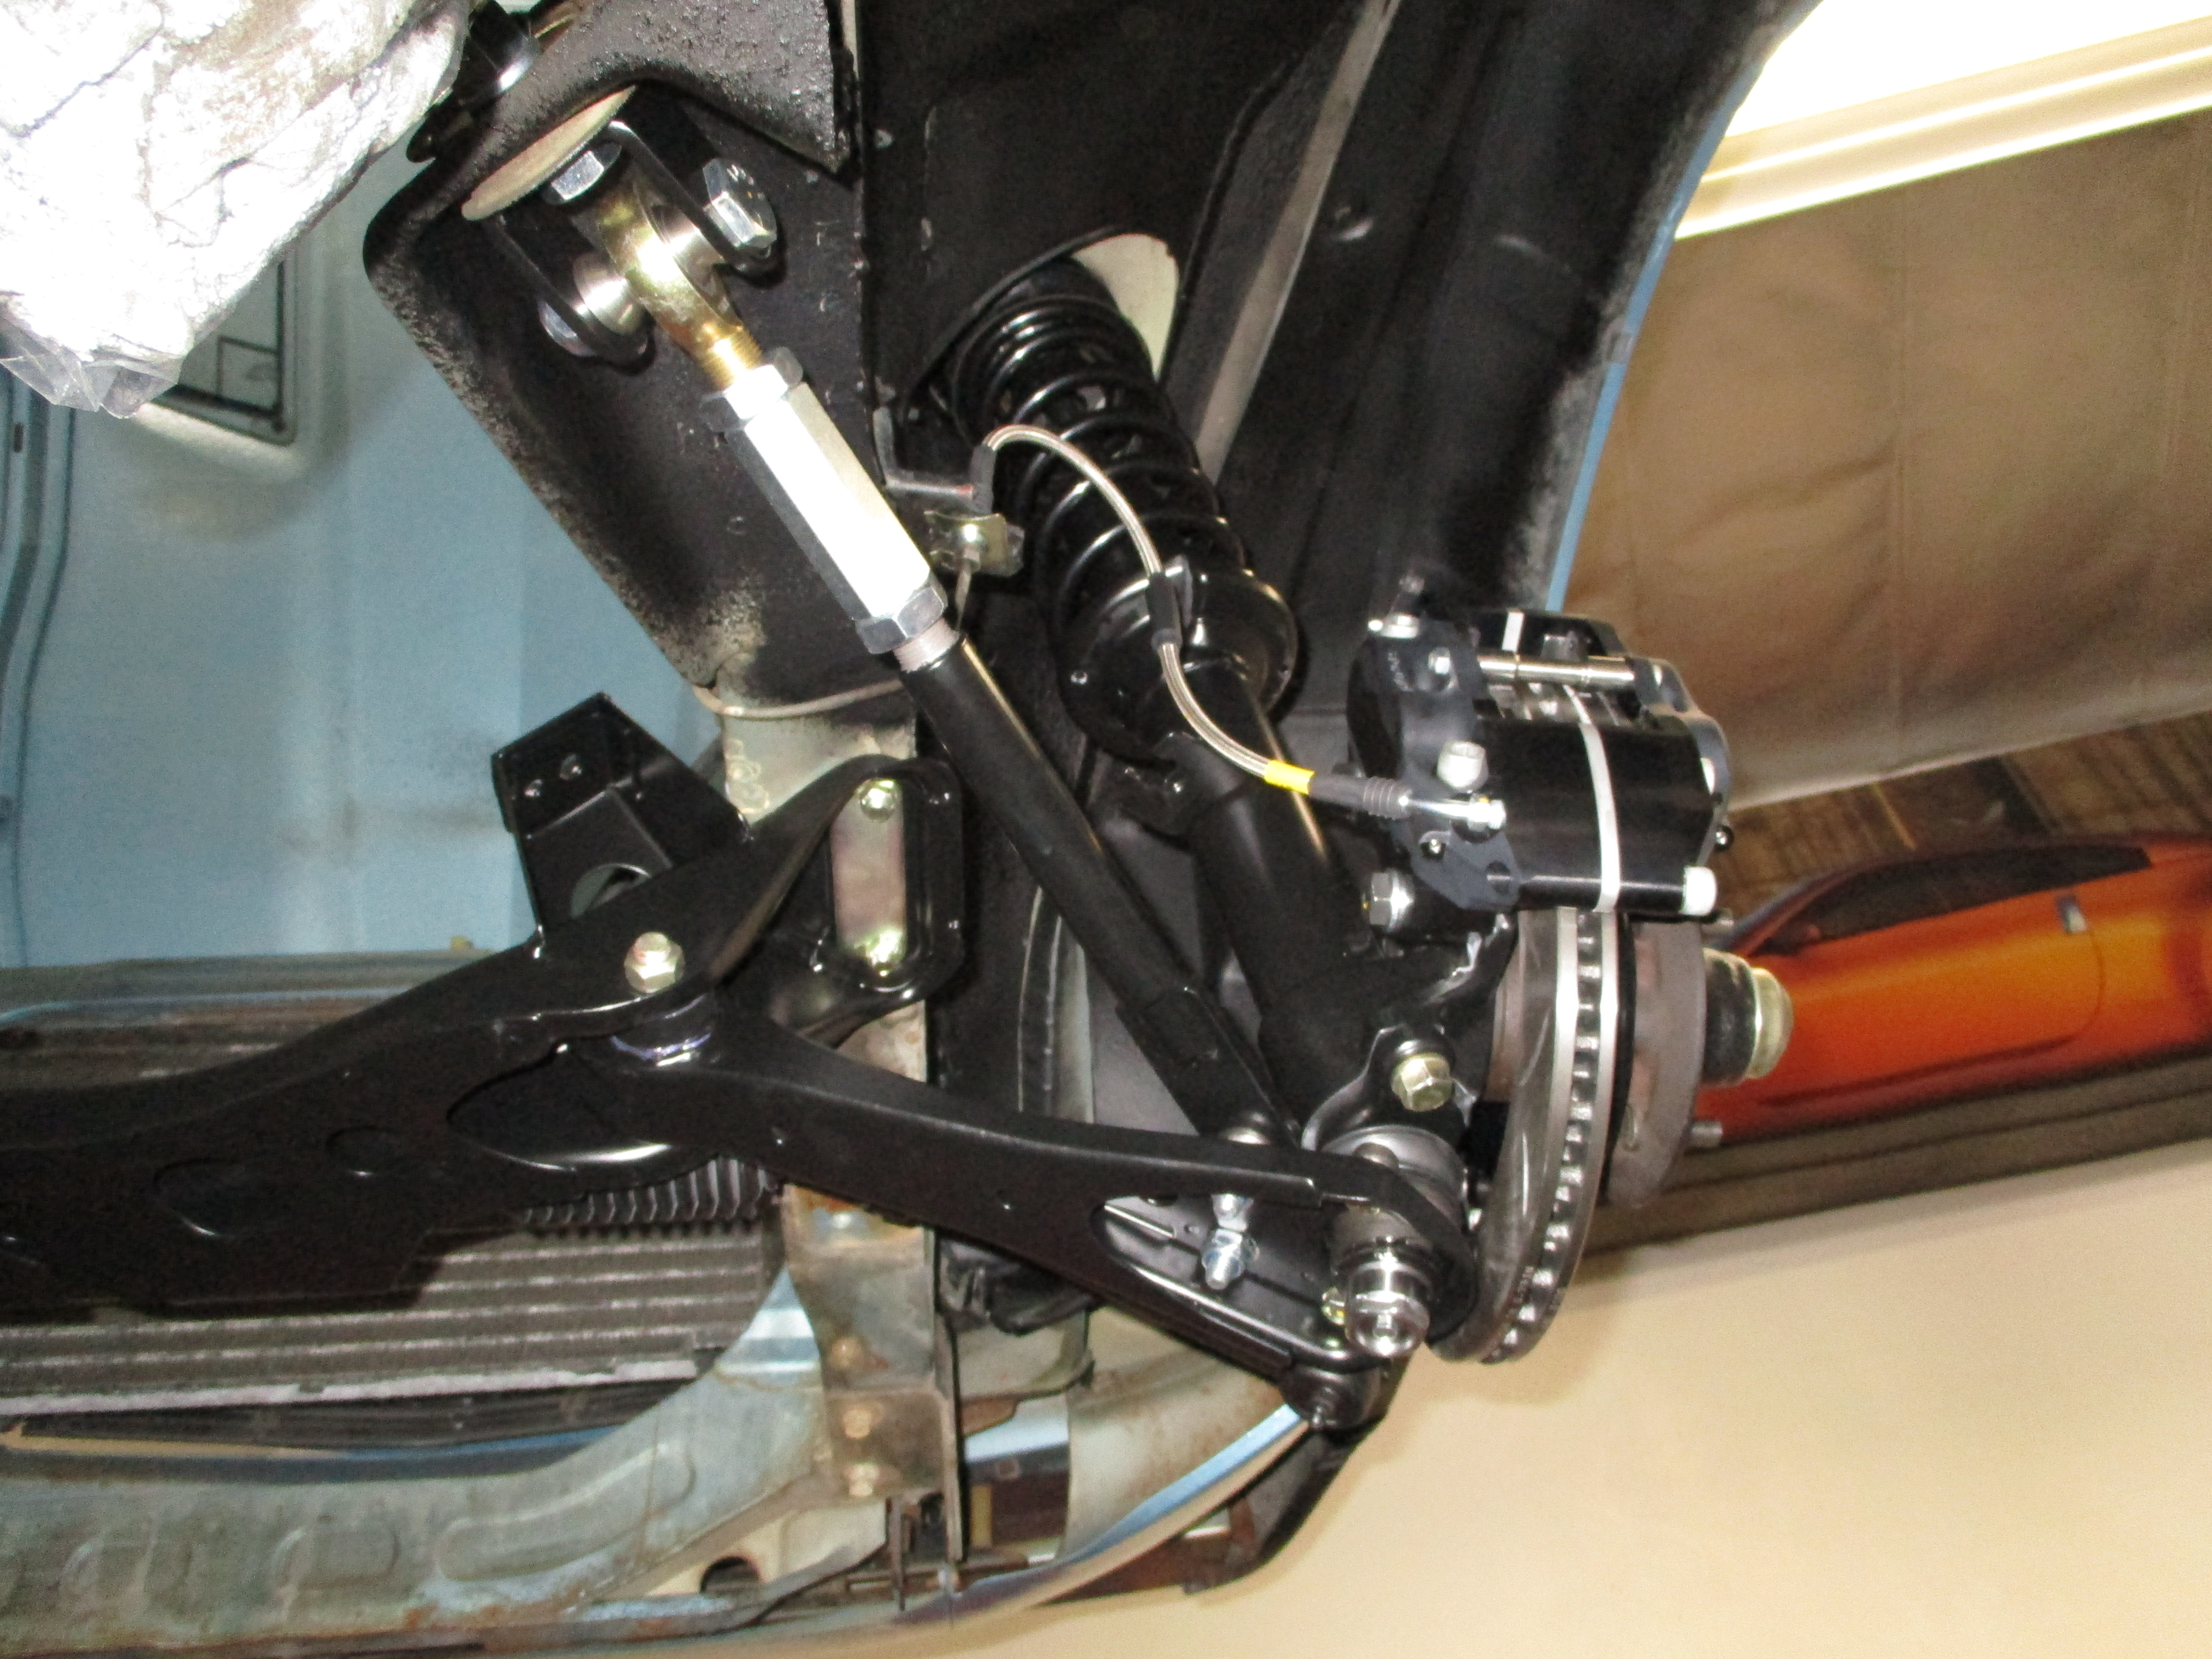
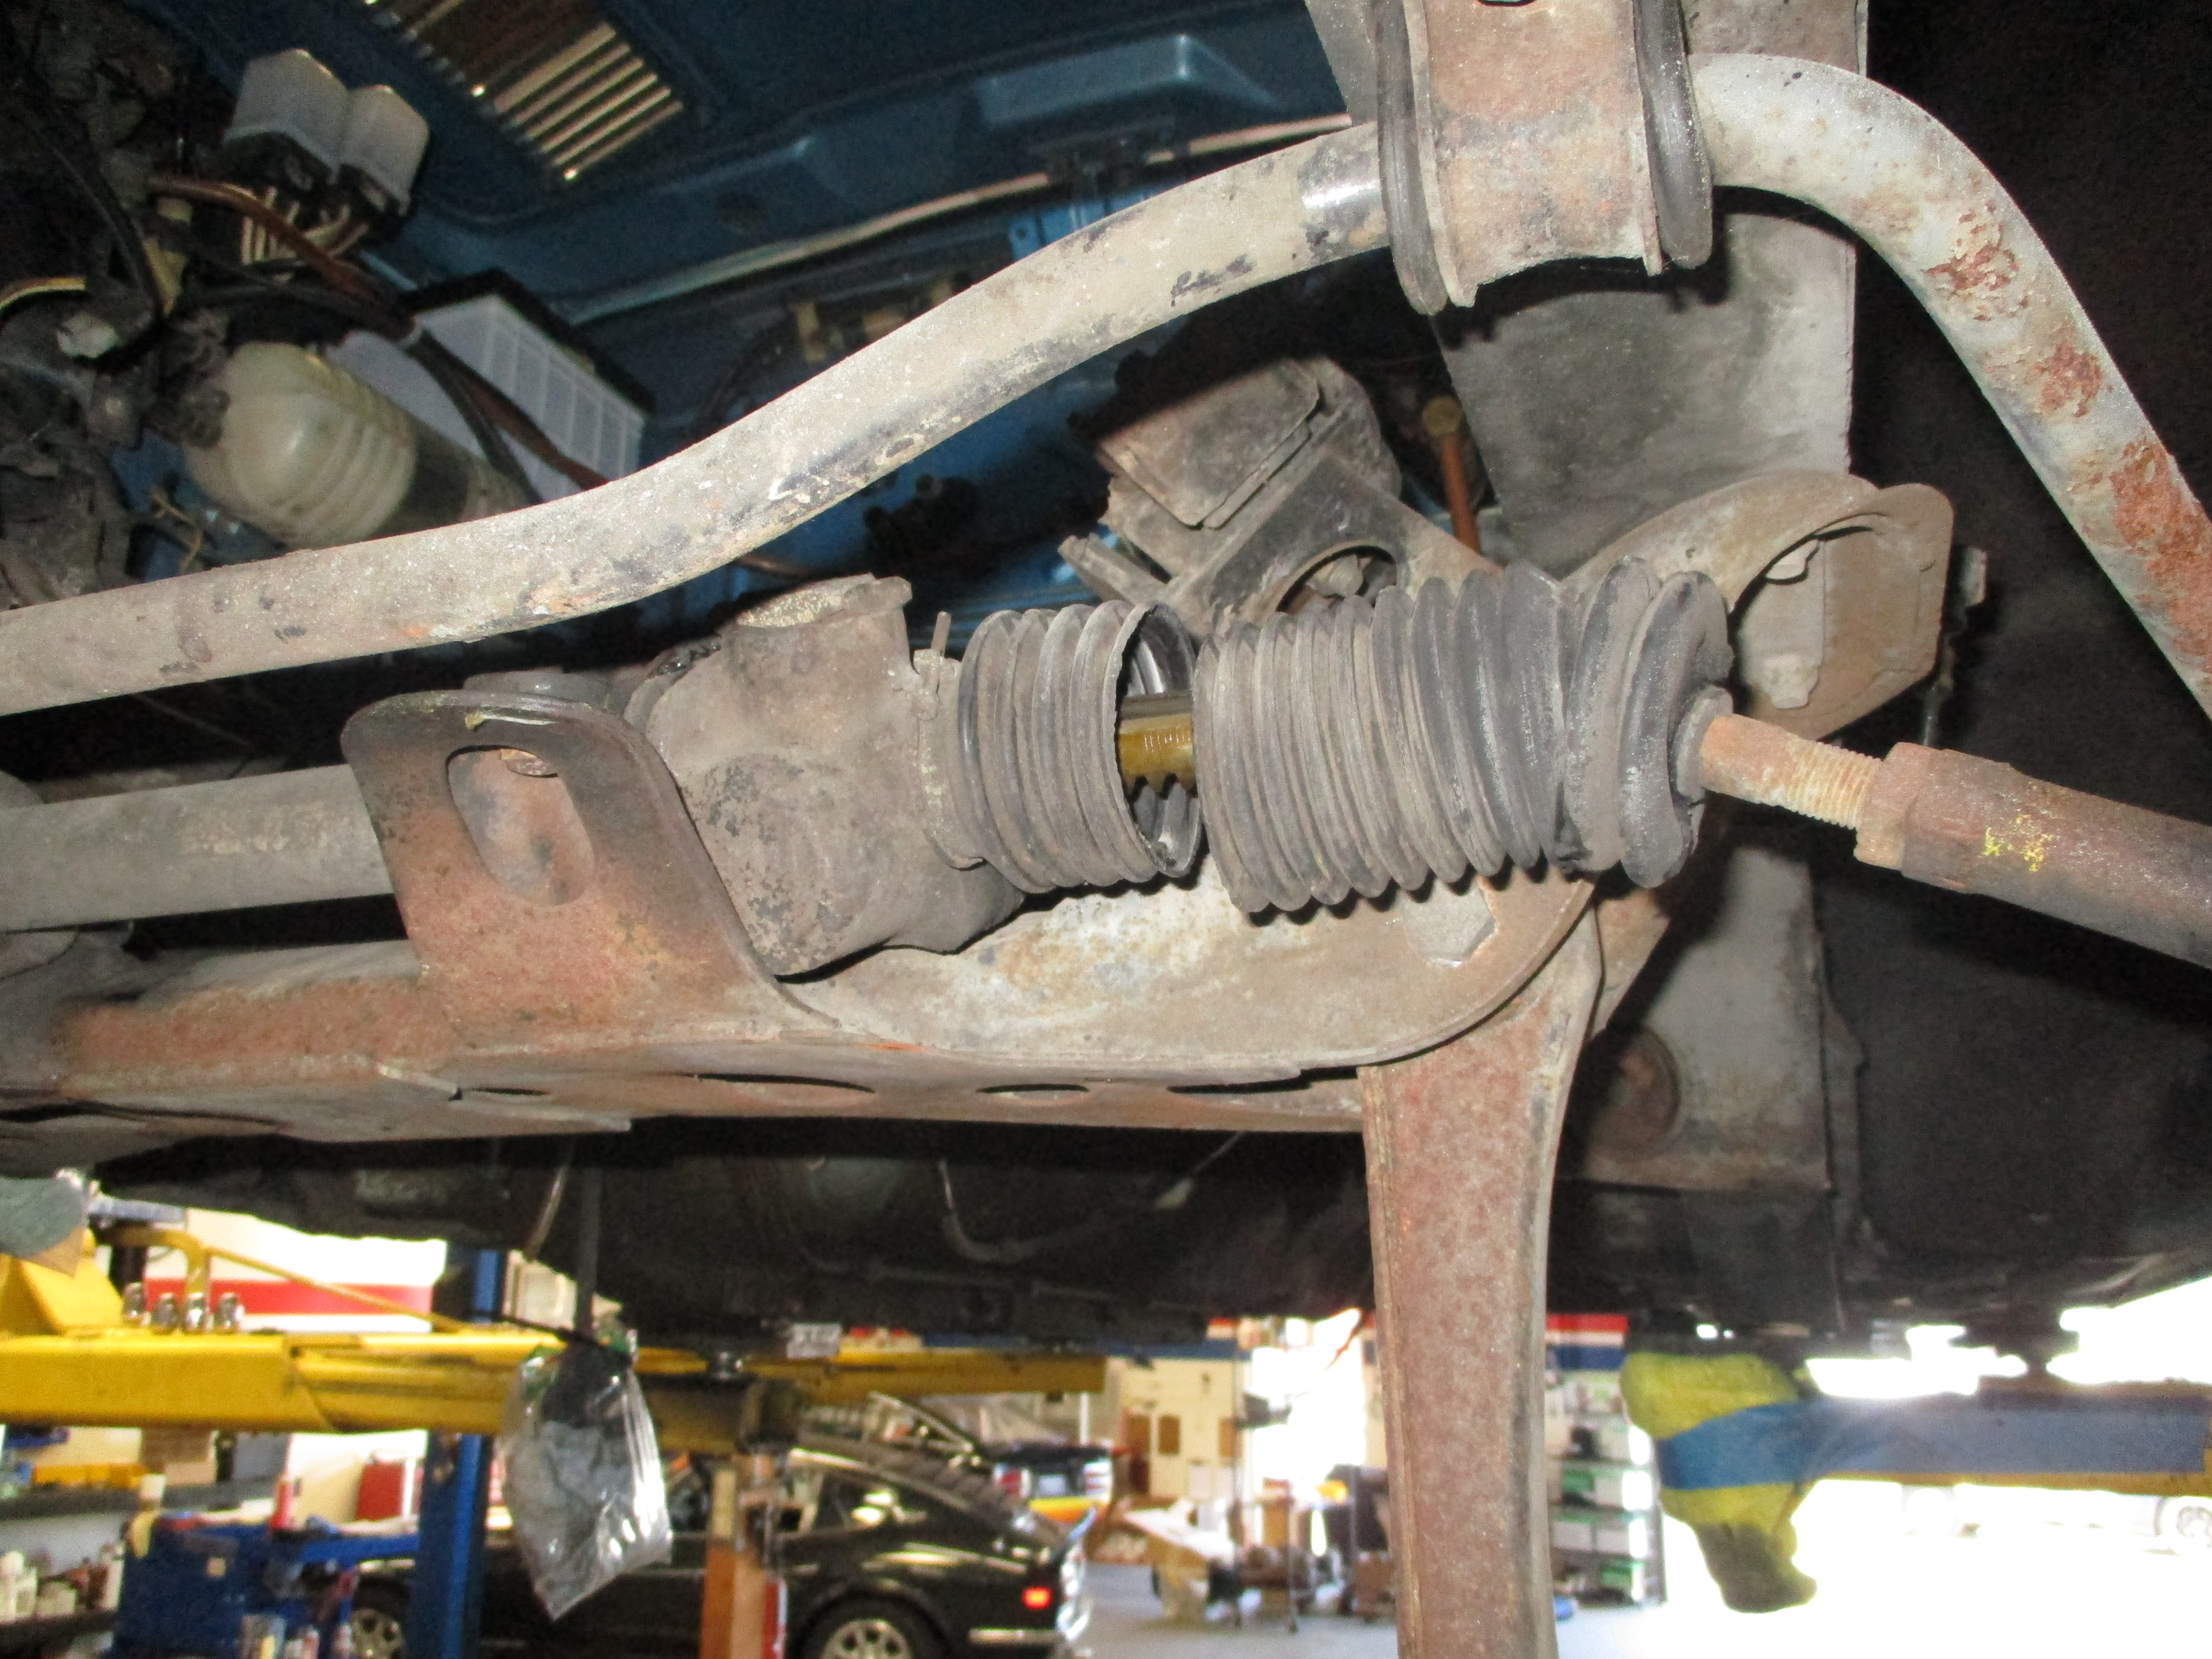
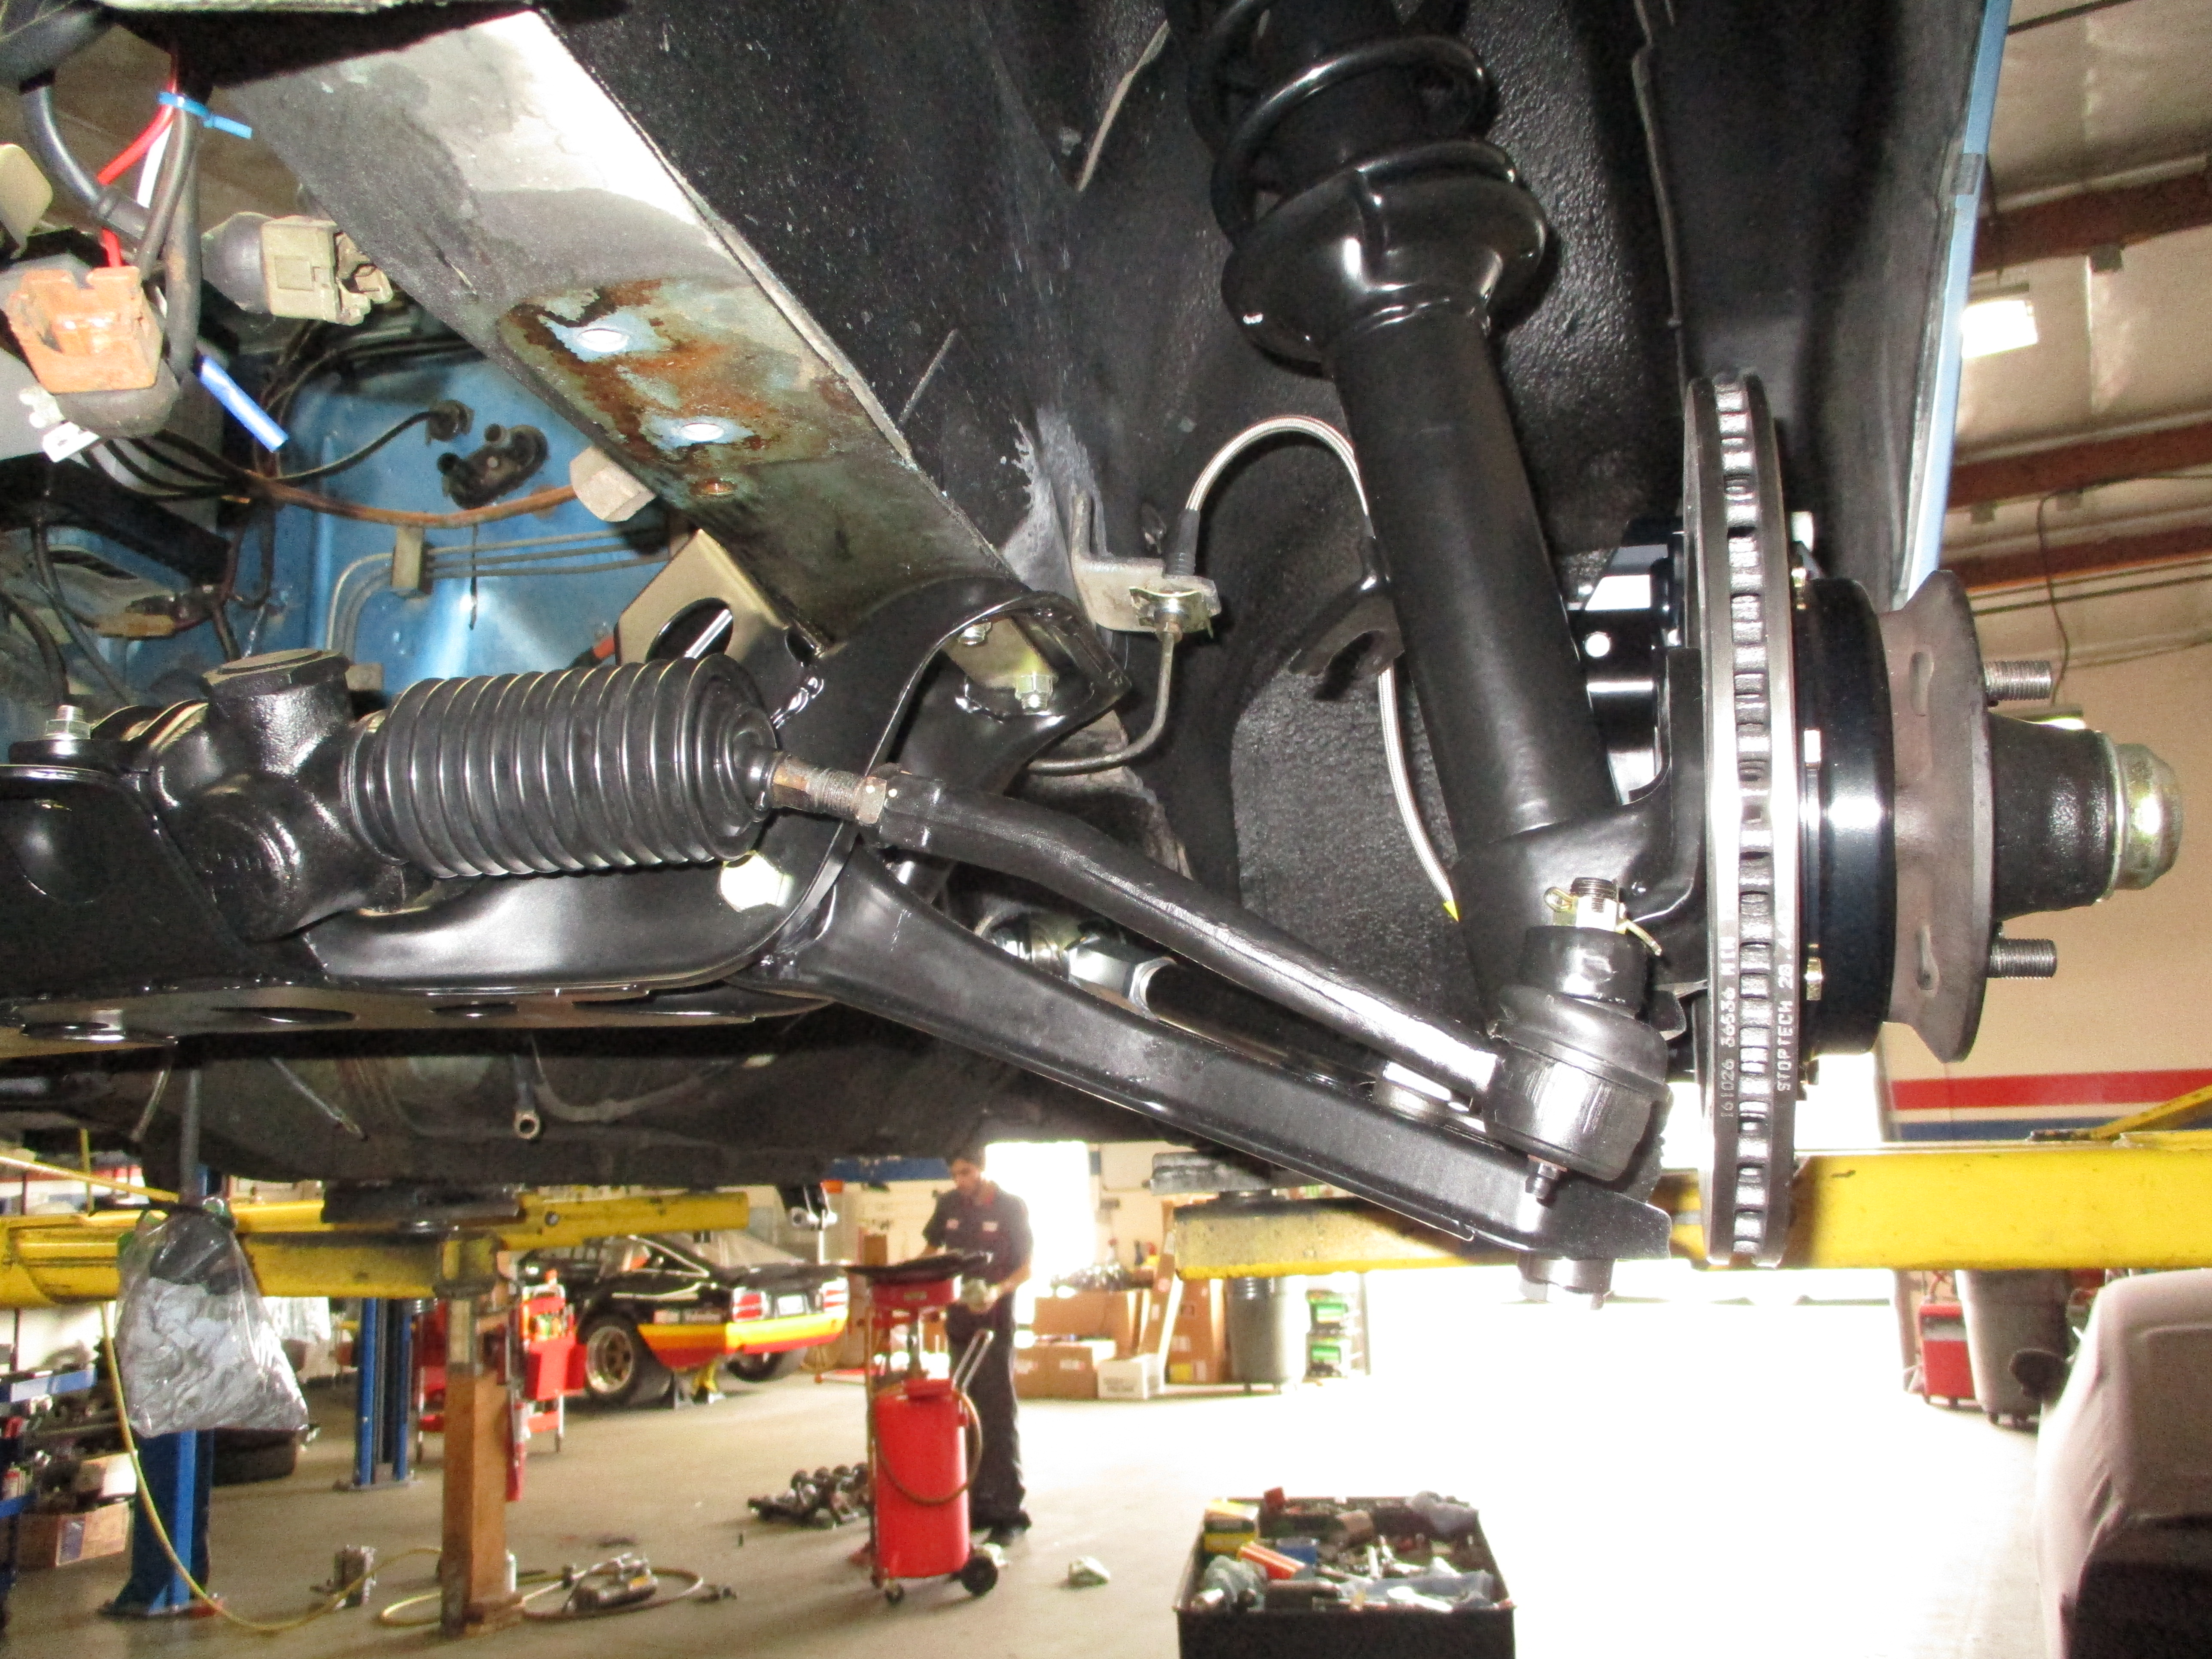
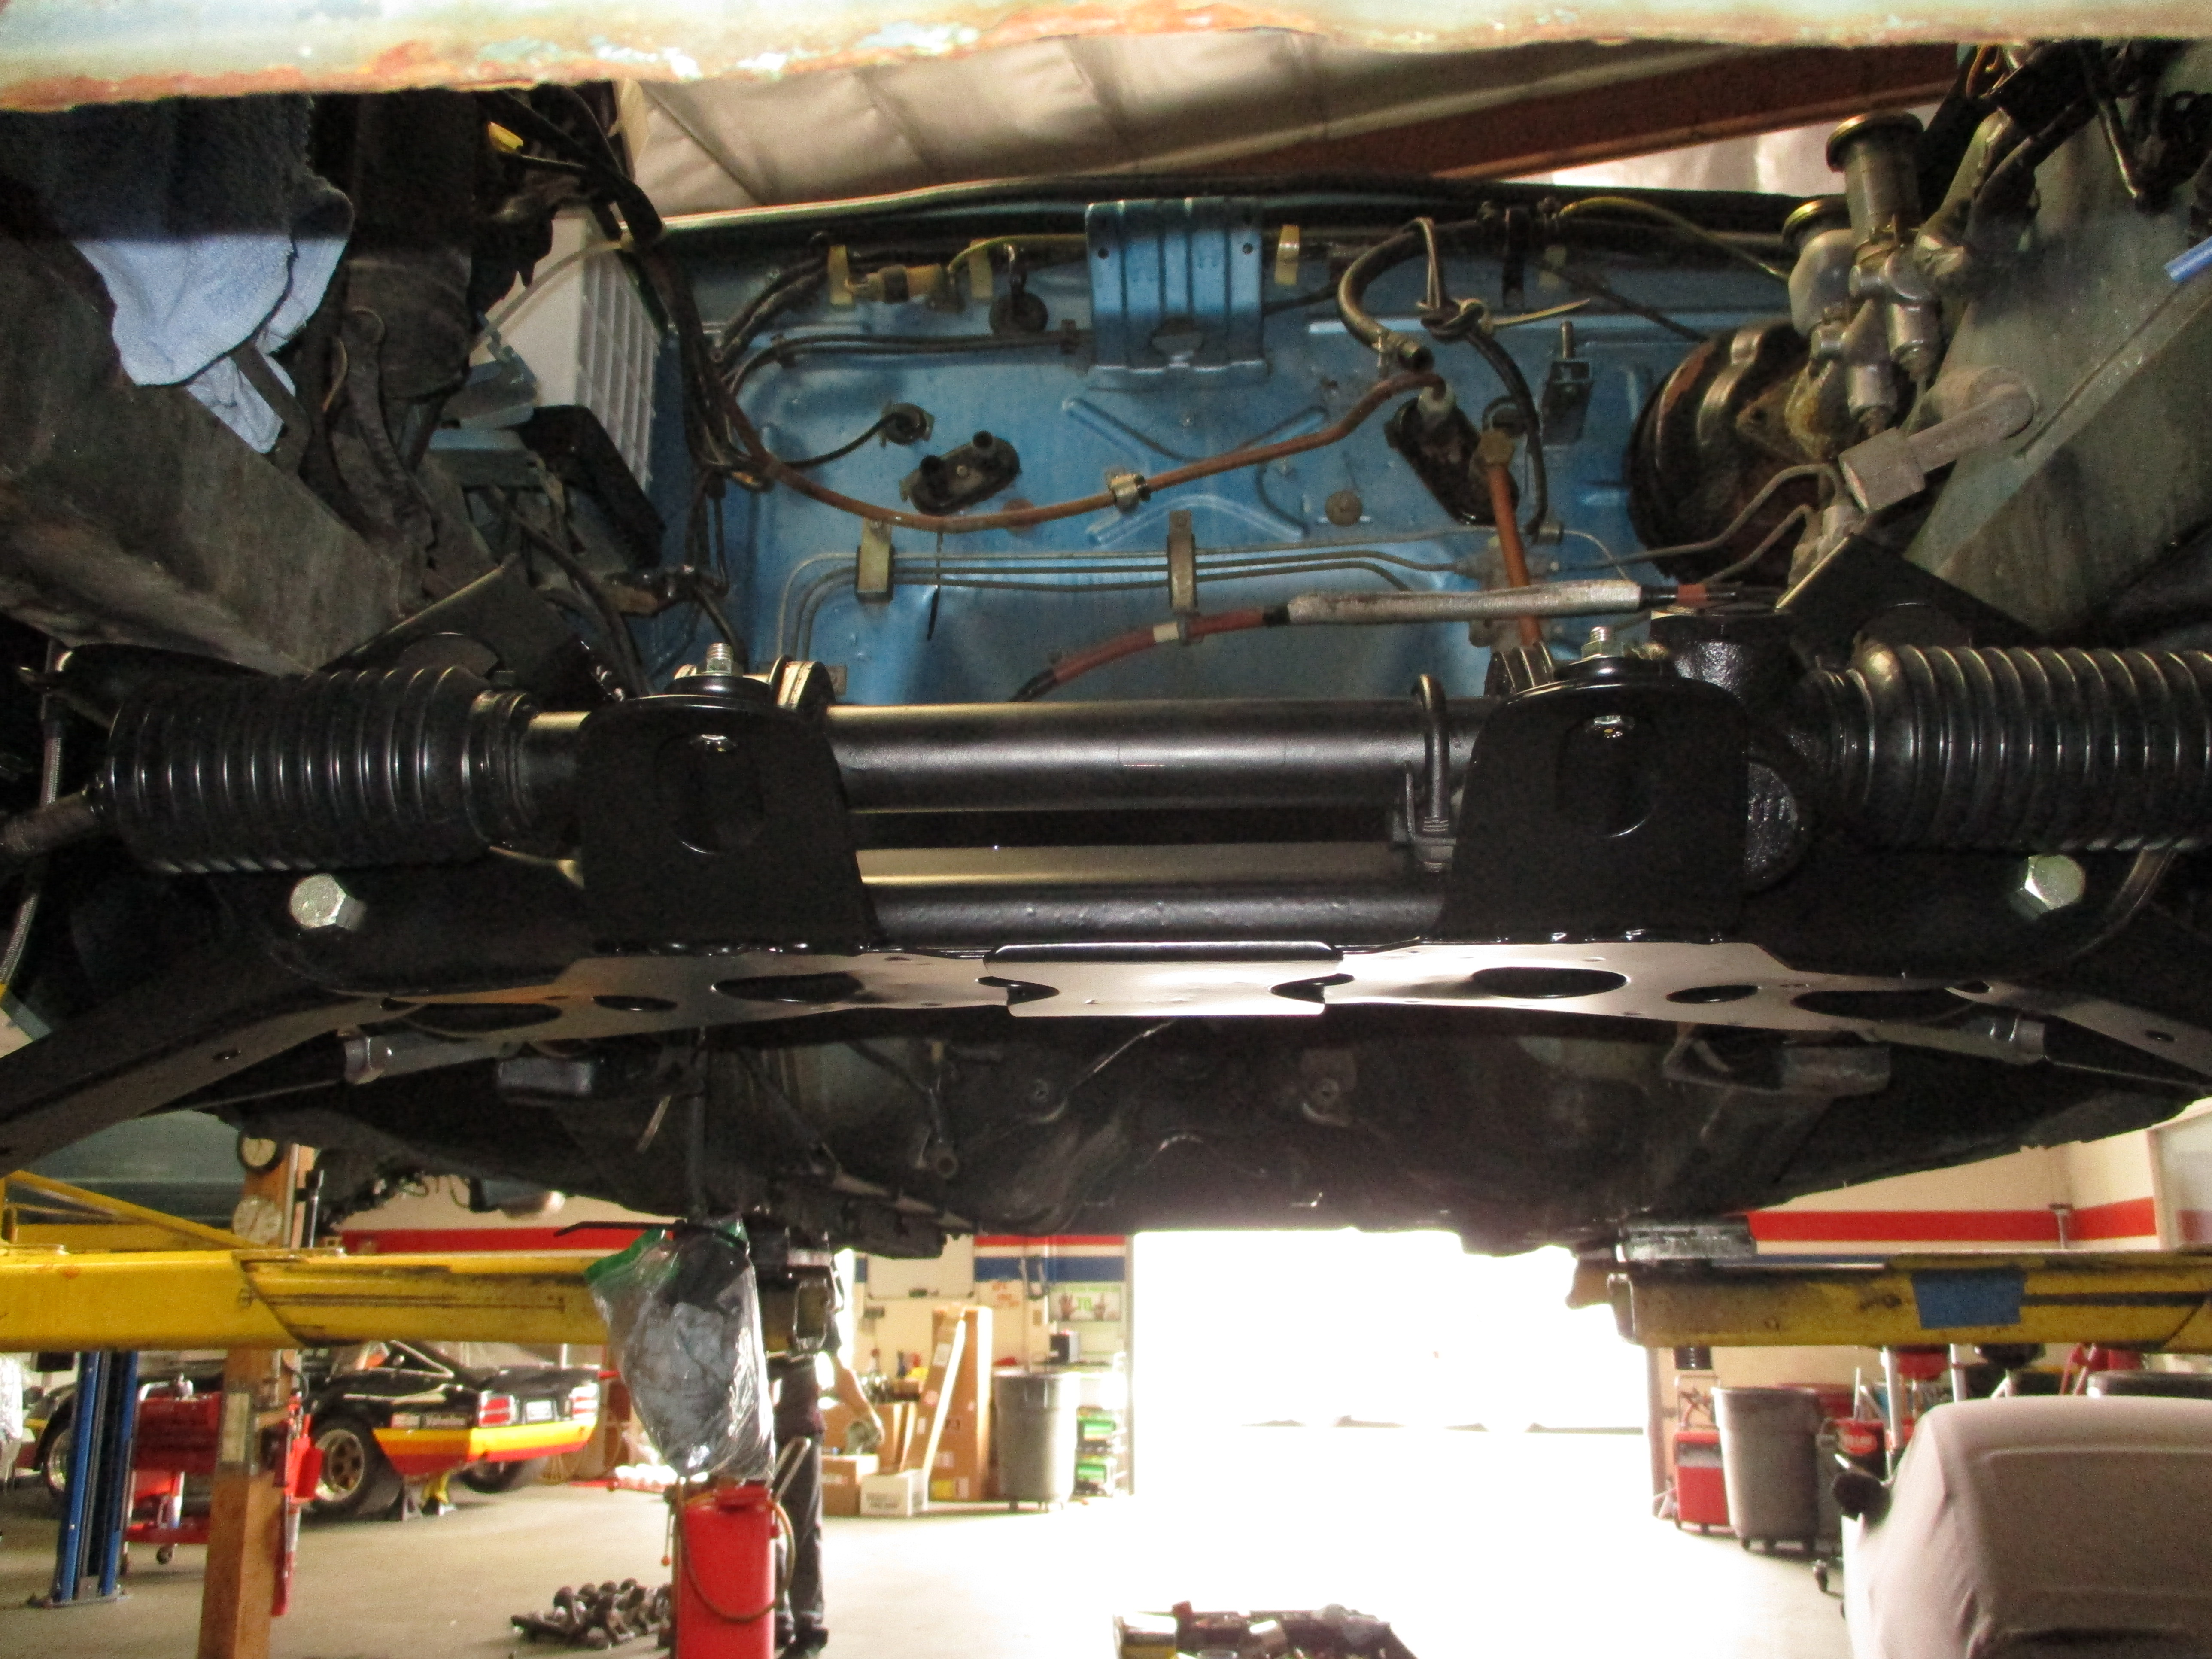
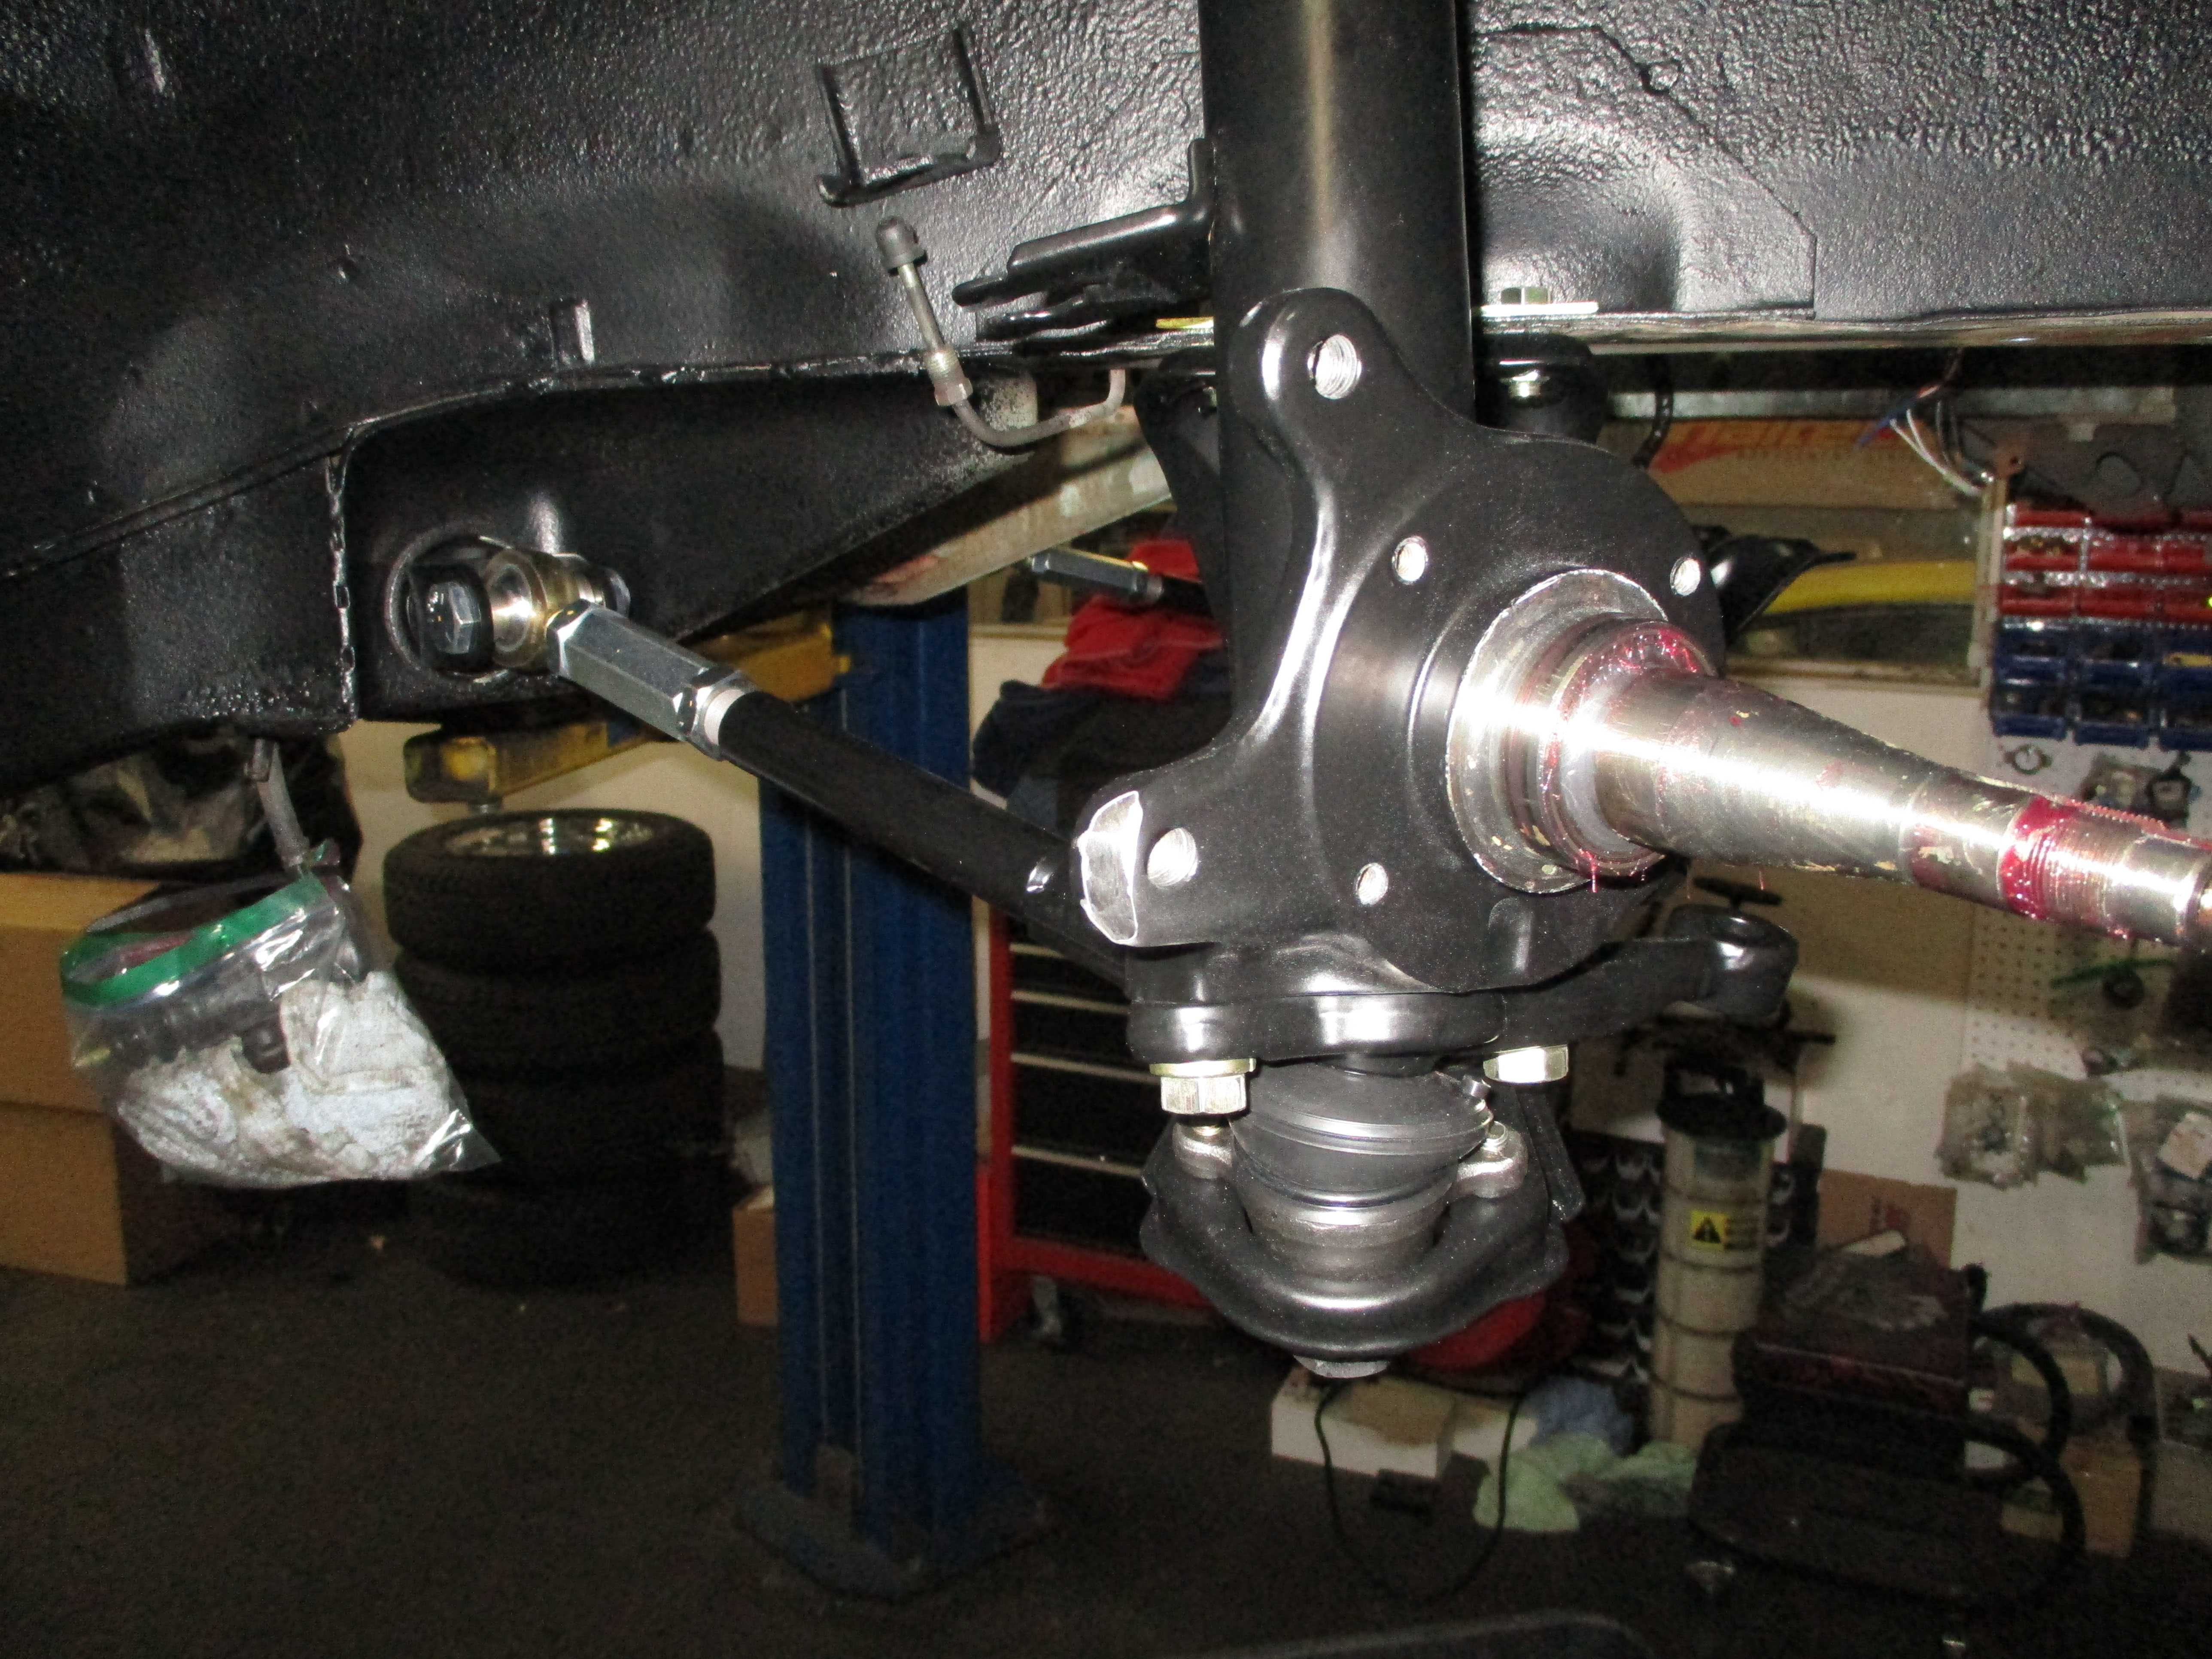
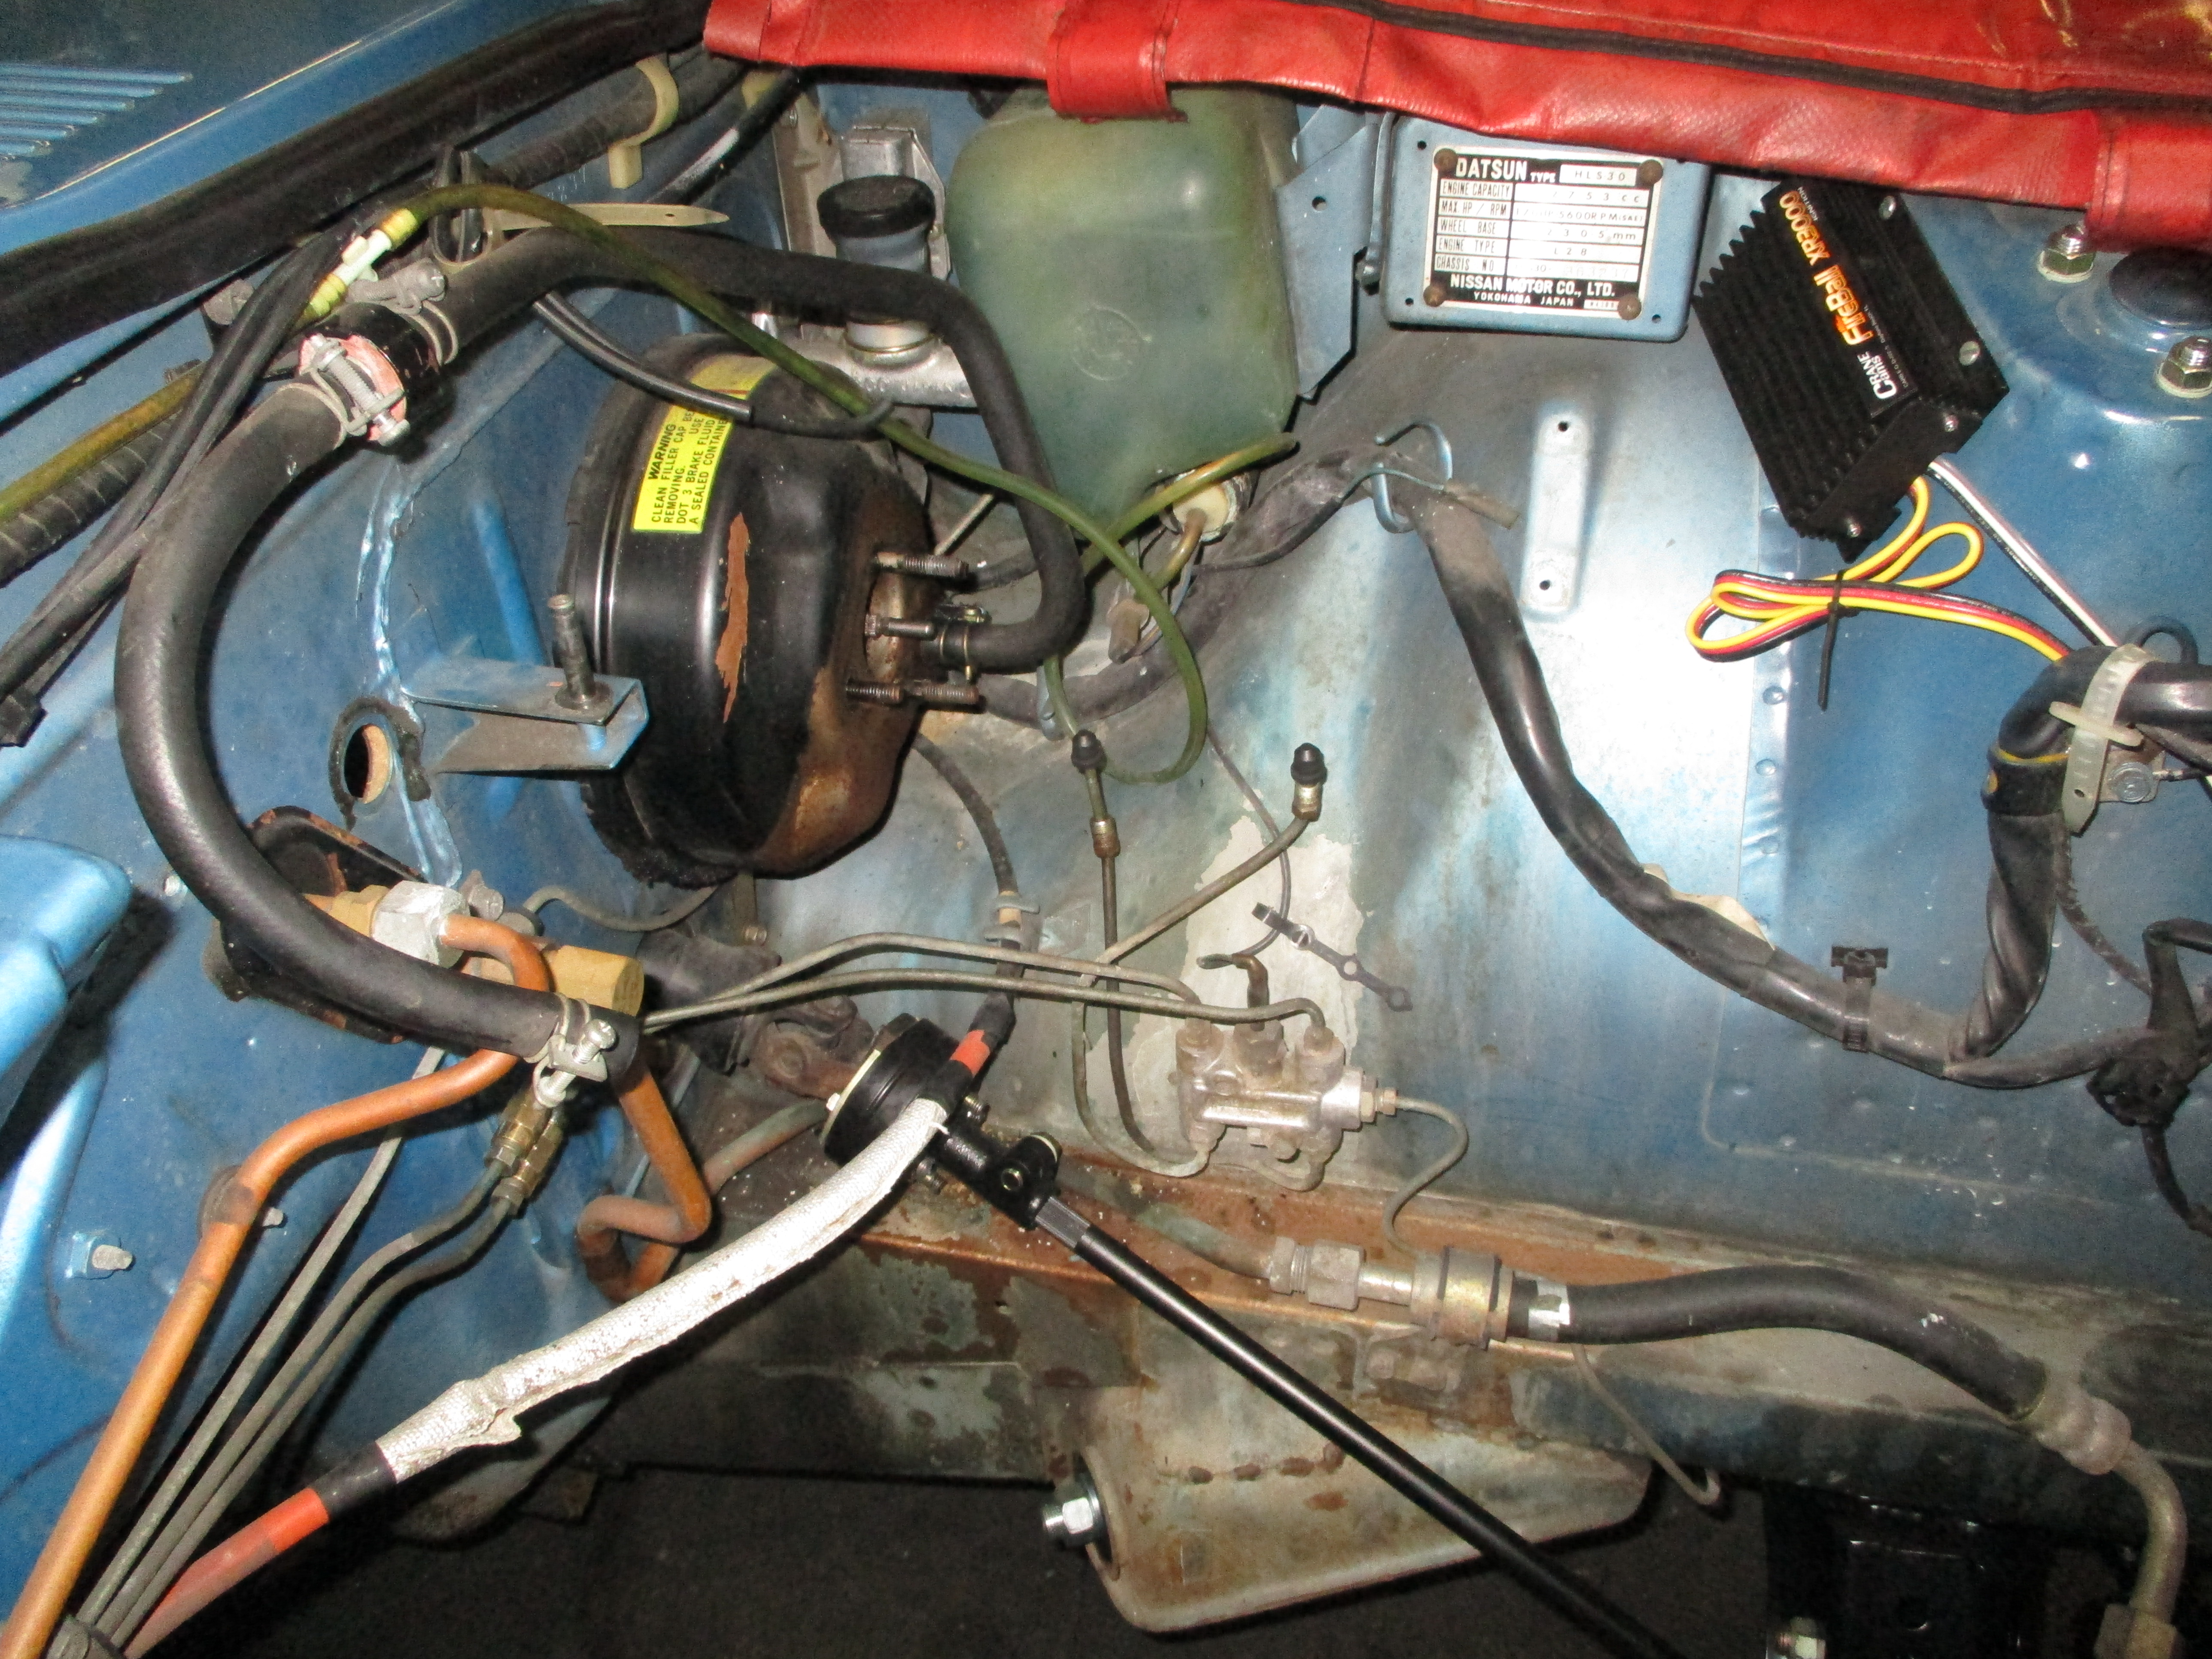
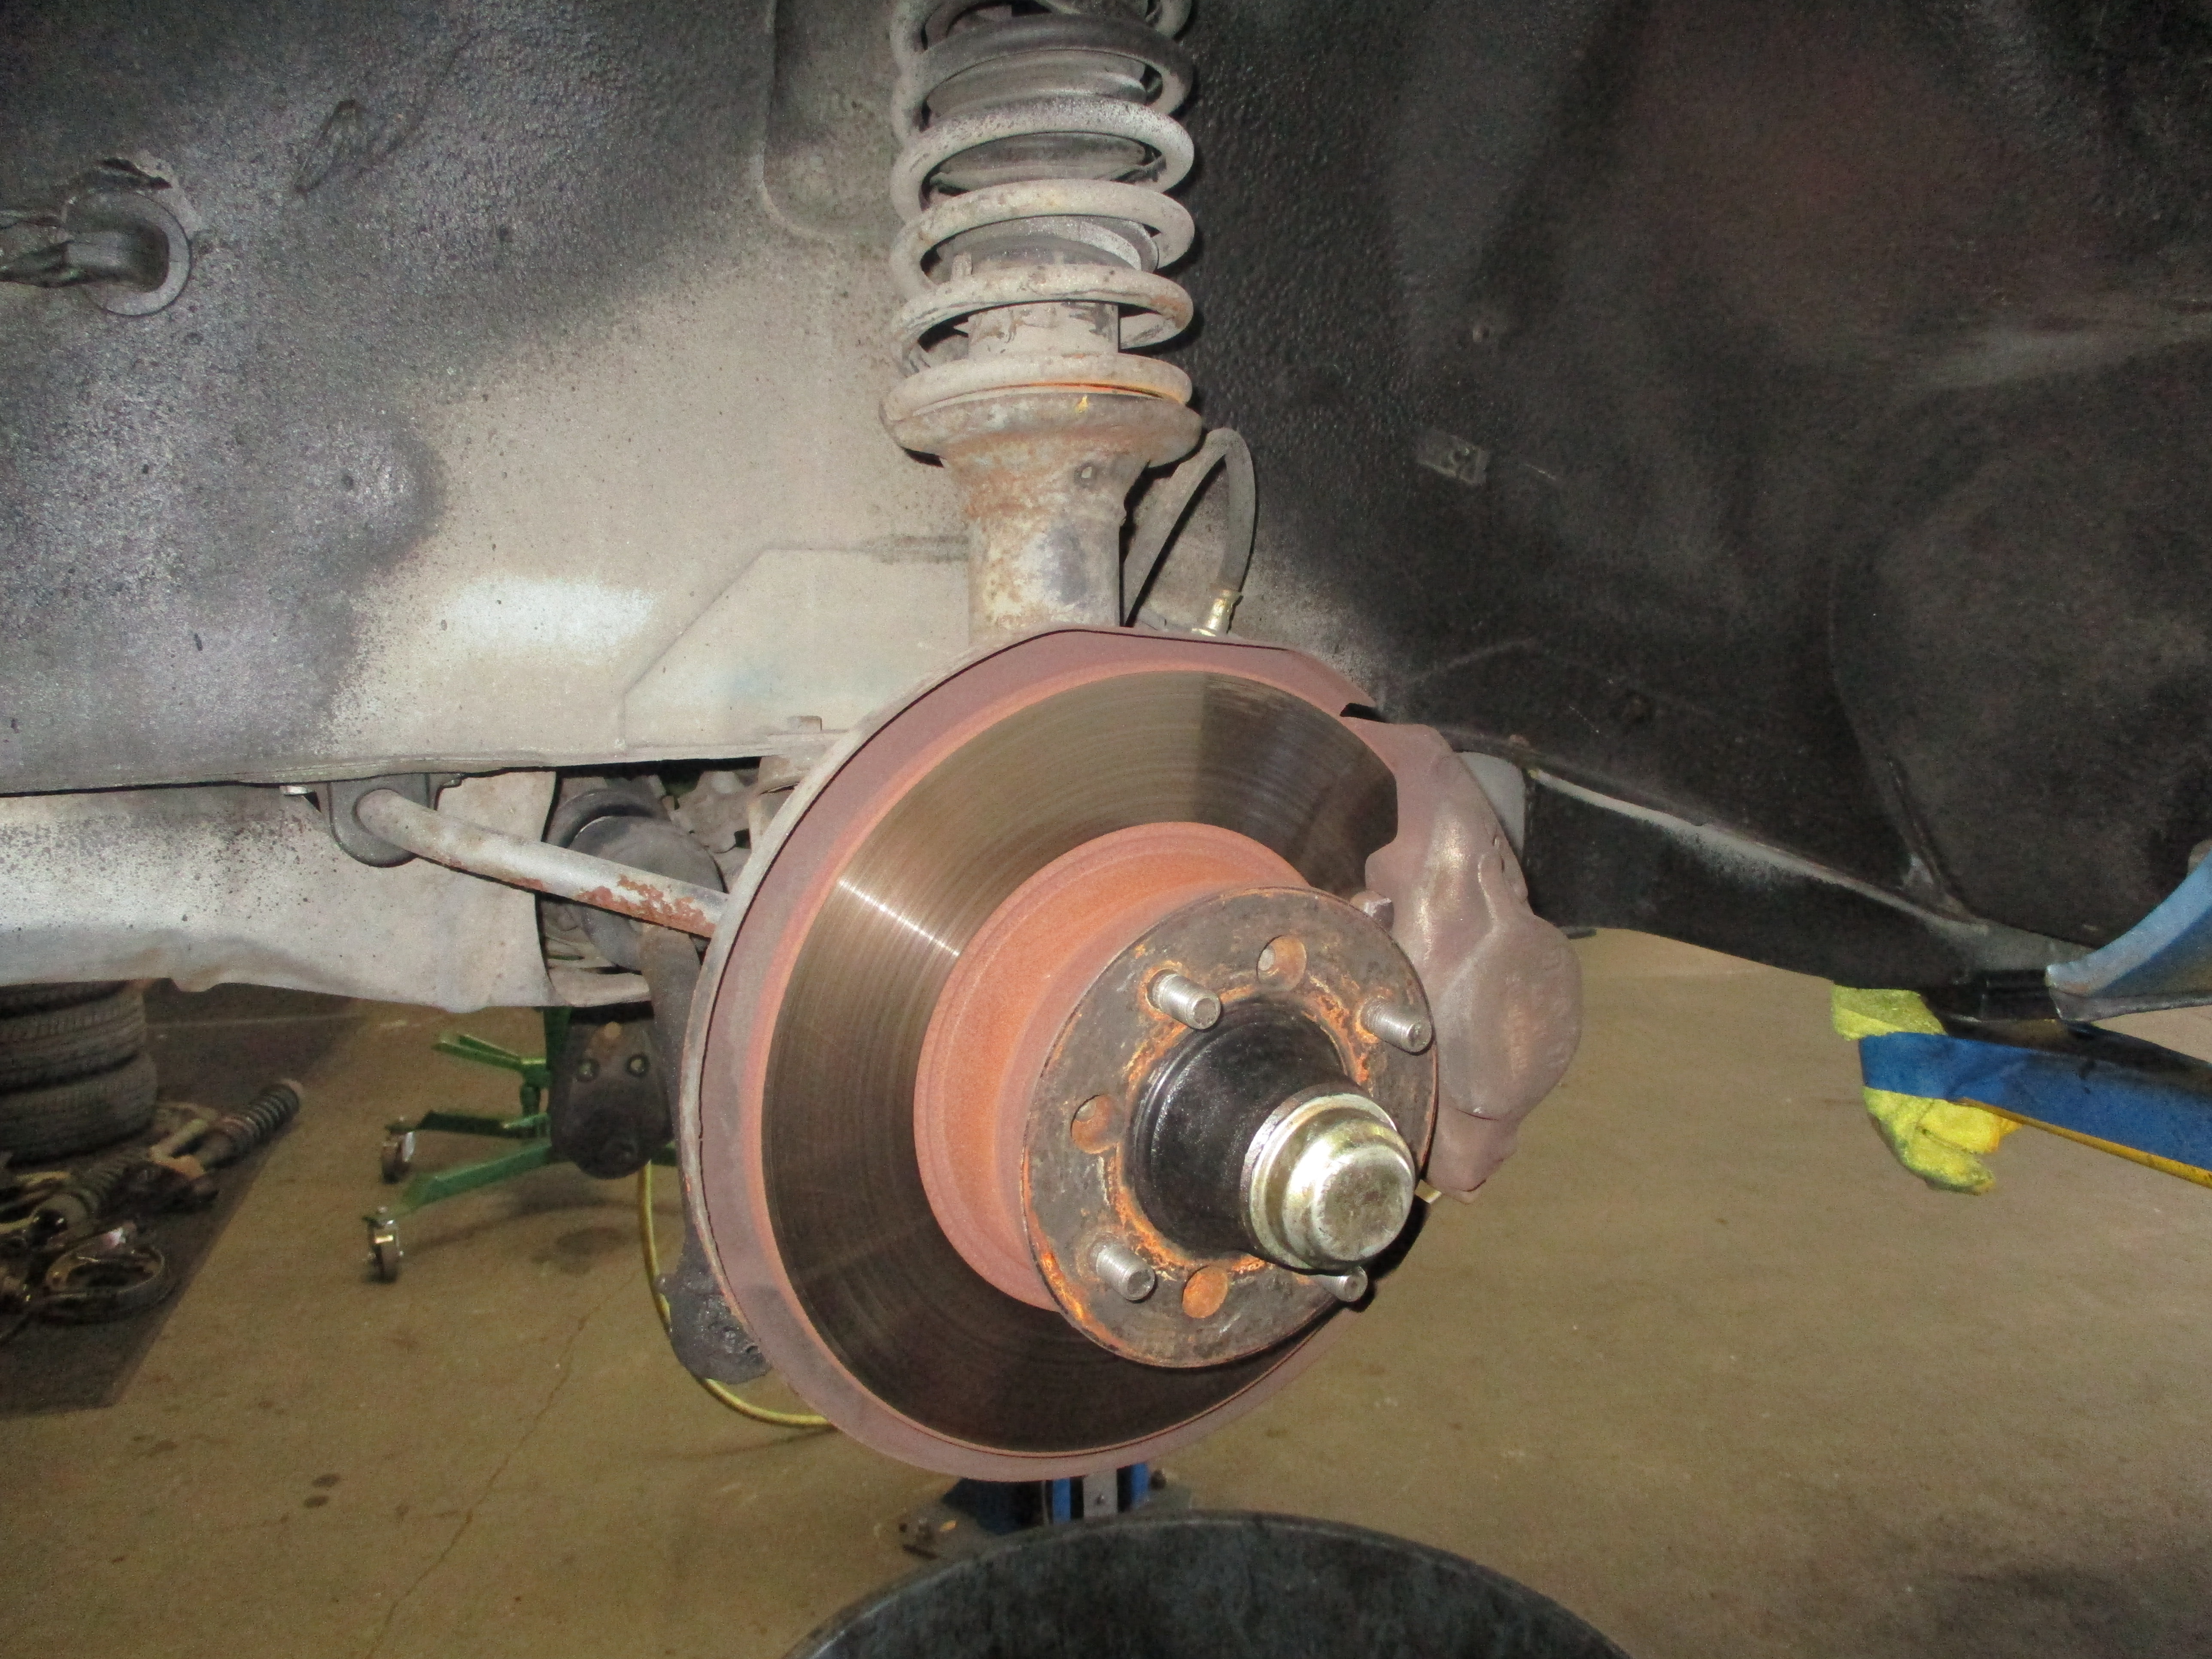
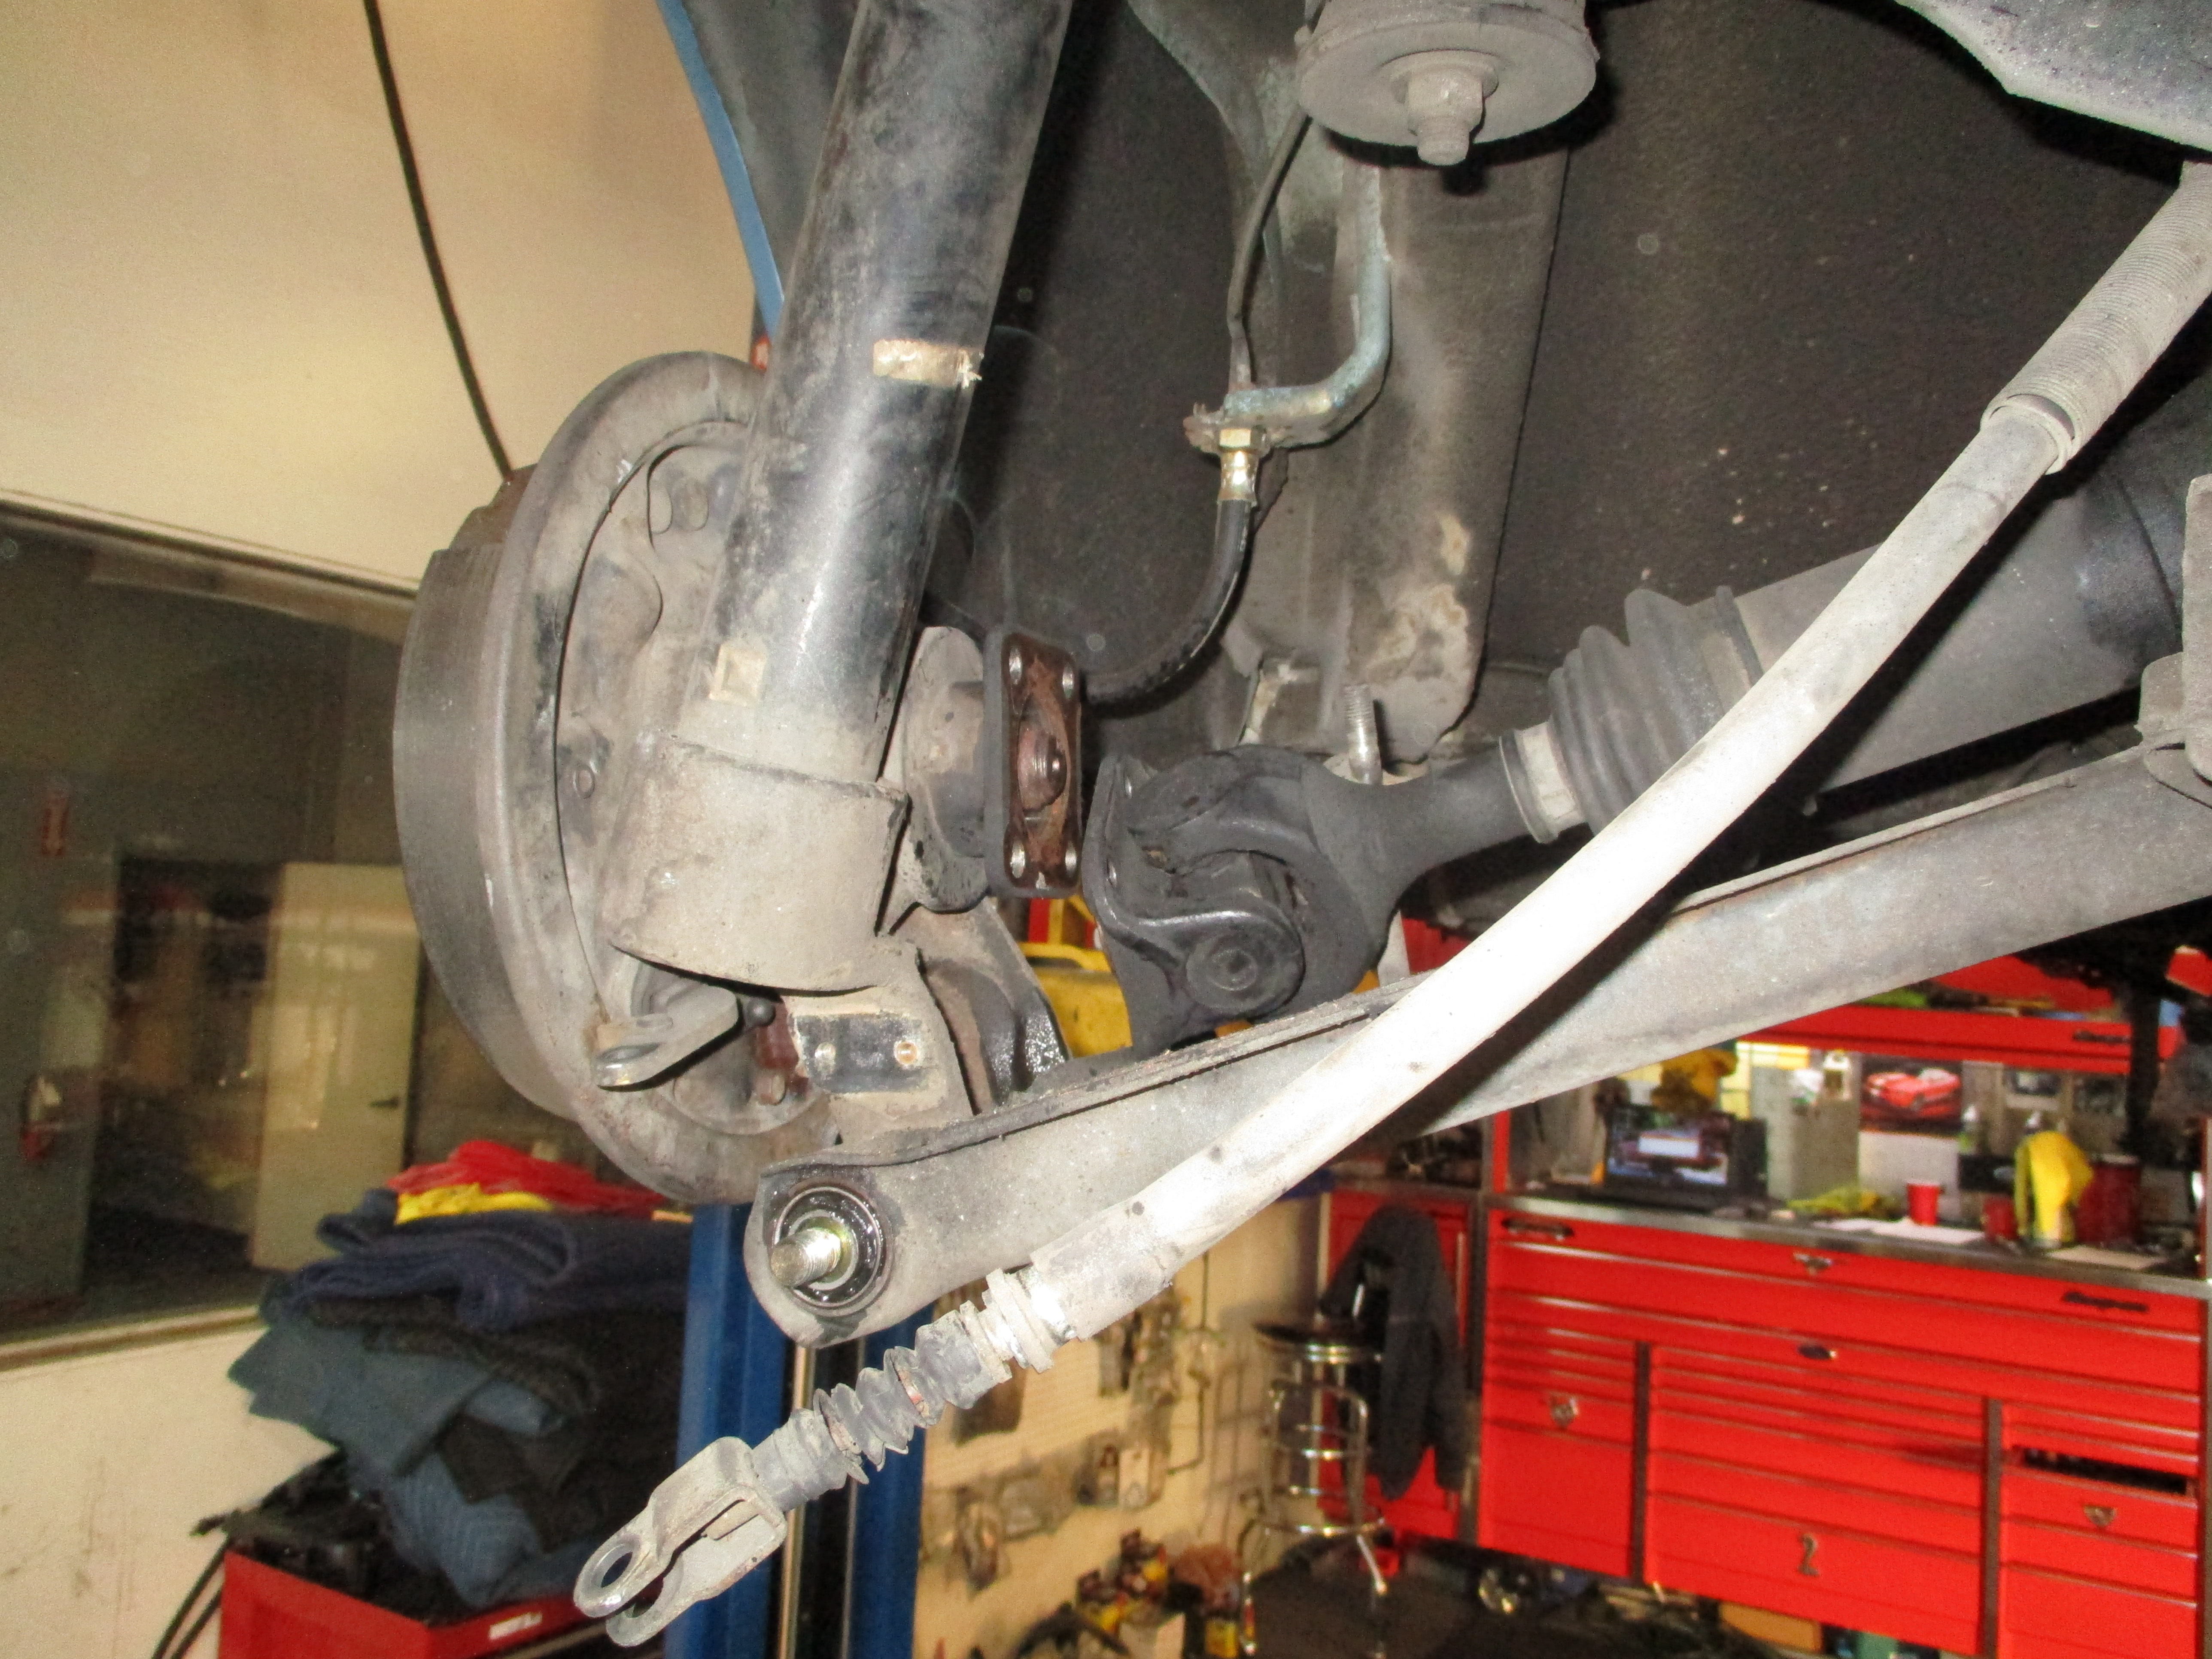
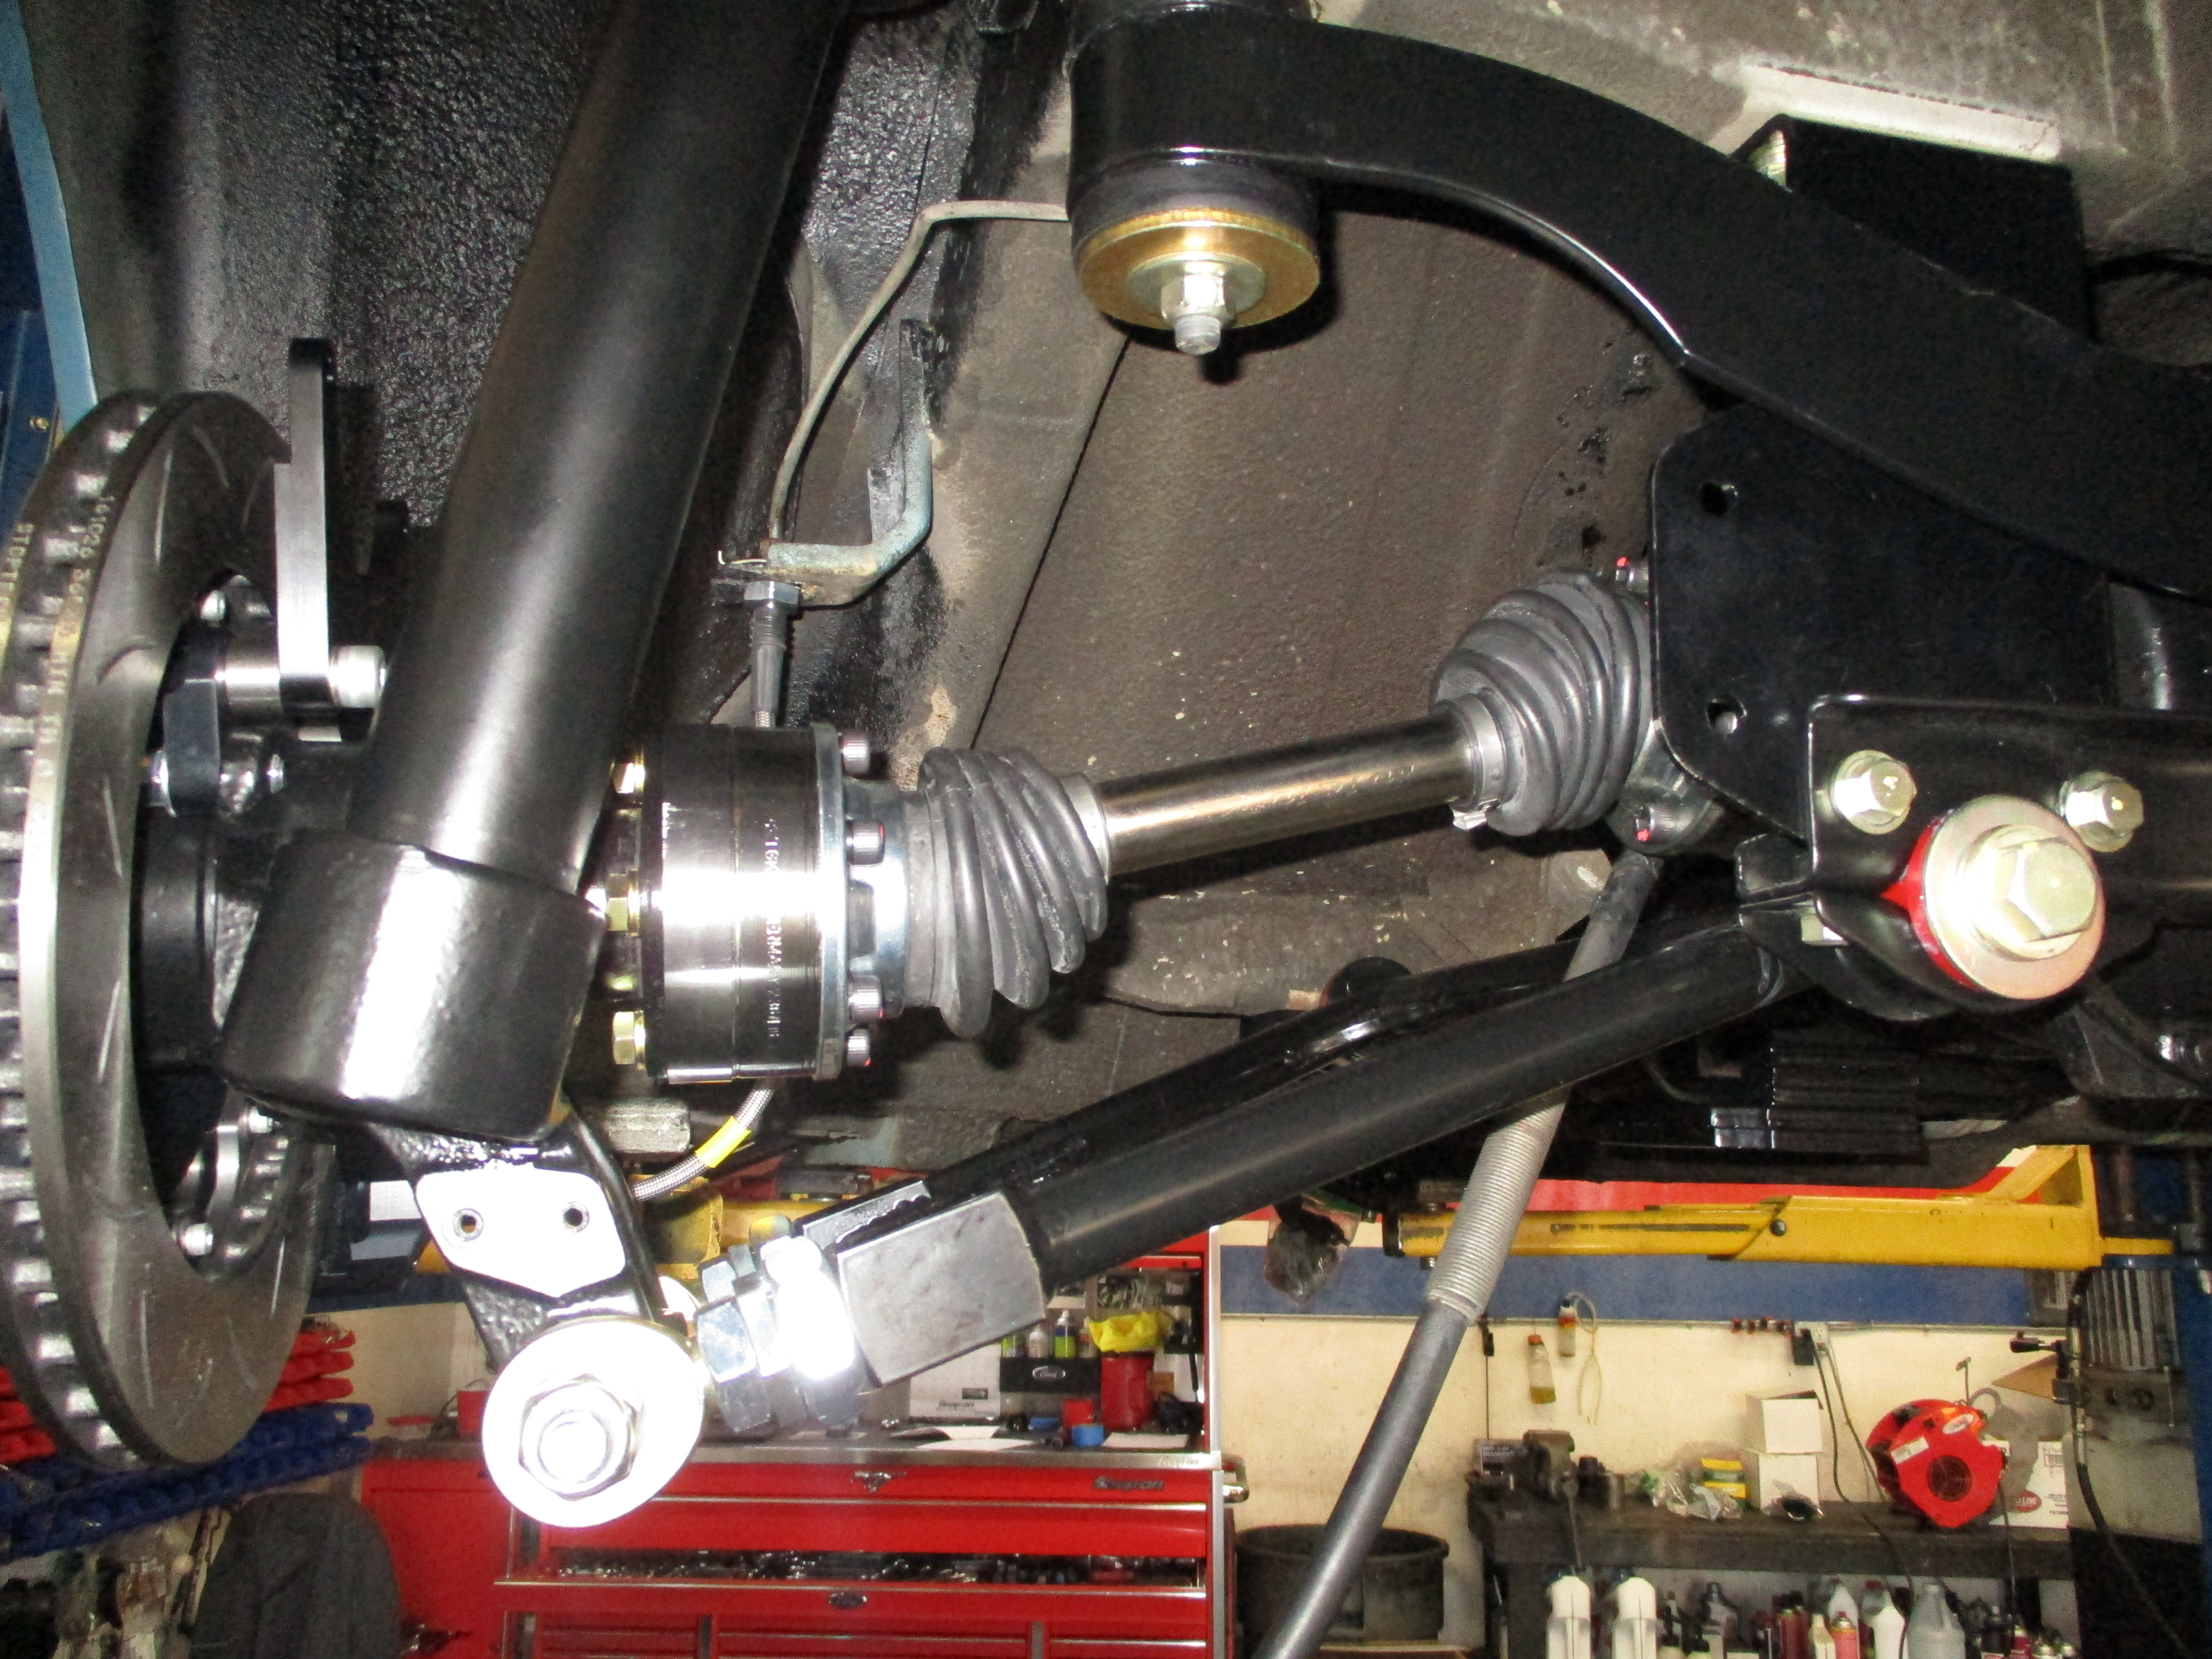
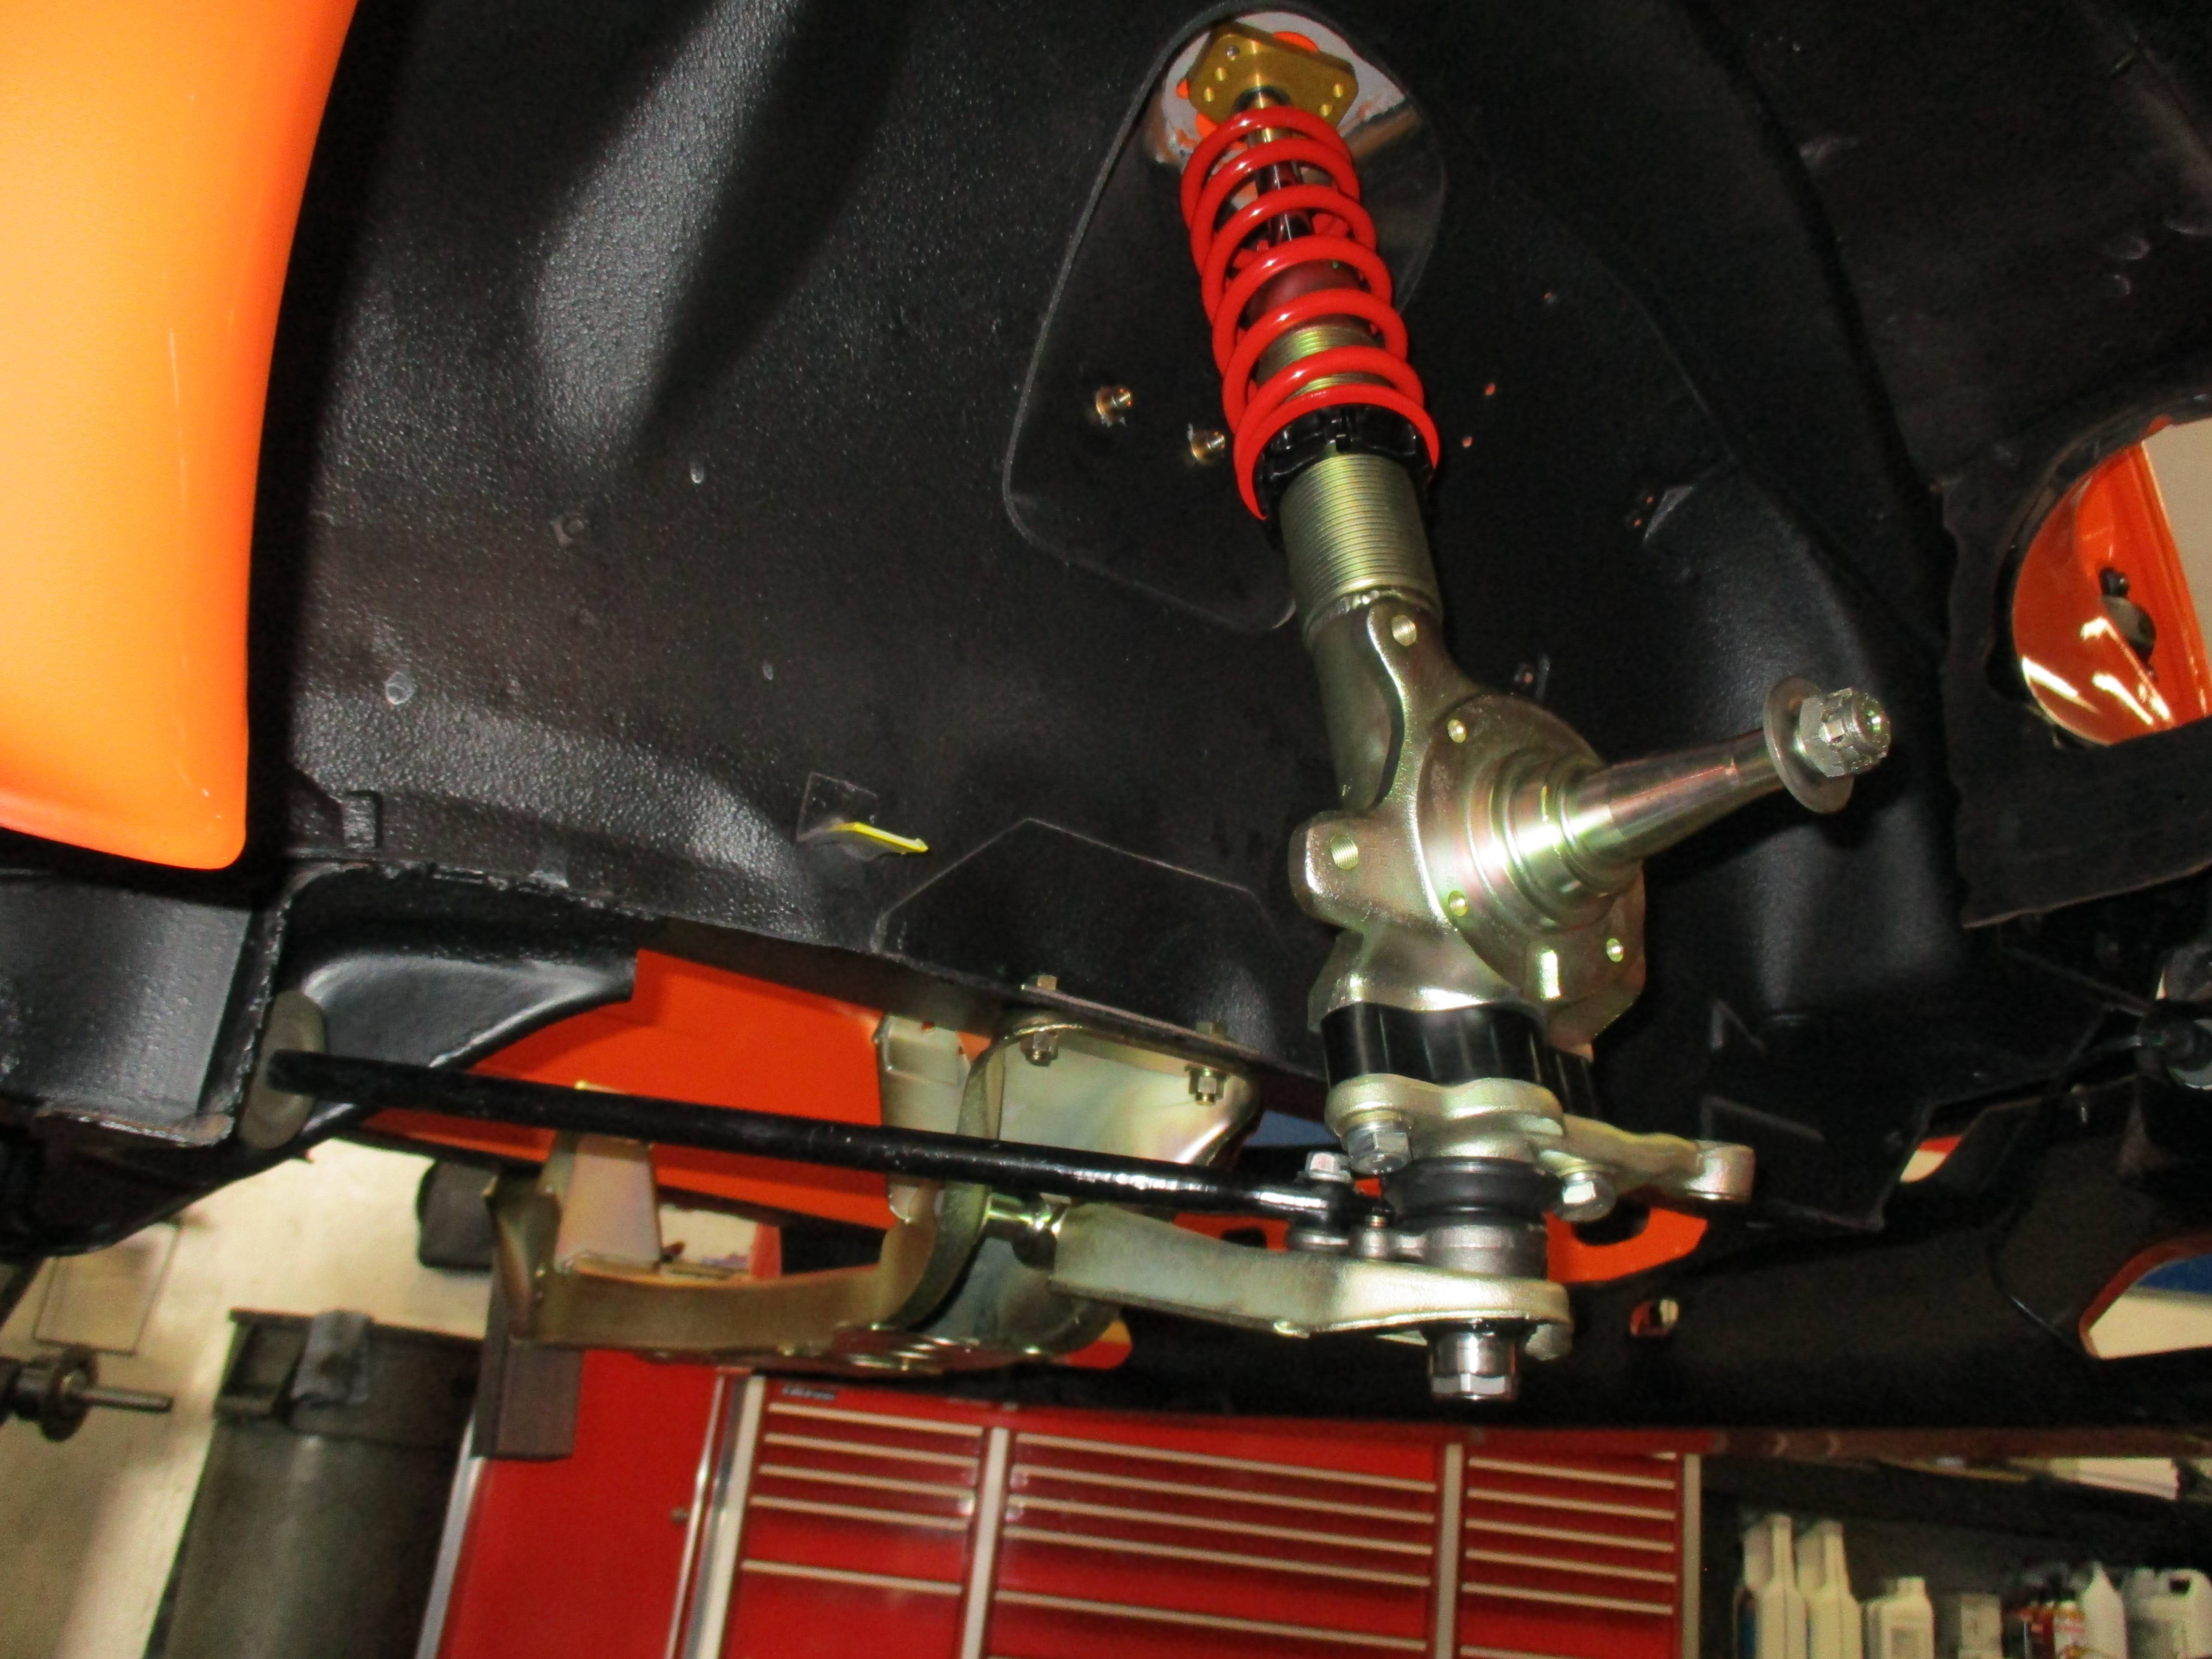
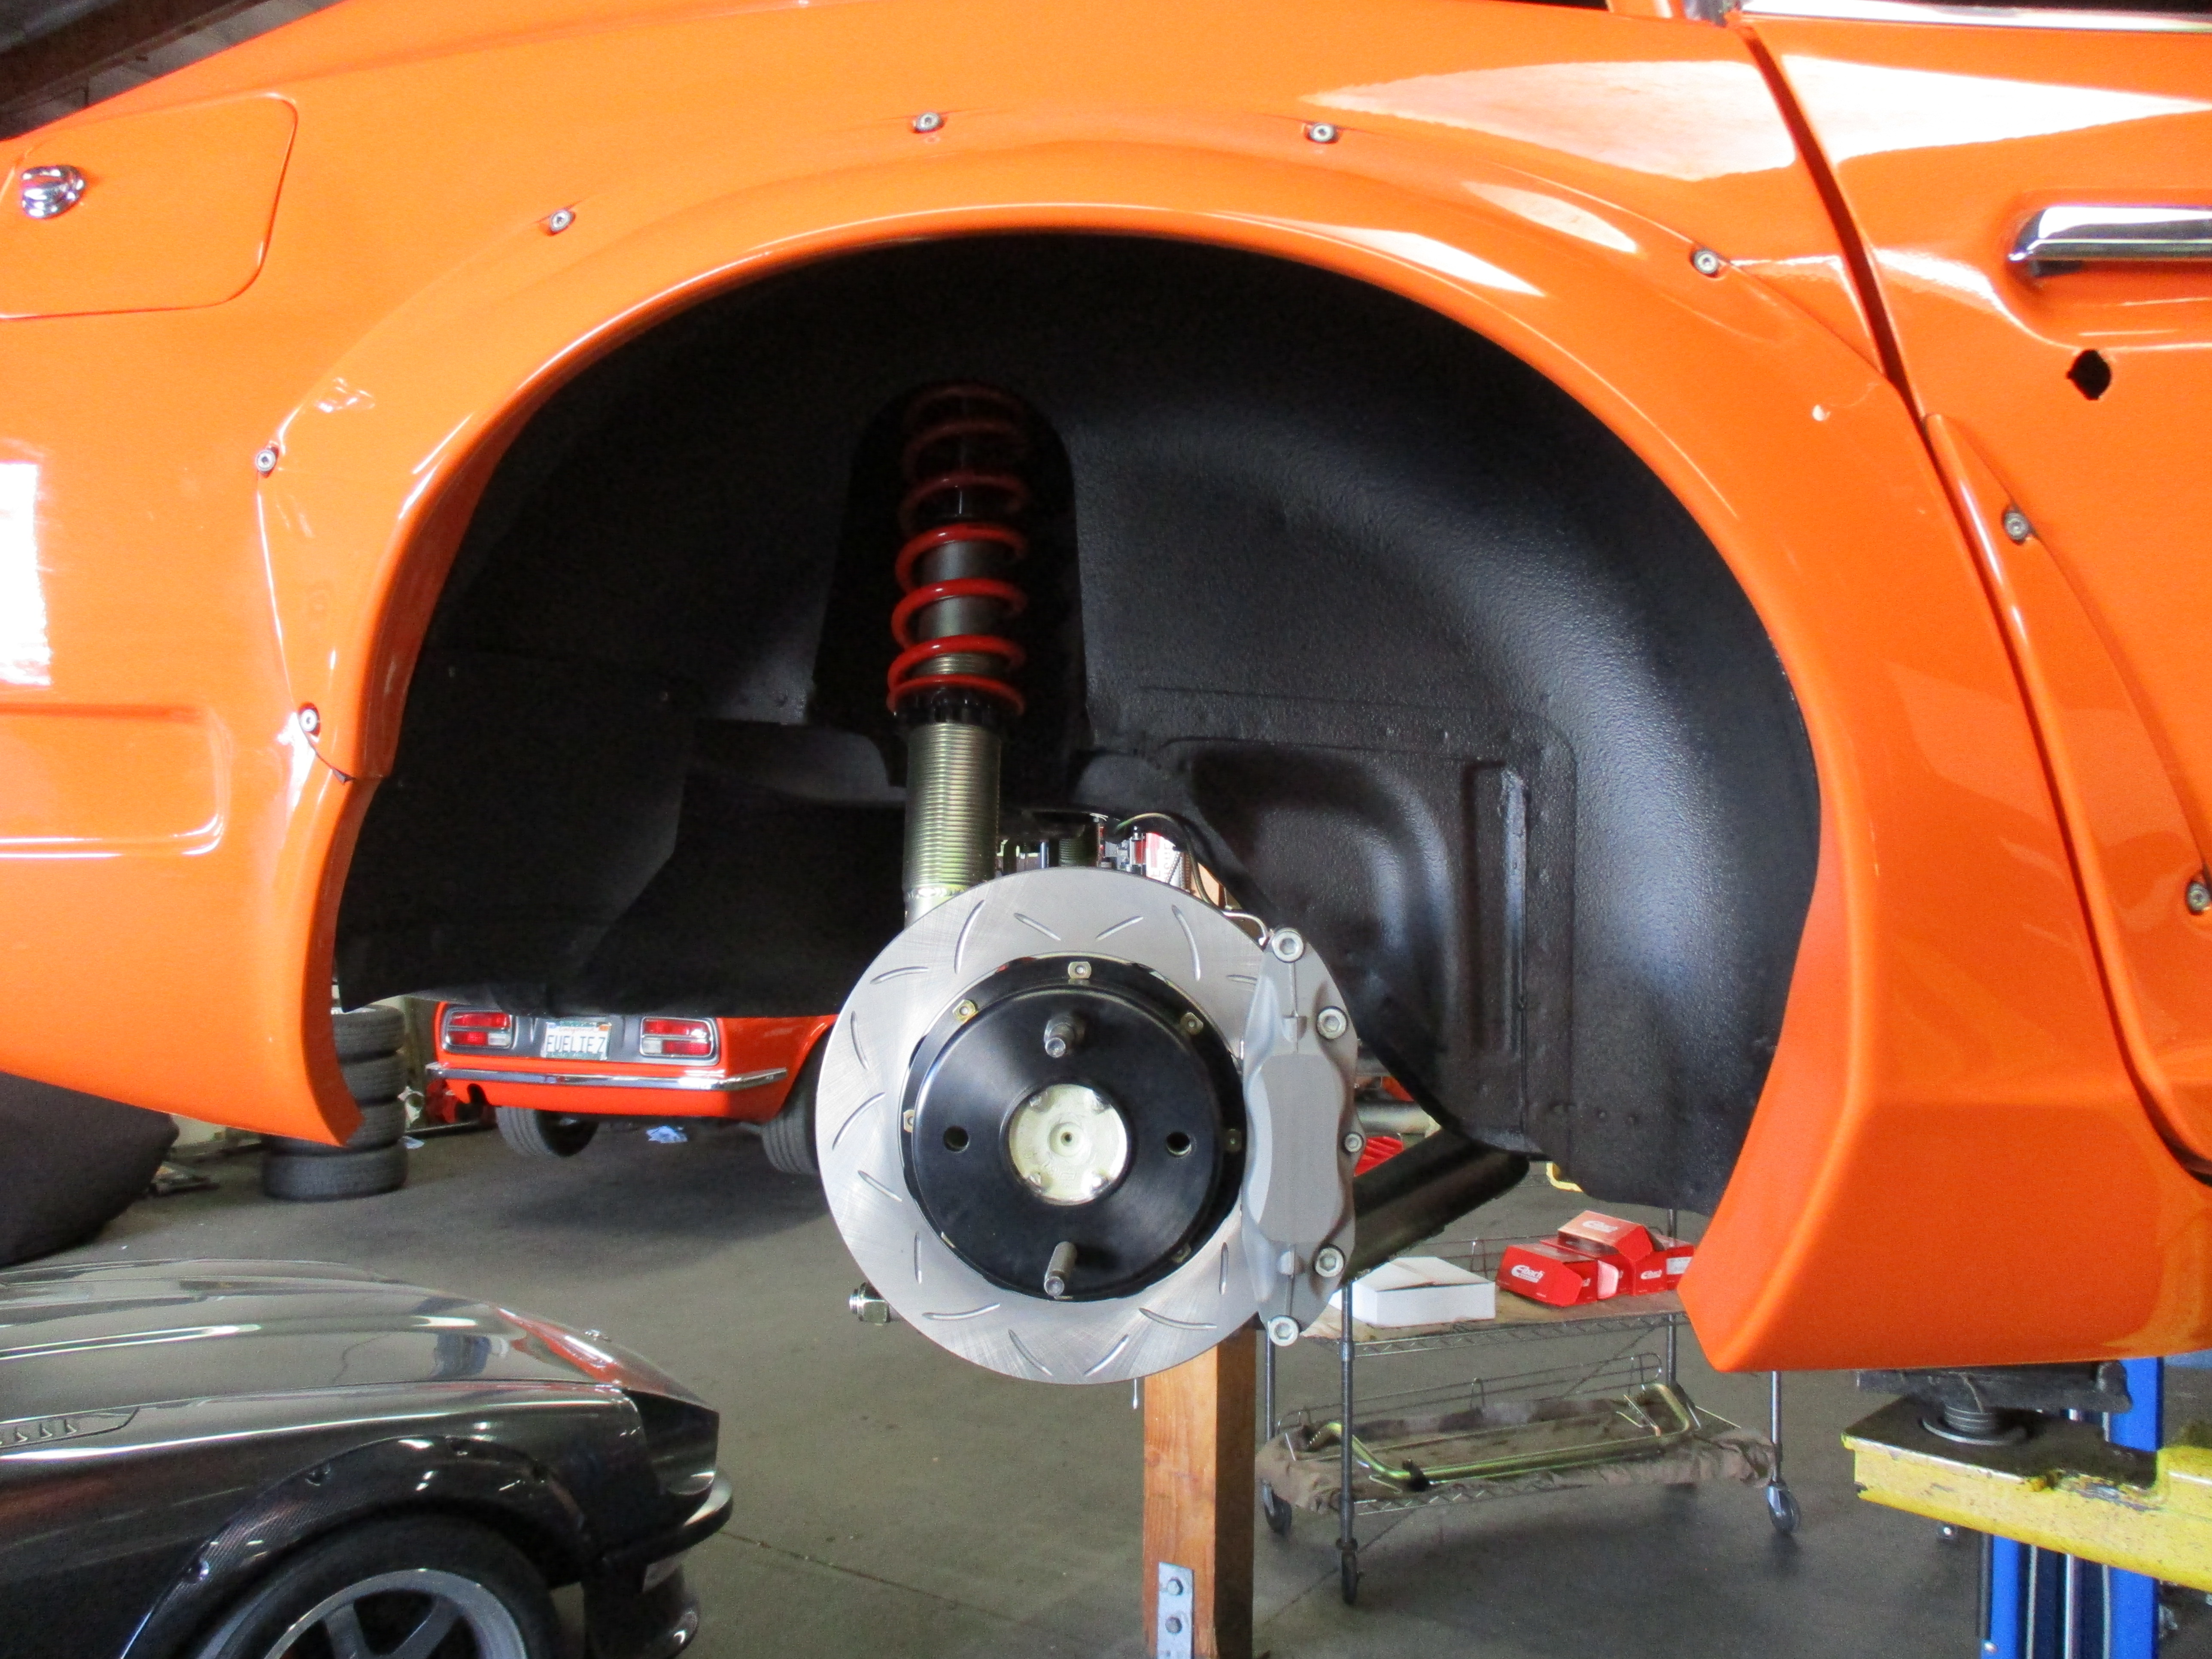
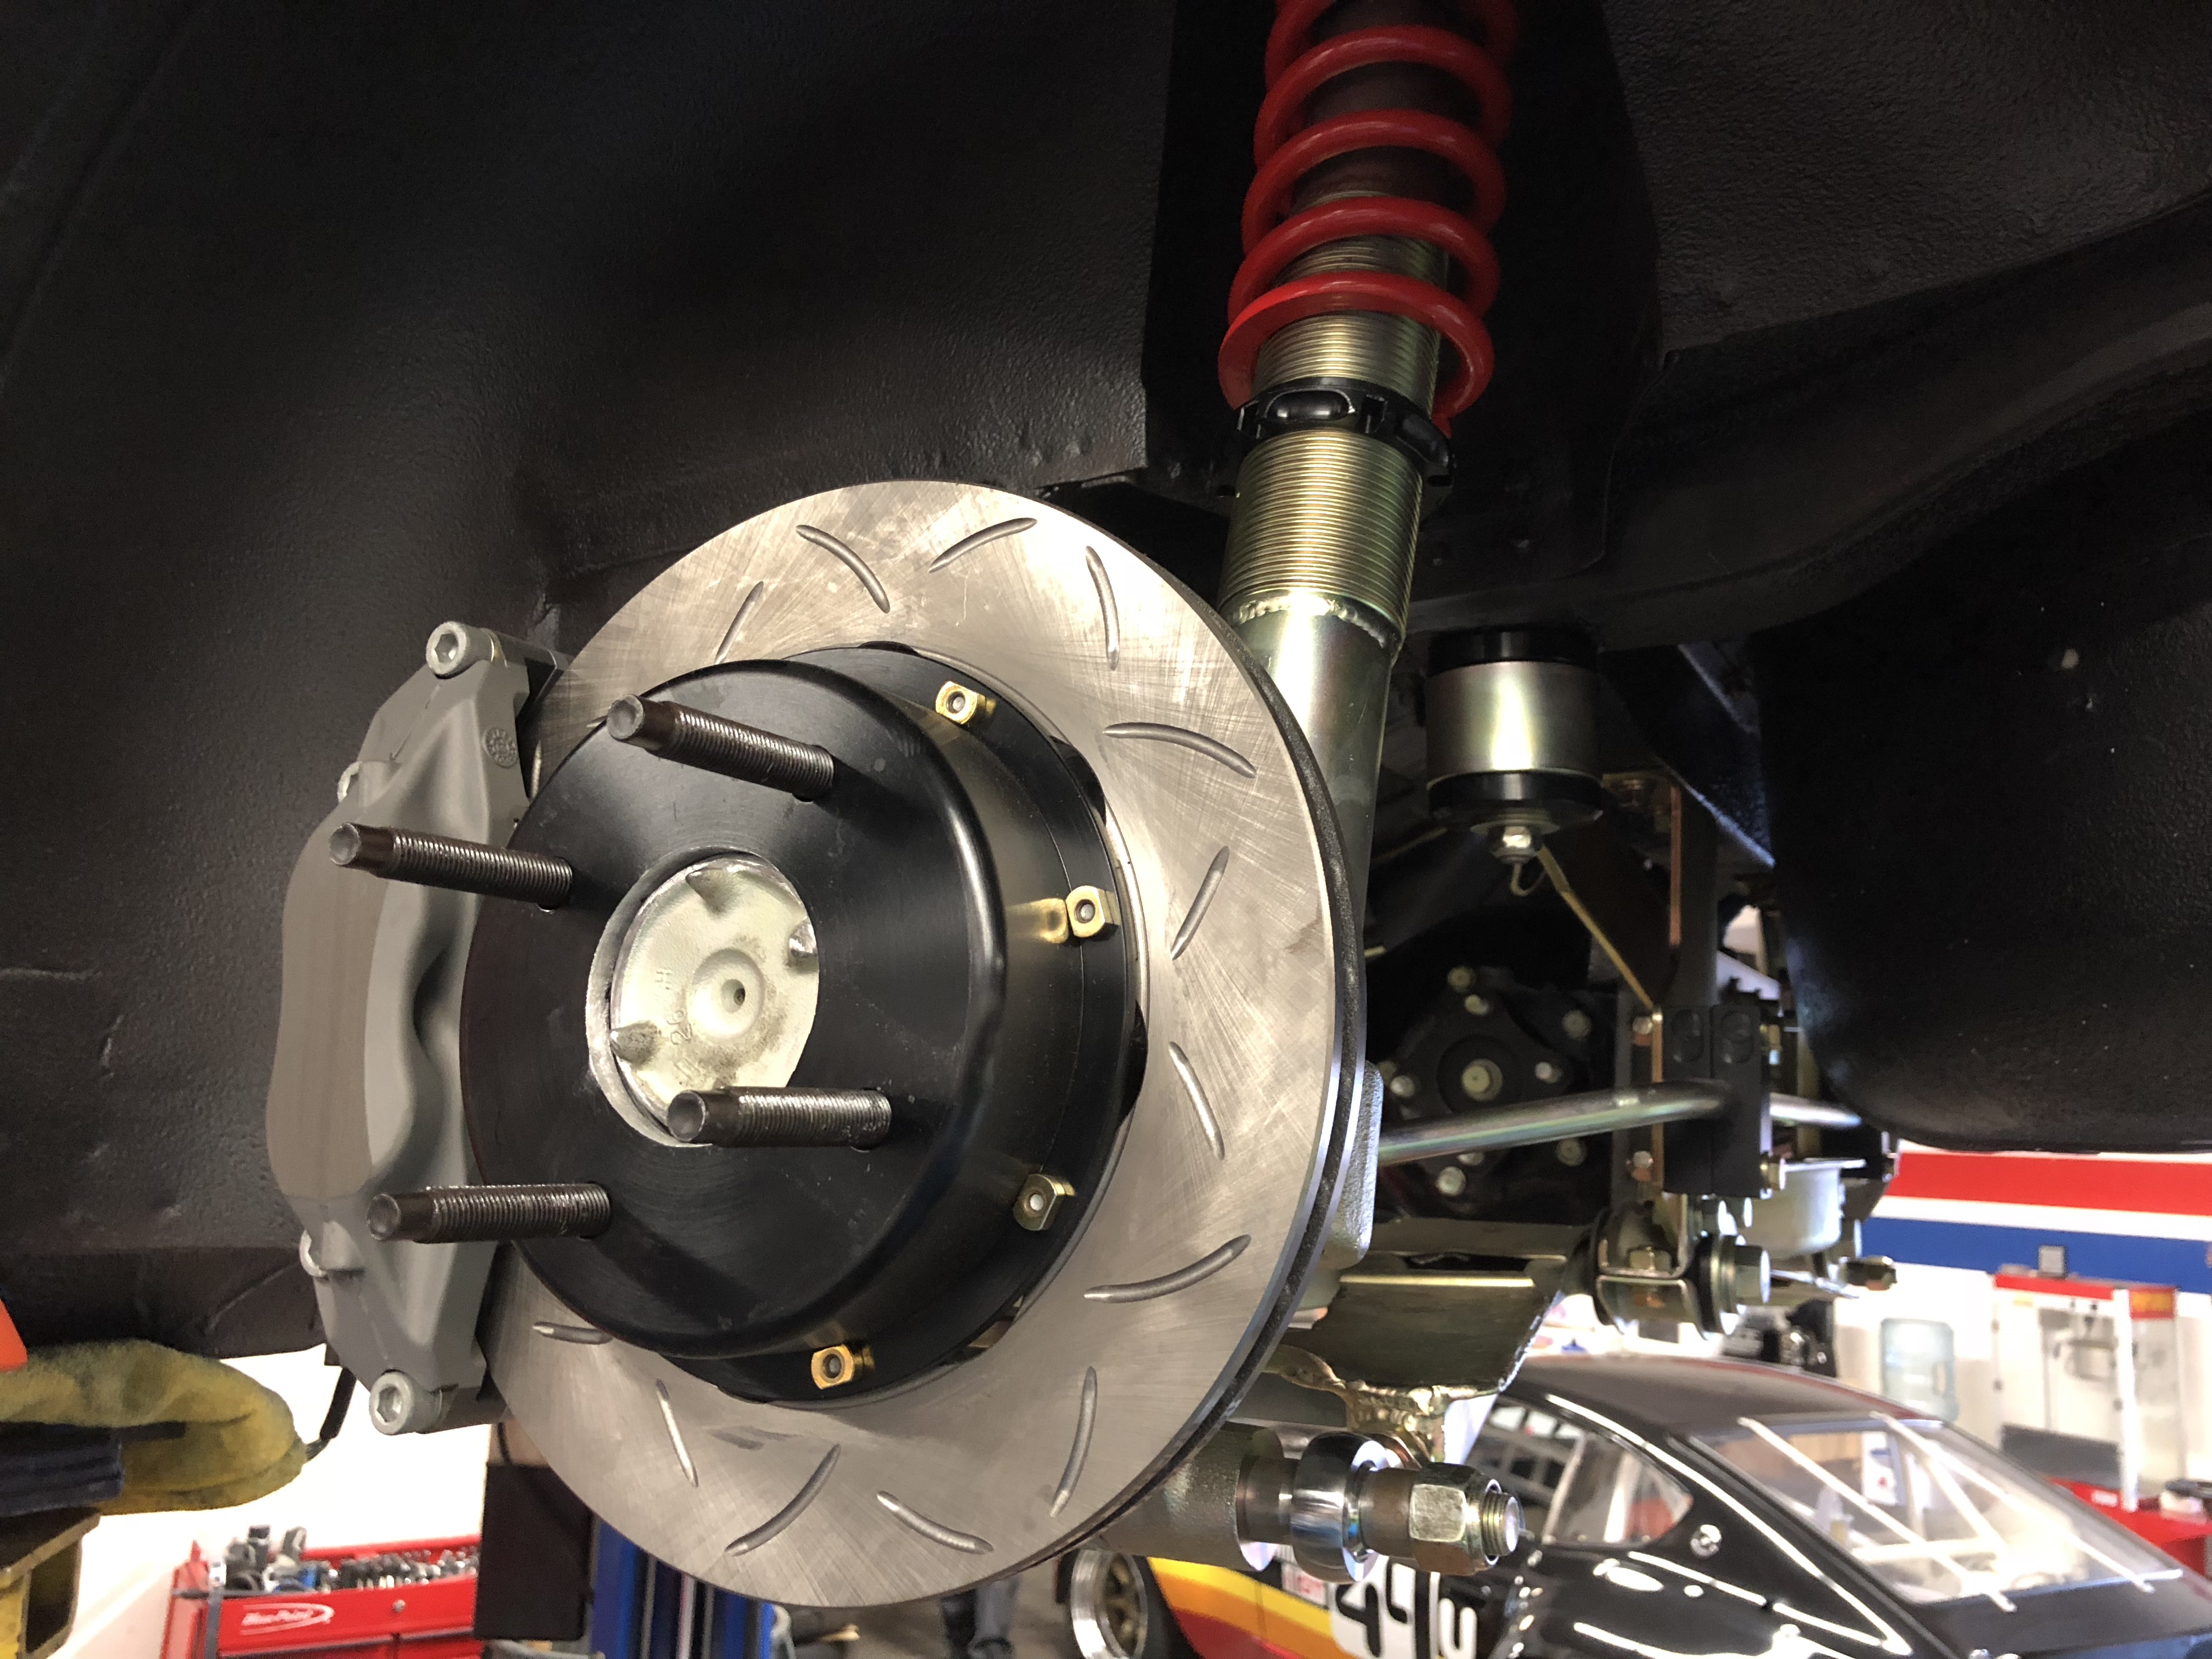
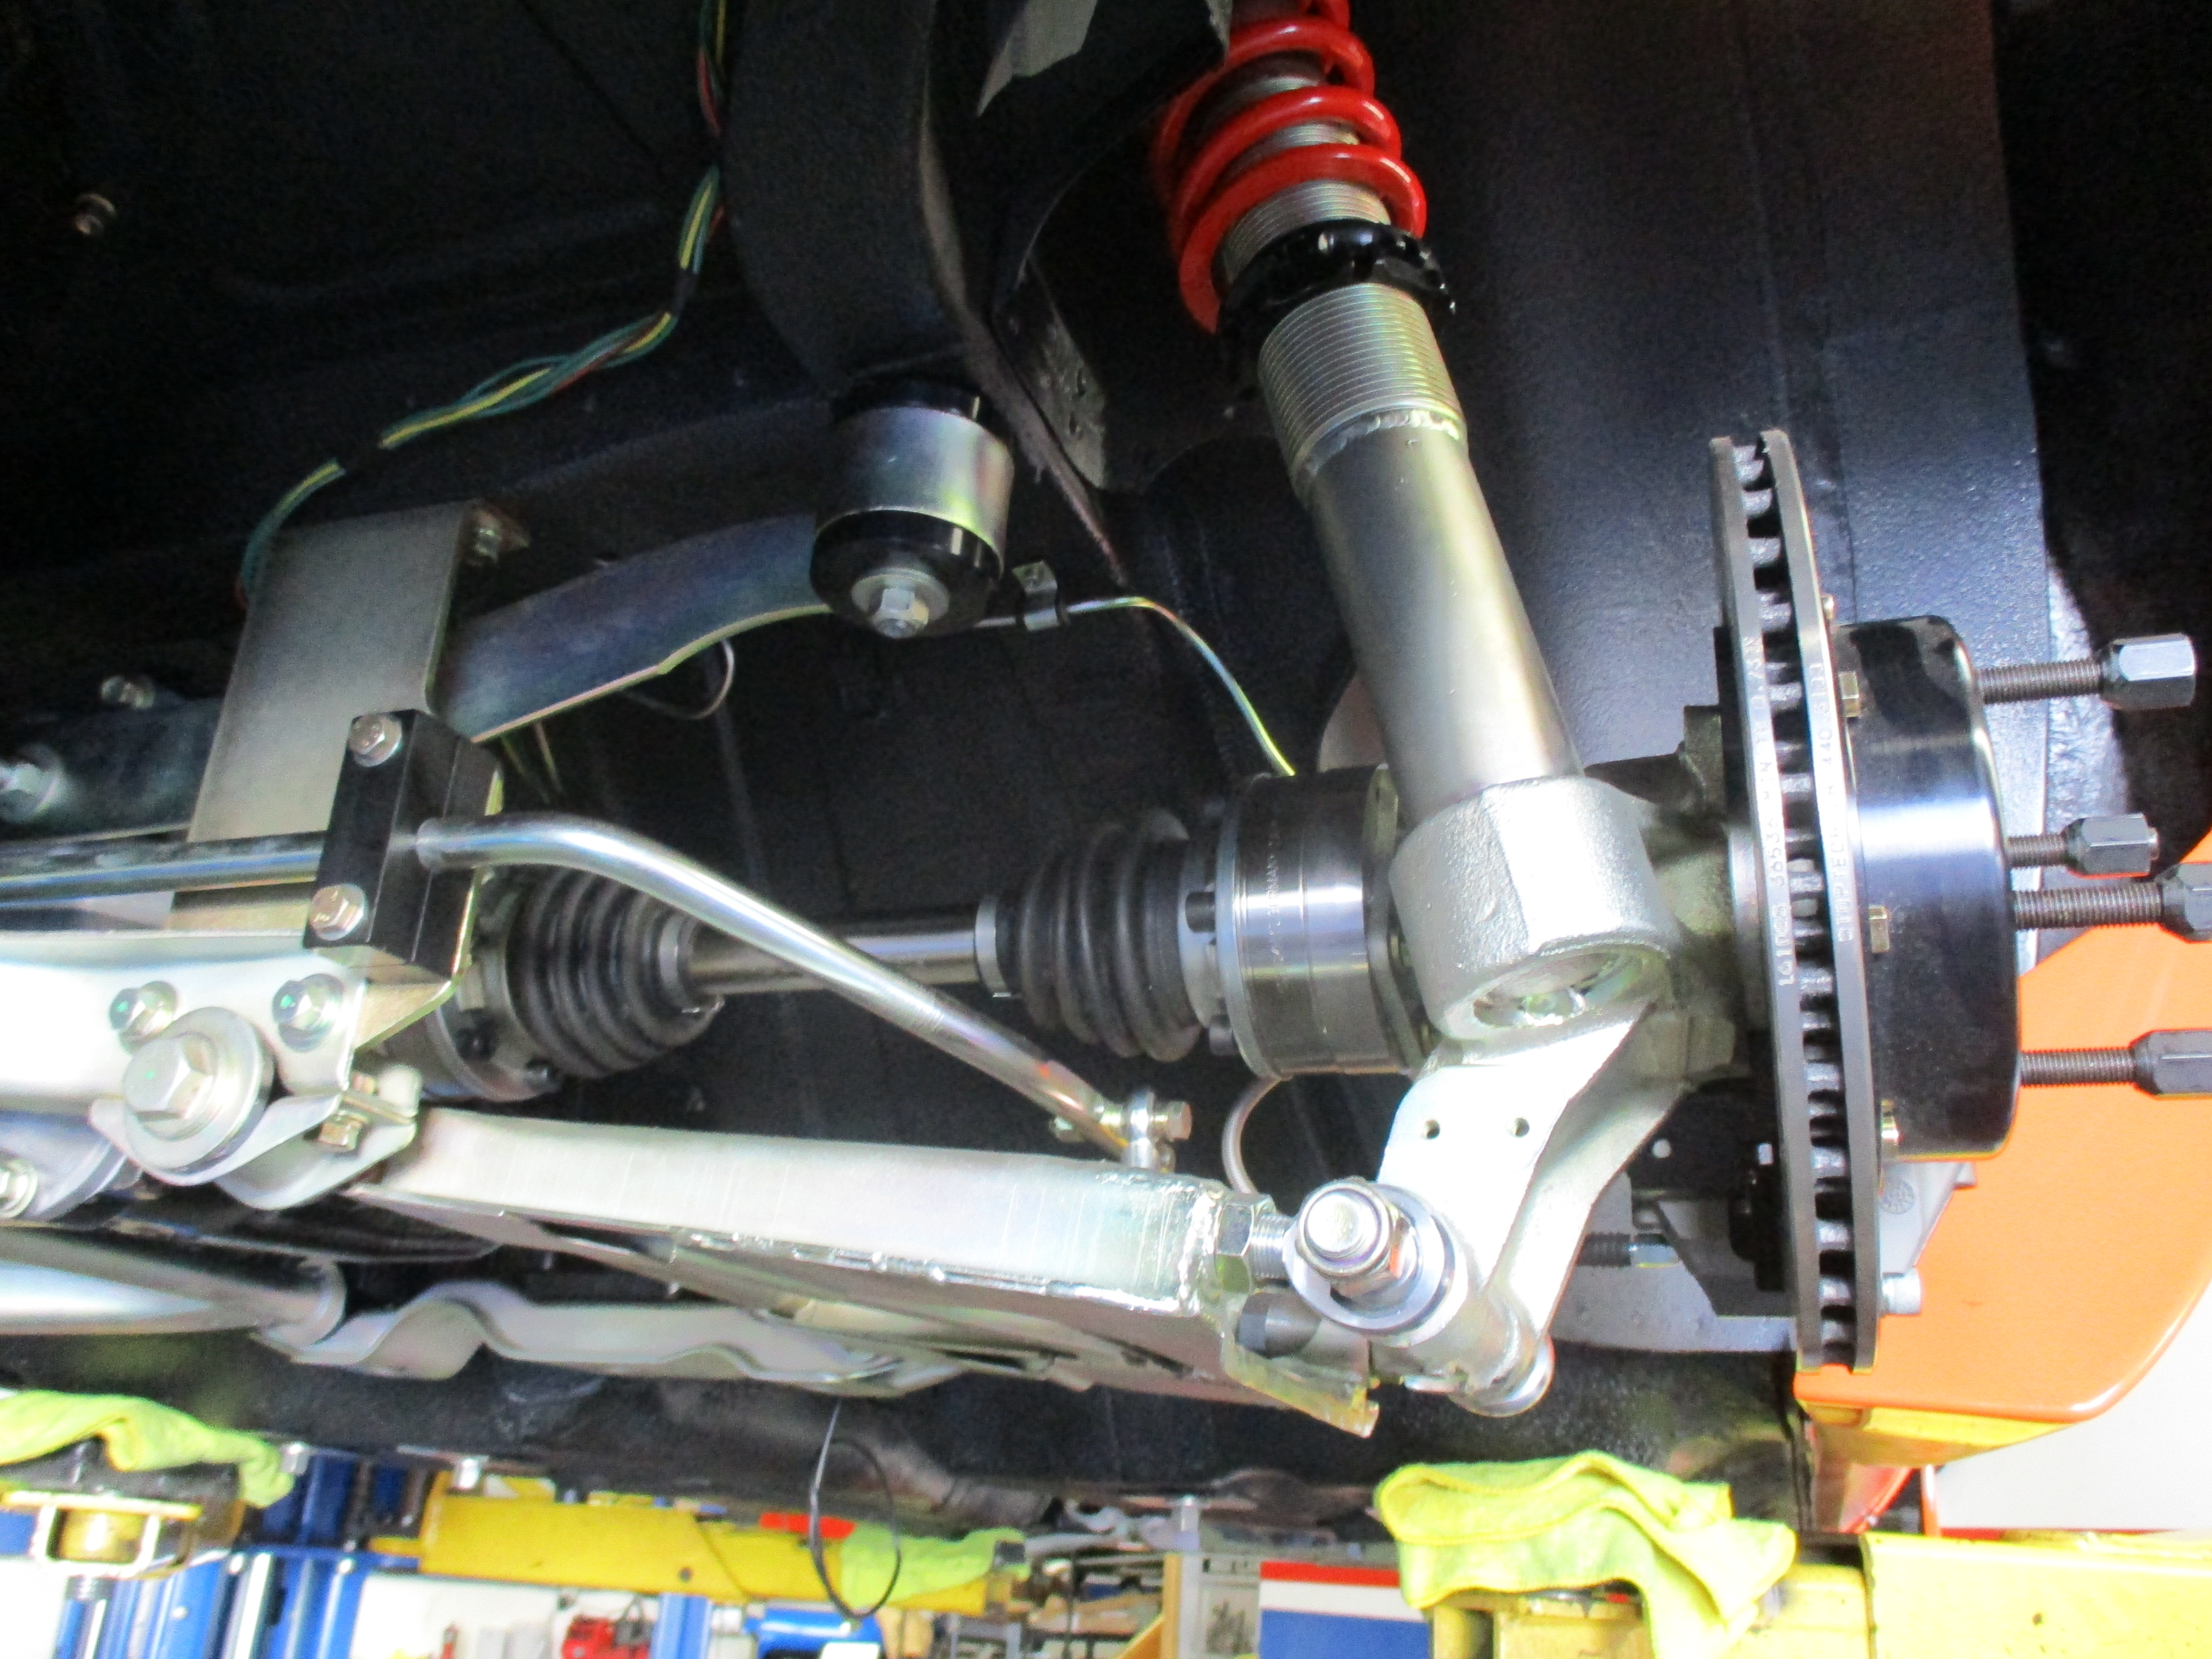
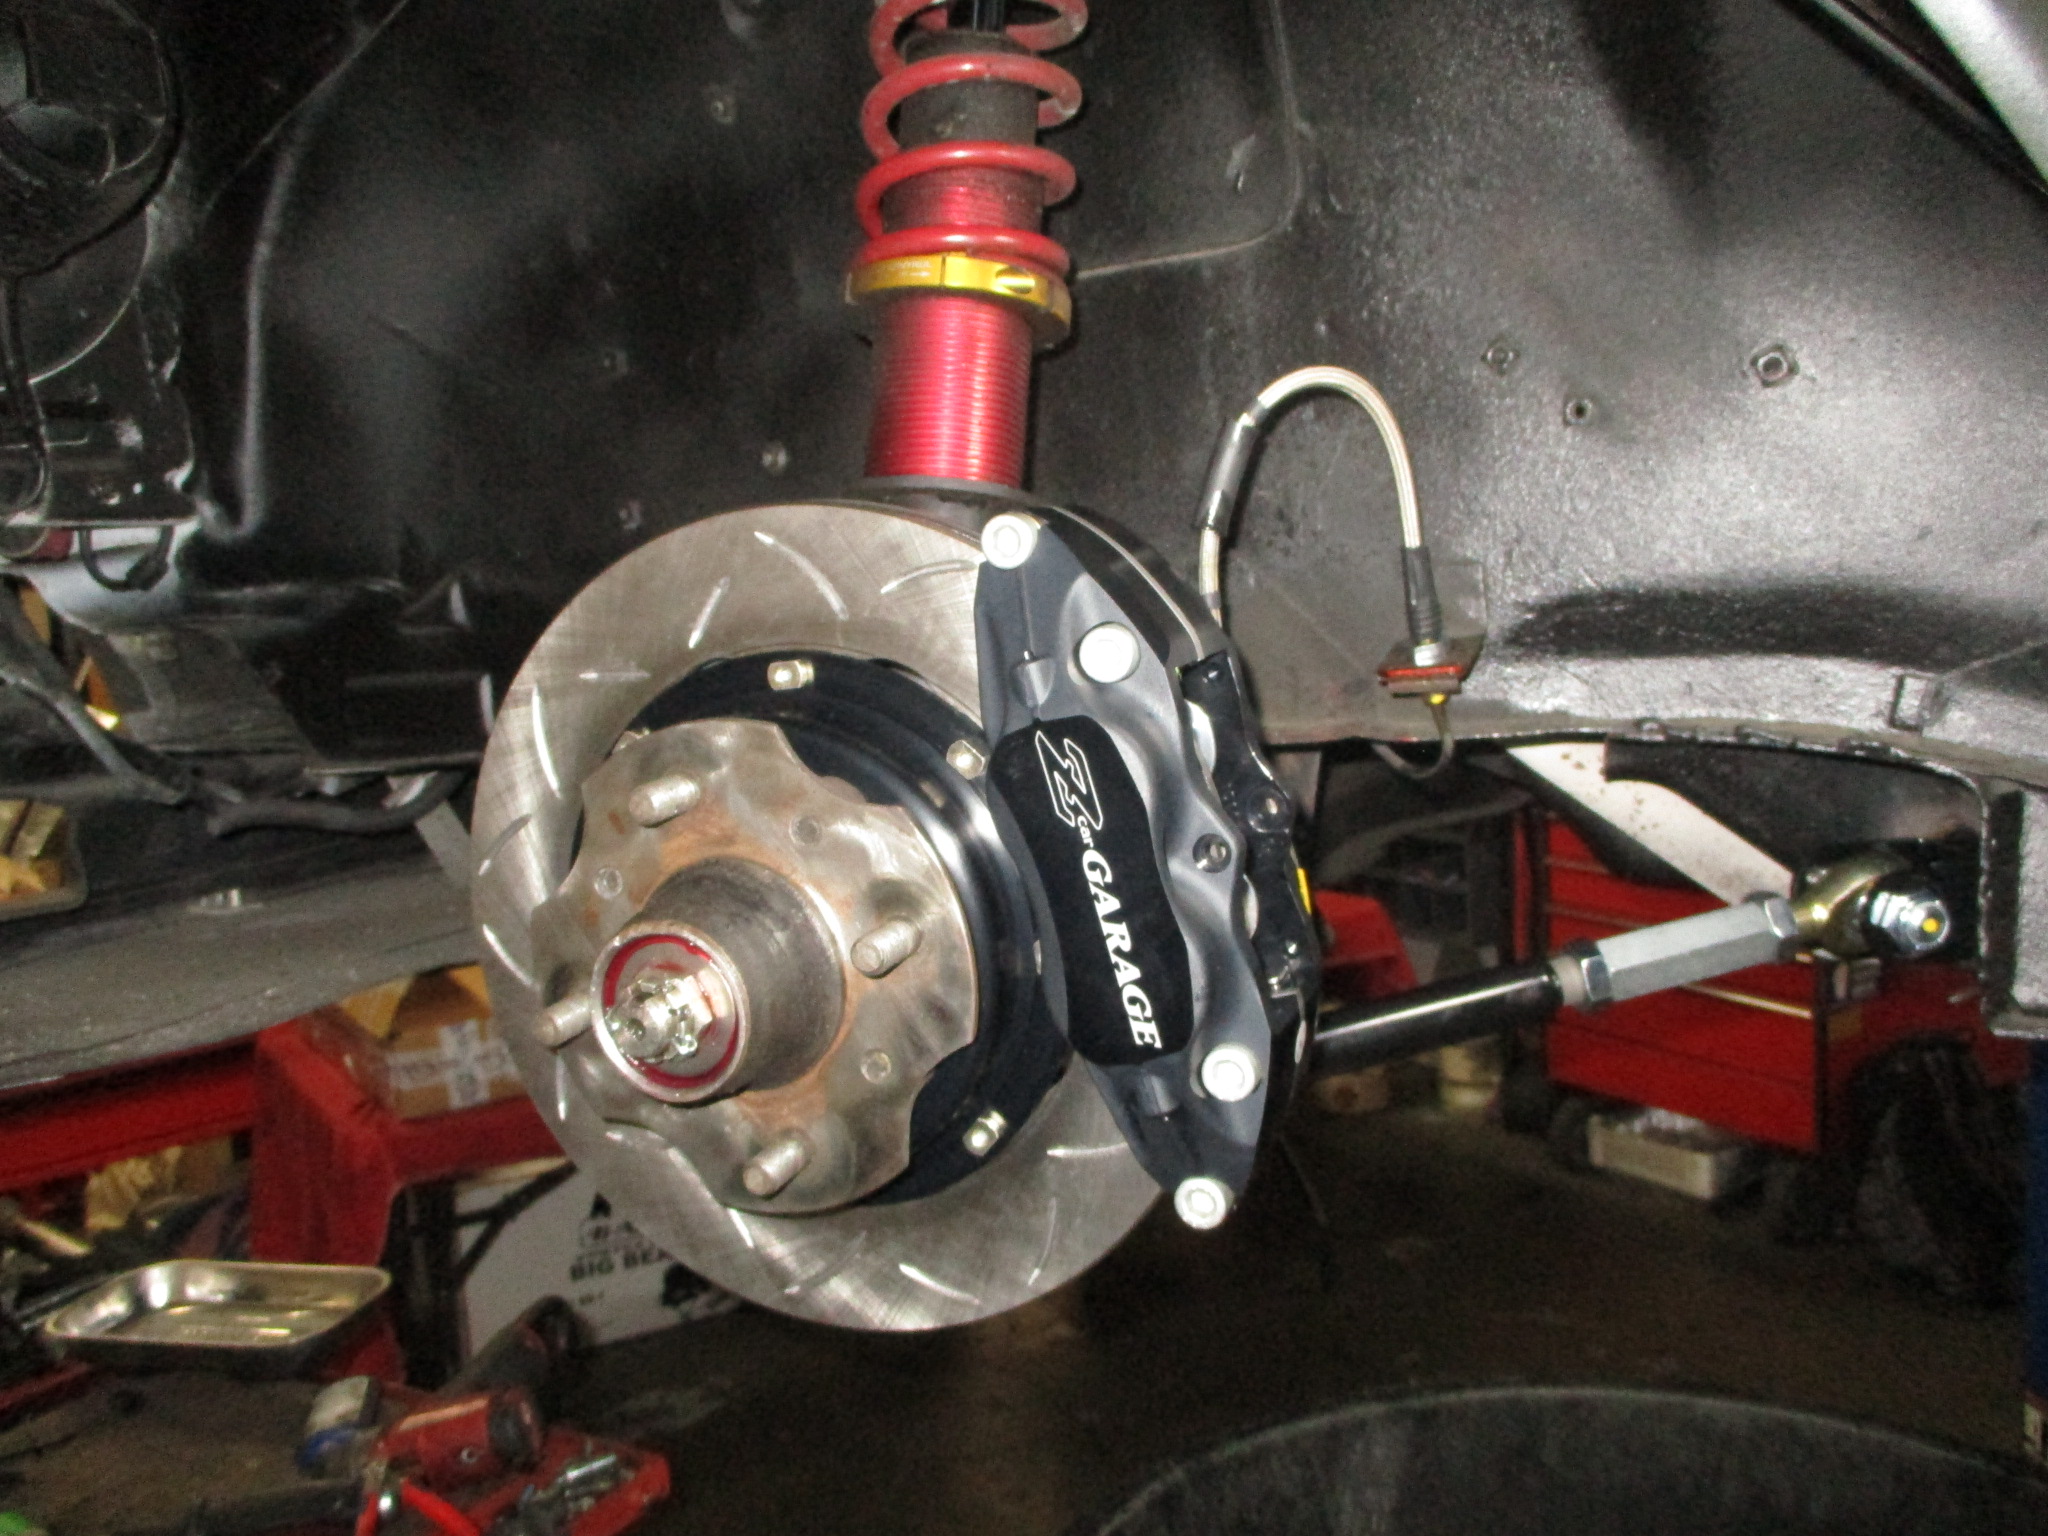
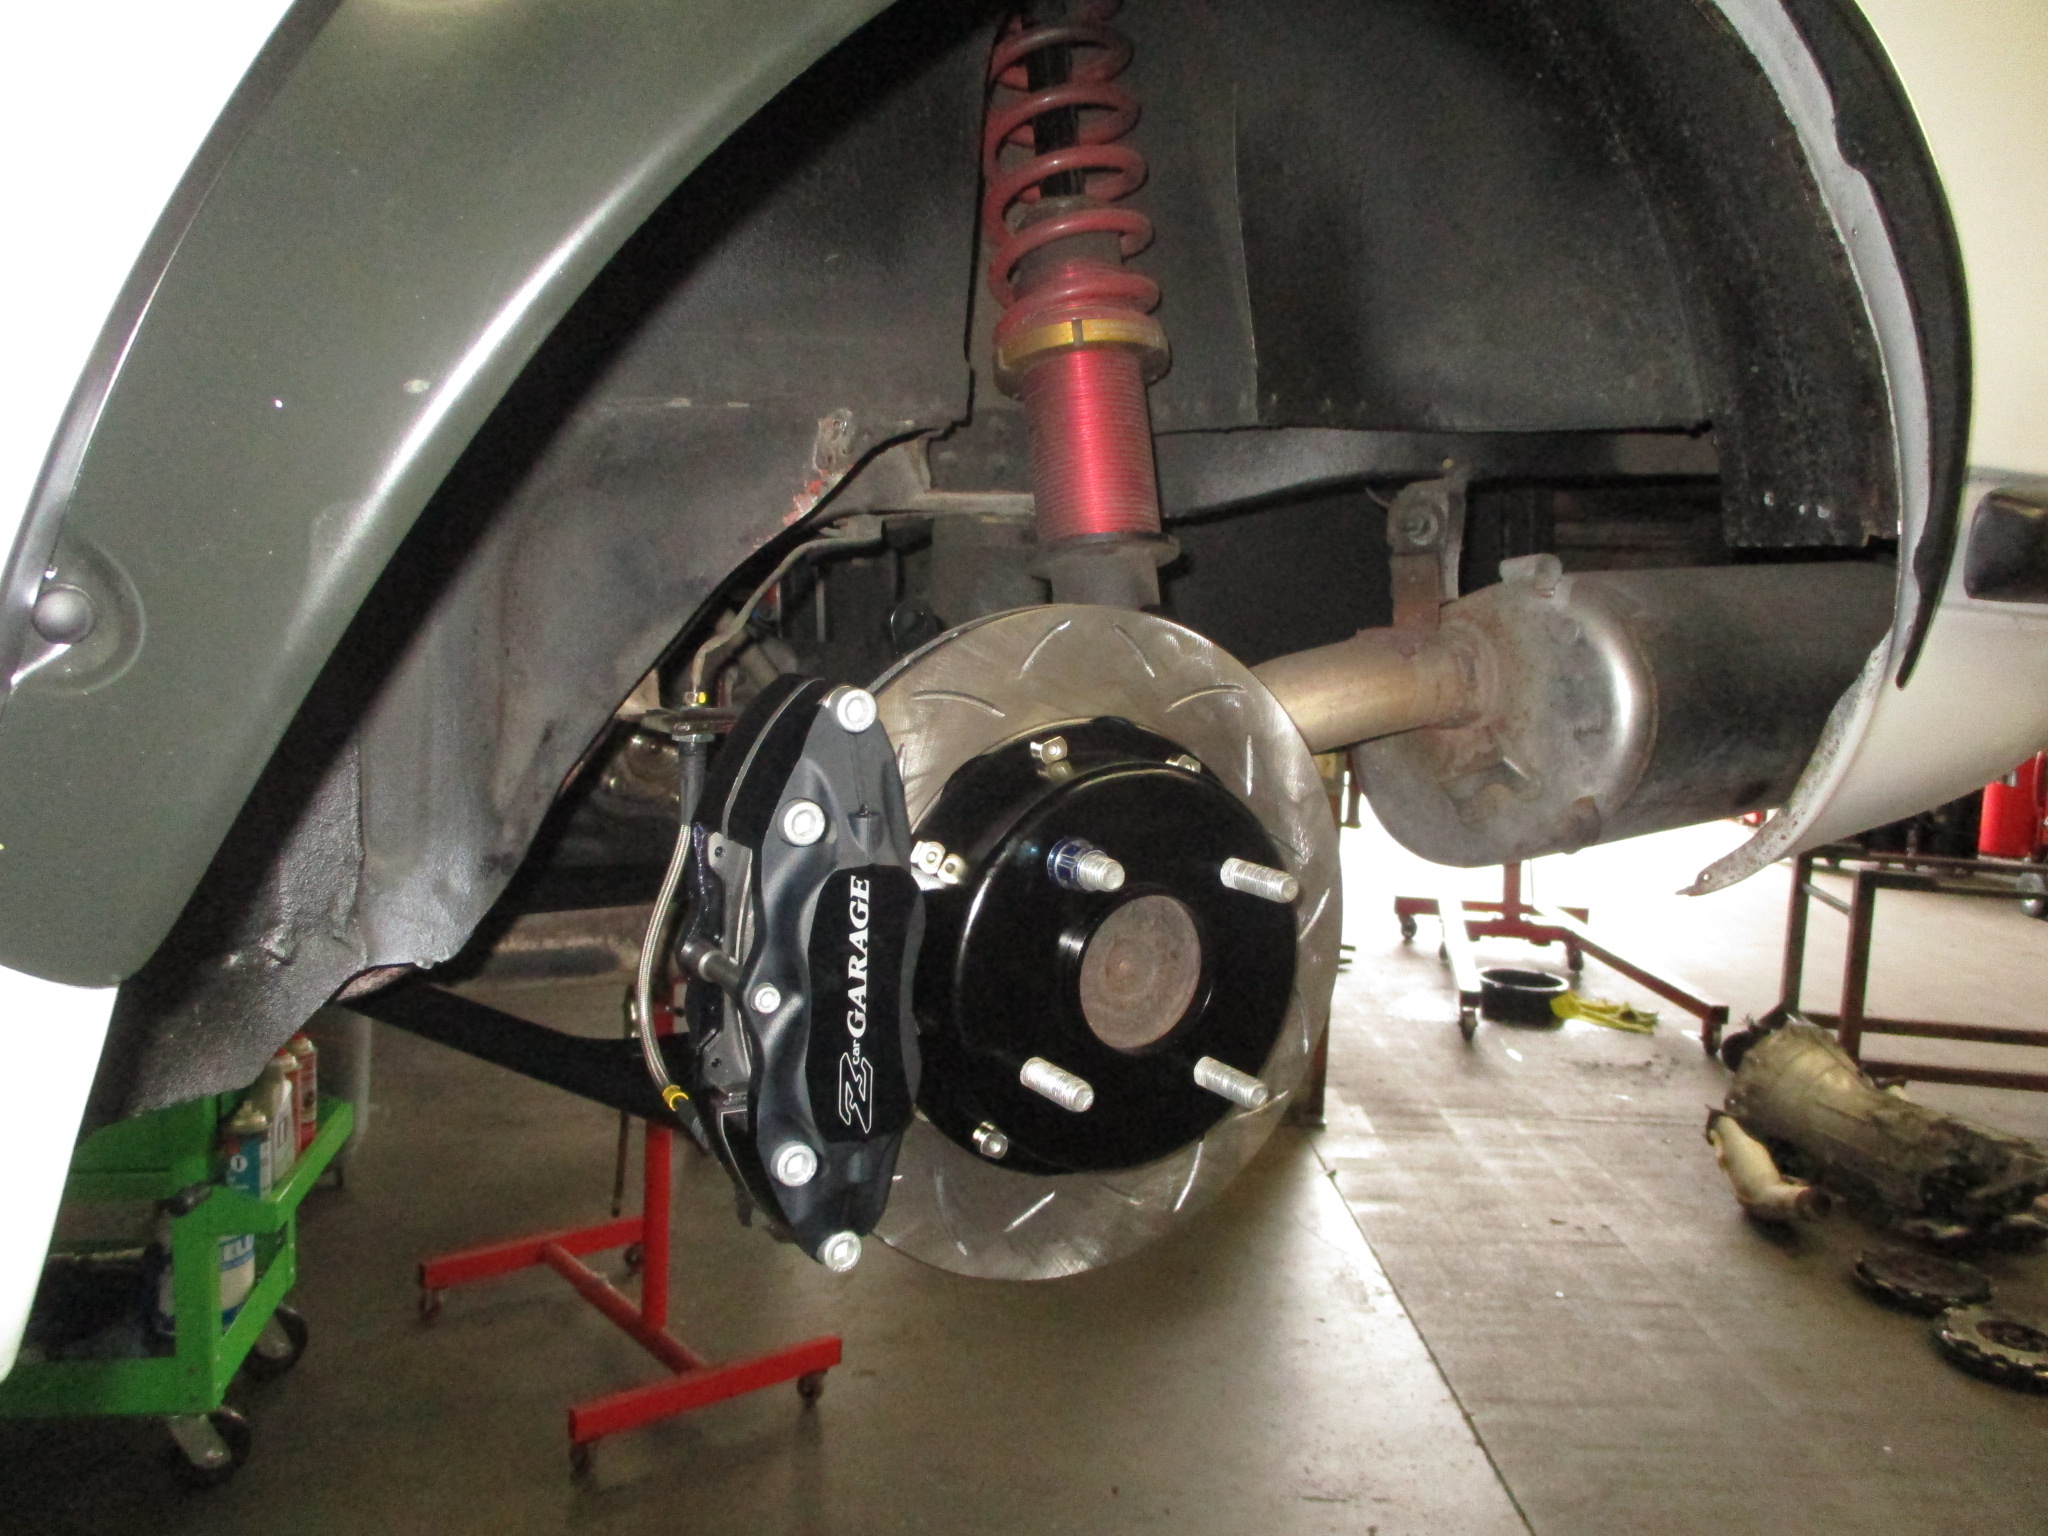
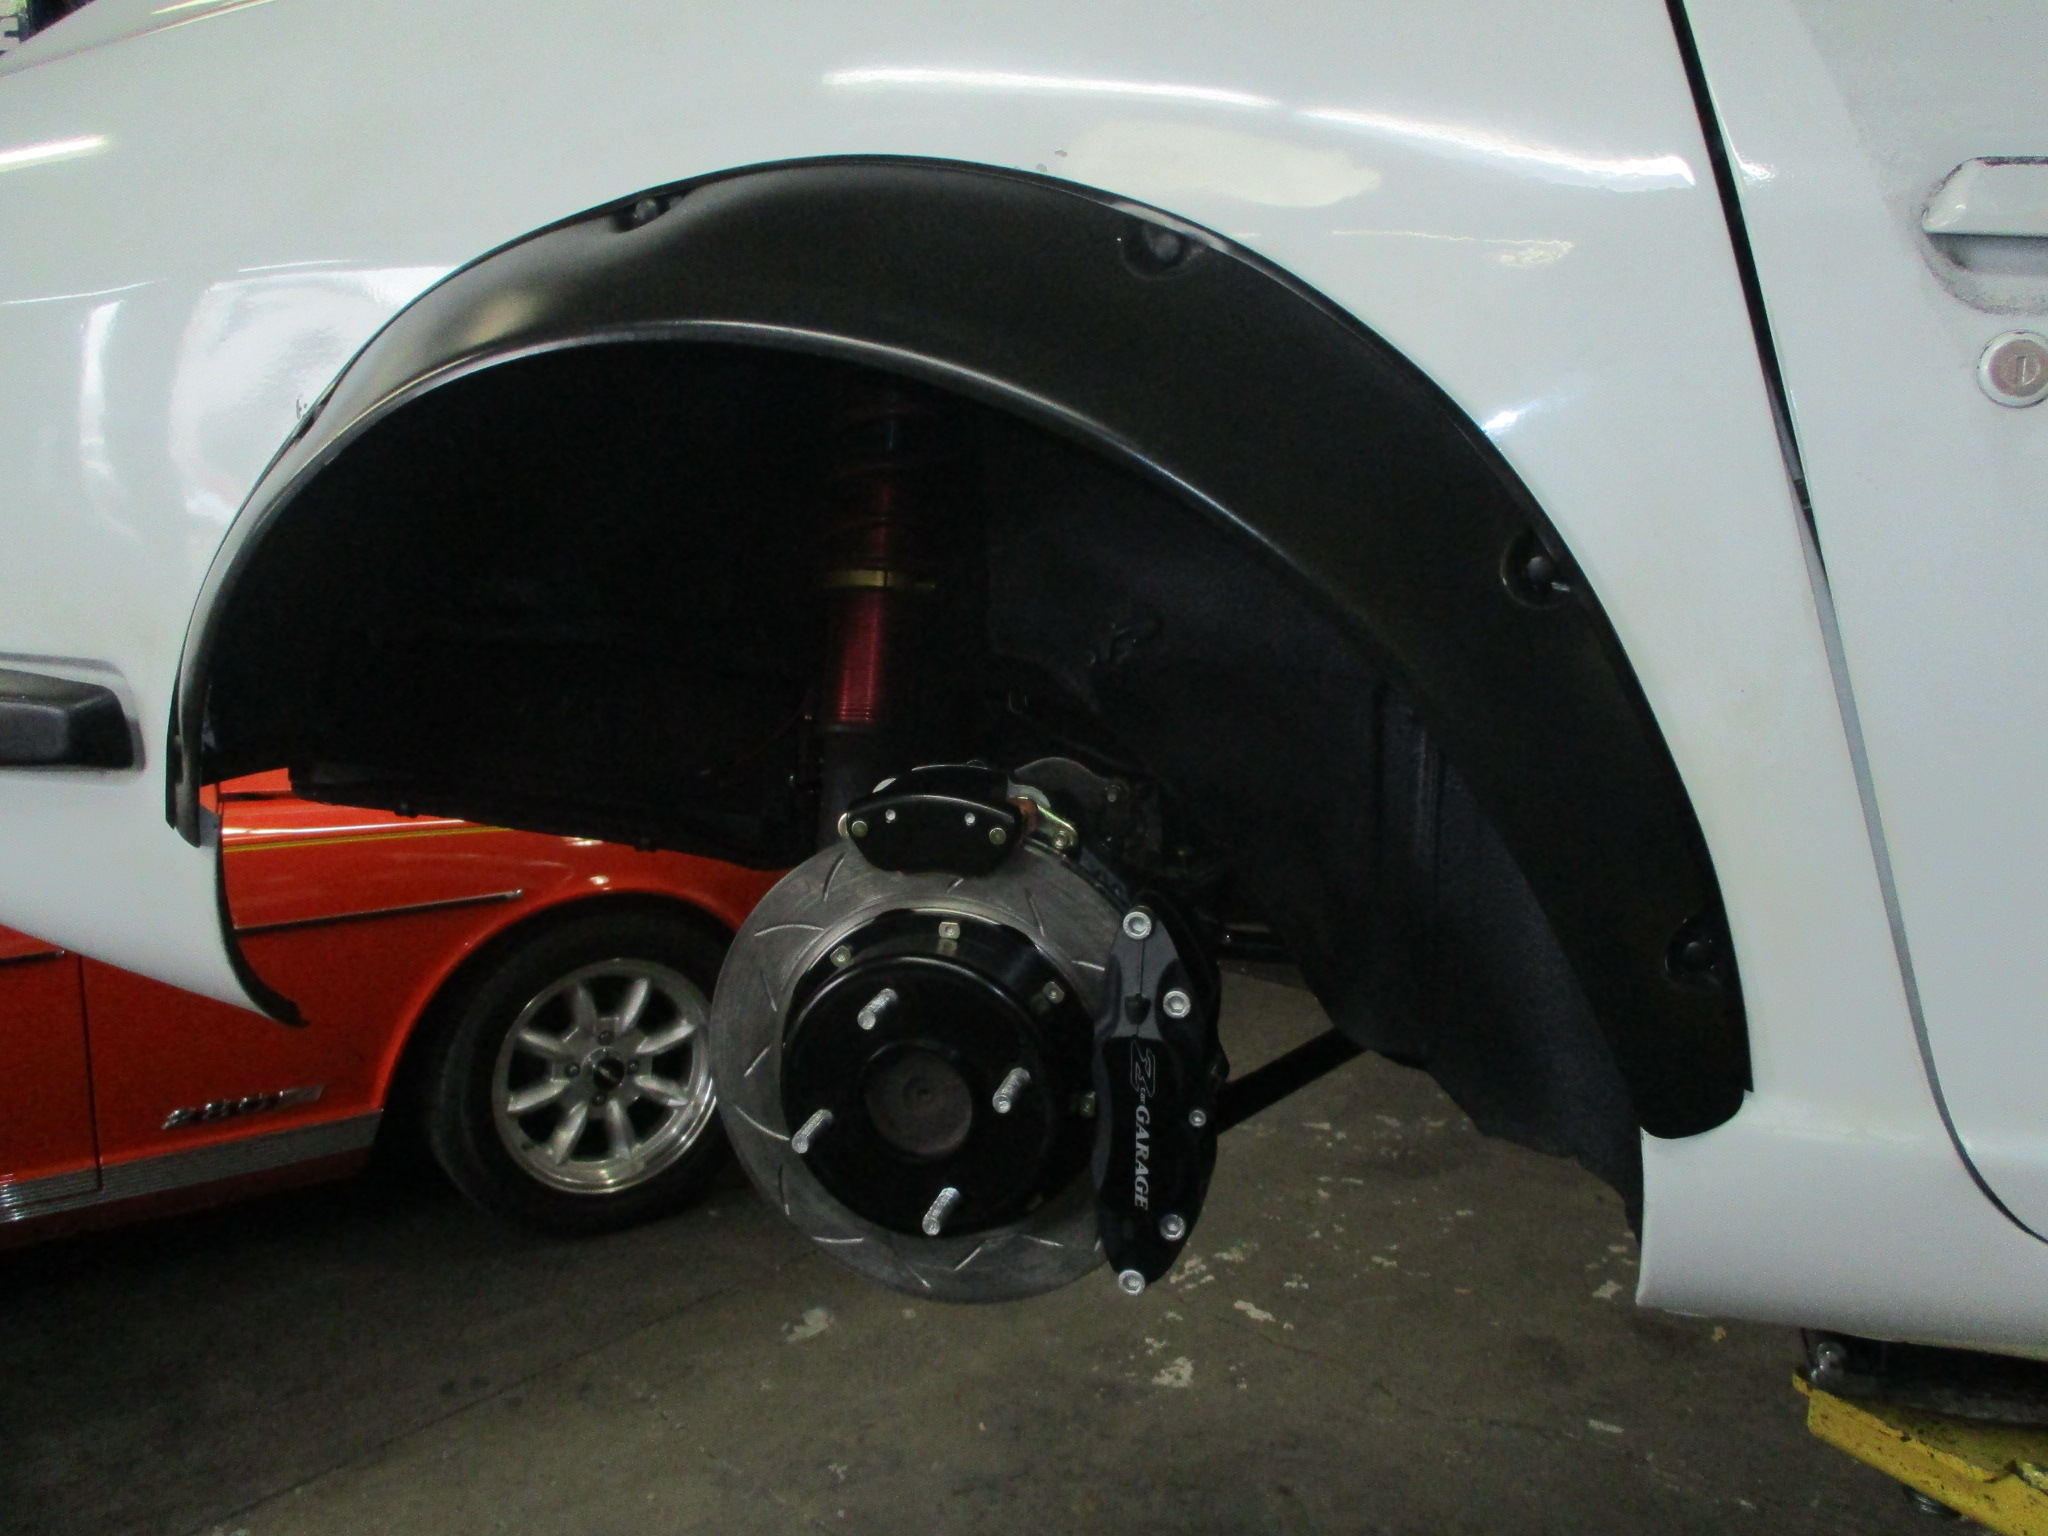
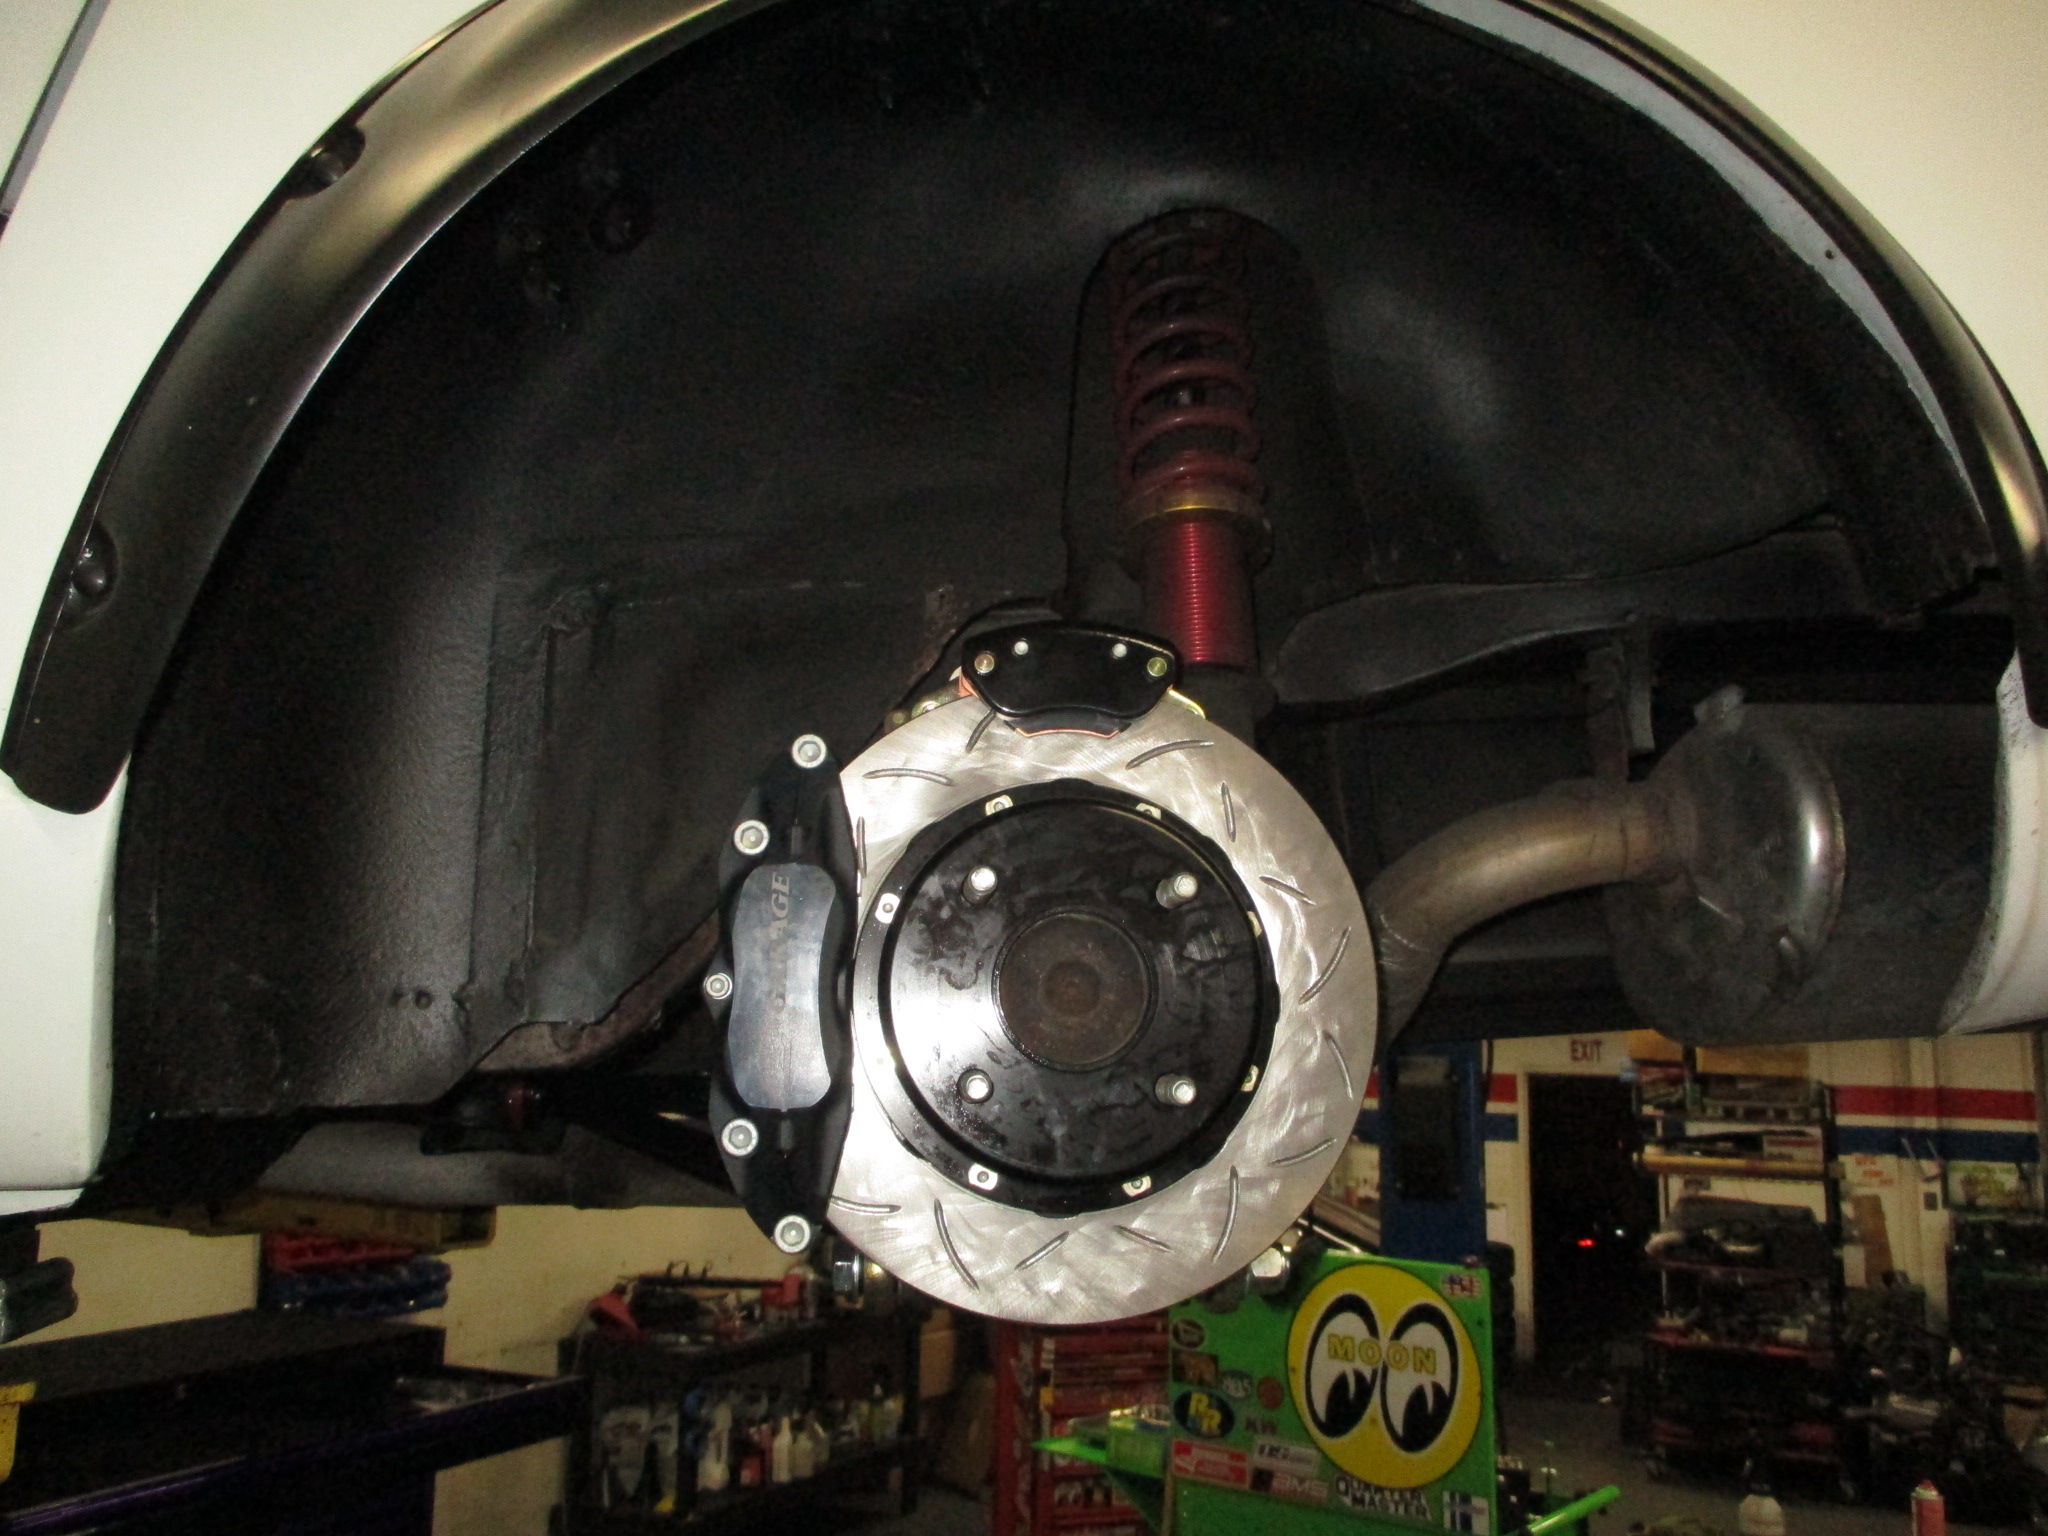
We removed David’s brakes and installed our ZCG Big-Brake kit. Up front:
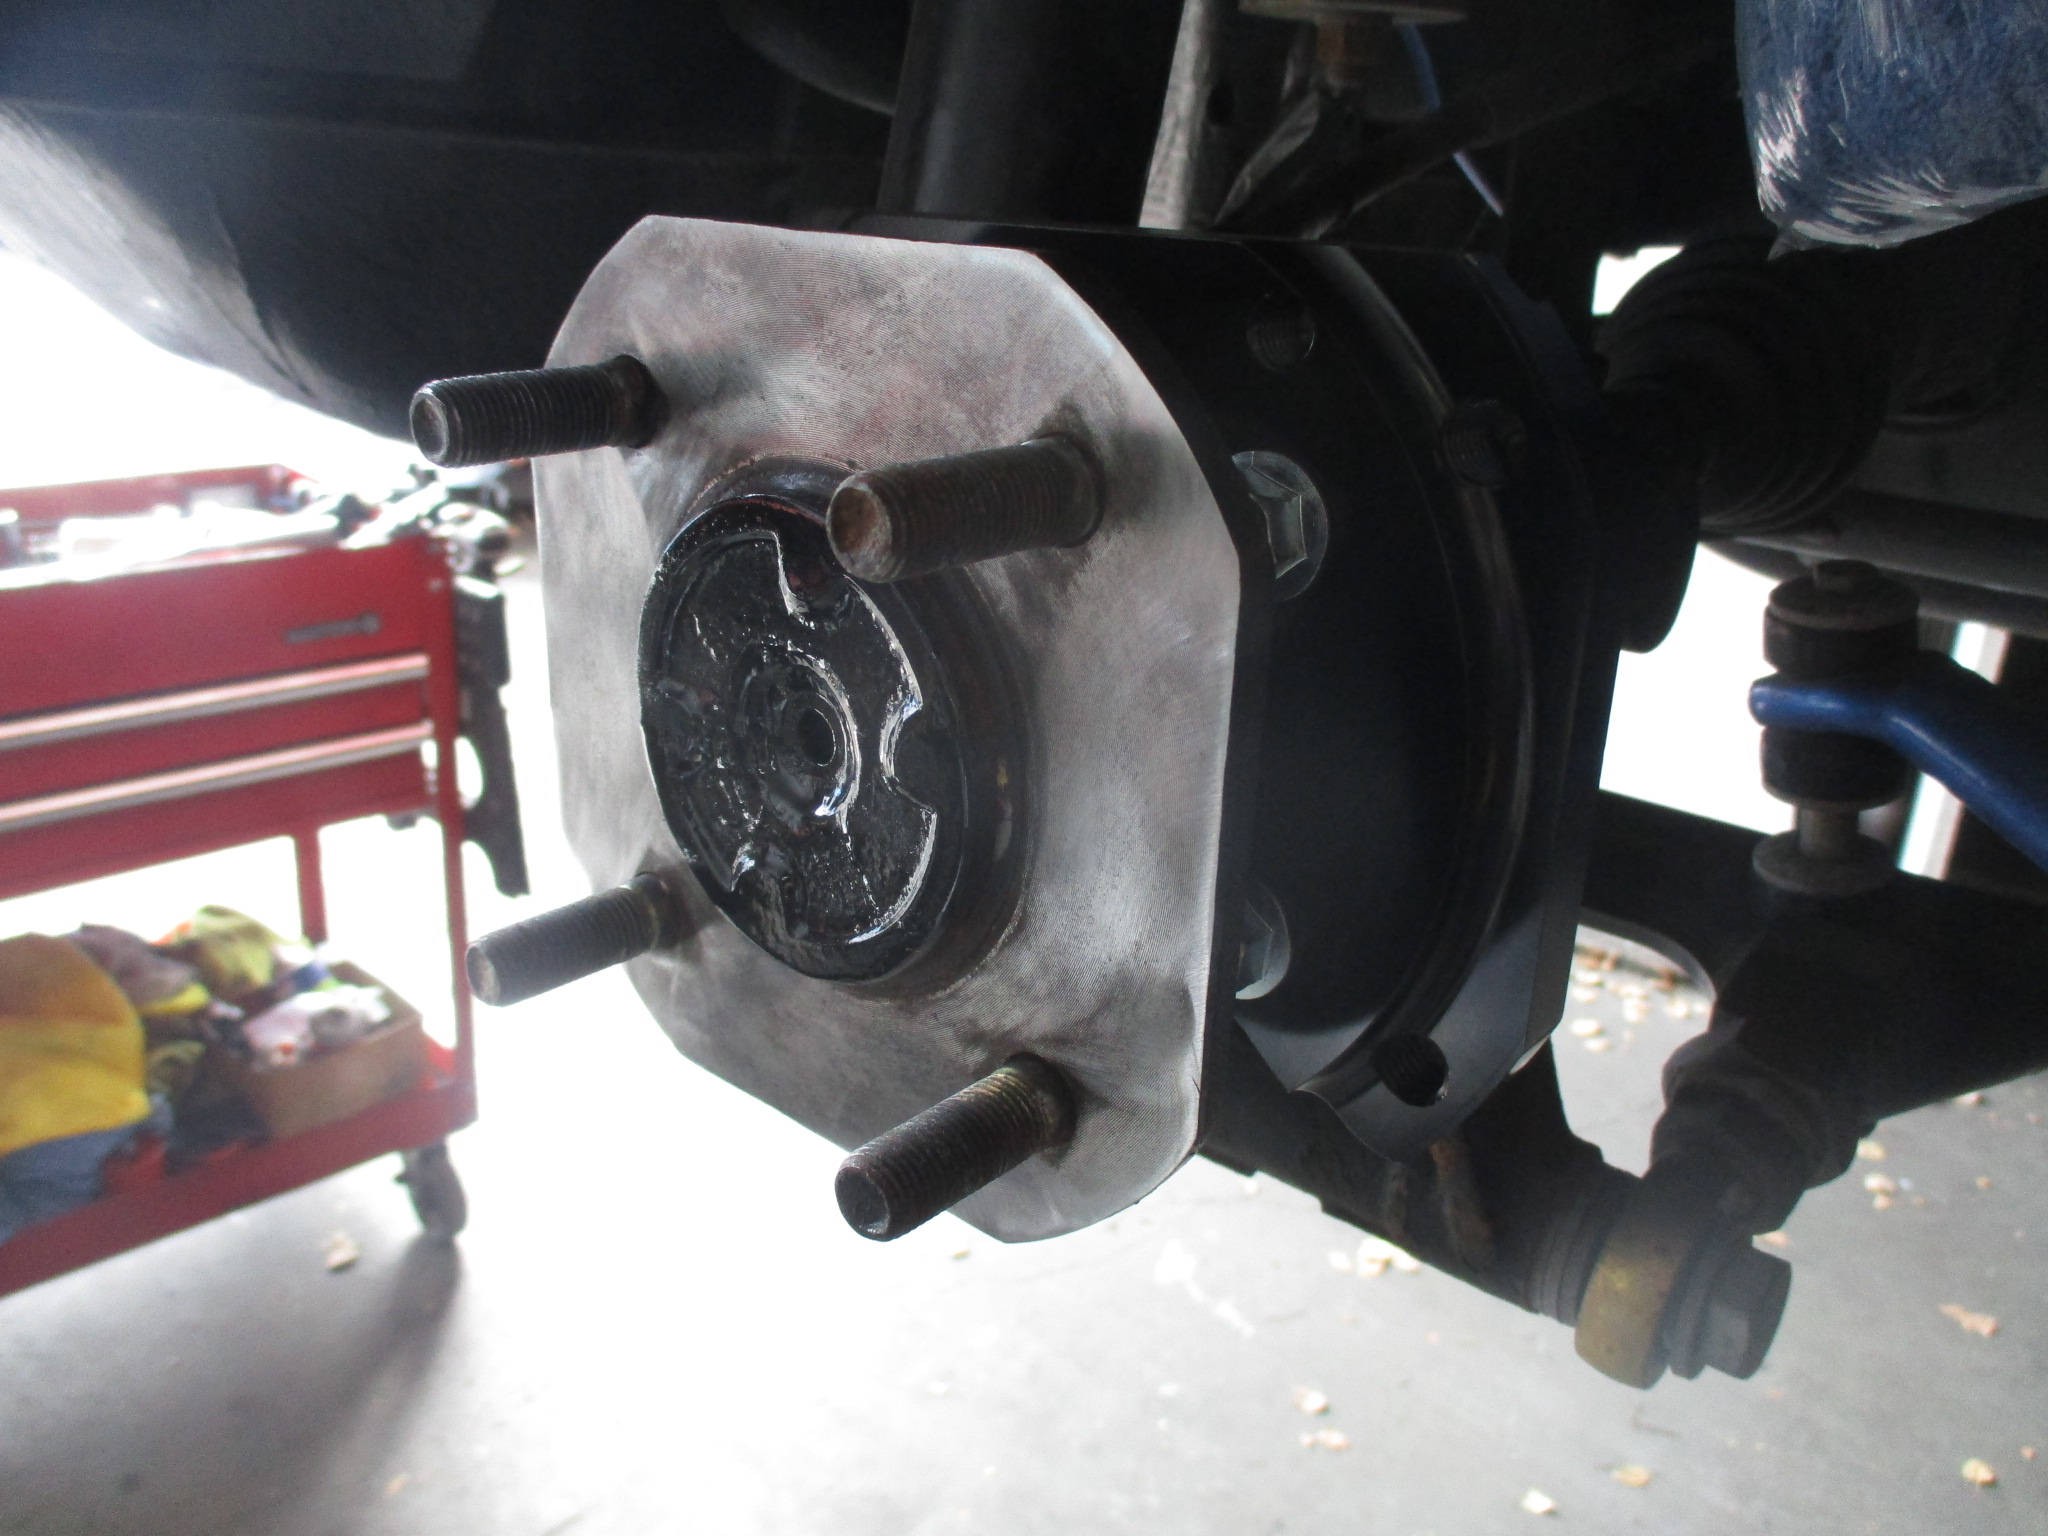
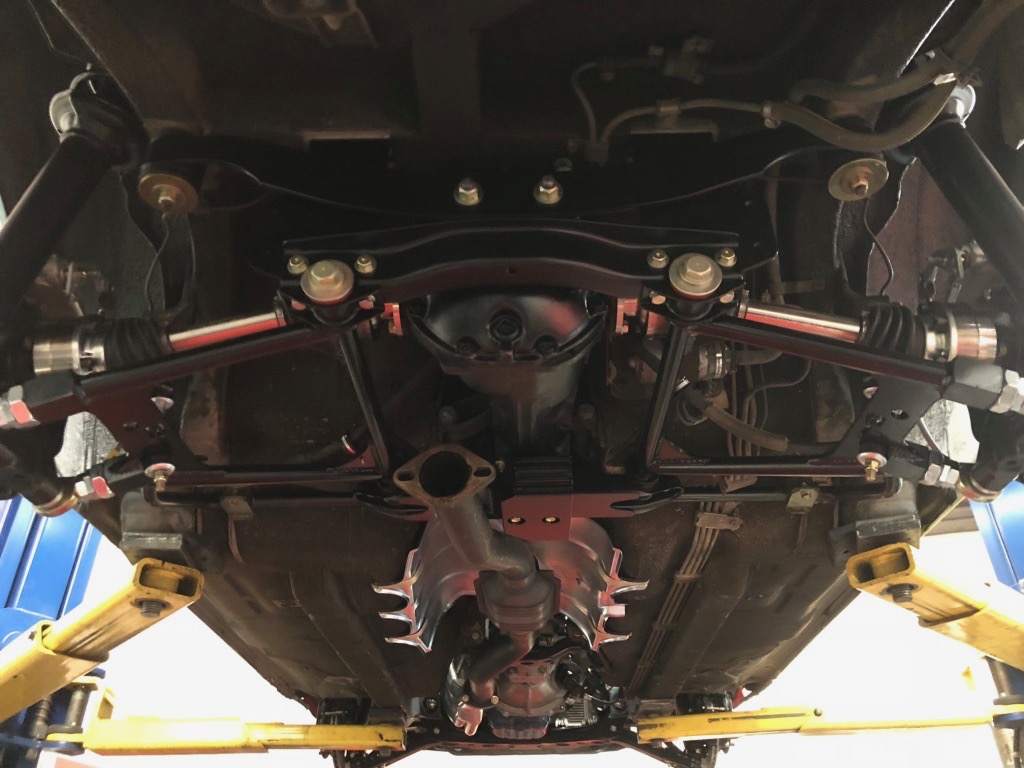
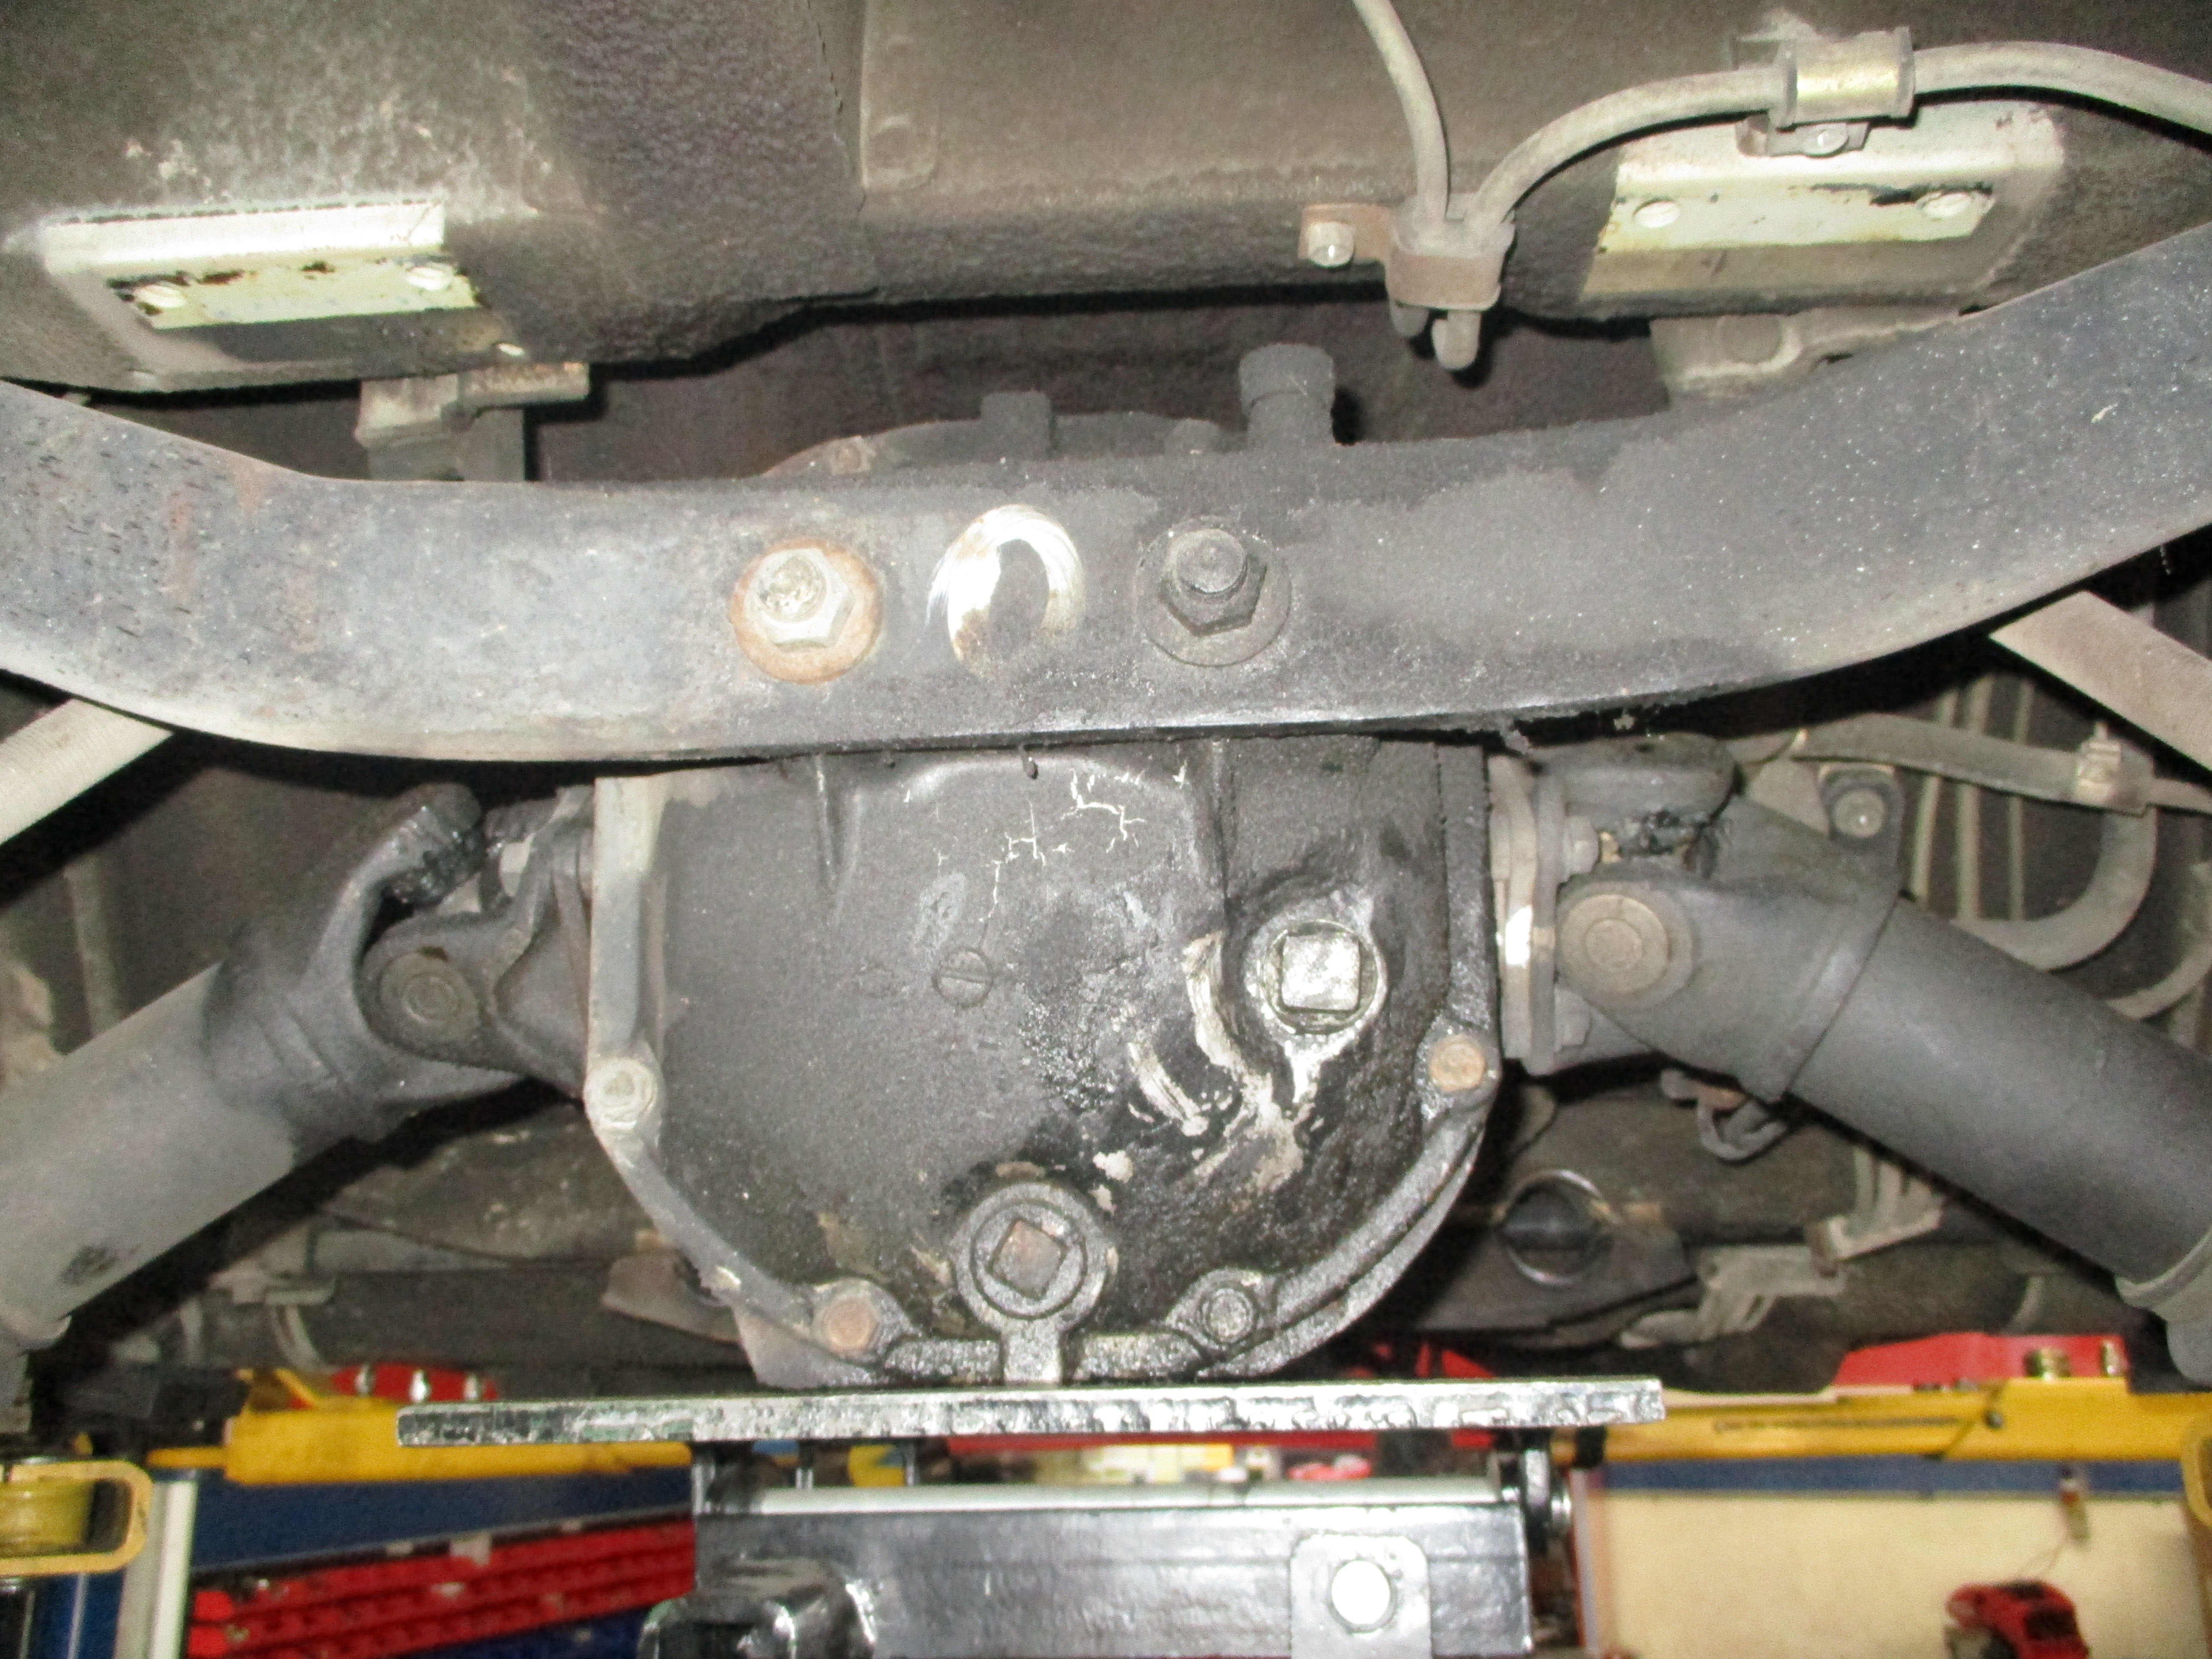
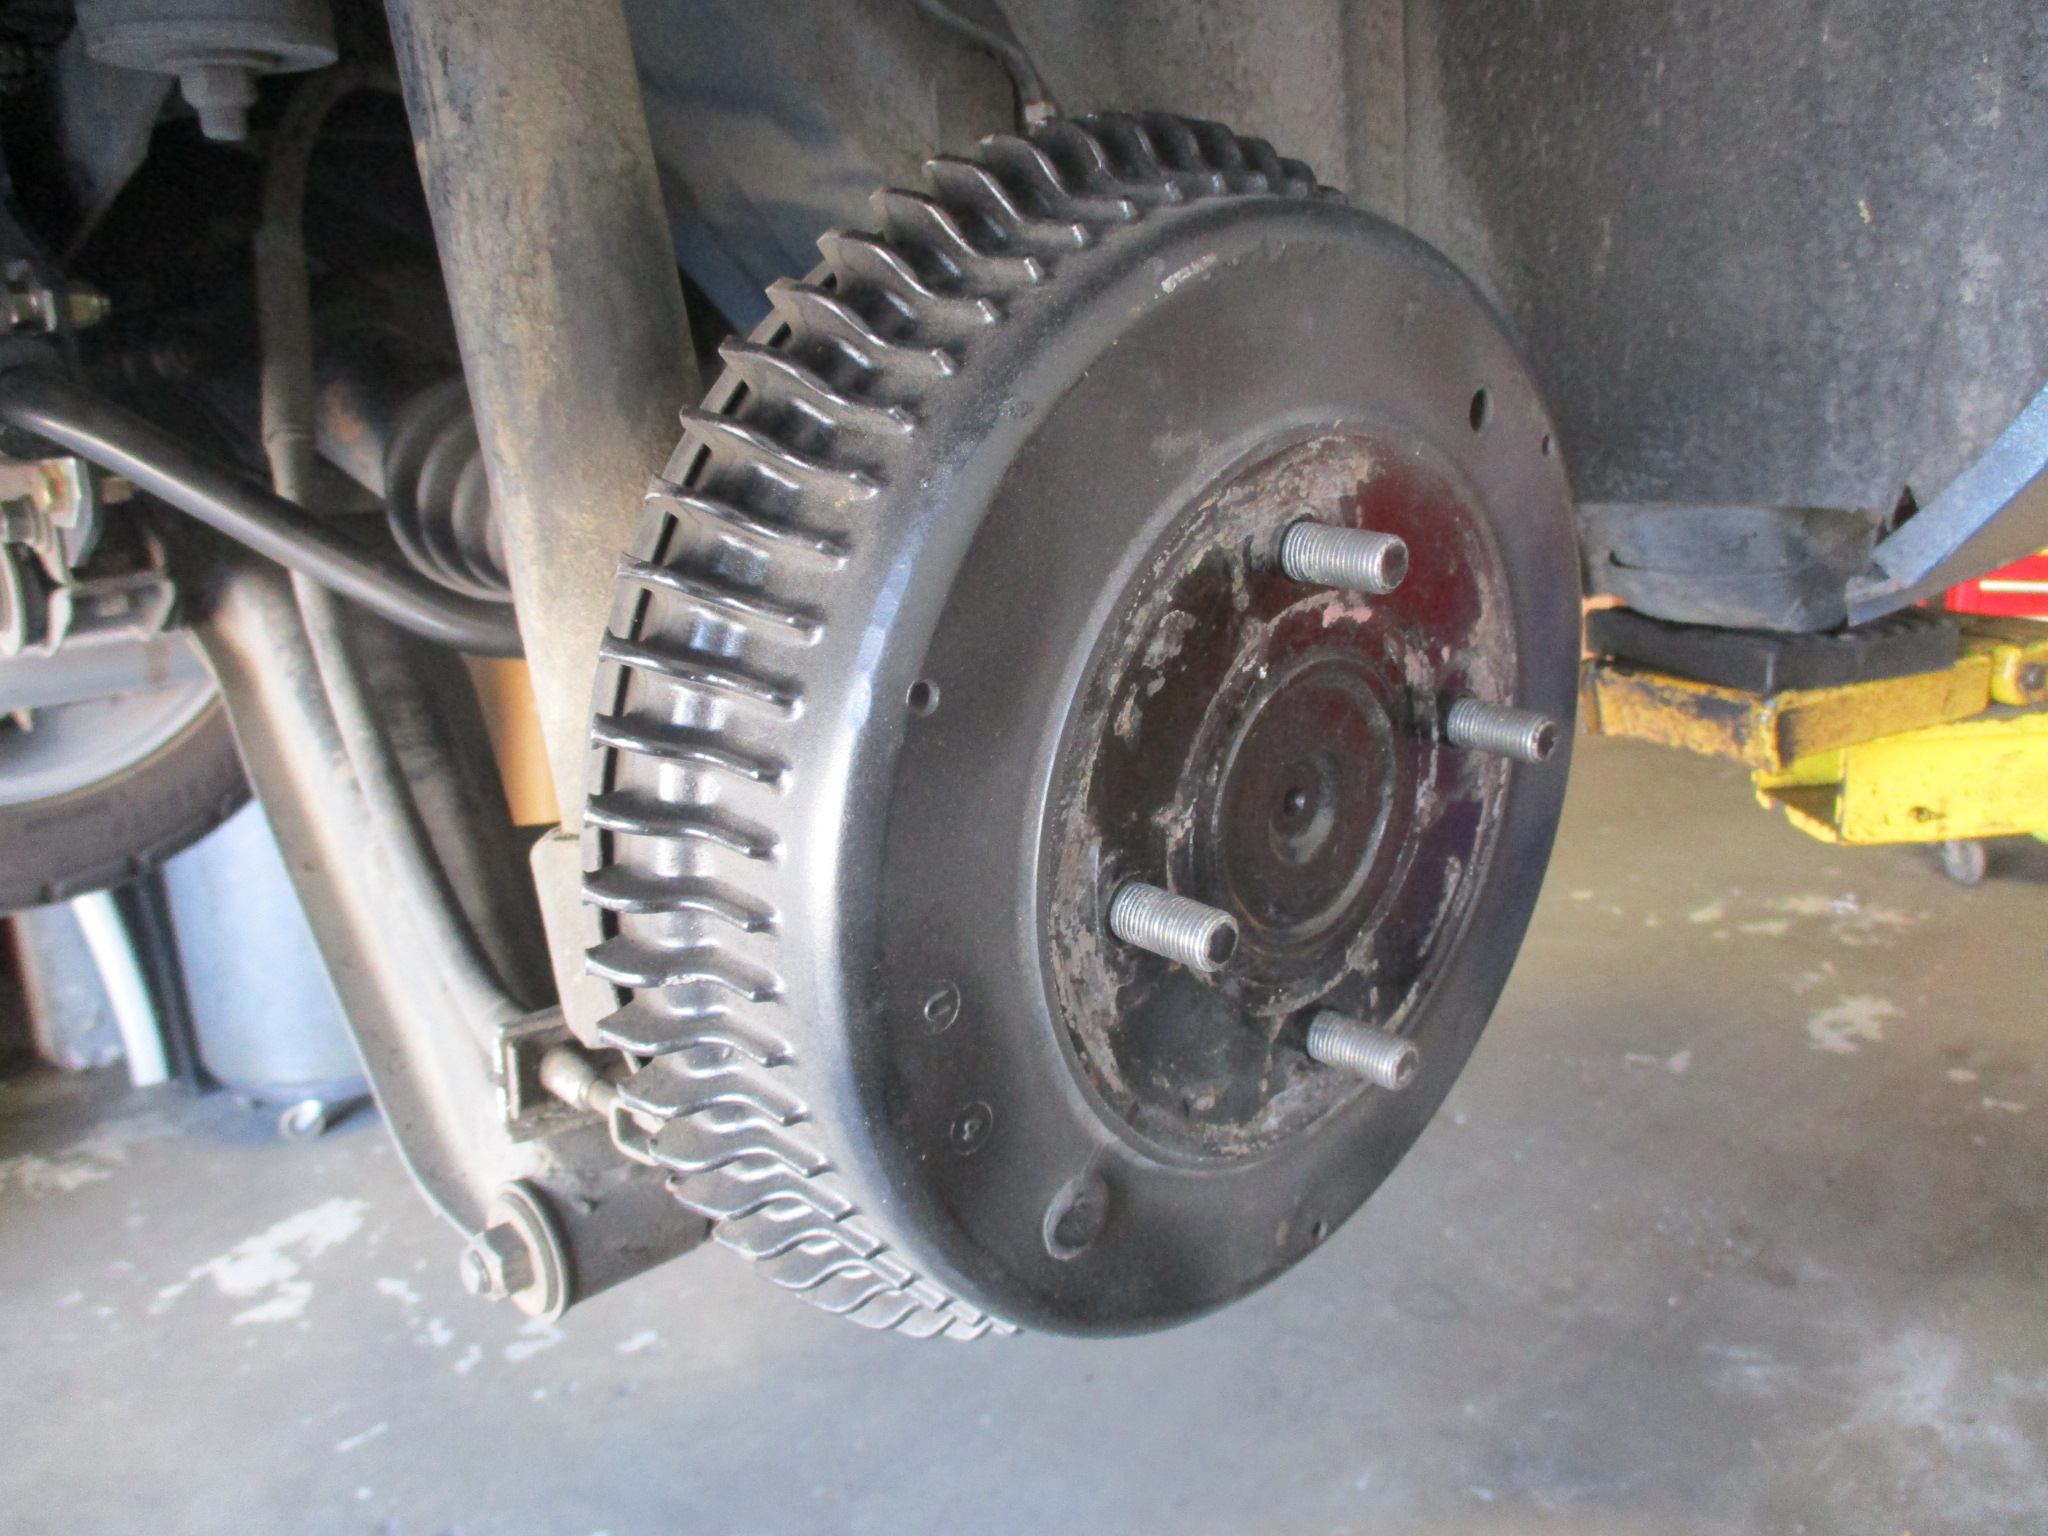
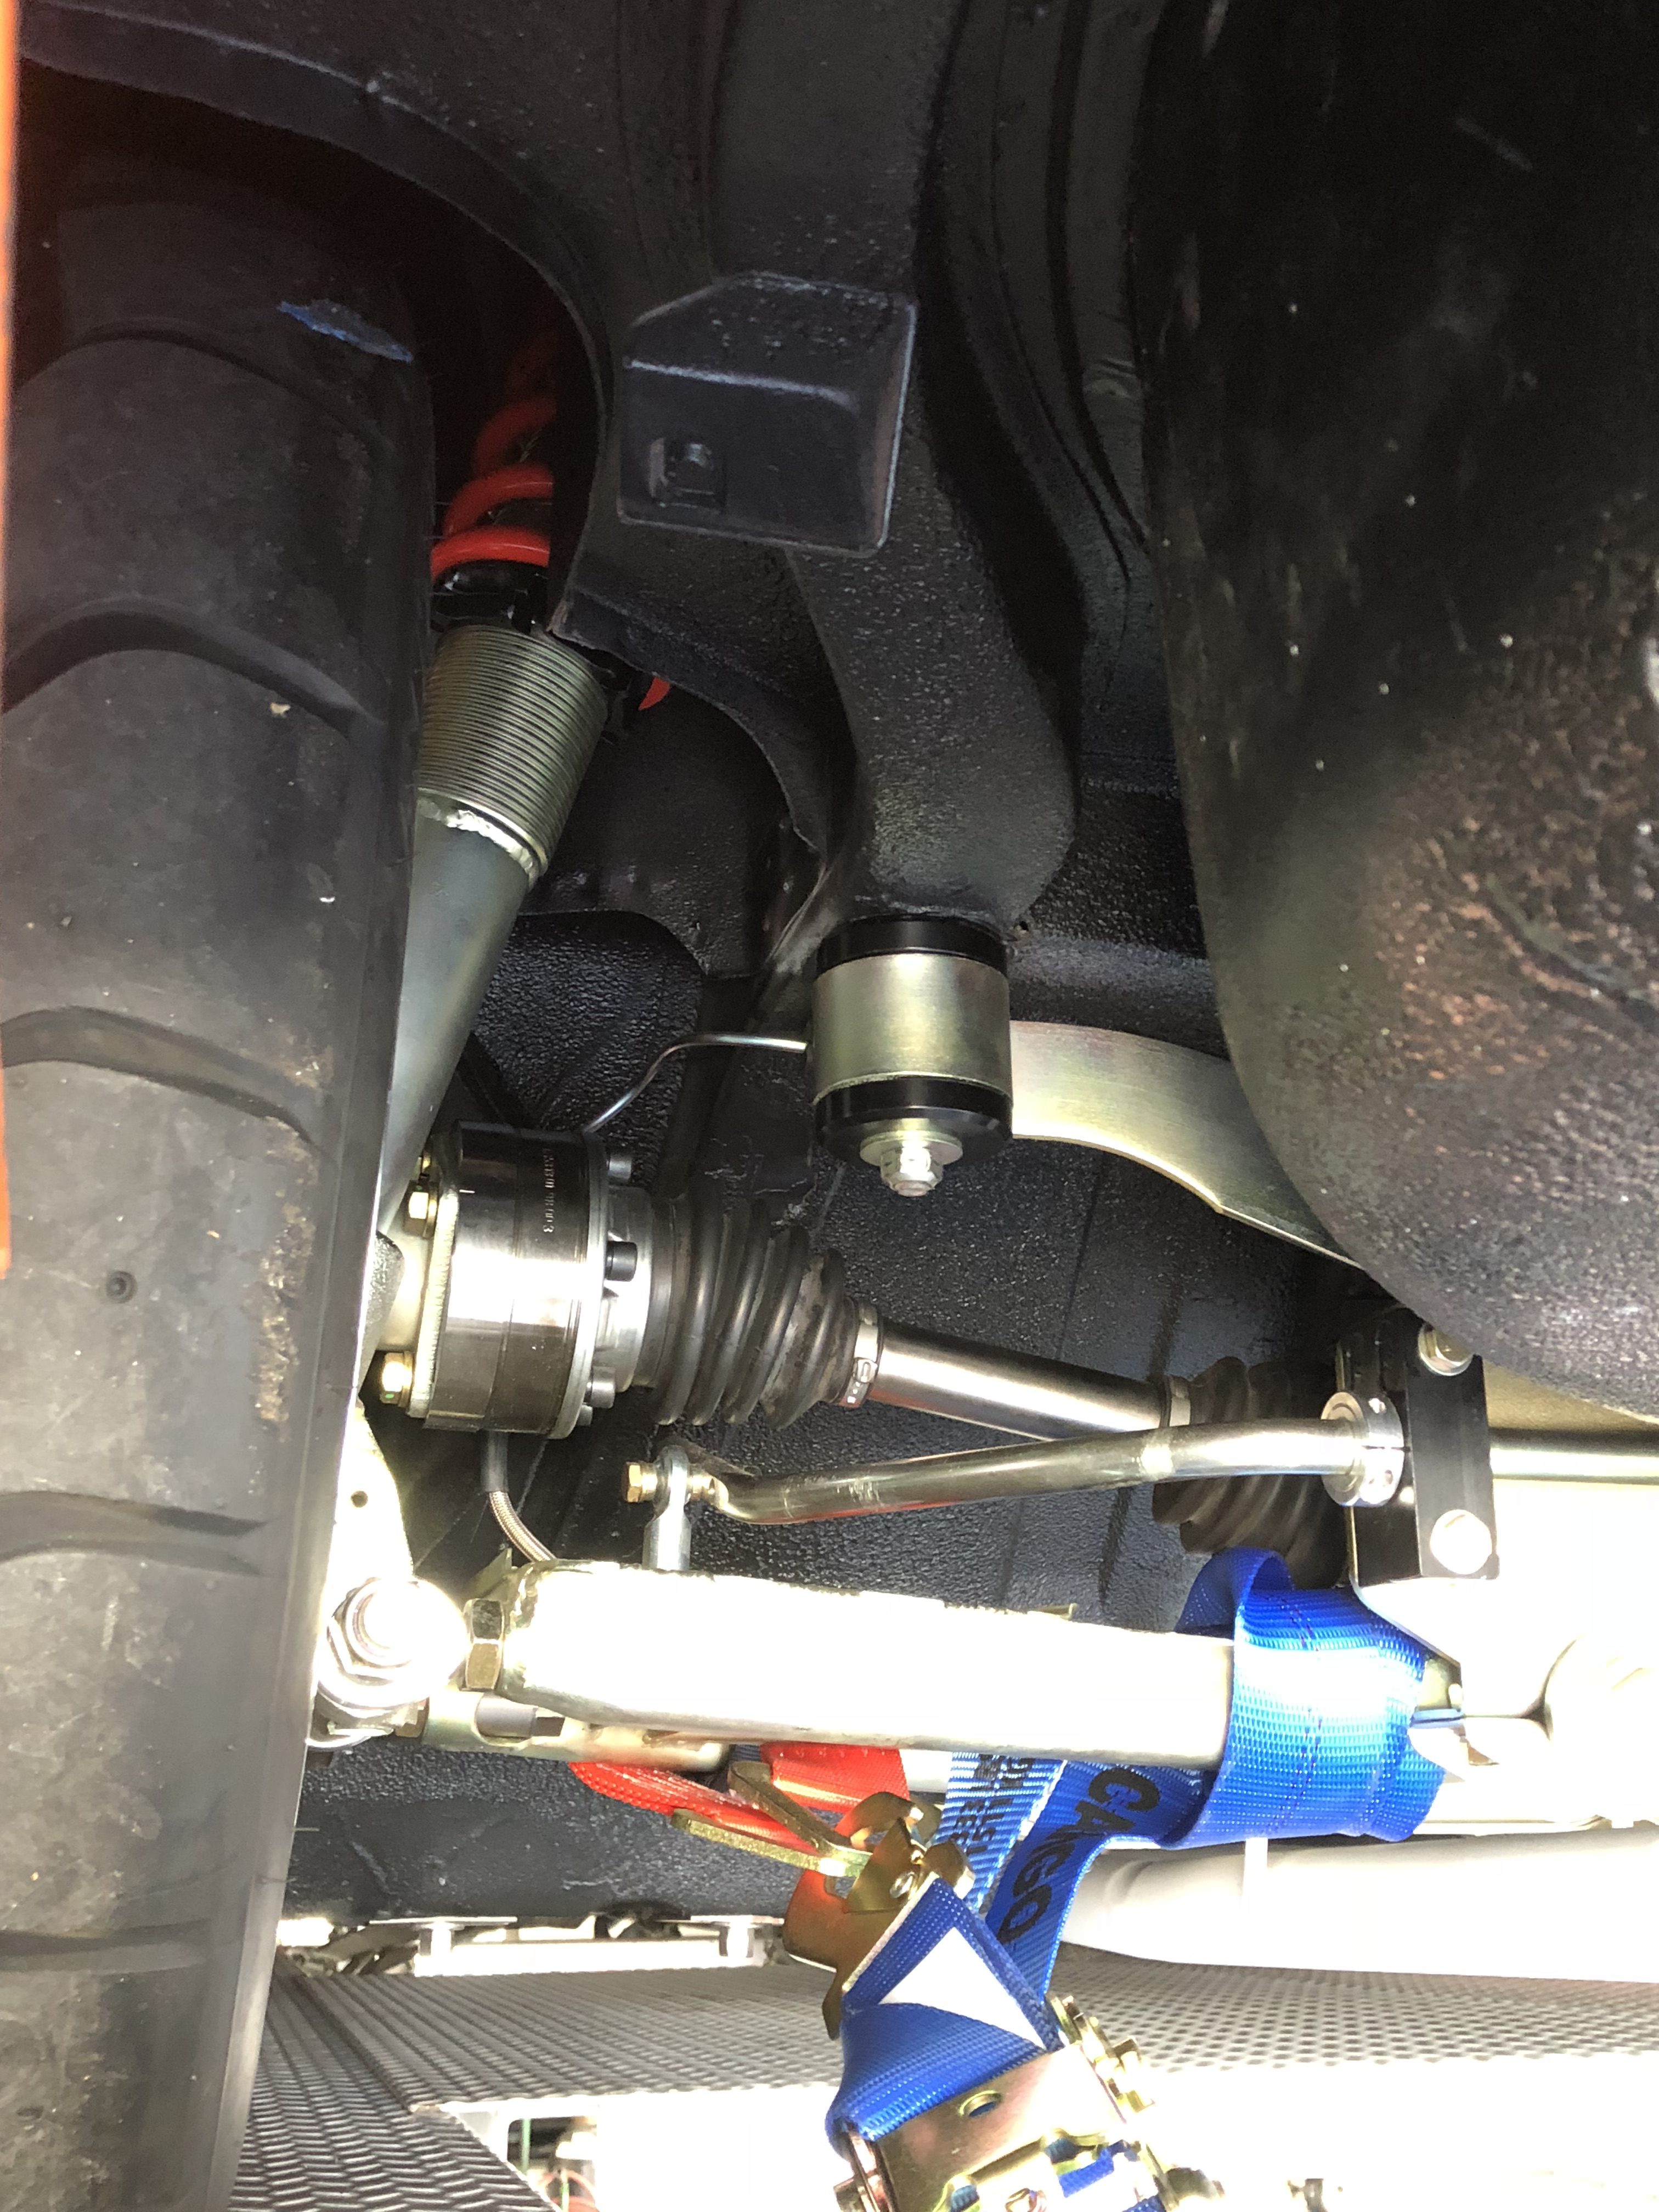
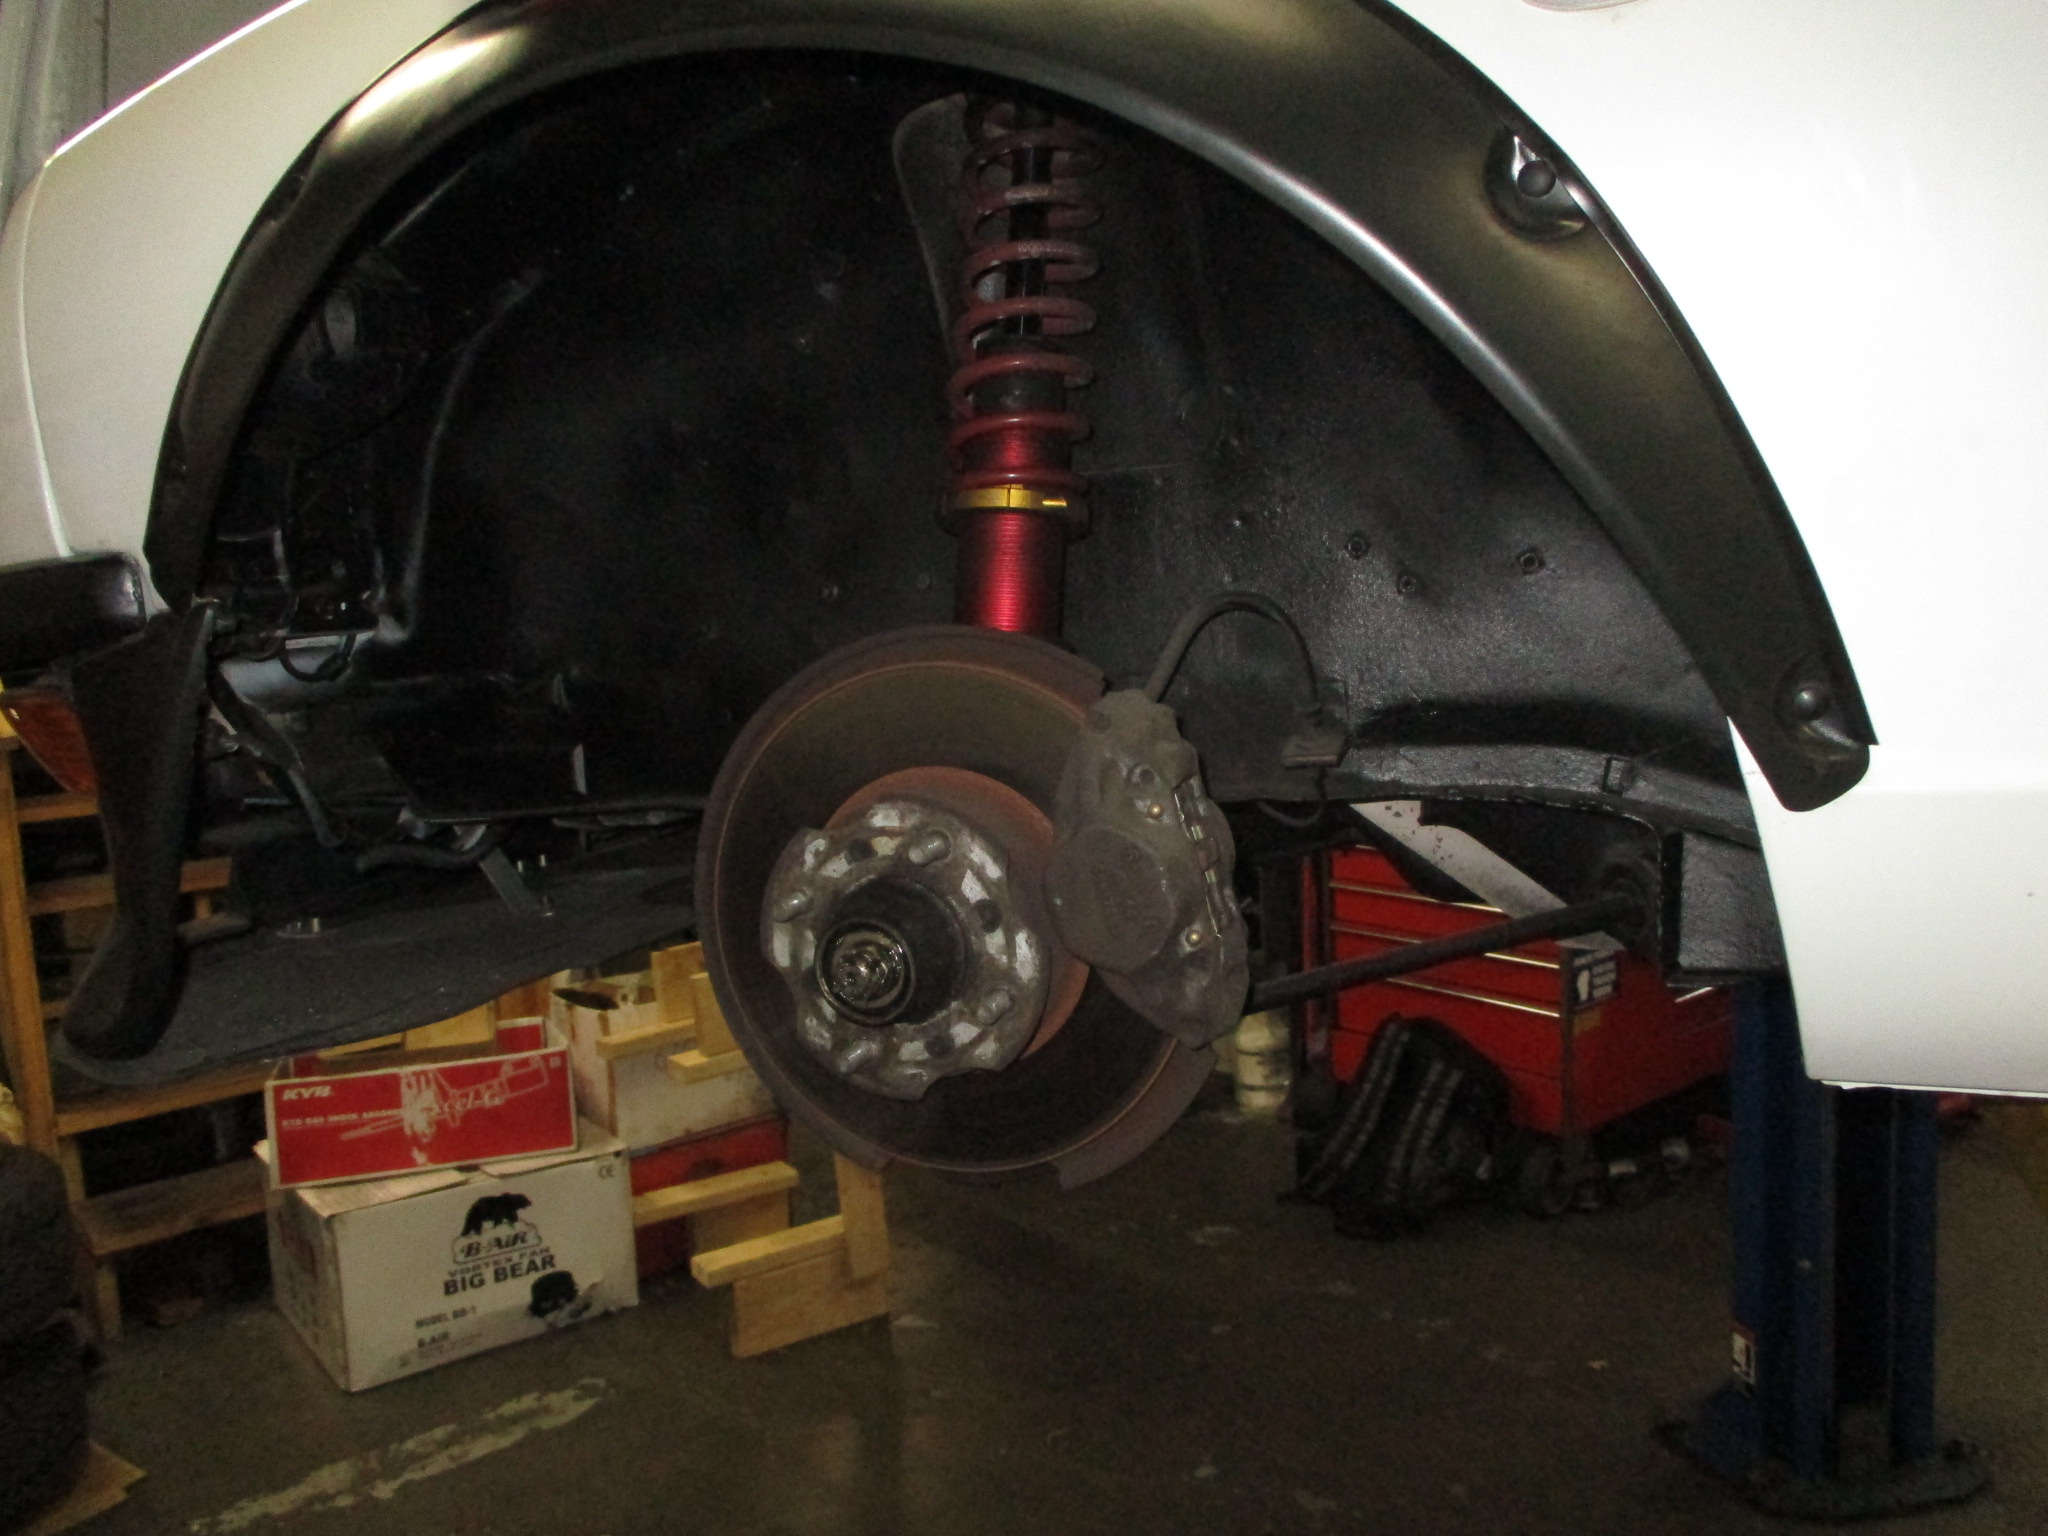
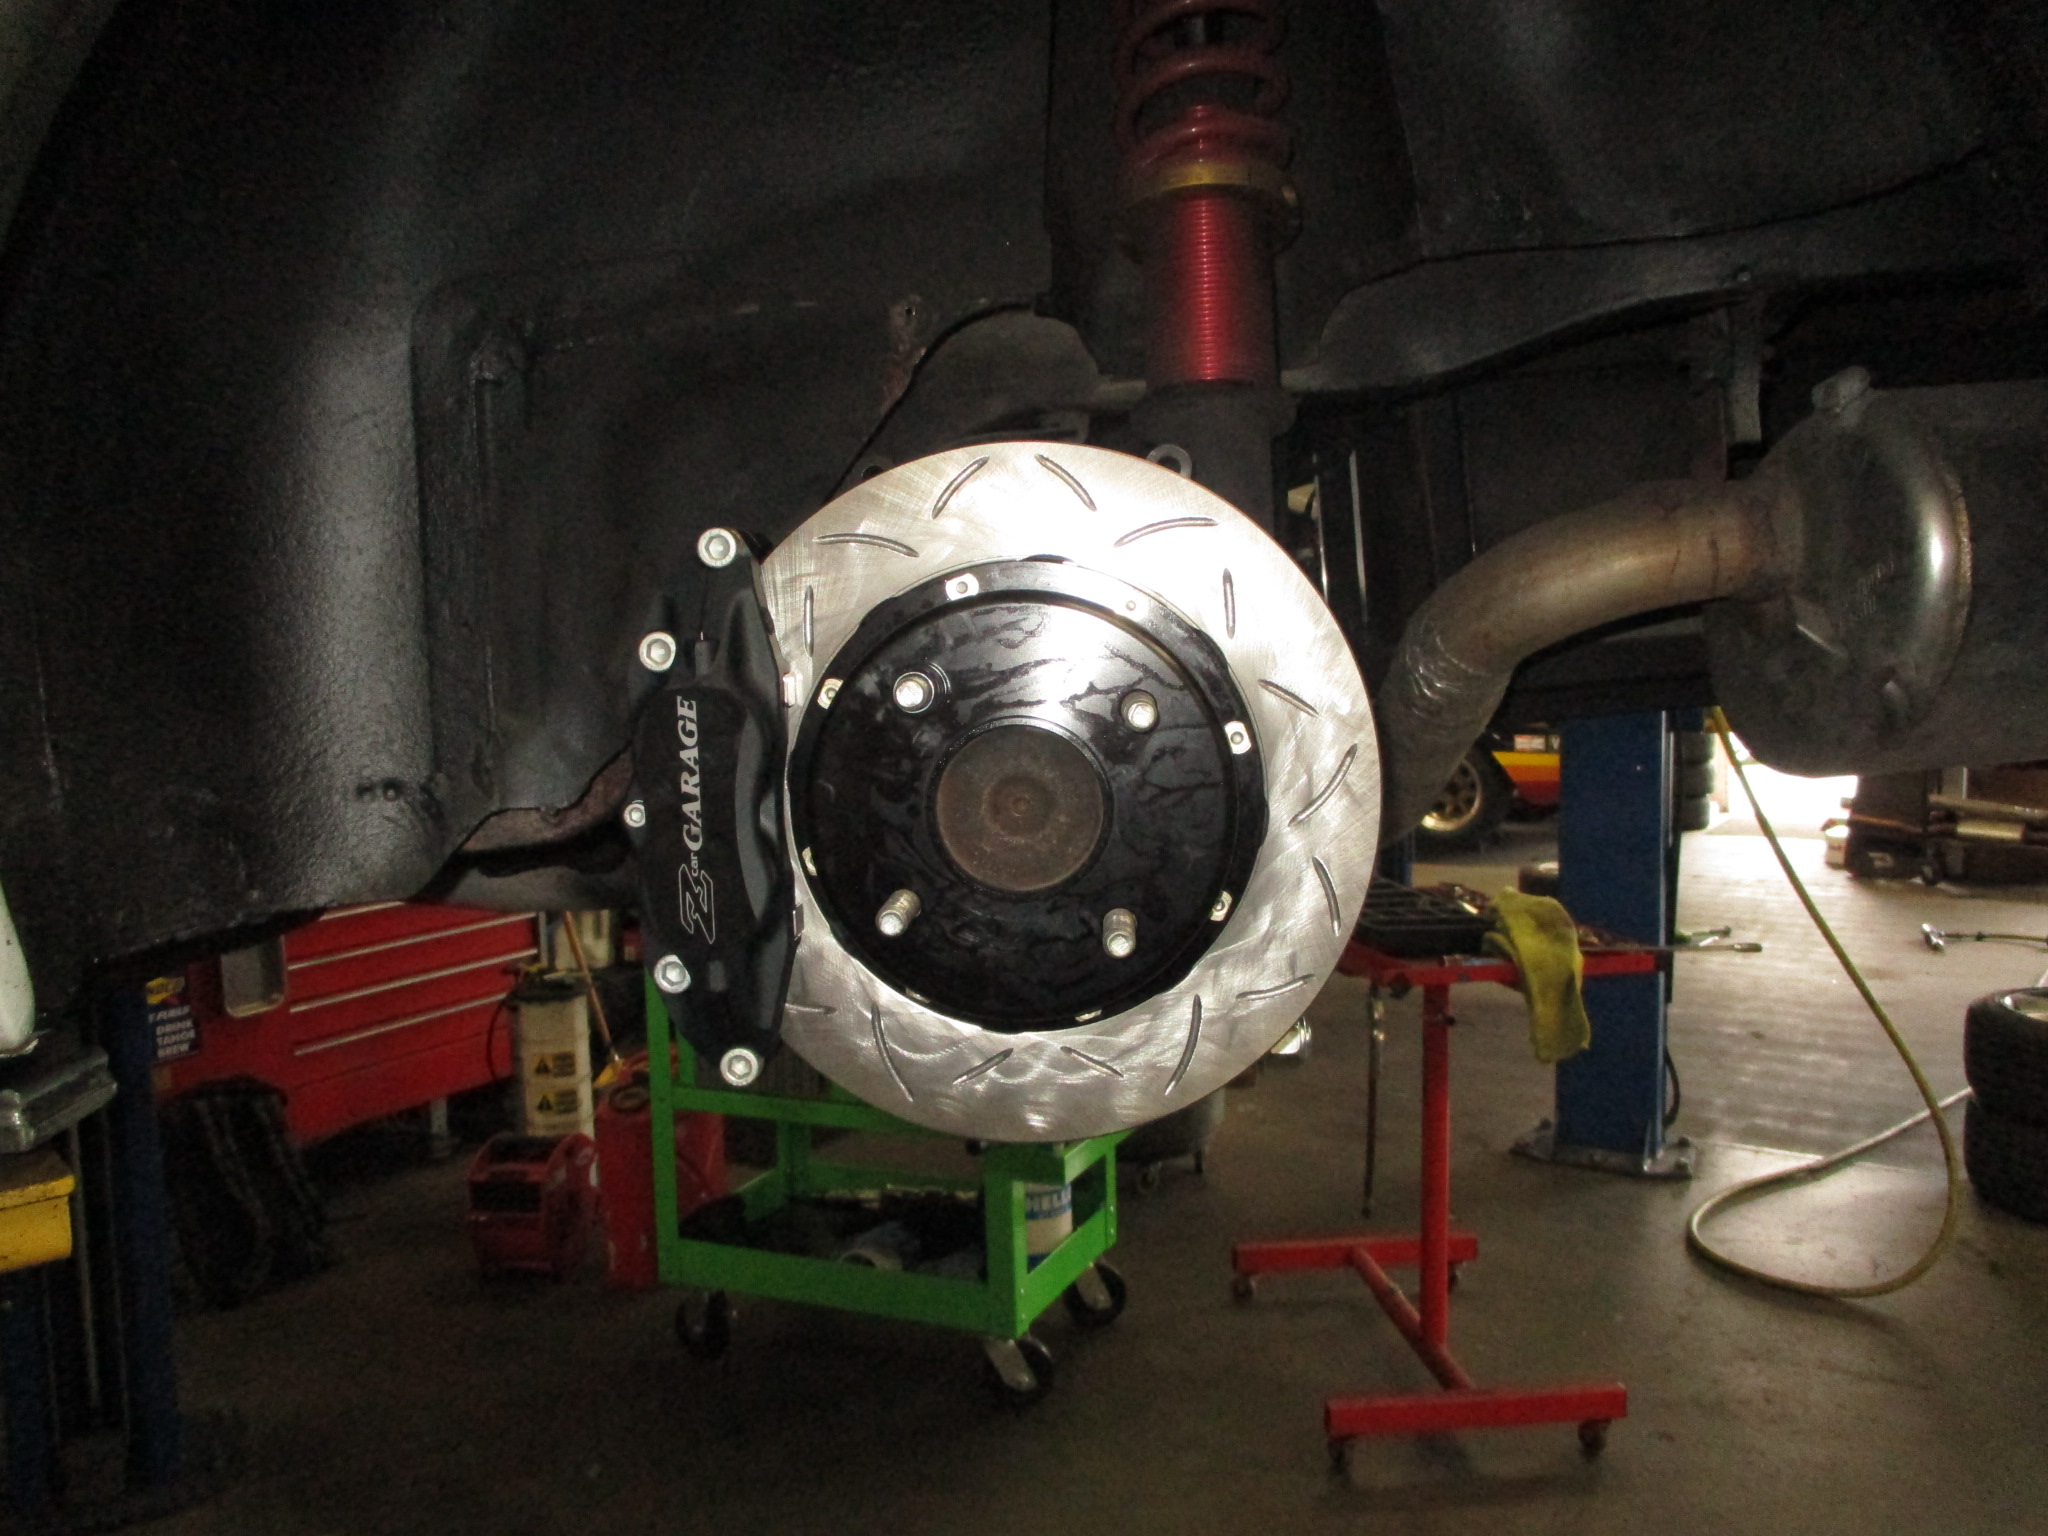
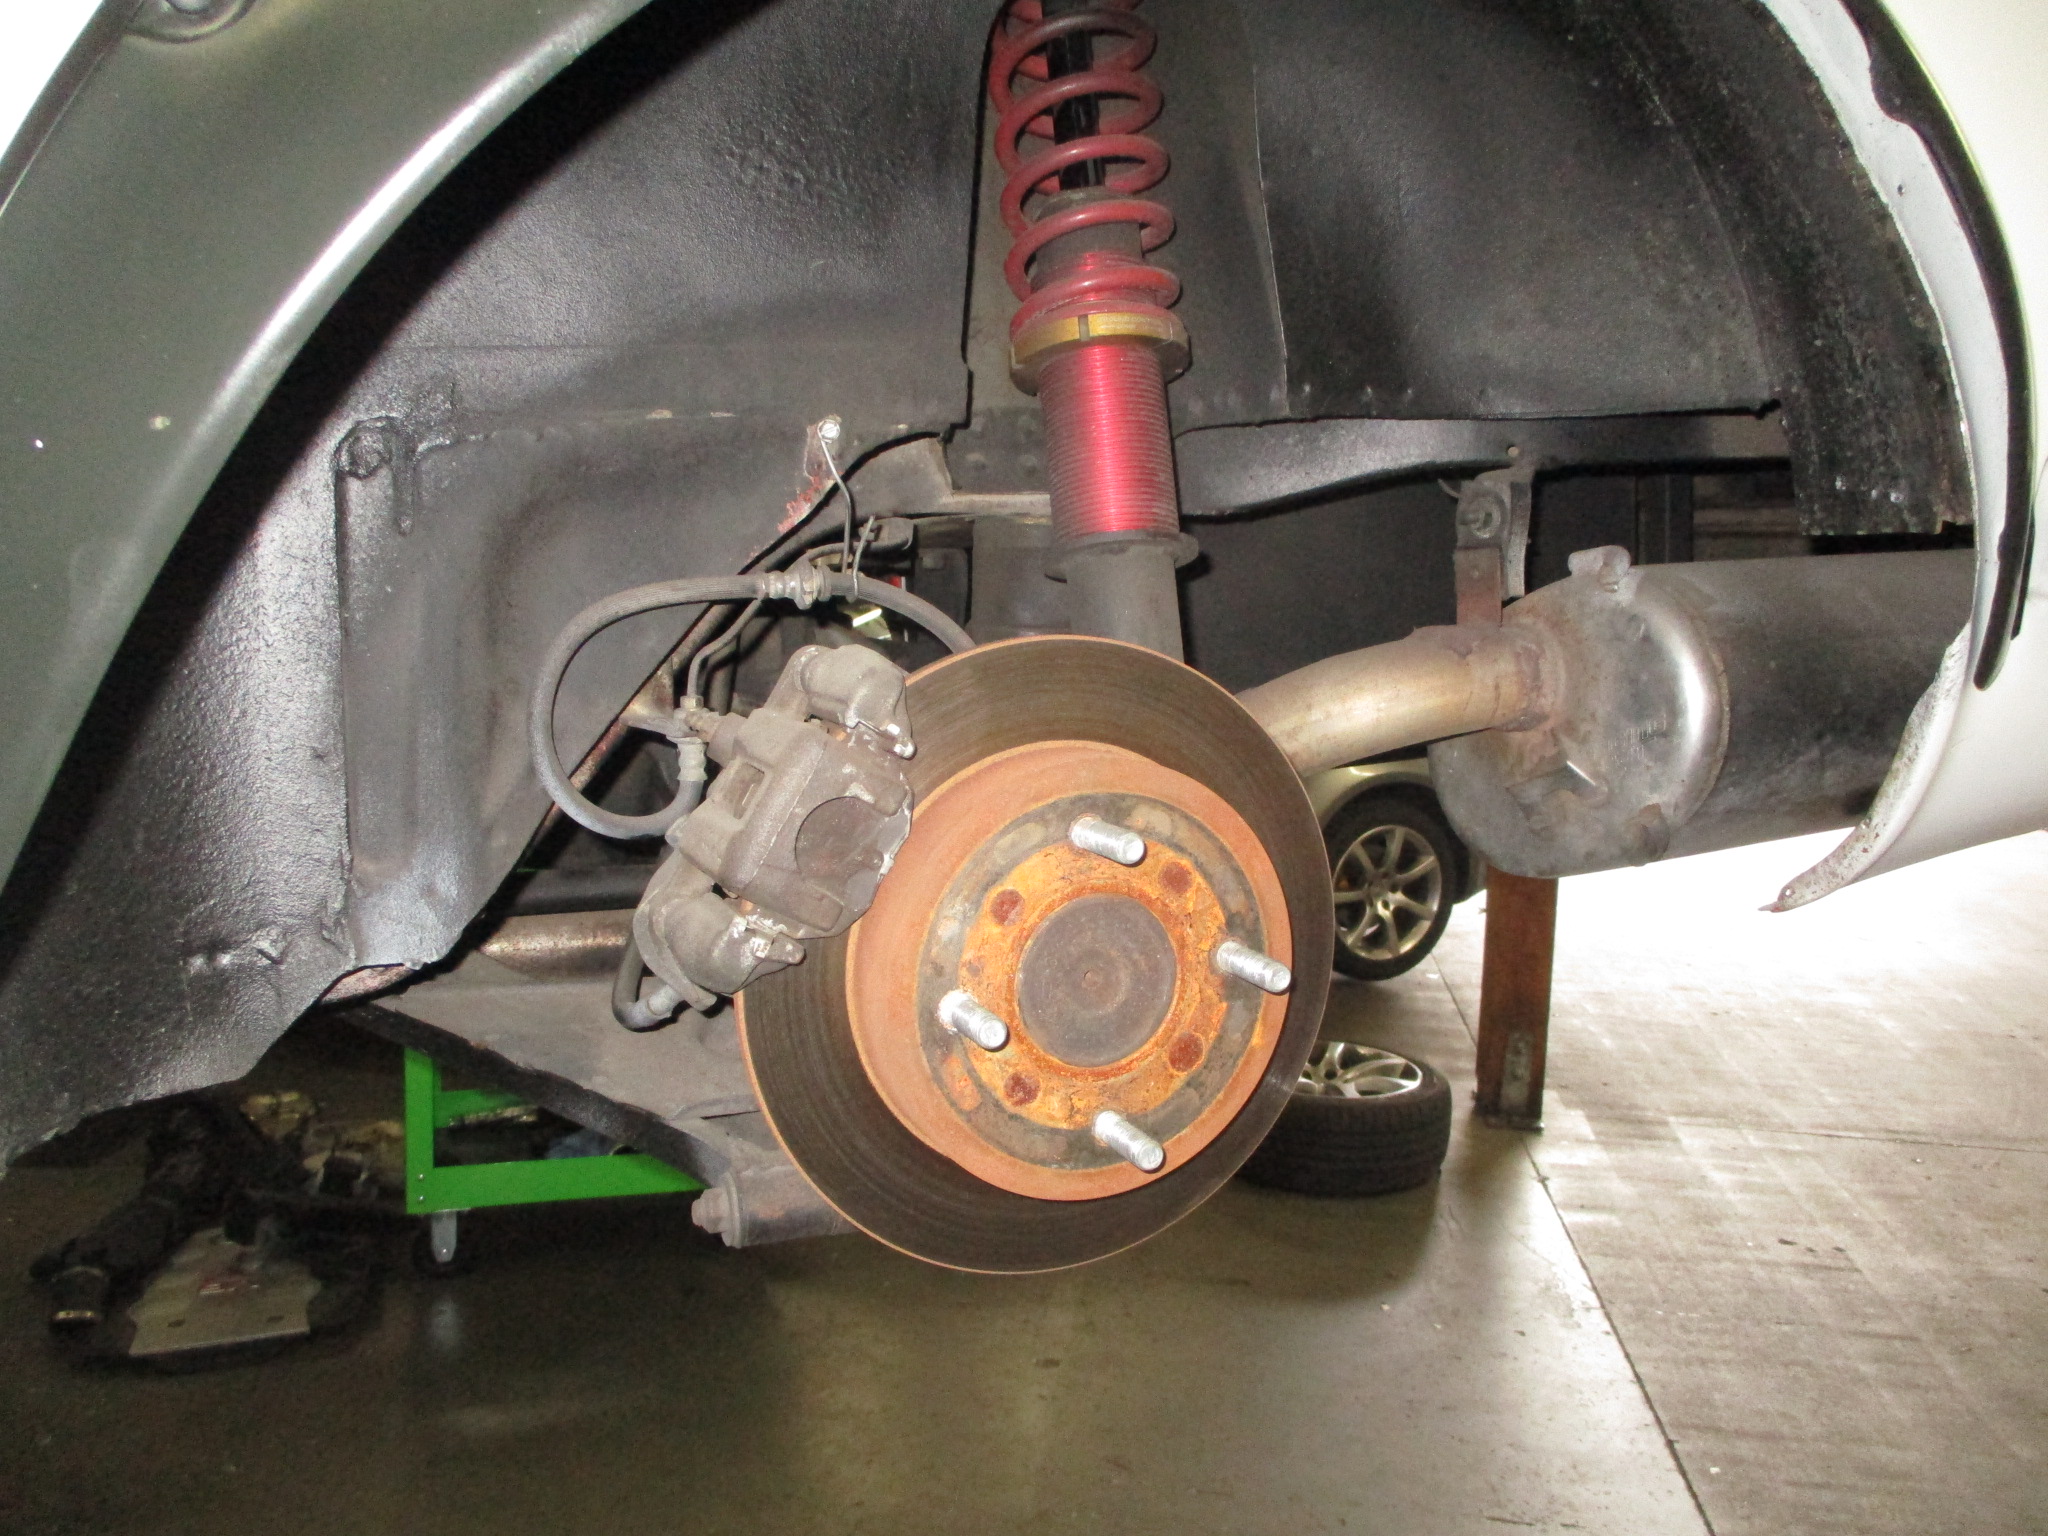
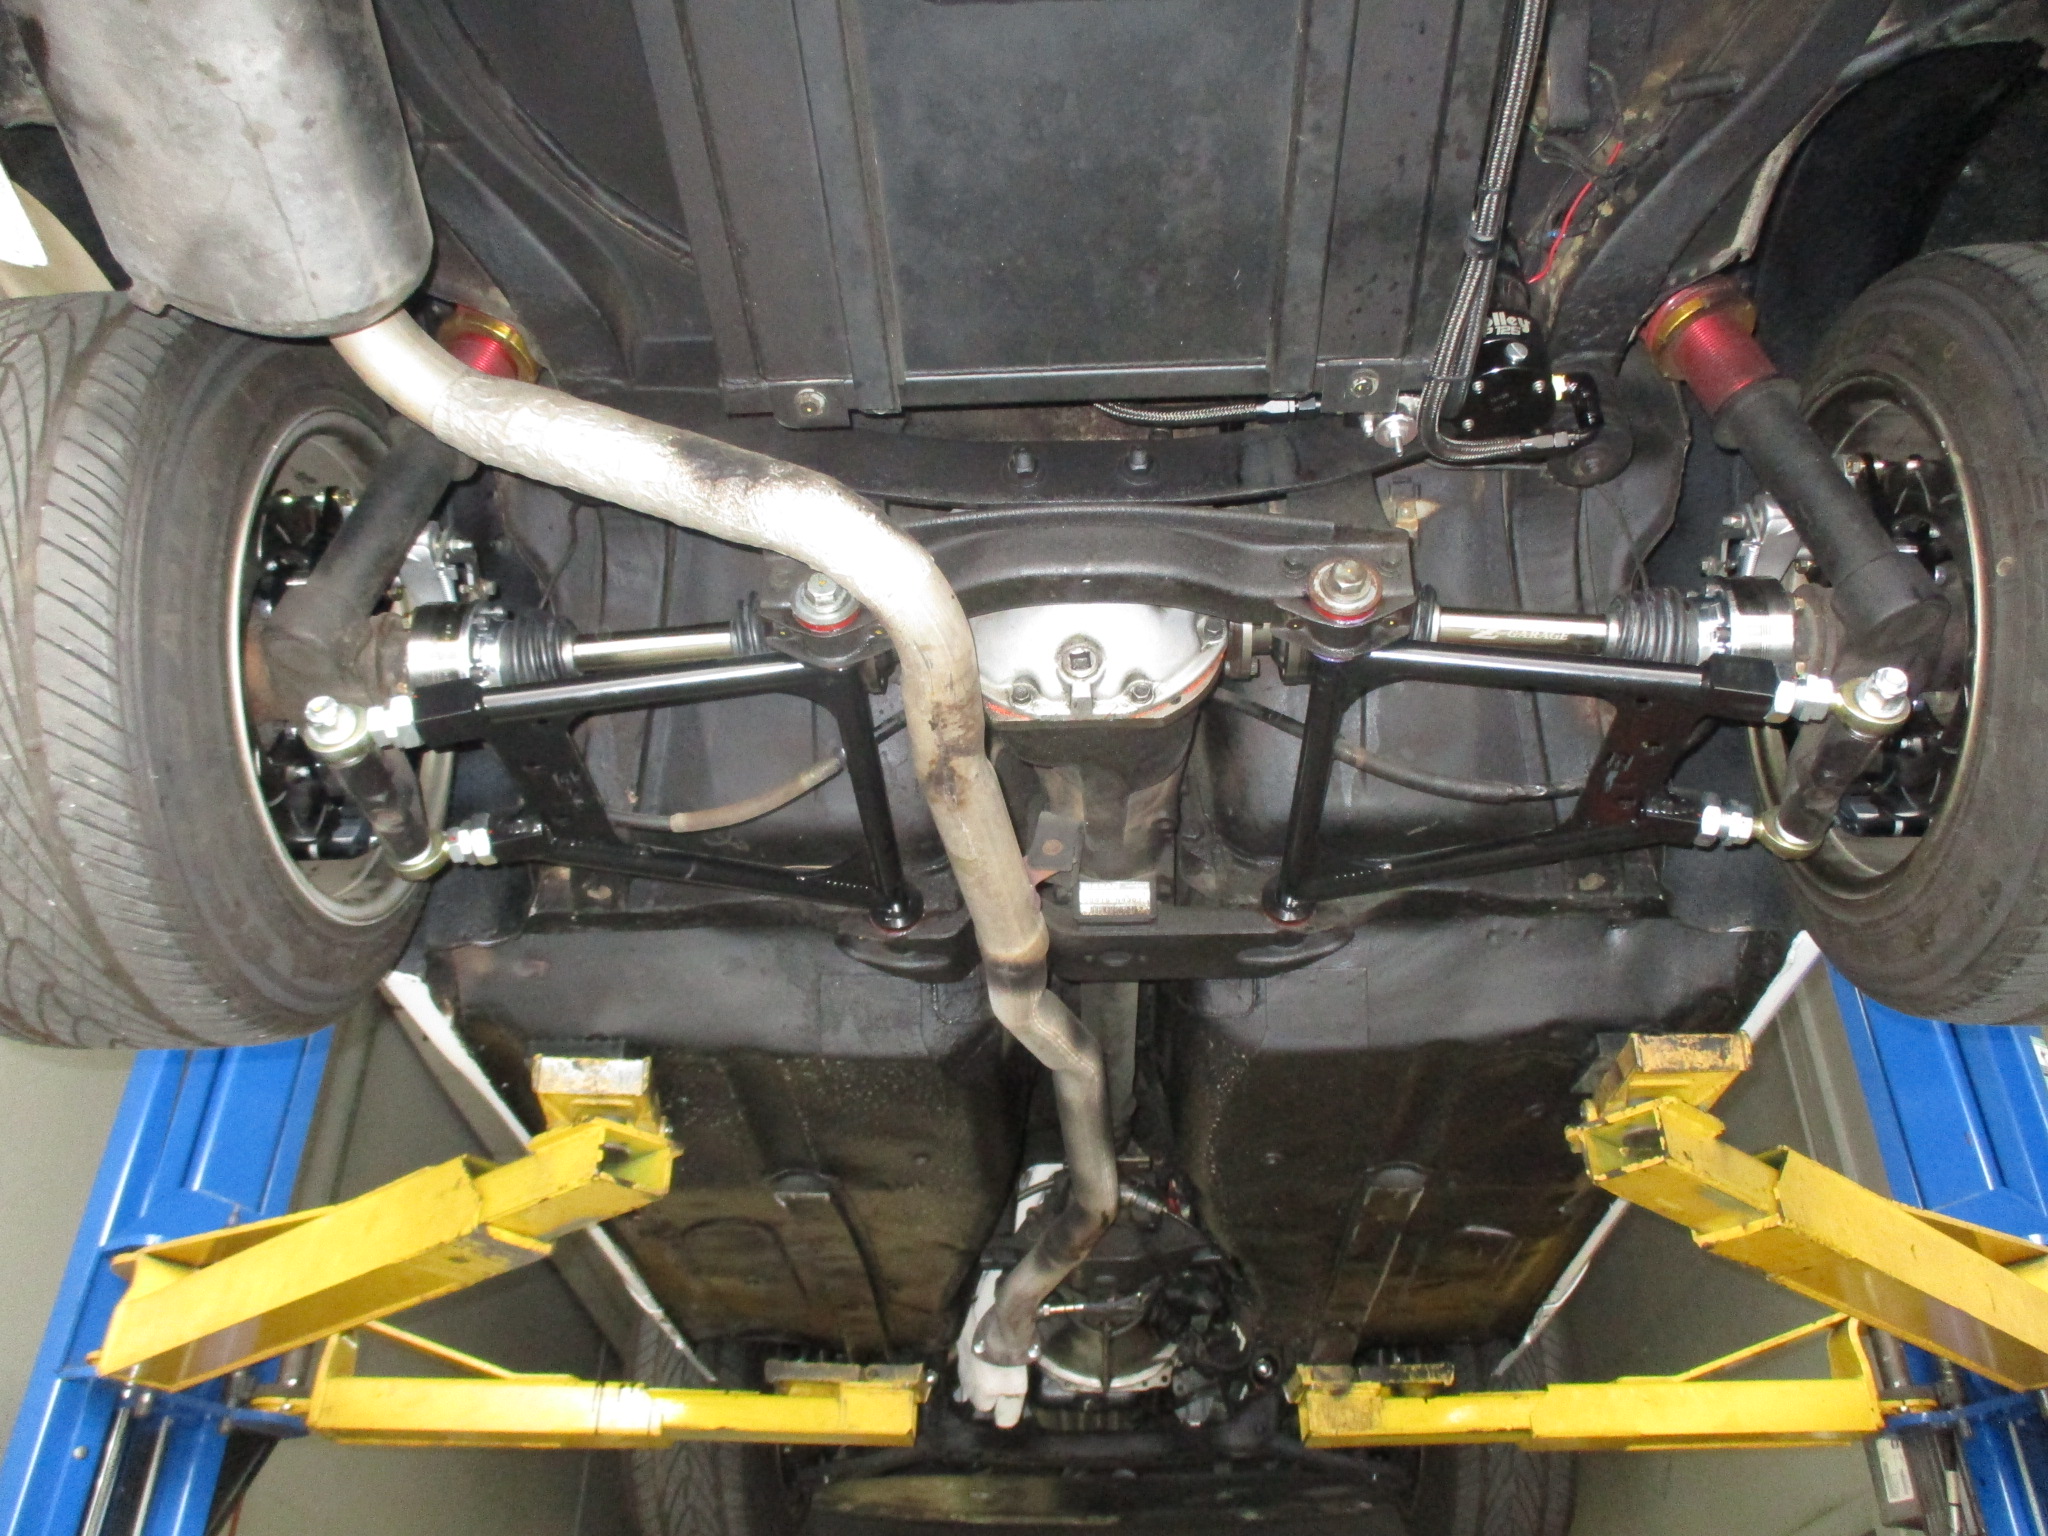
At the rear, the aftermarket disc setup was replaced with our ZCG Big-Brakes:
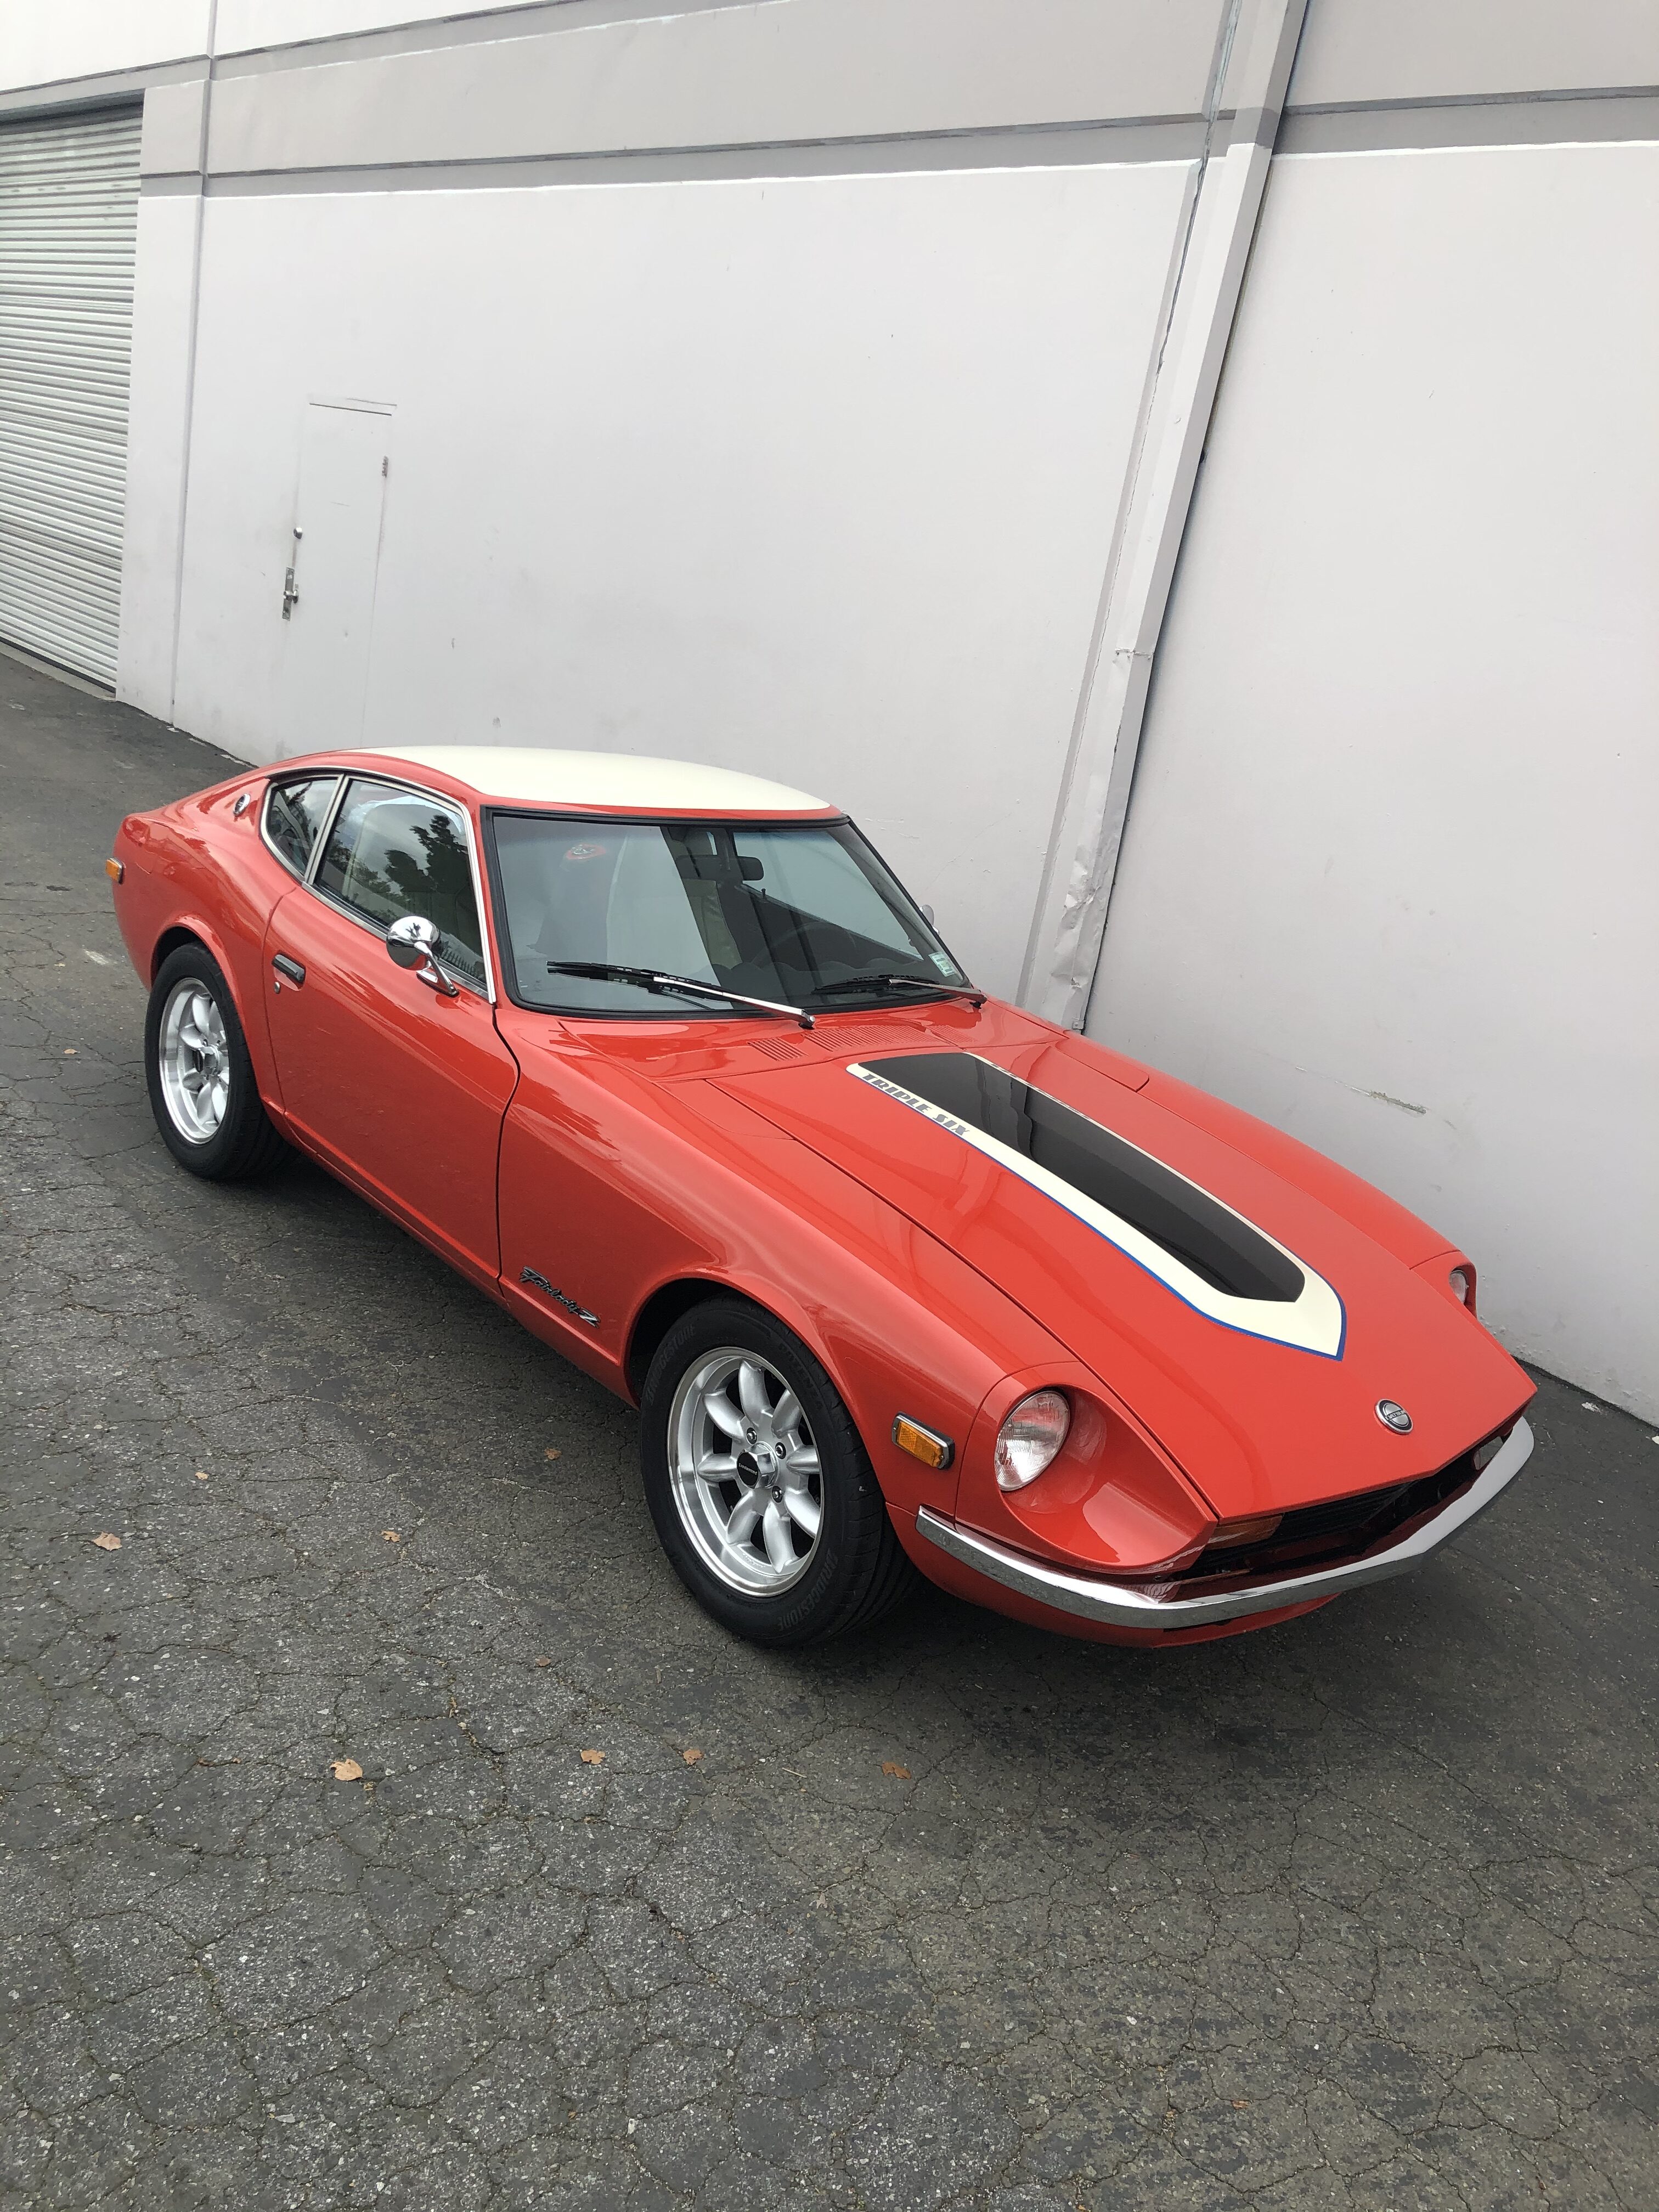
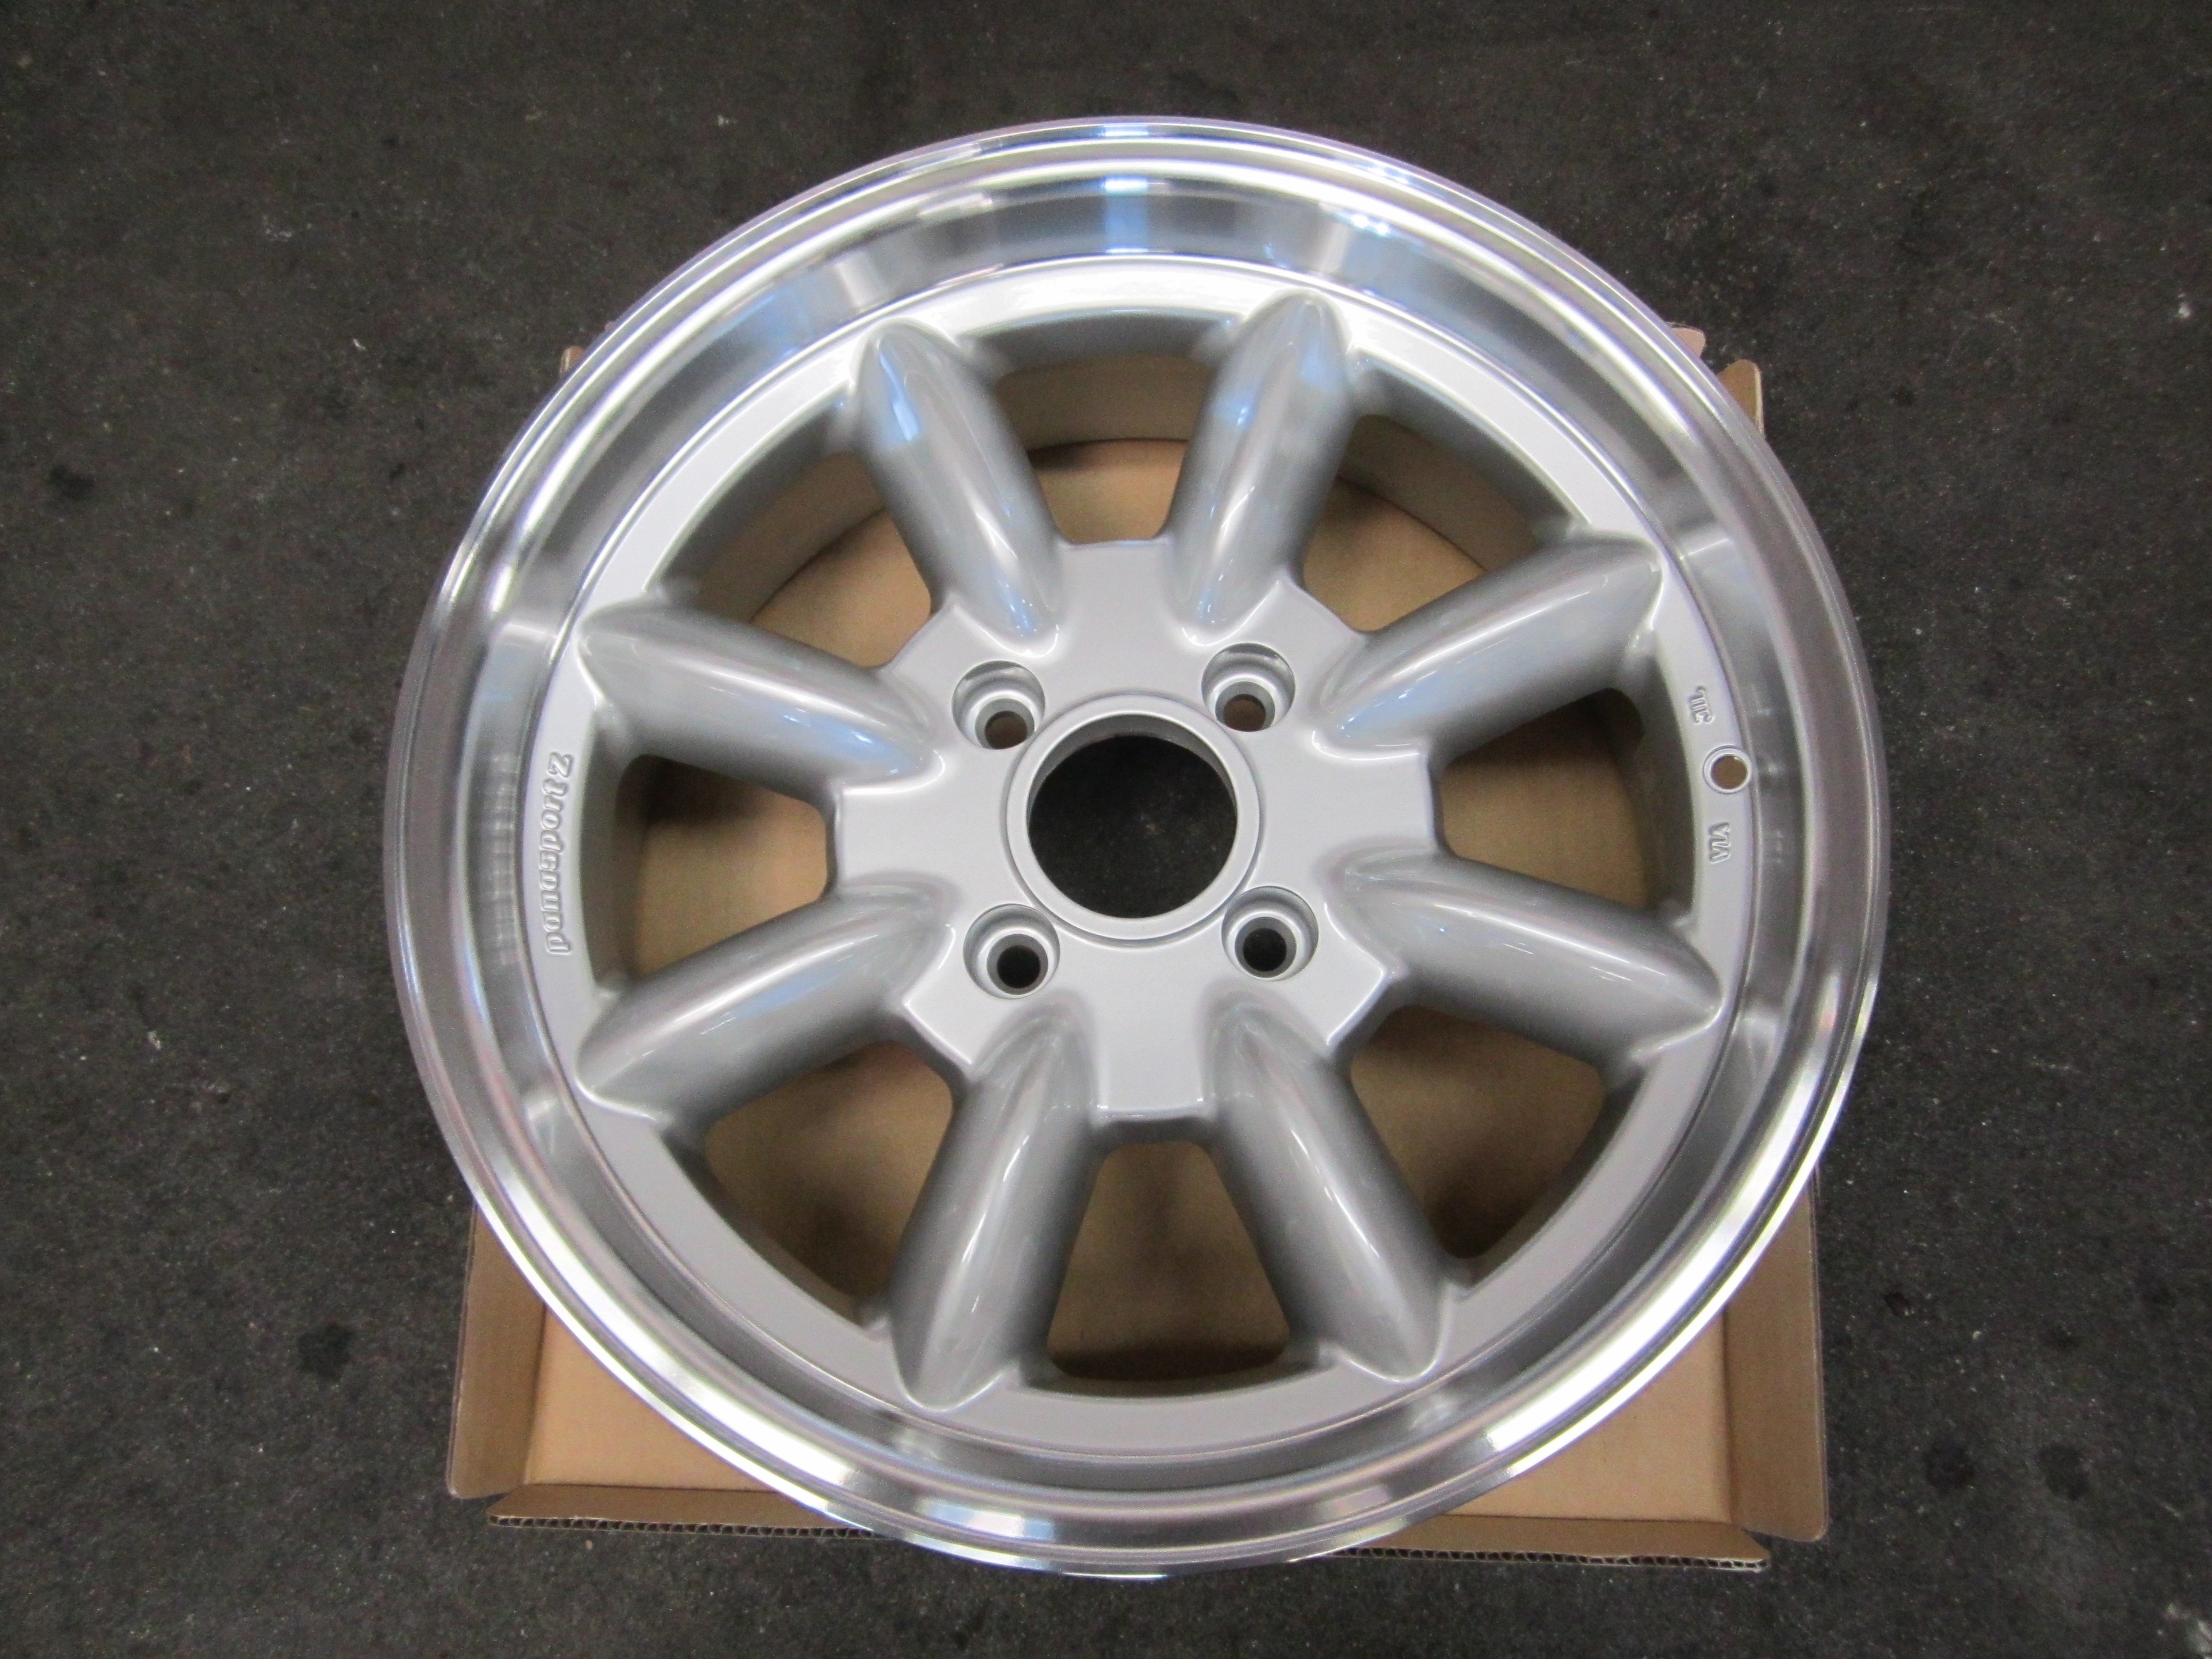
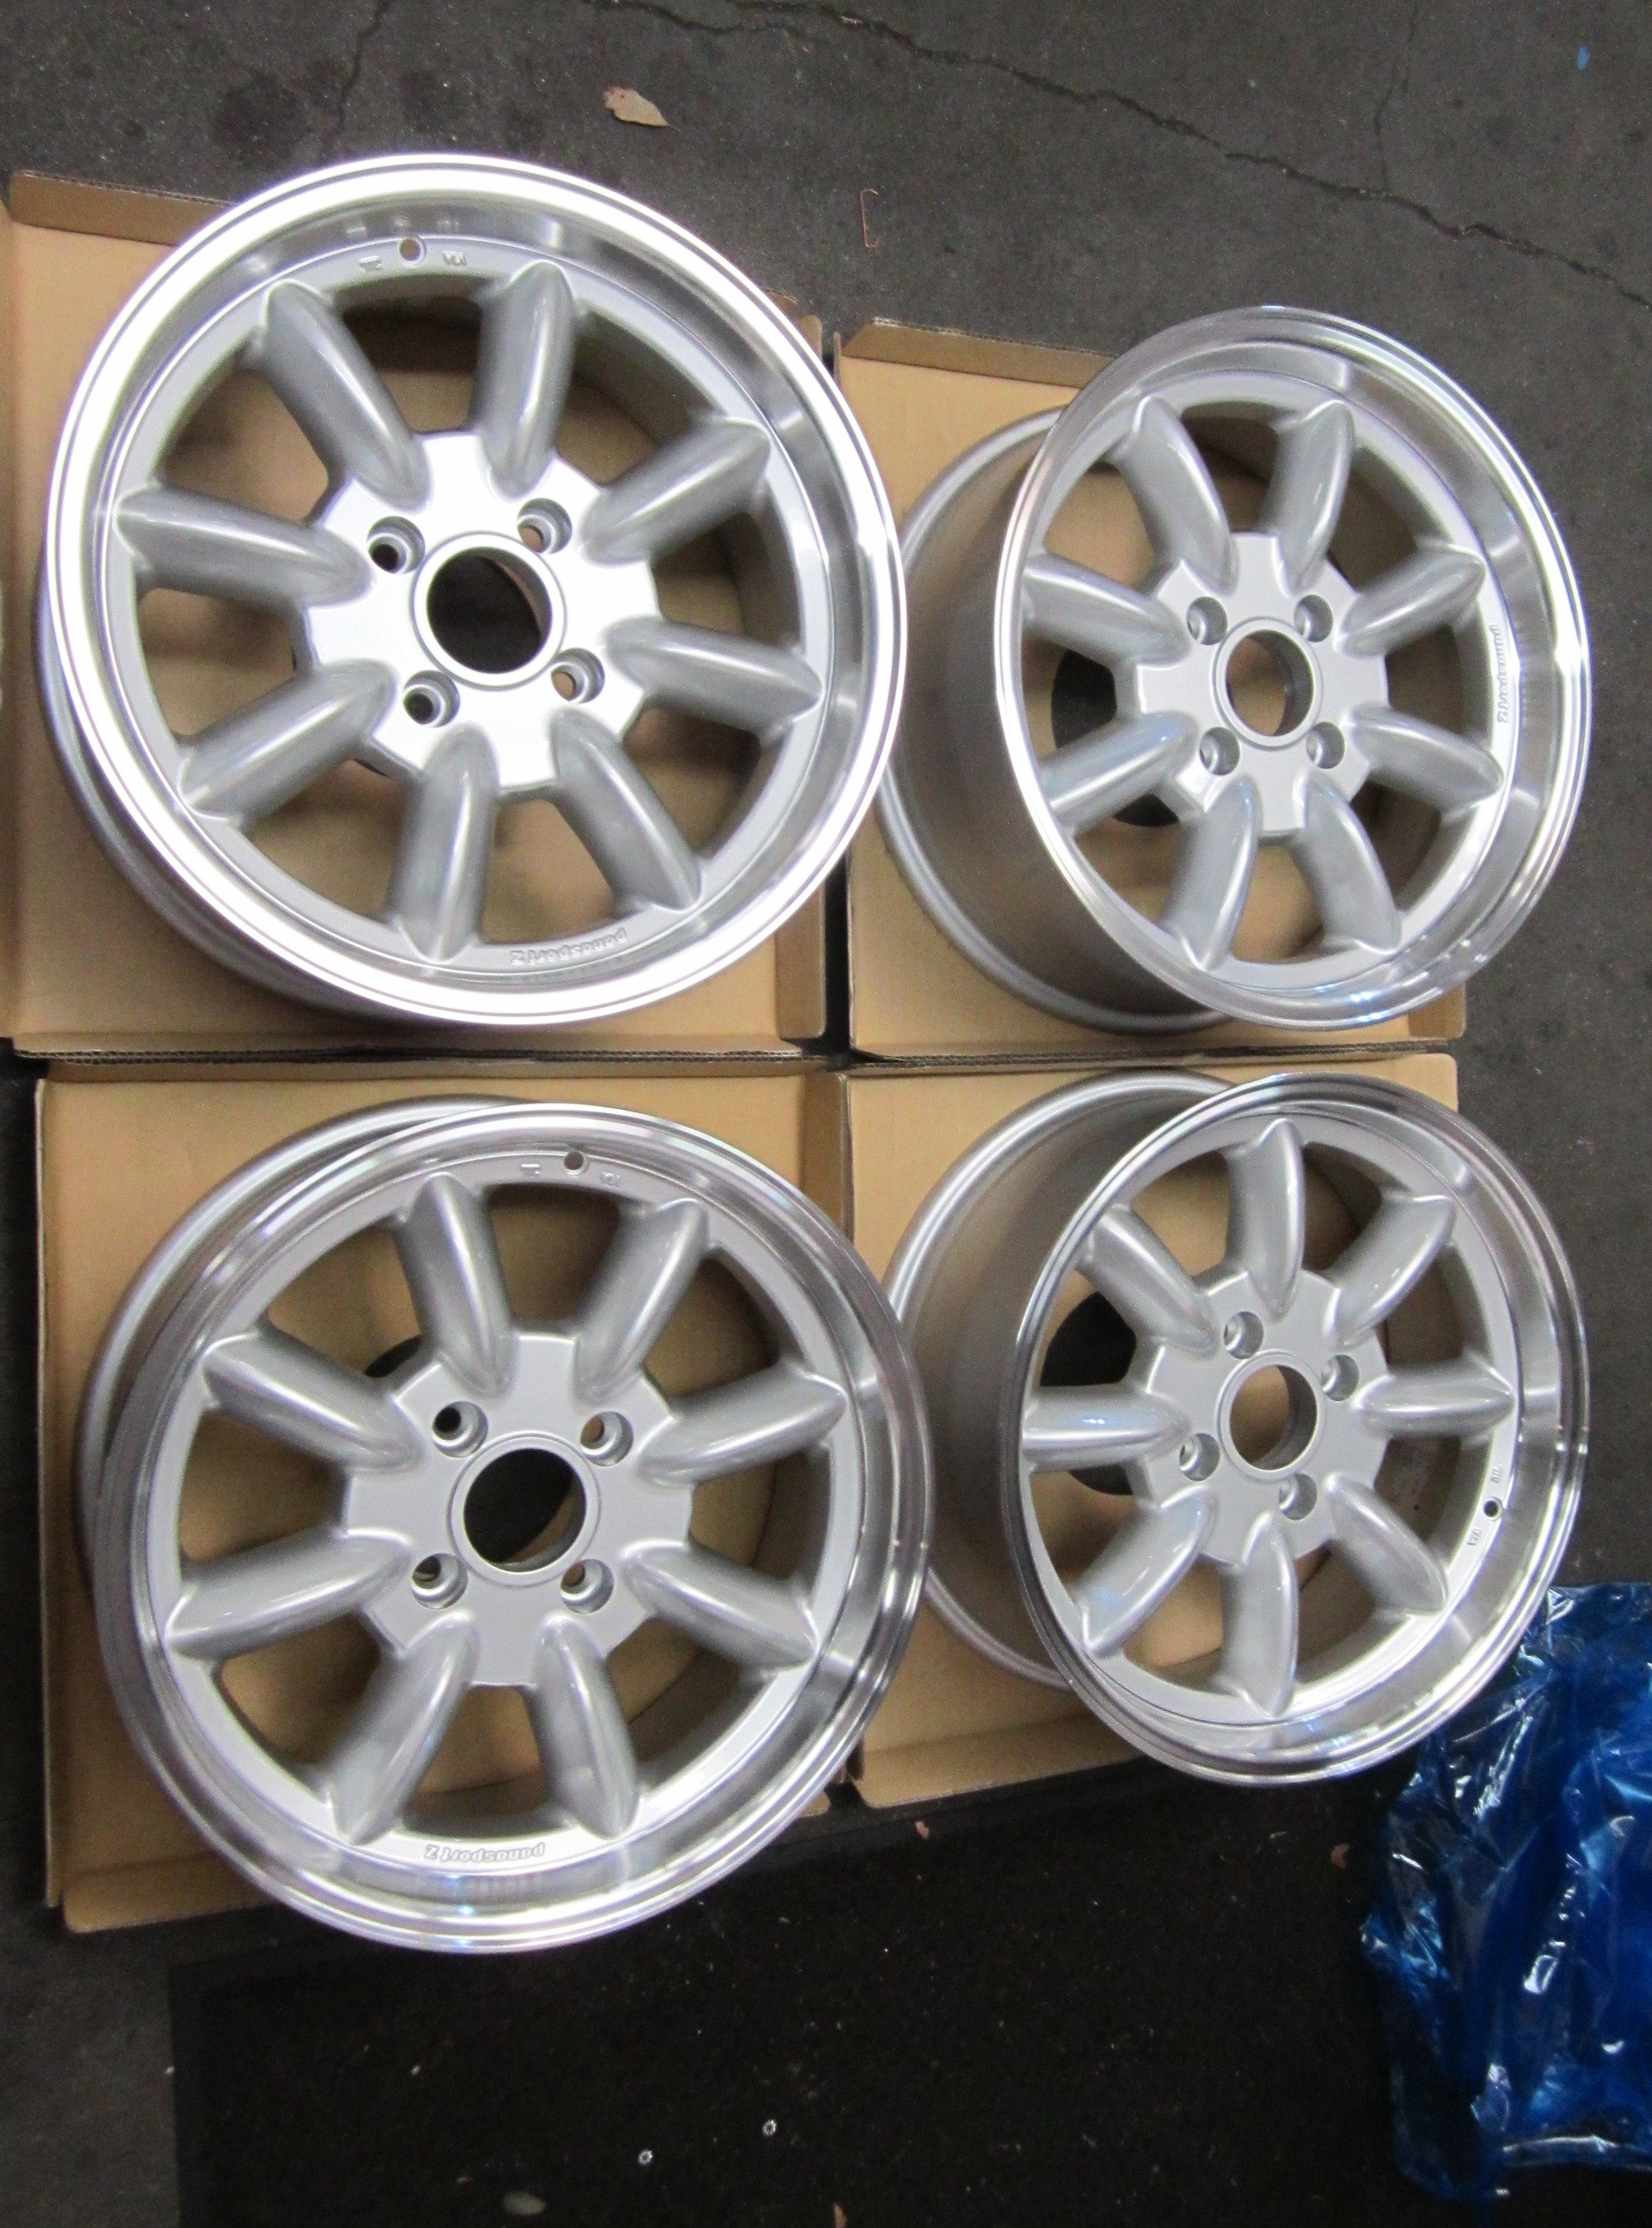
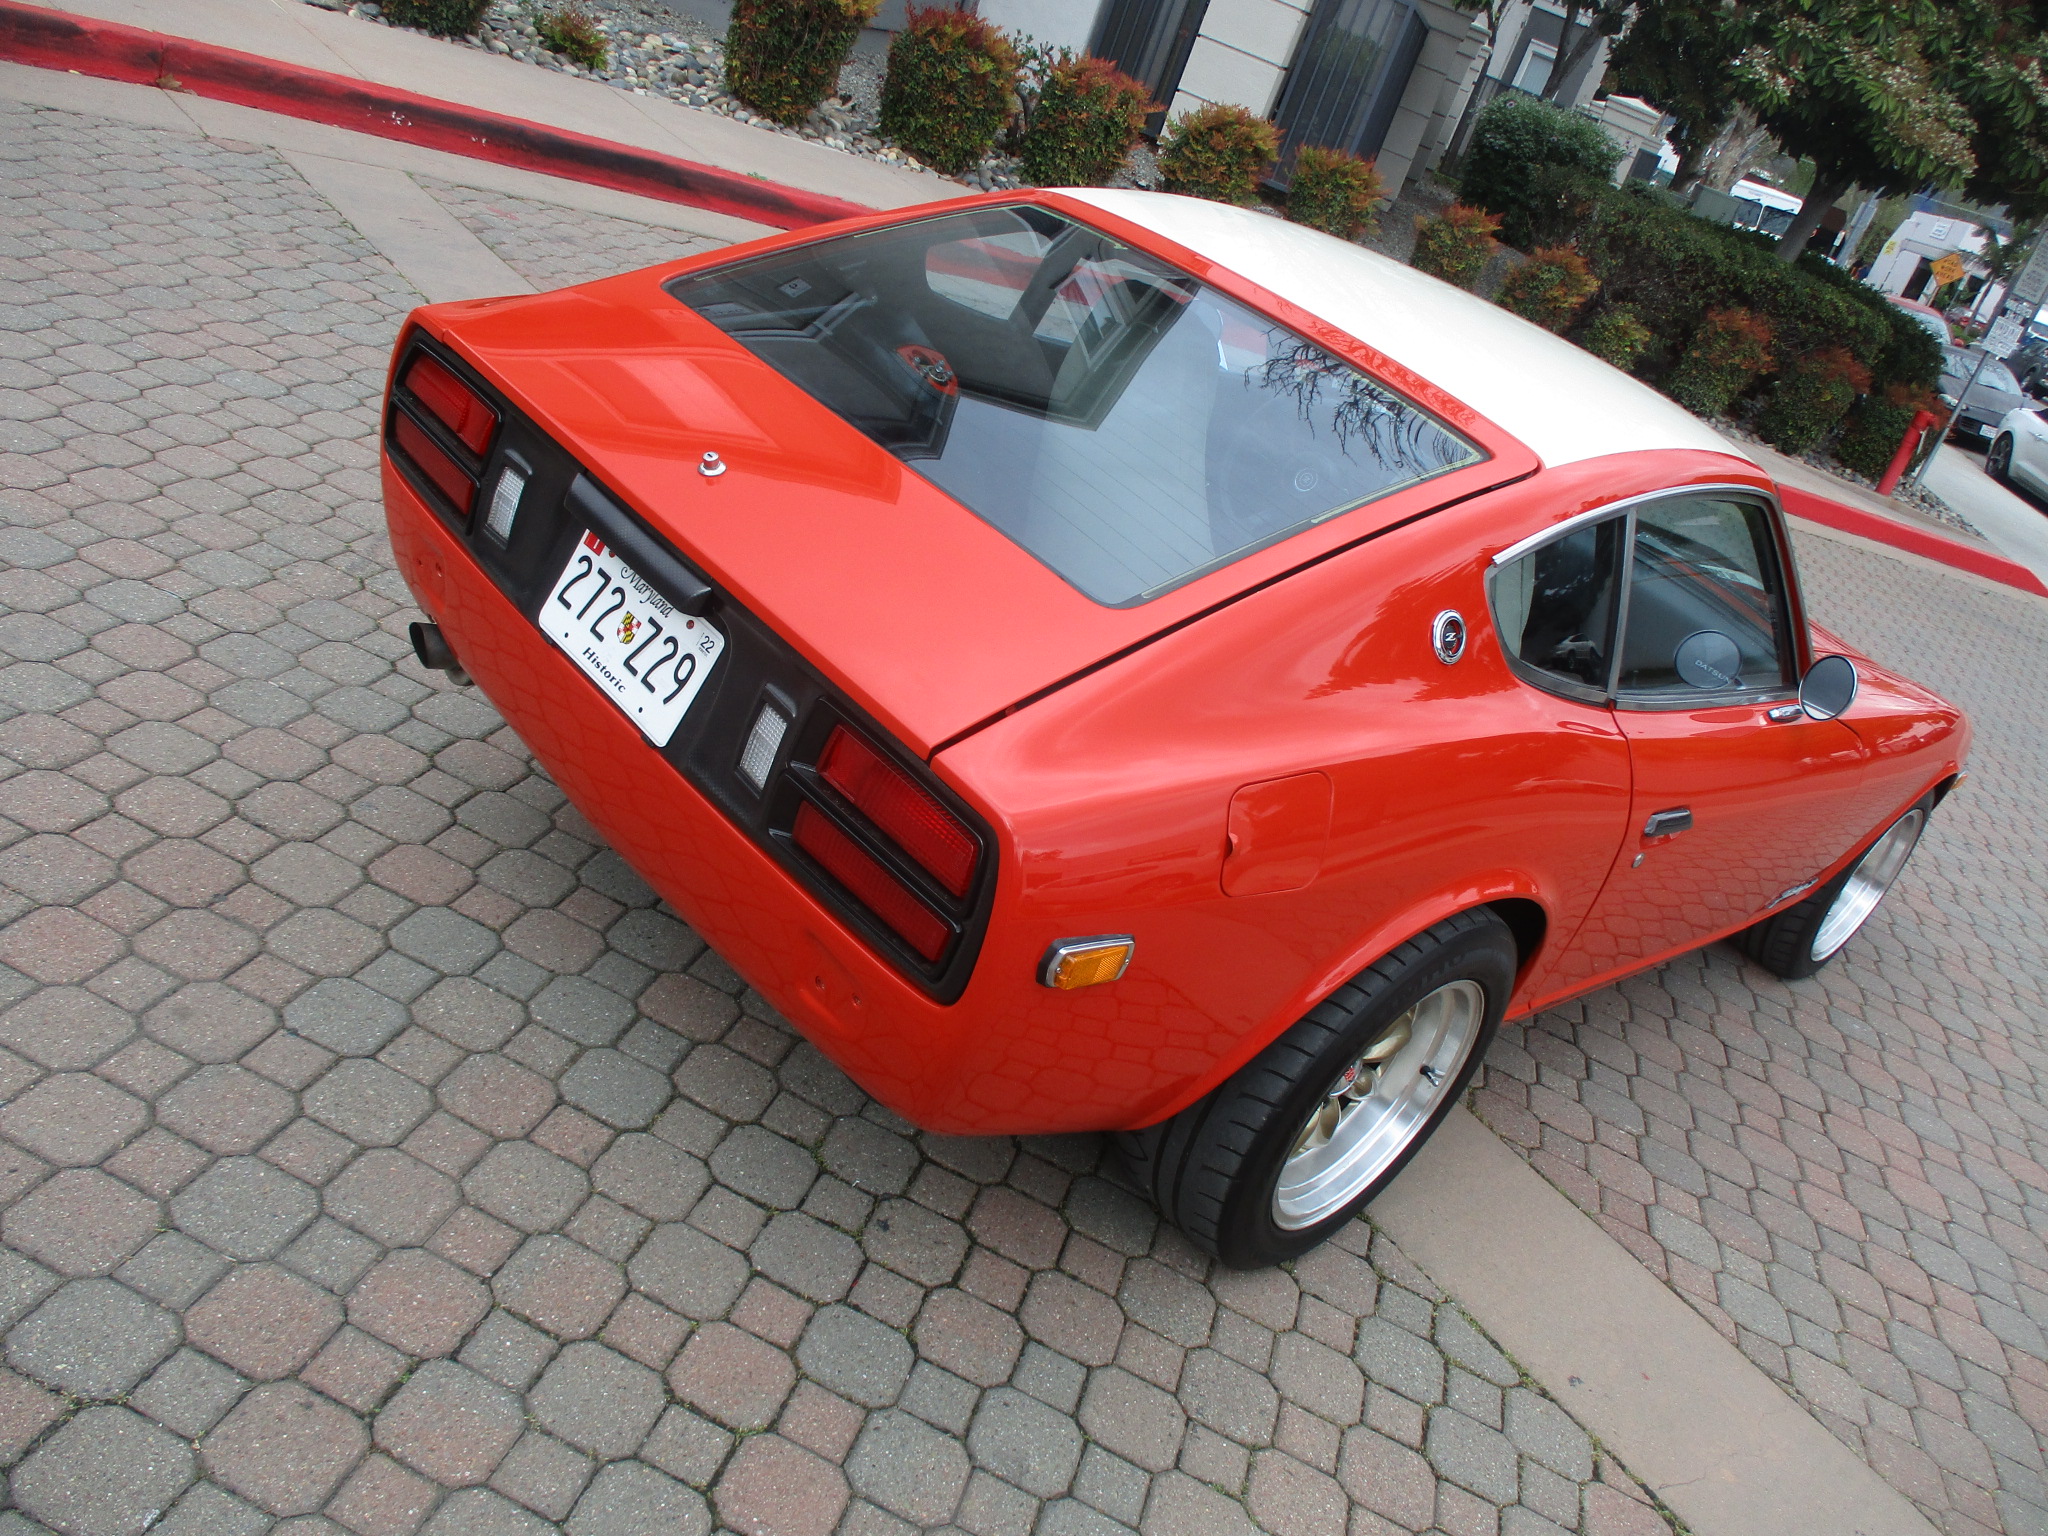
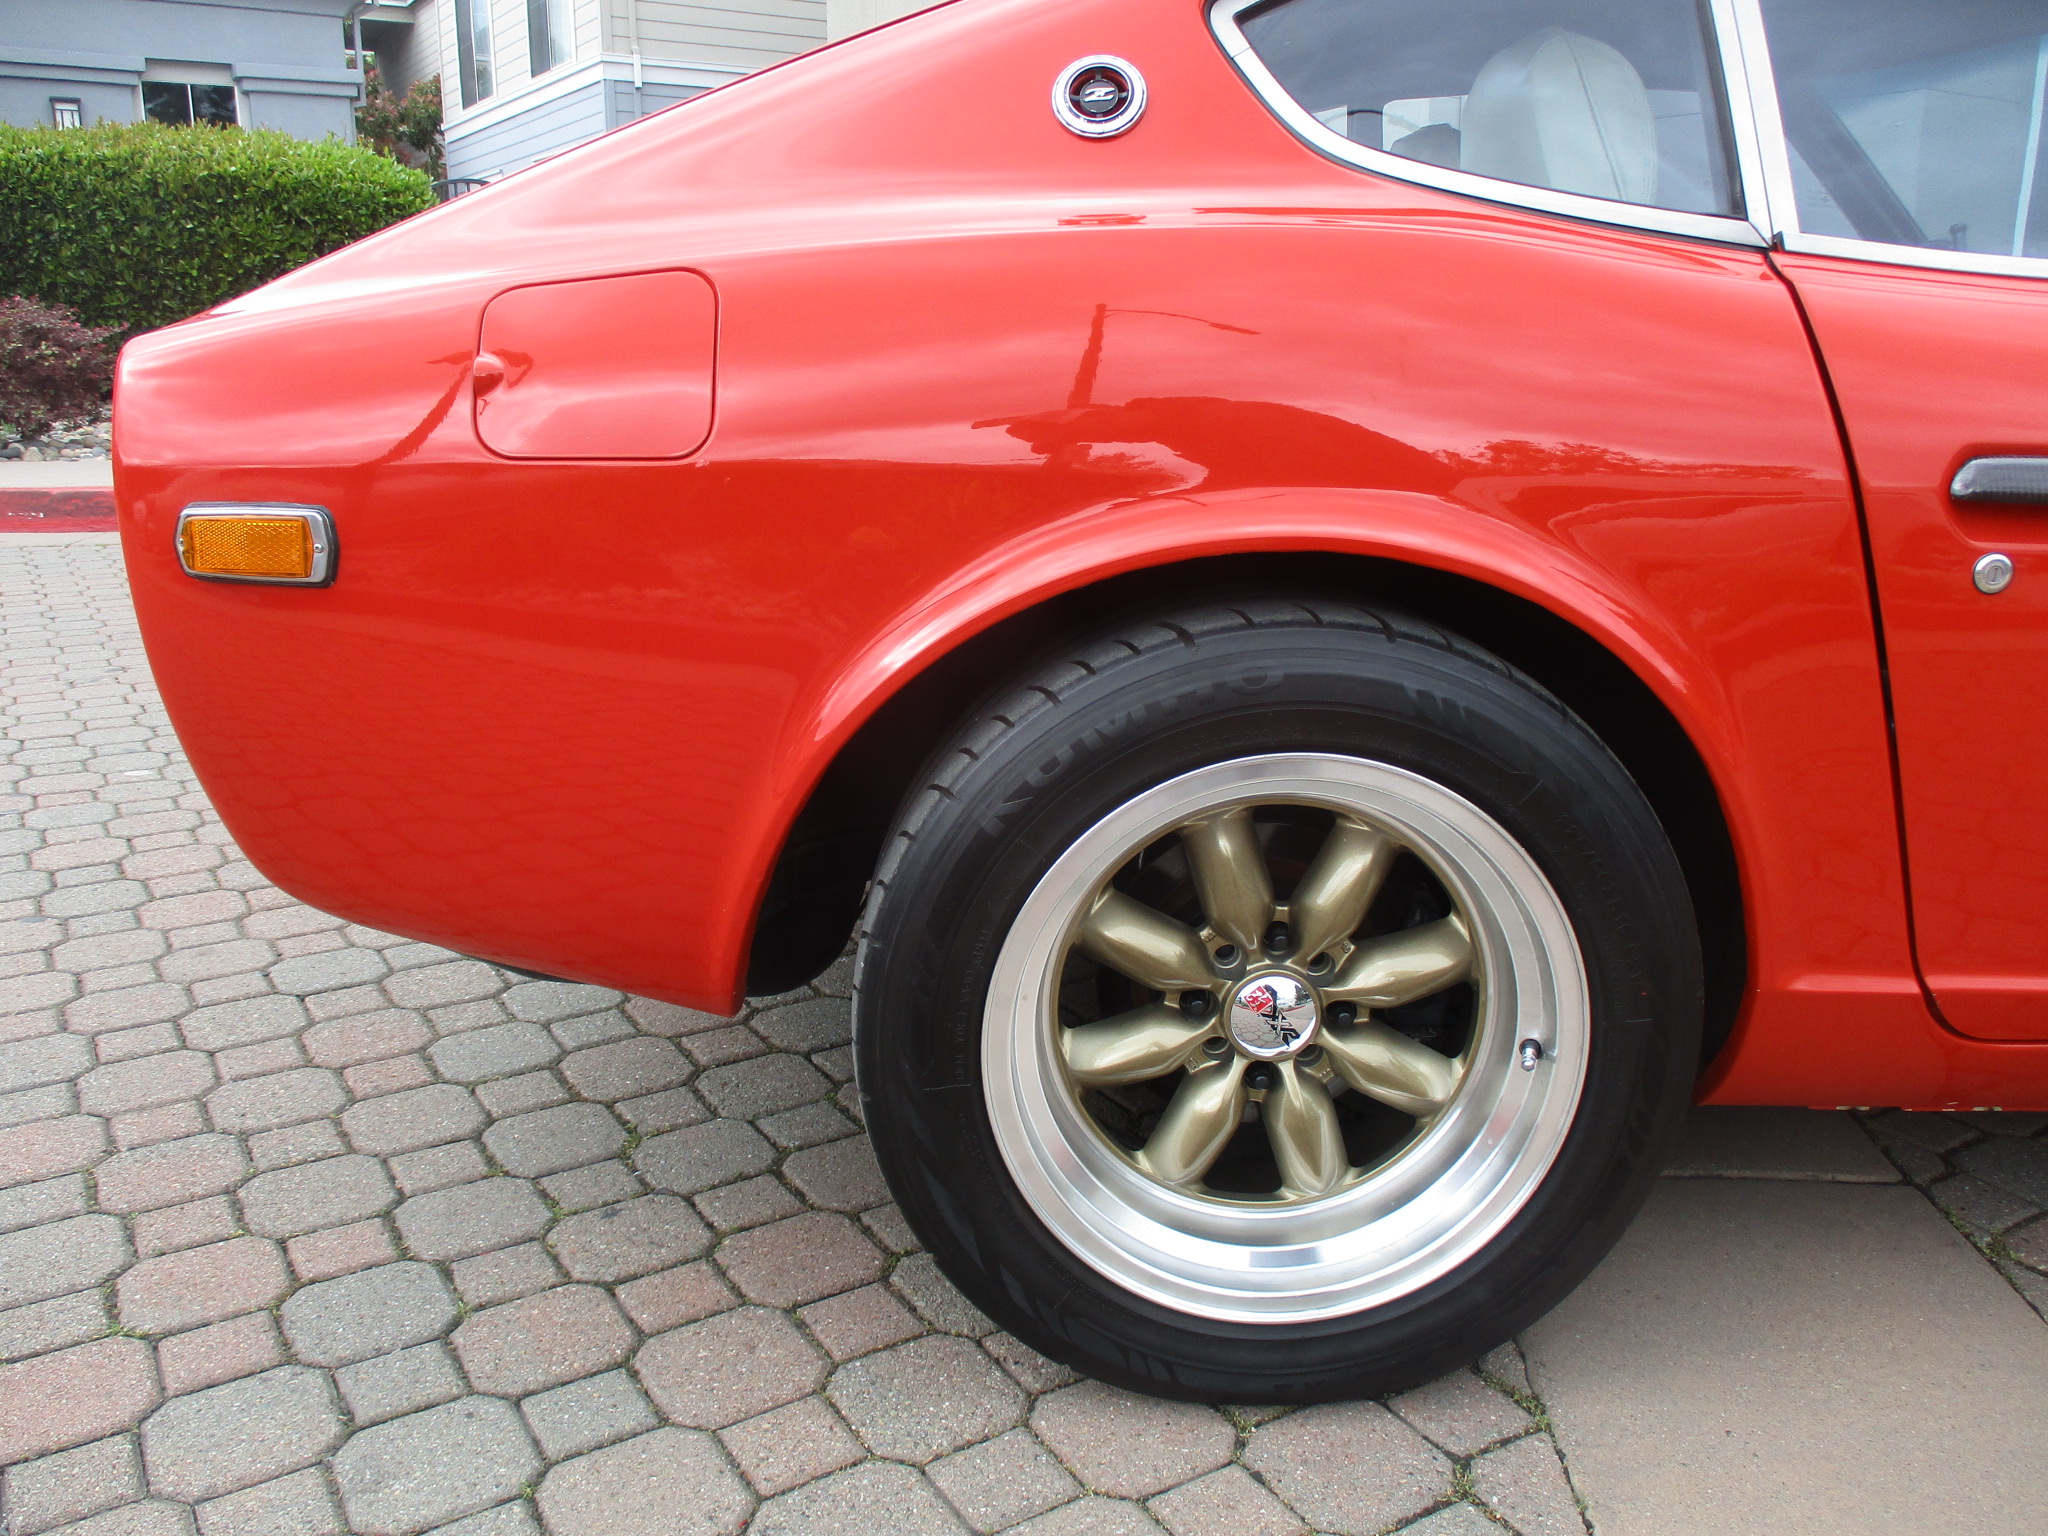
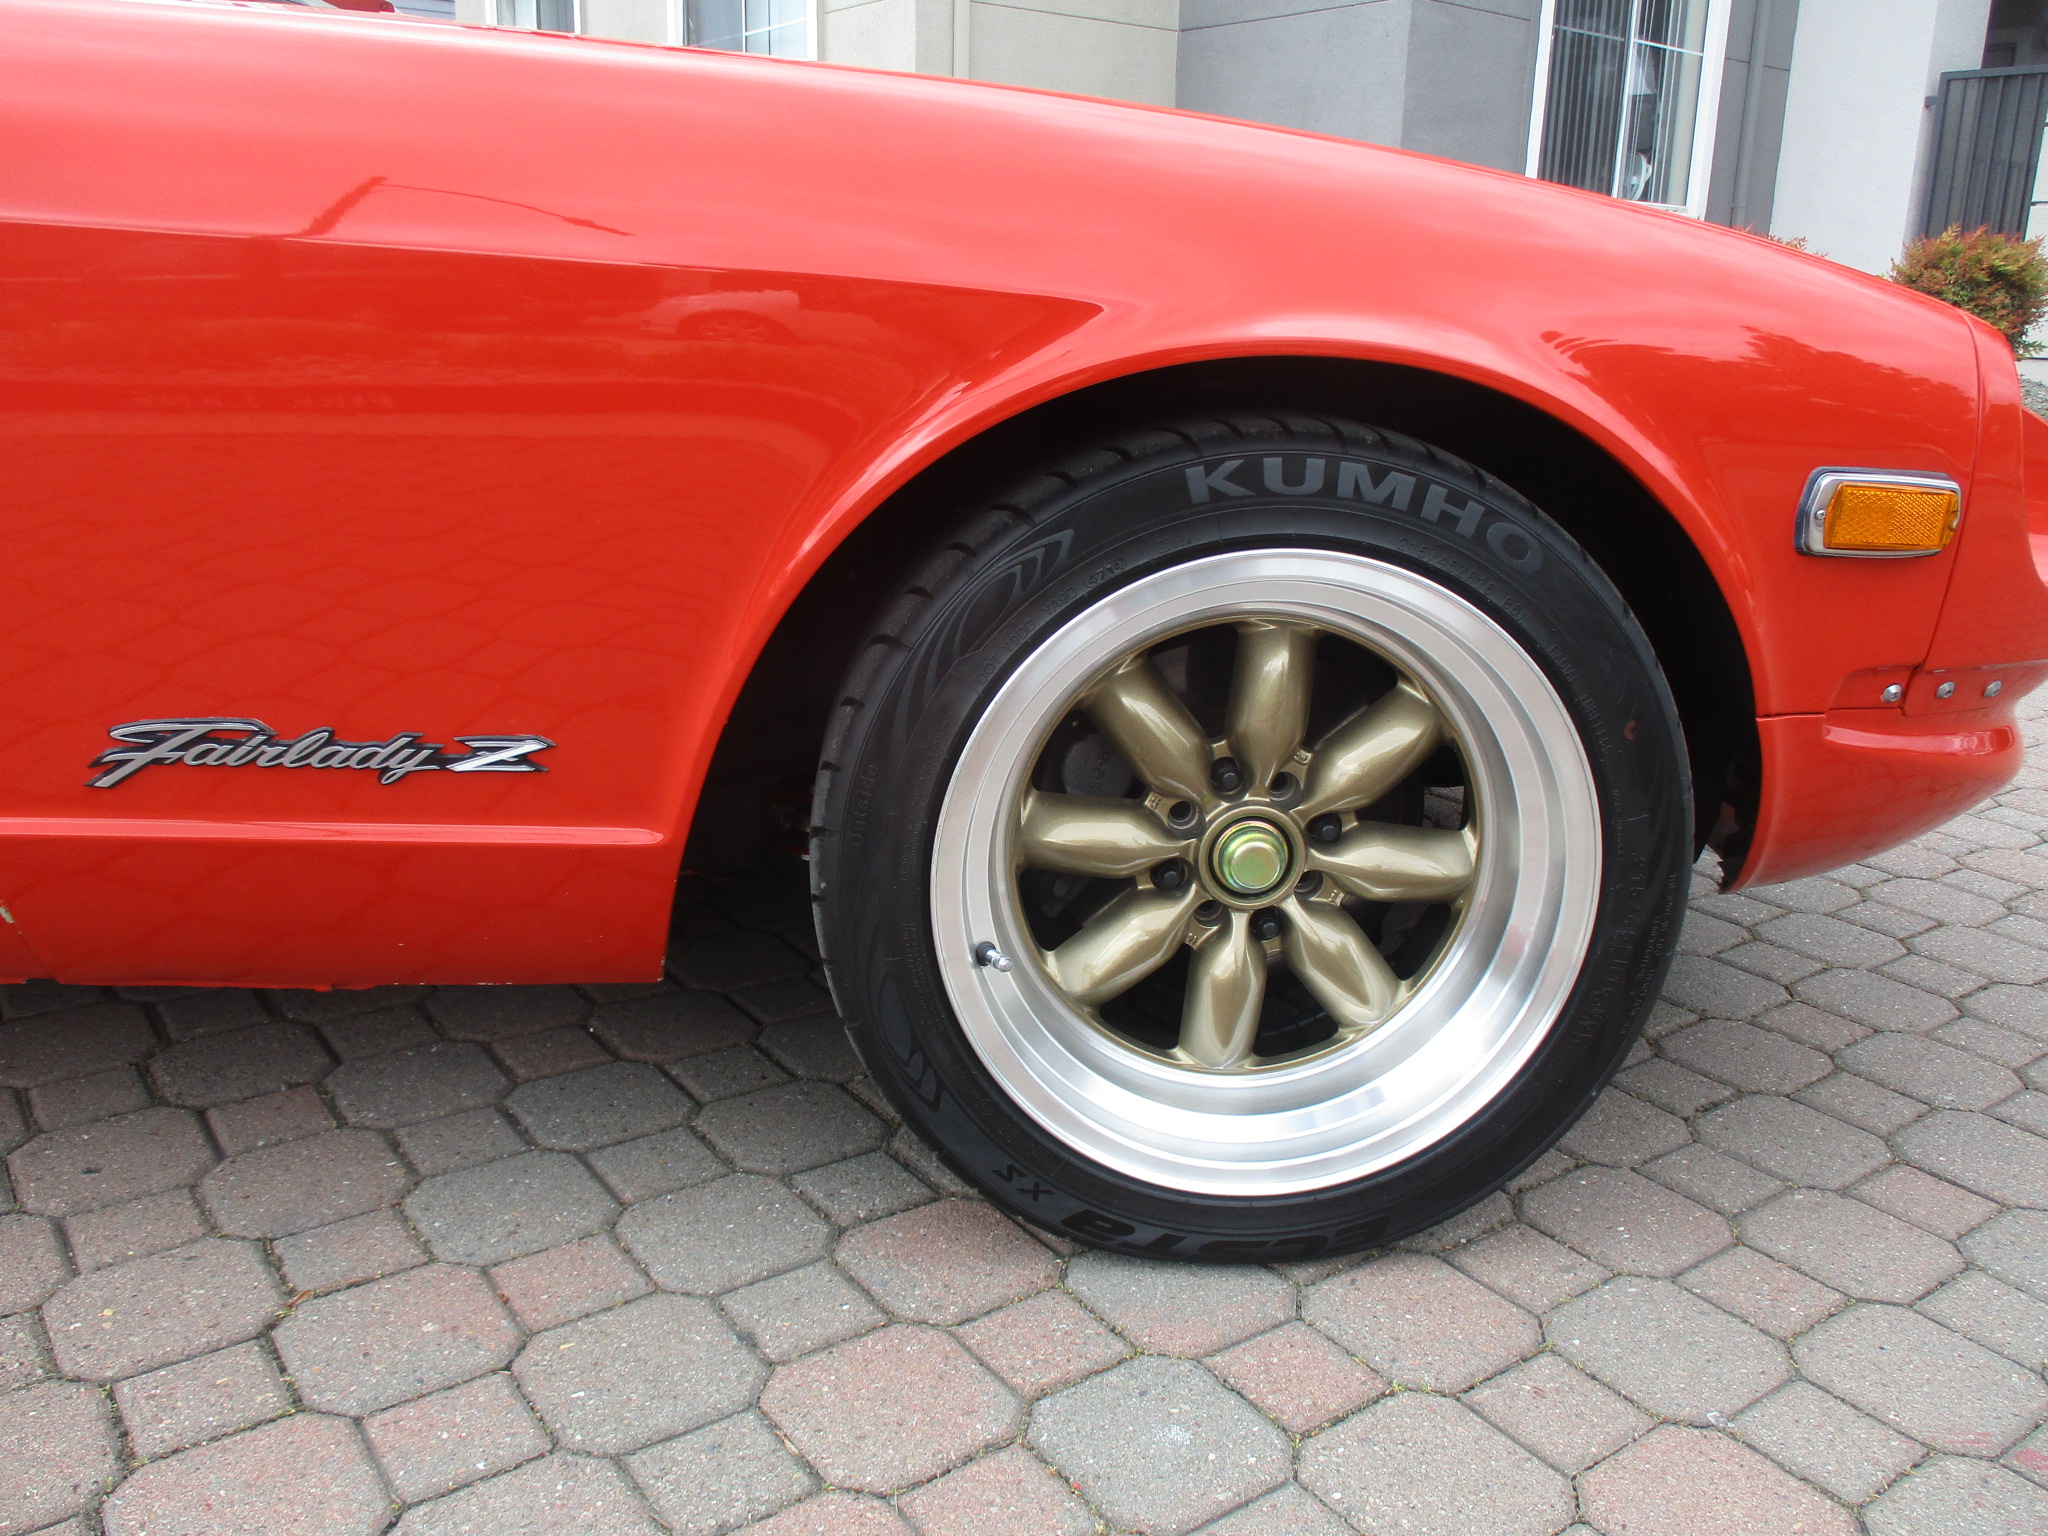
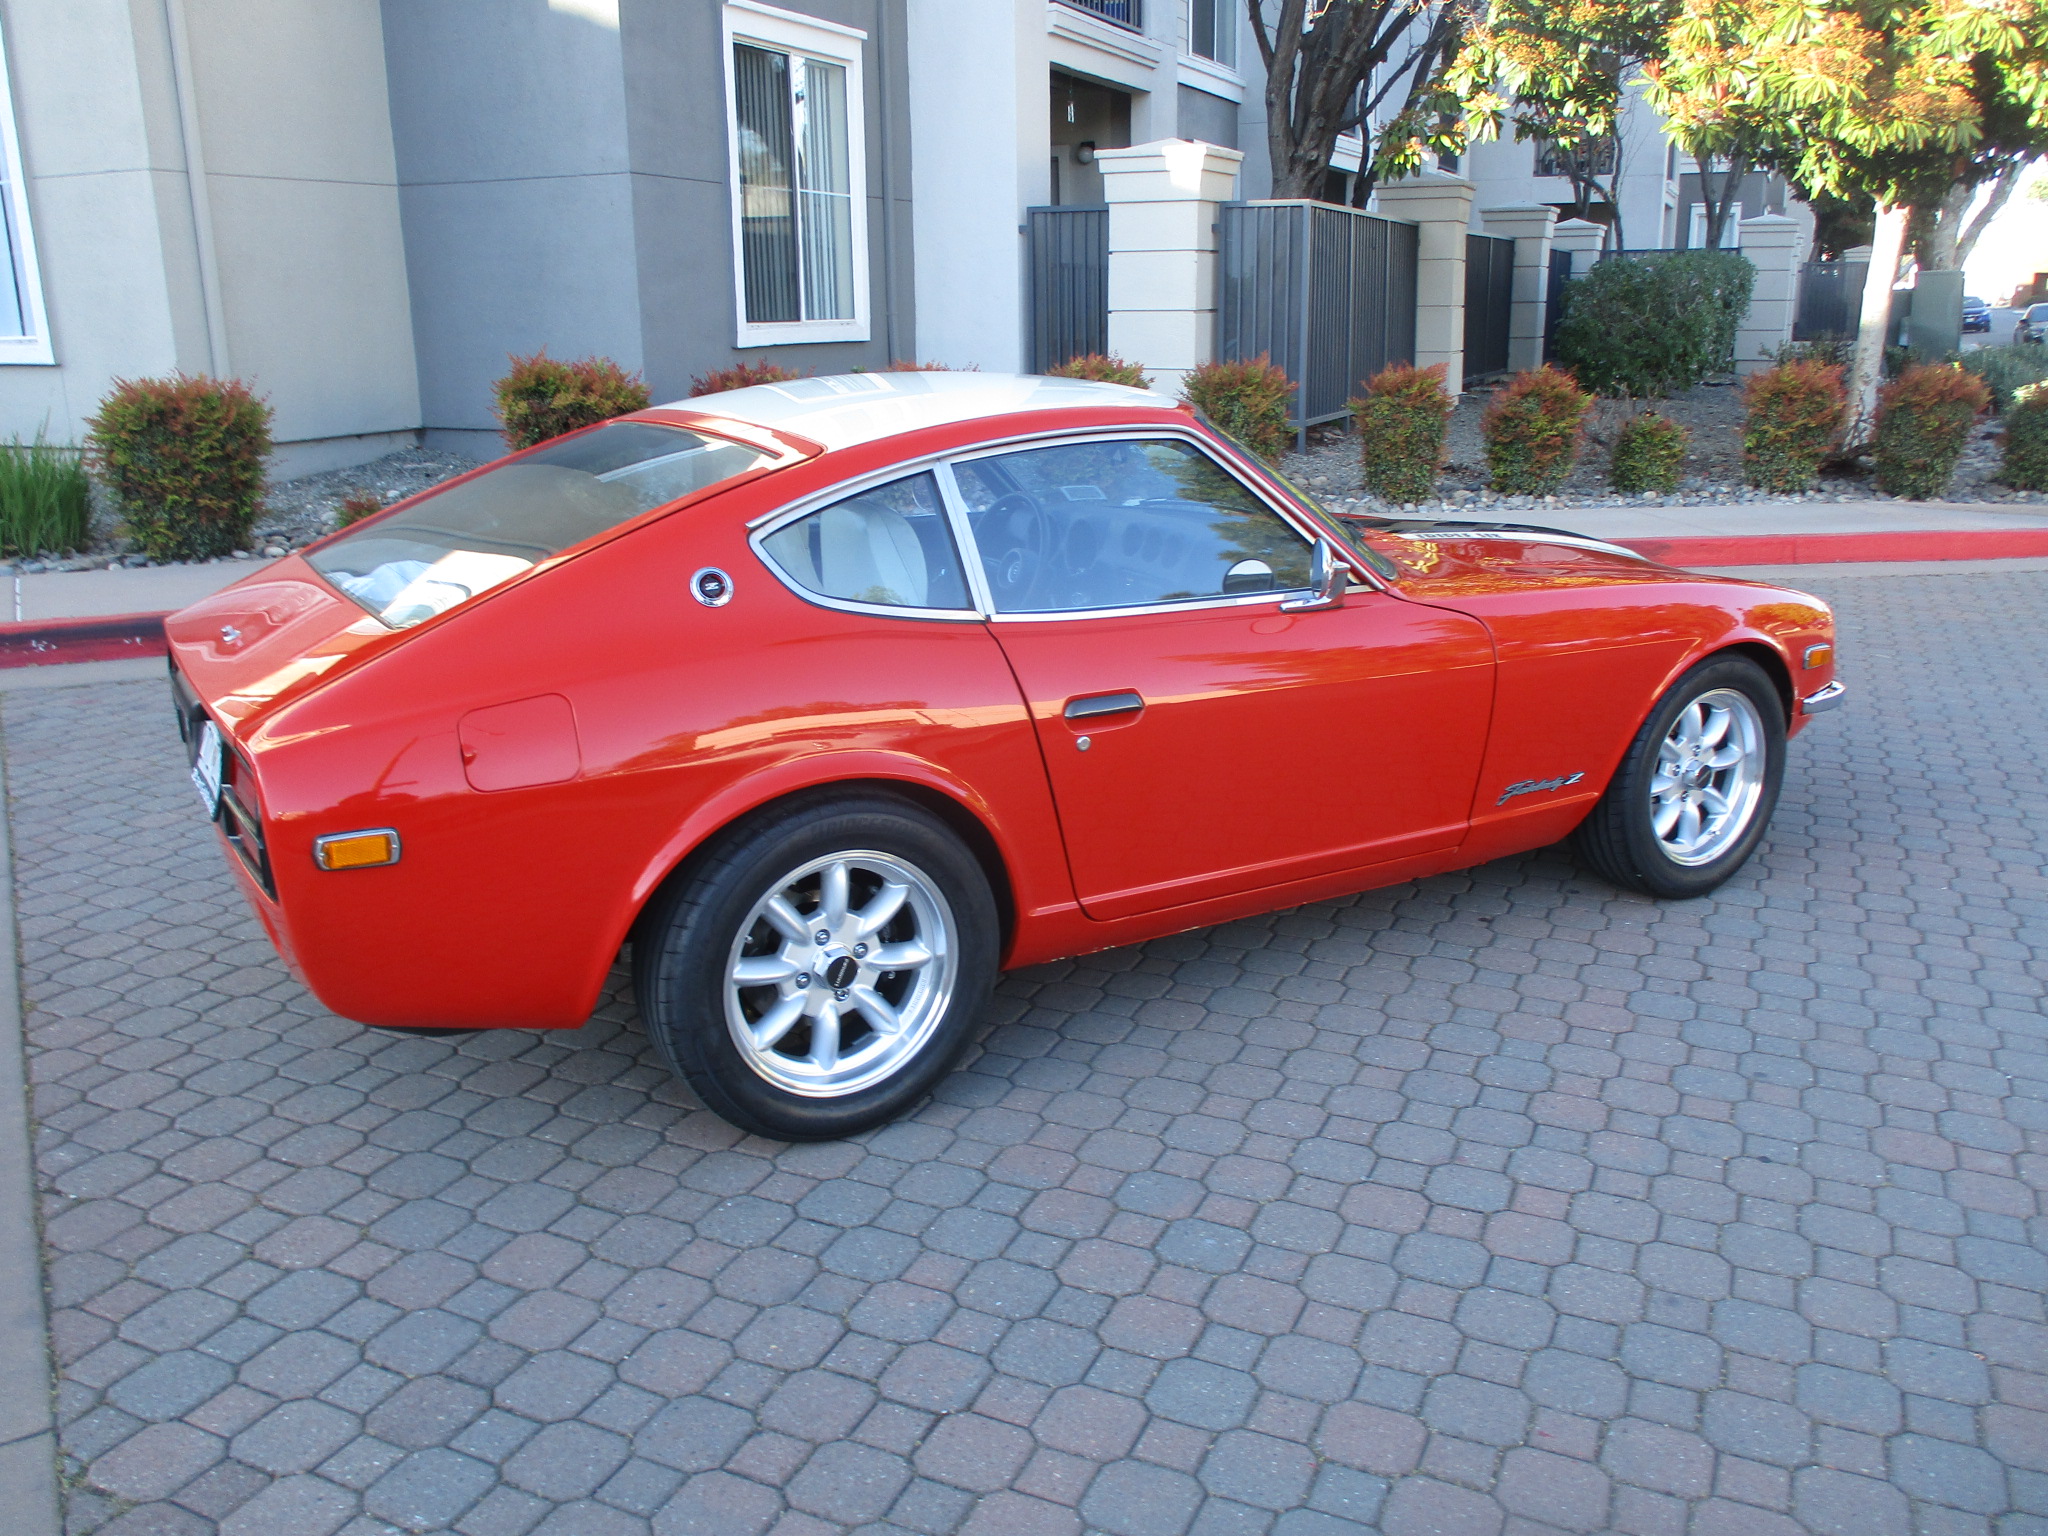
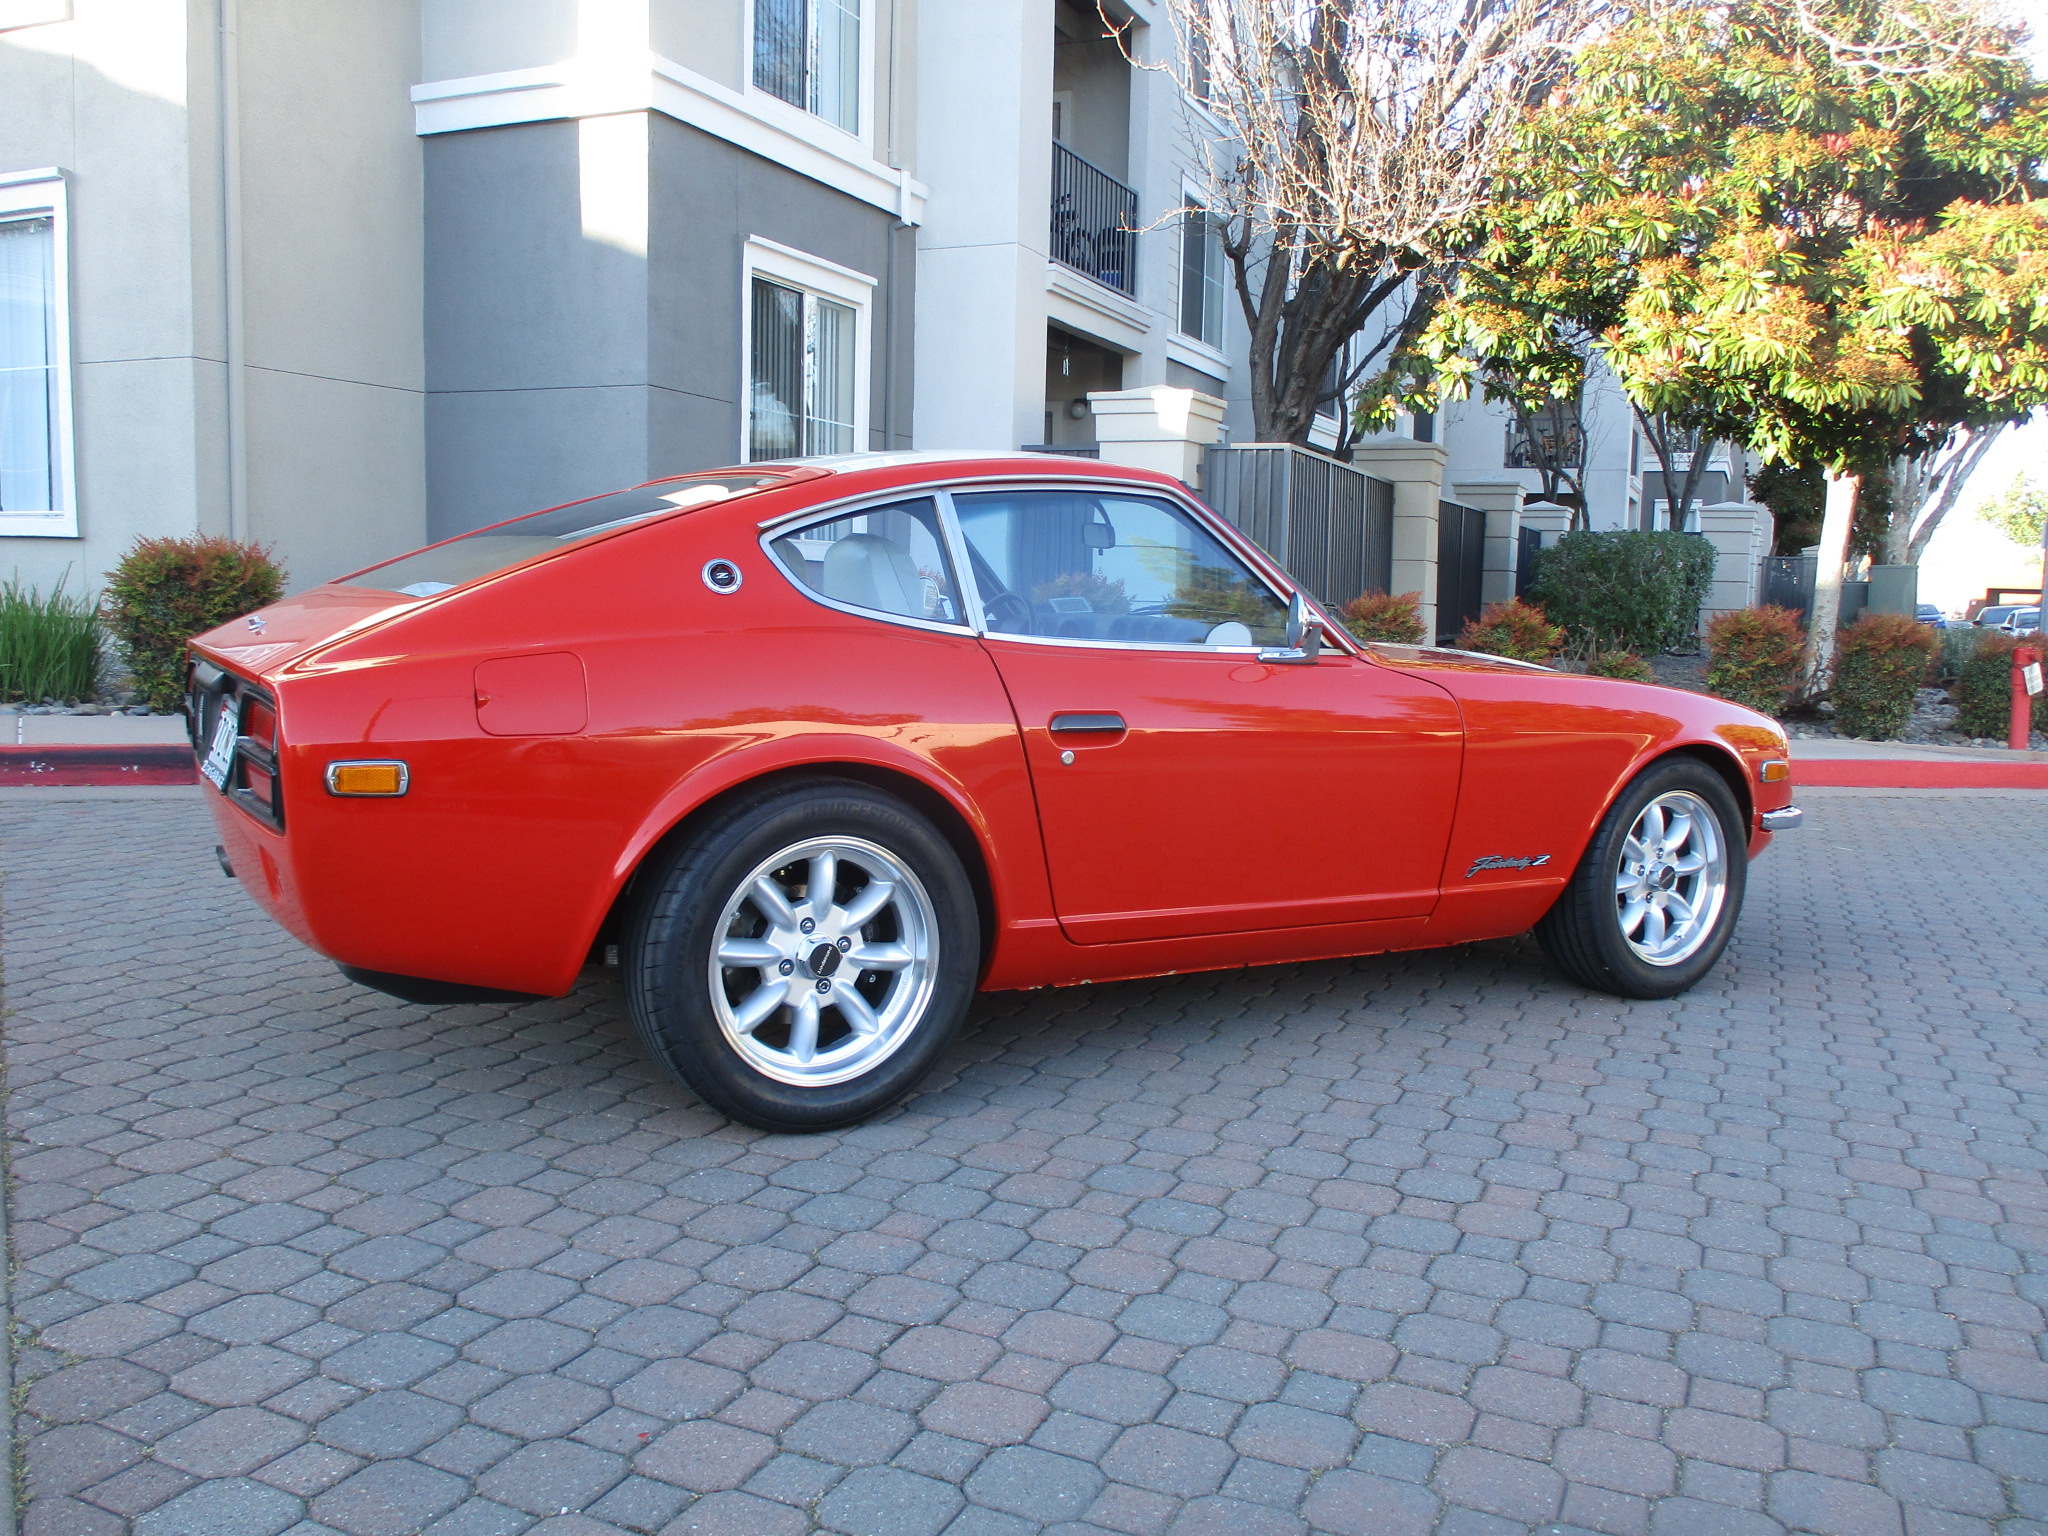
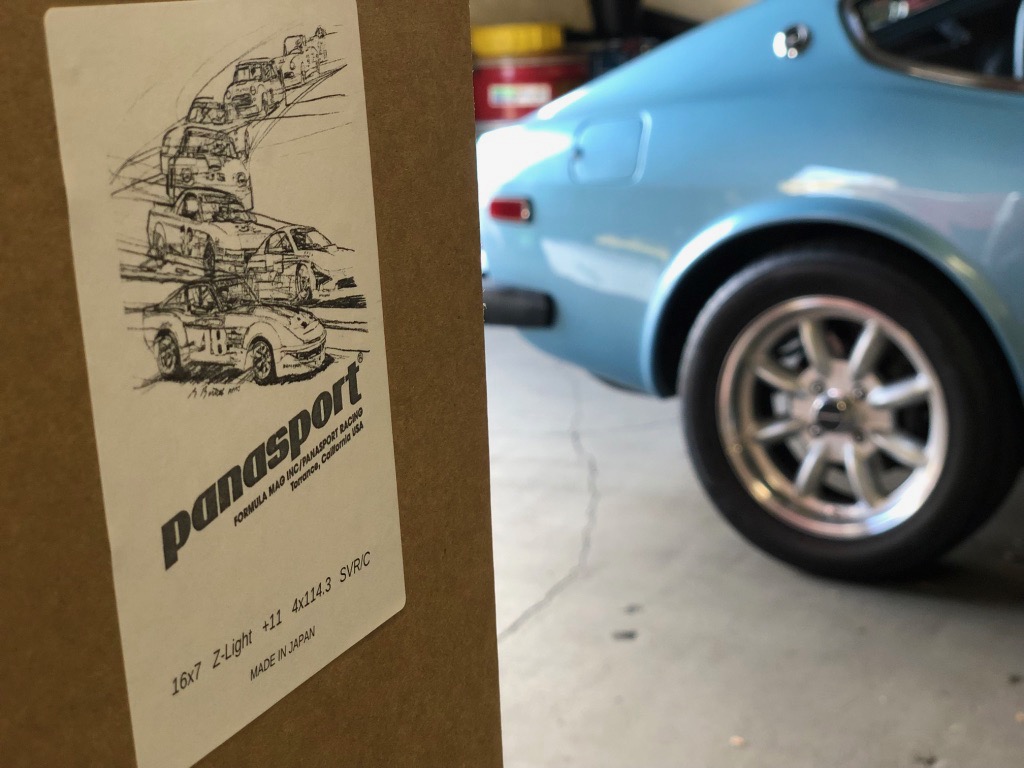
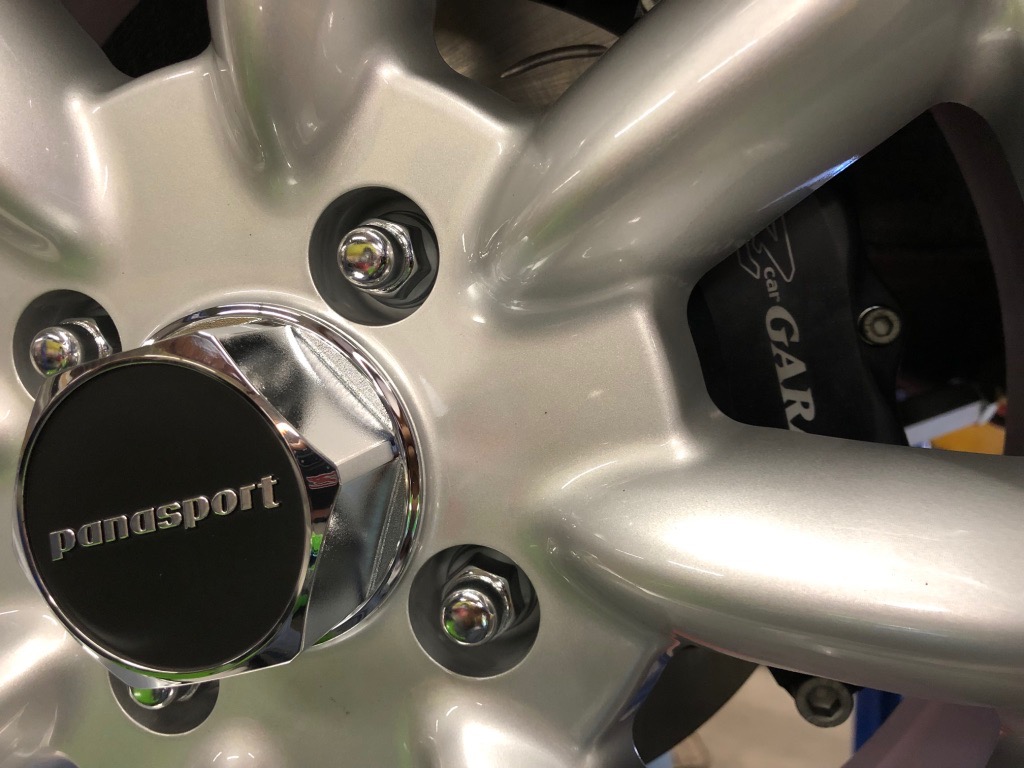
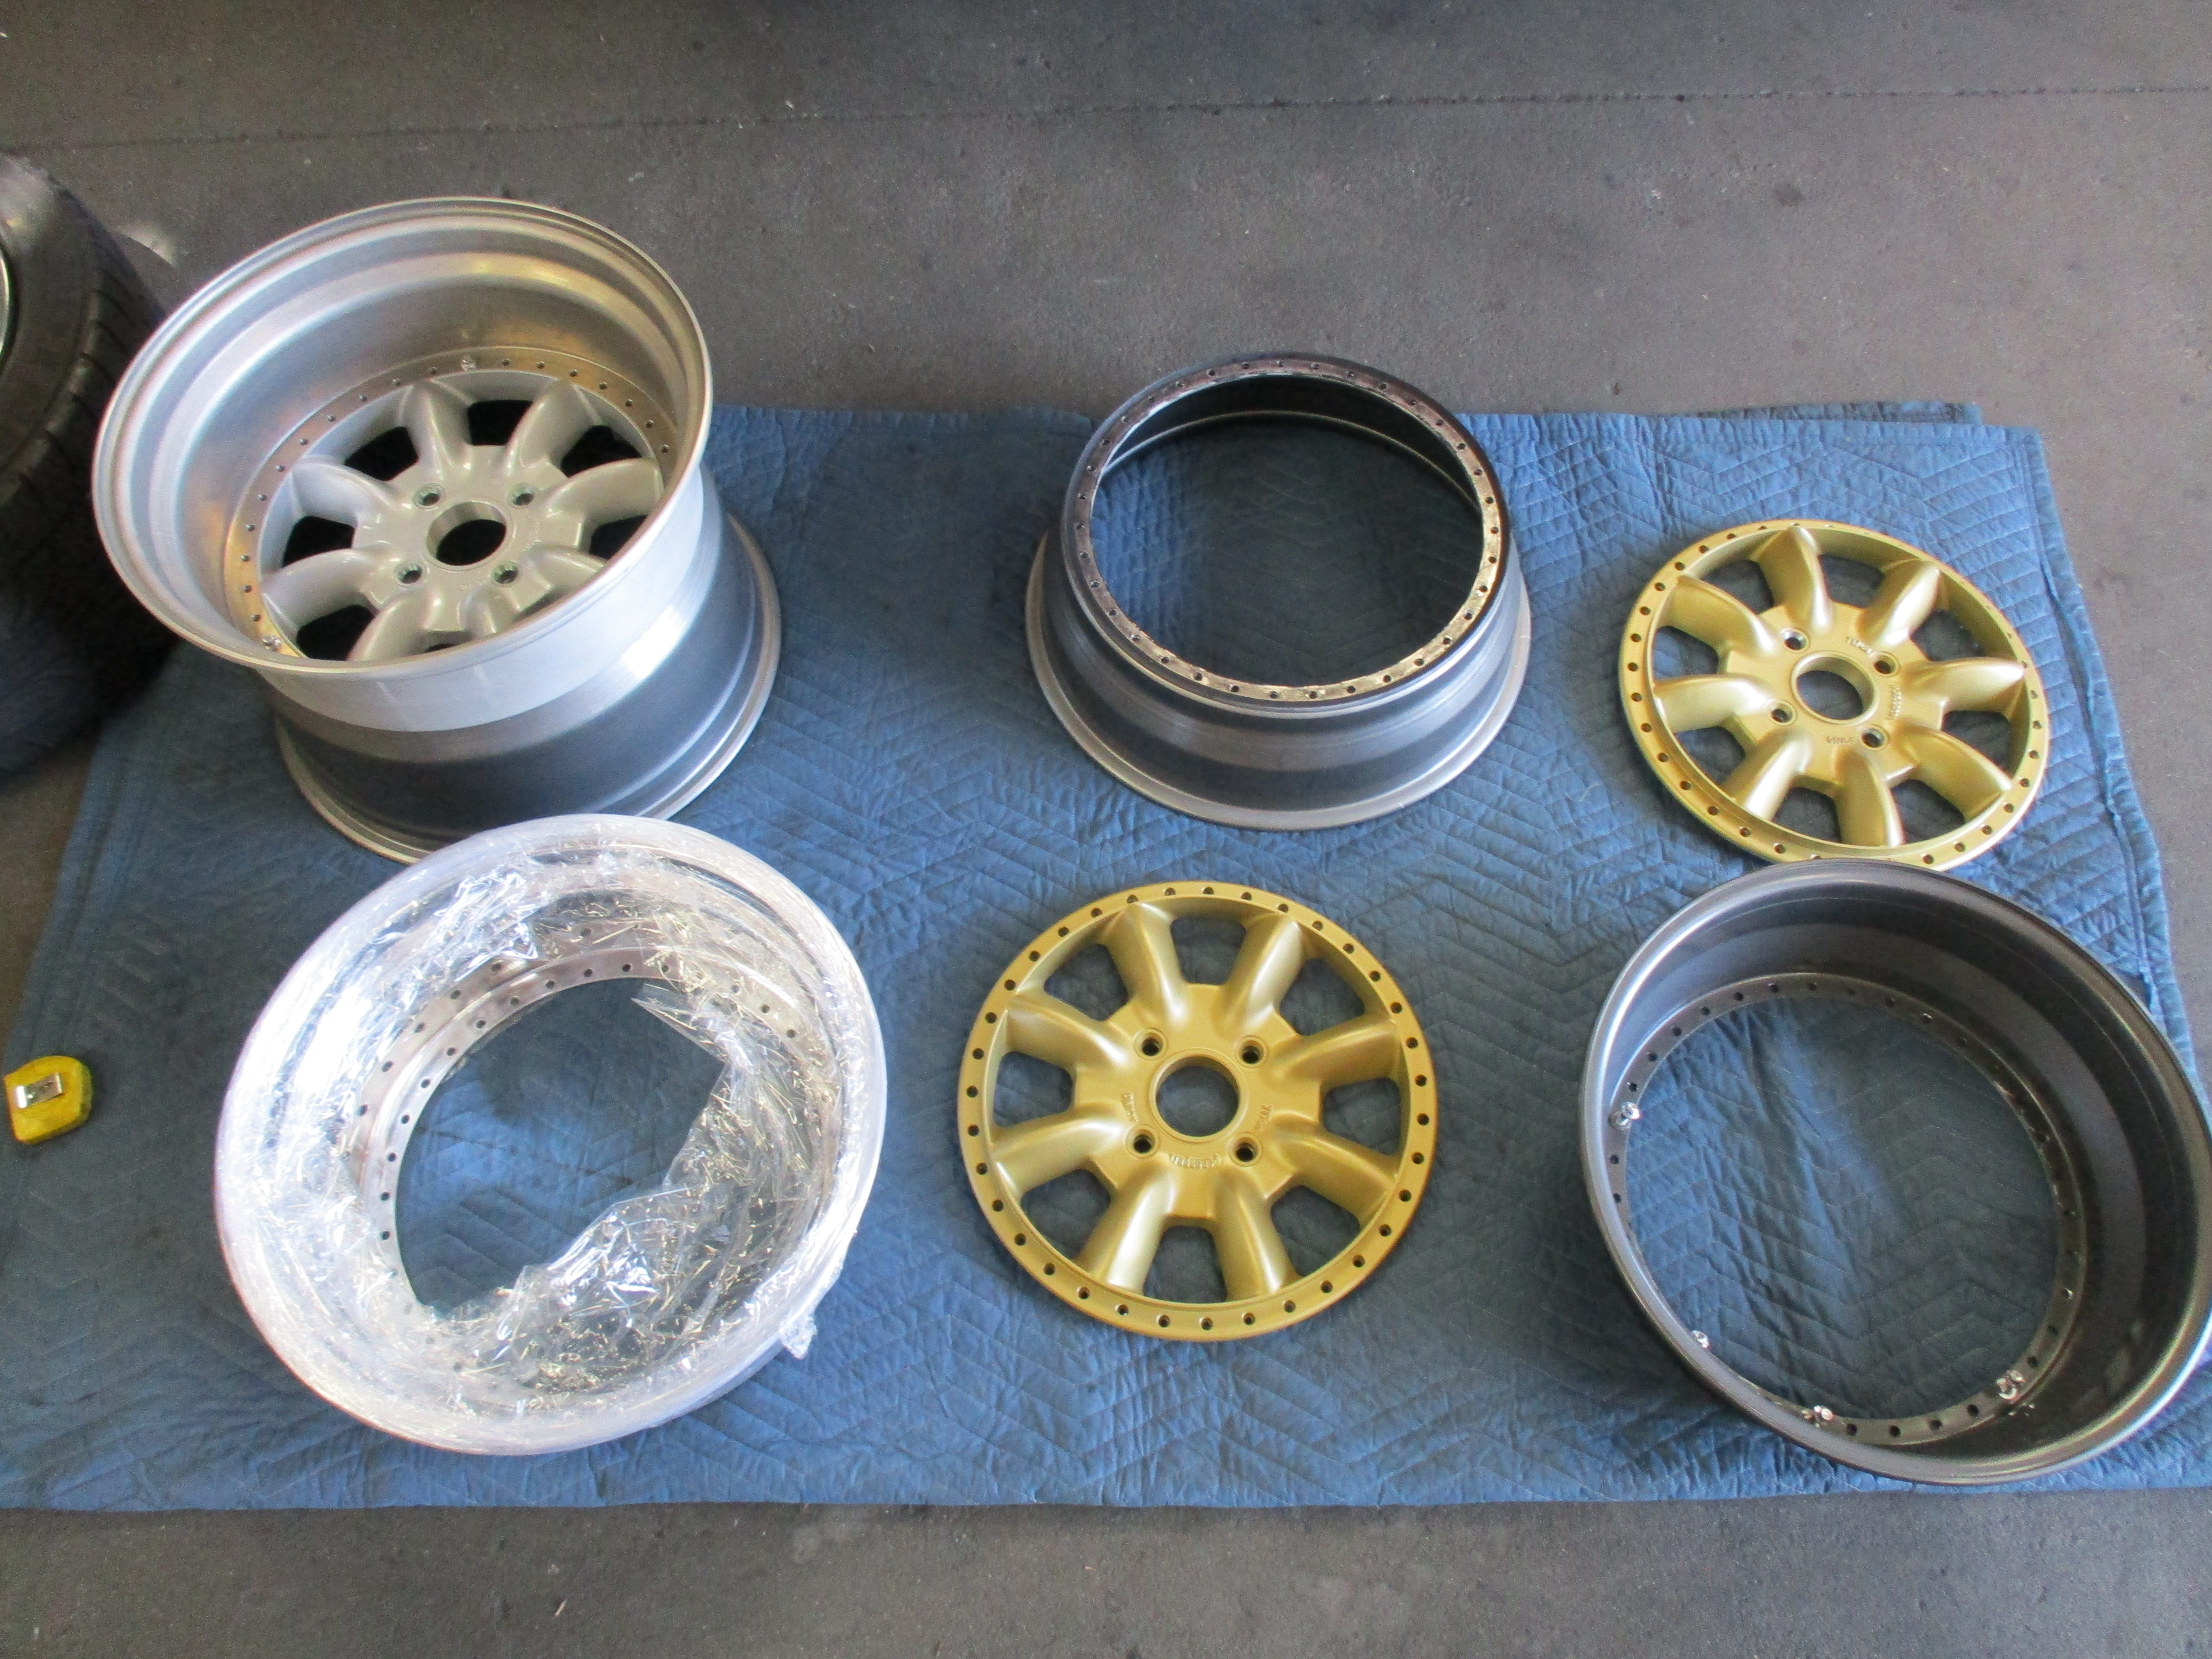
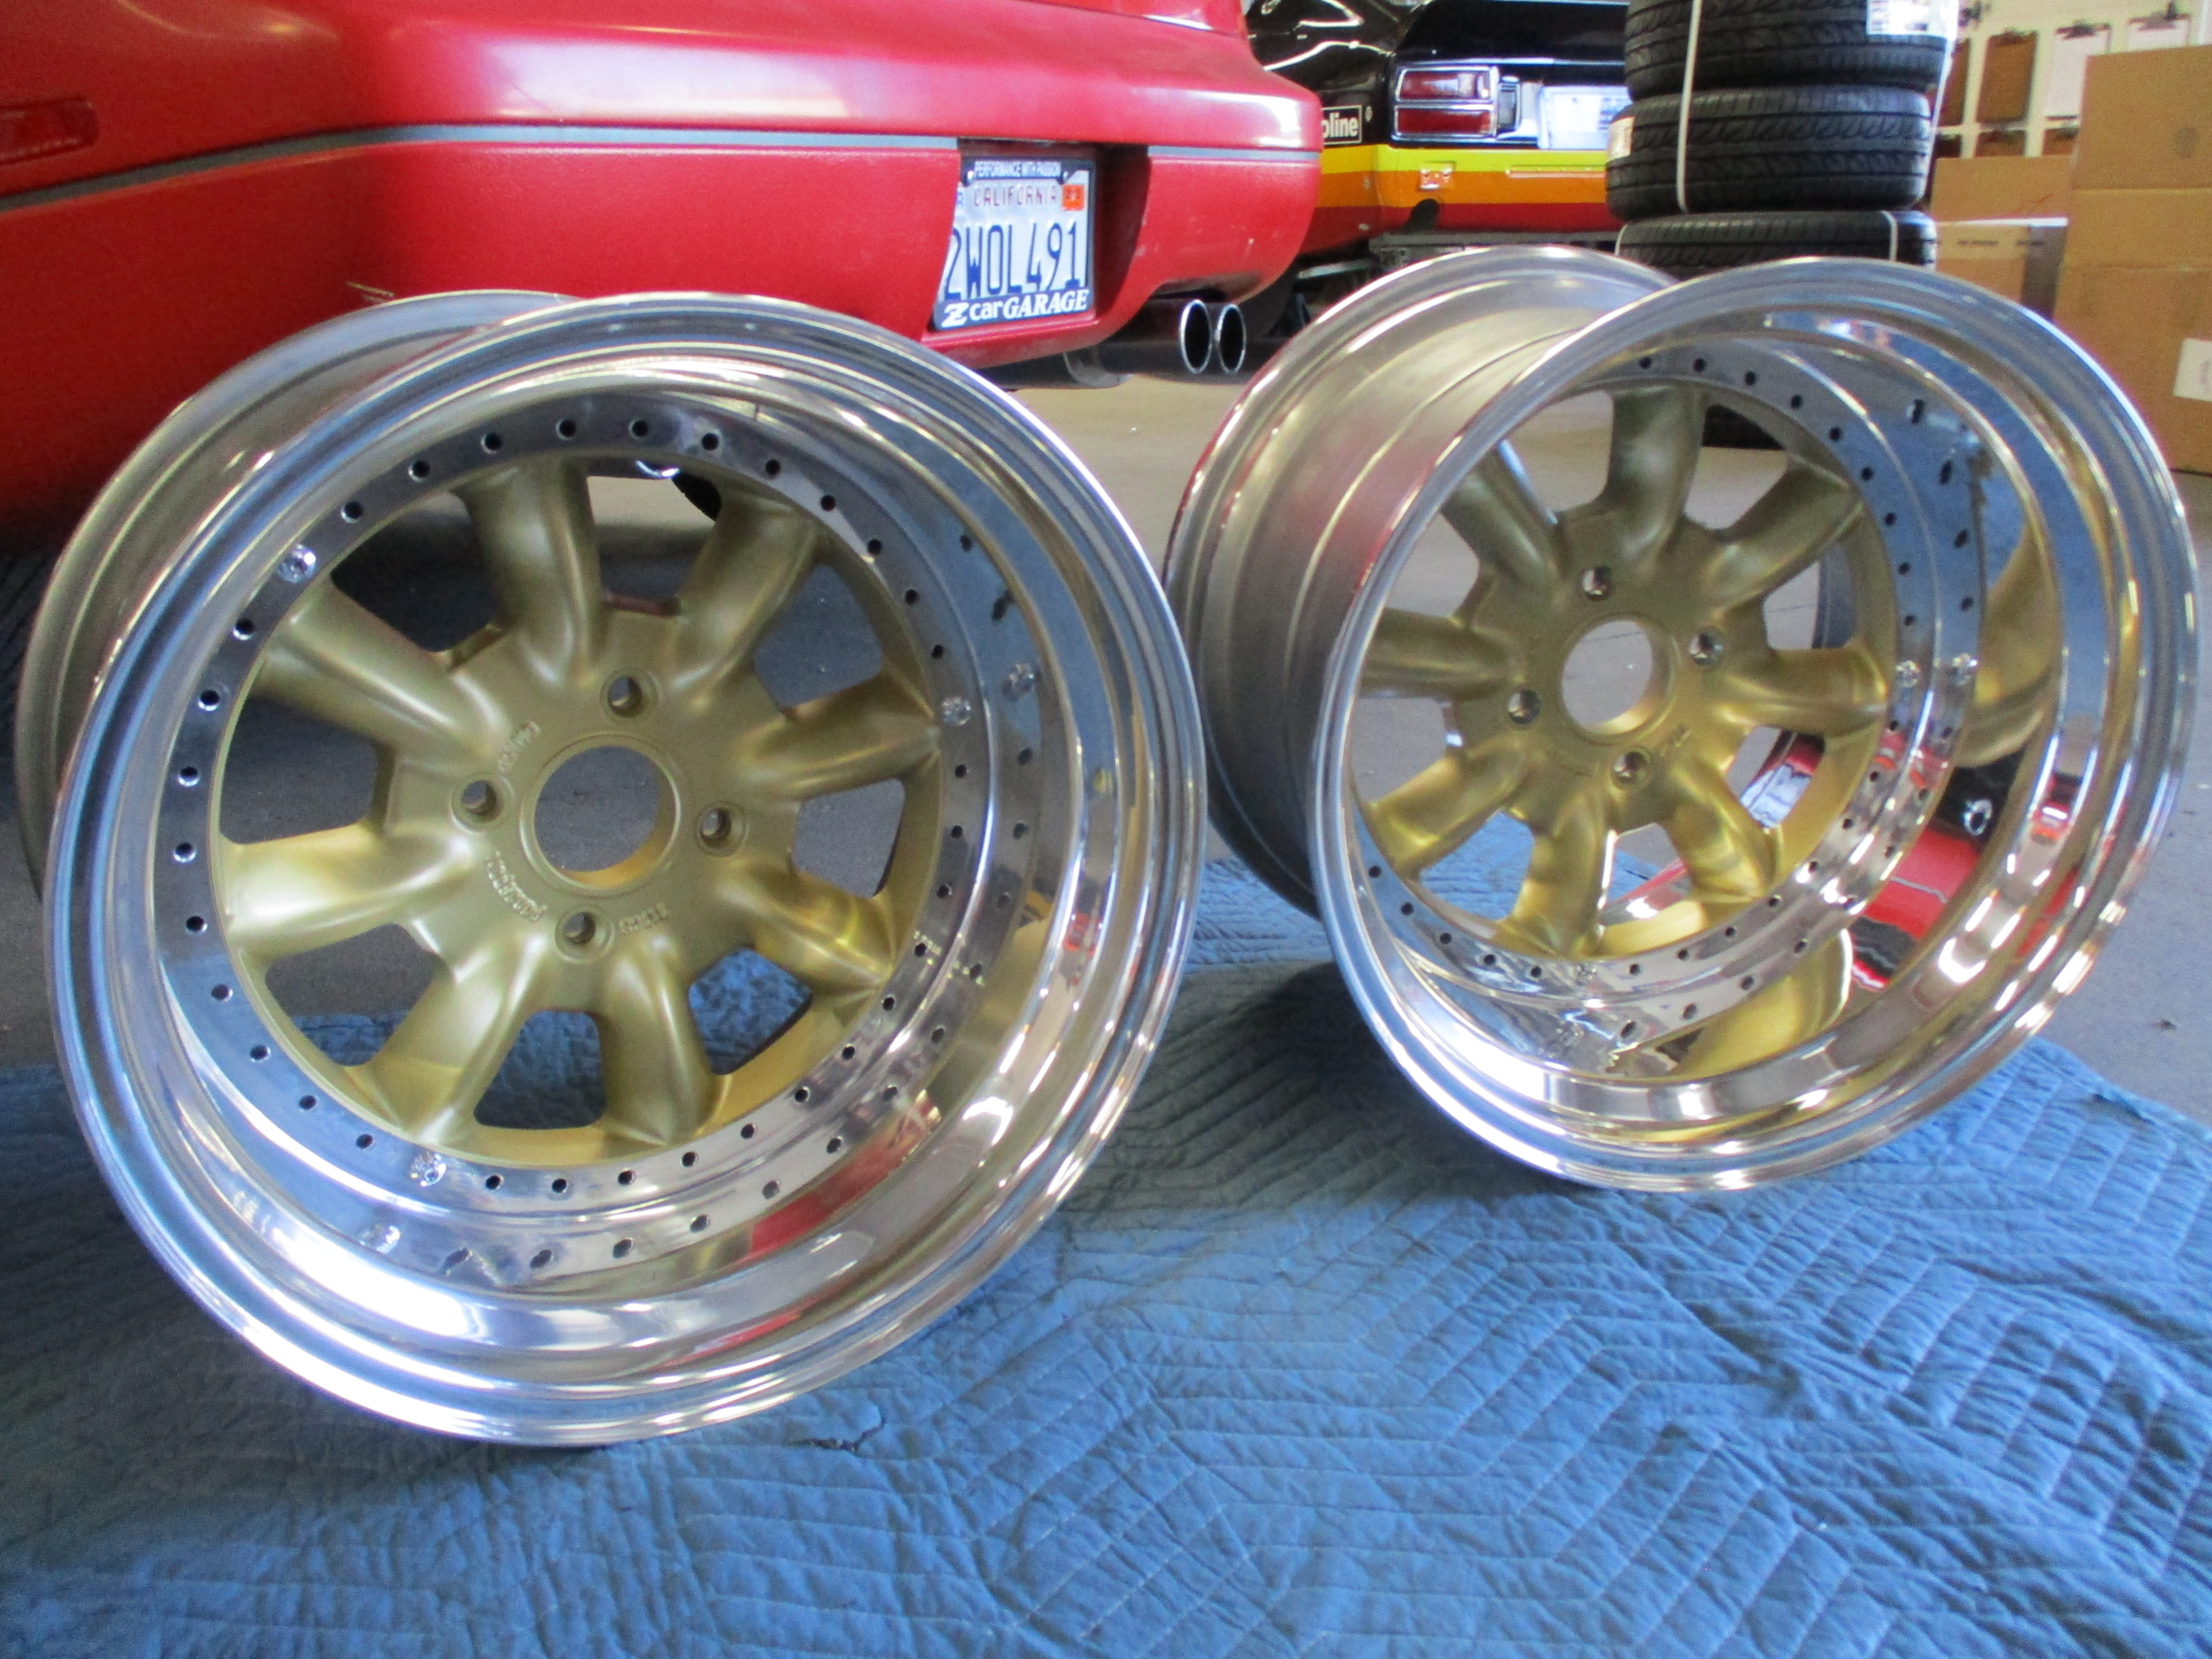
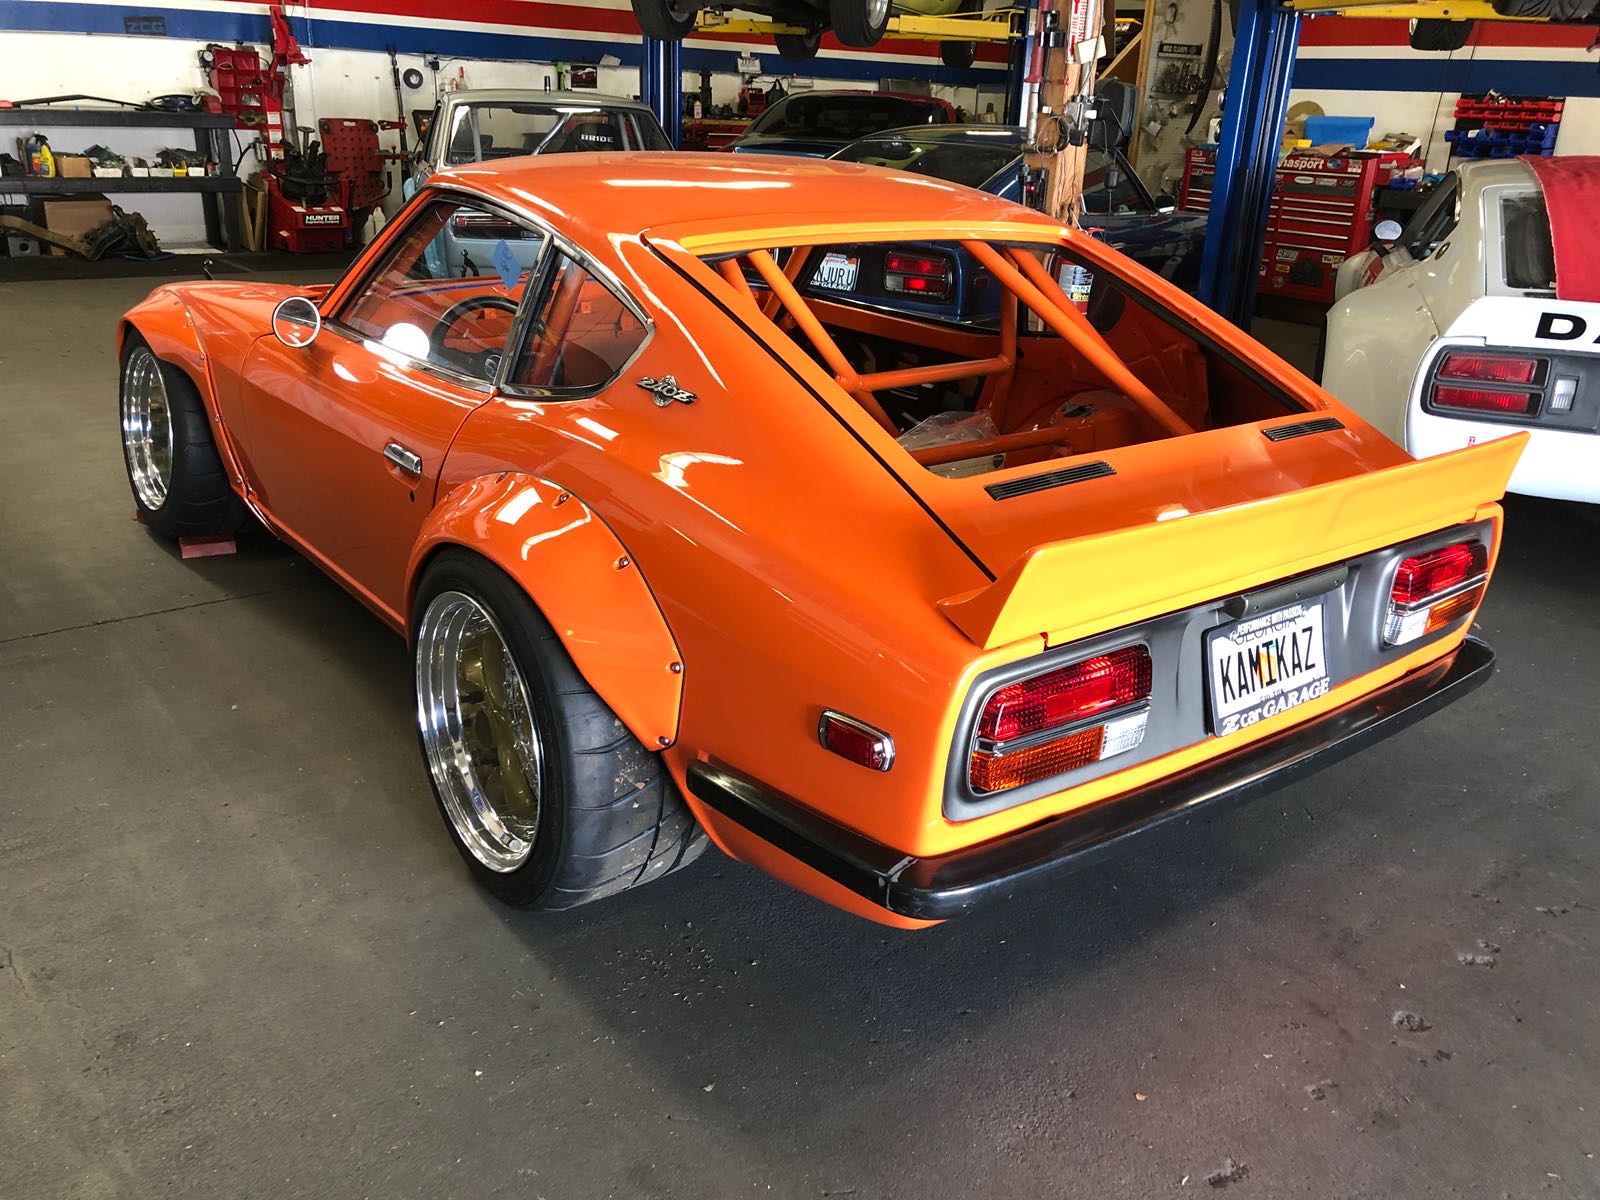
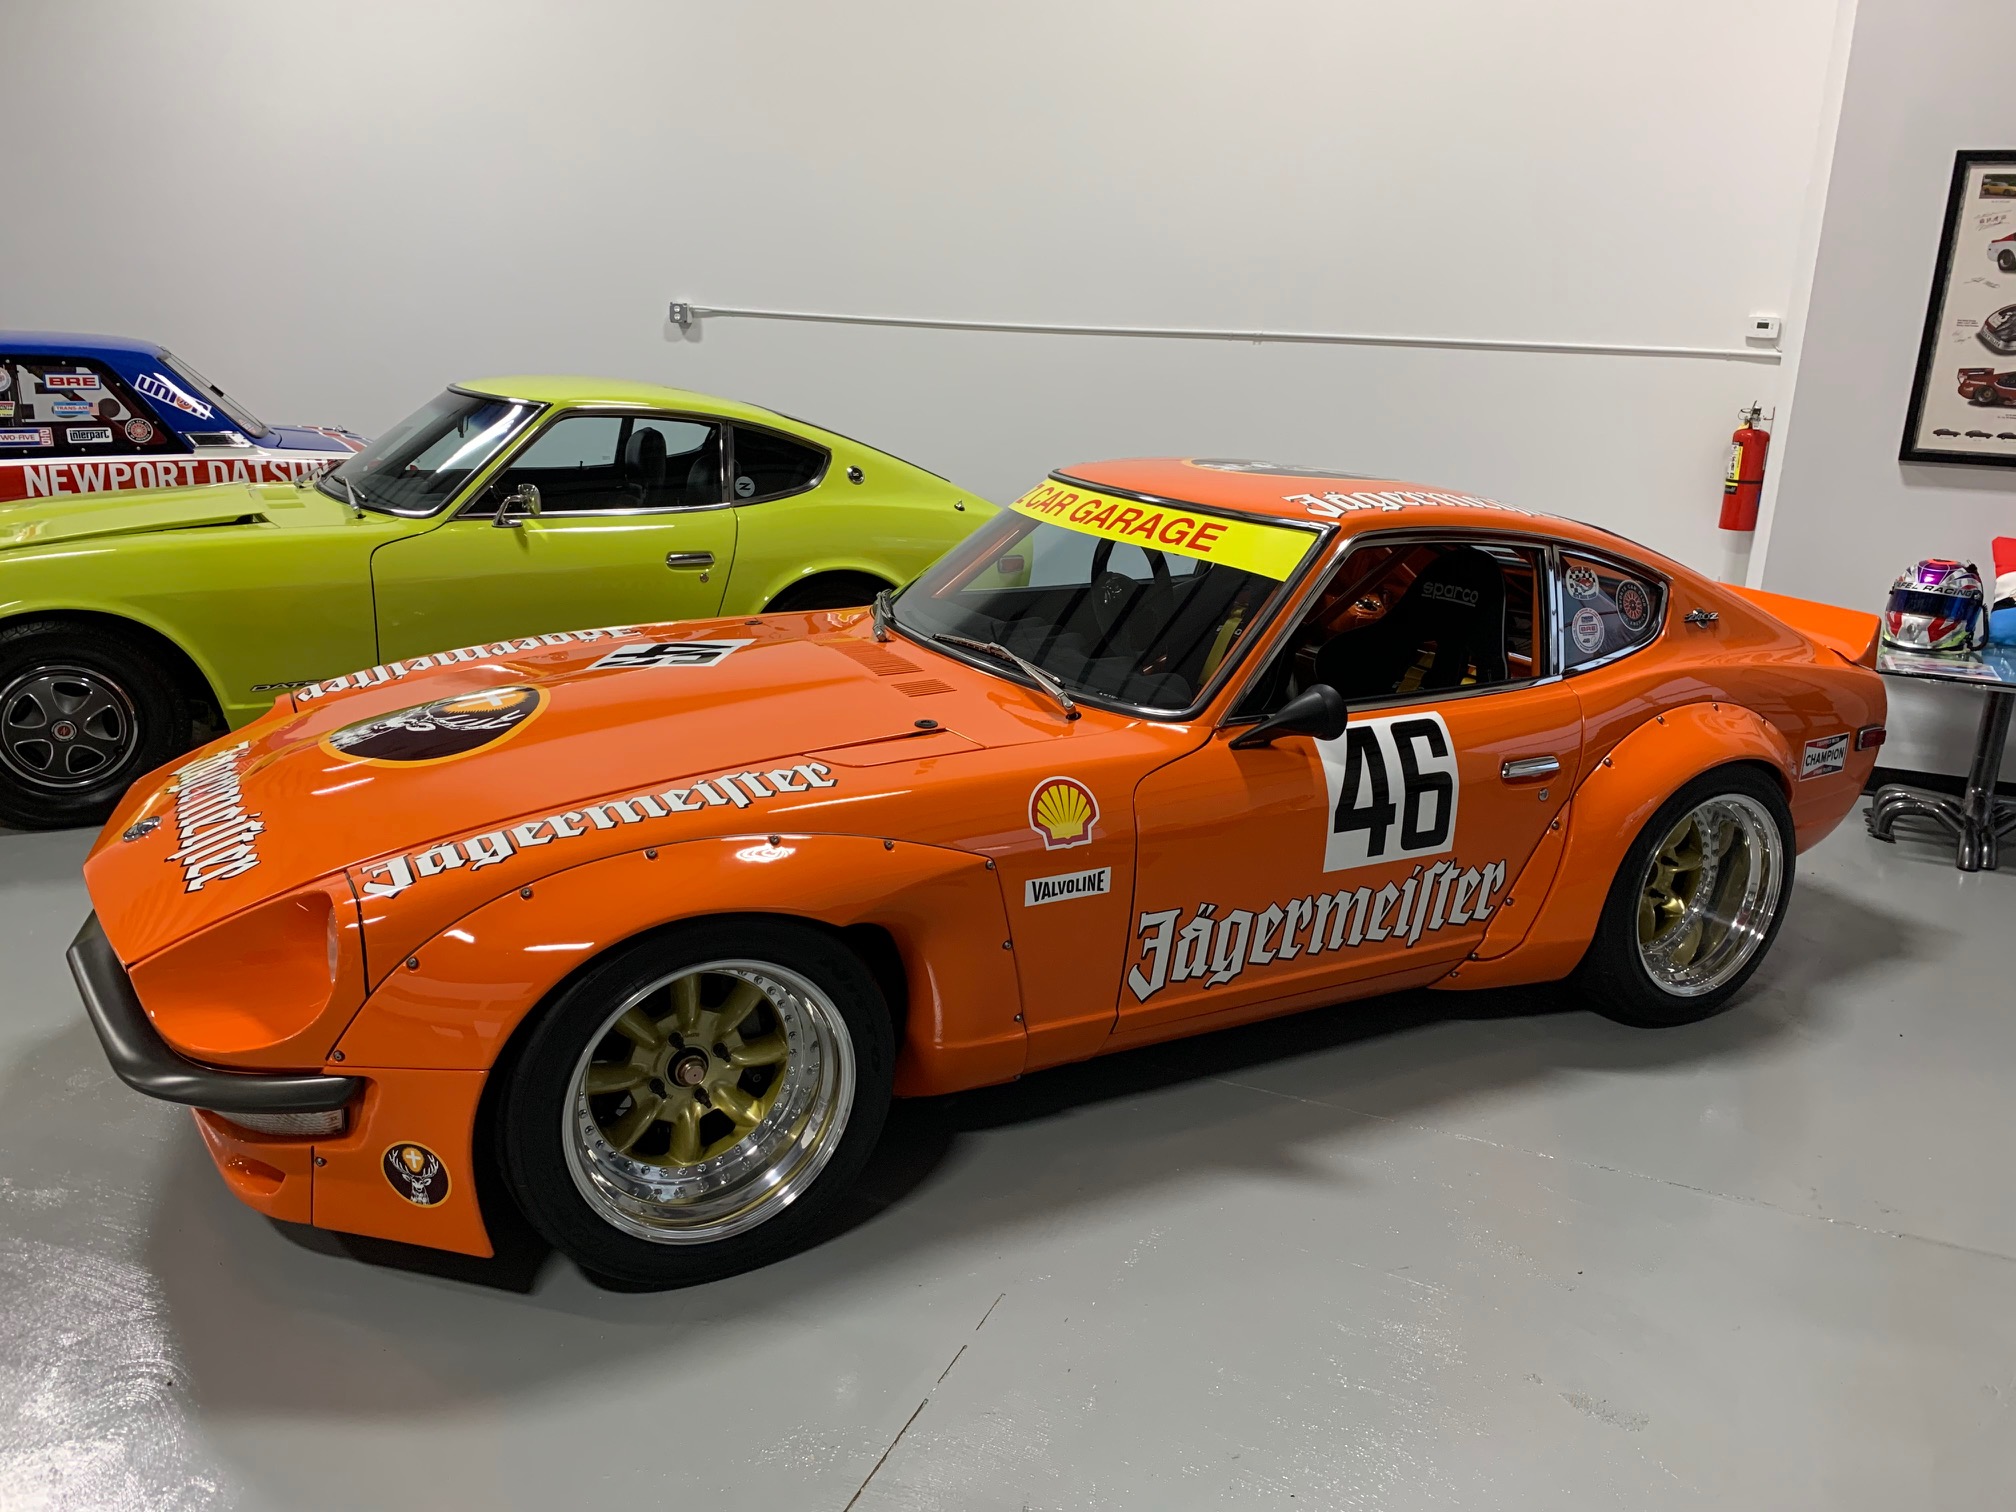
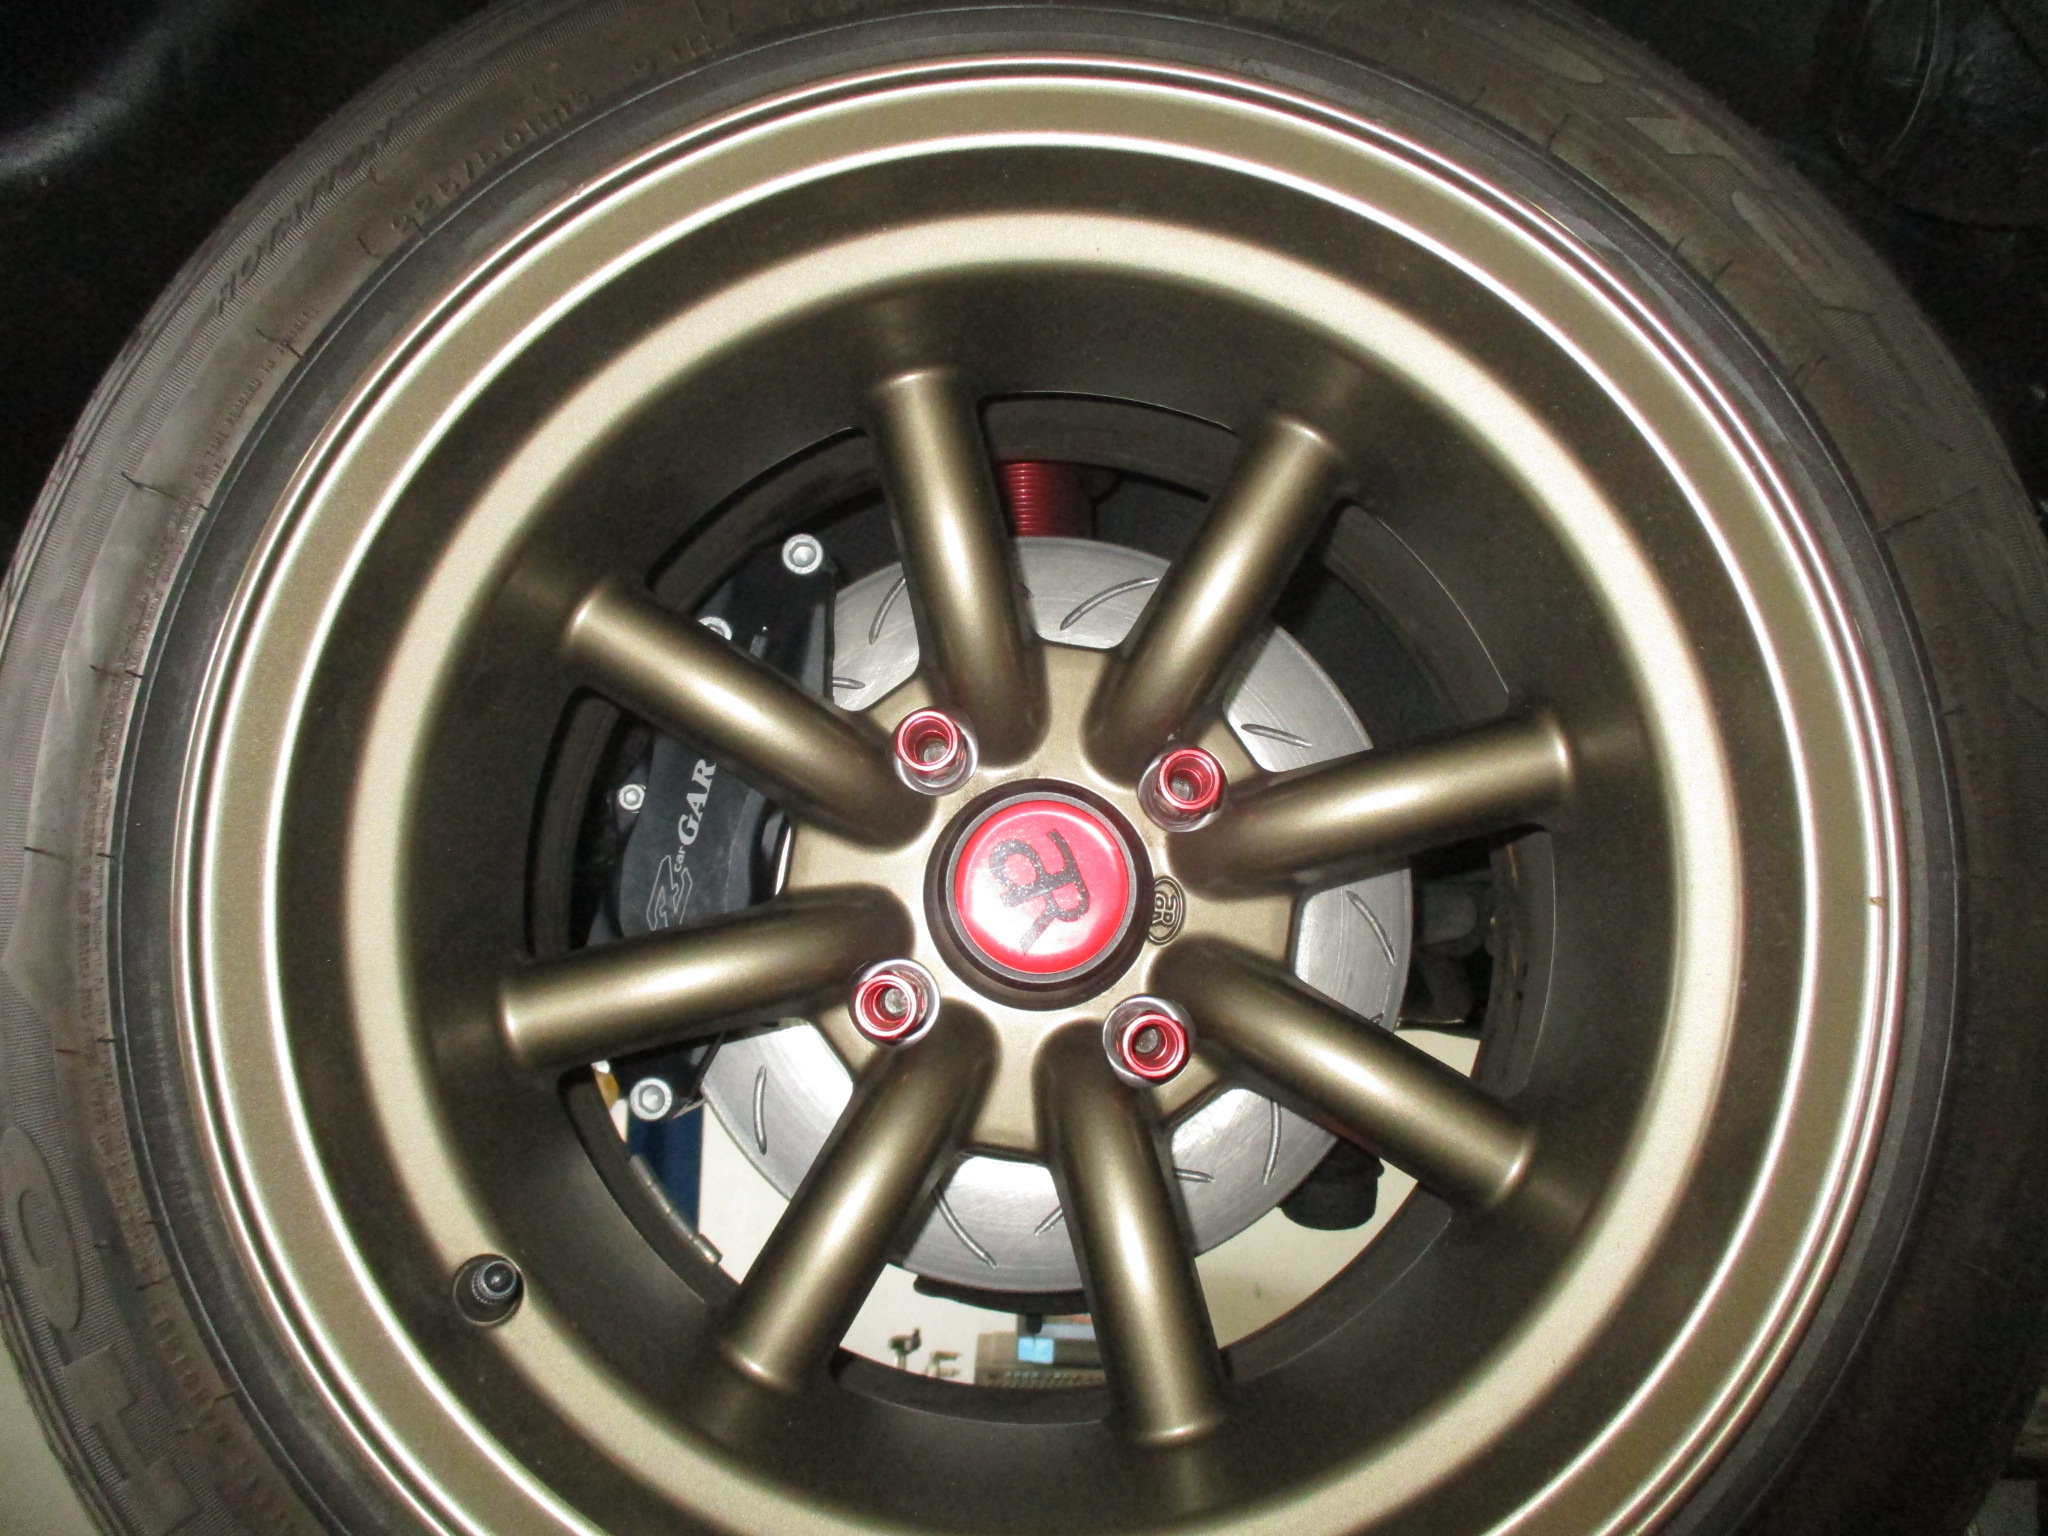
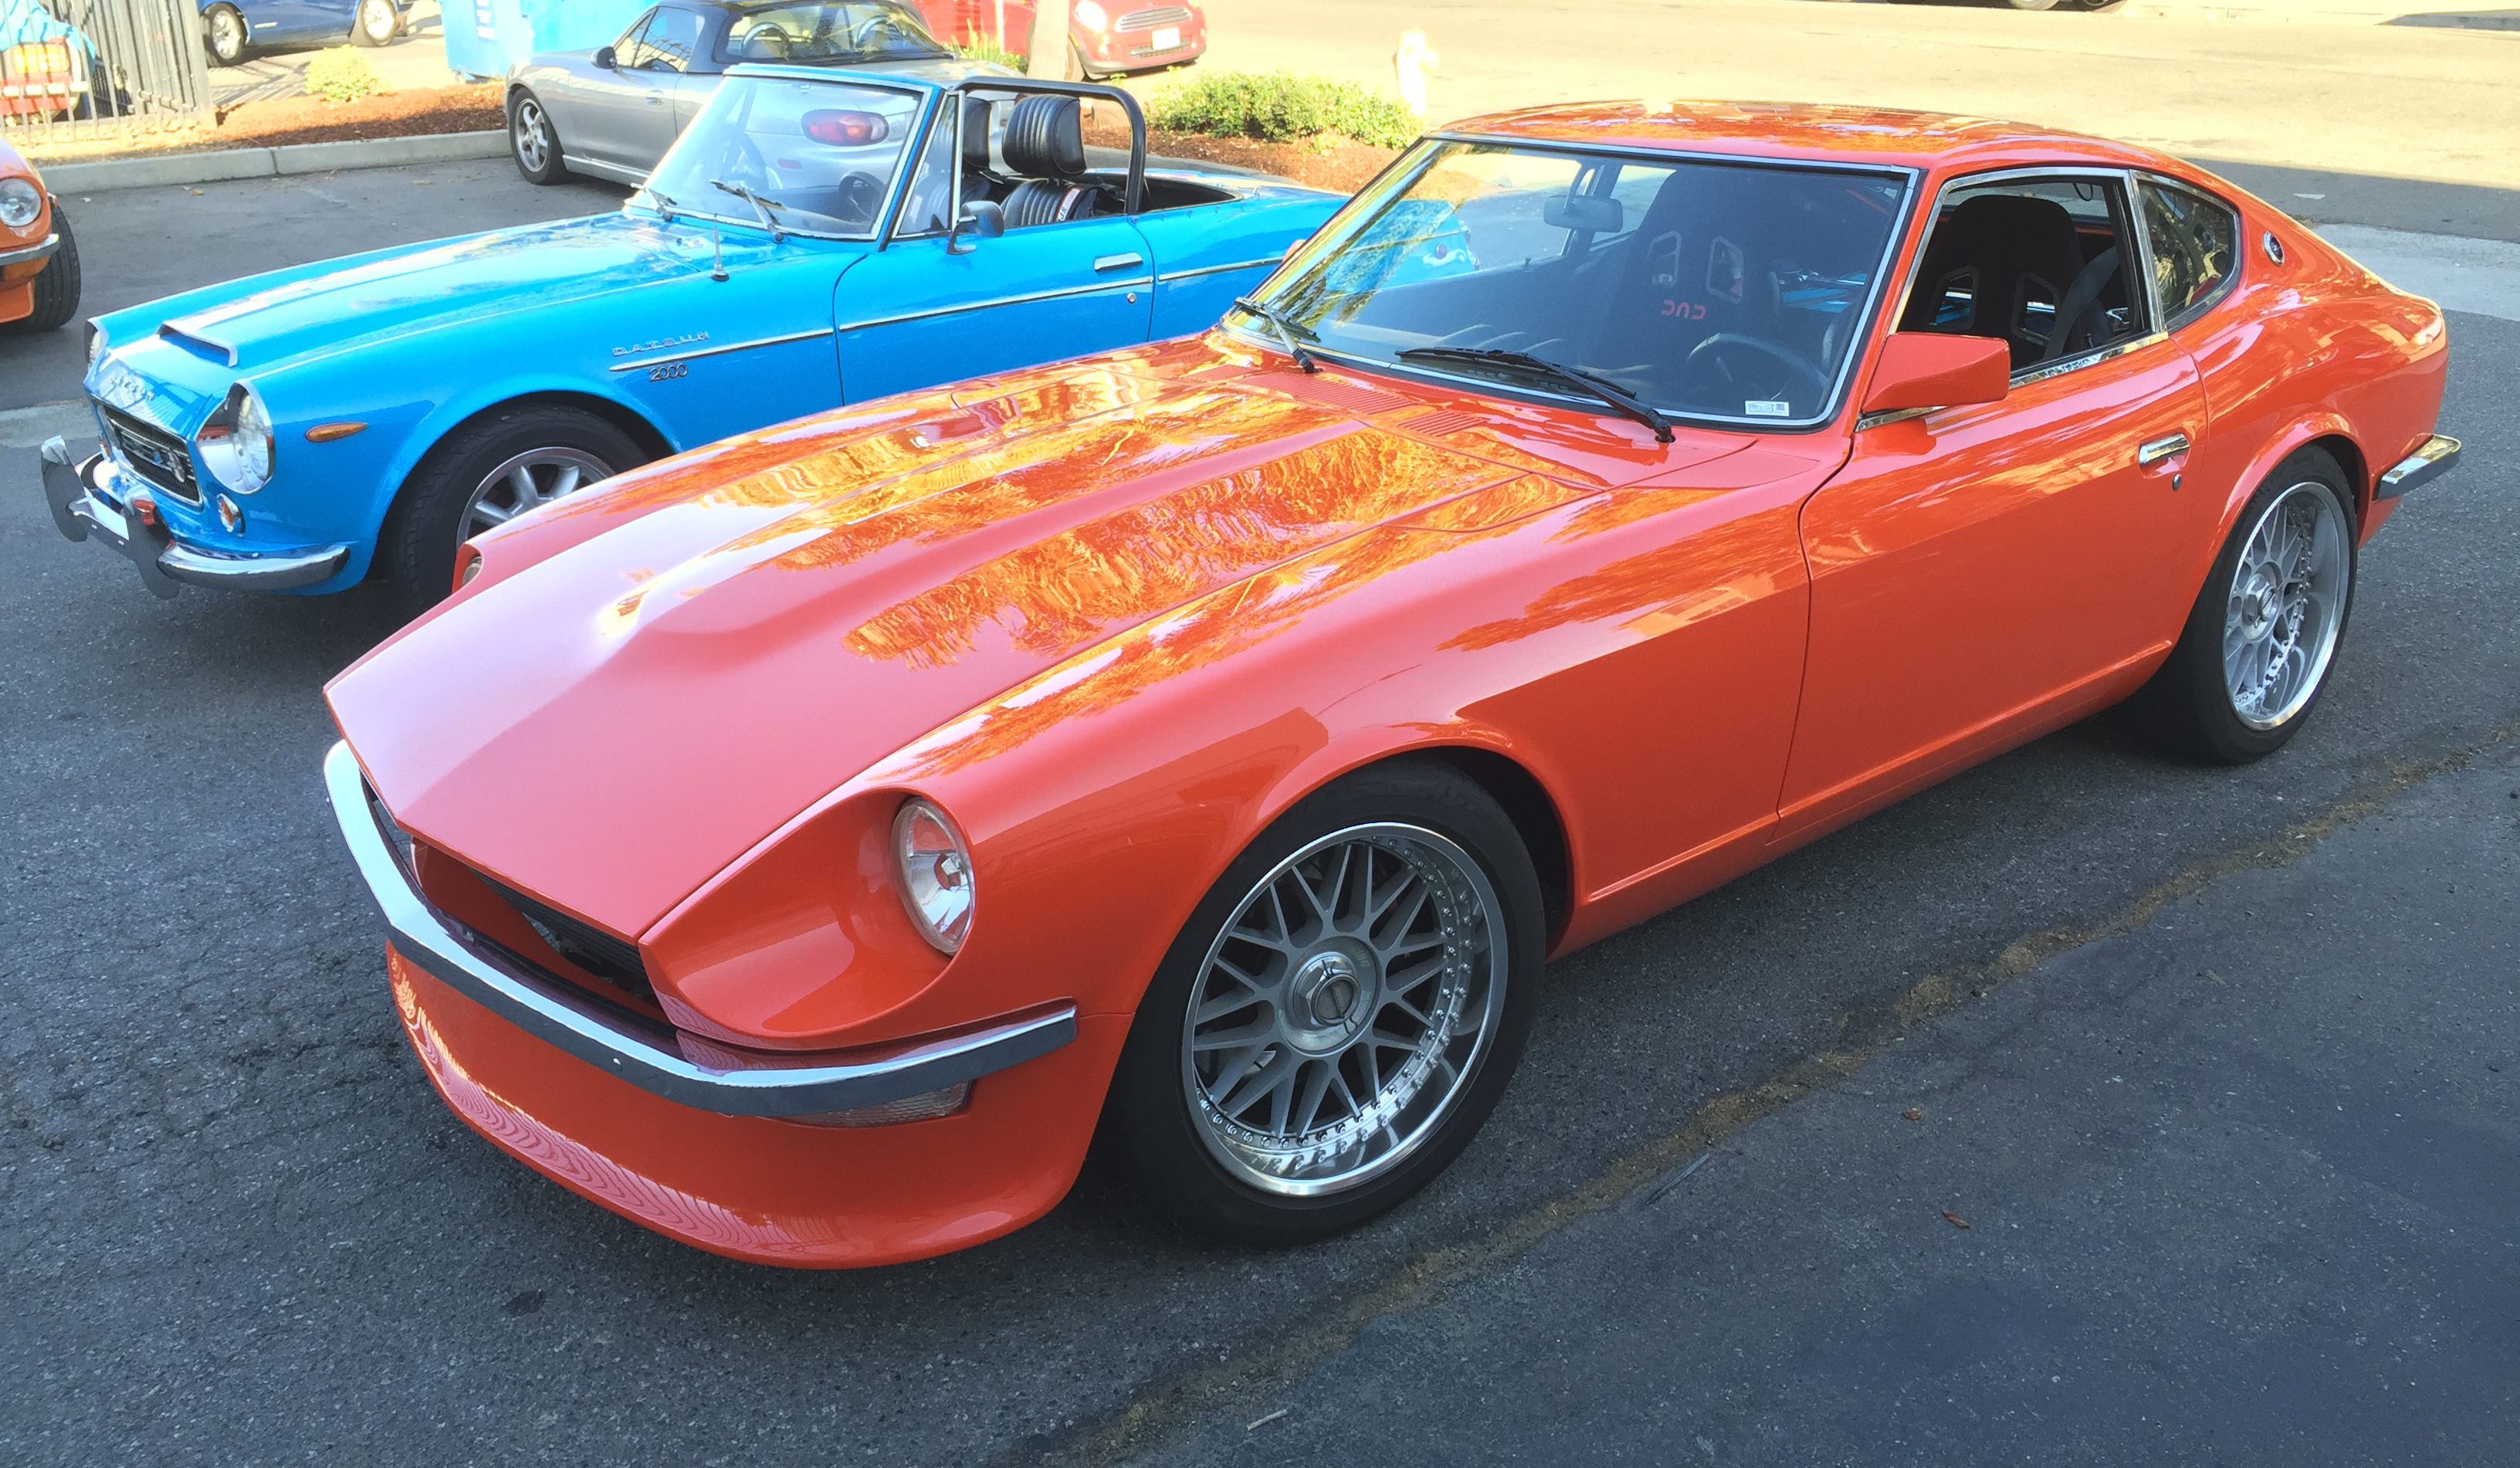
Panasport Wheels
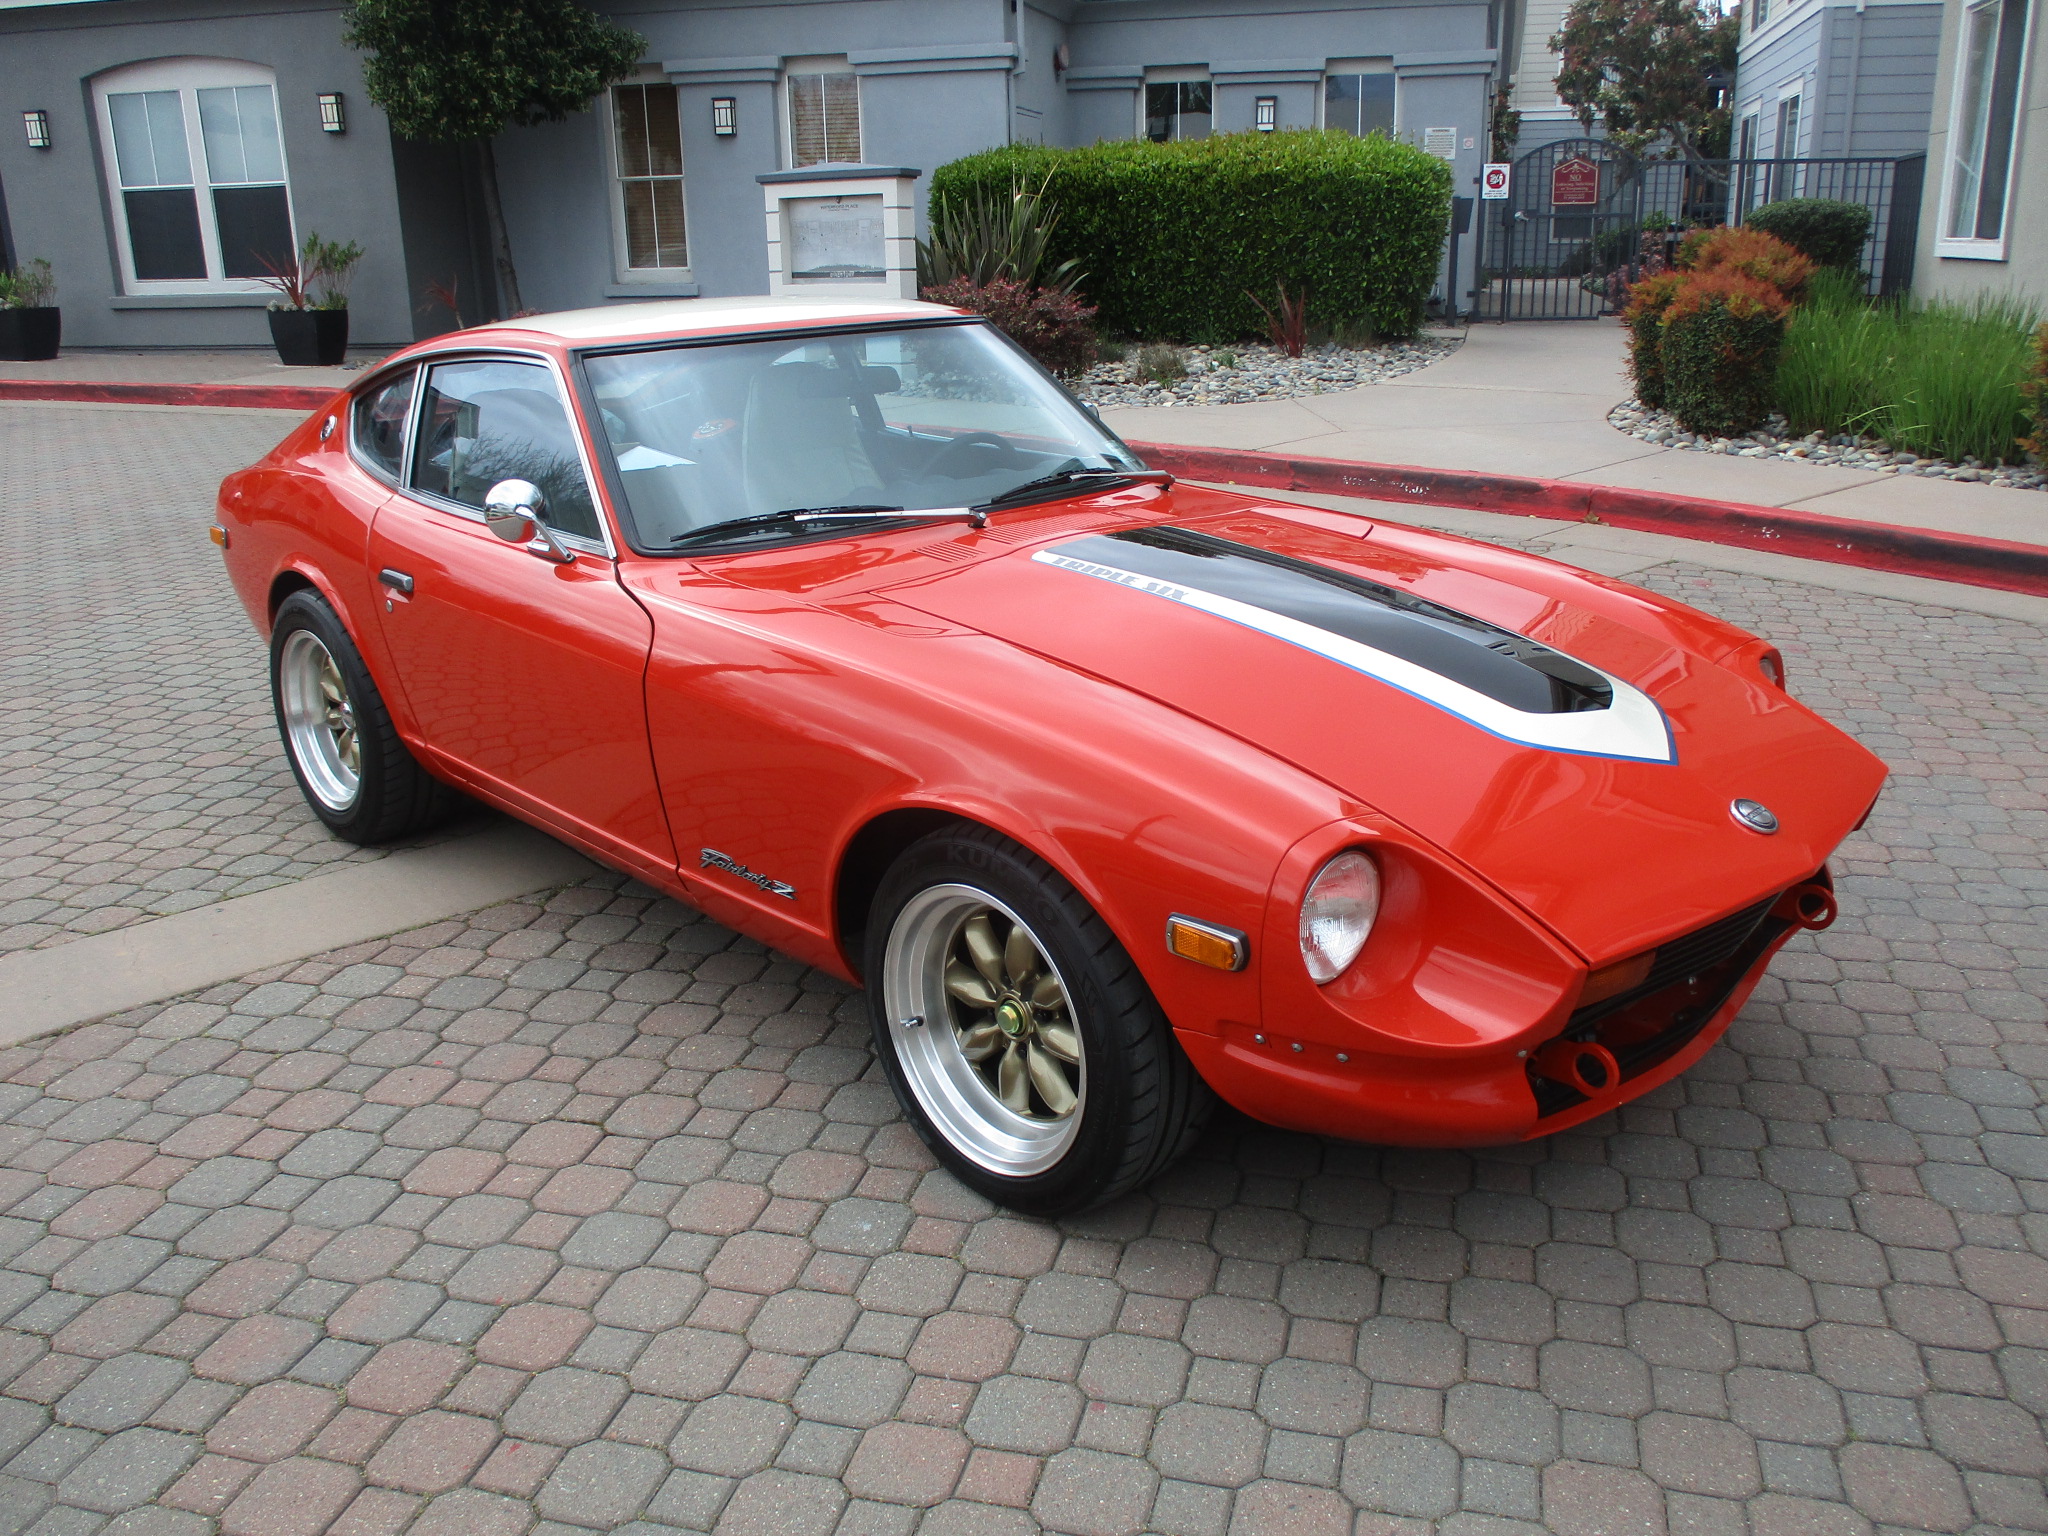
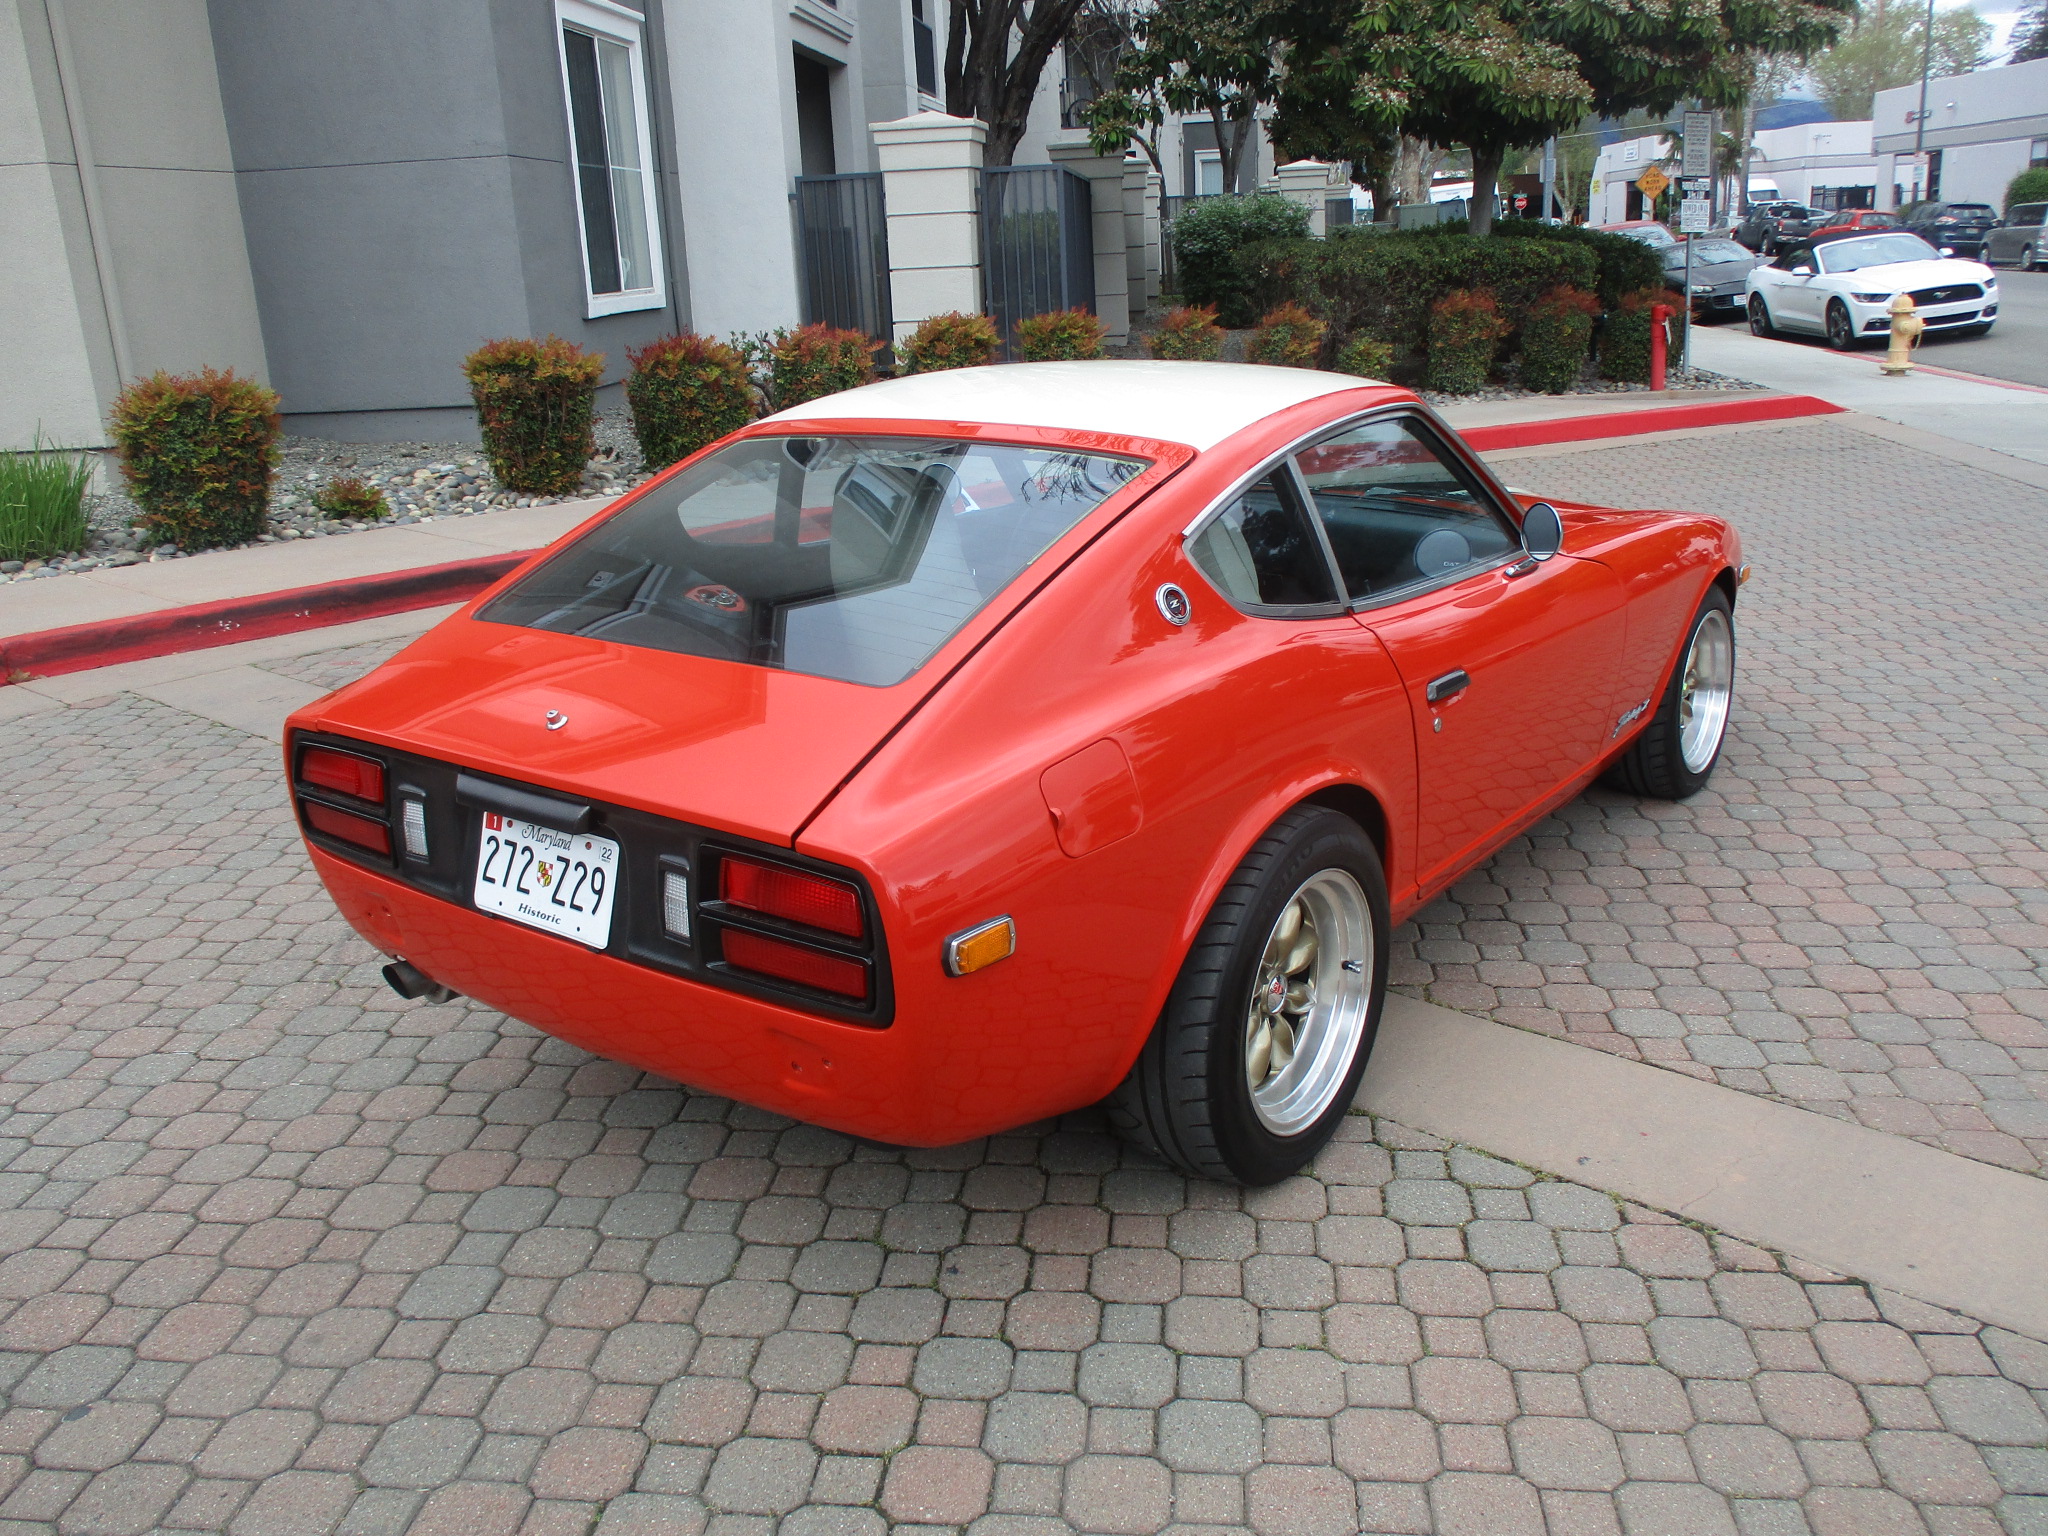
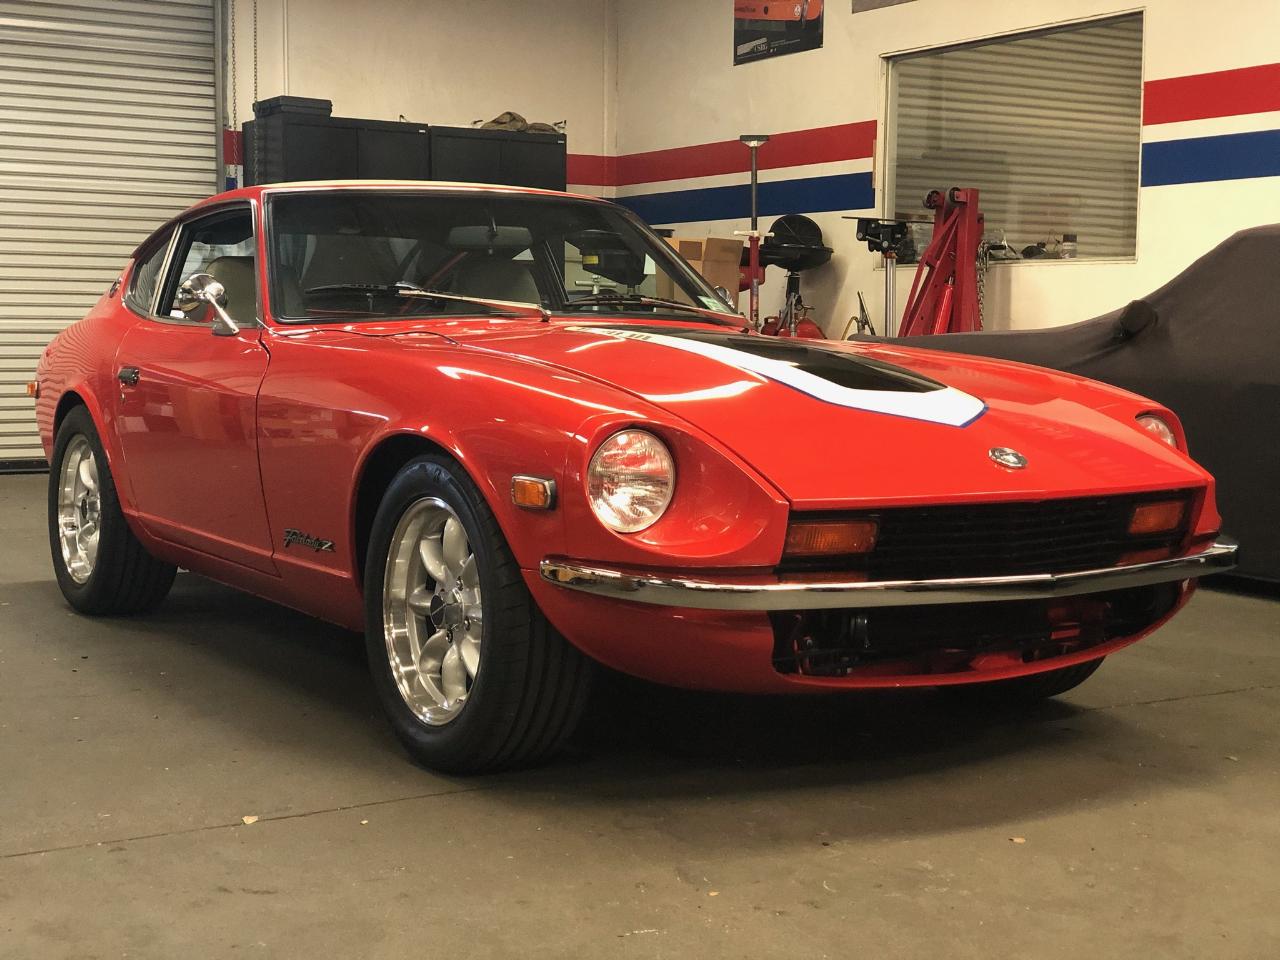
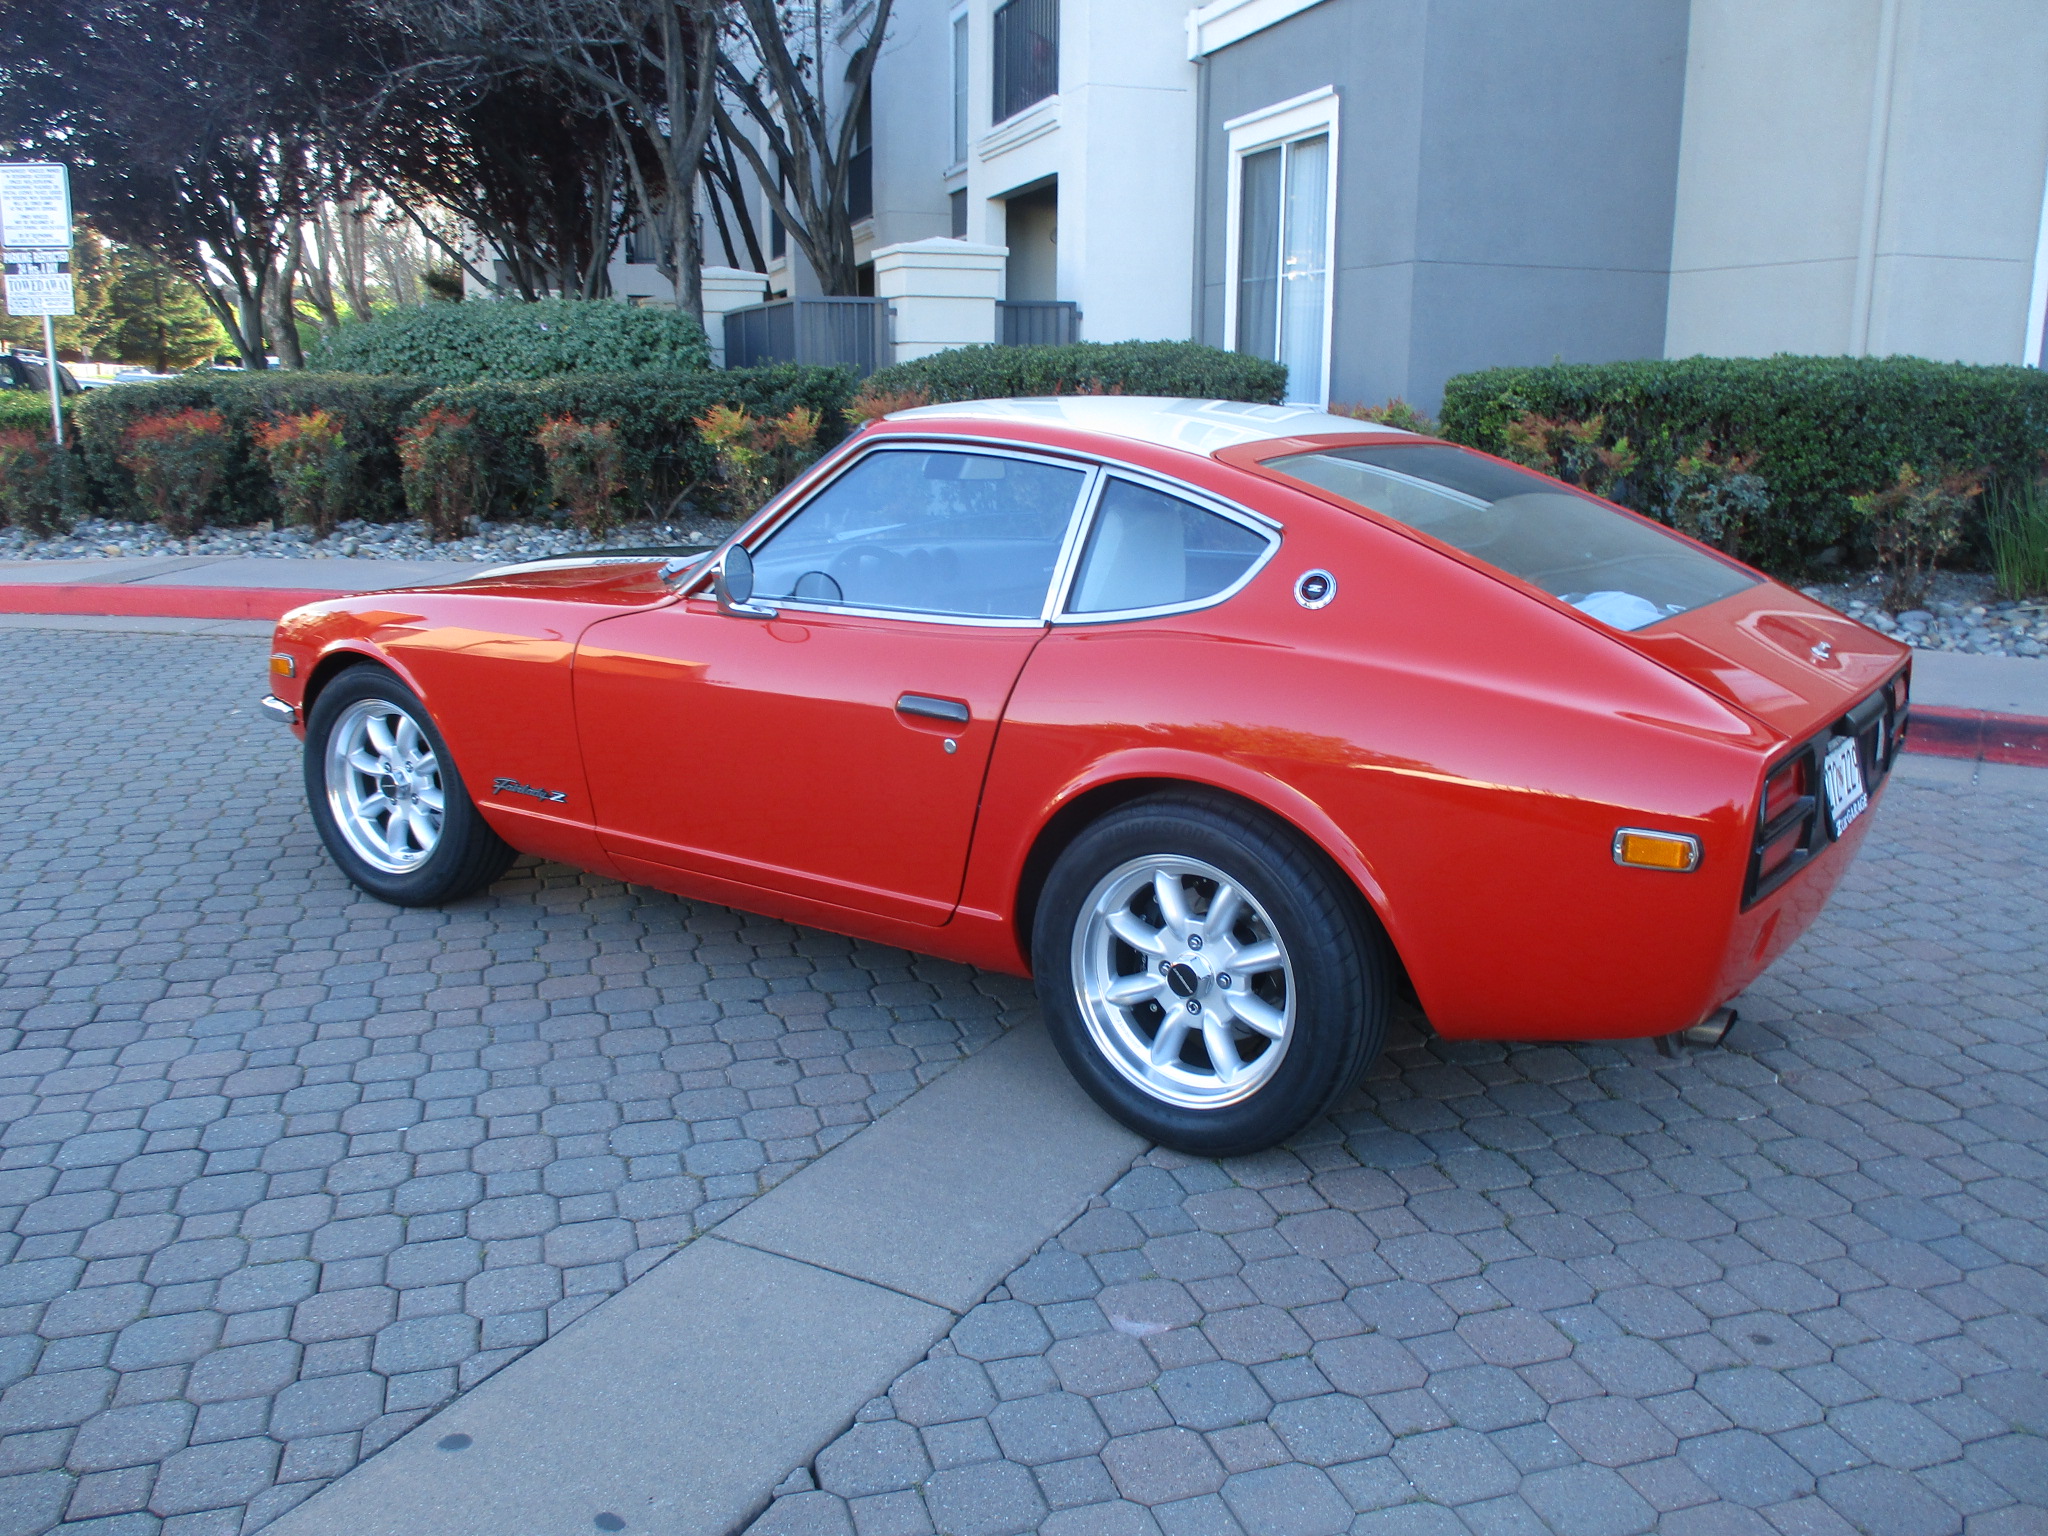
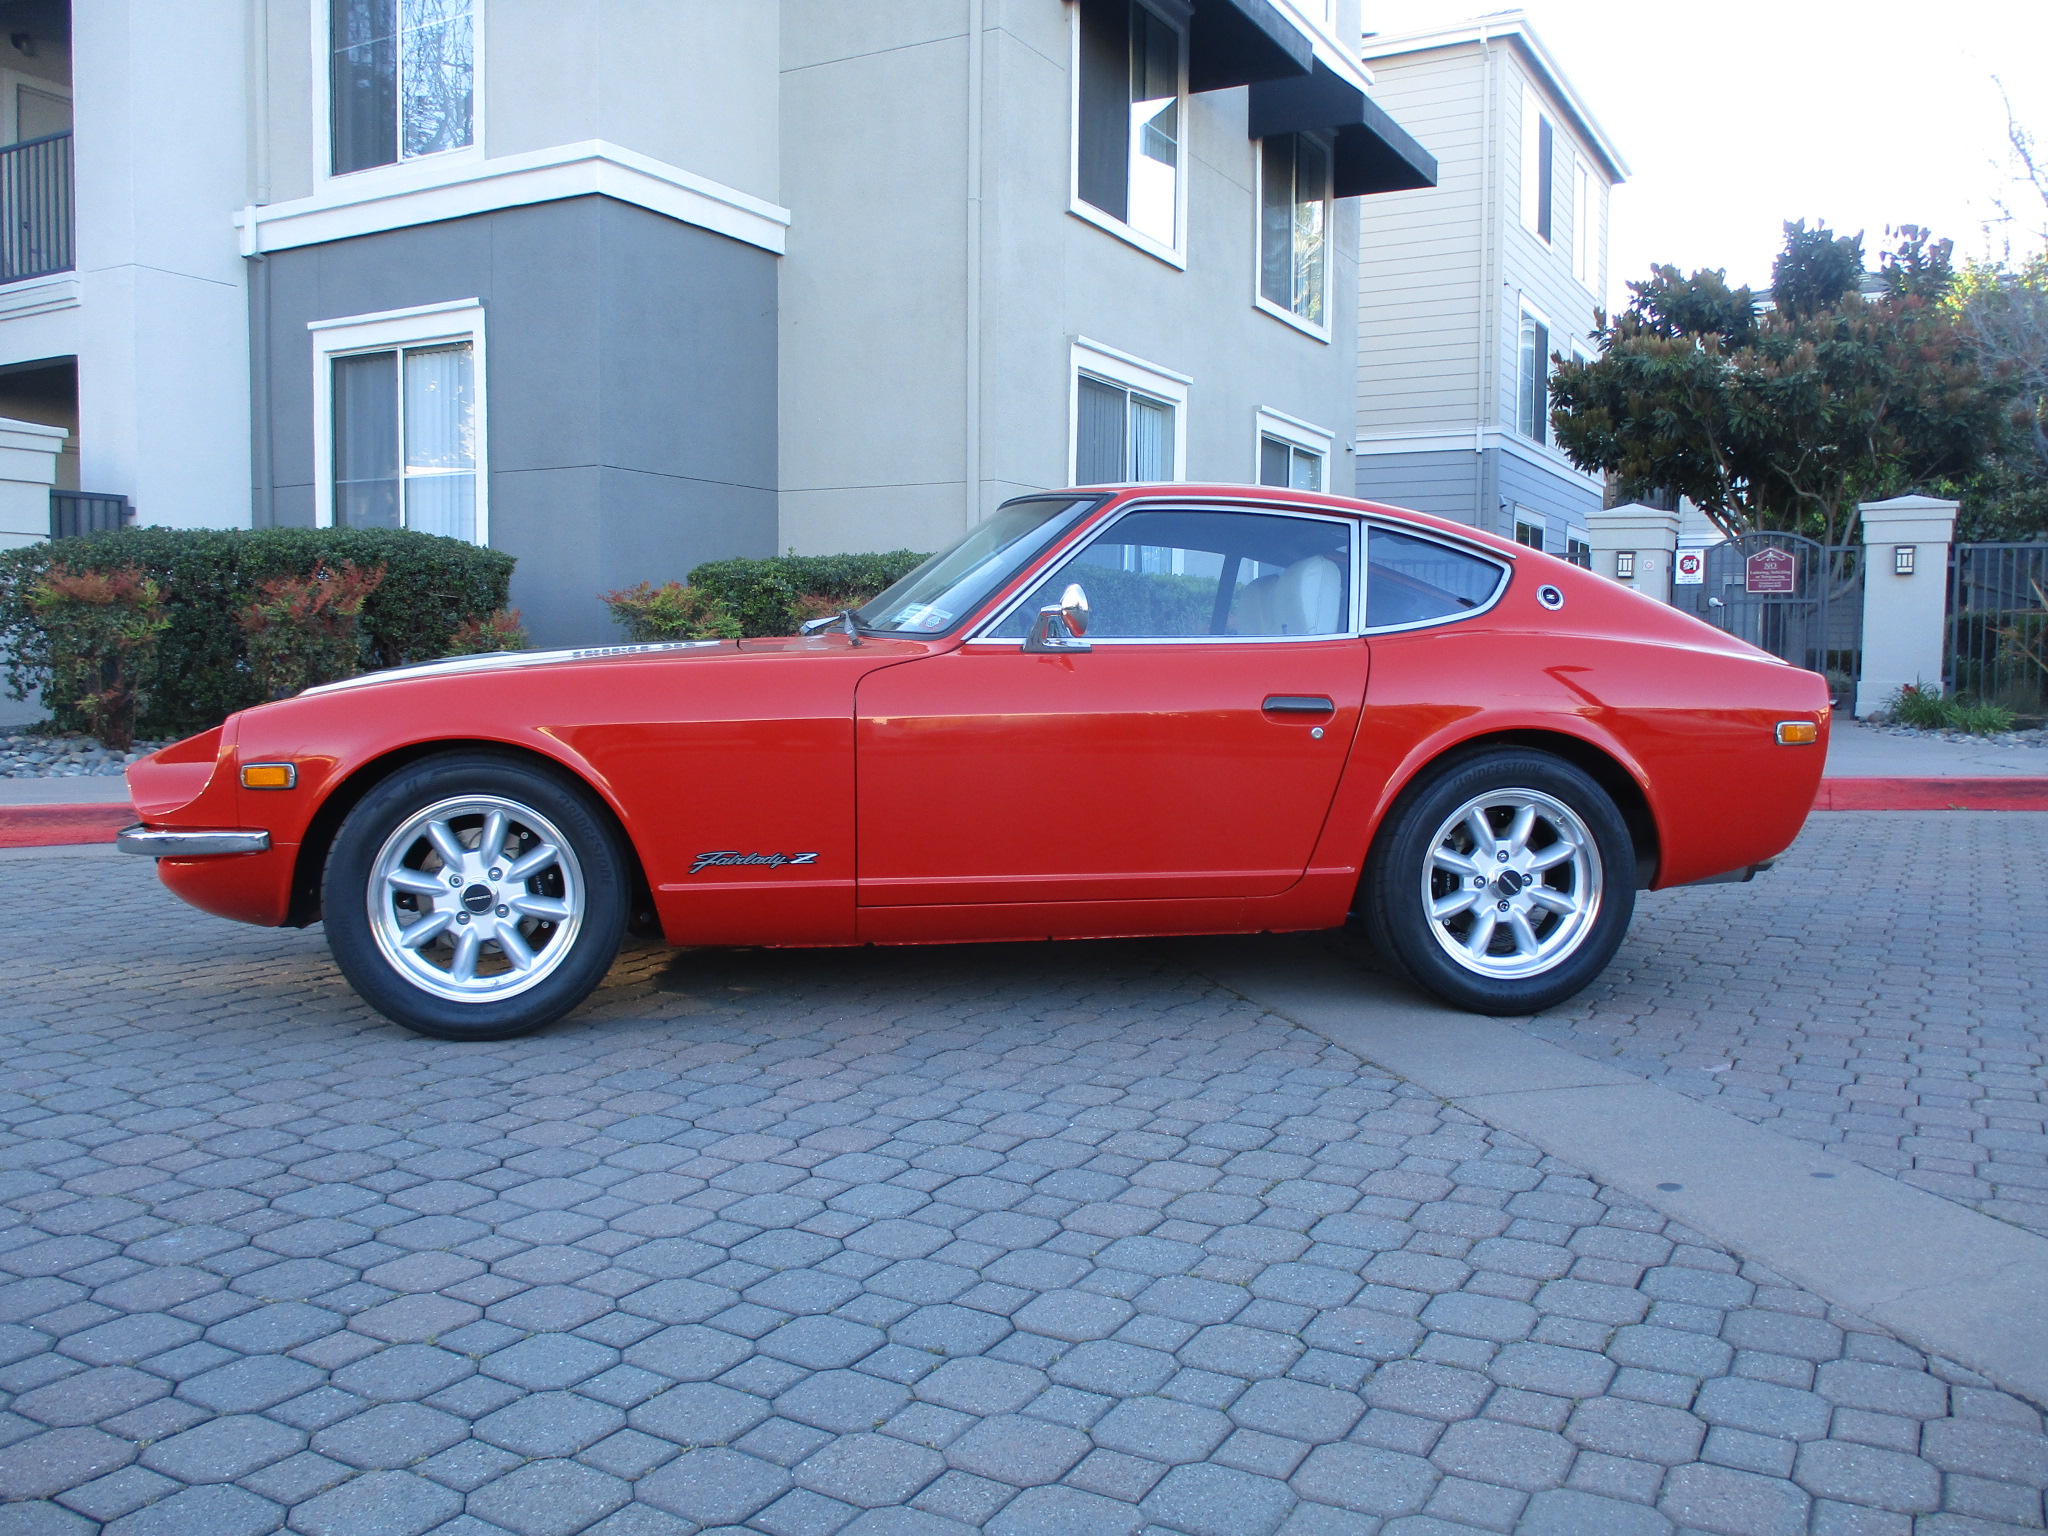
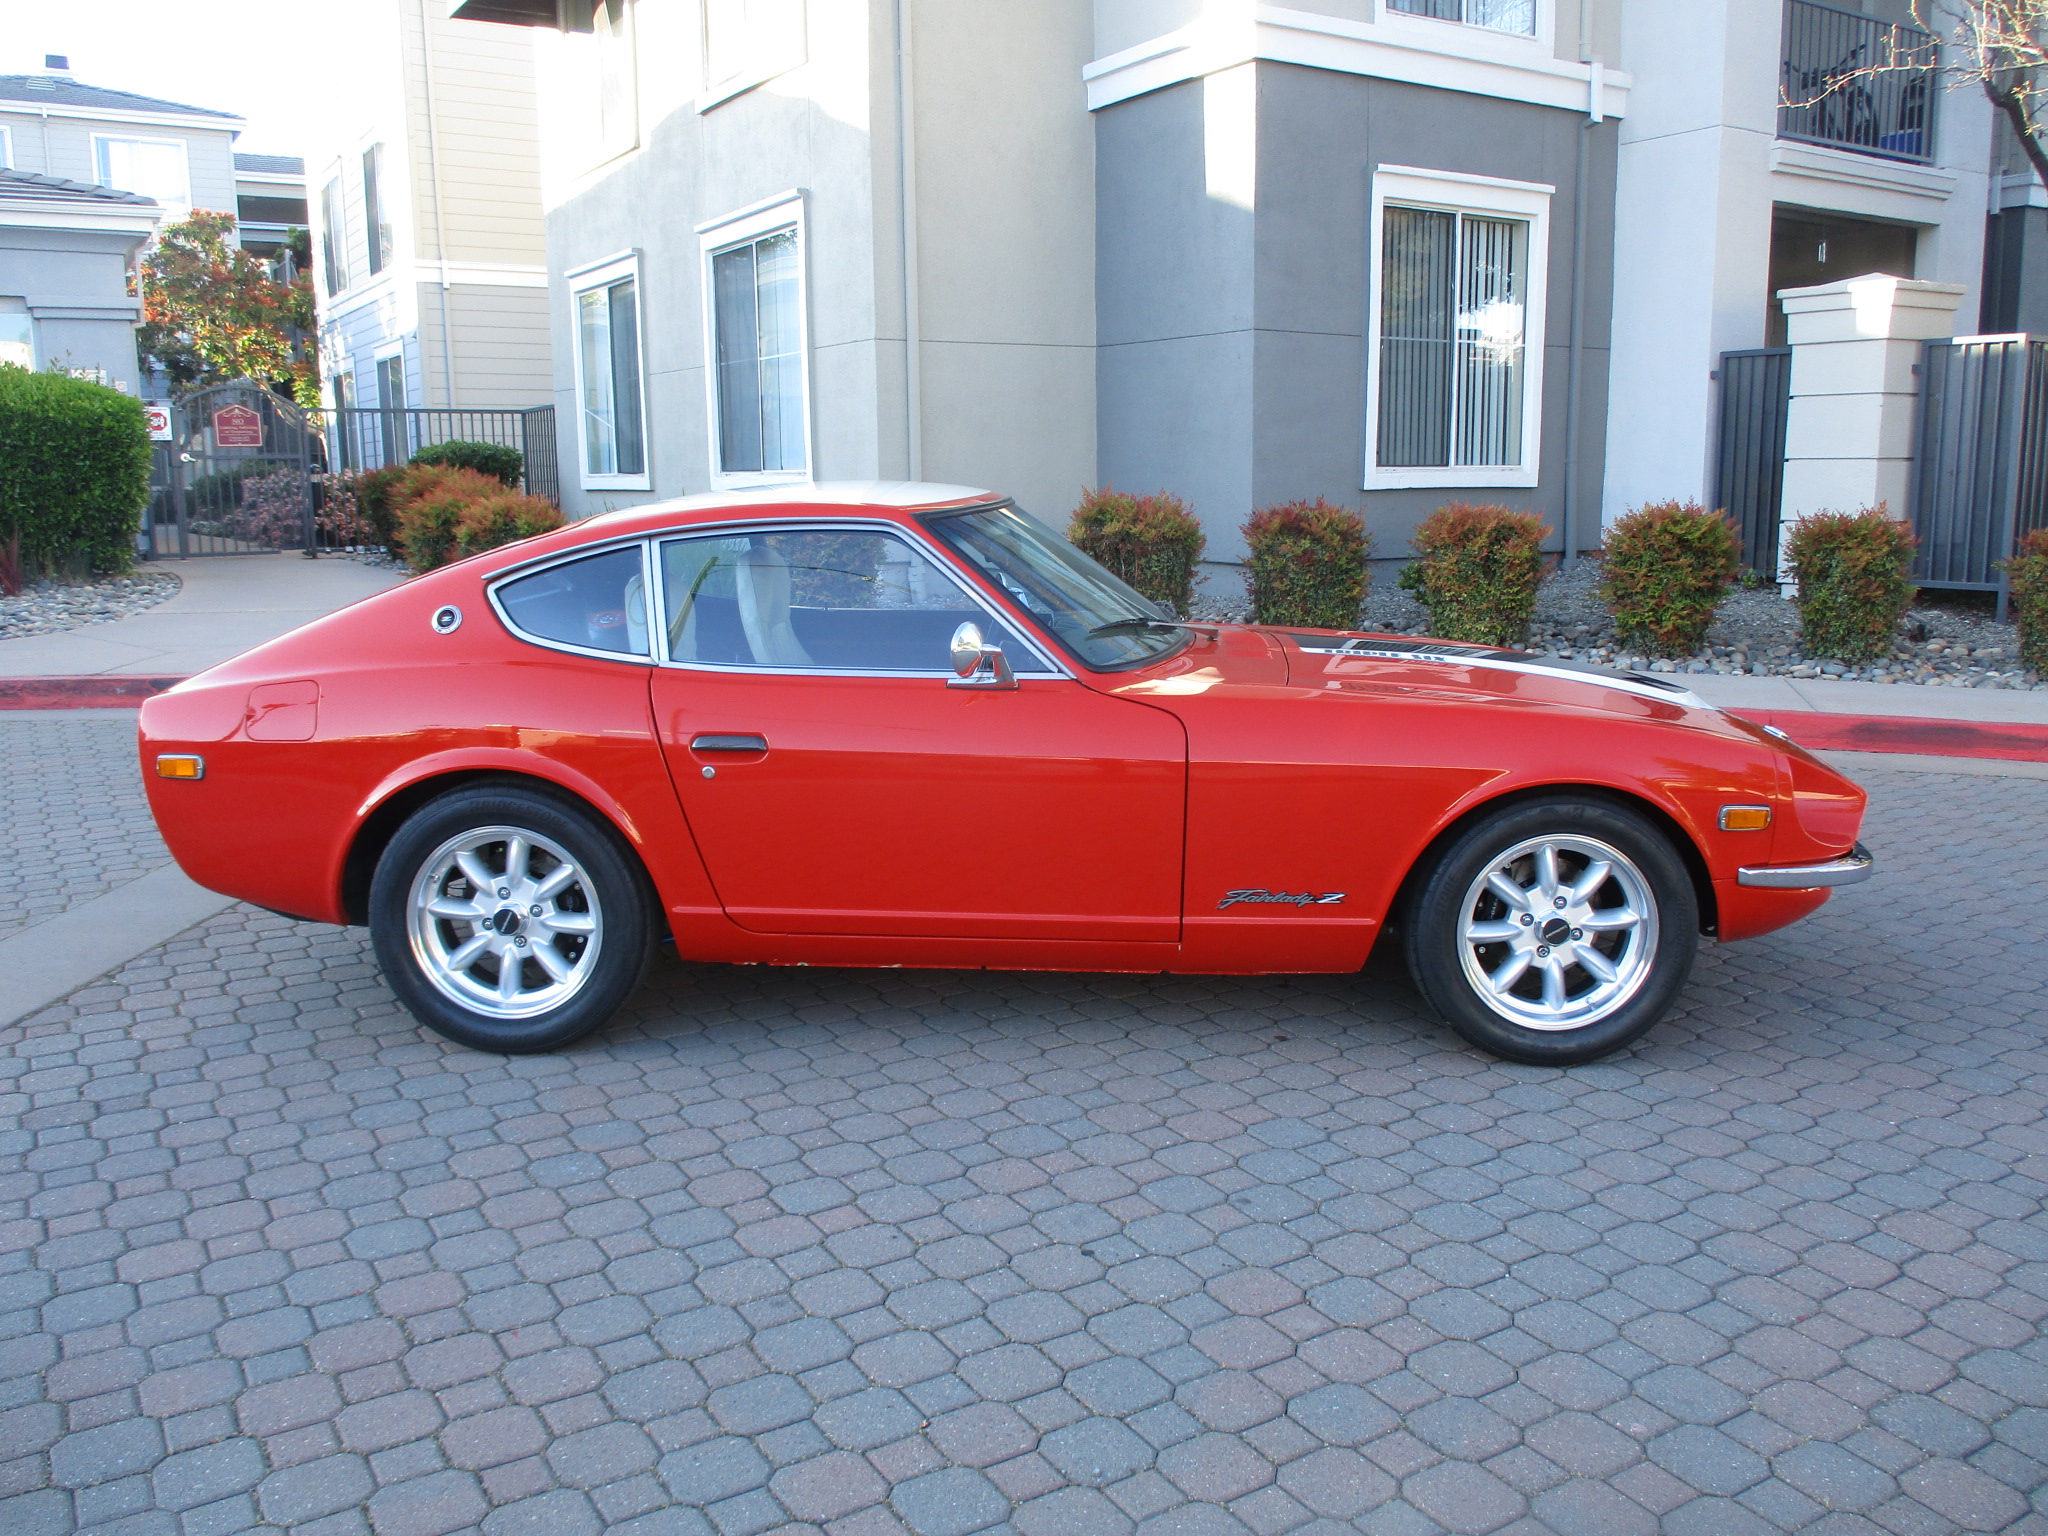
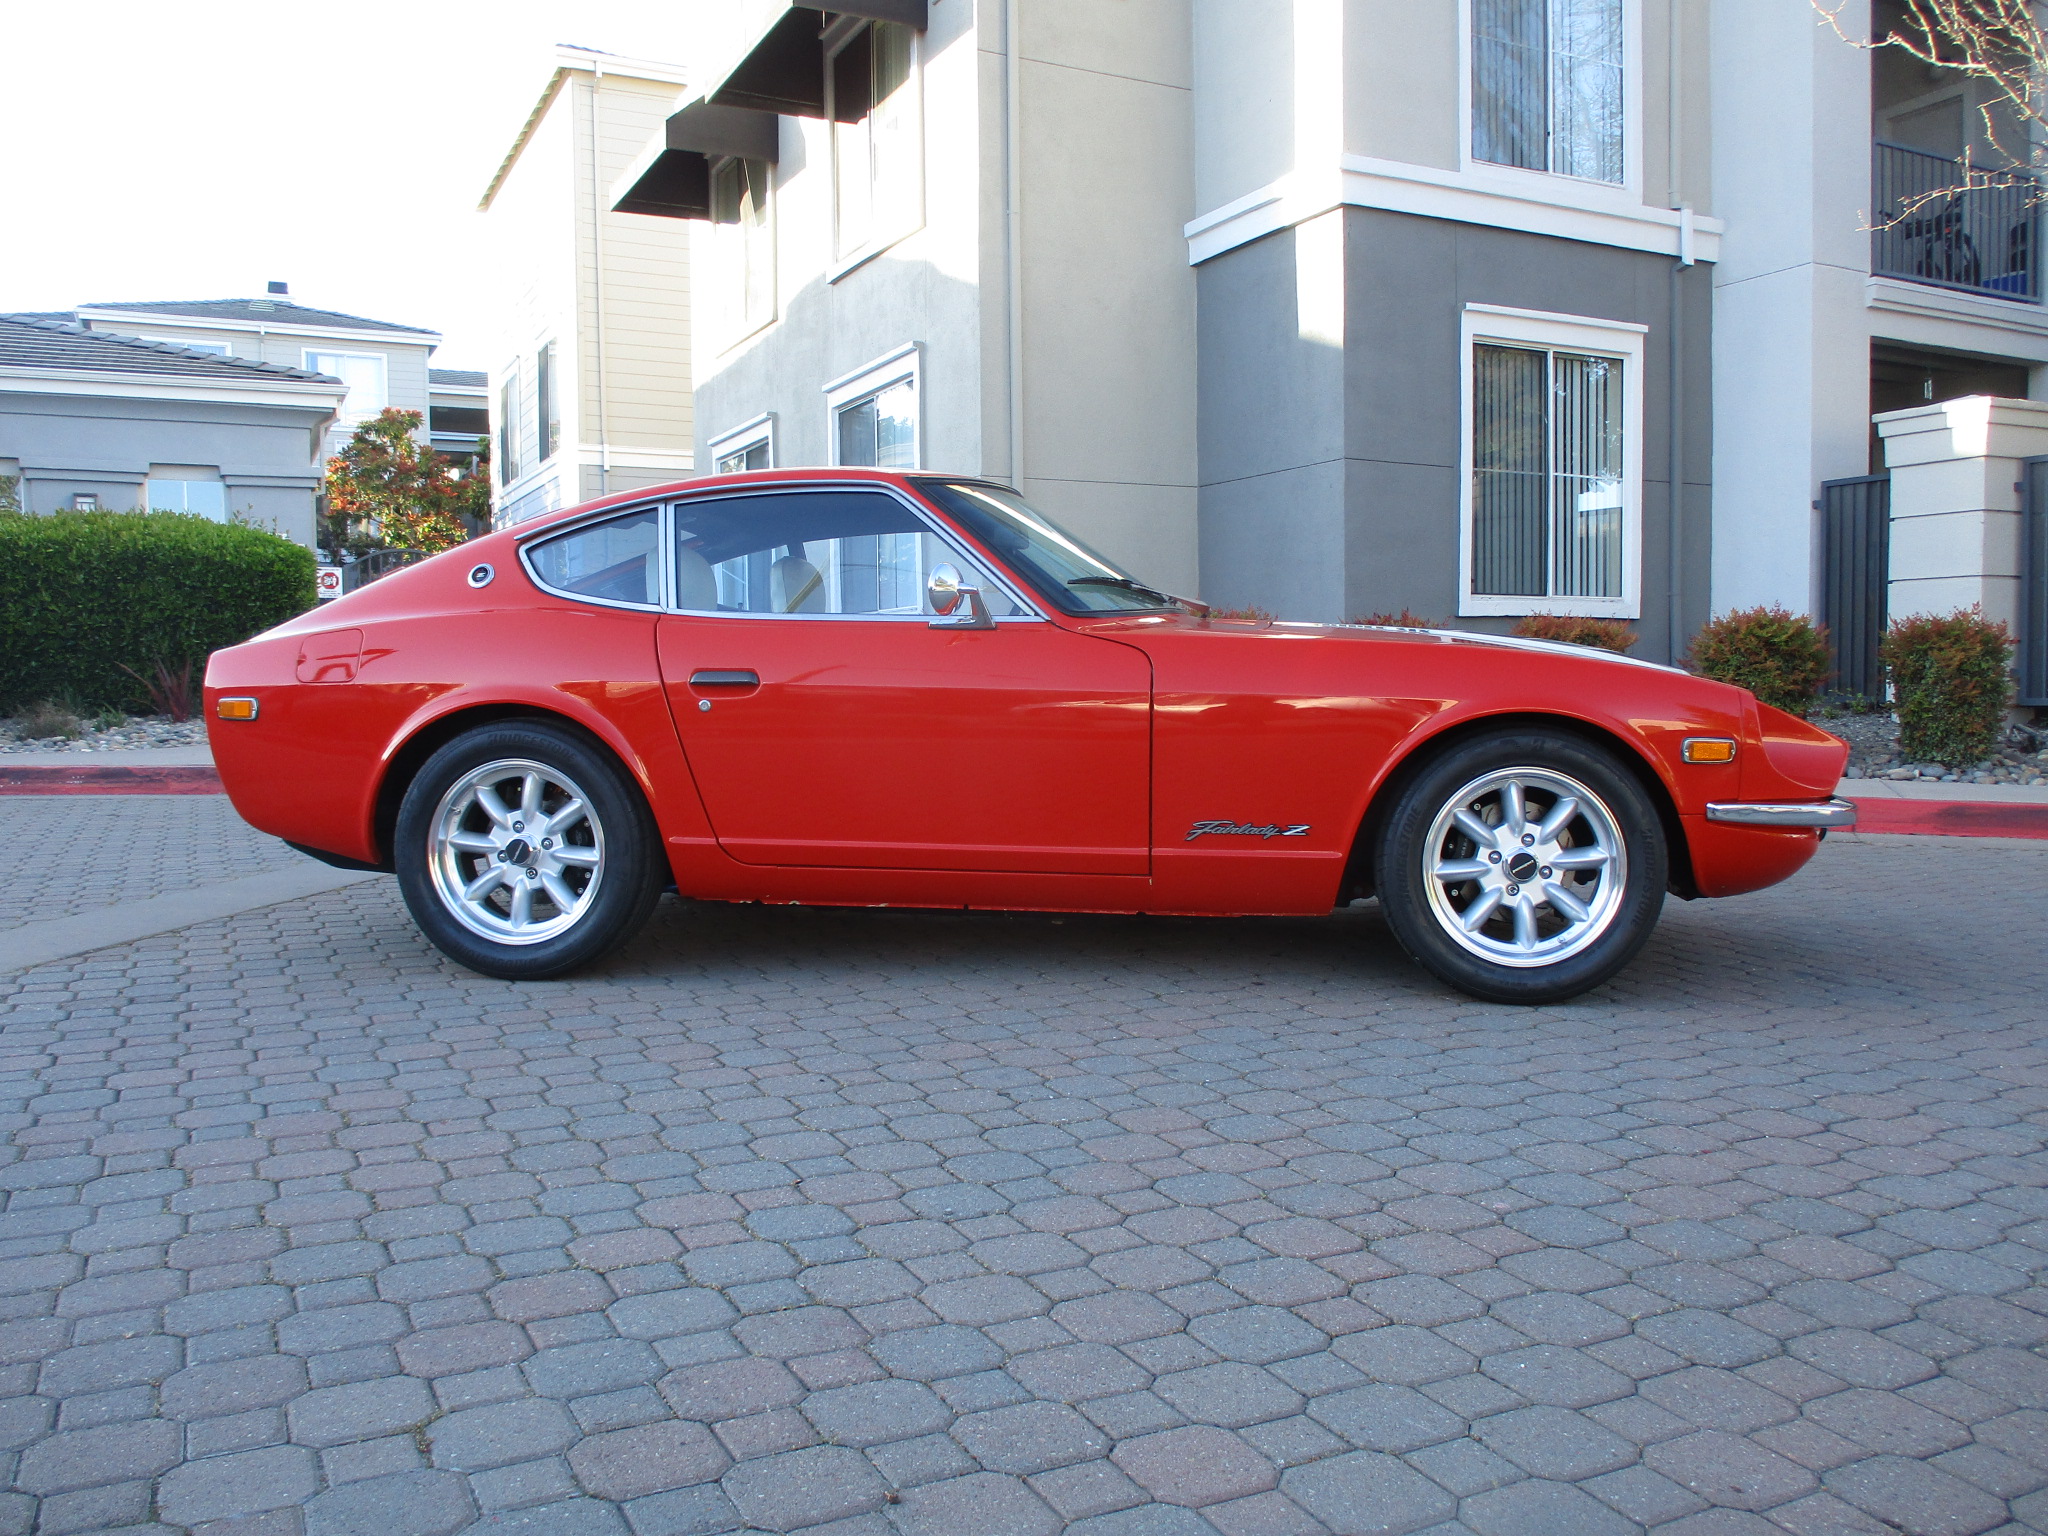
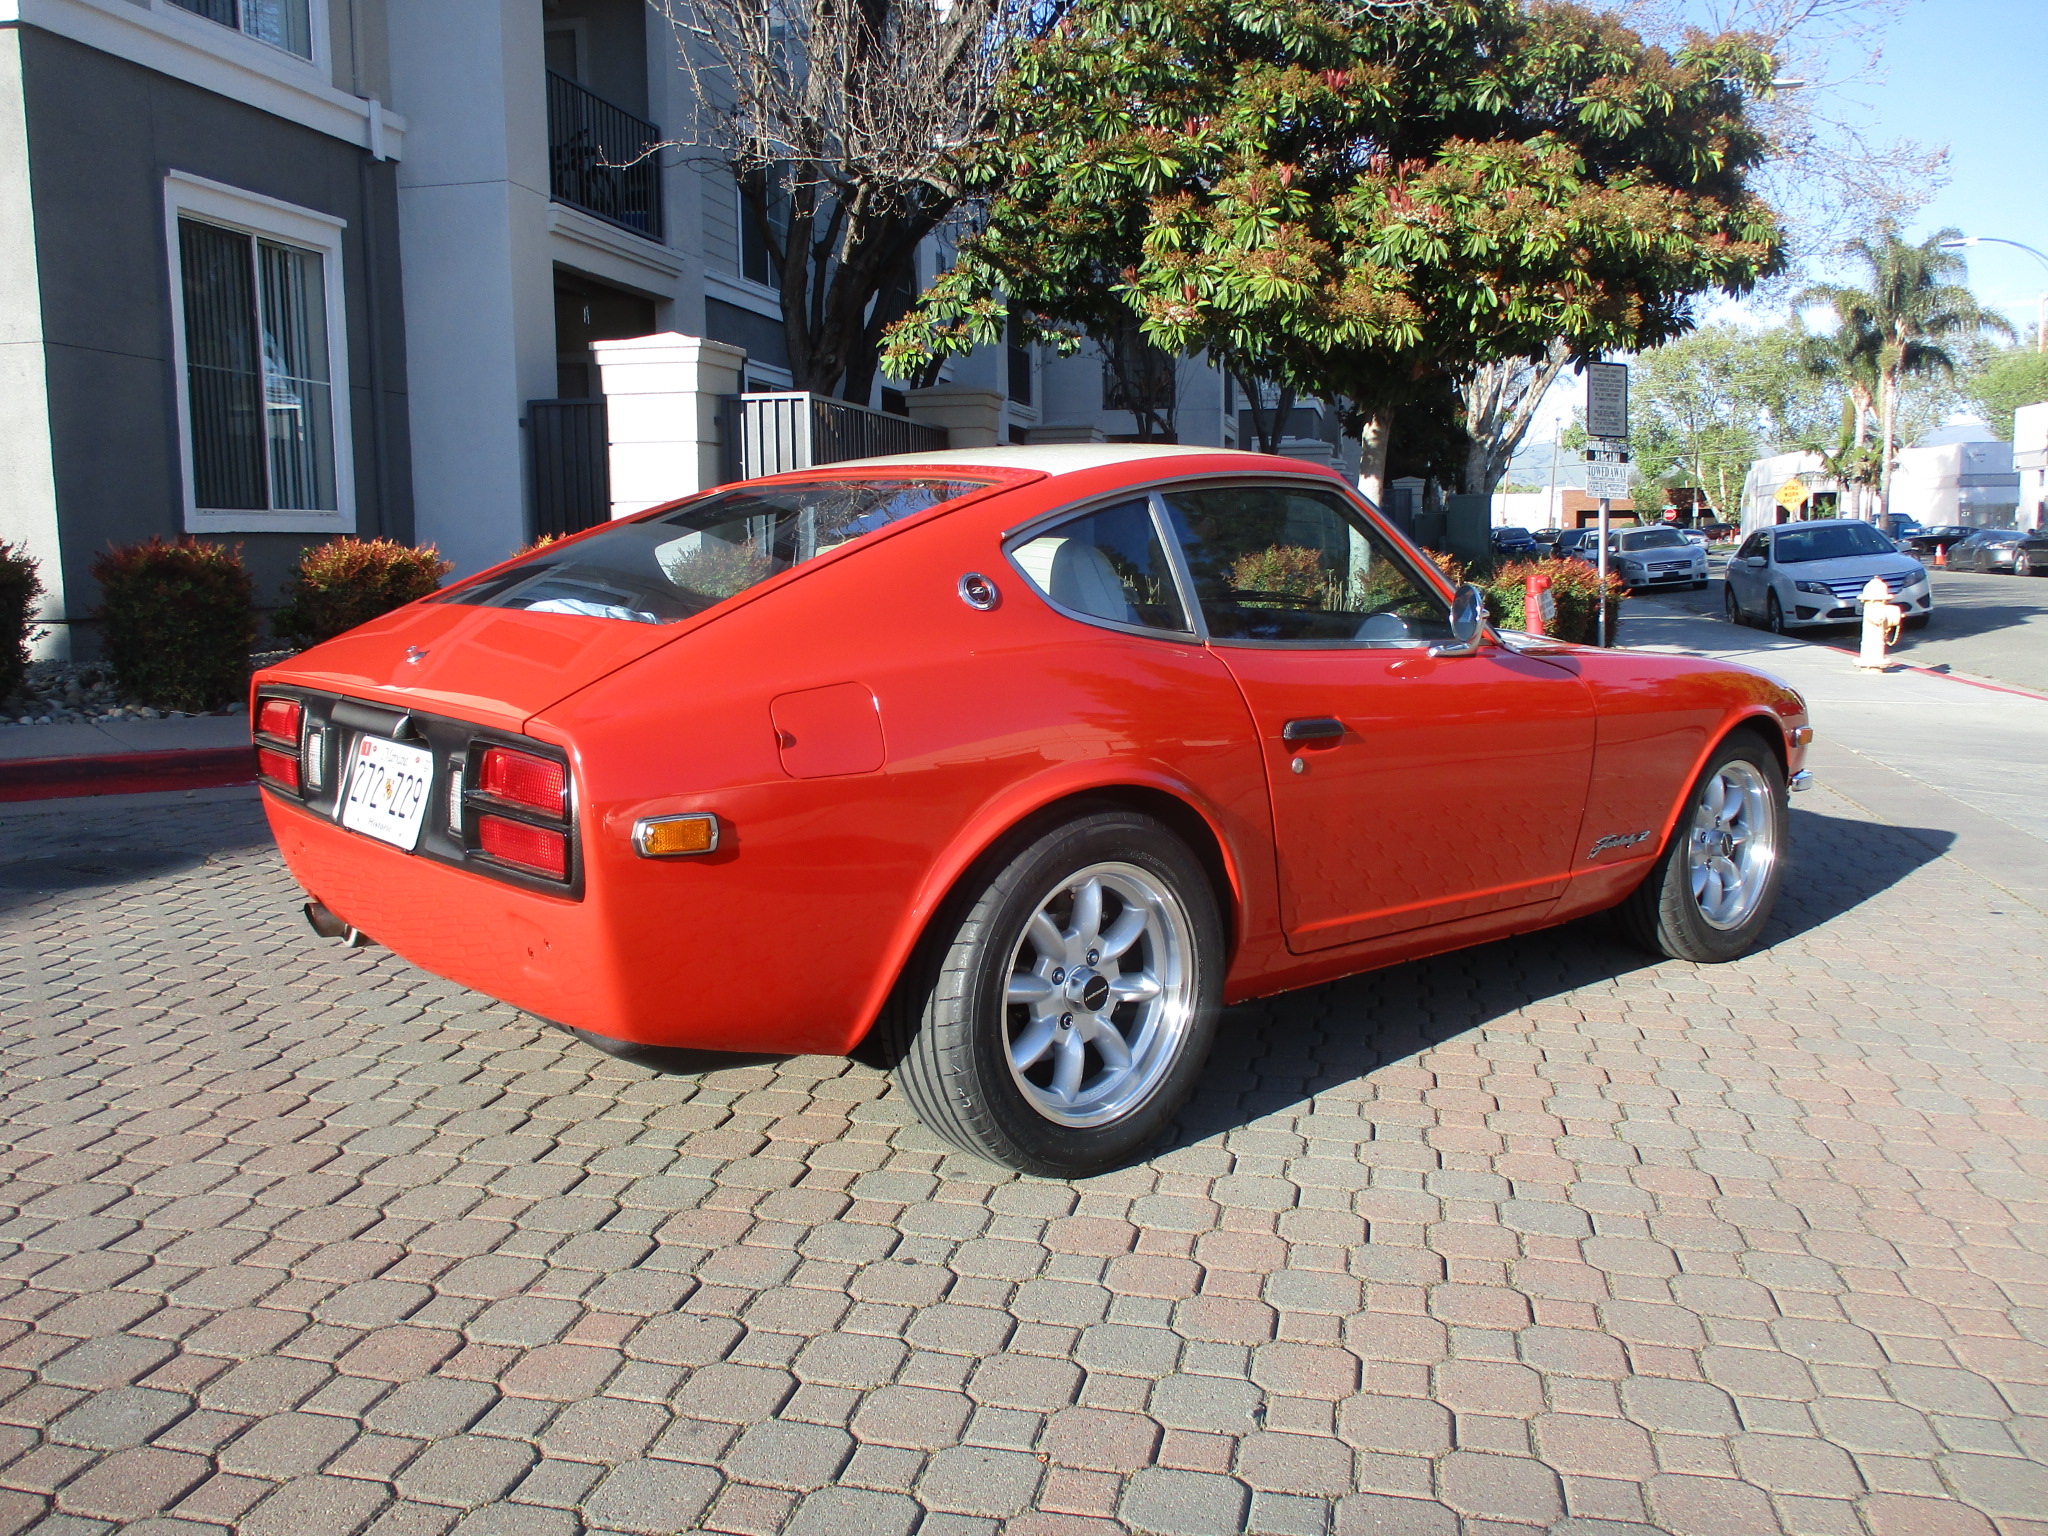
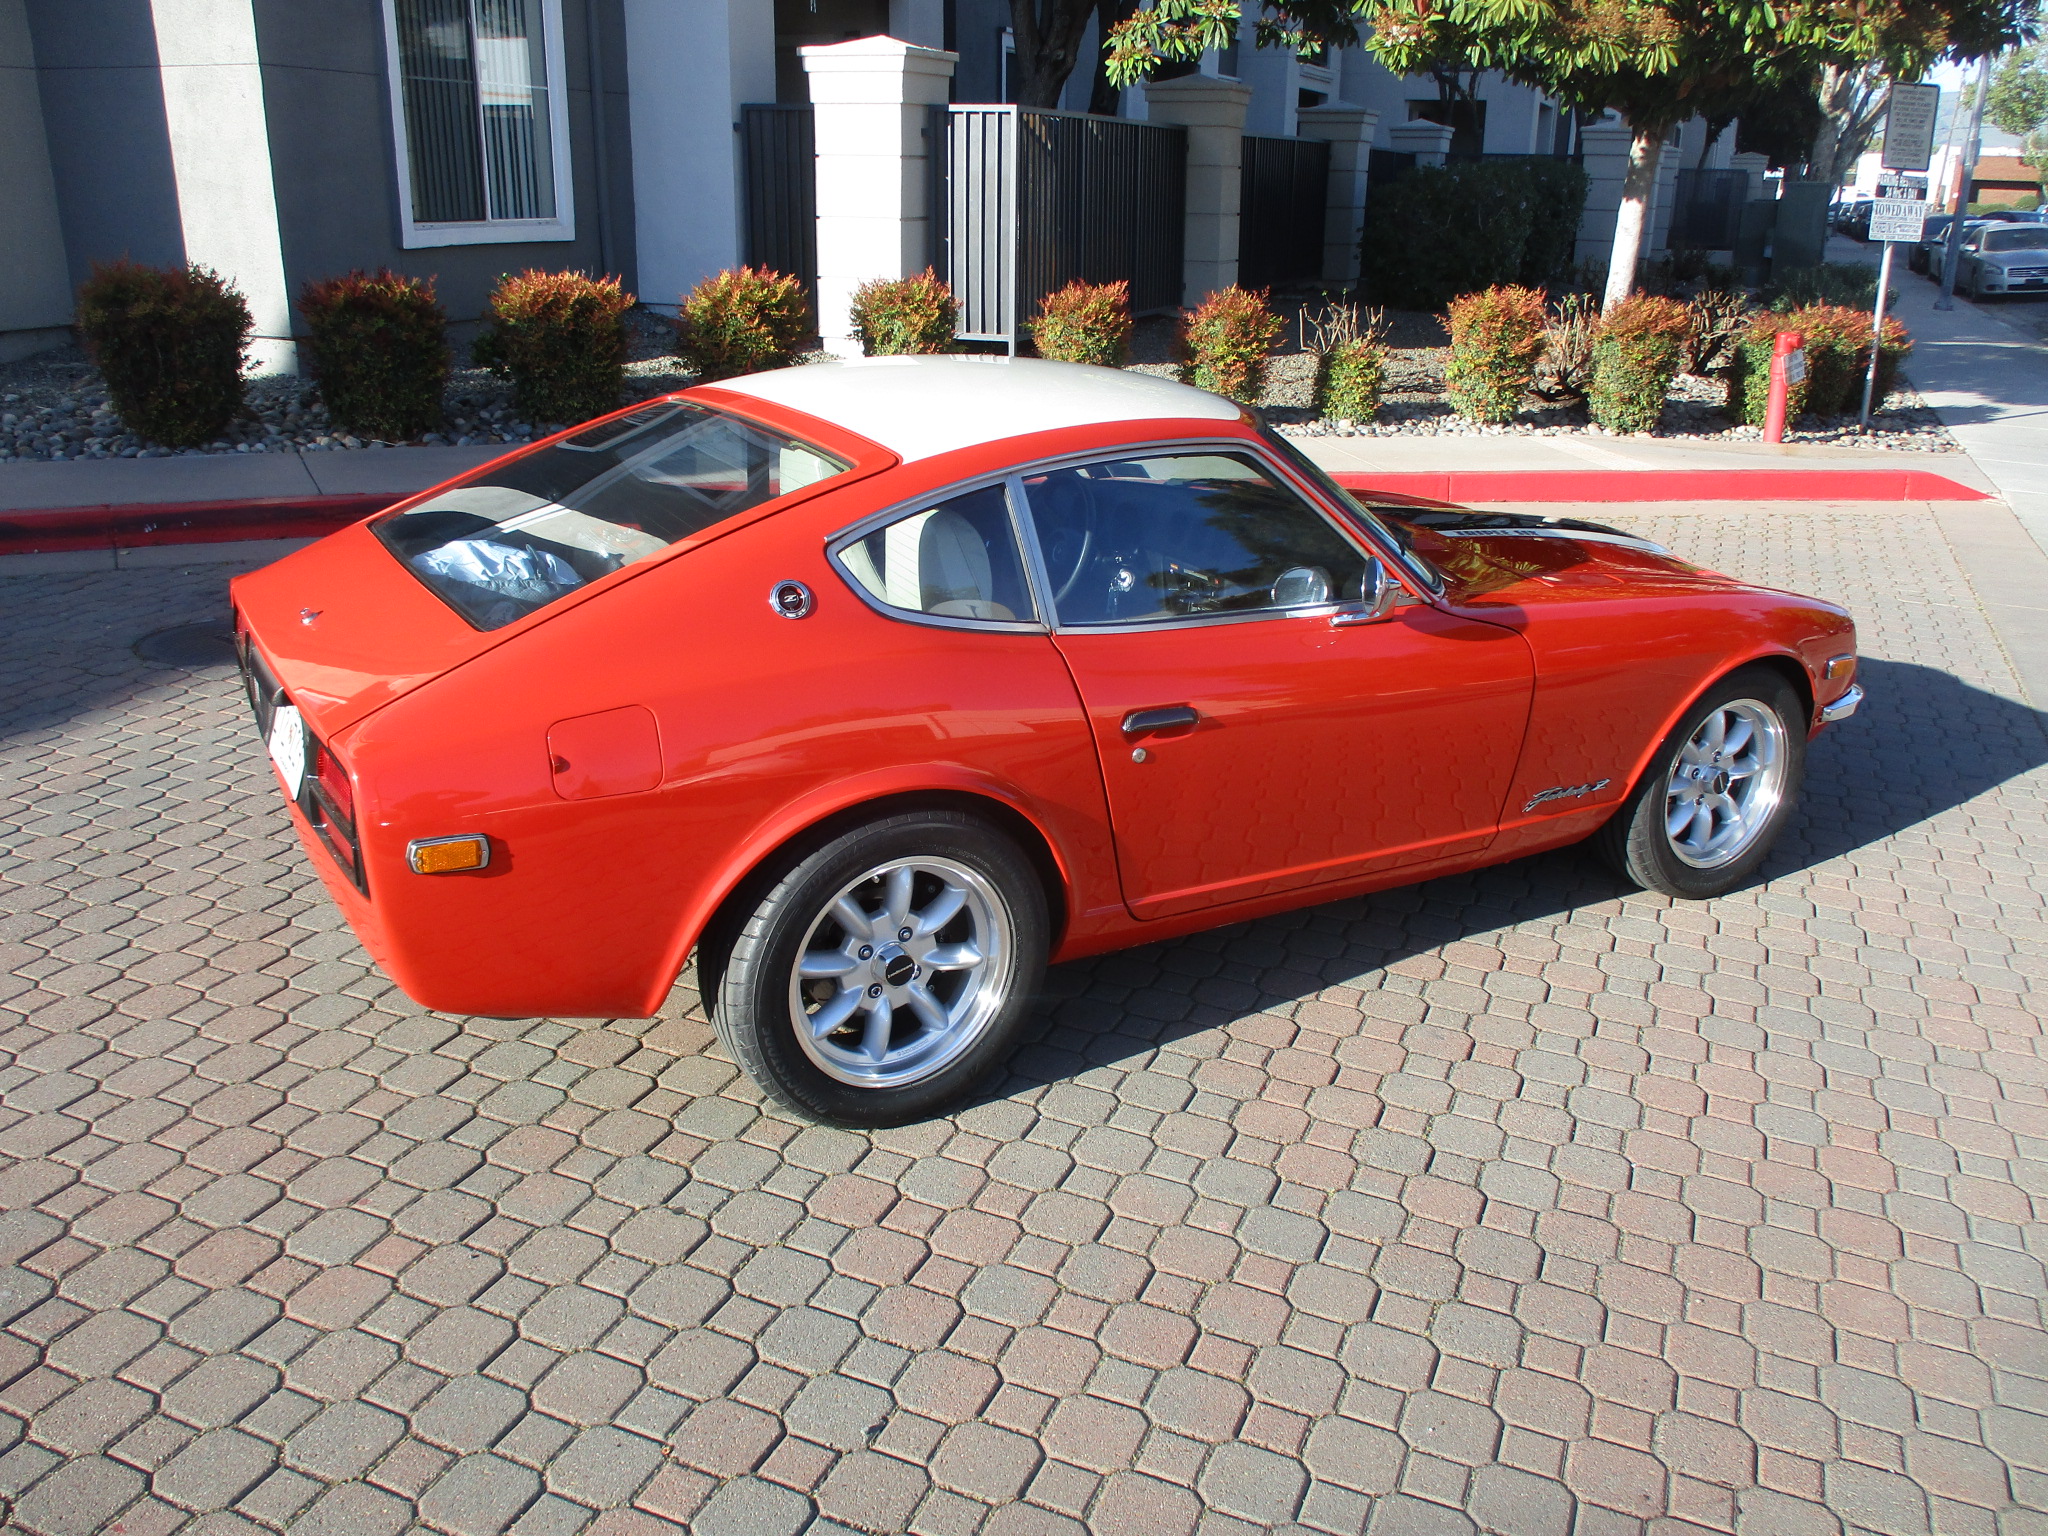
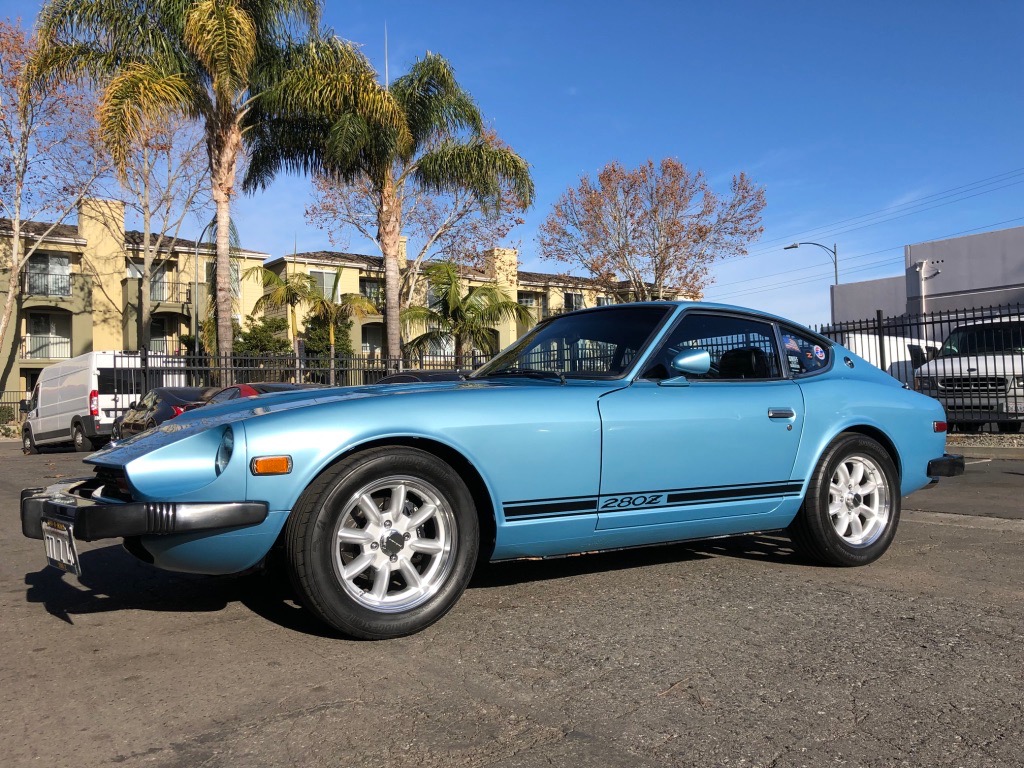
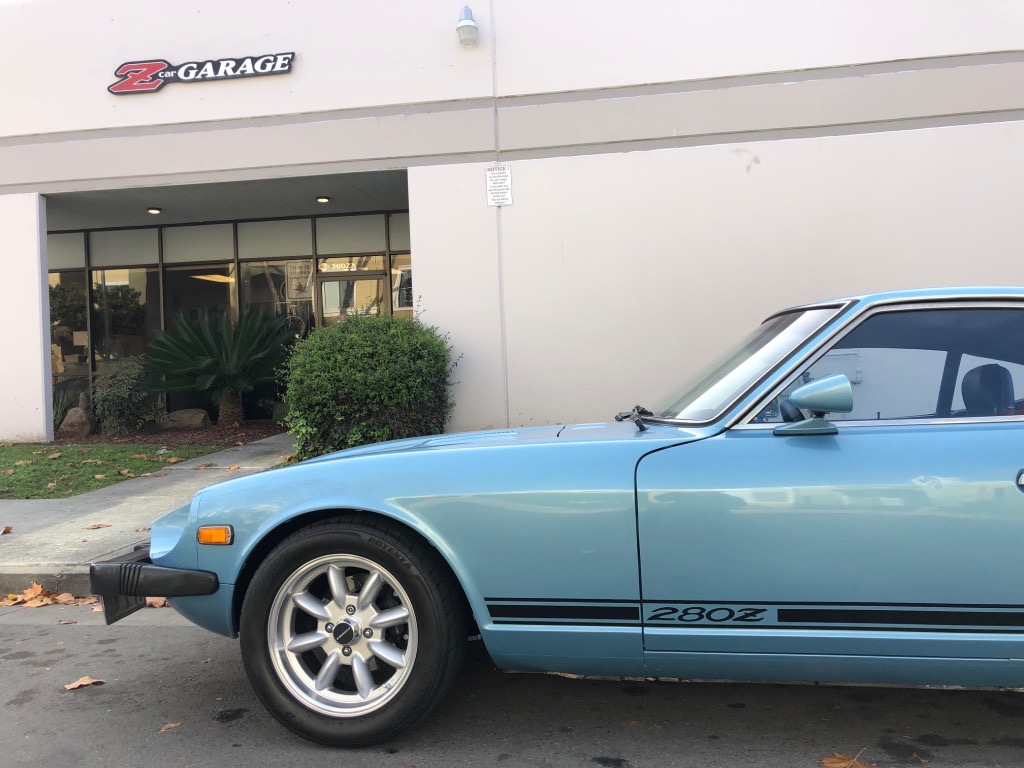
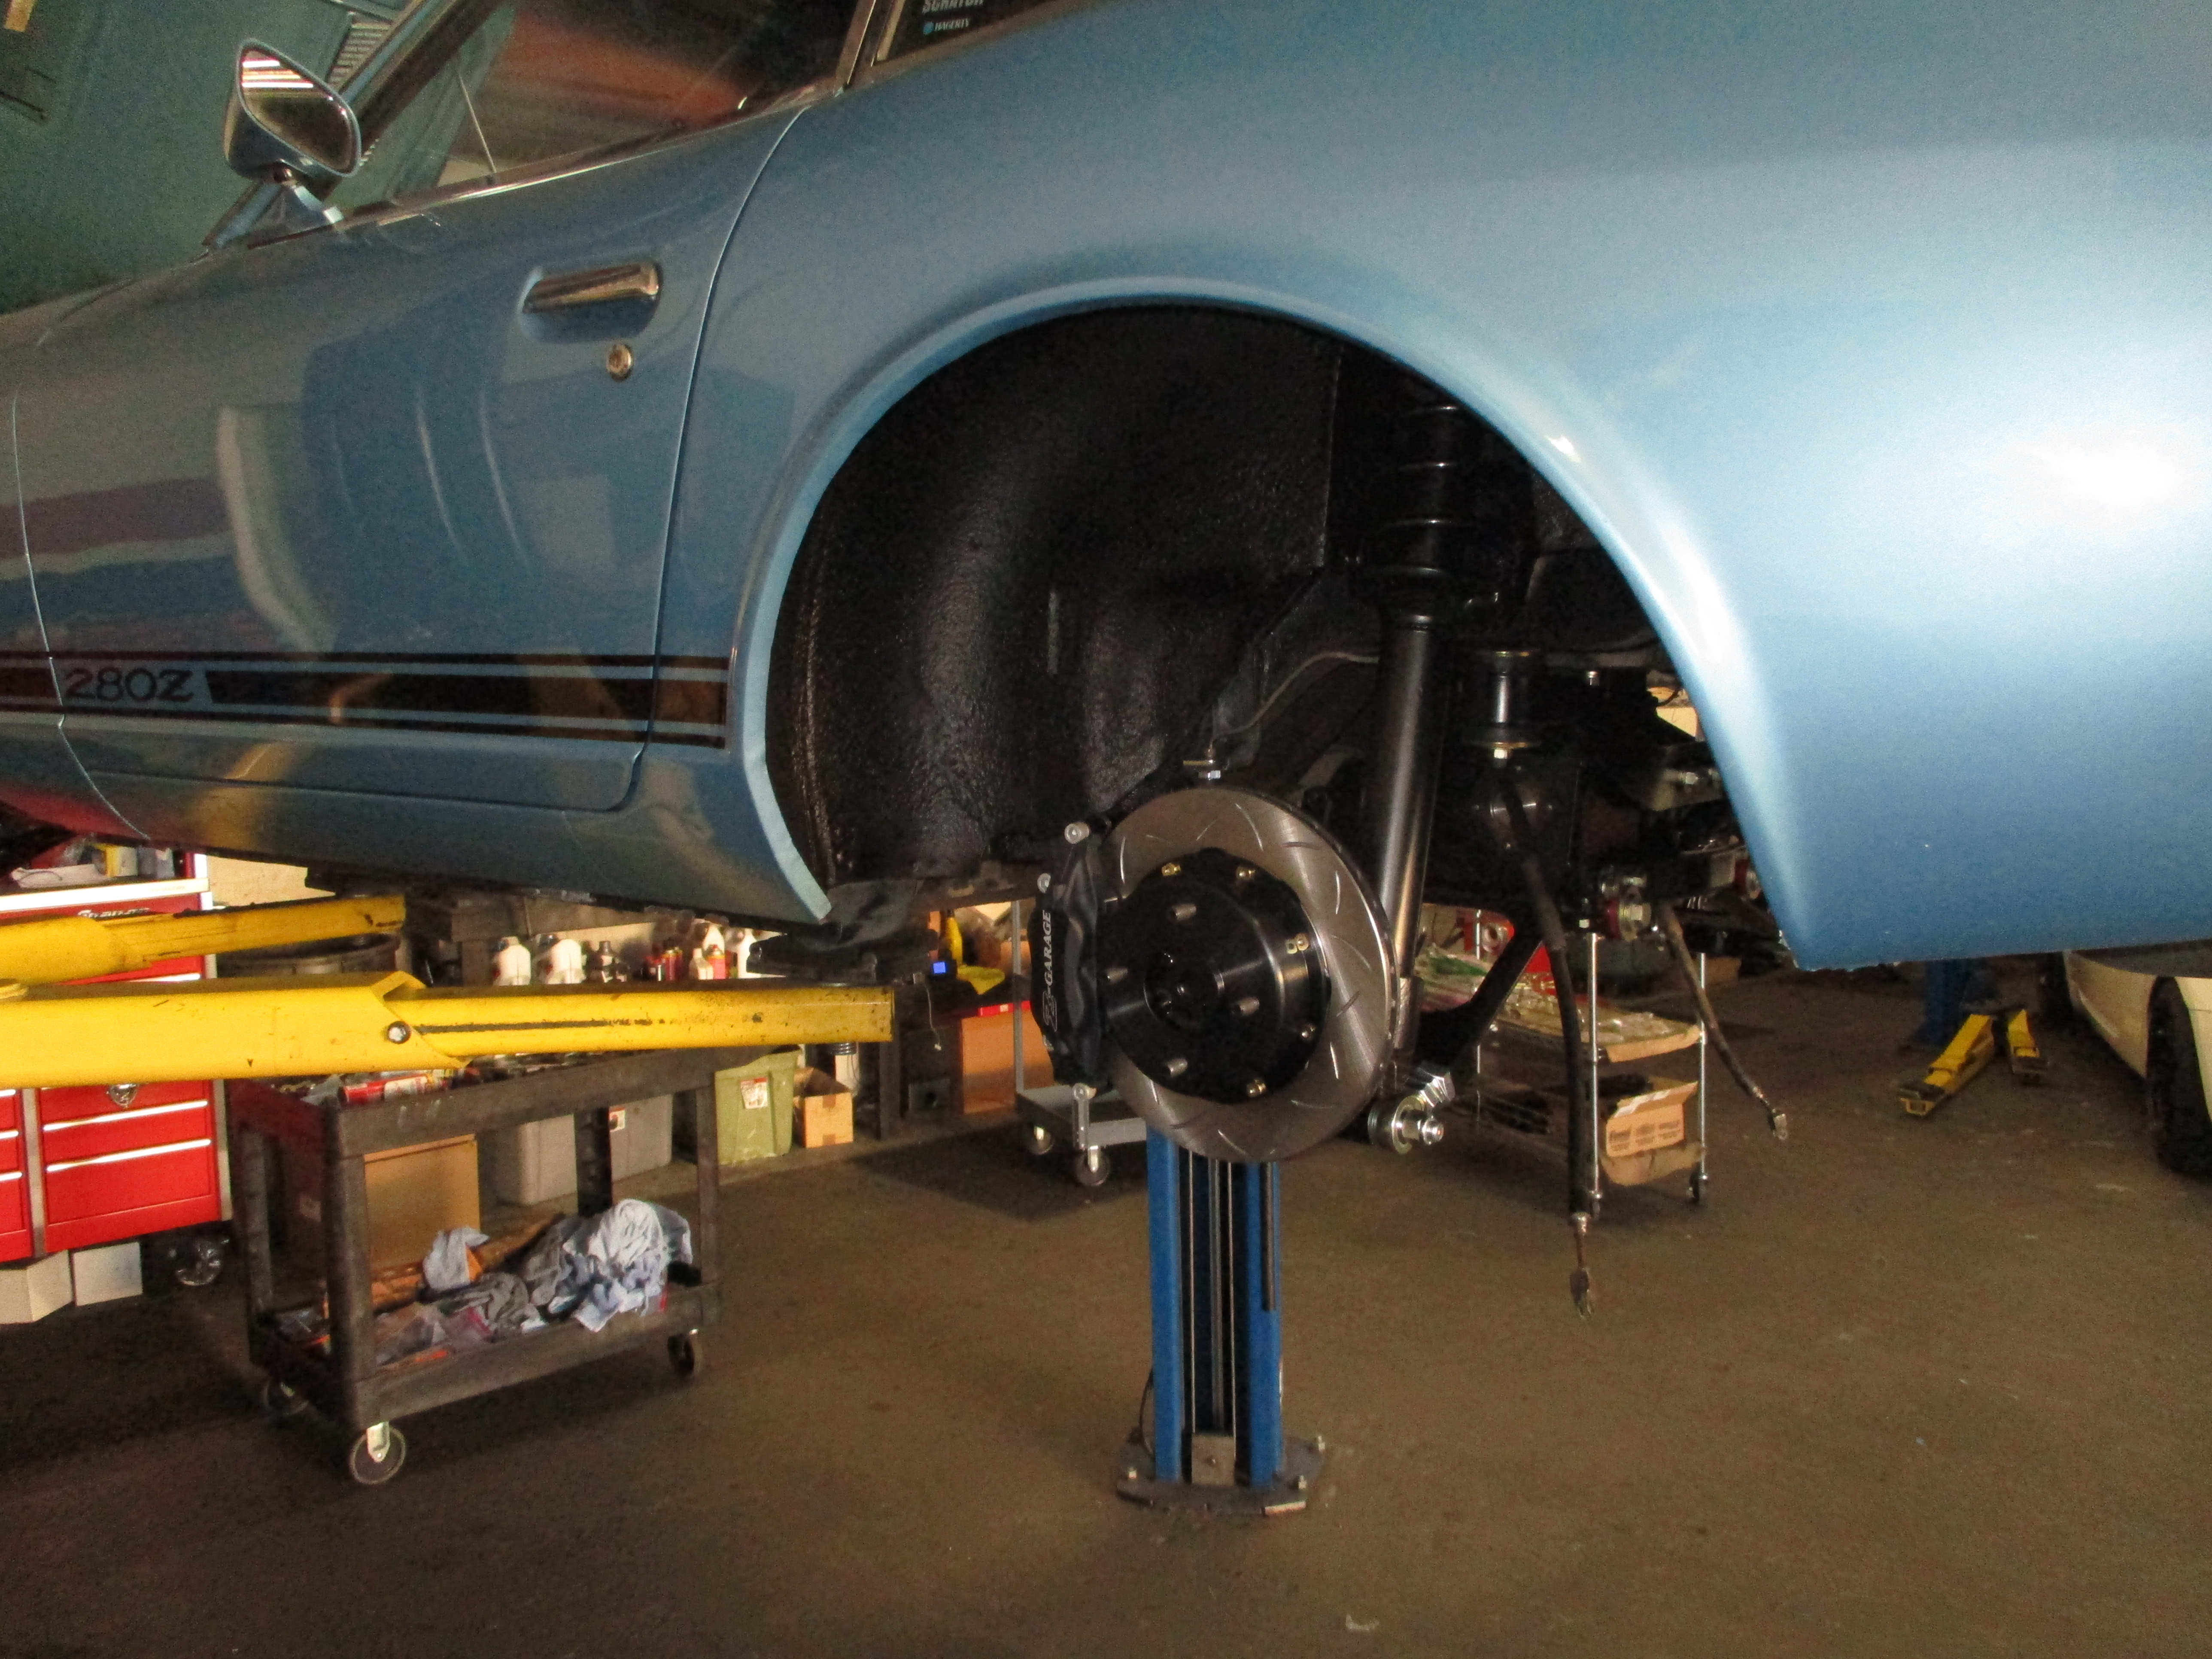
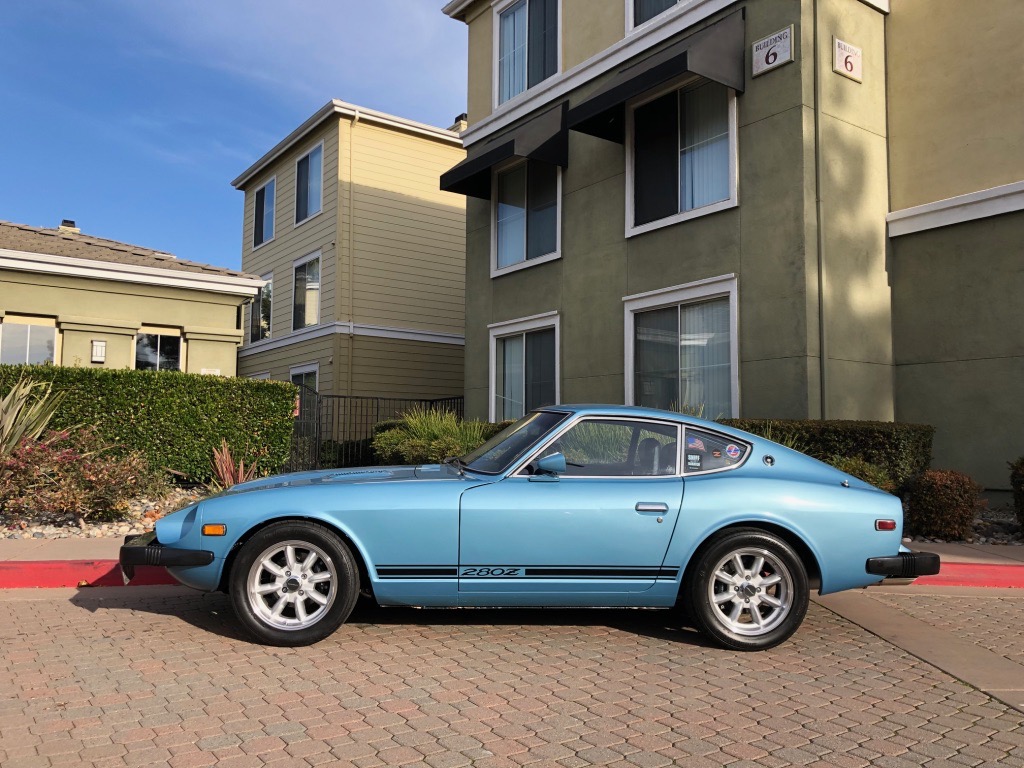
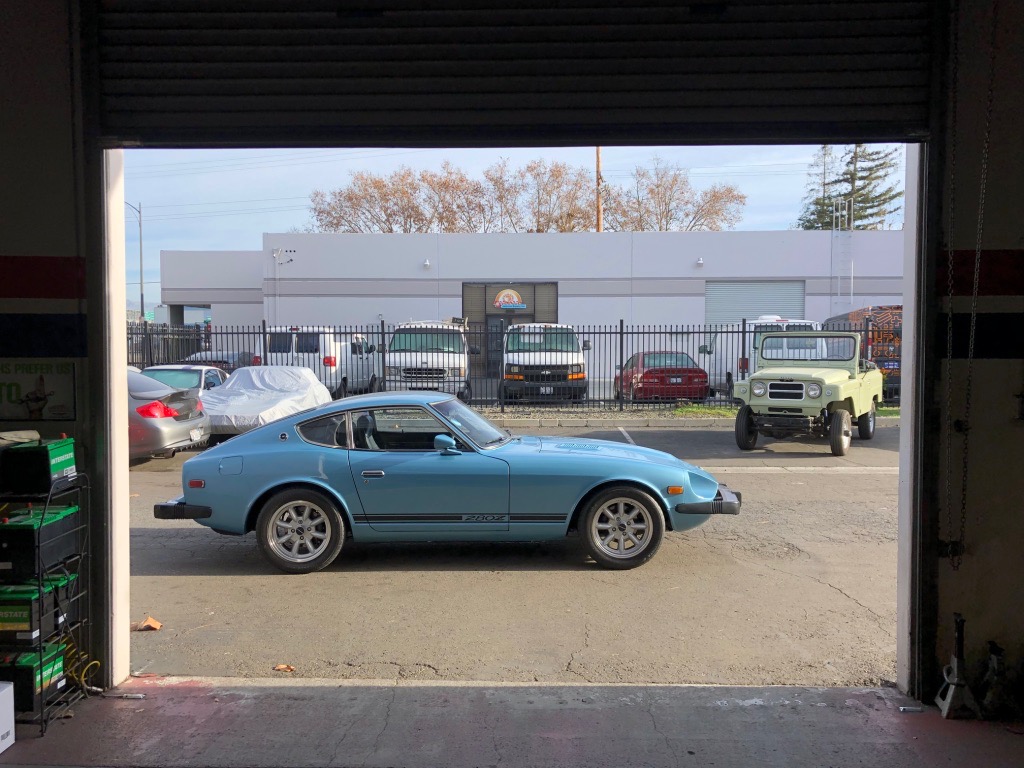
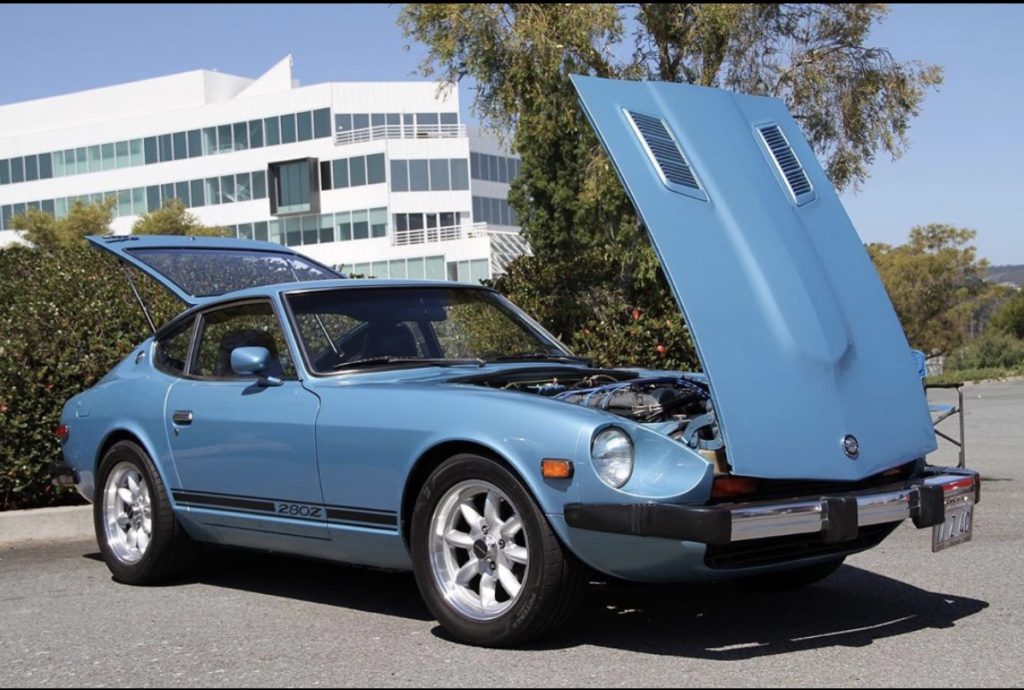
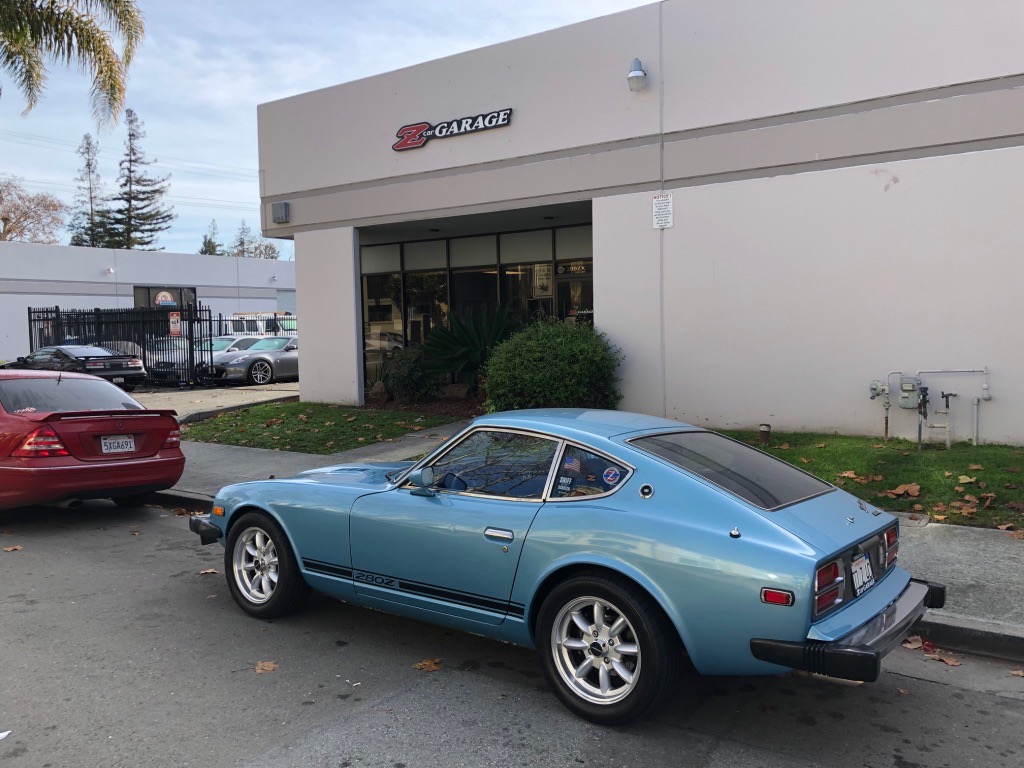
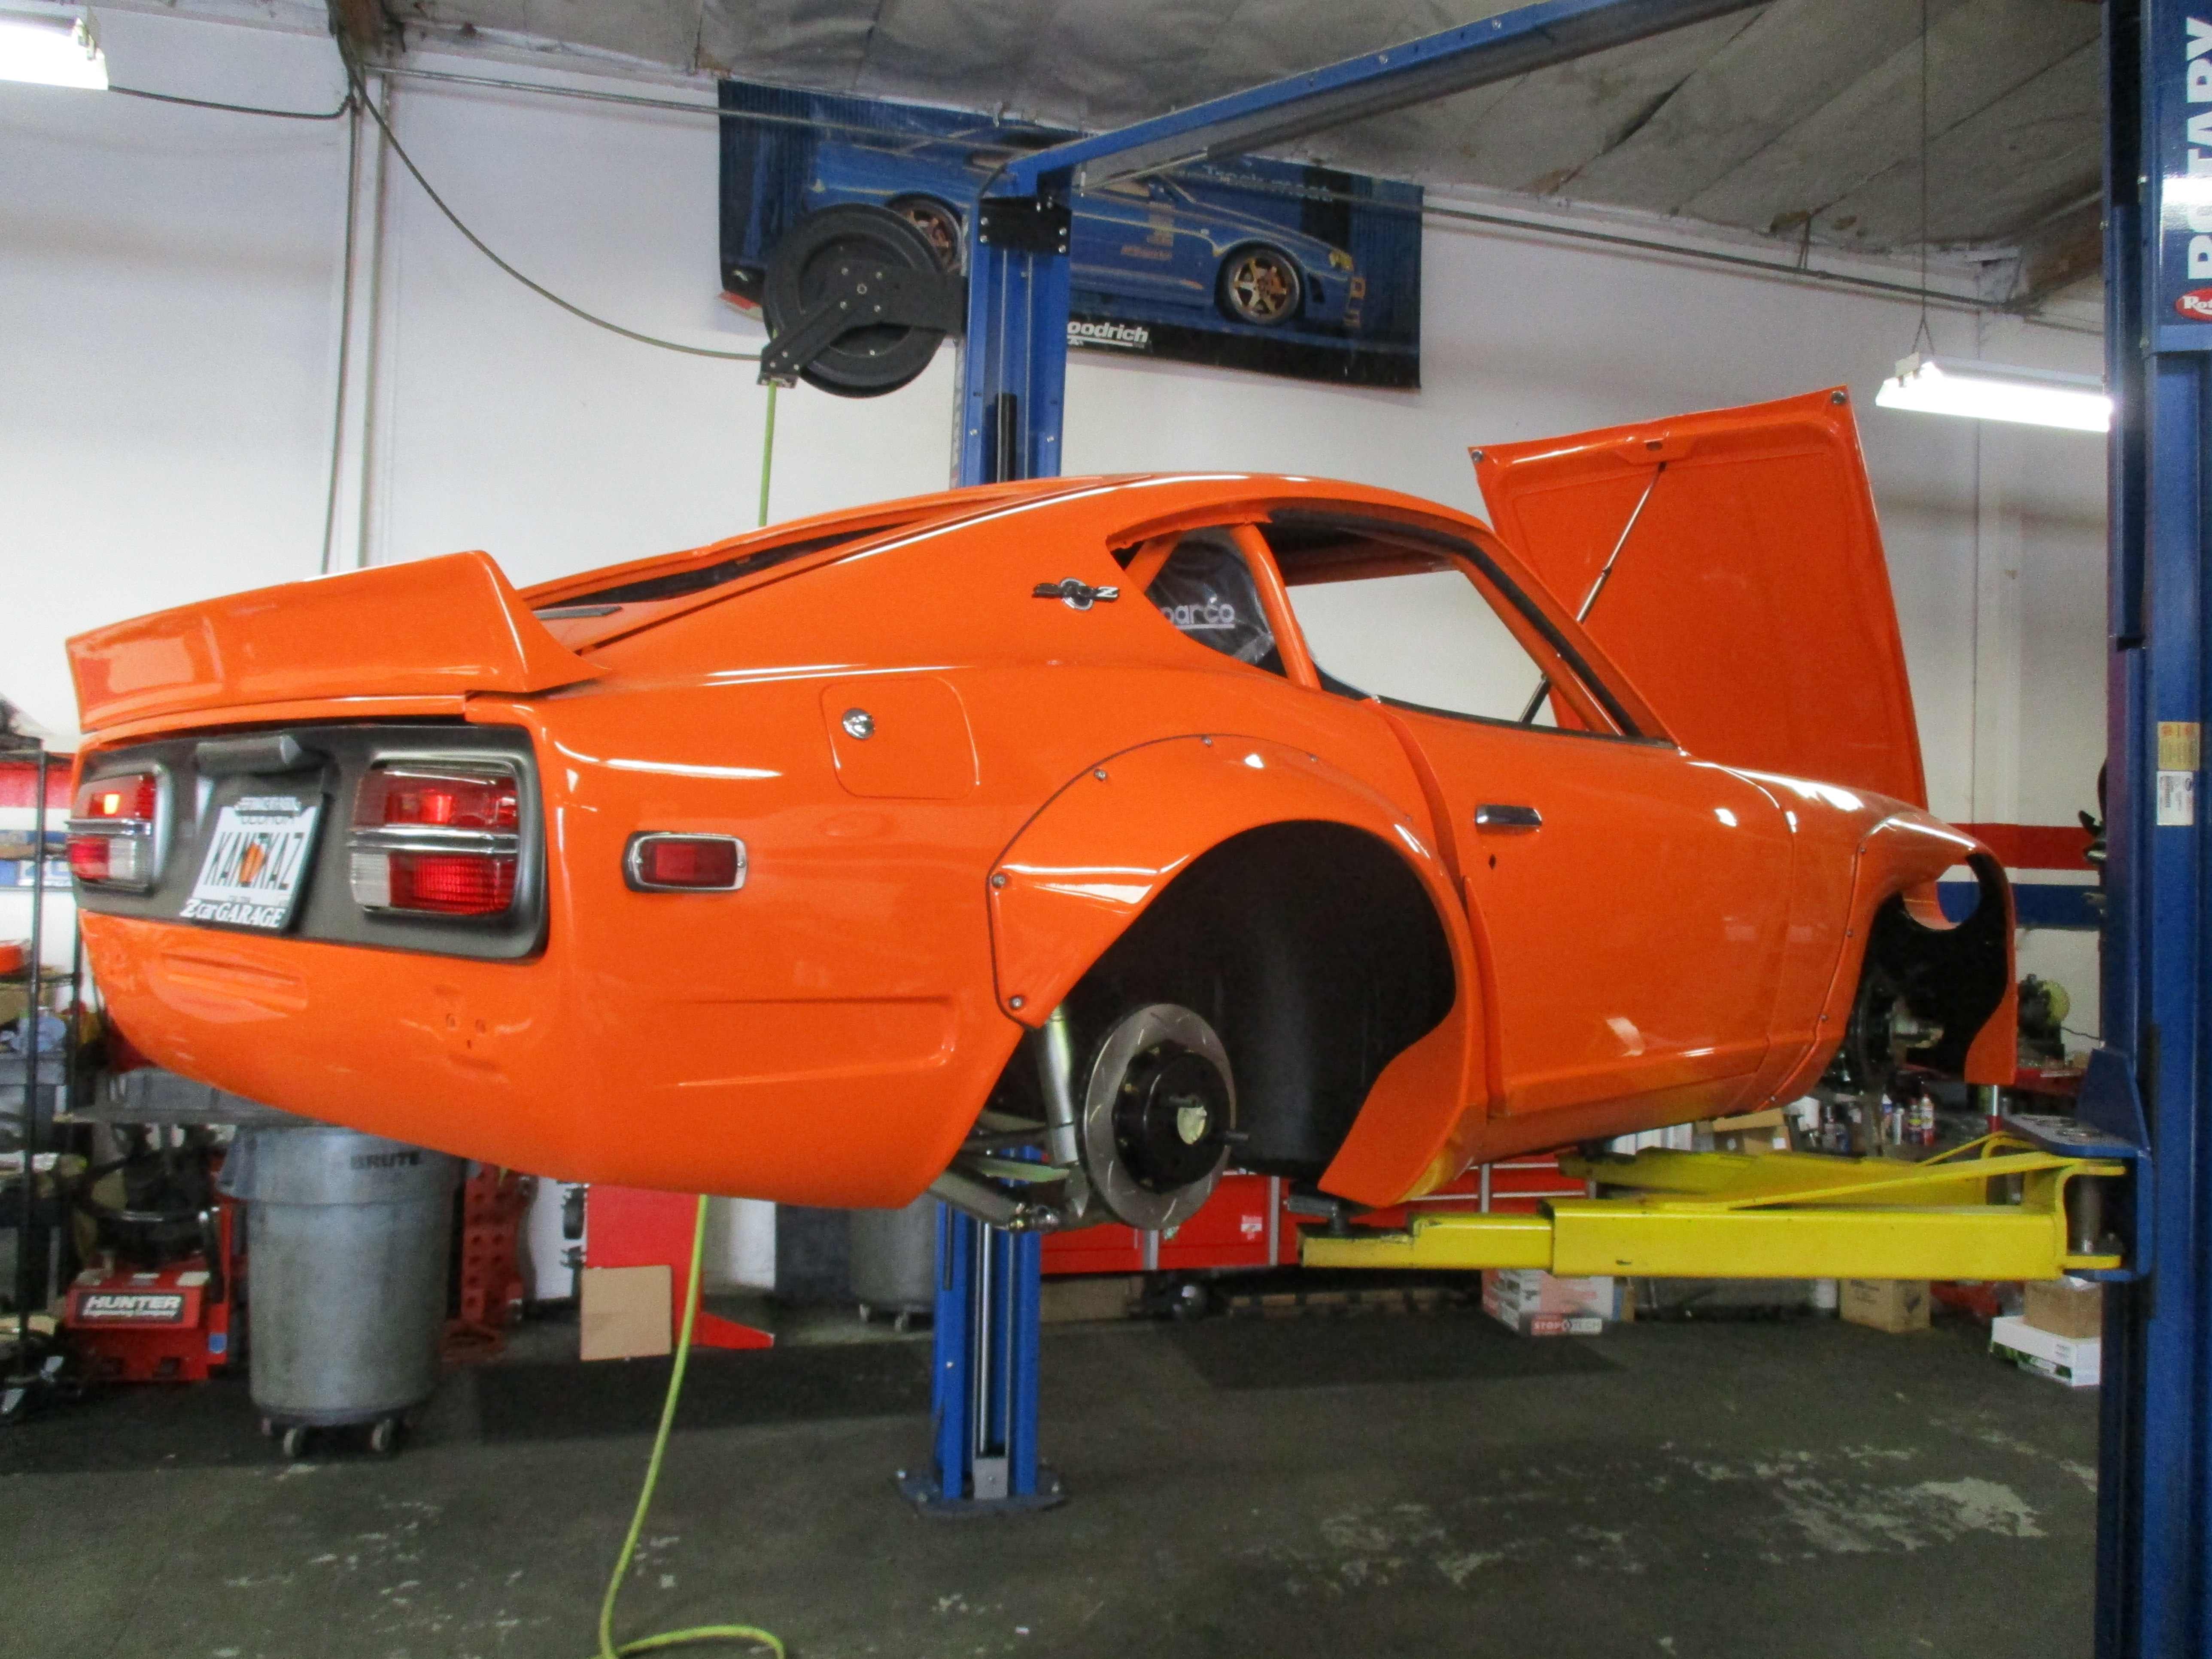
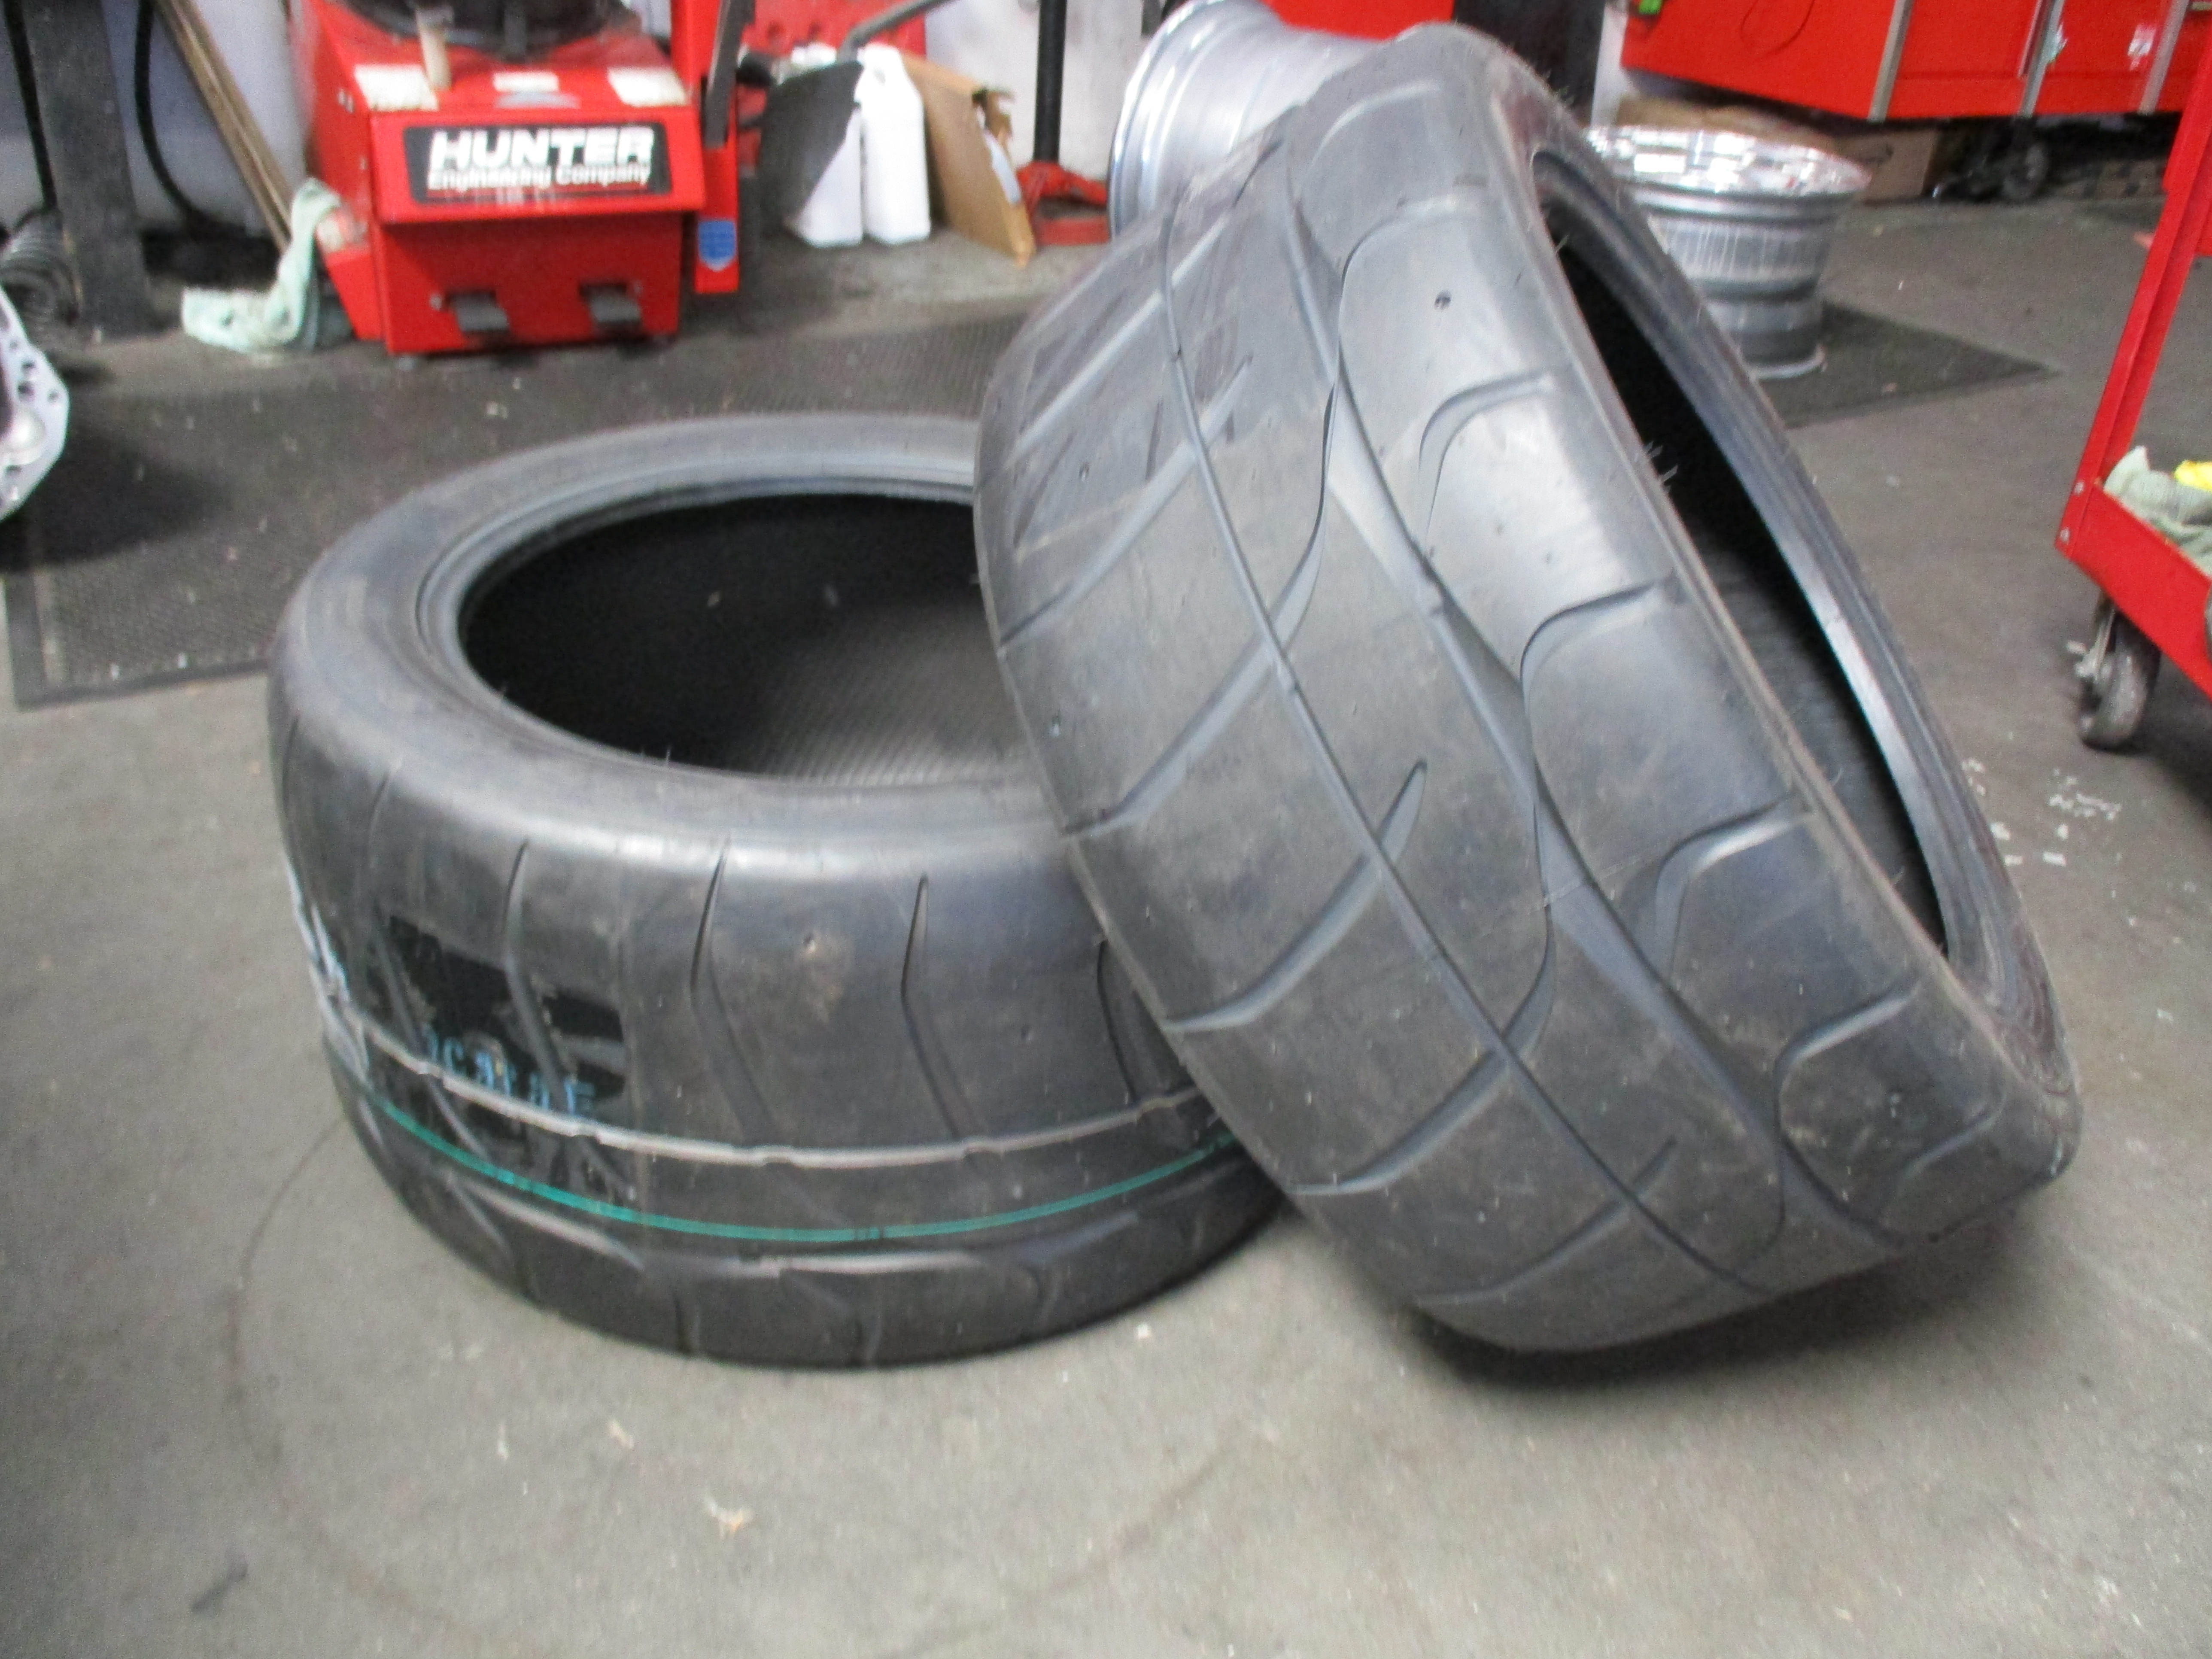
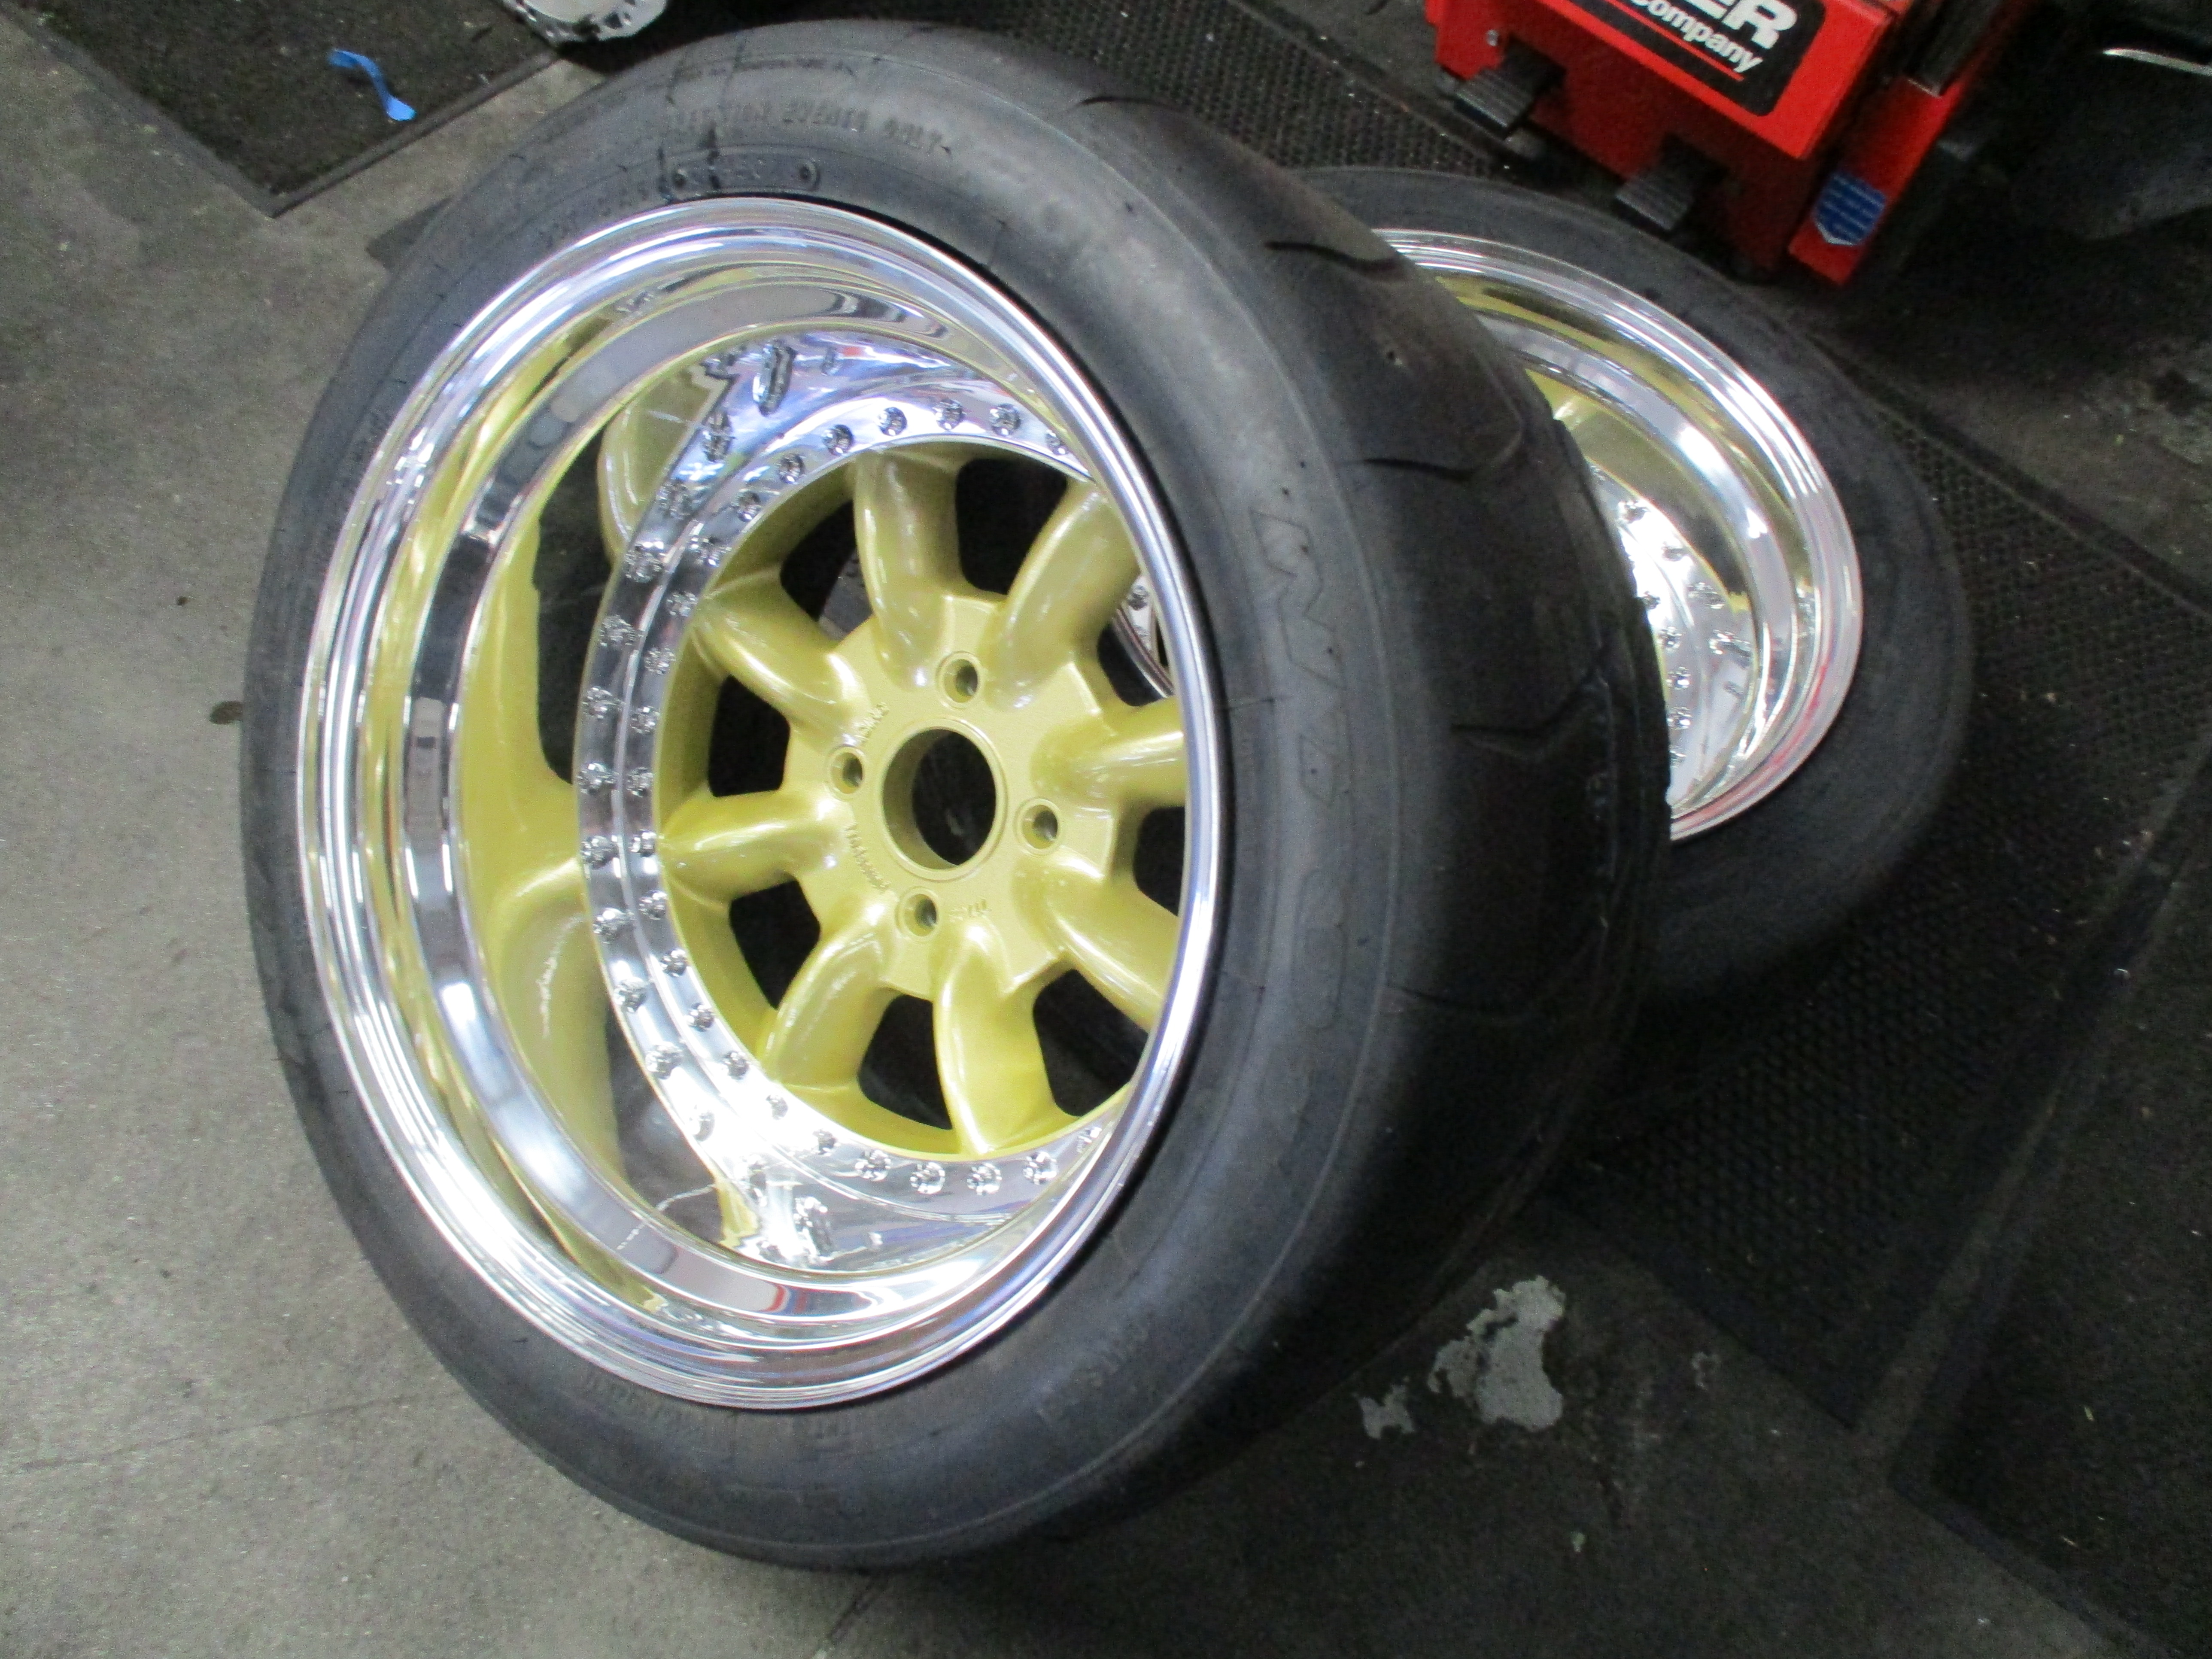
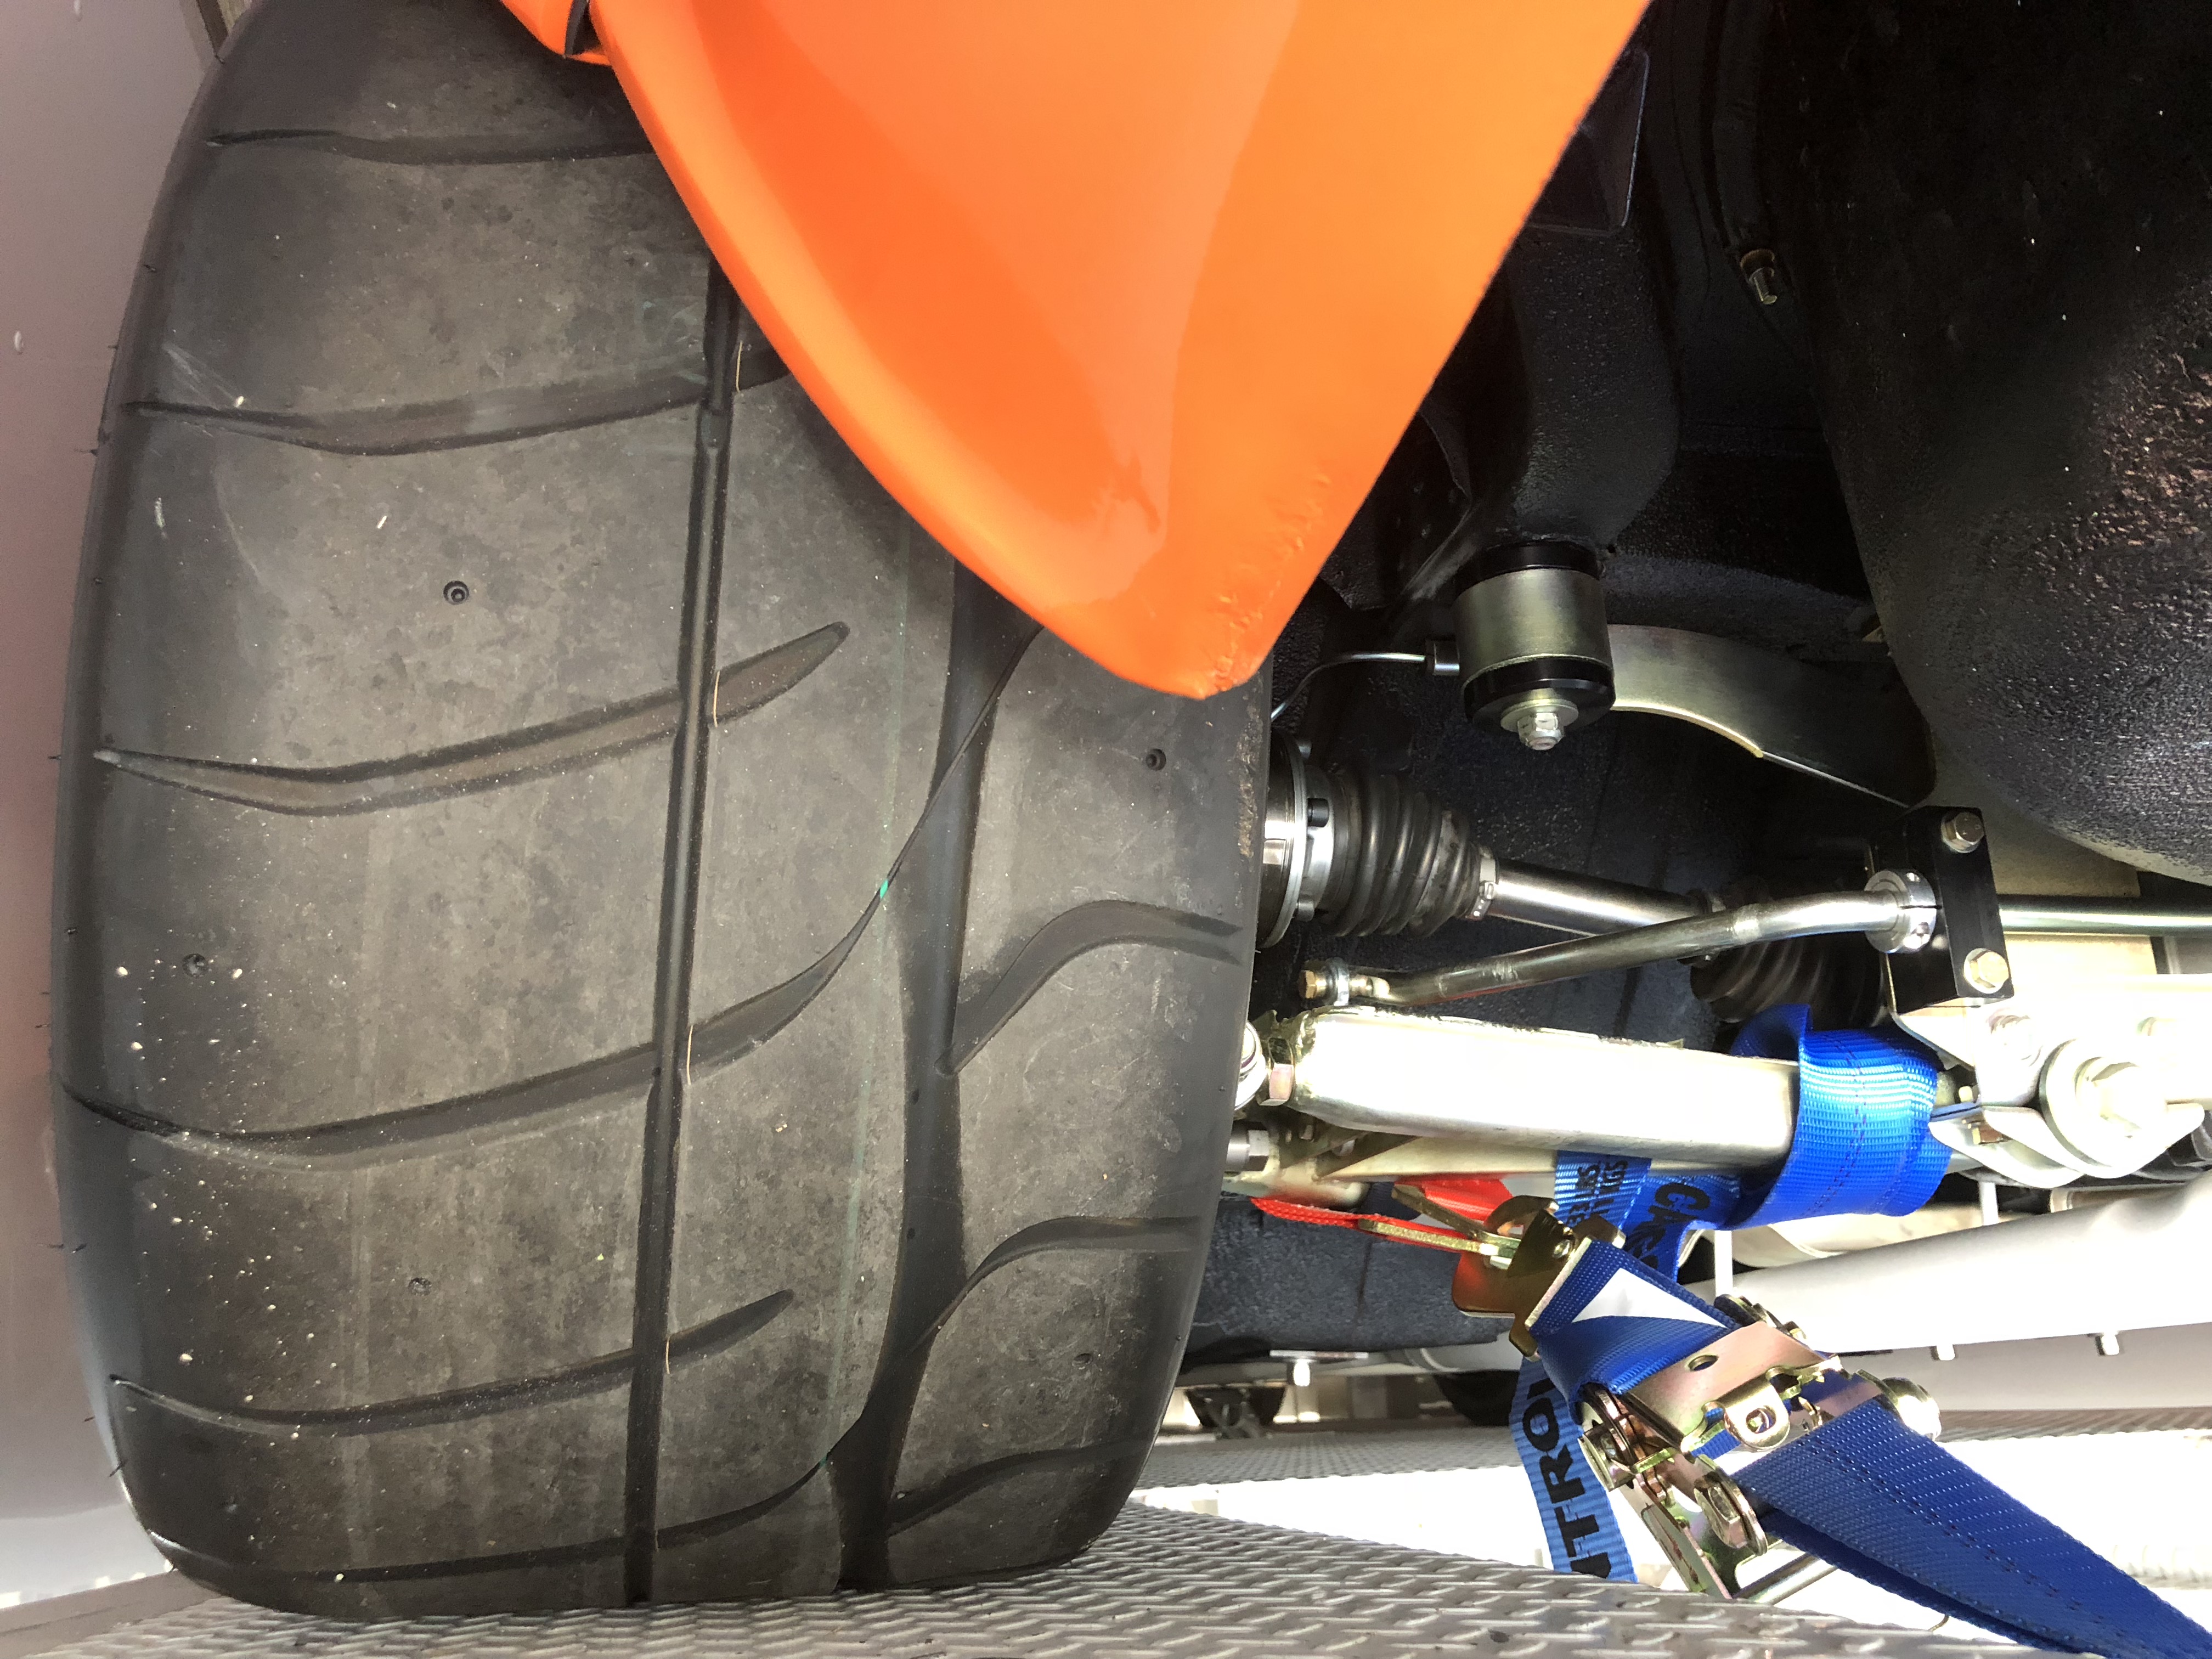
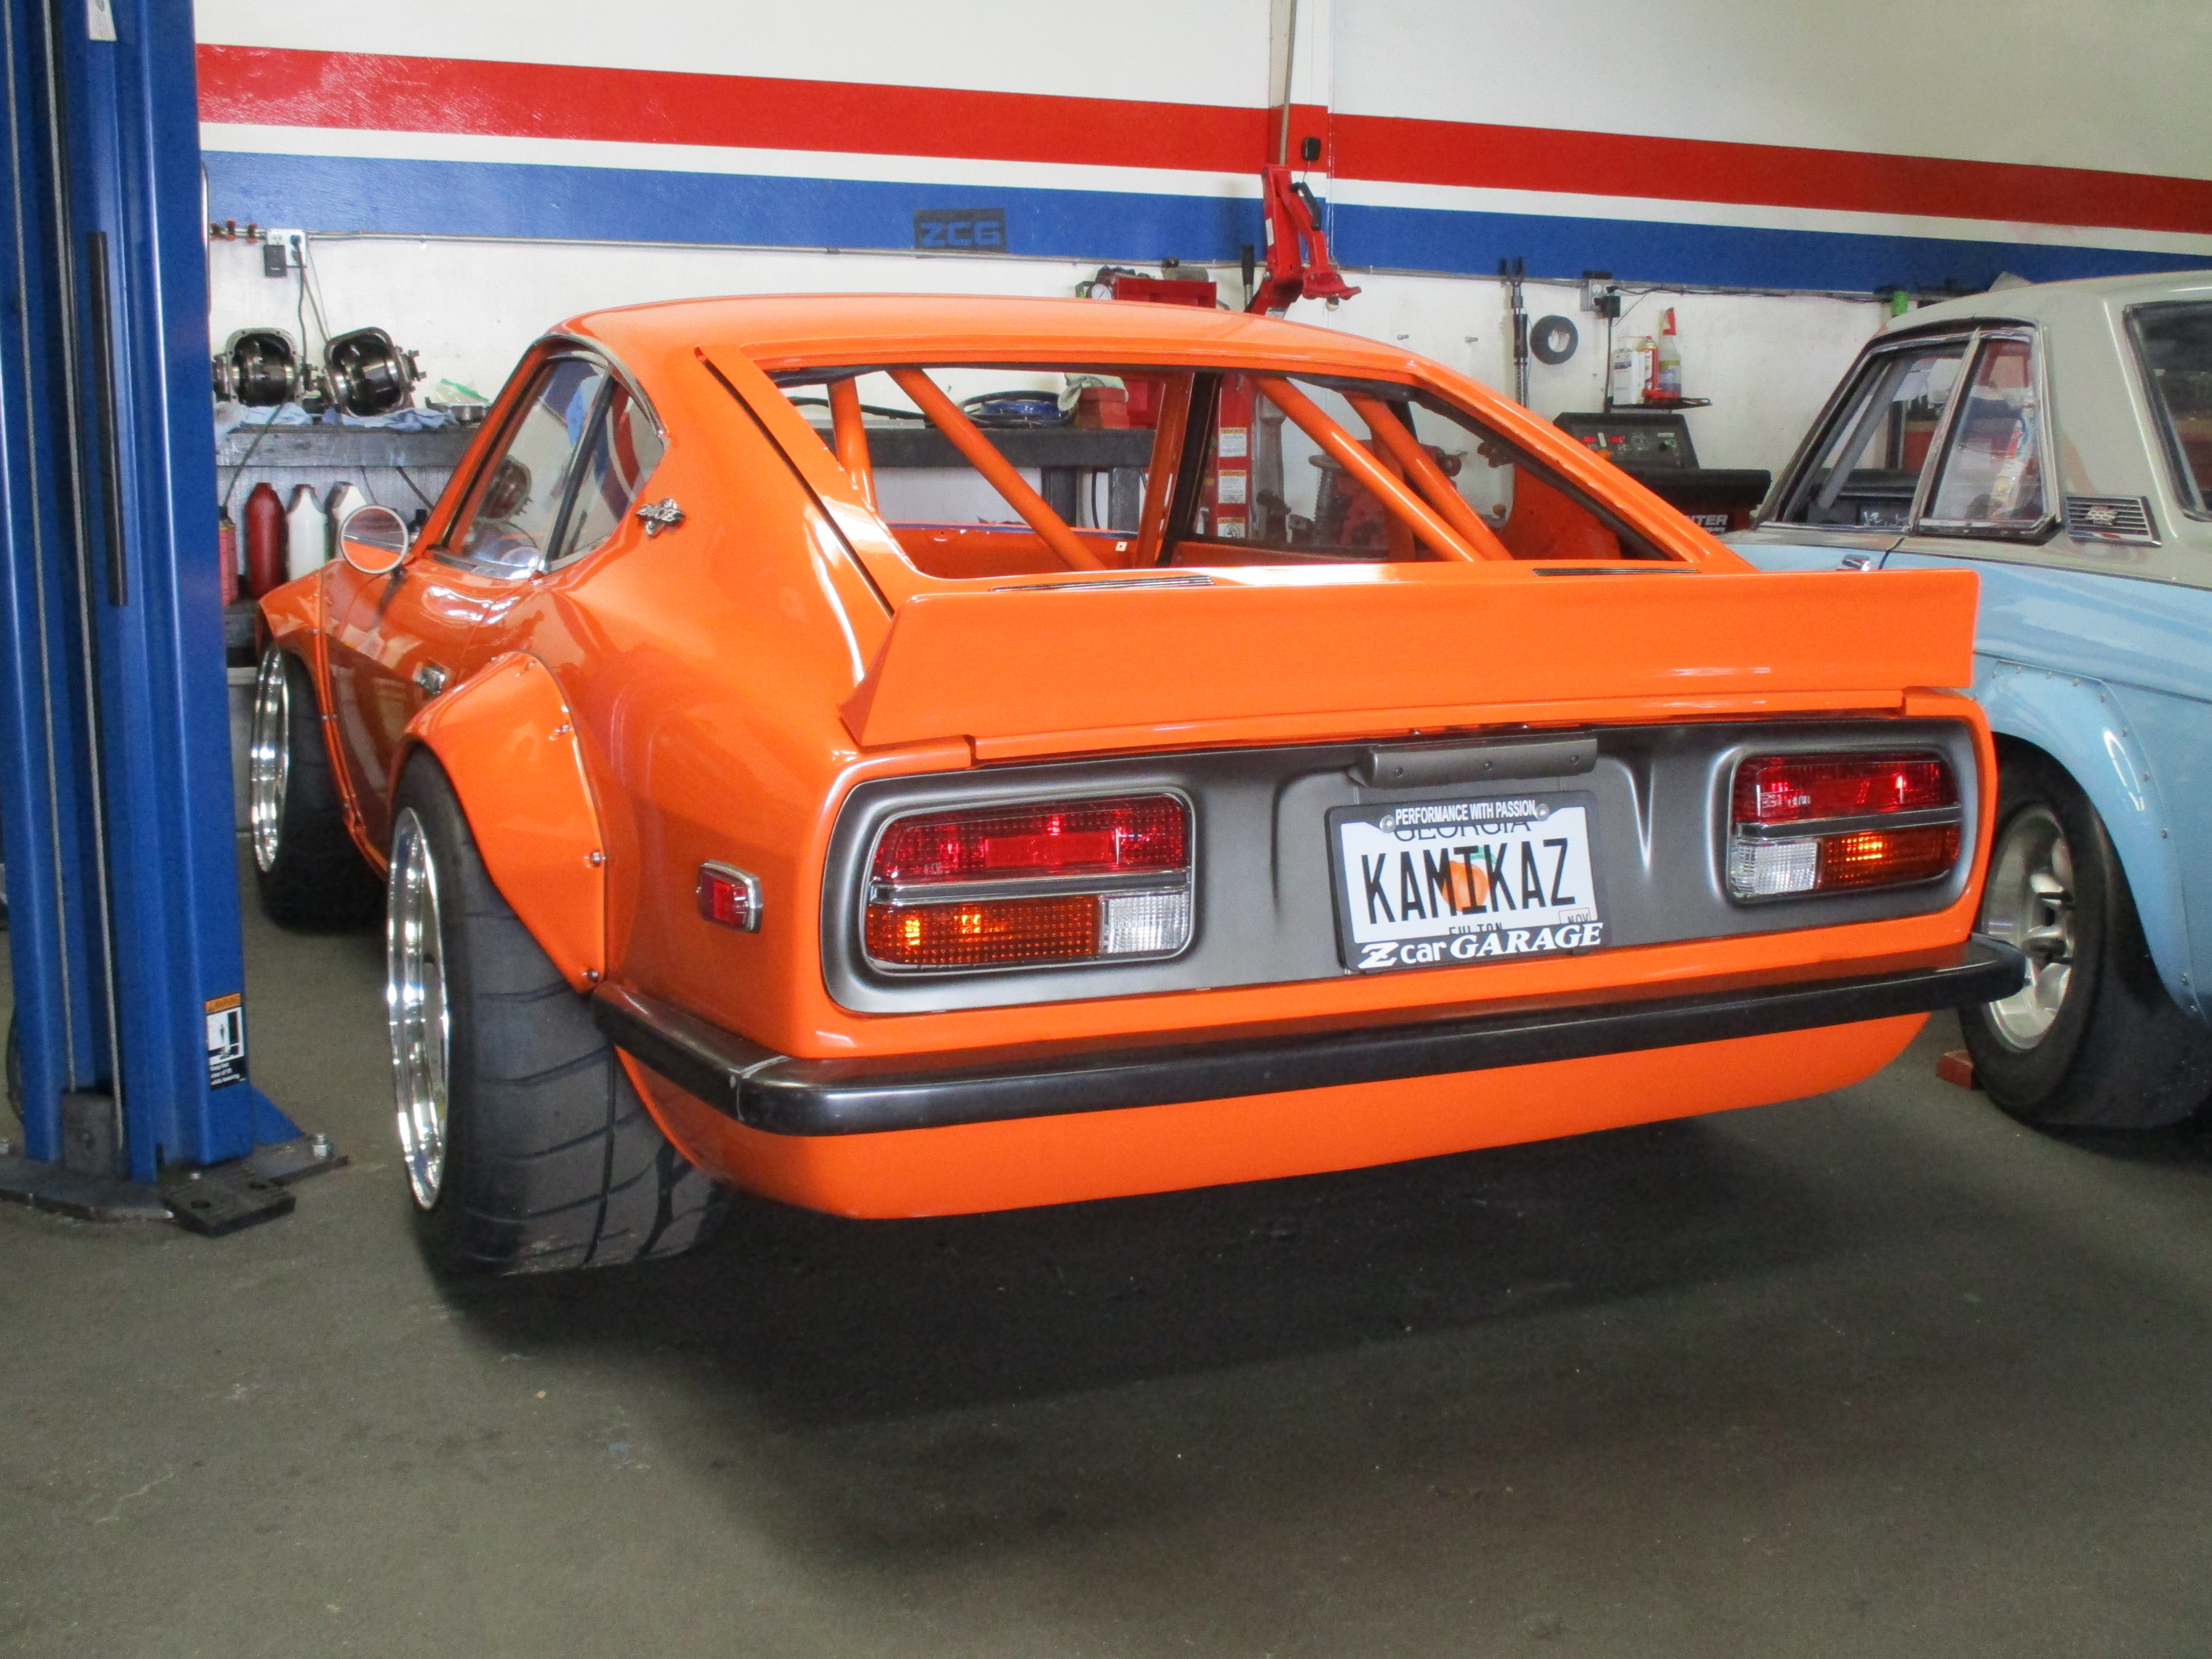
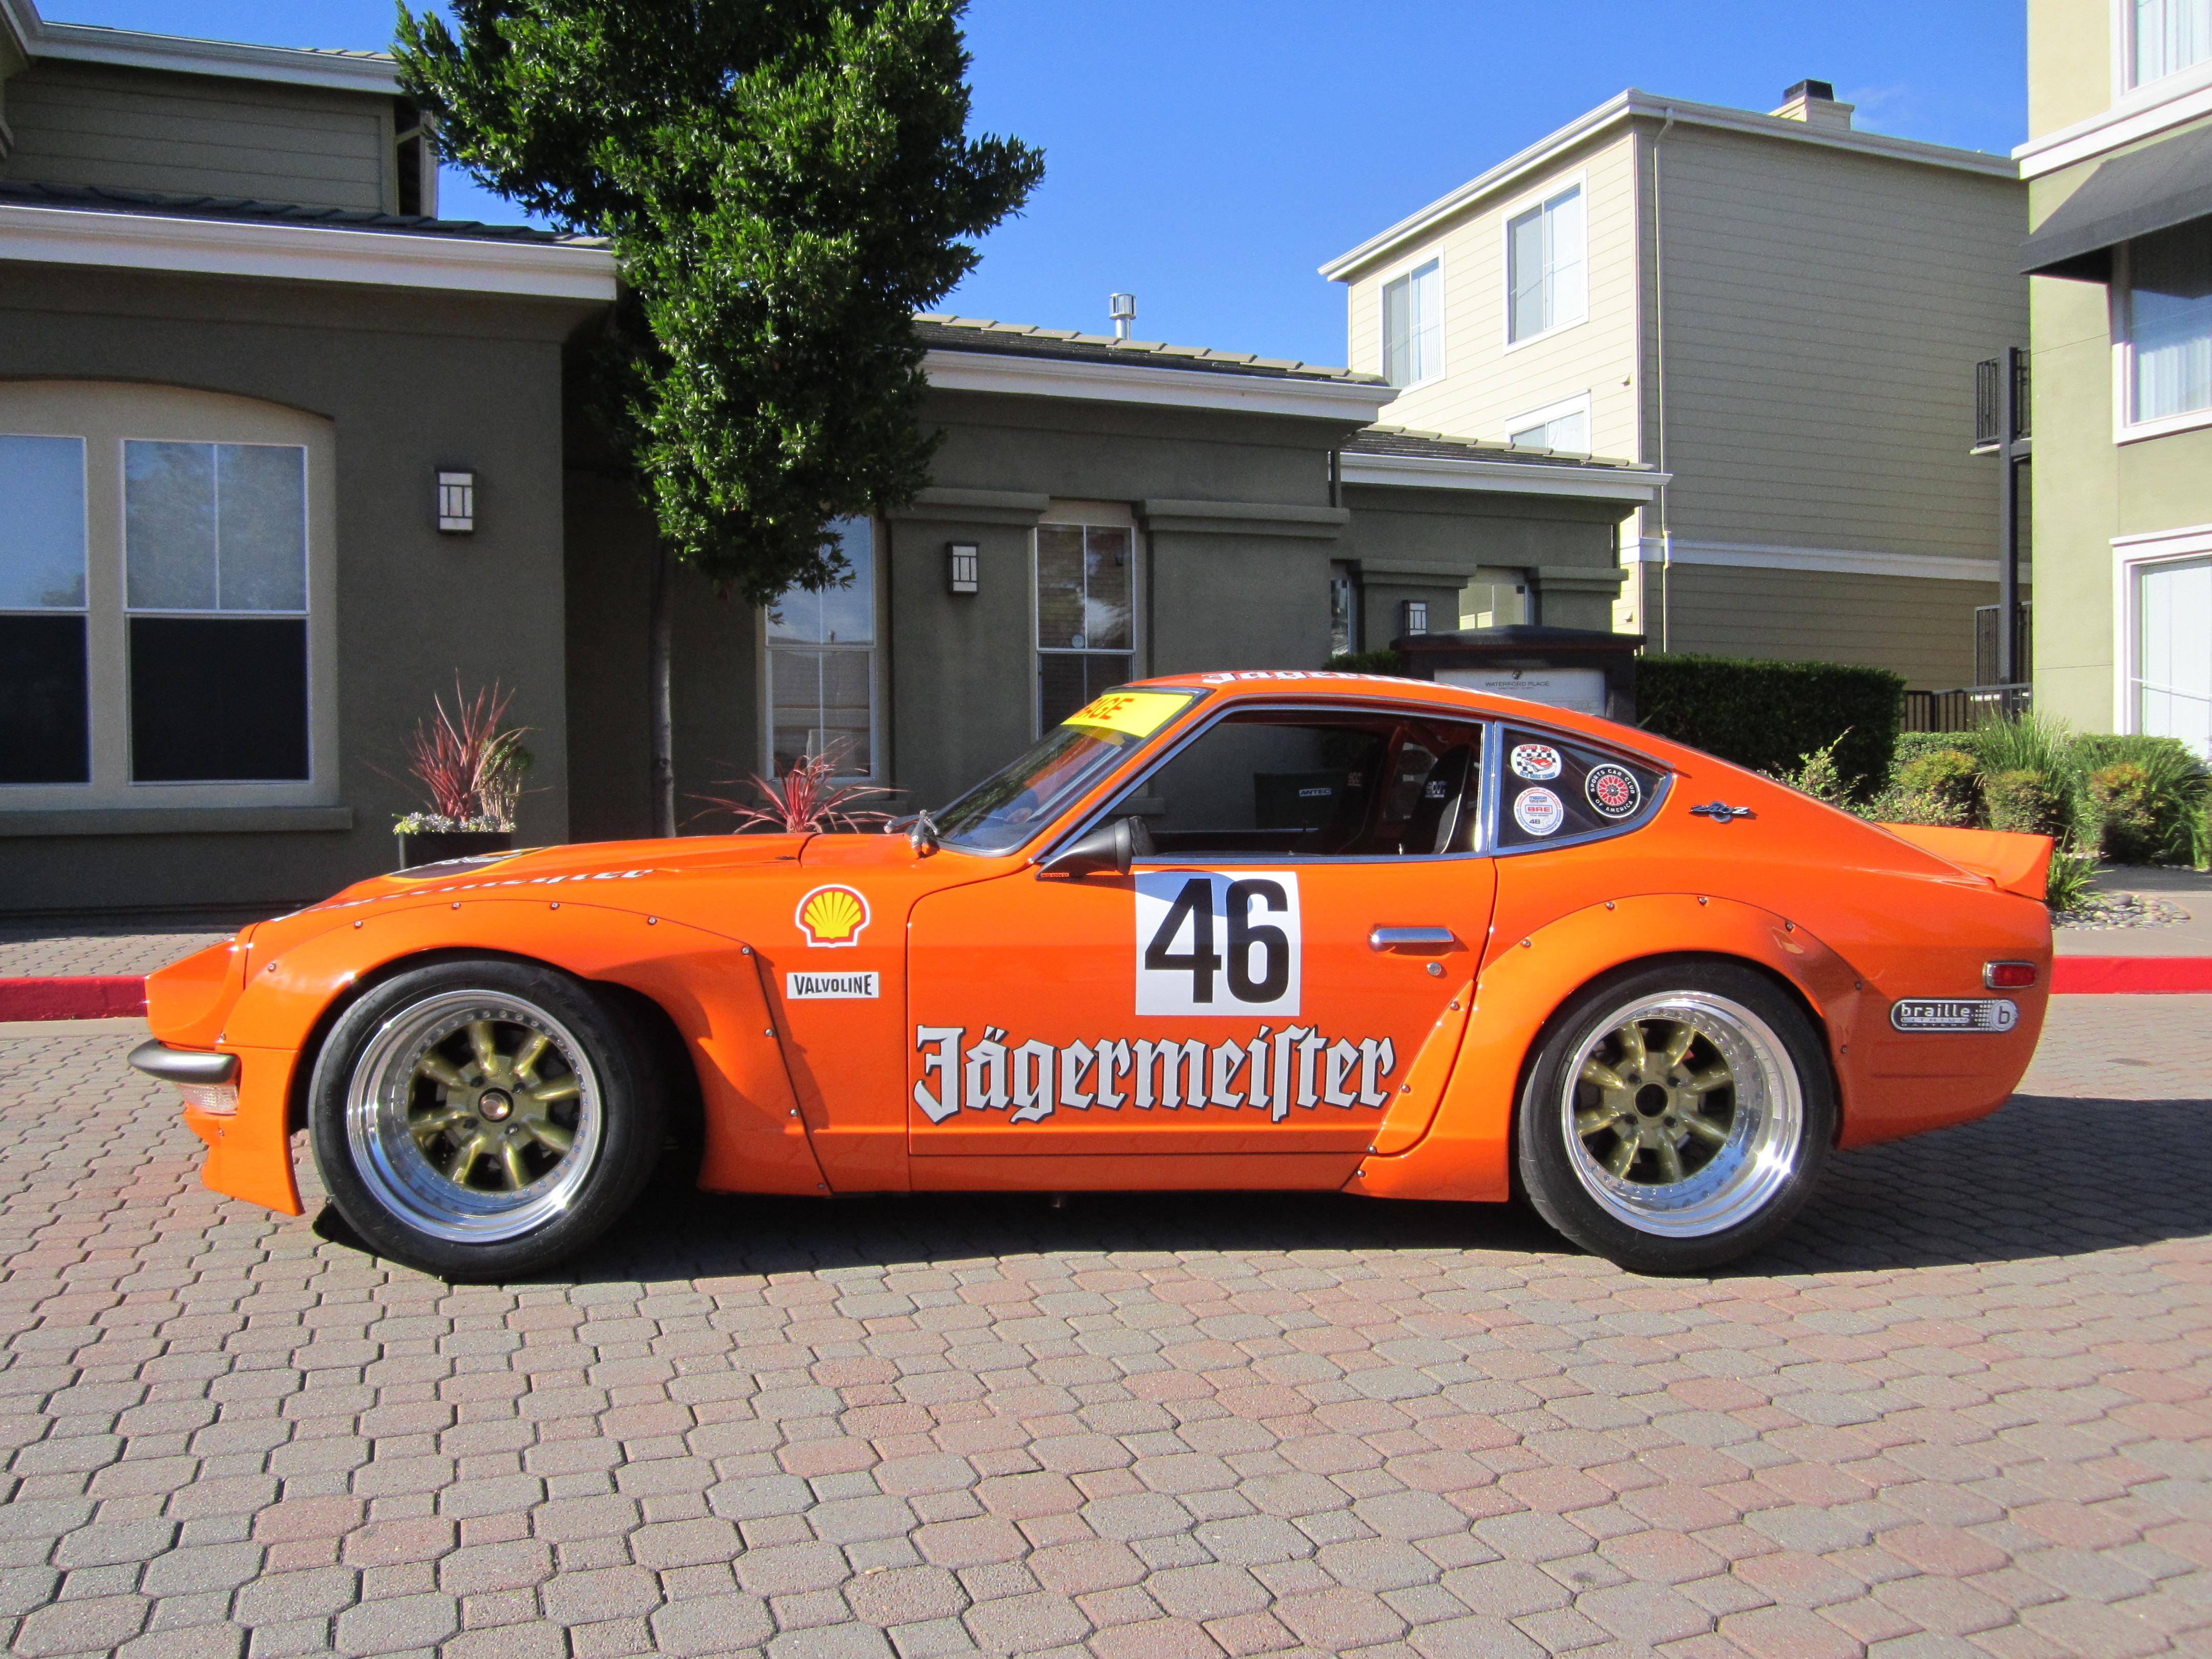
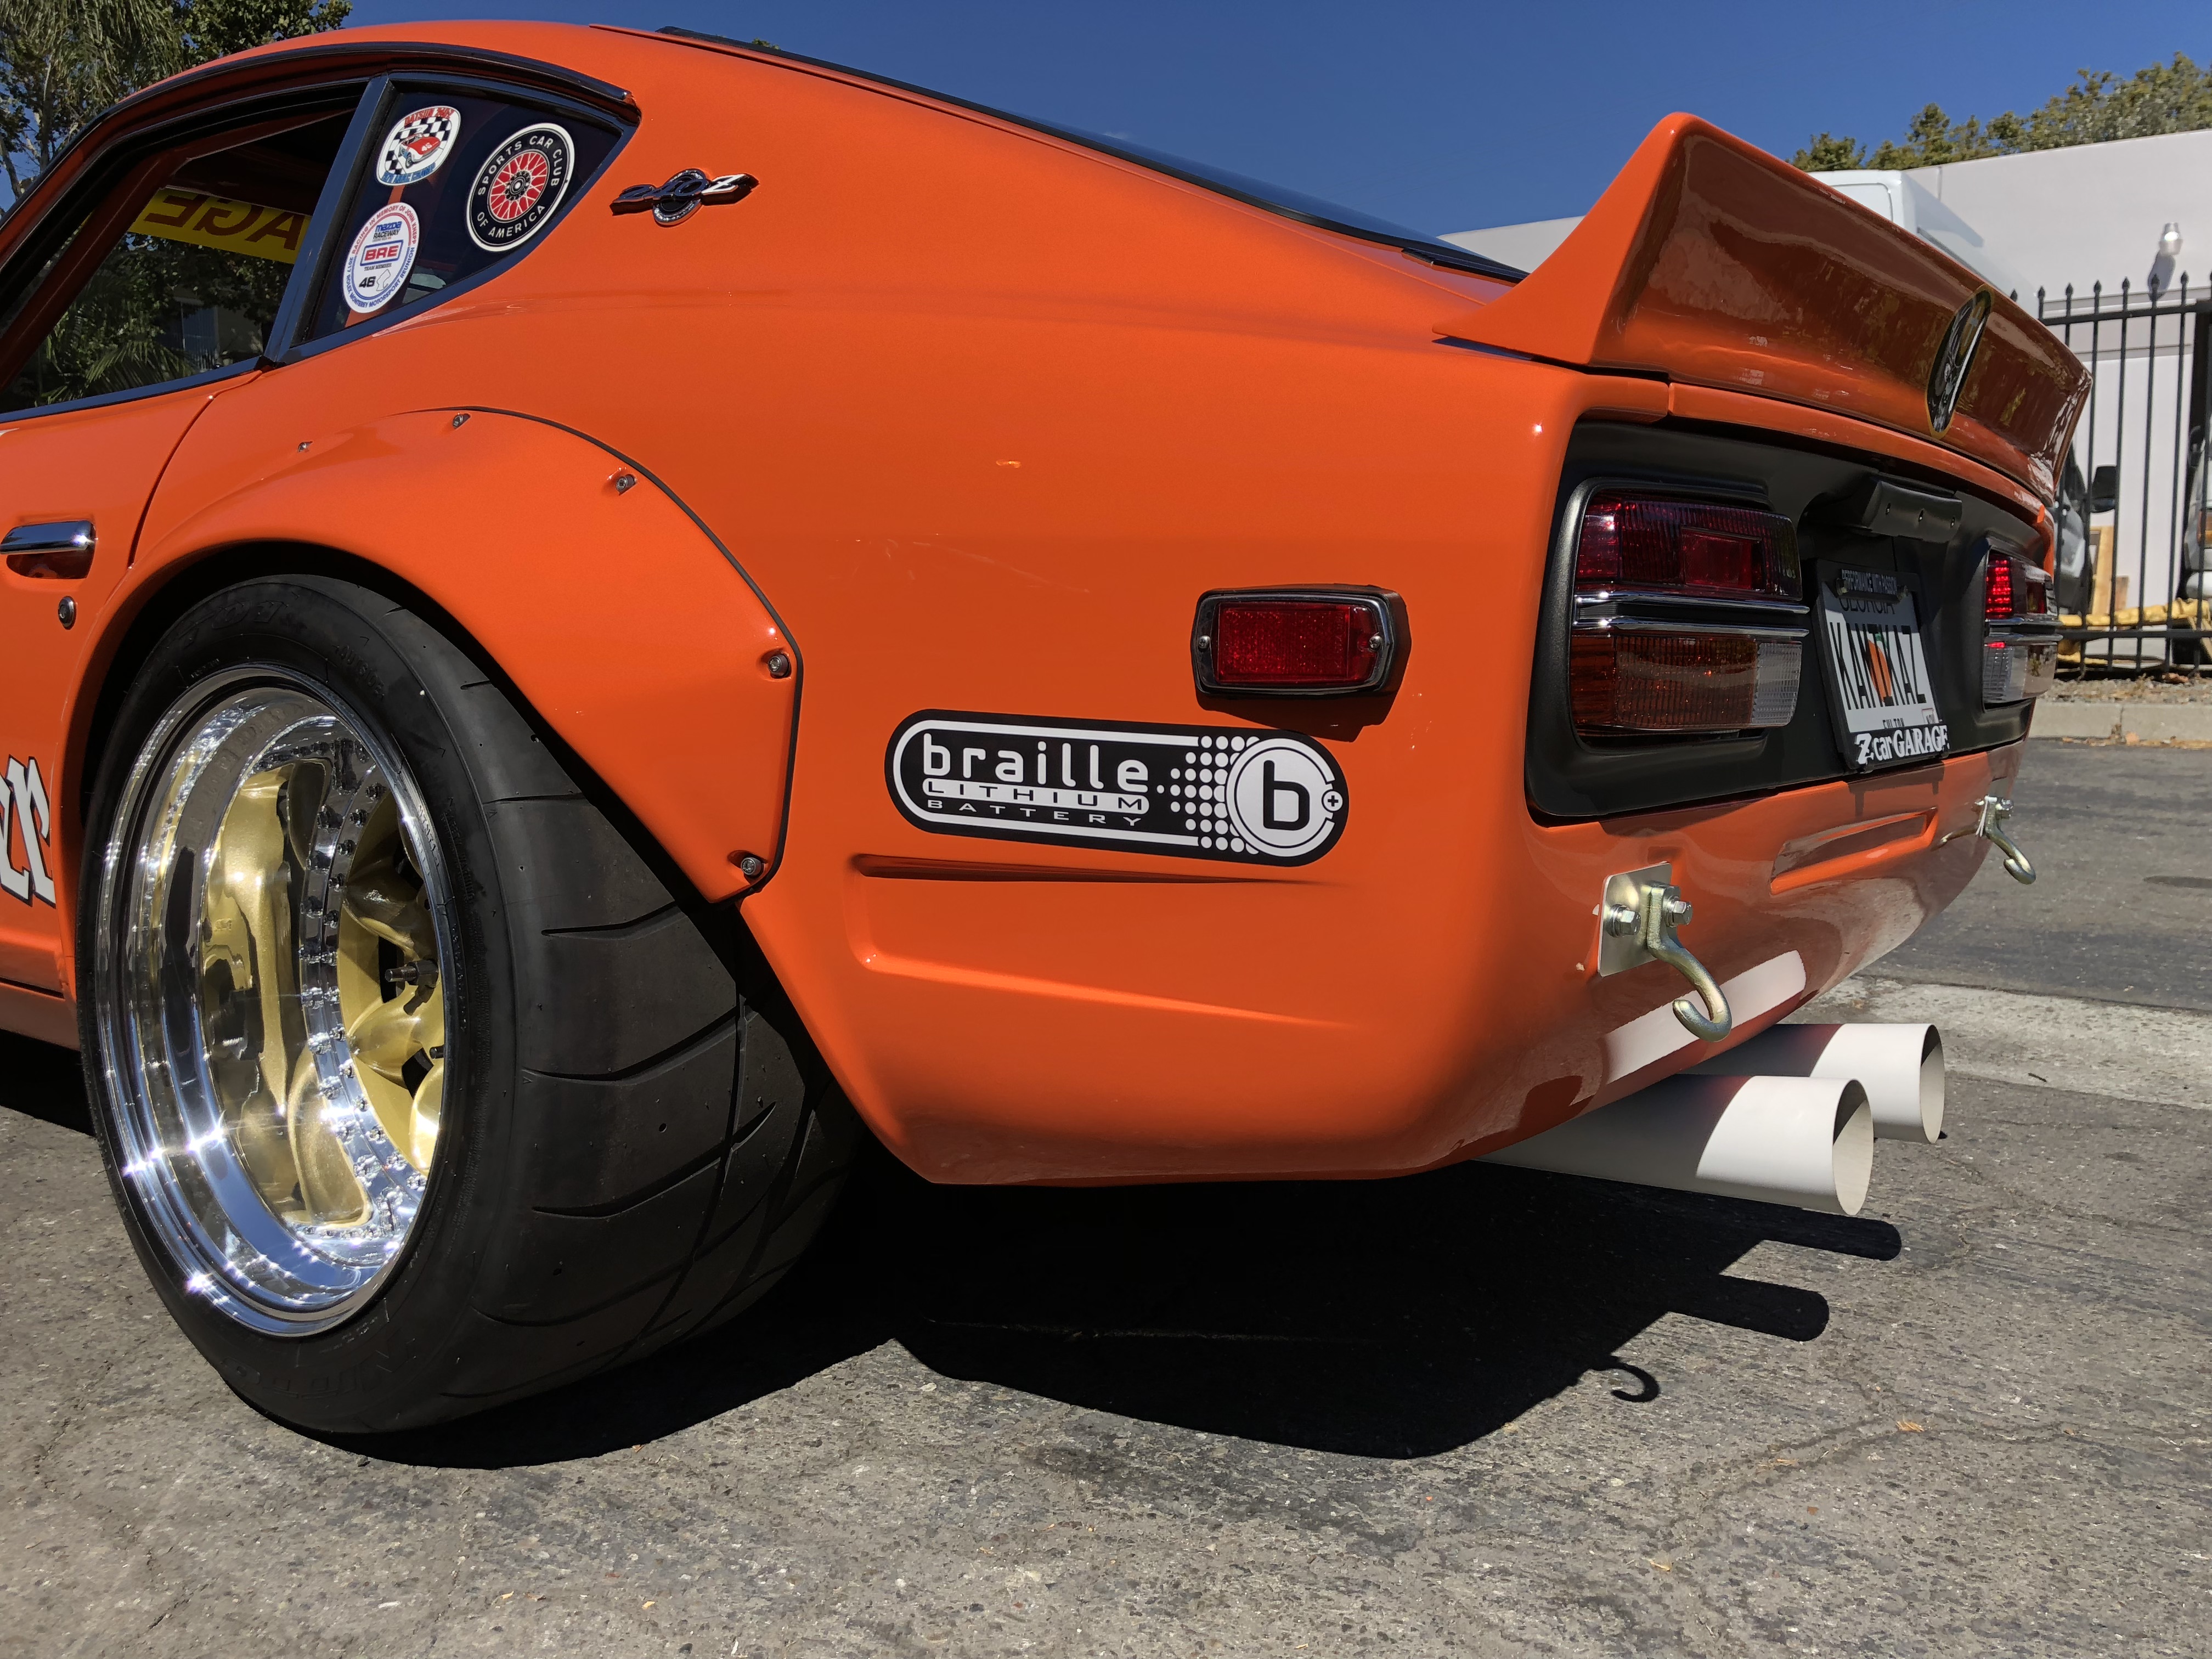
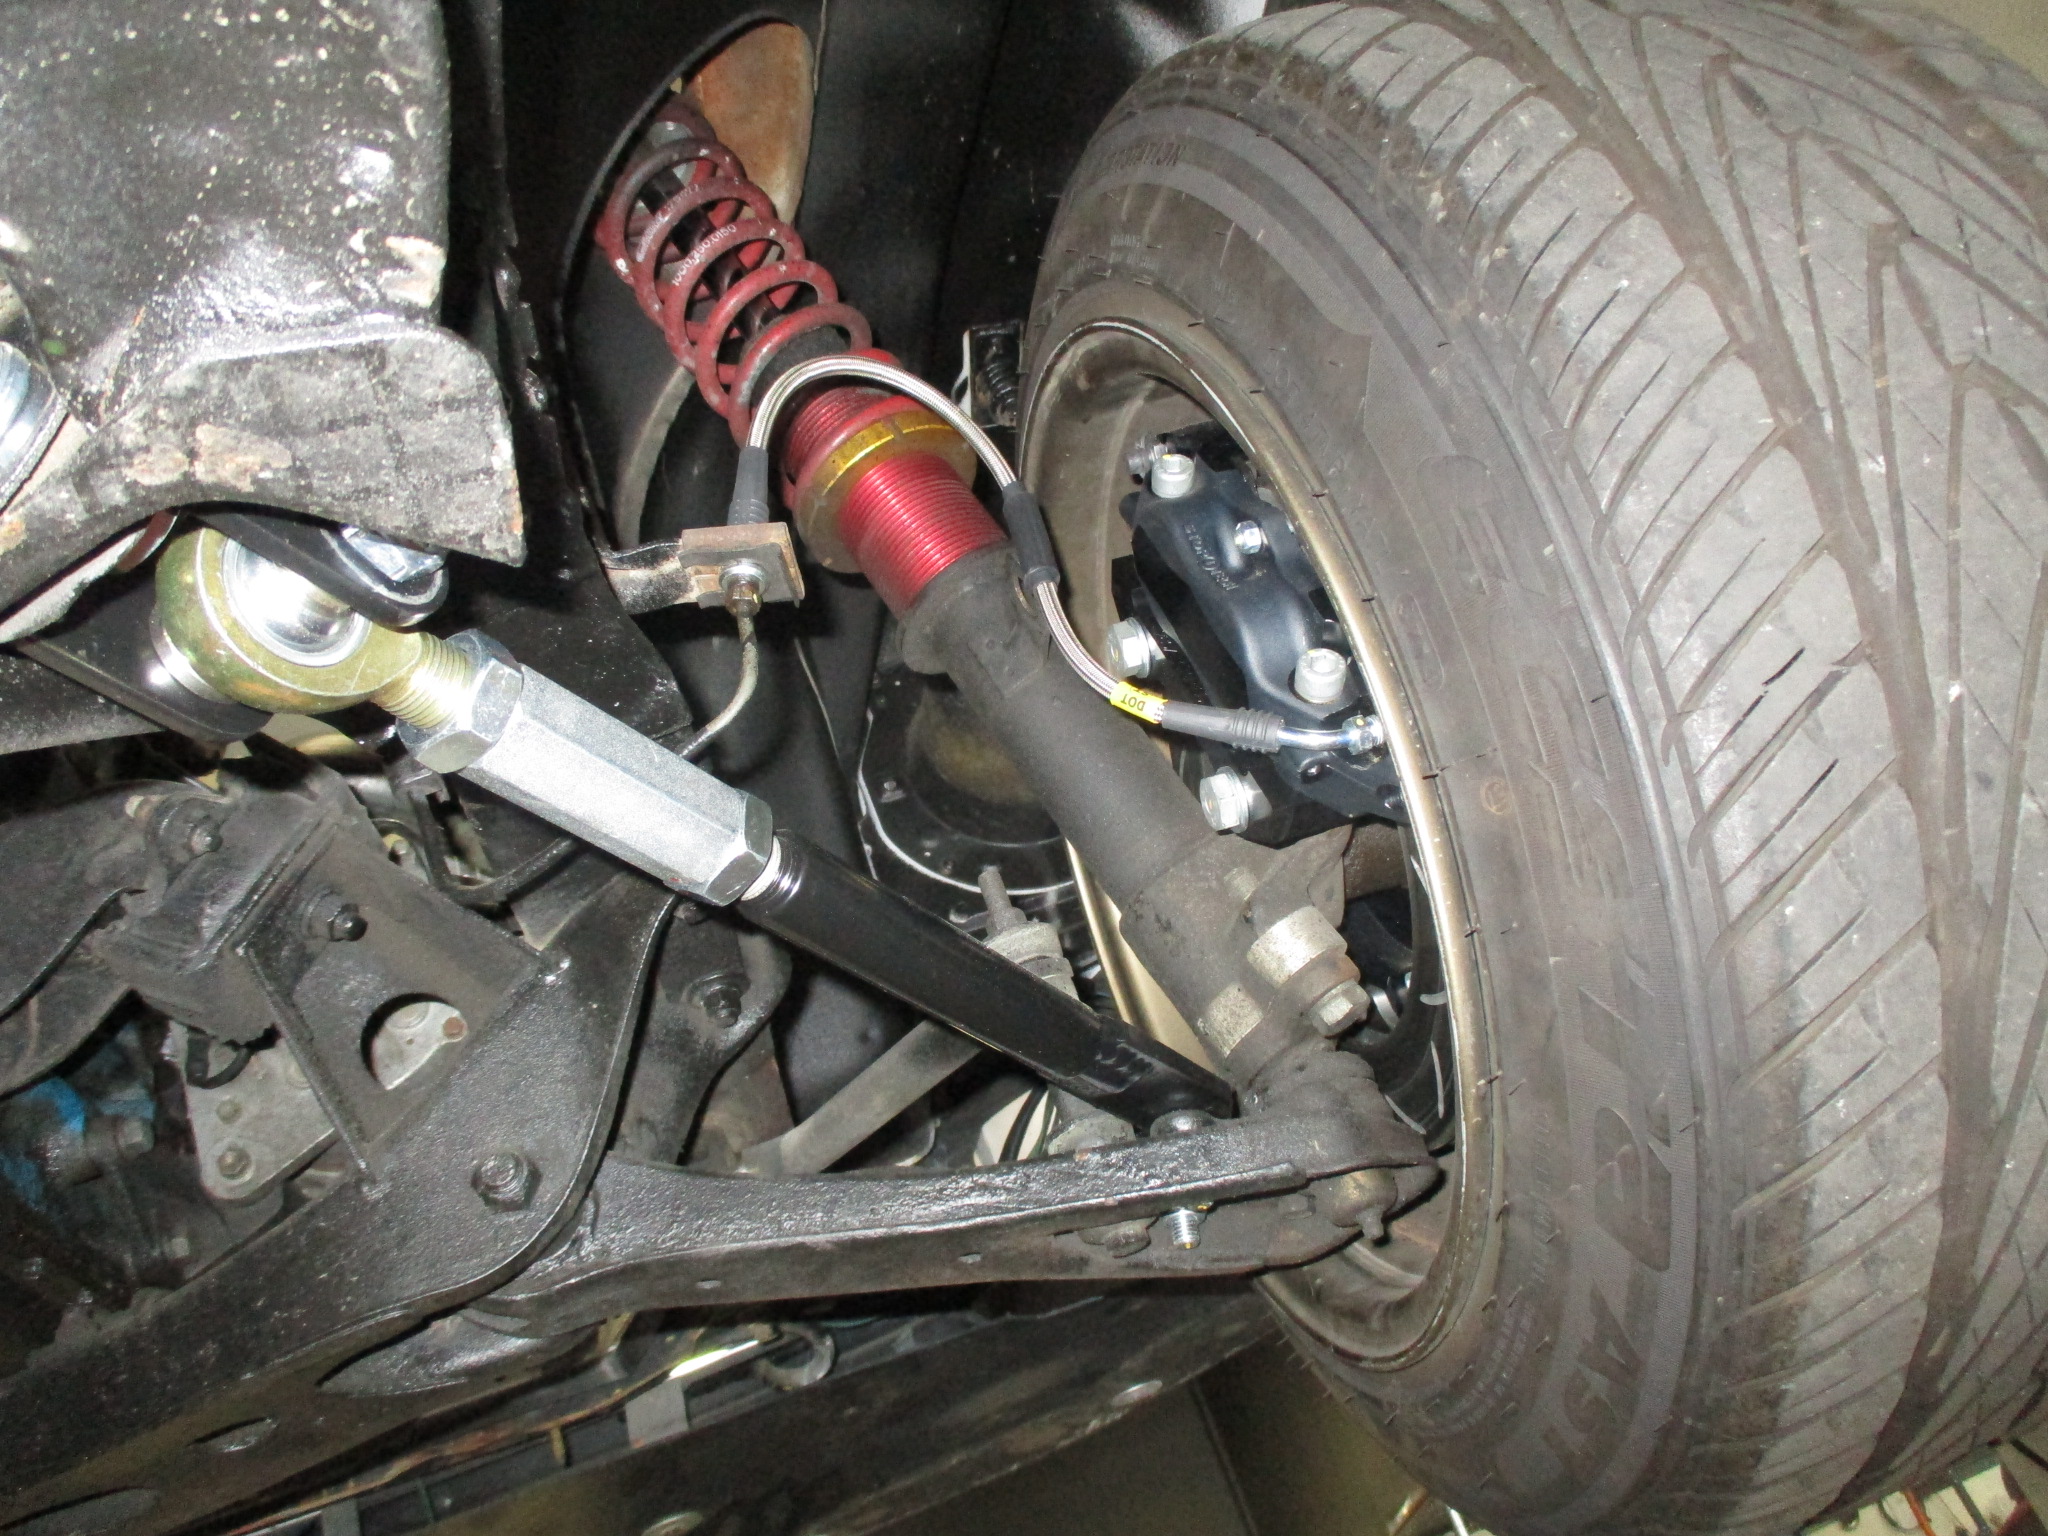
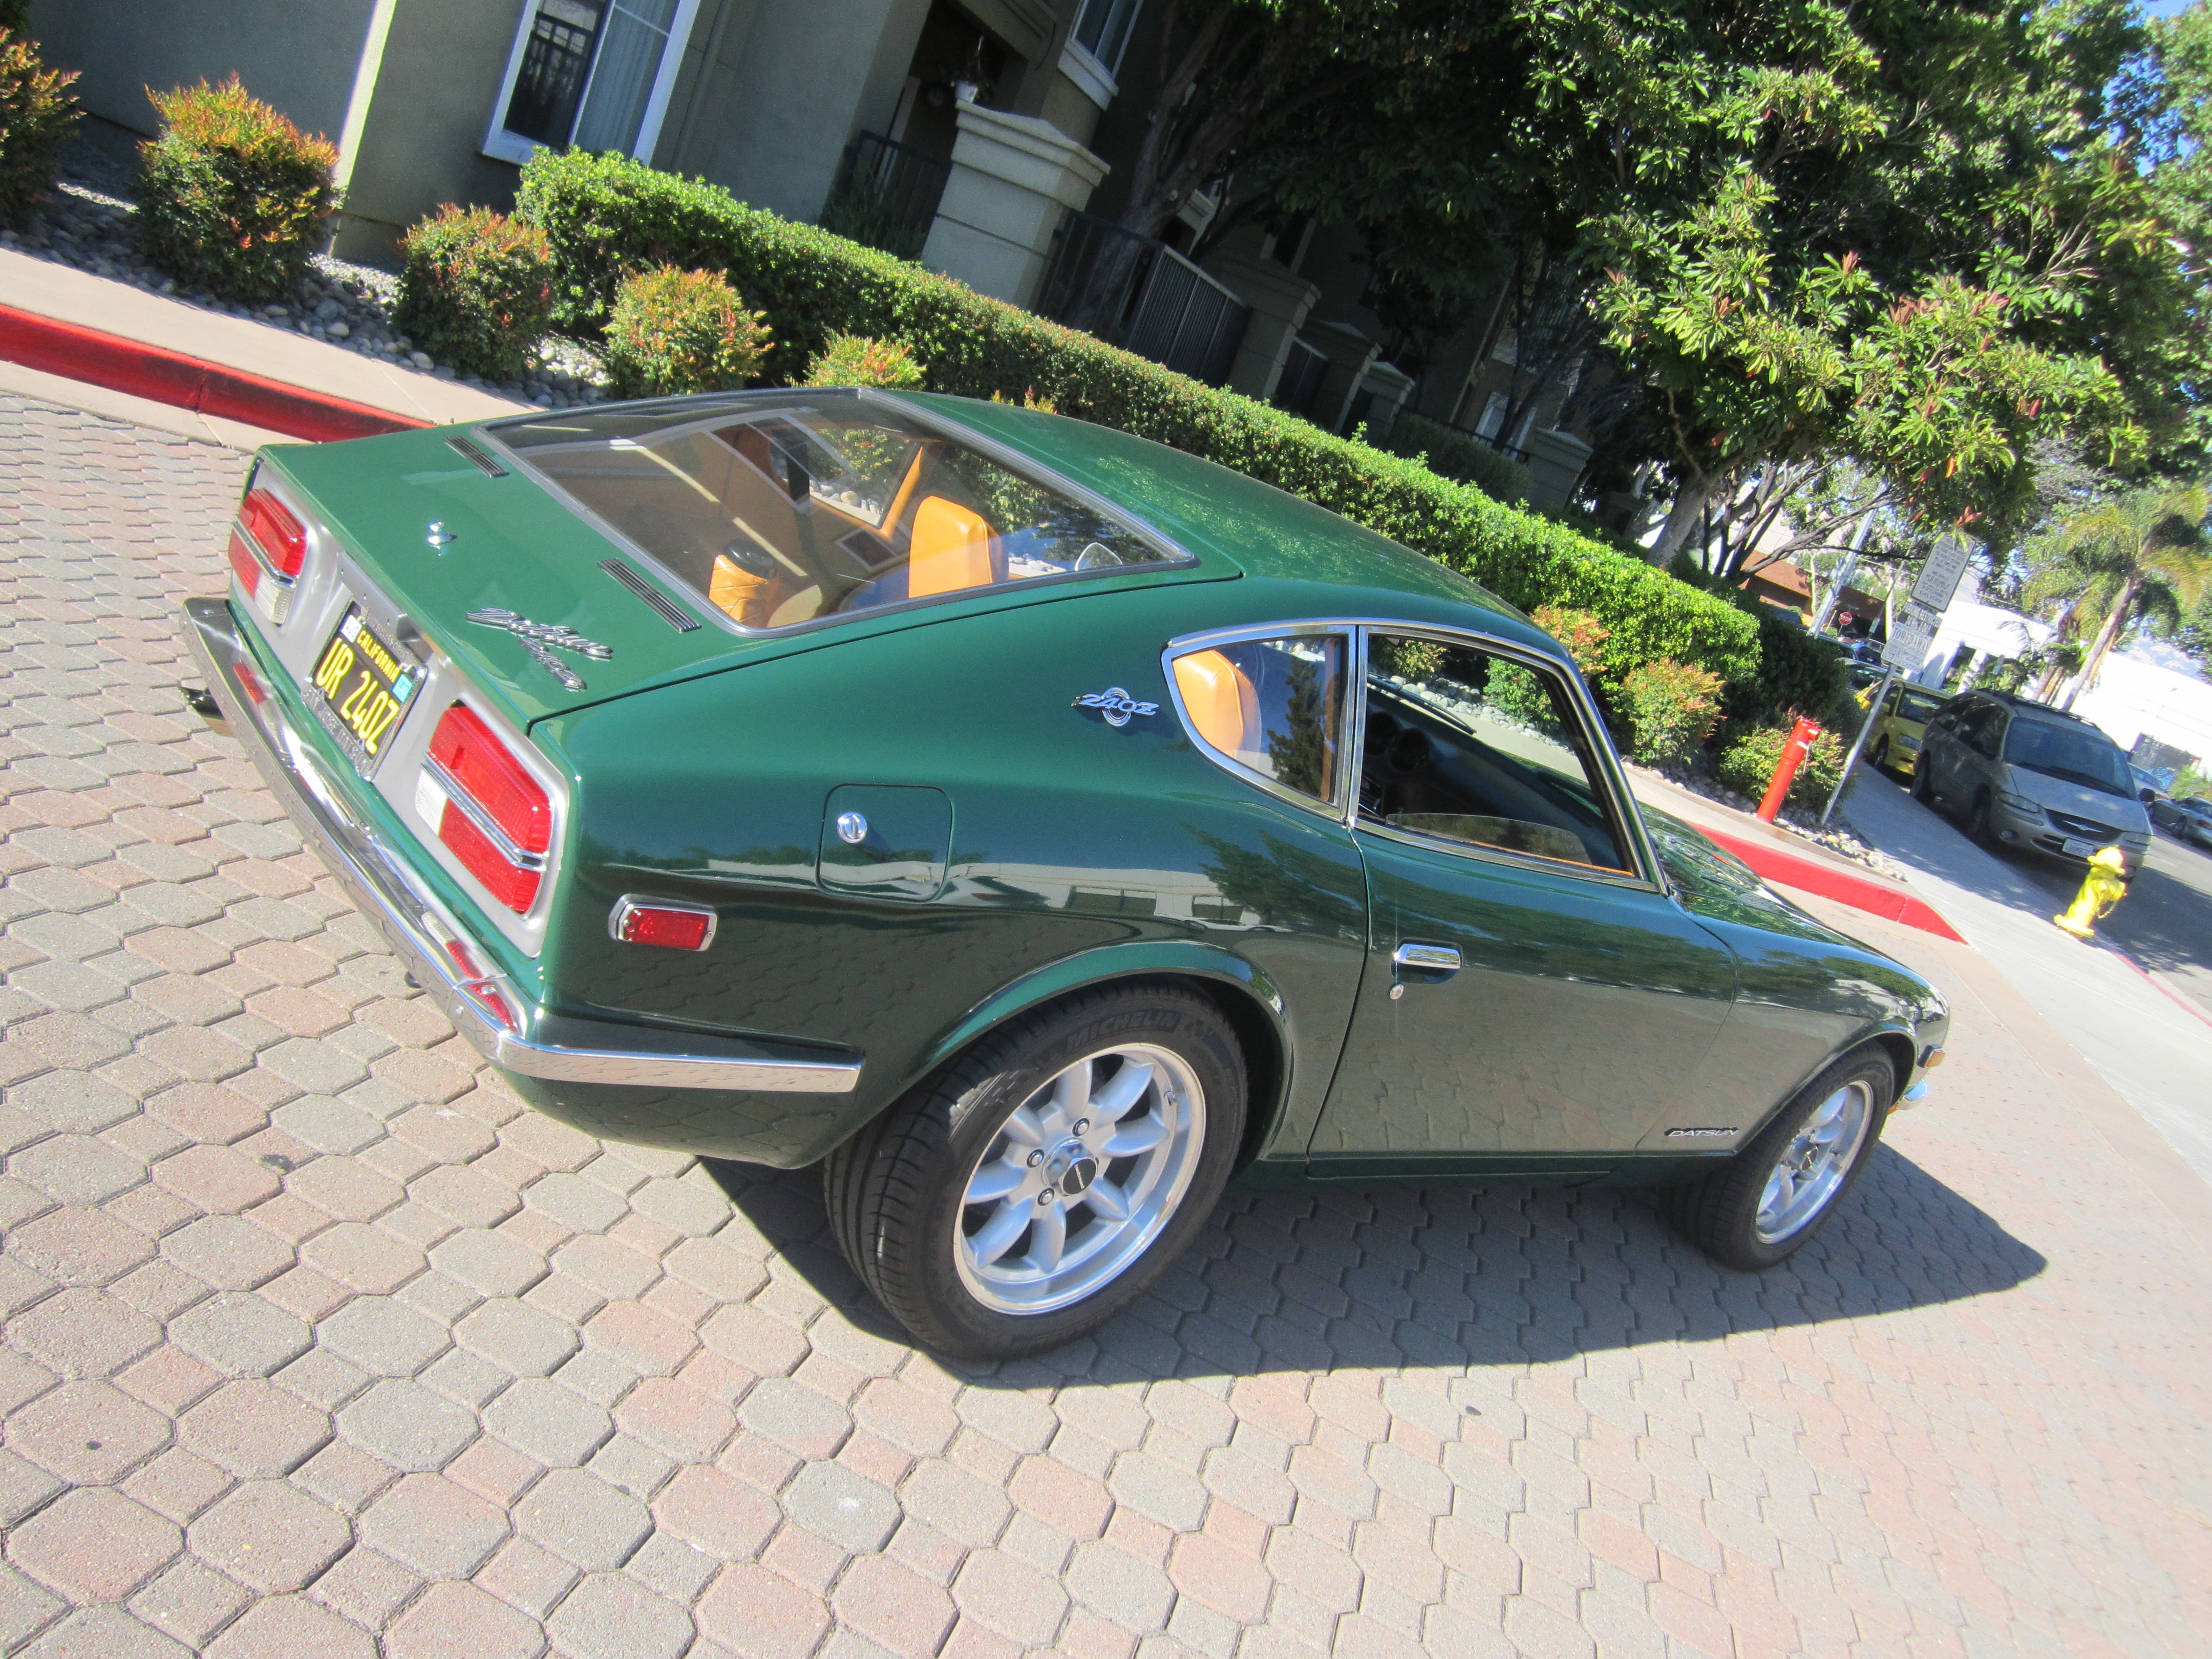
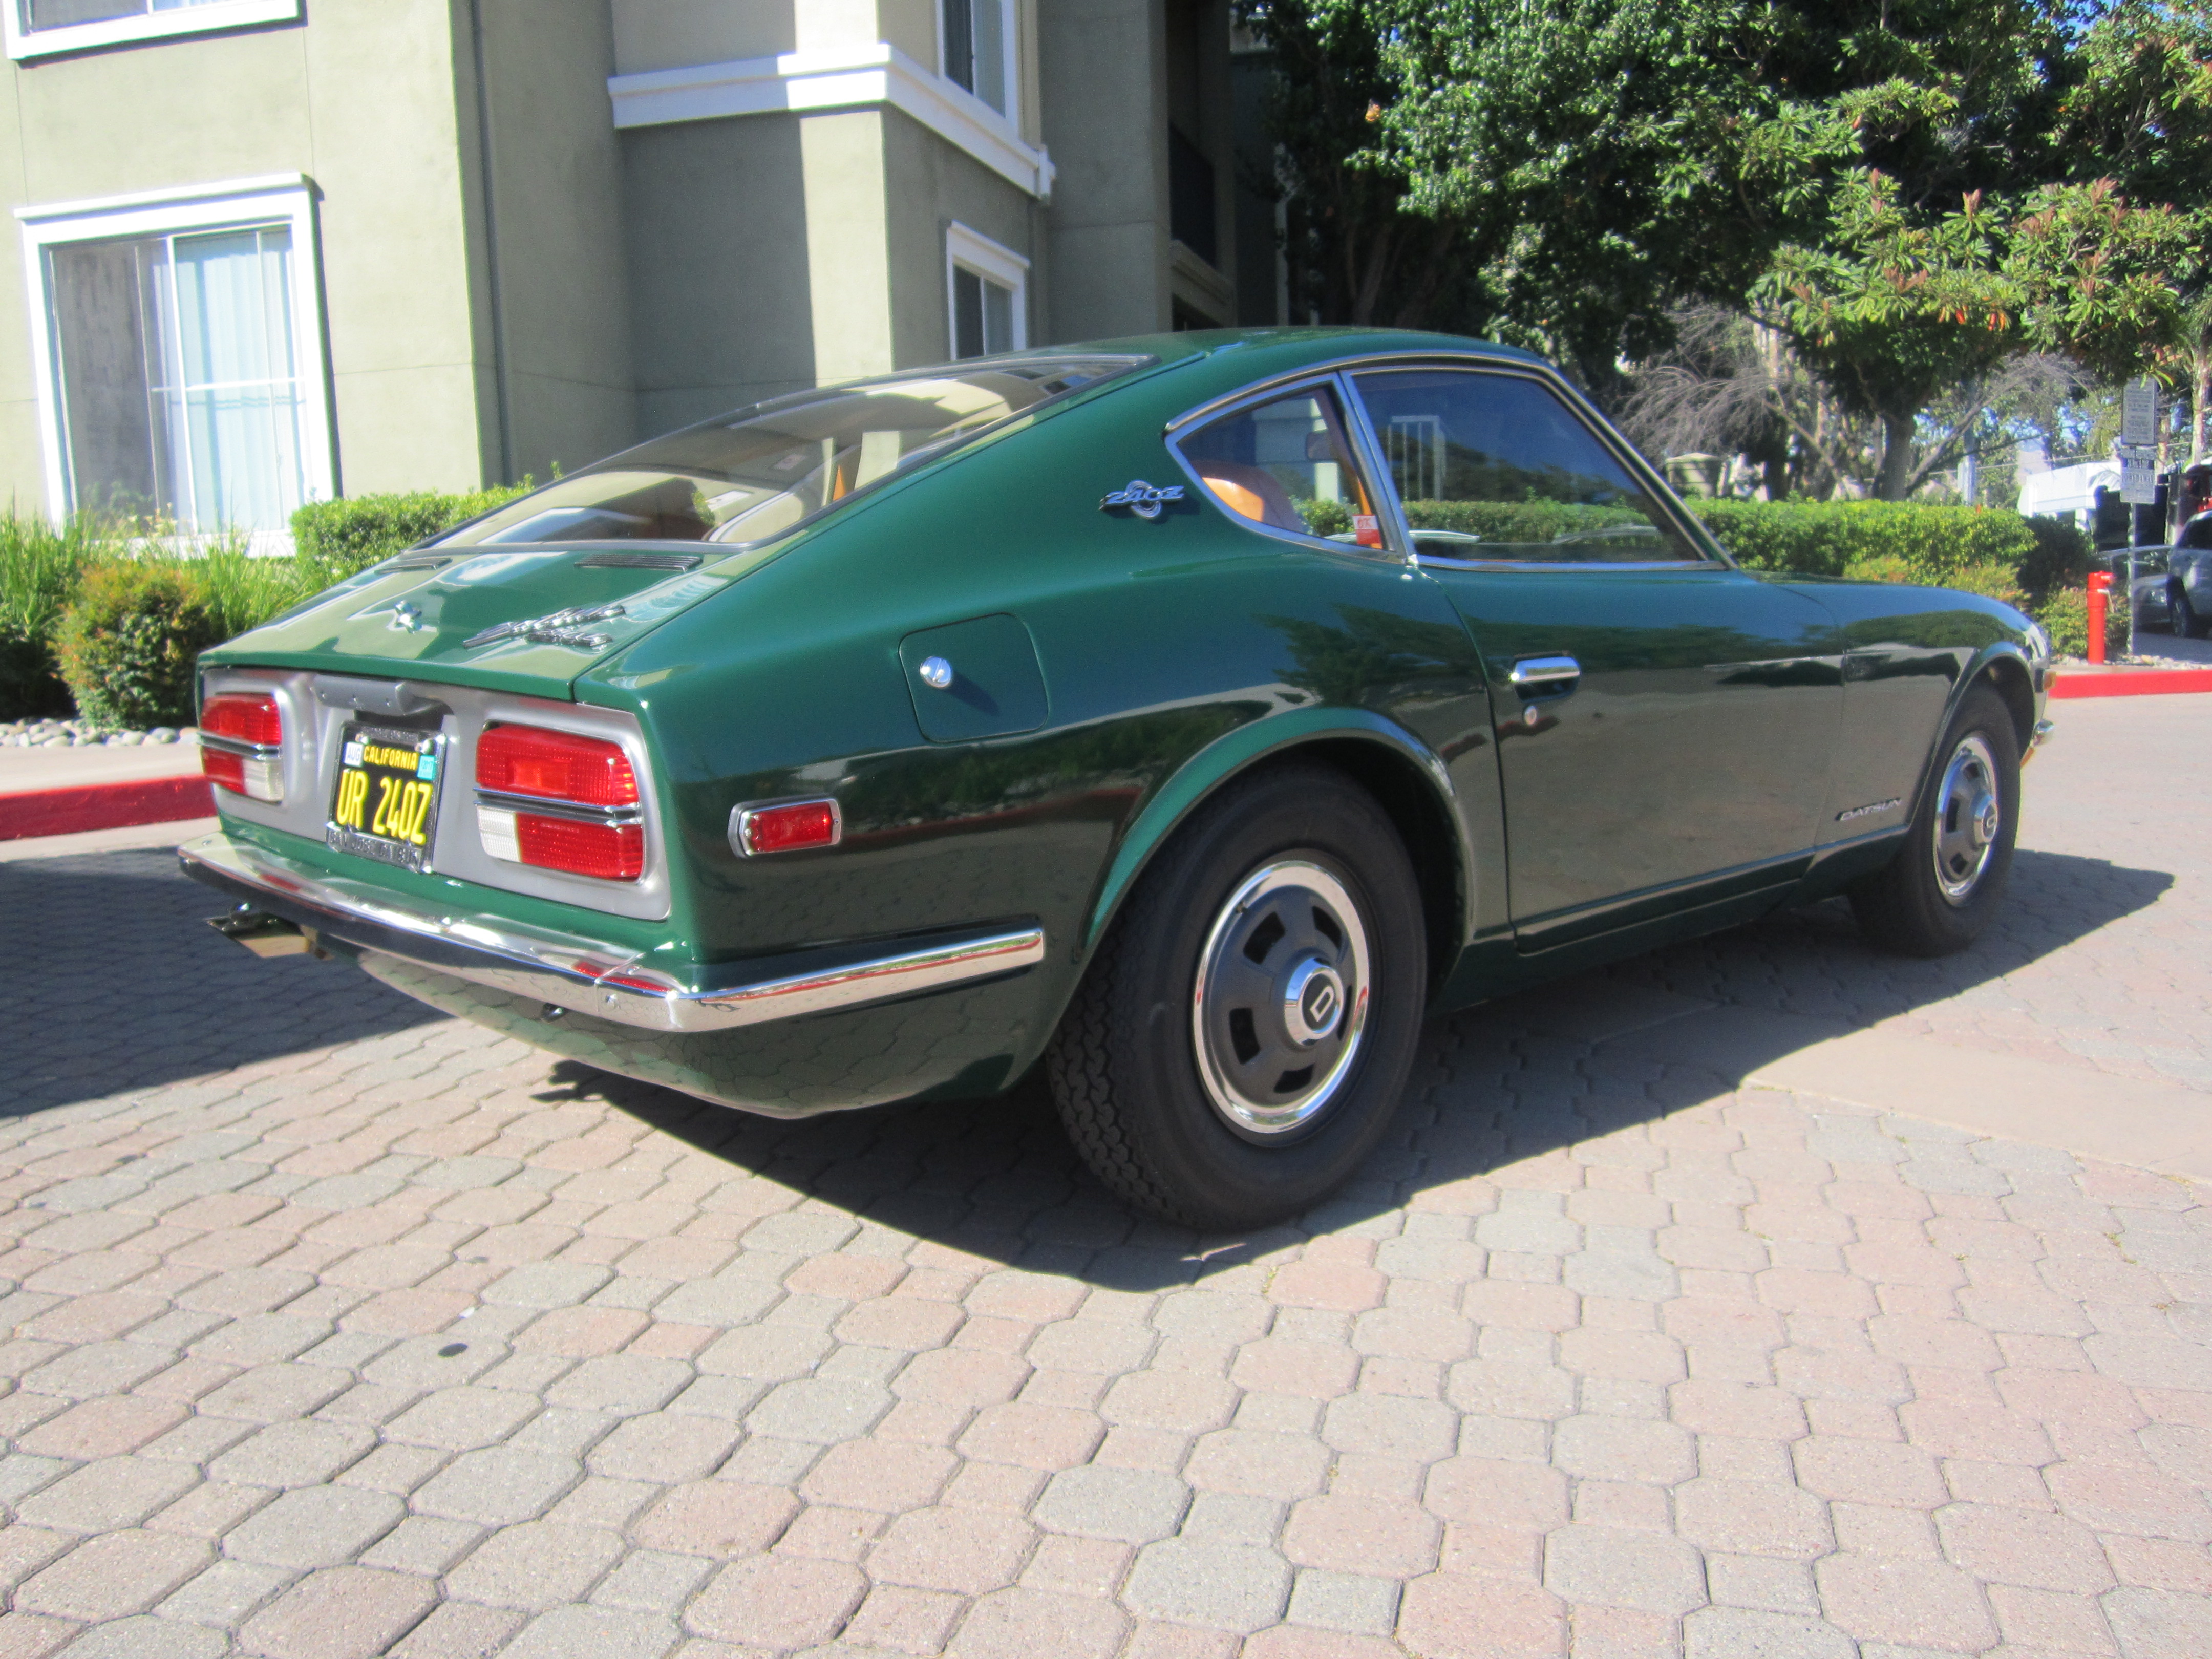
Complementing the new brakes on David’s Z are Panasport wheels! We replaced the generic aftermarket wheels with 16×7 Panasports and Bridegstone S007a tires in 225/50/16.
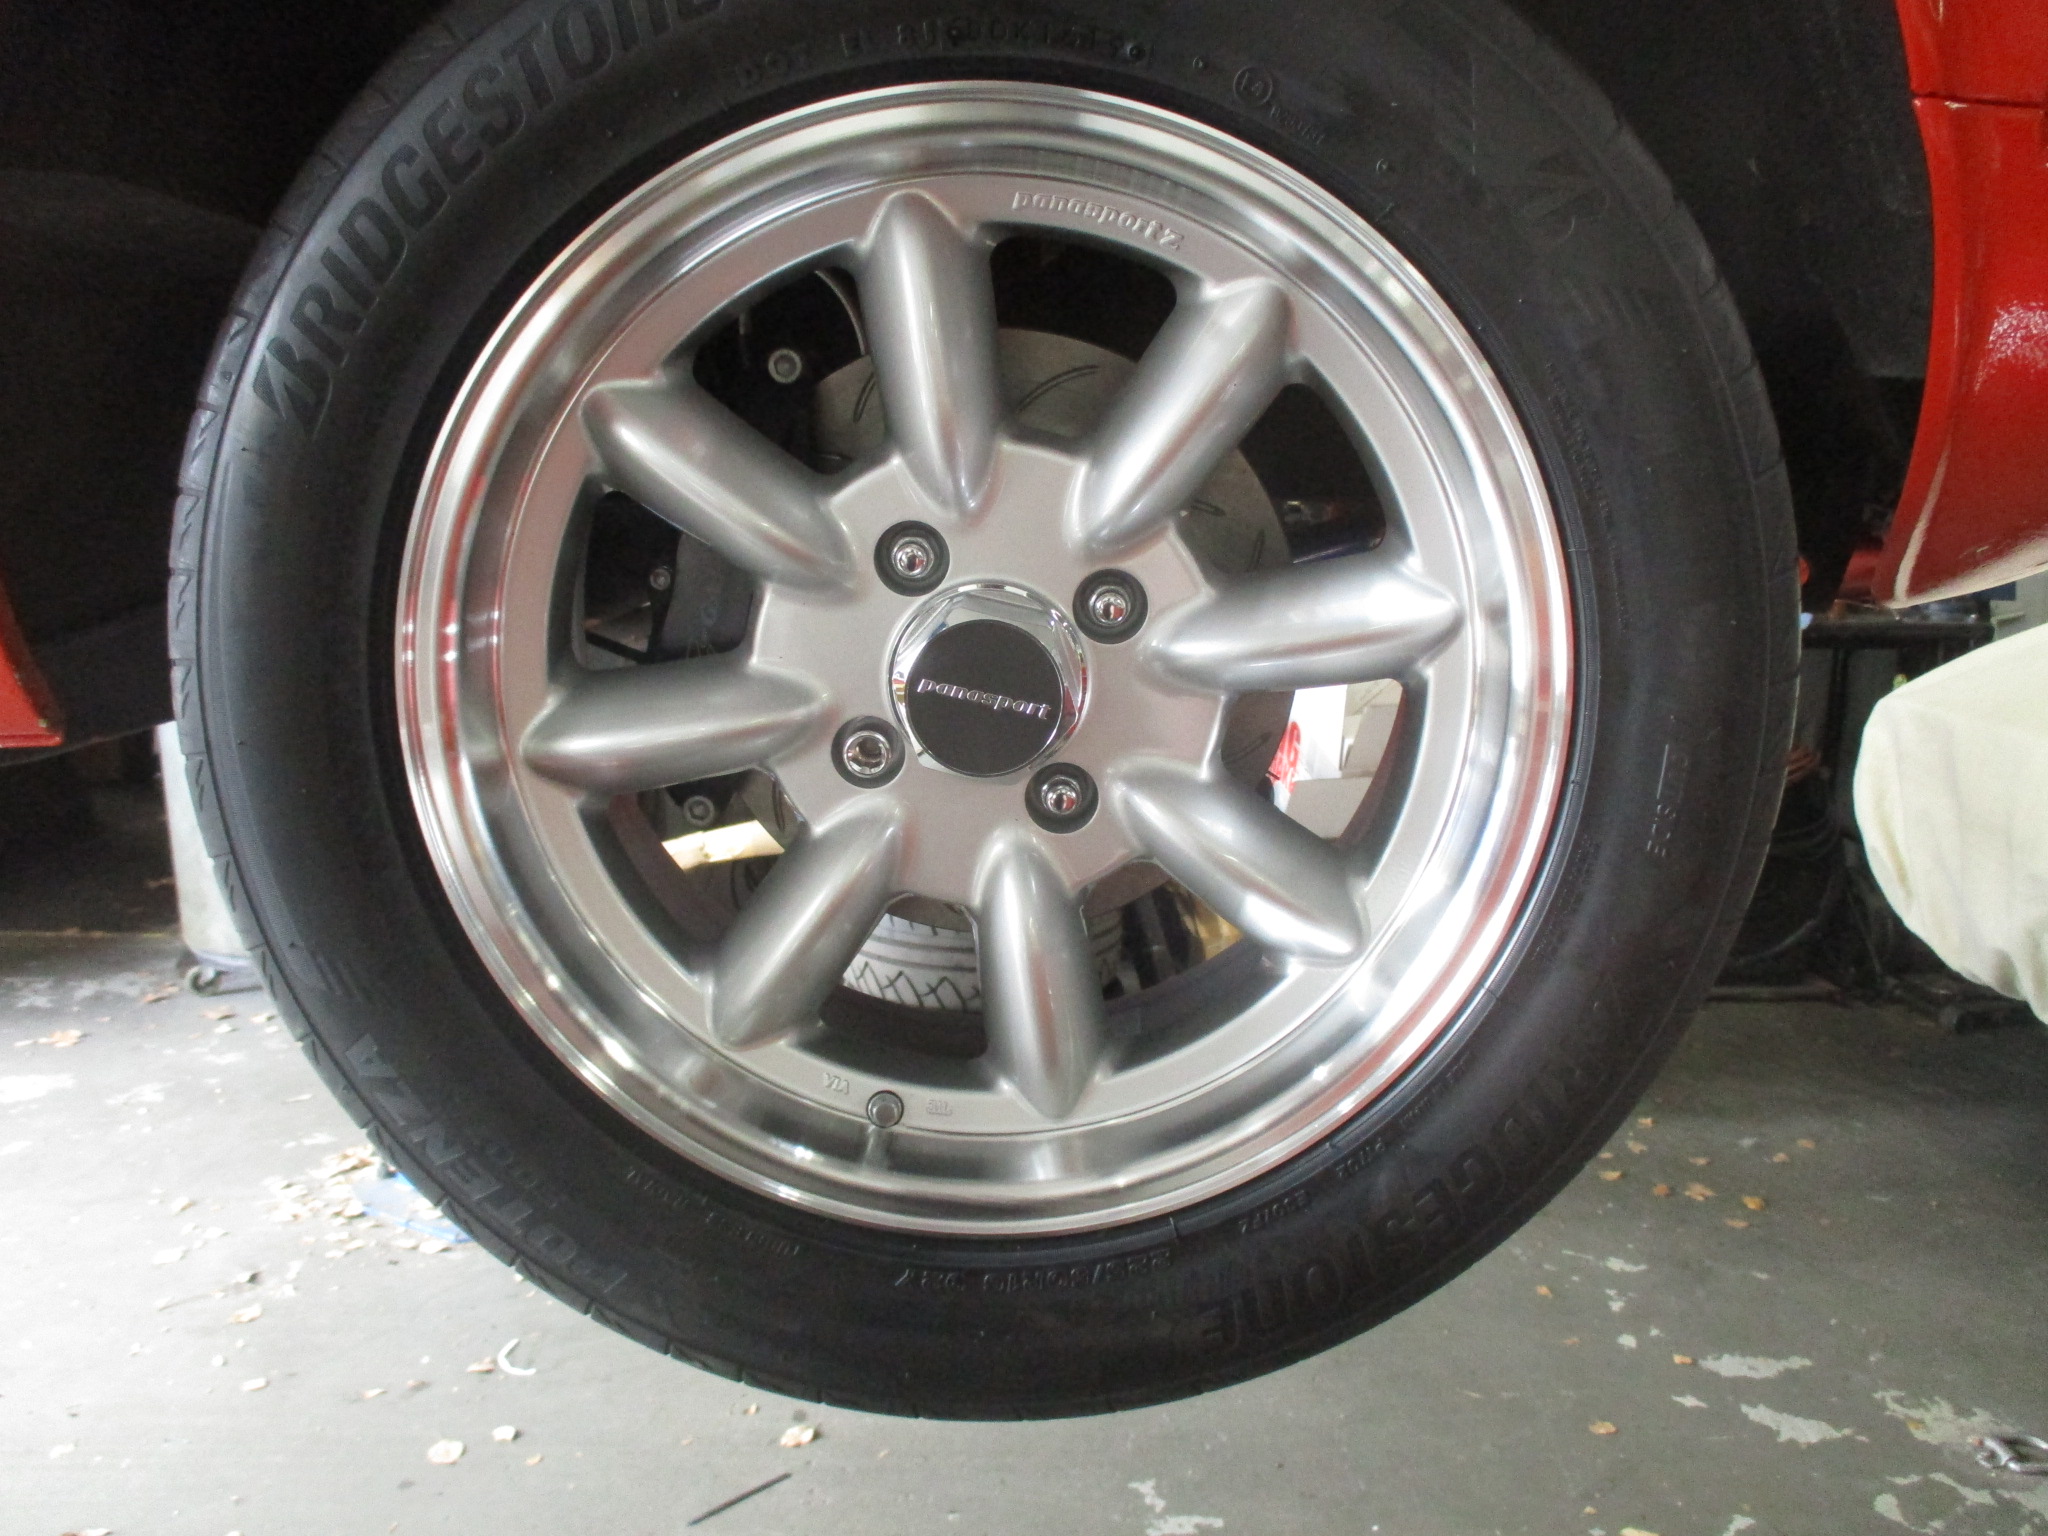
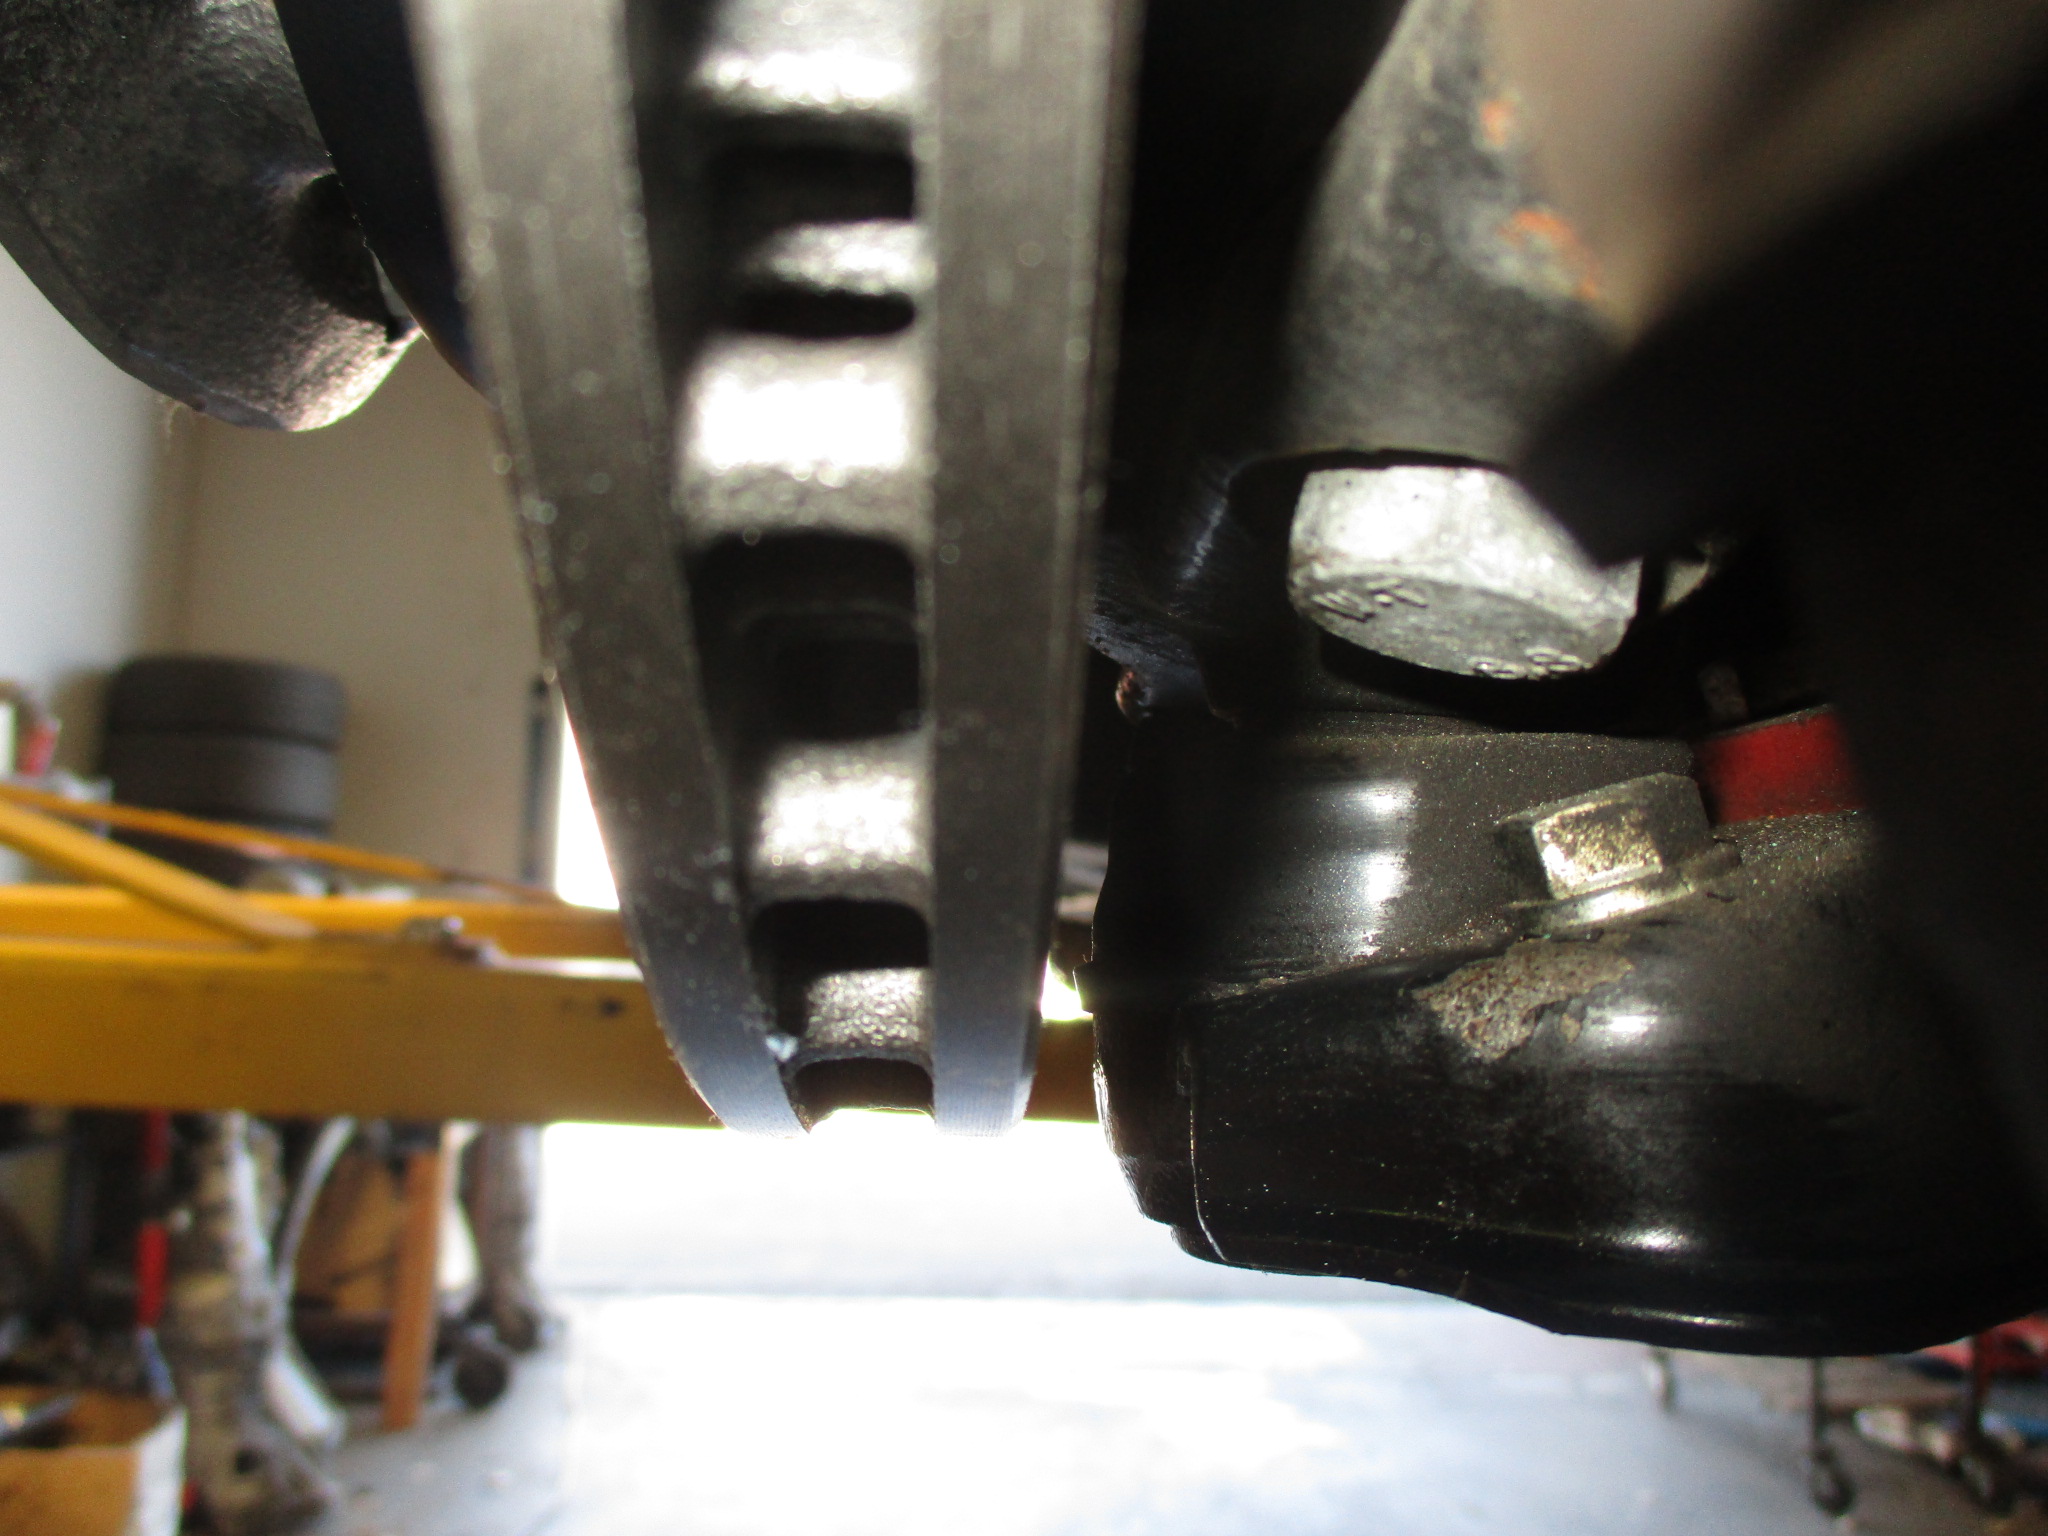
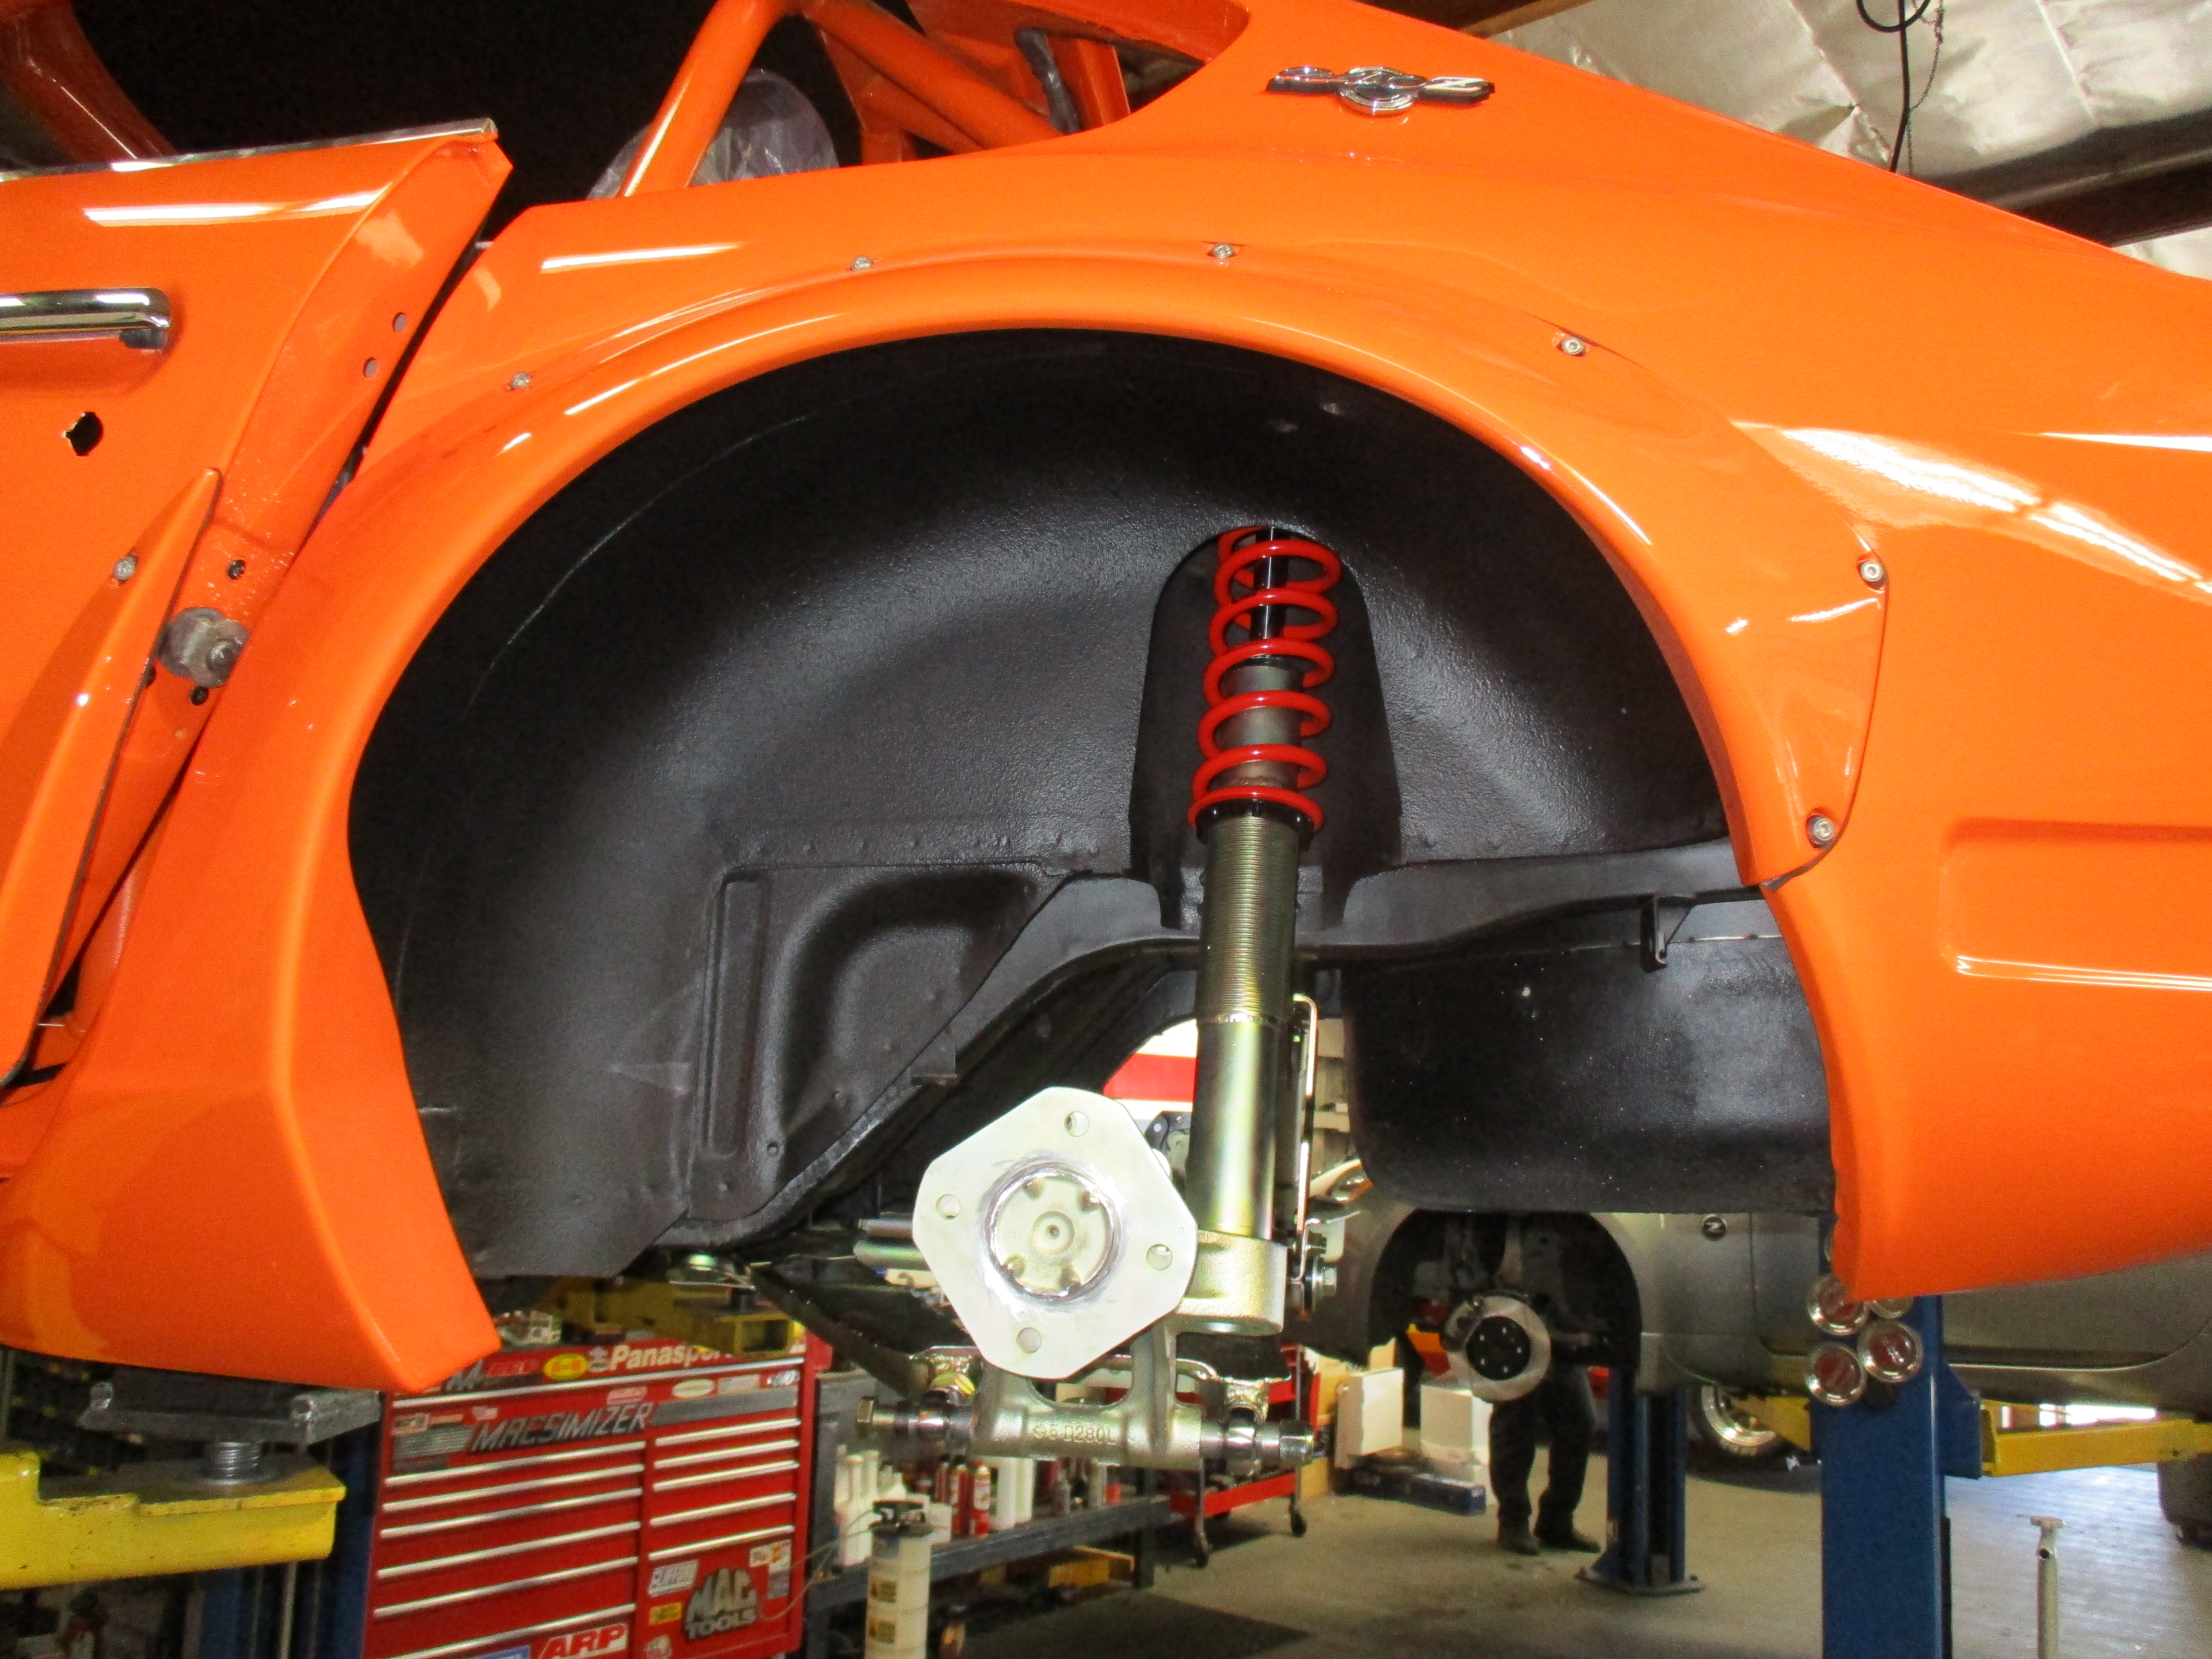
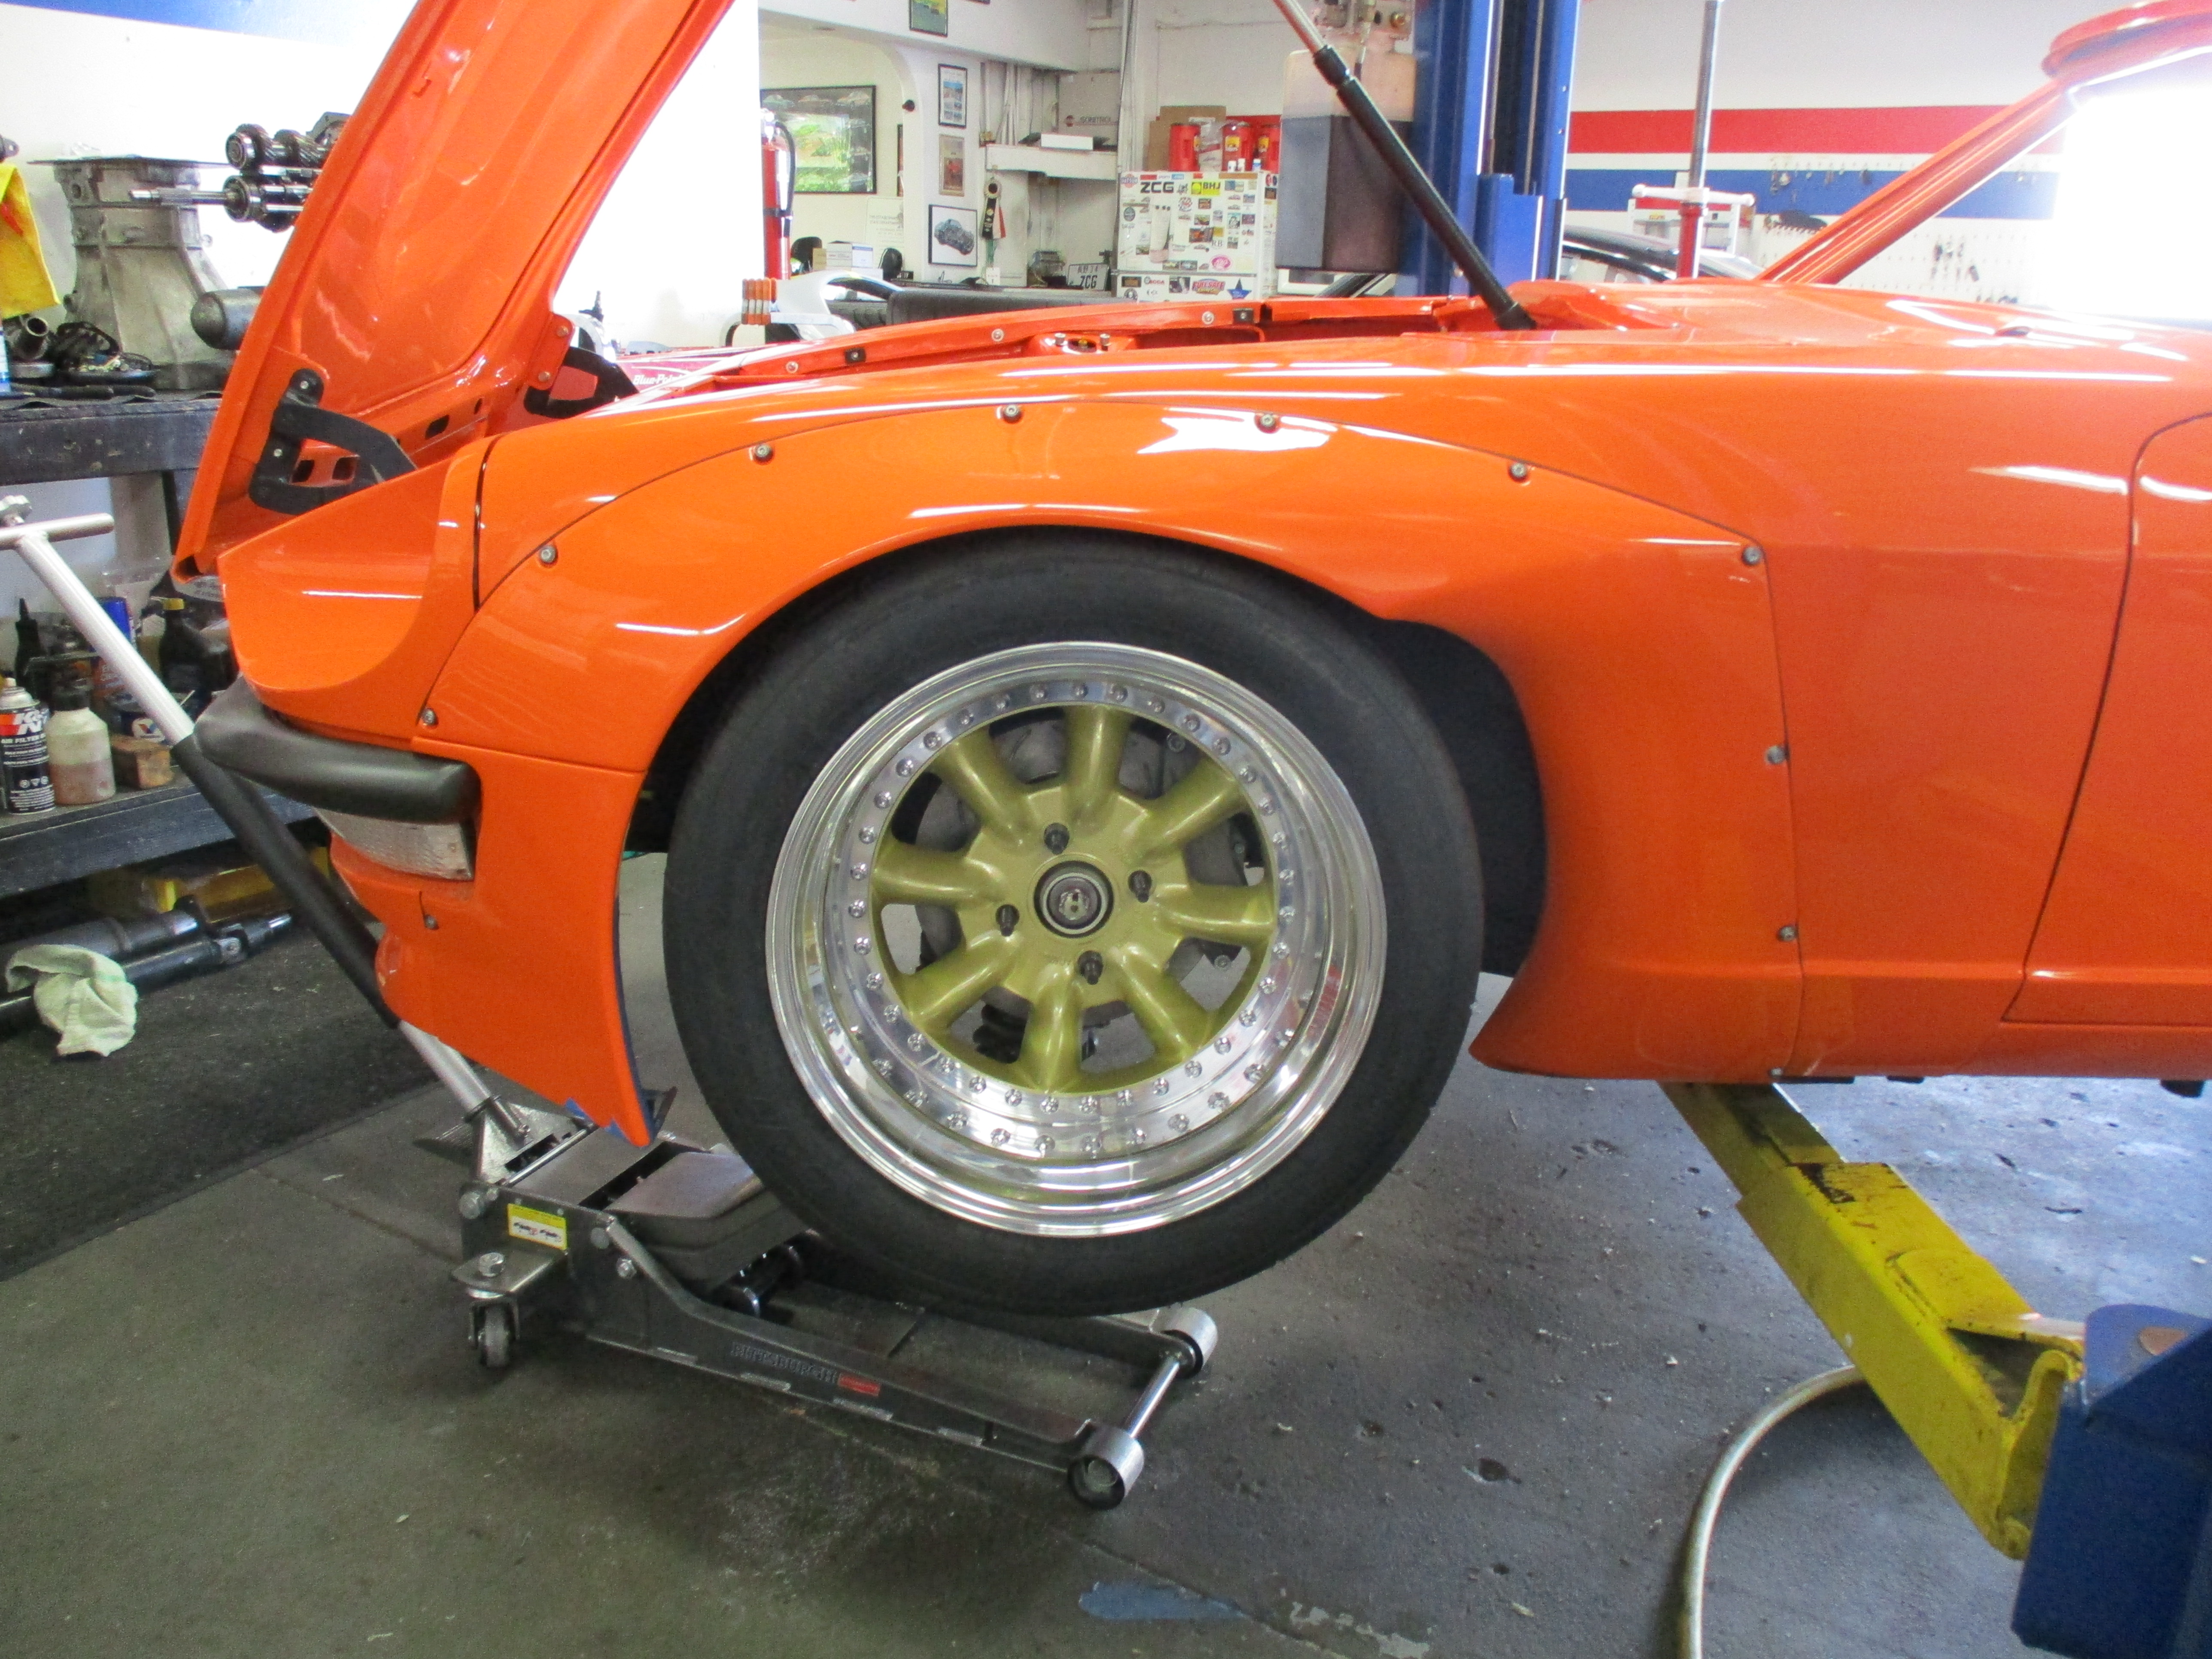
The new brakes fit nicely behind the new Panasports: We dialed in the spring set on the coil-overs and adjusted them for the best ride quality.
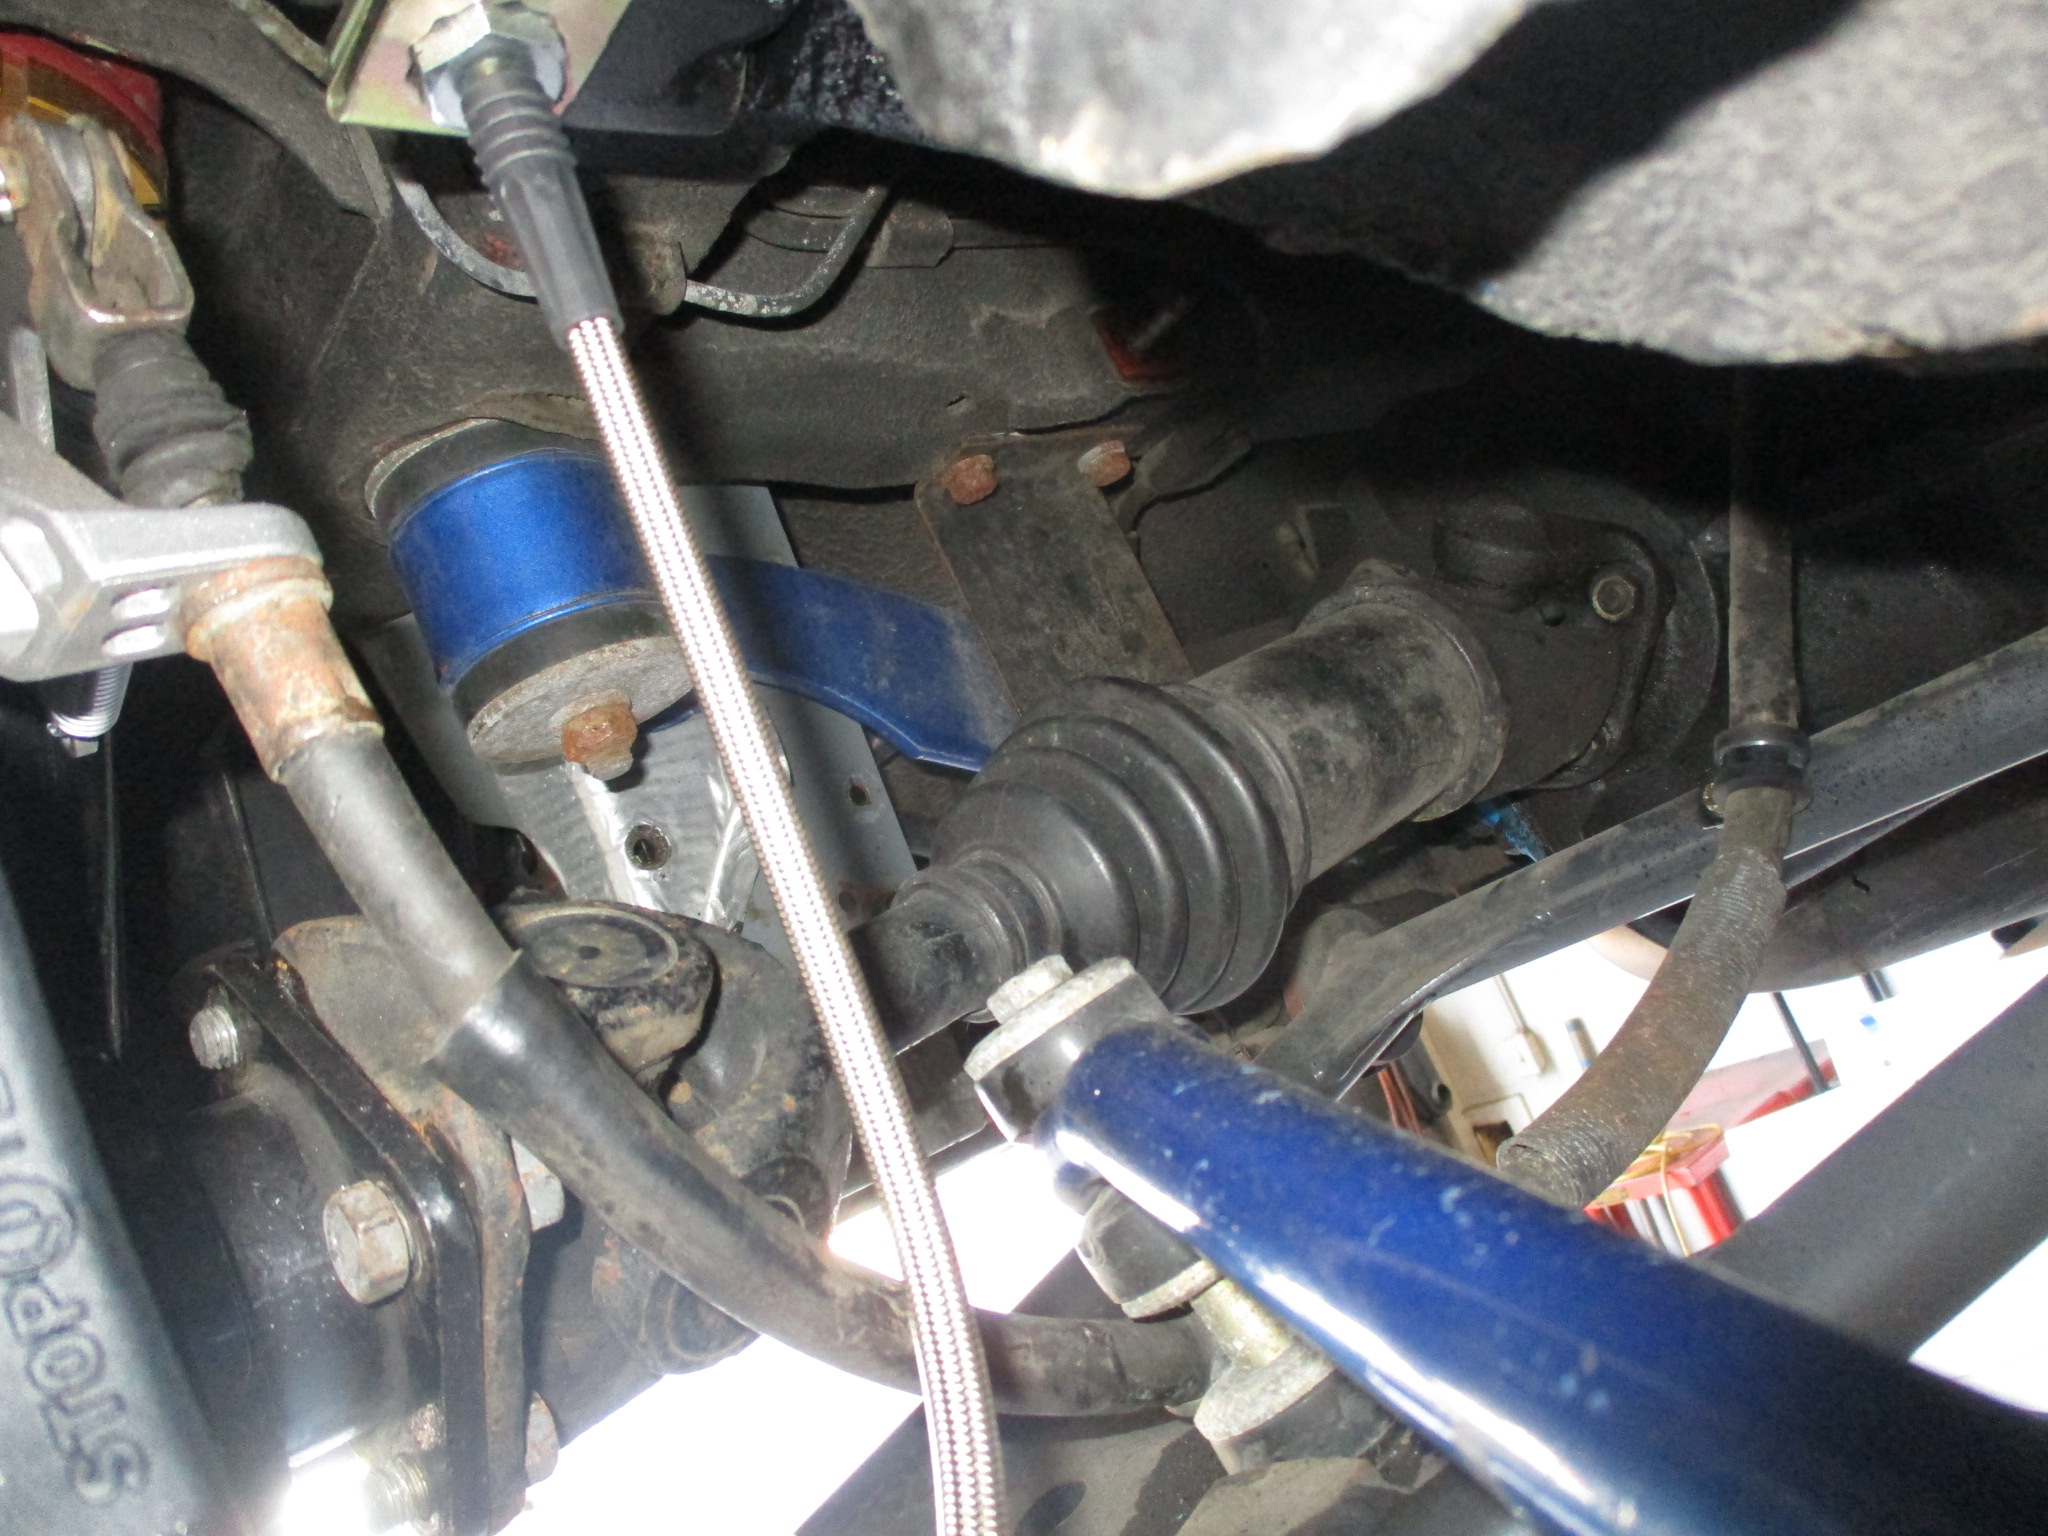
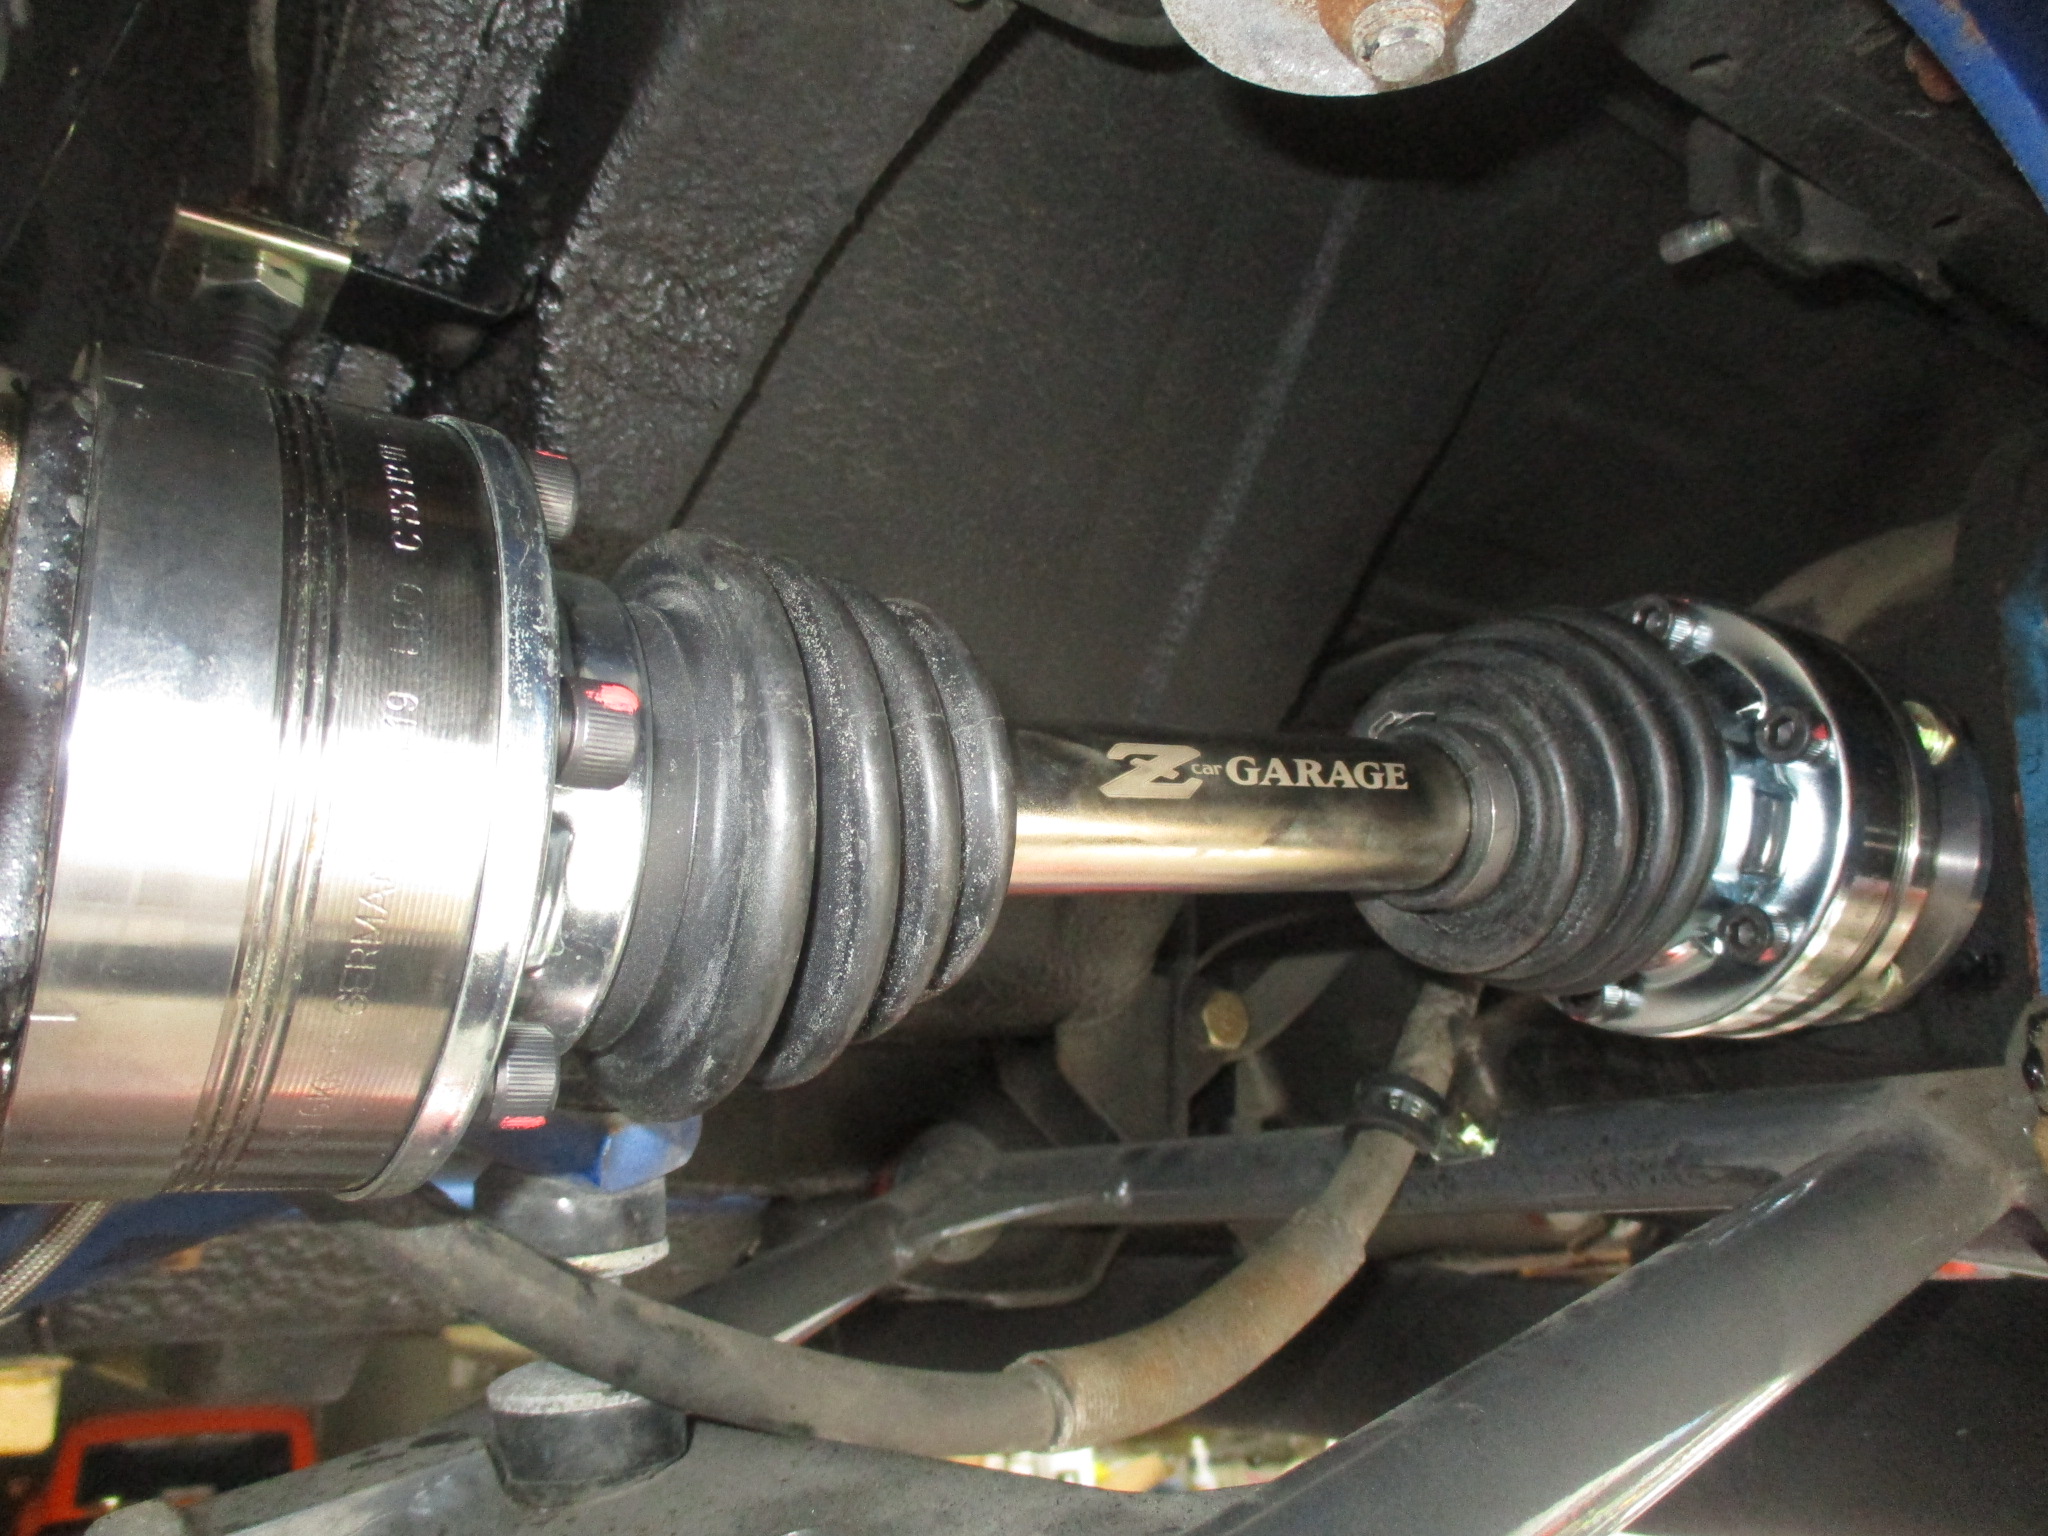
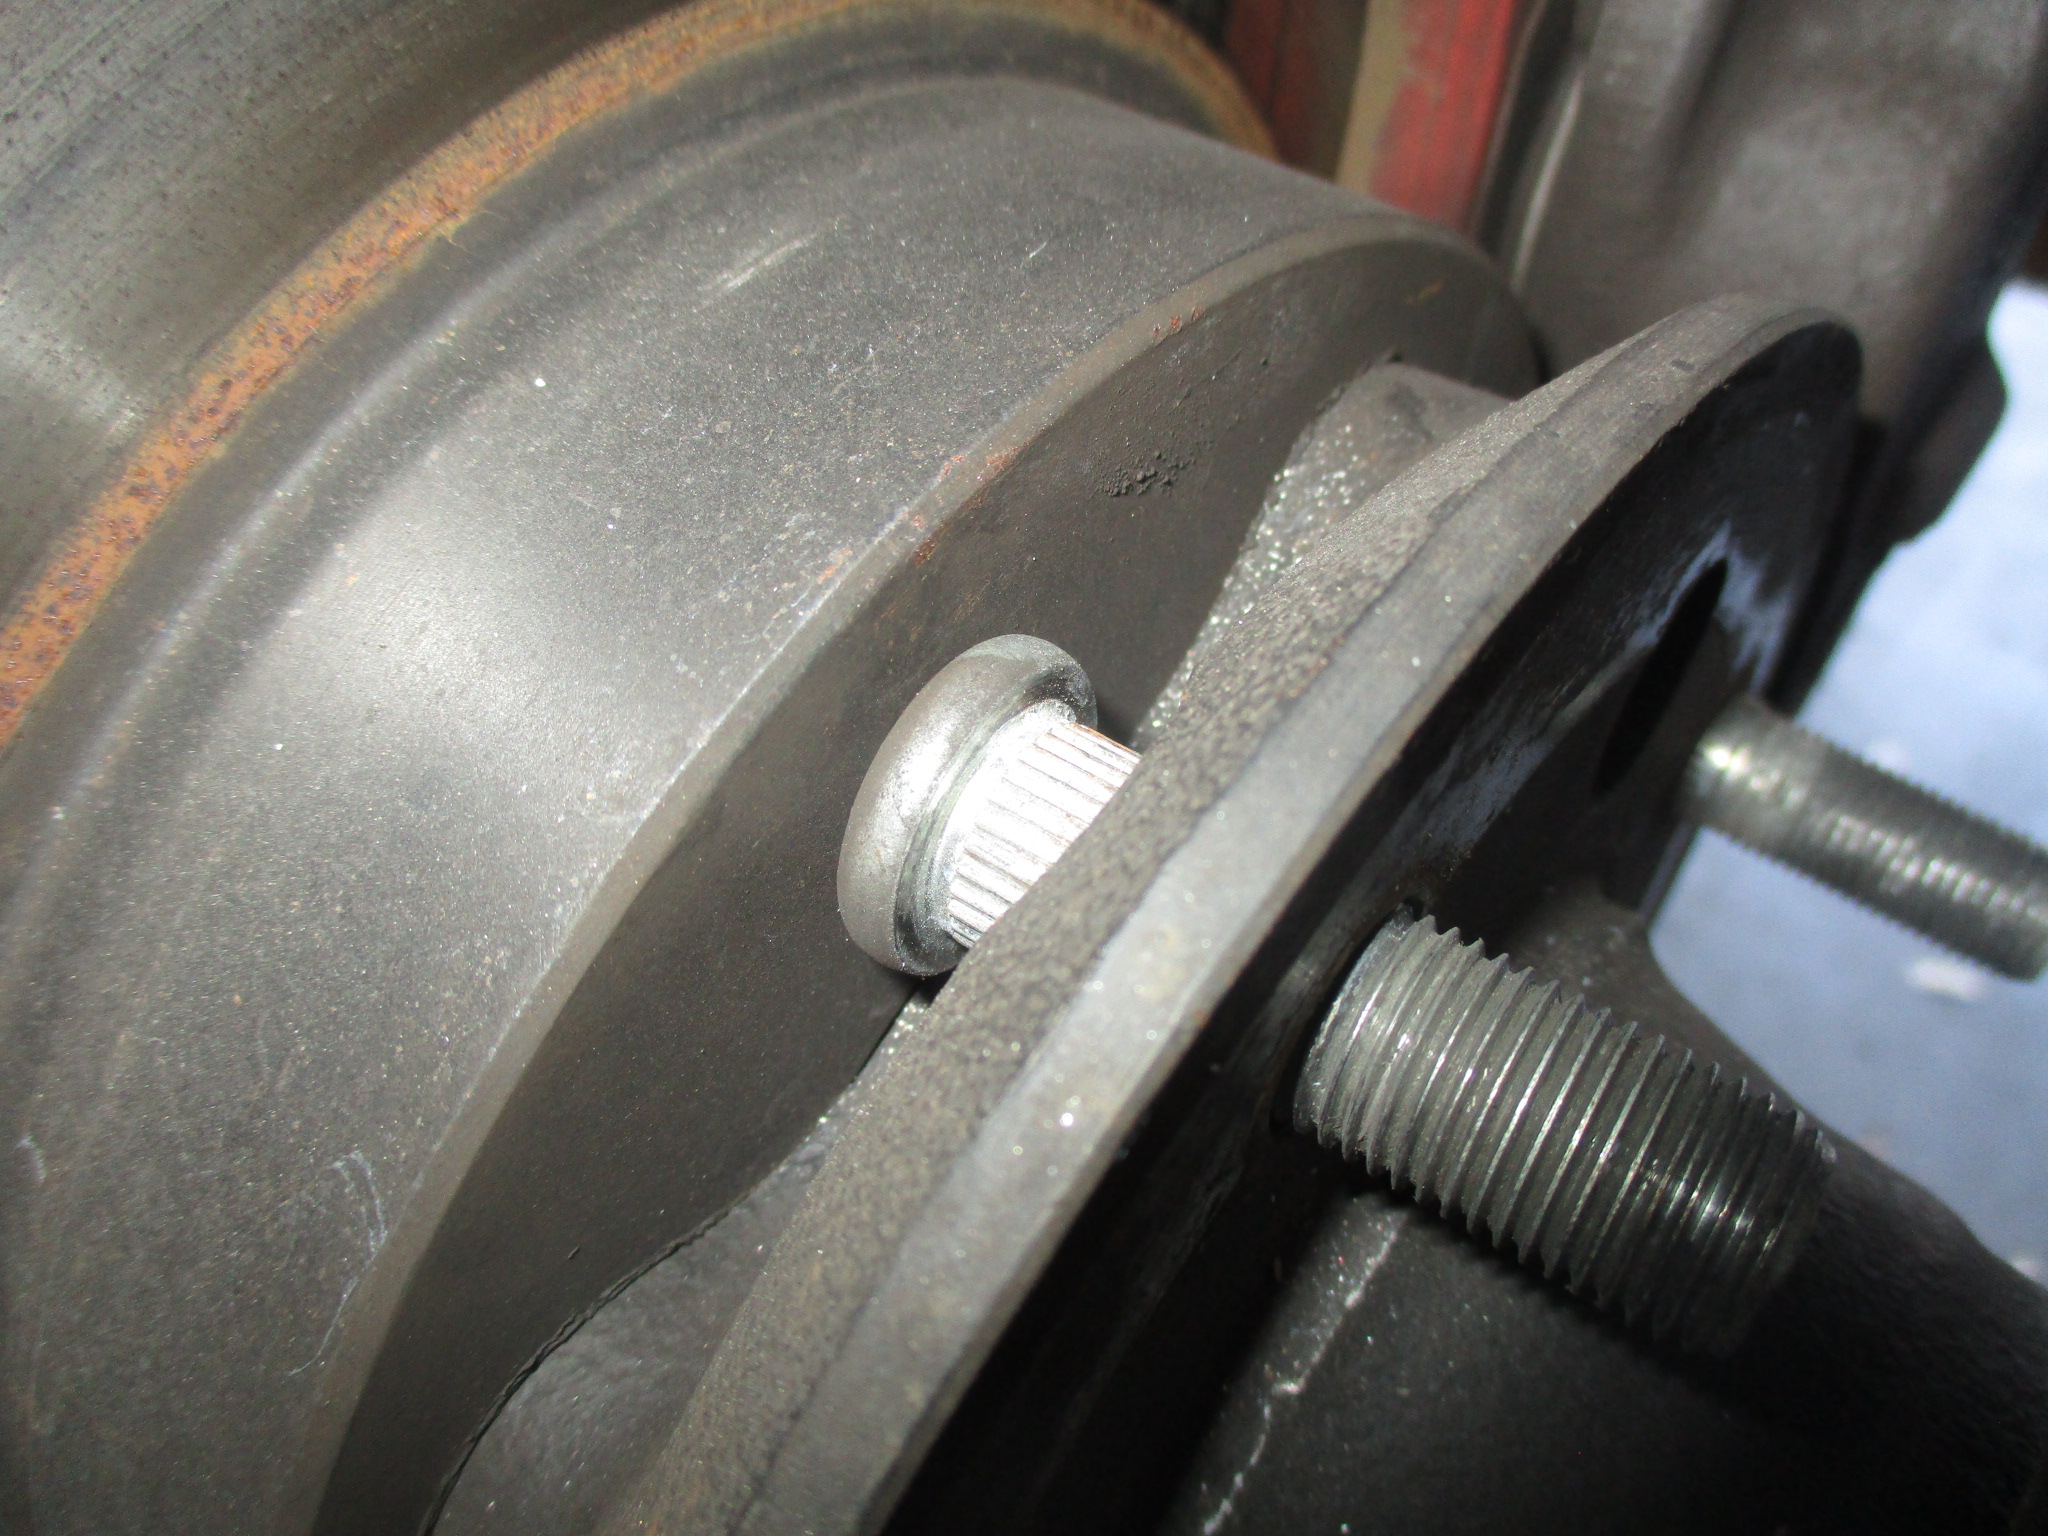
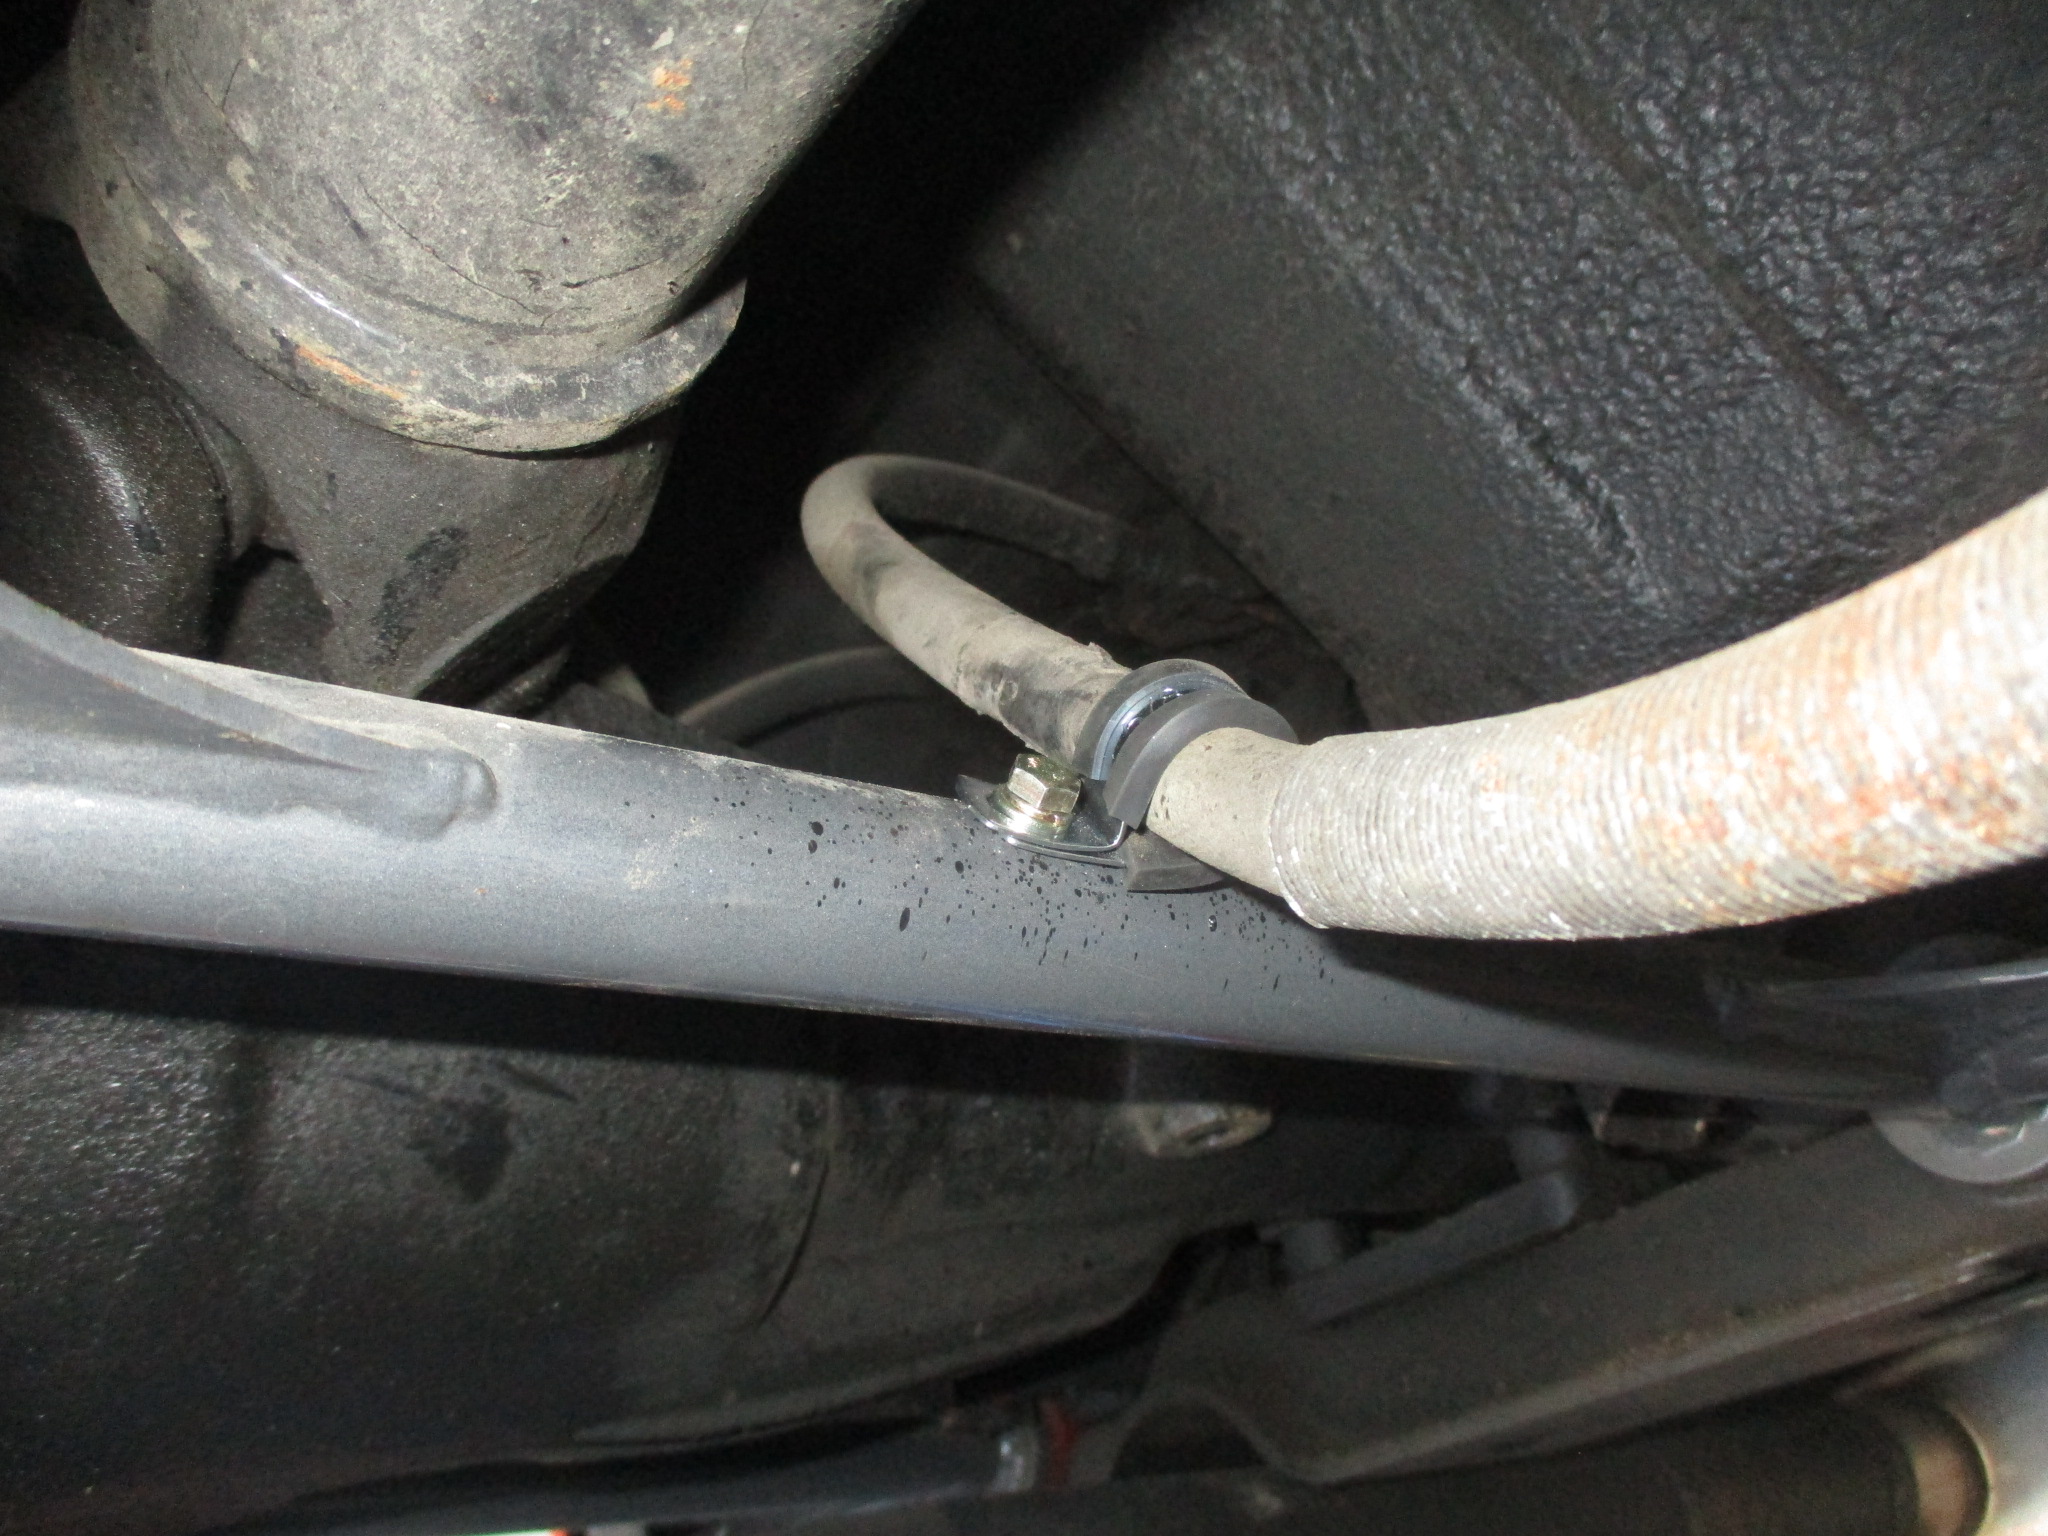
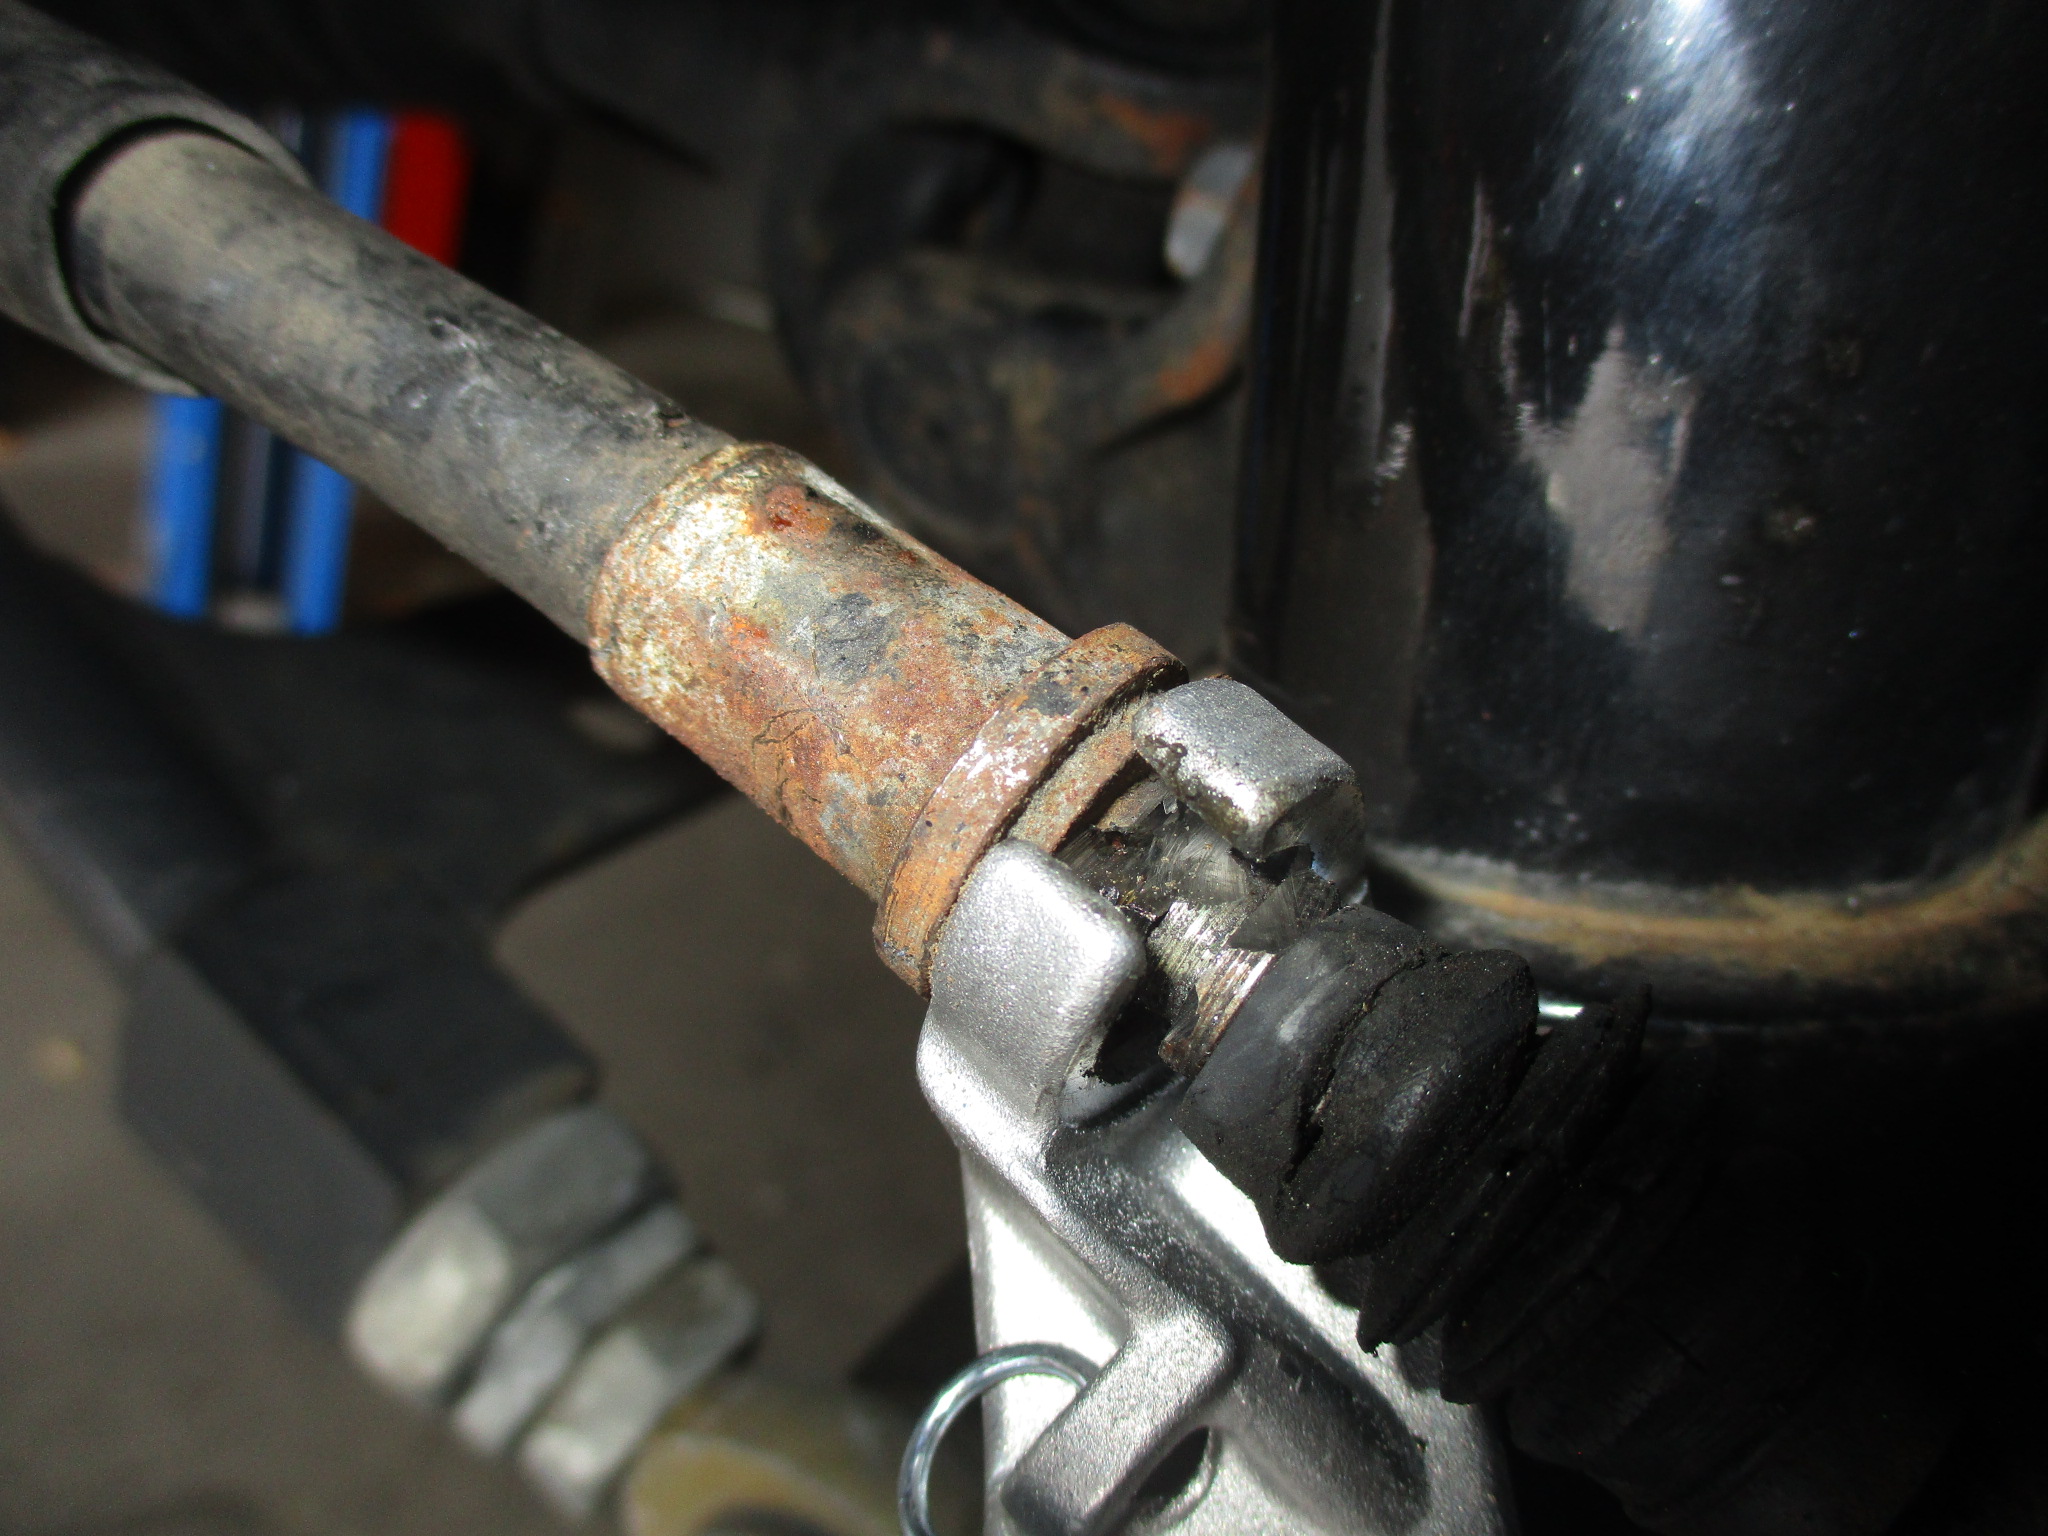
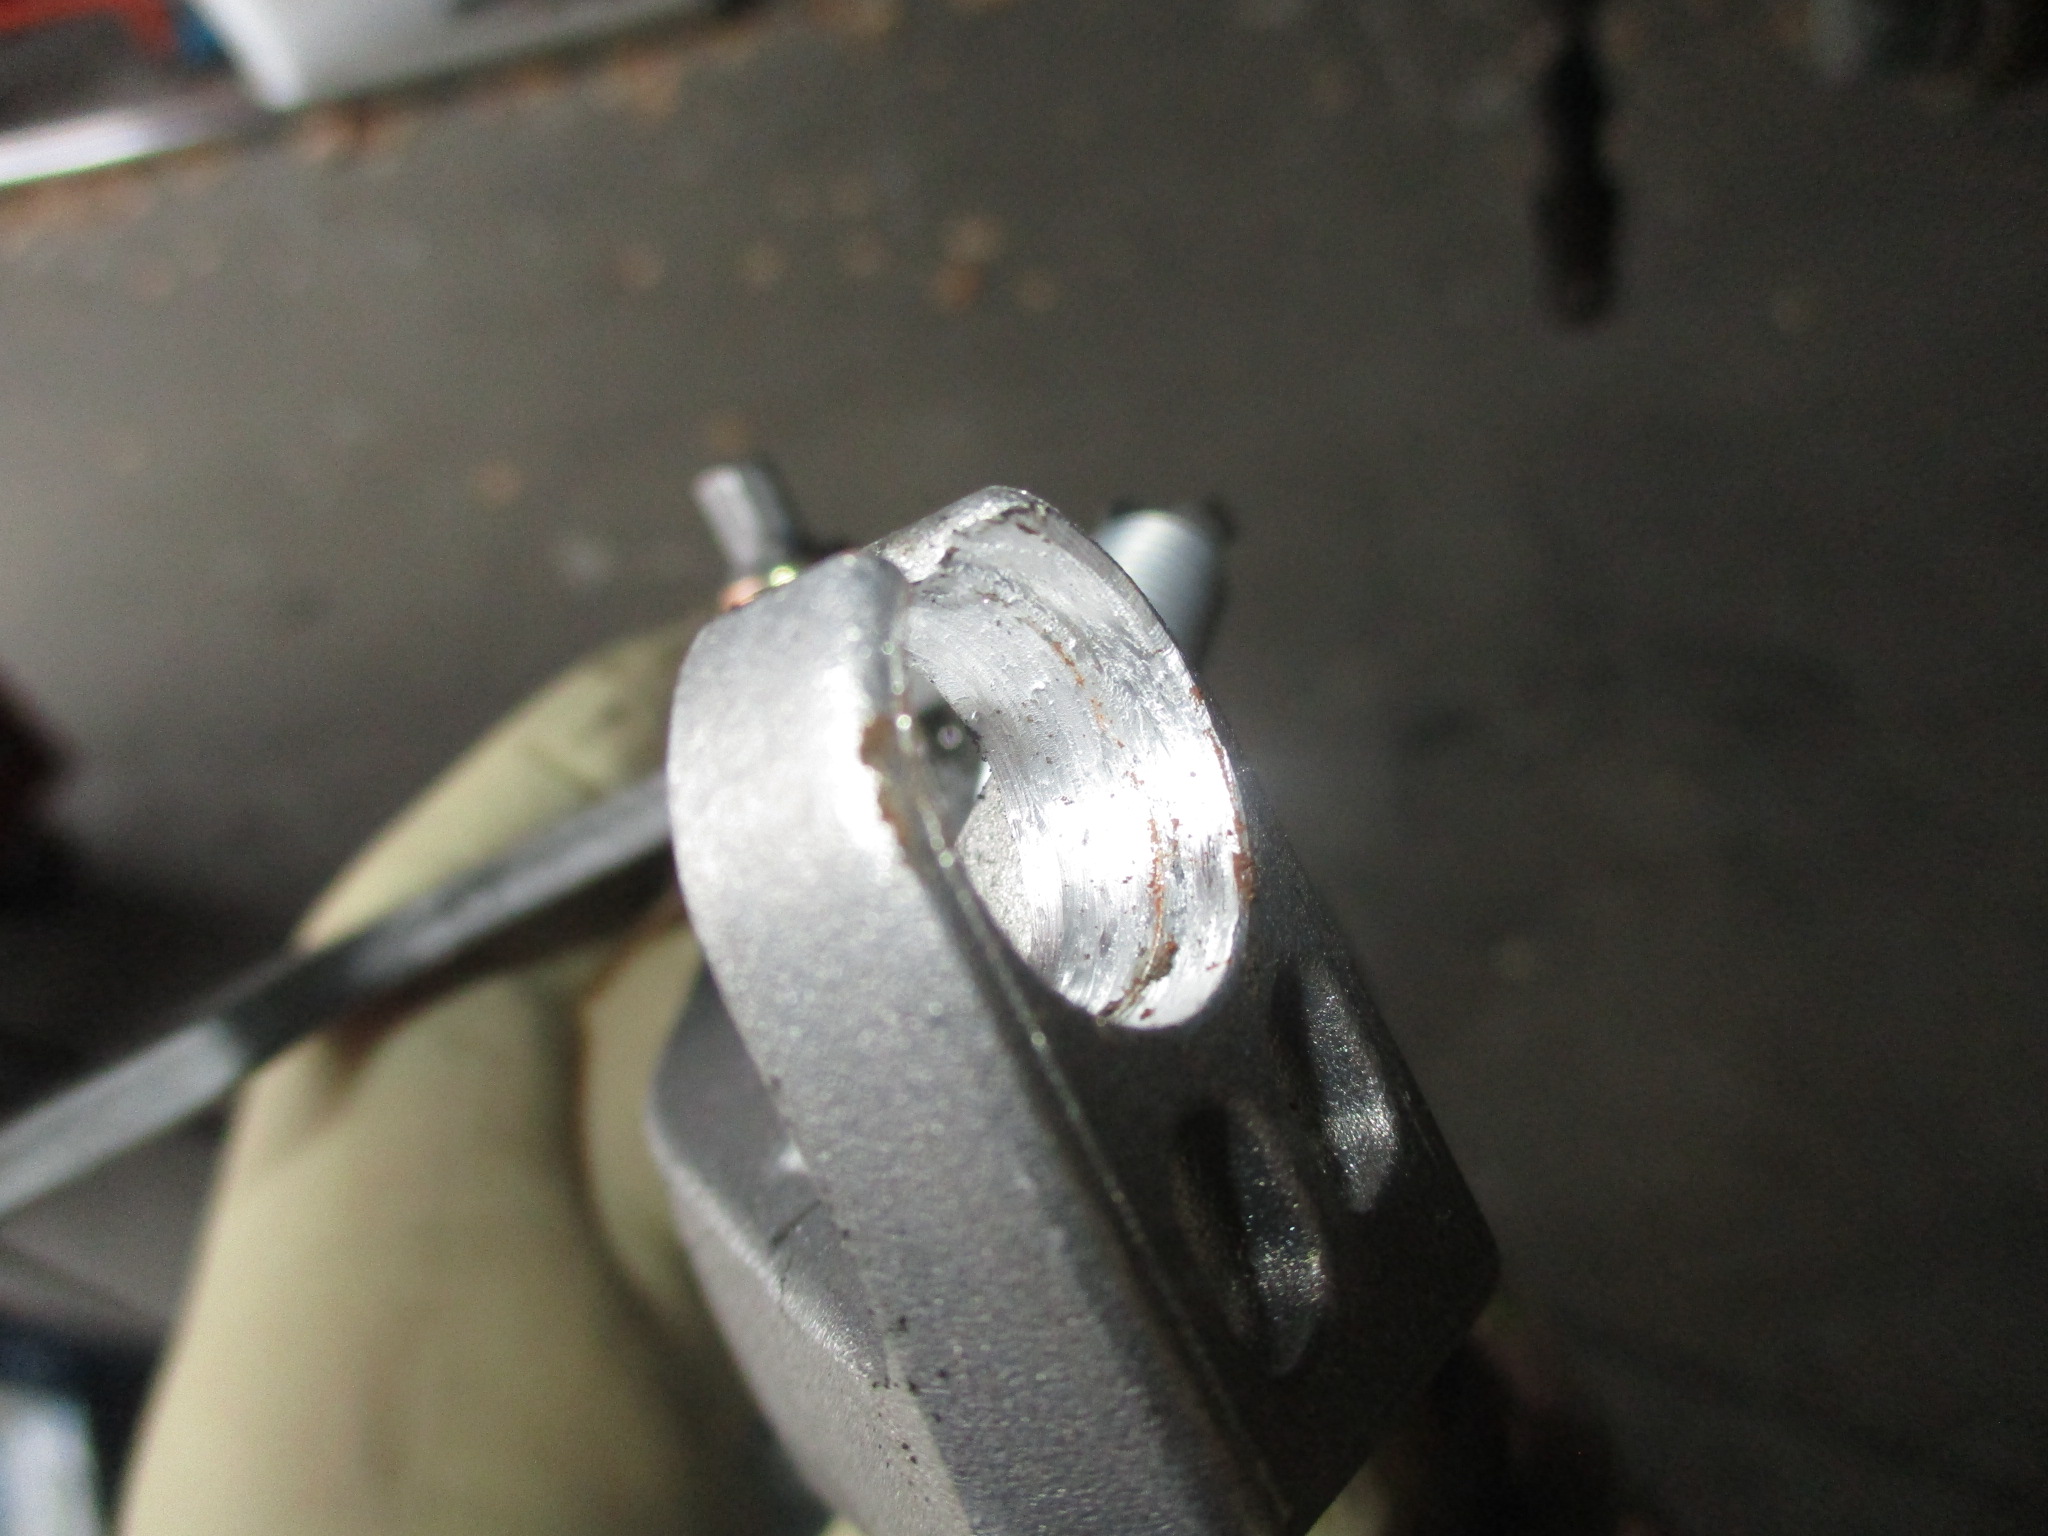
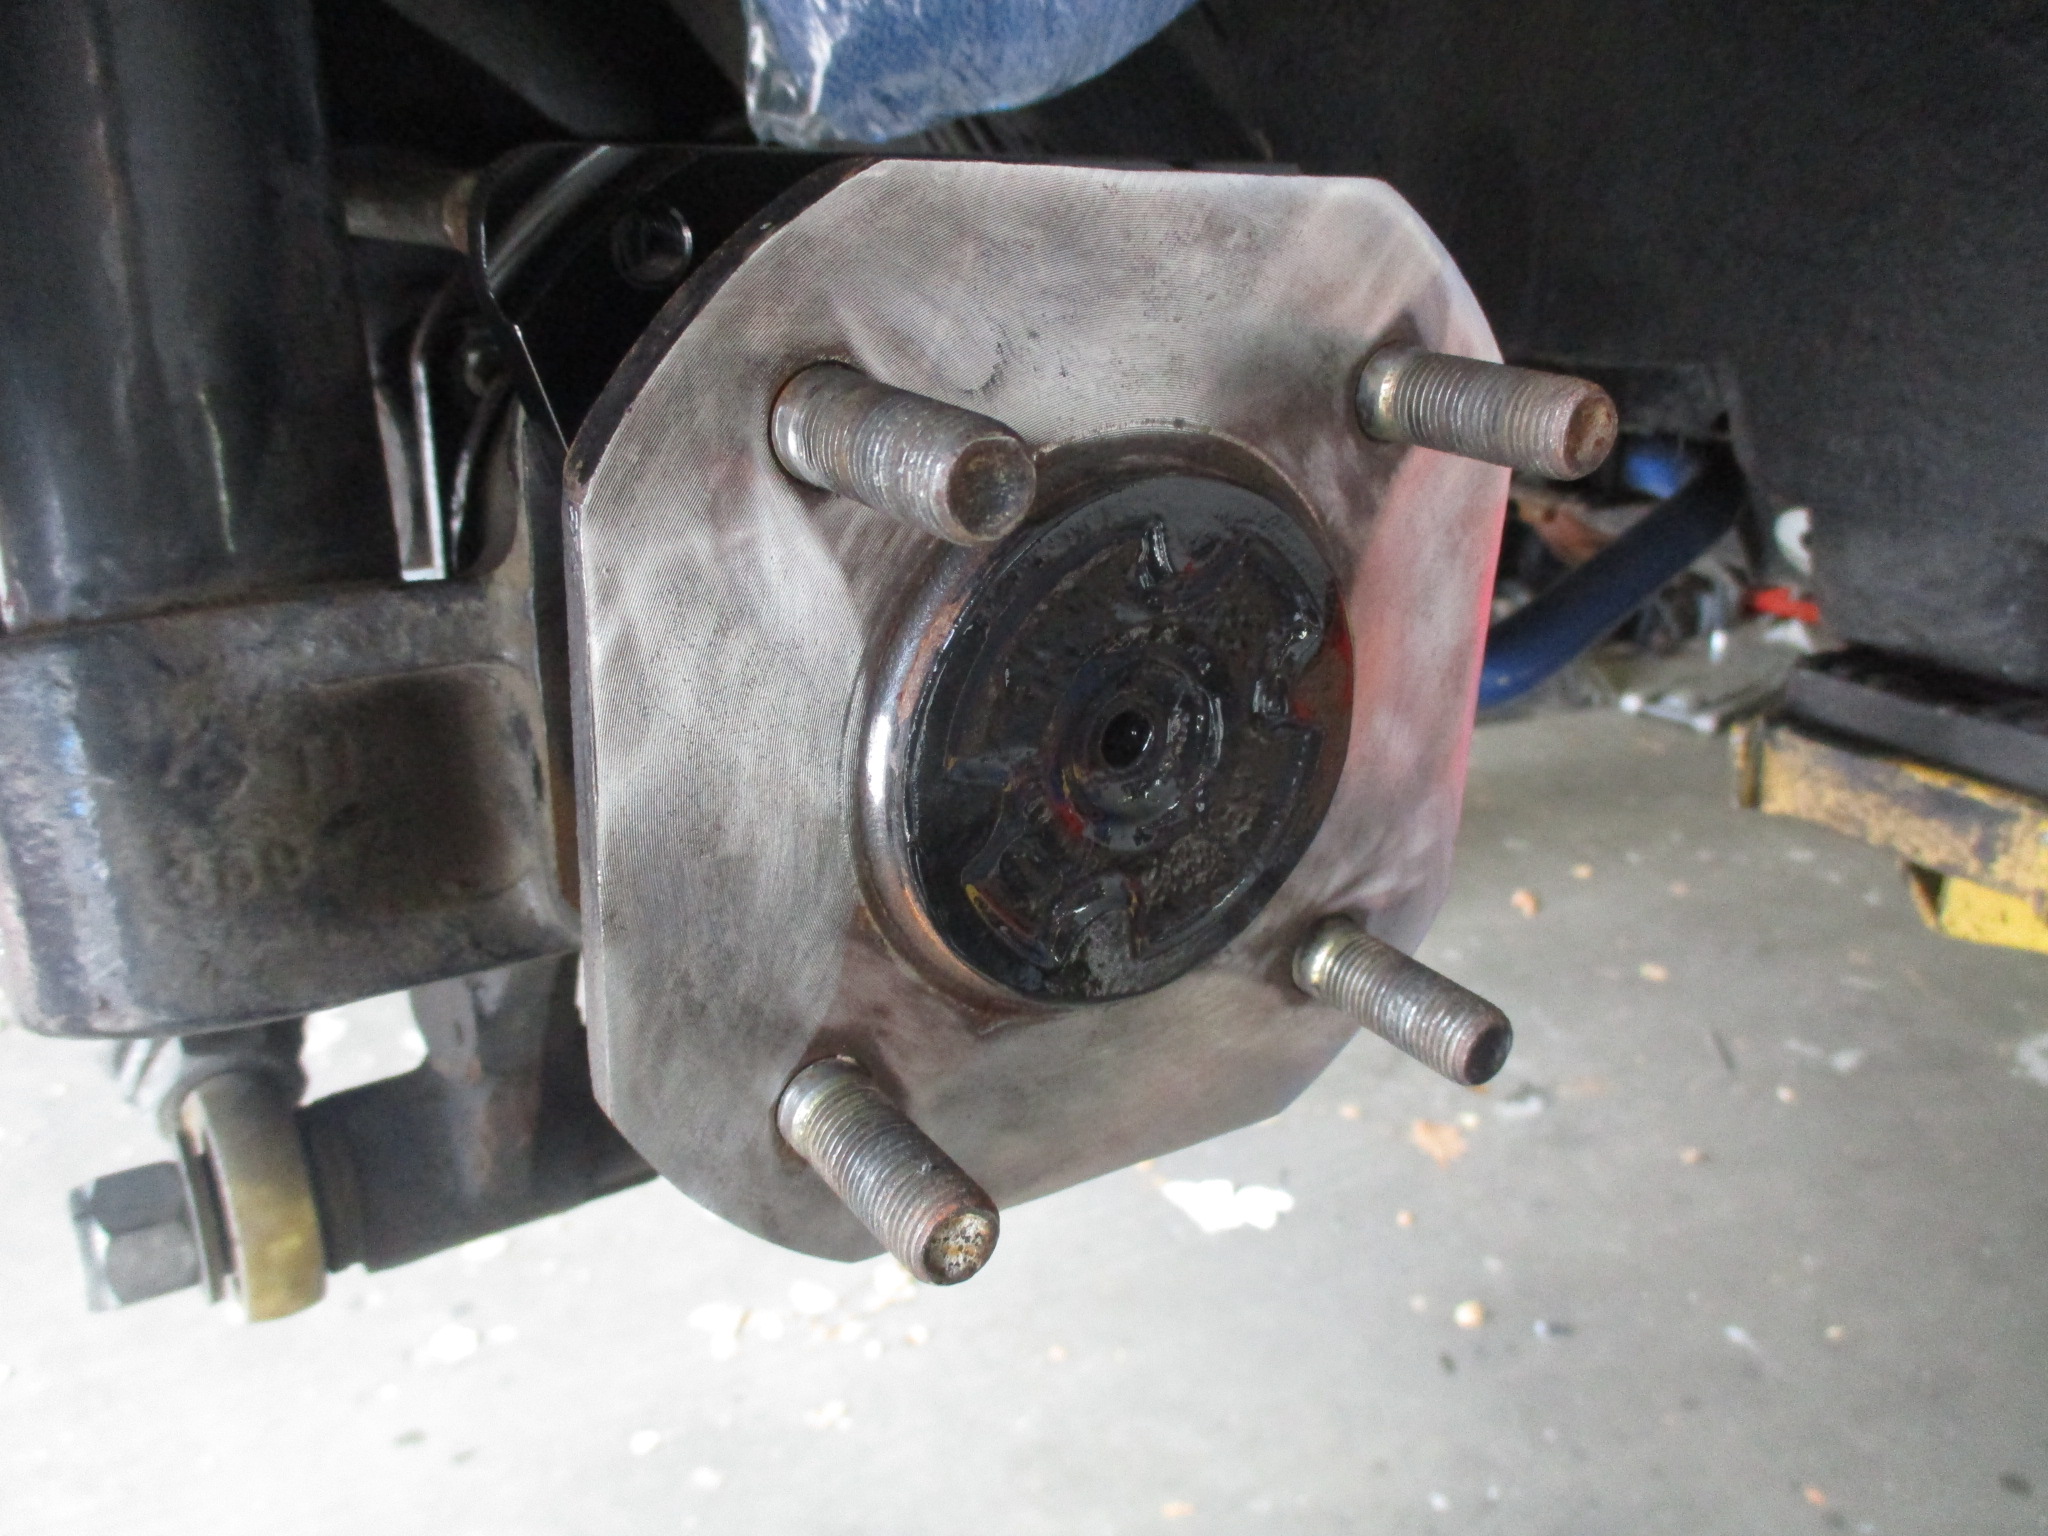
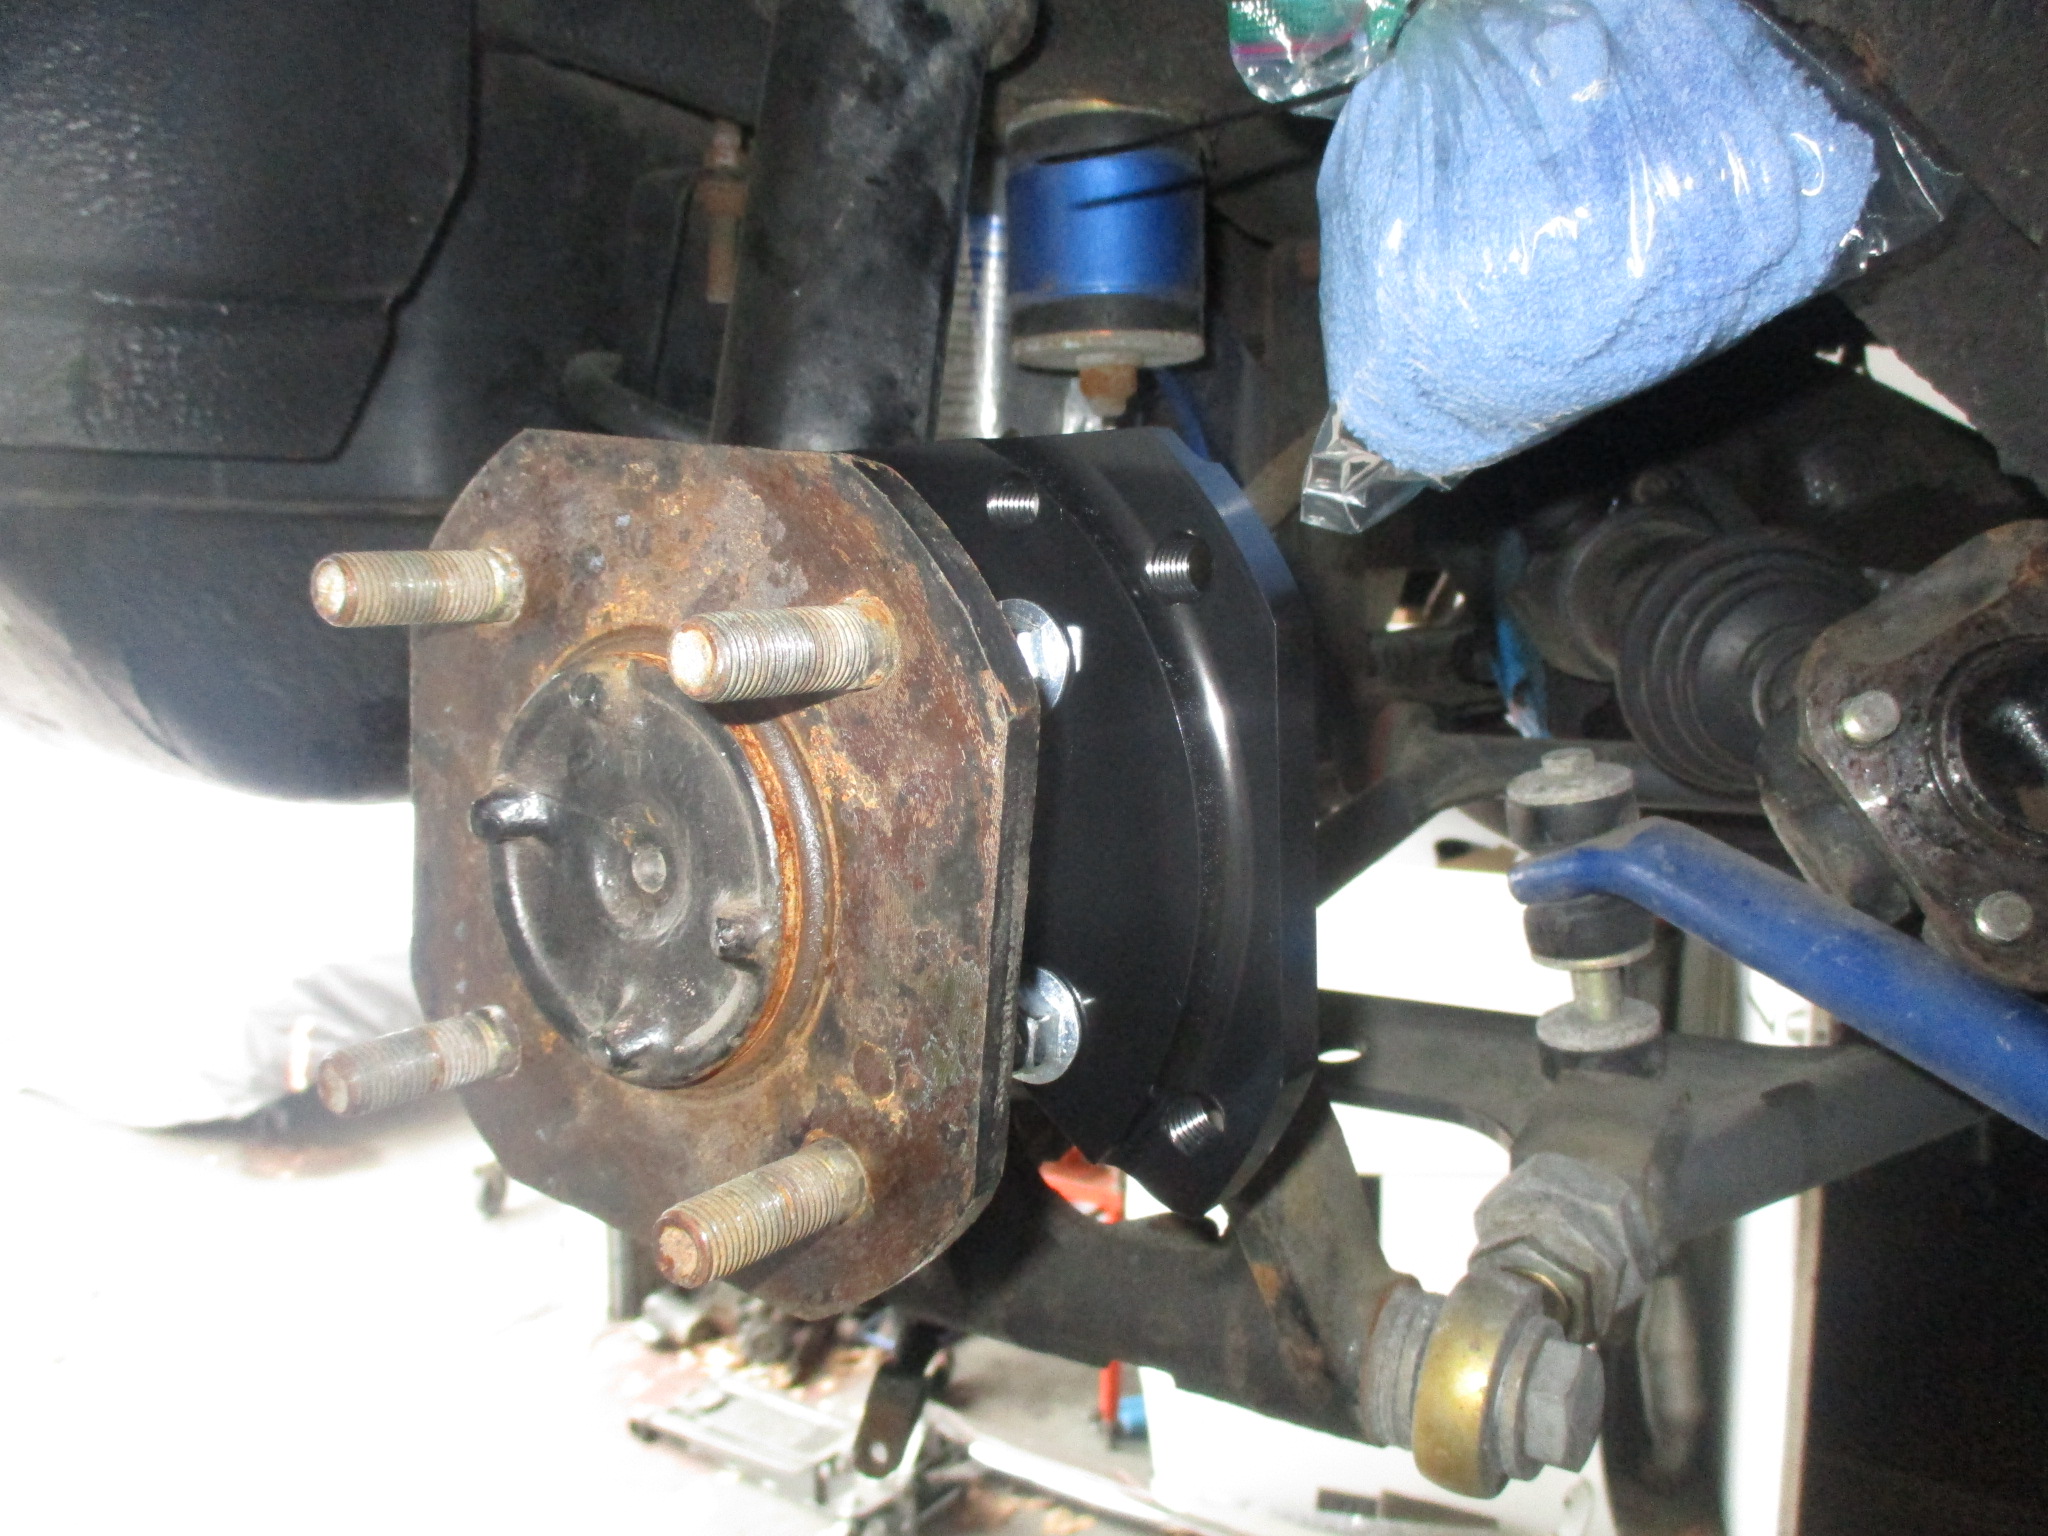
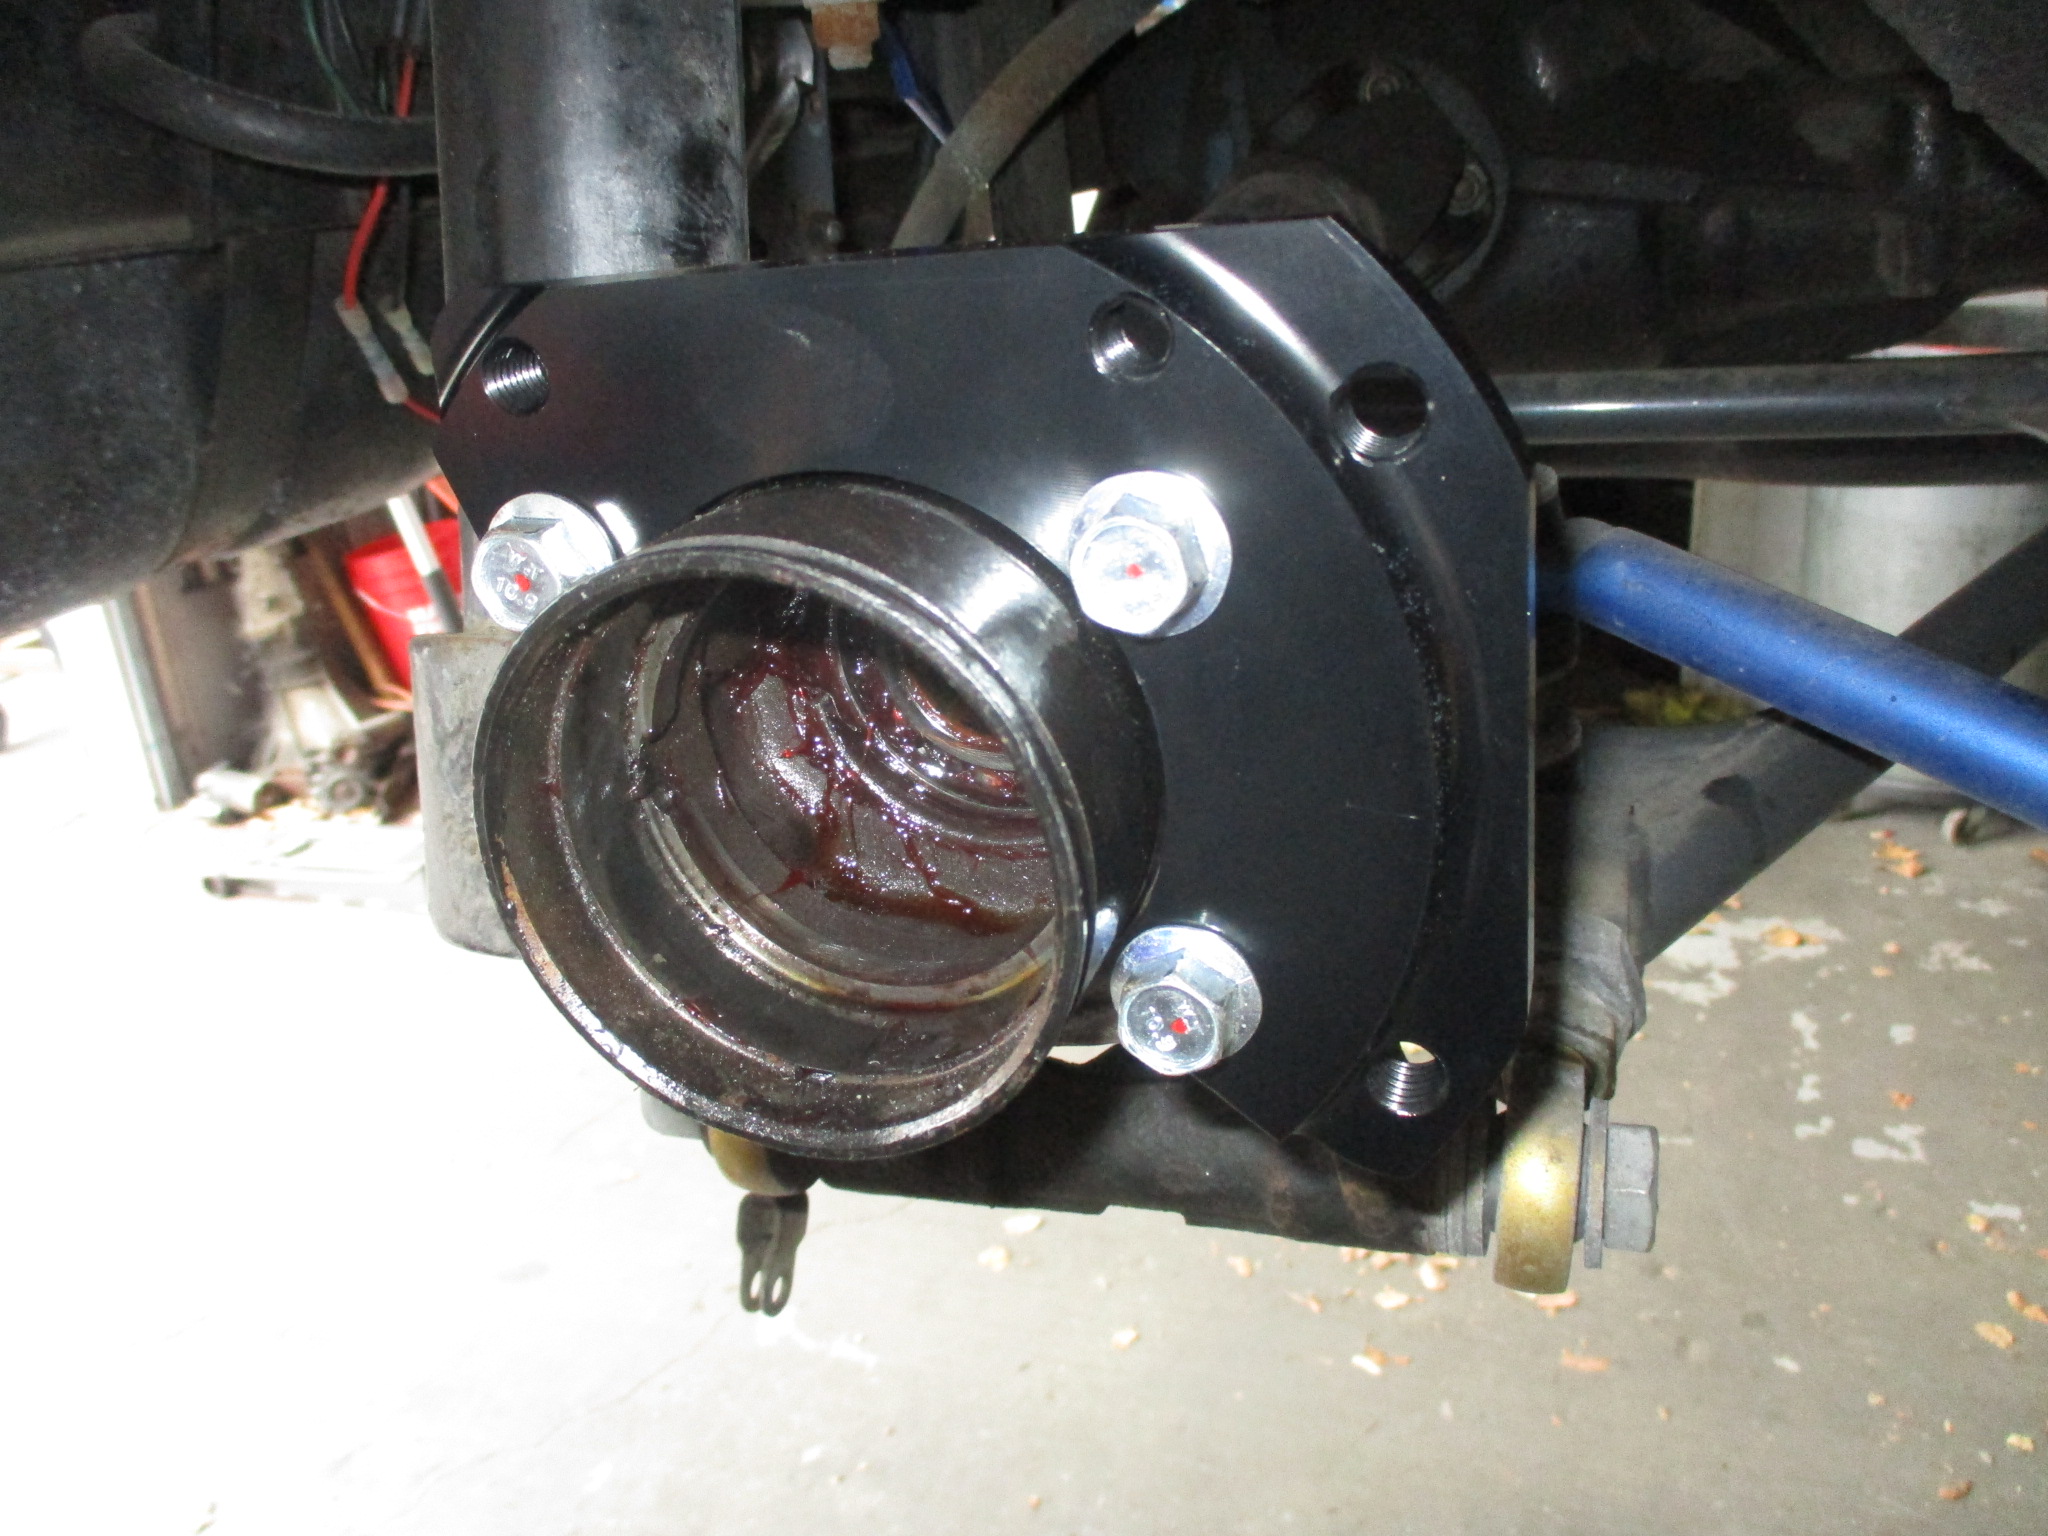
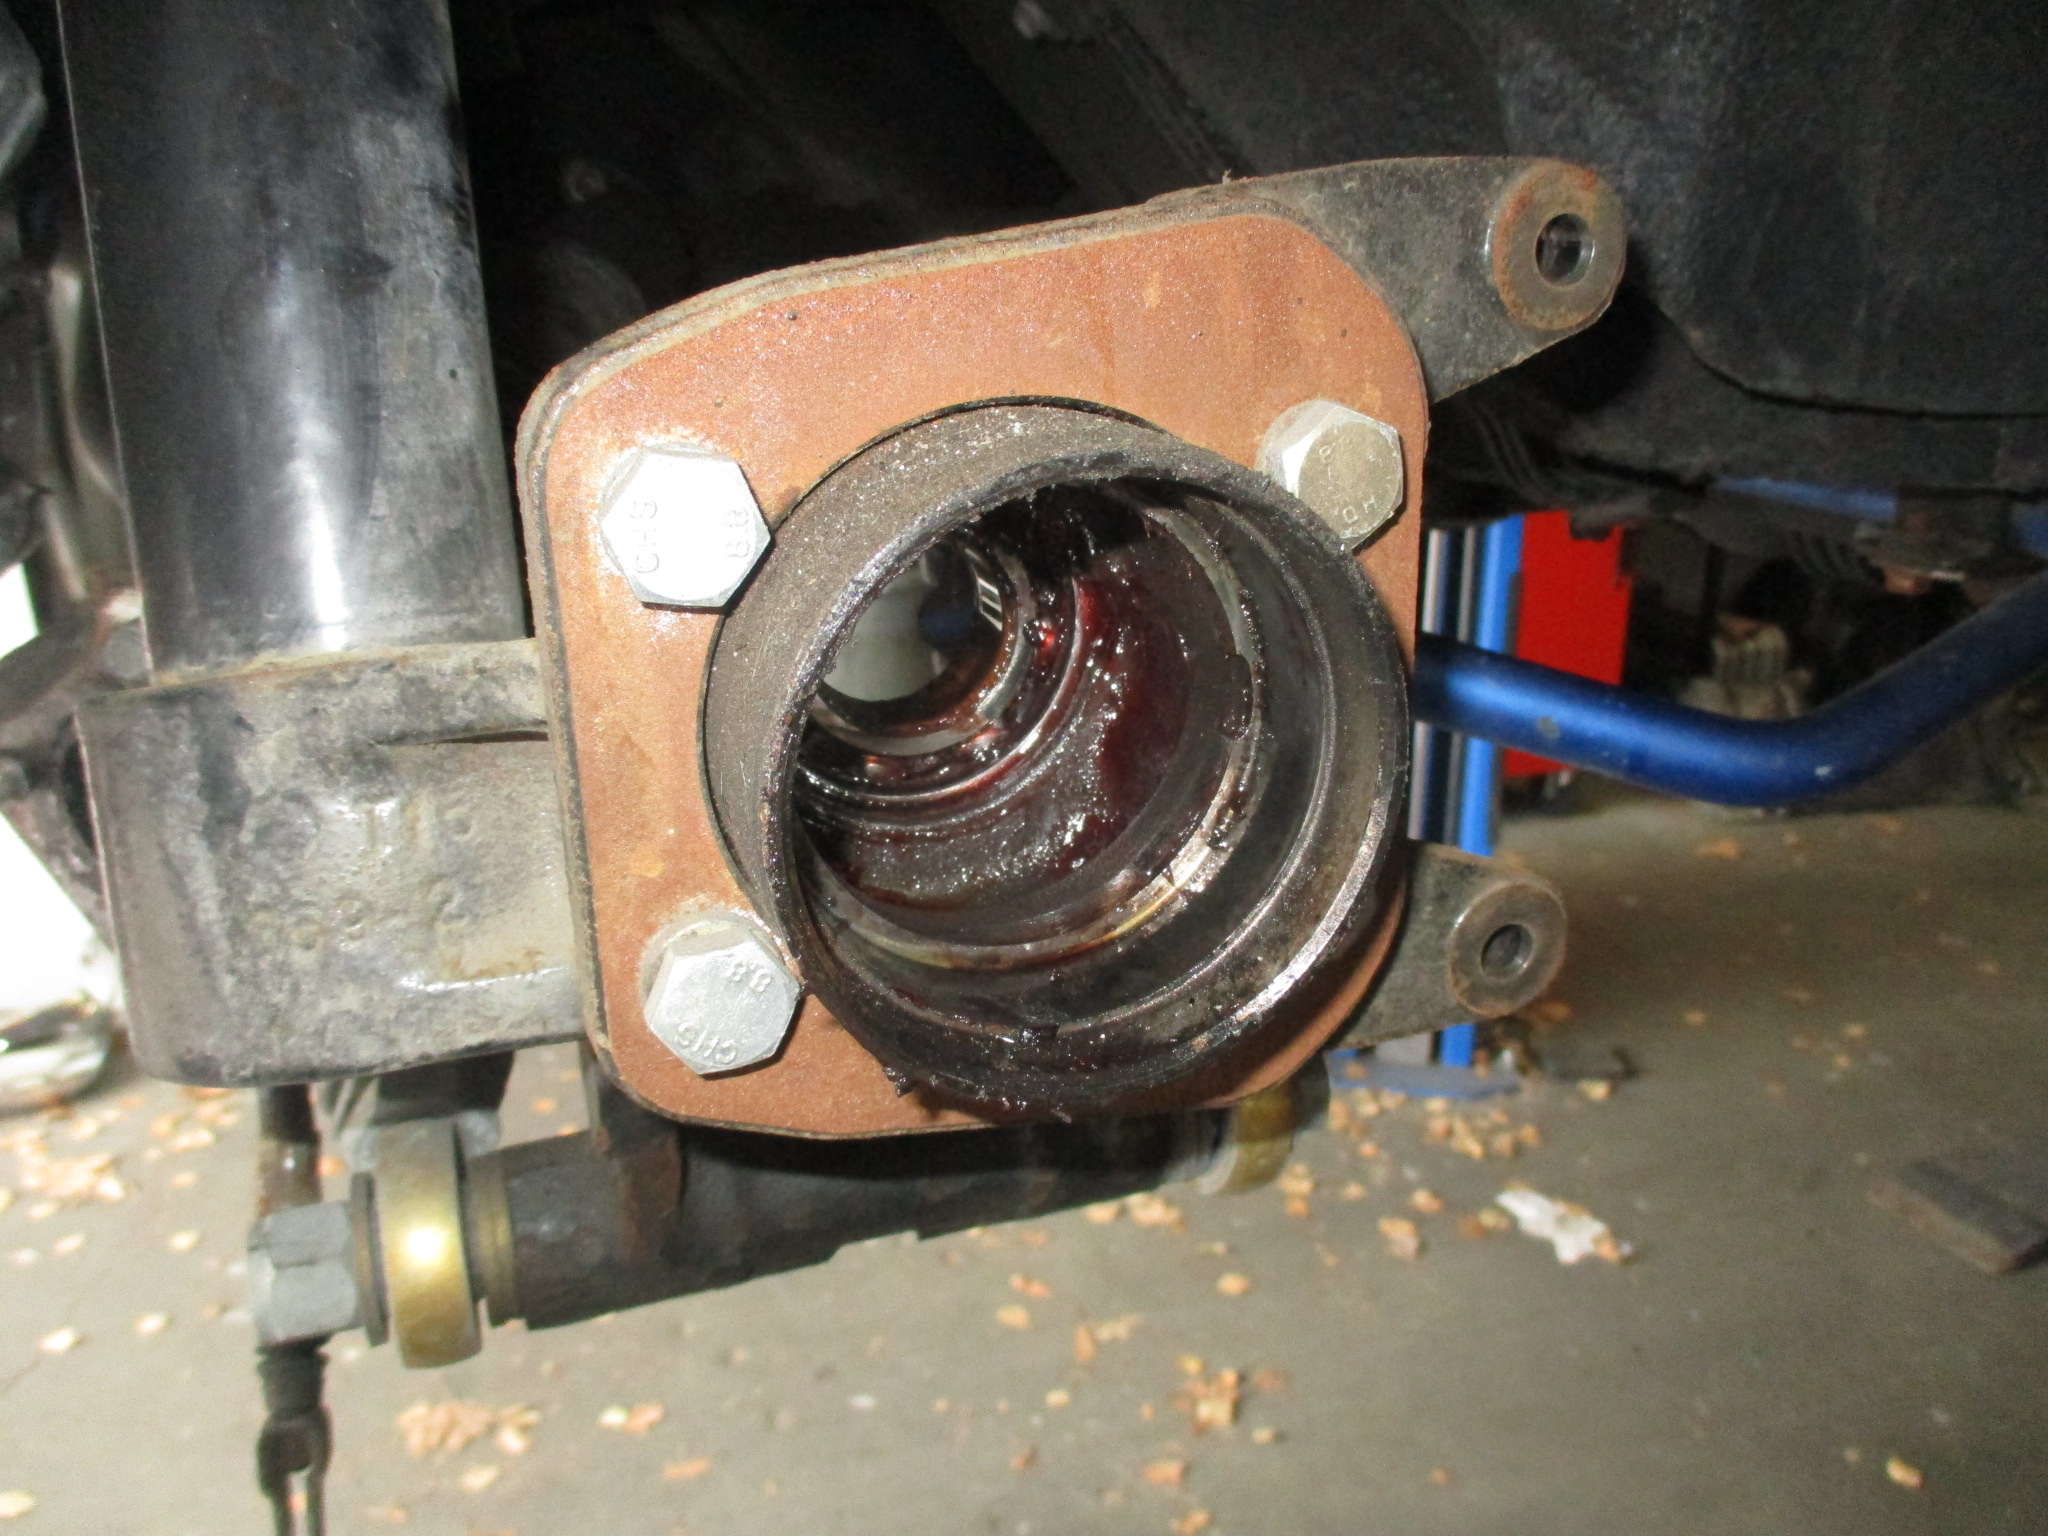
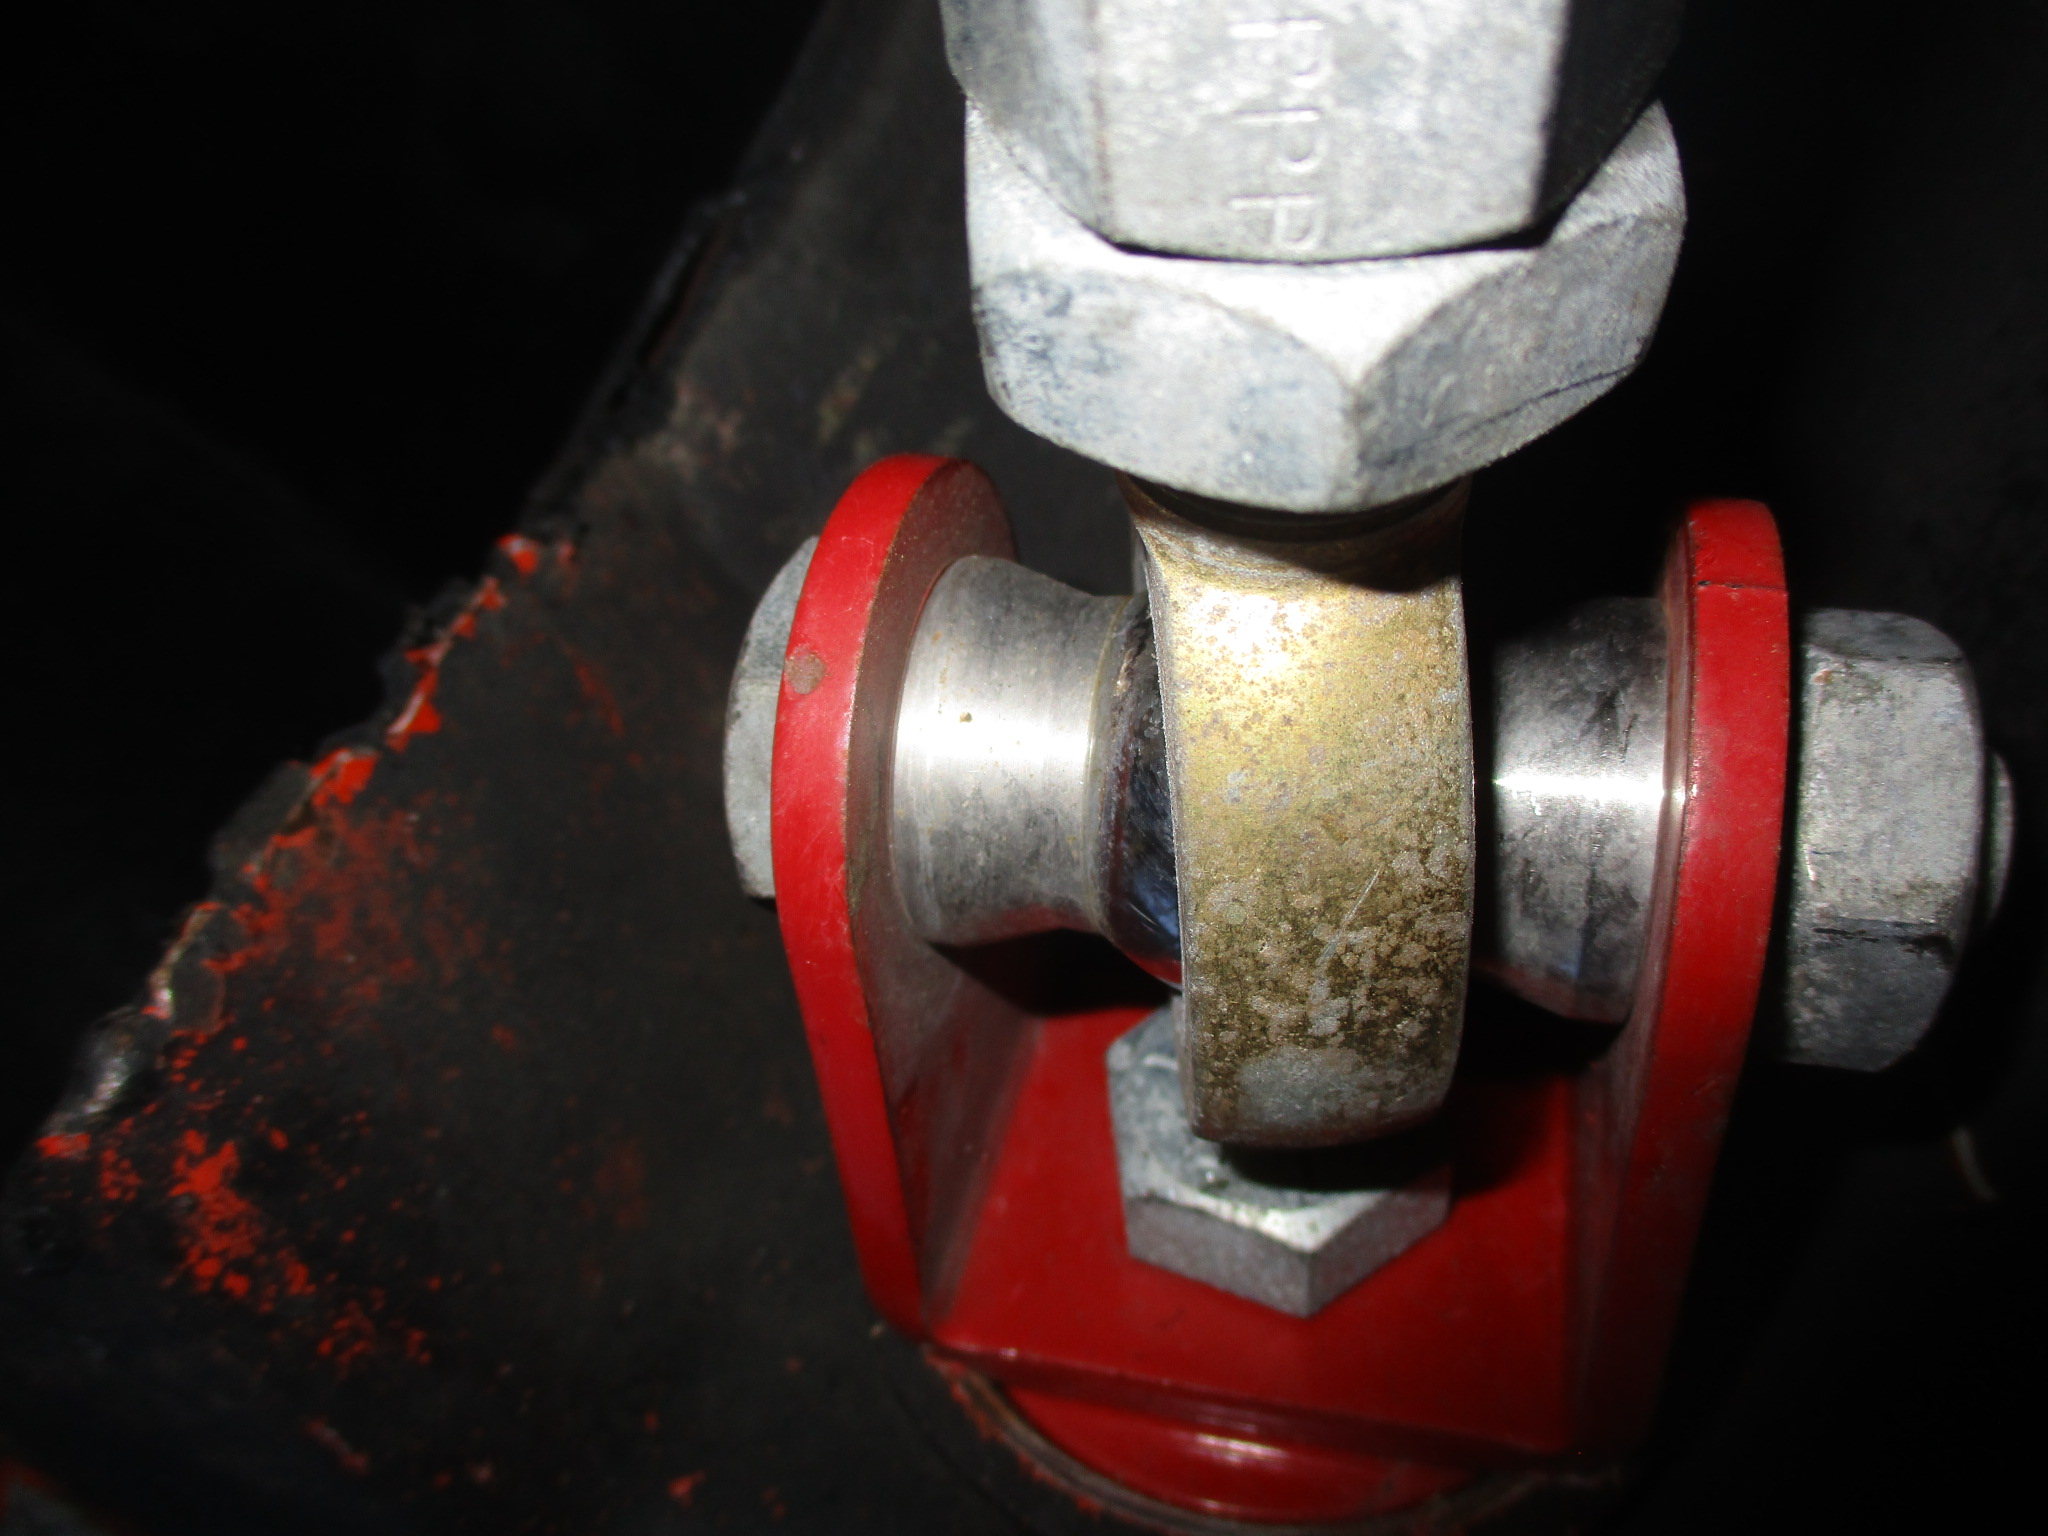
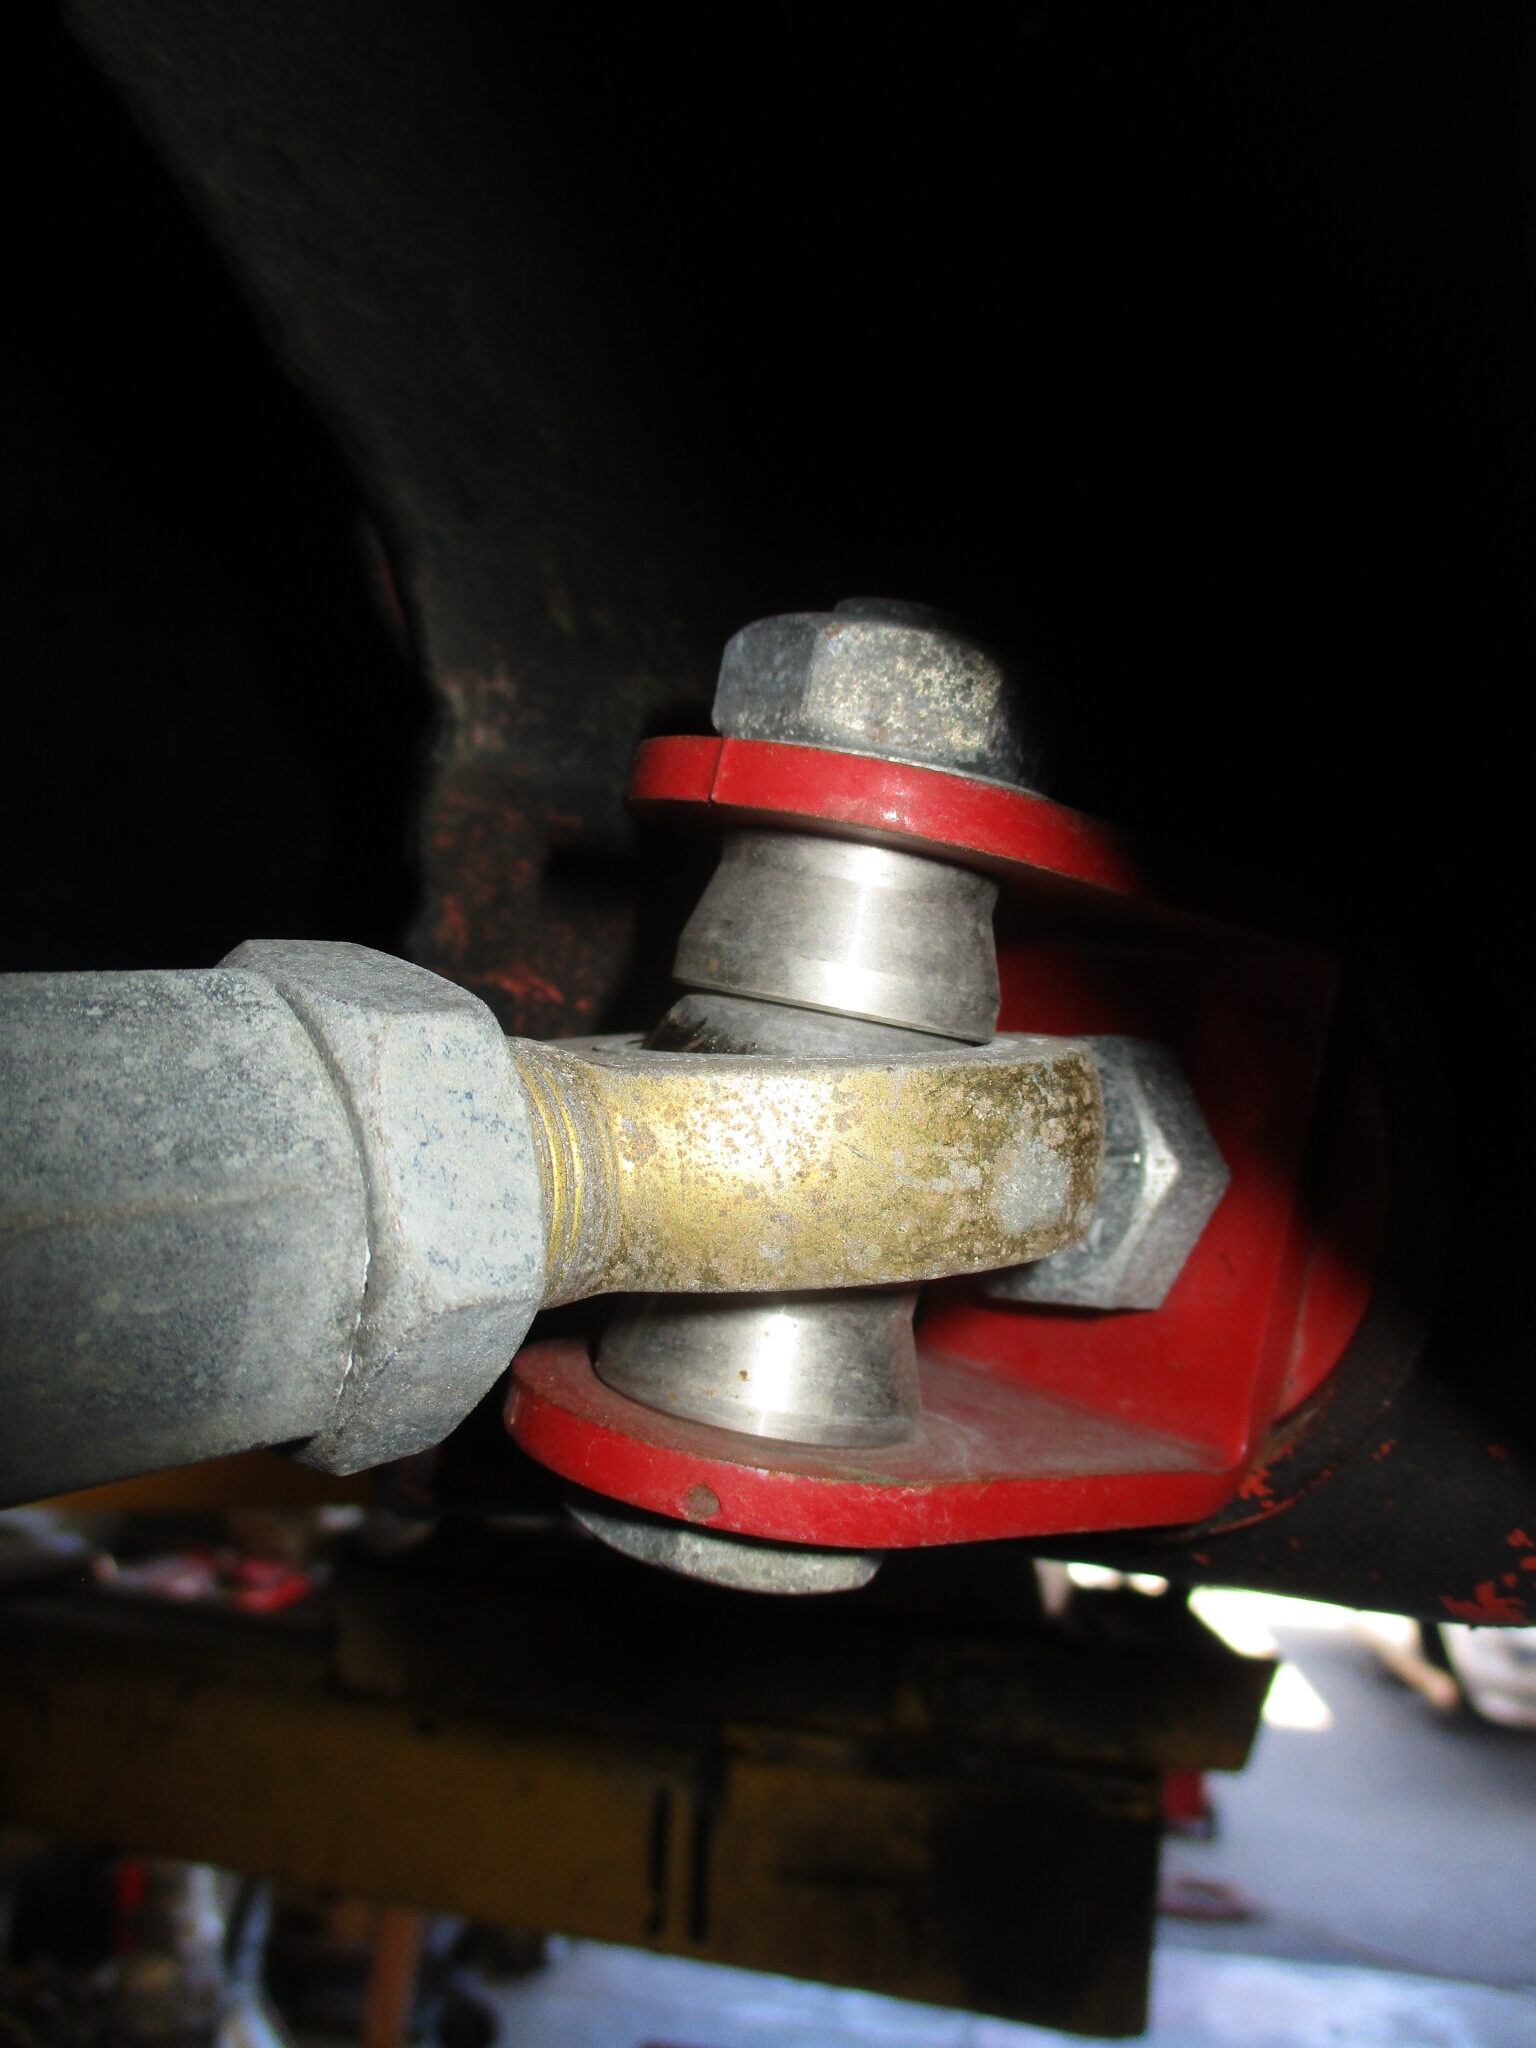
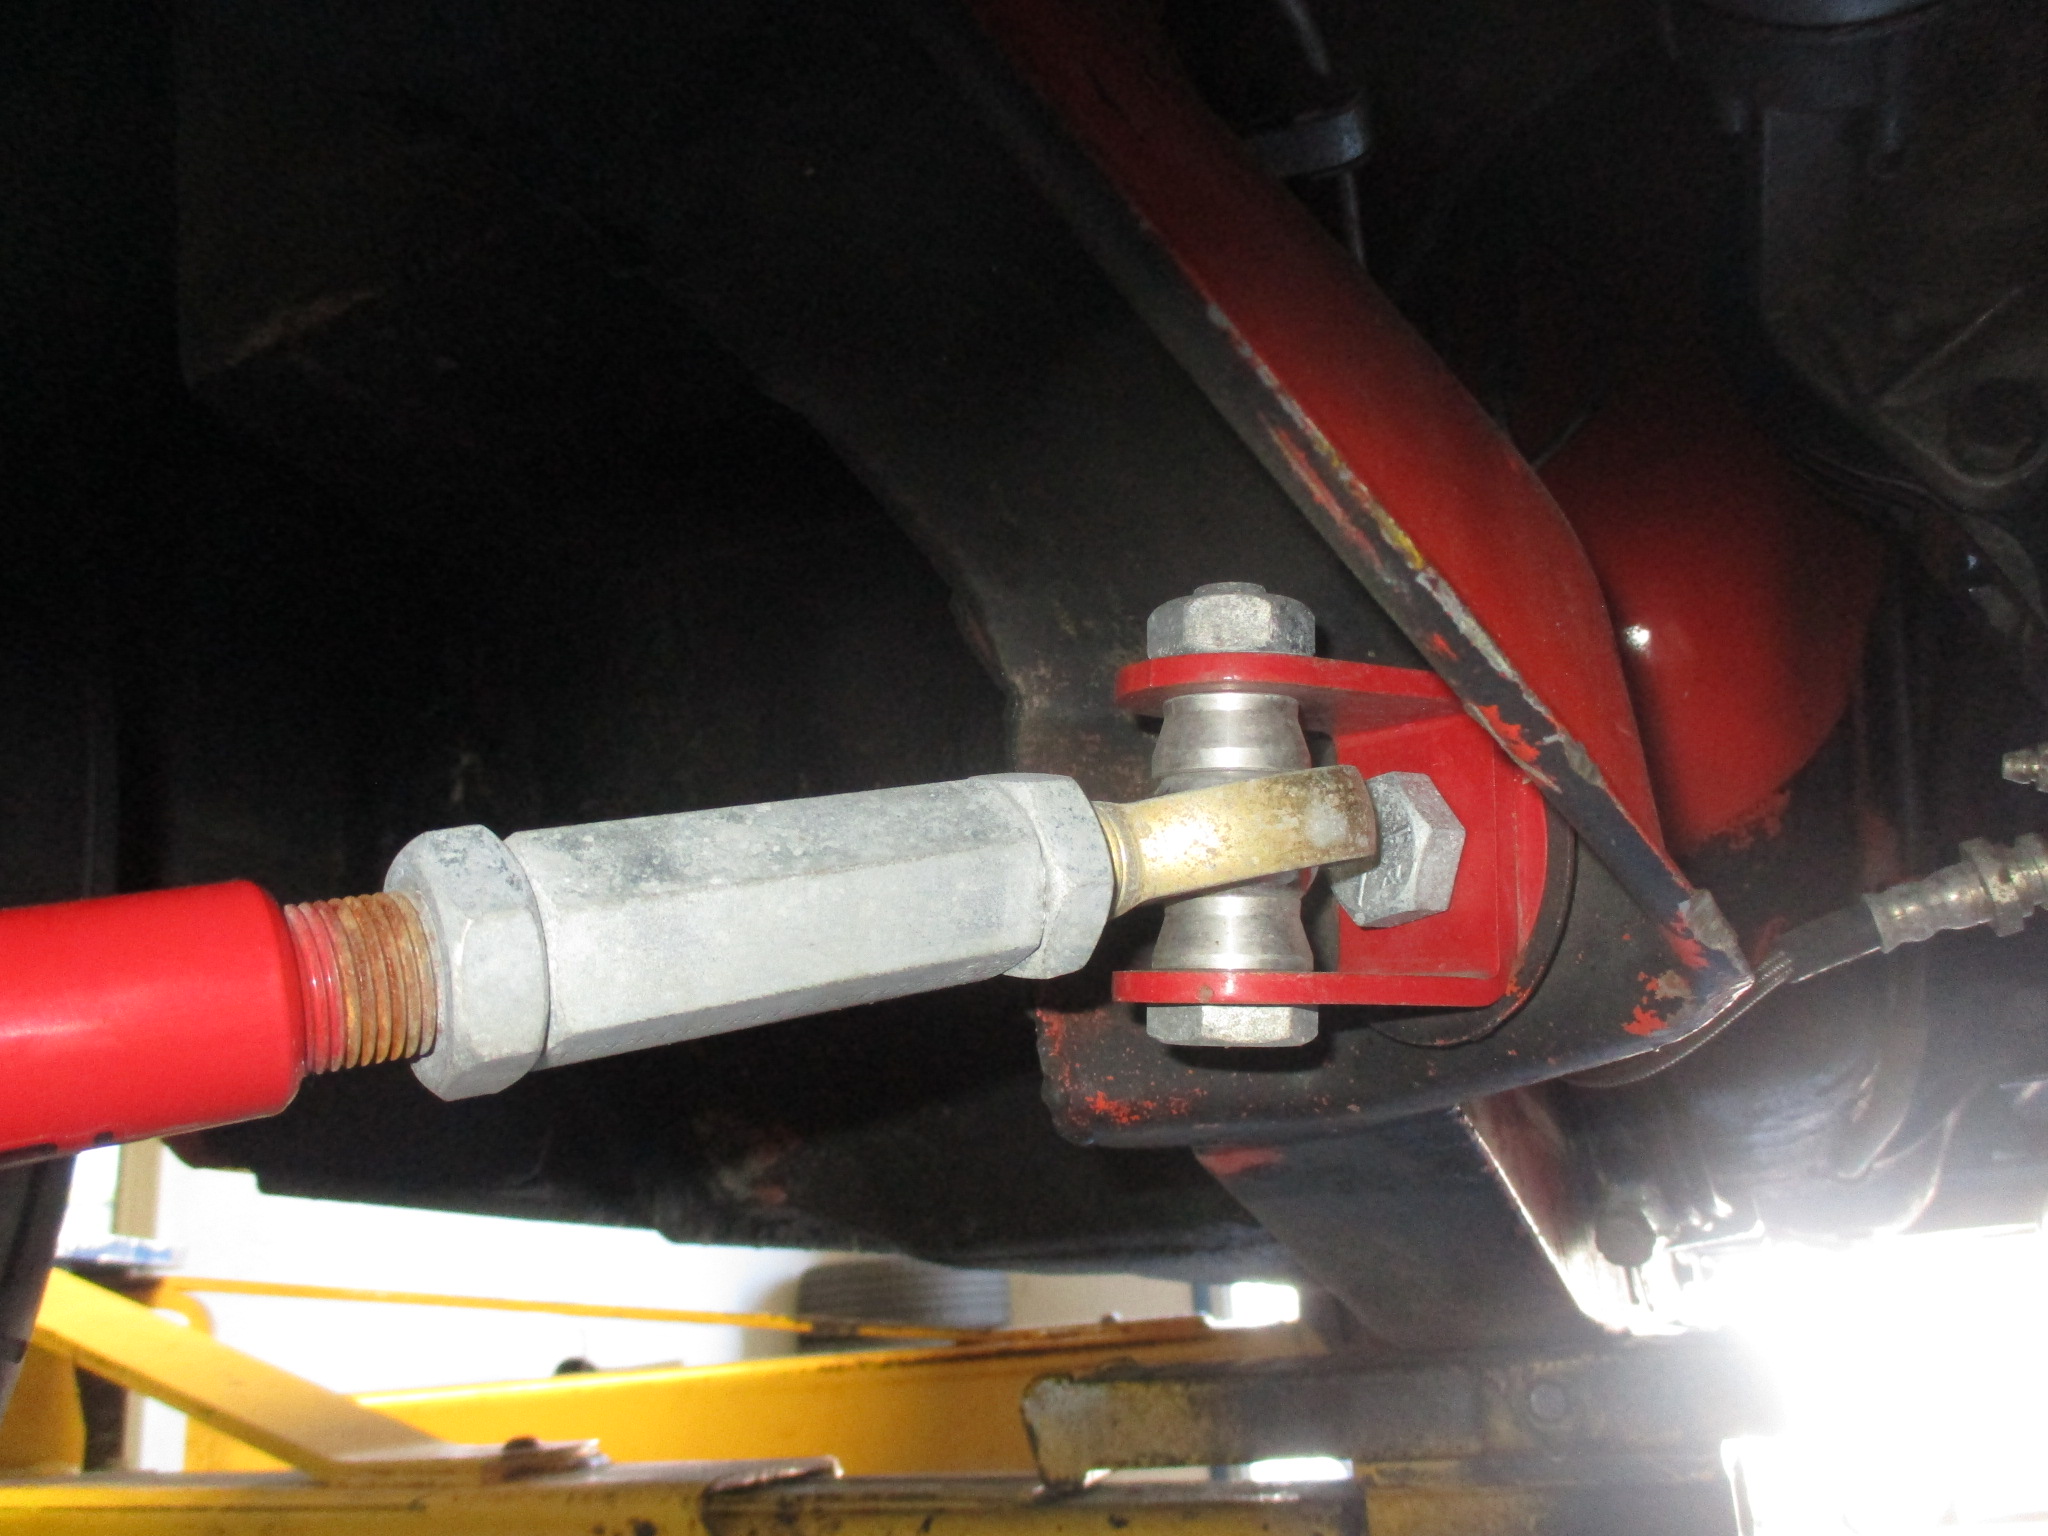
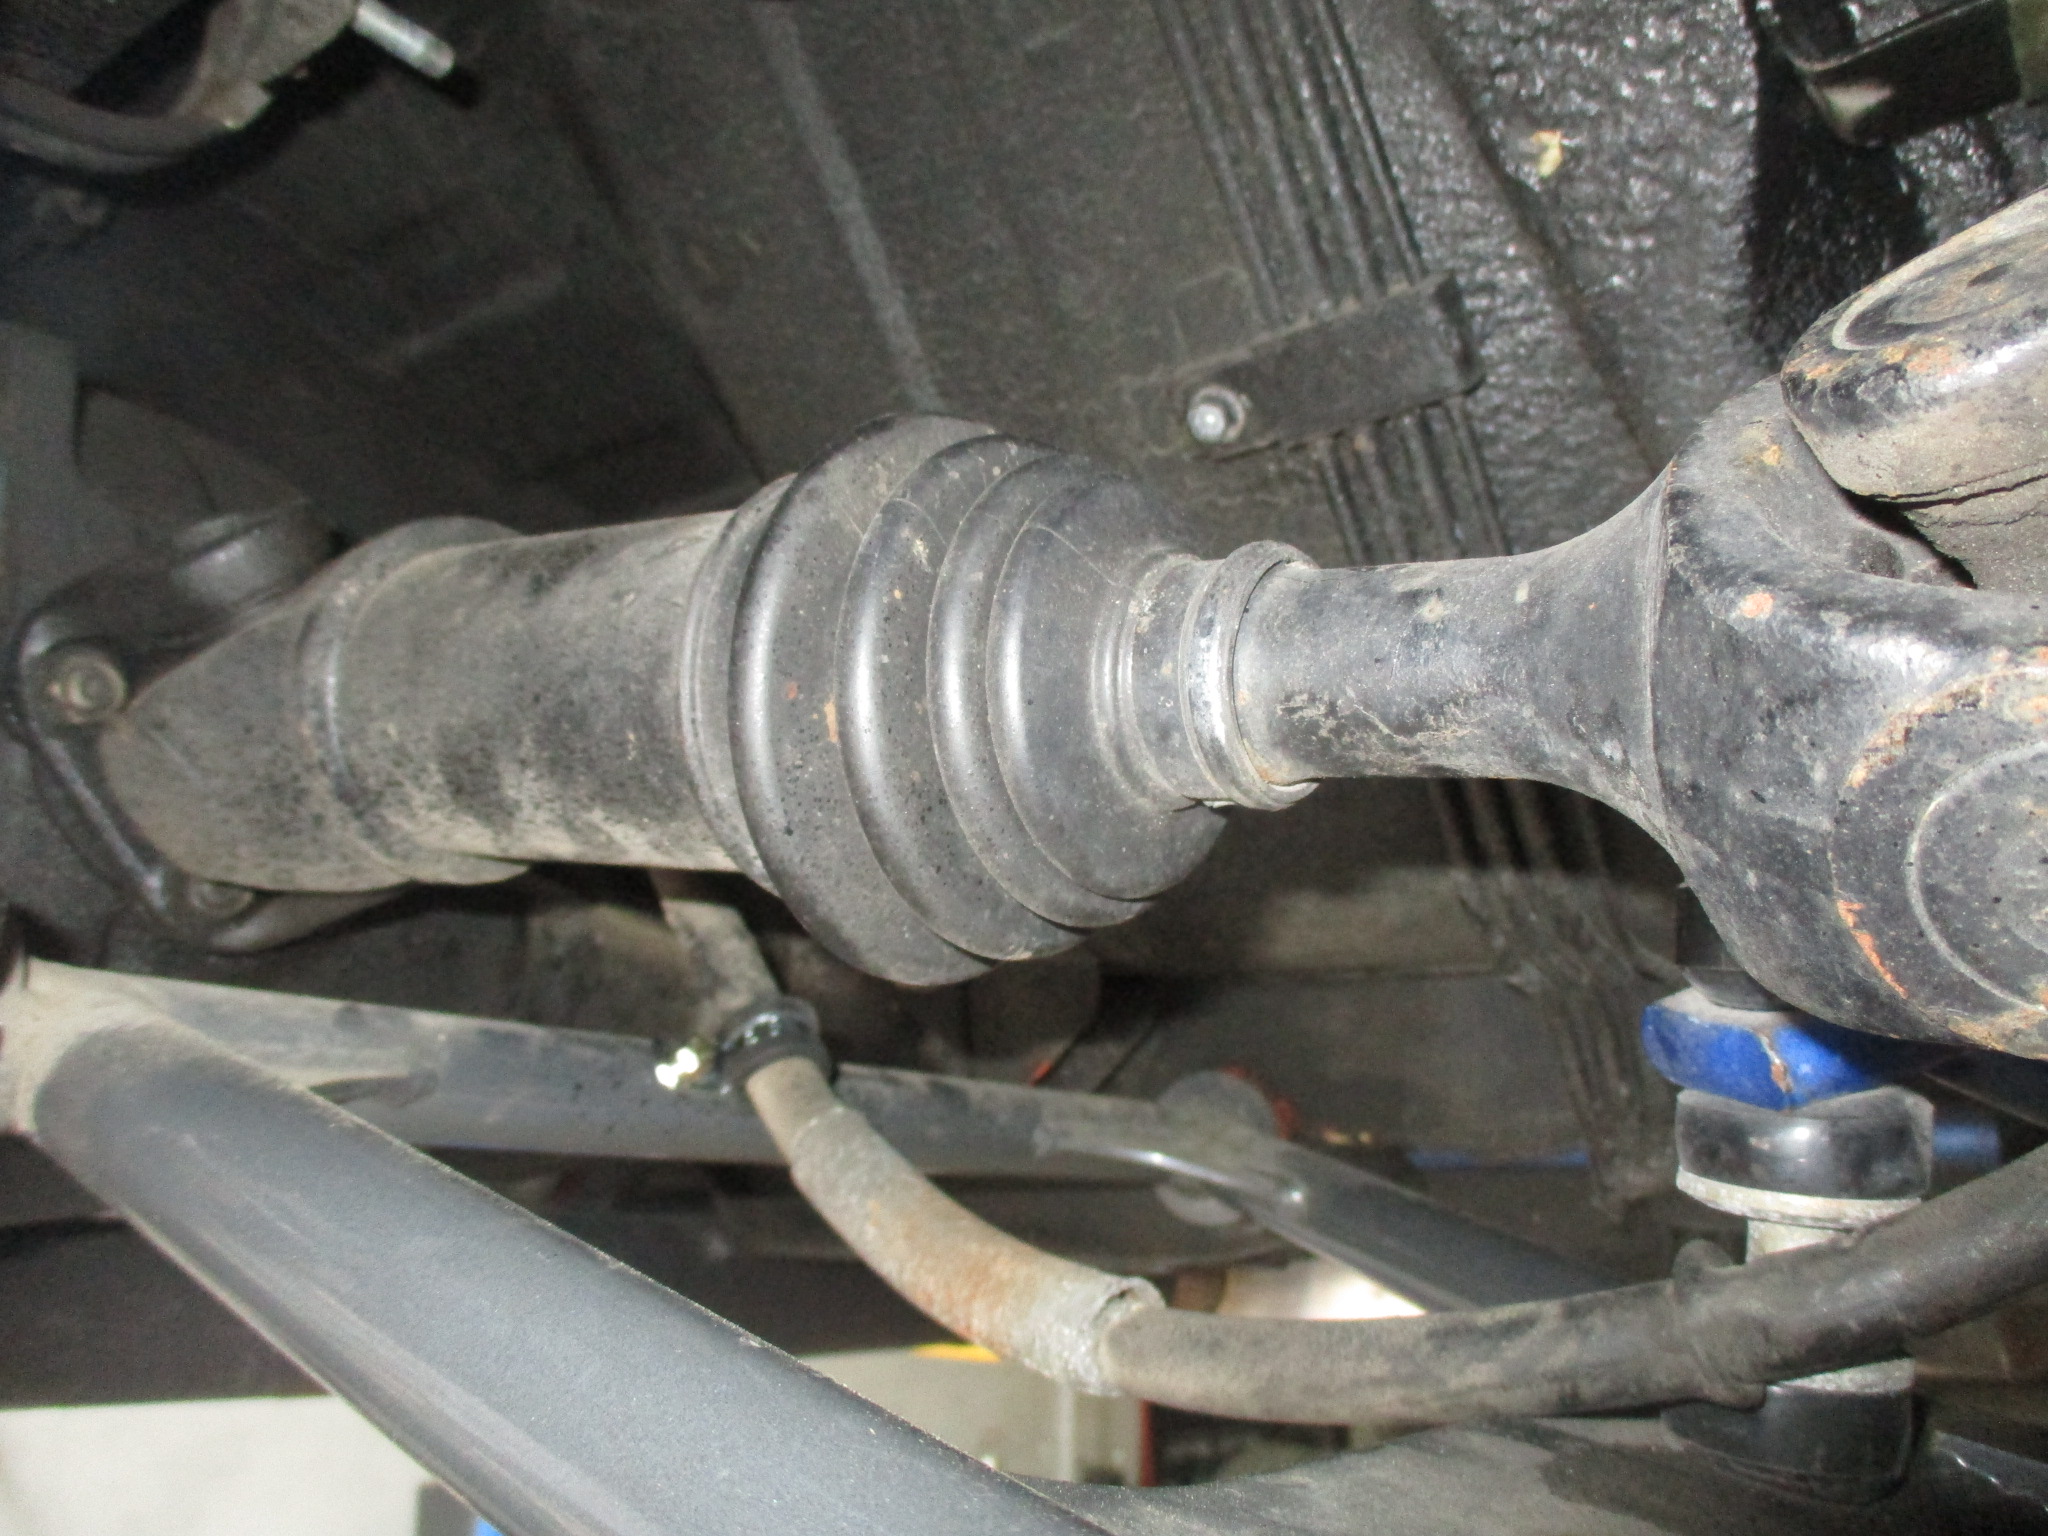
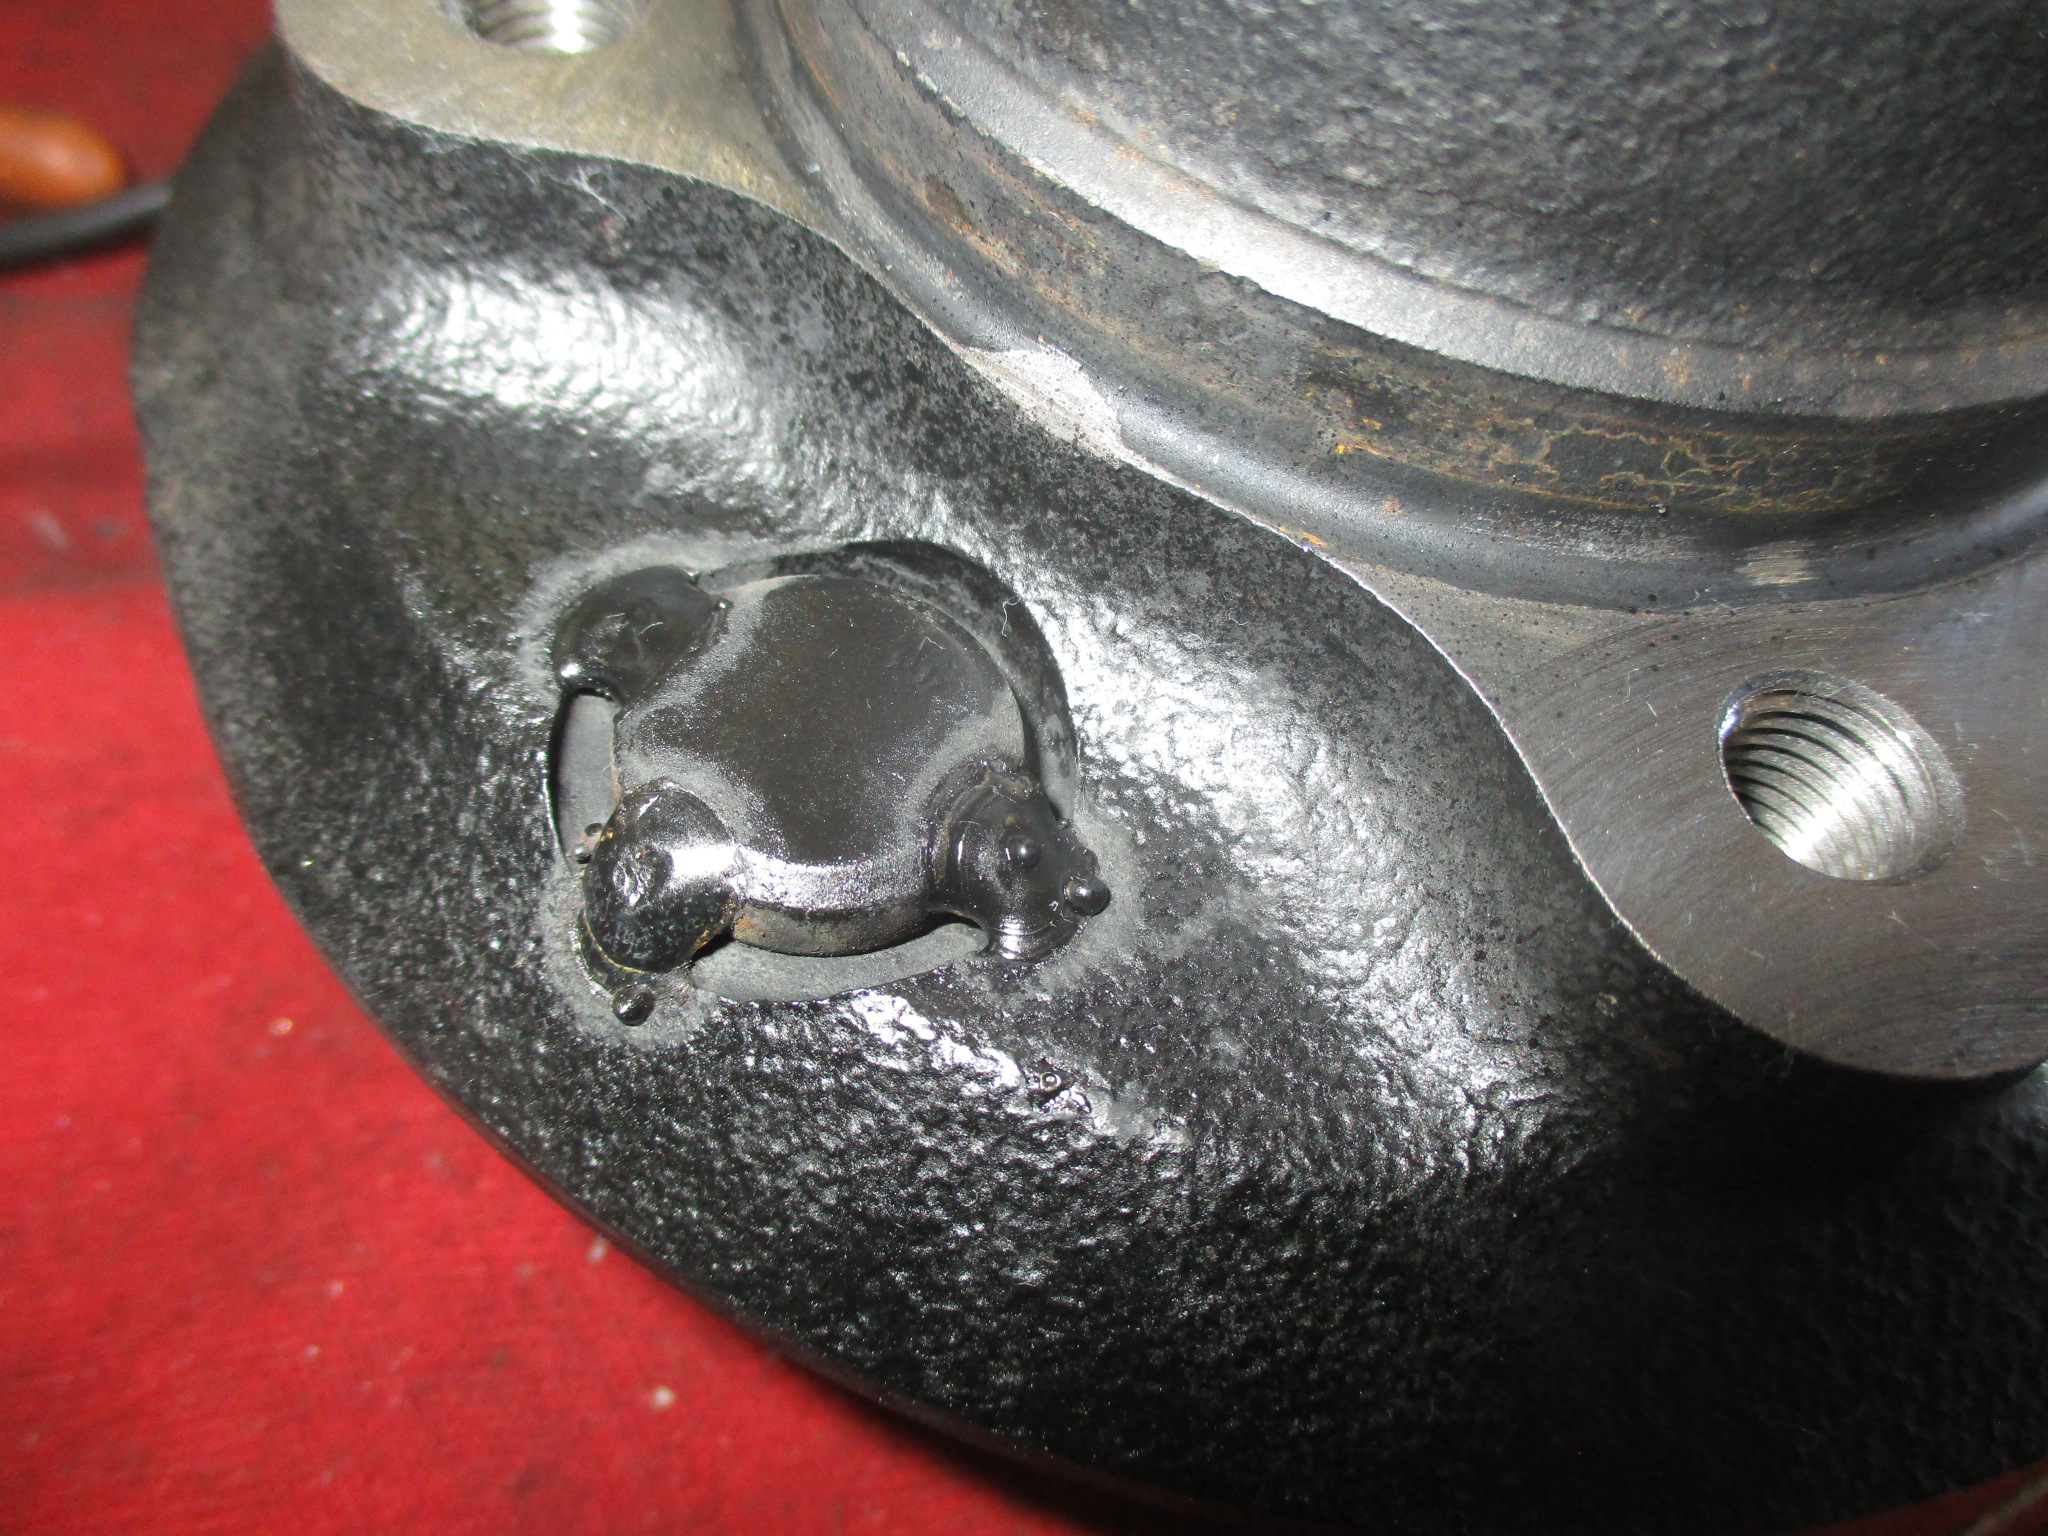
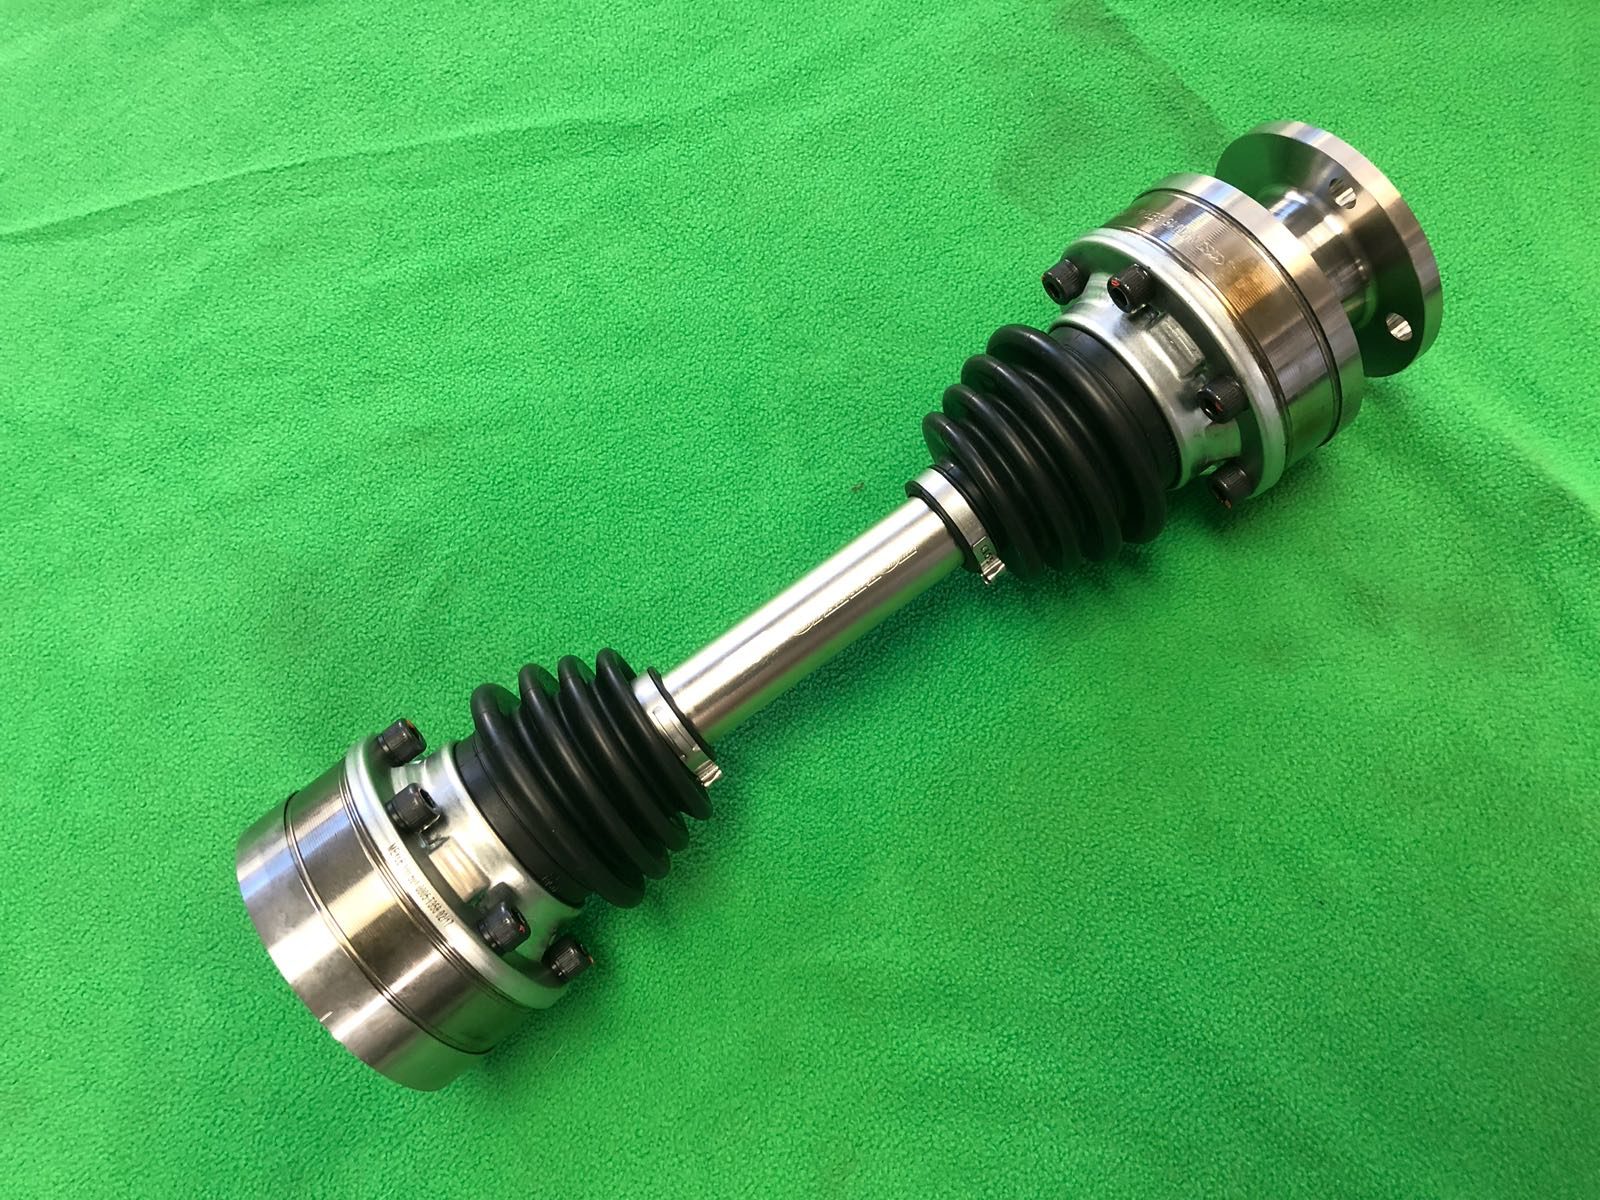
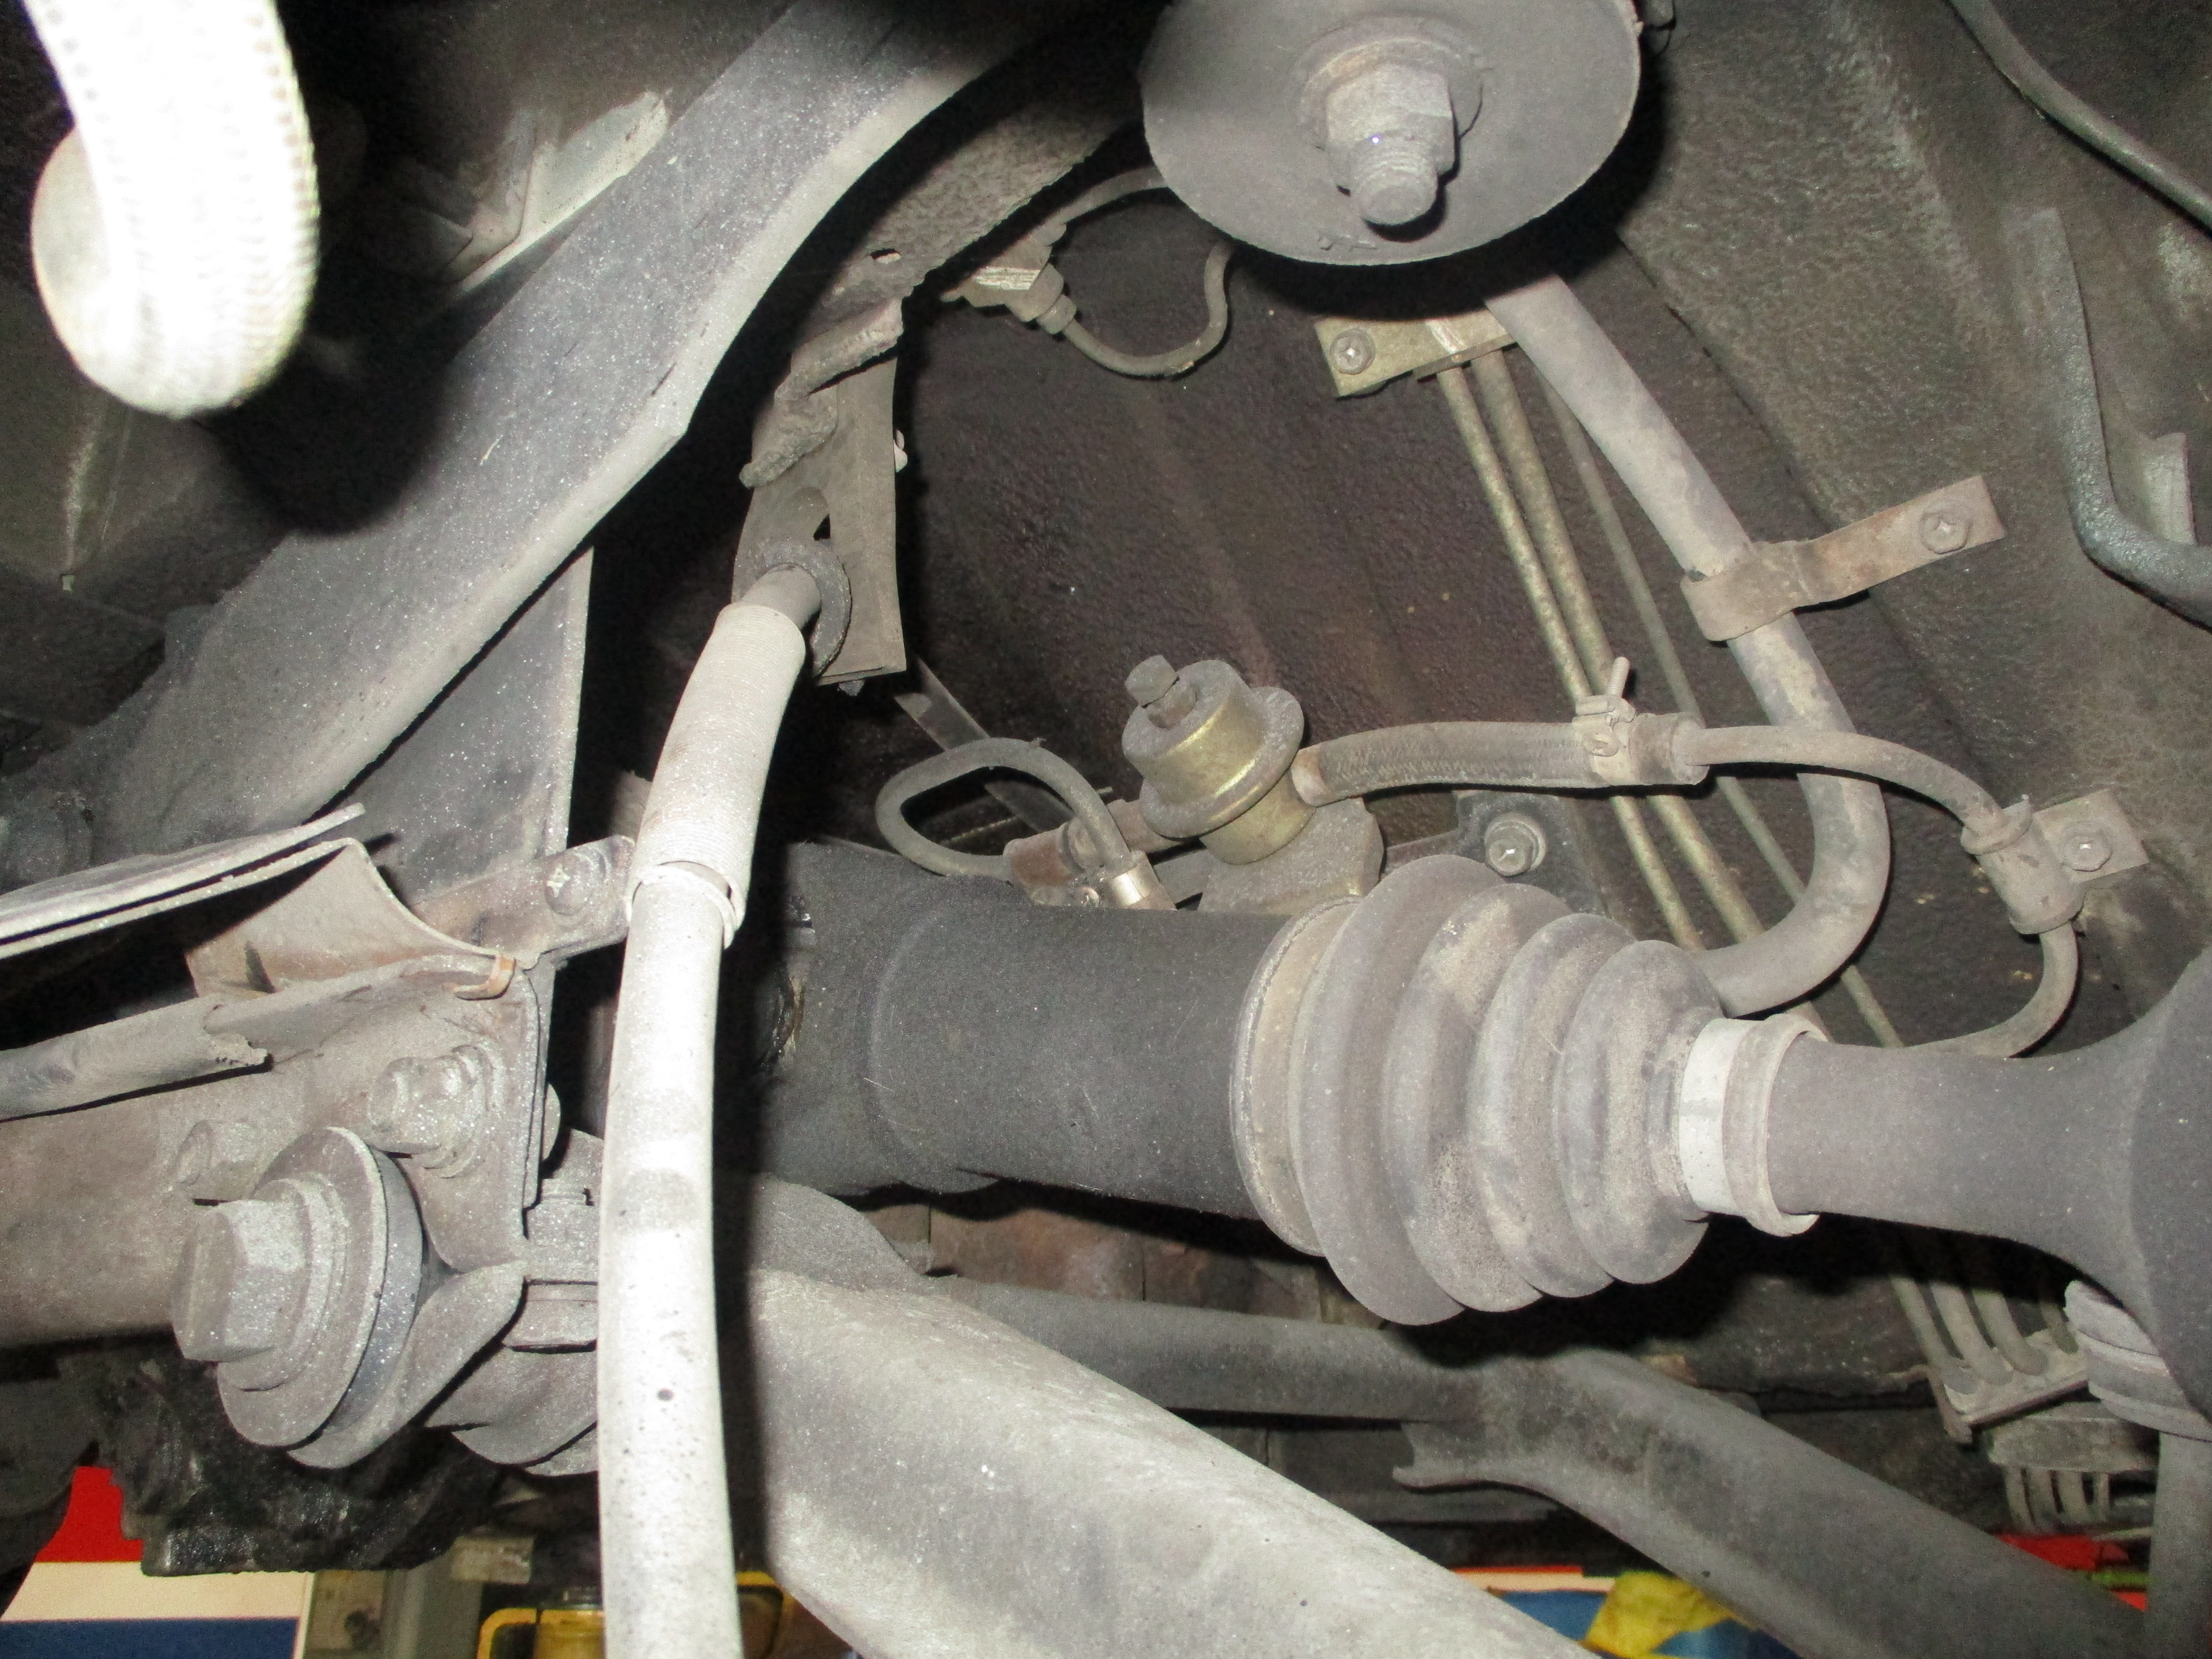
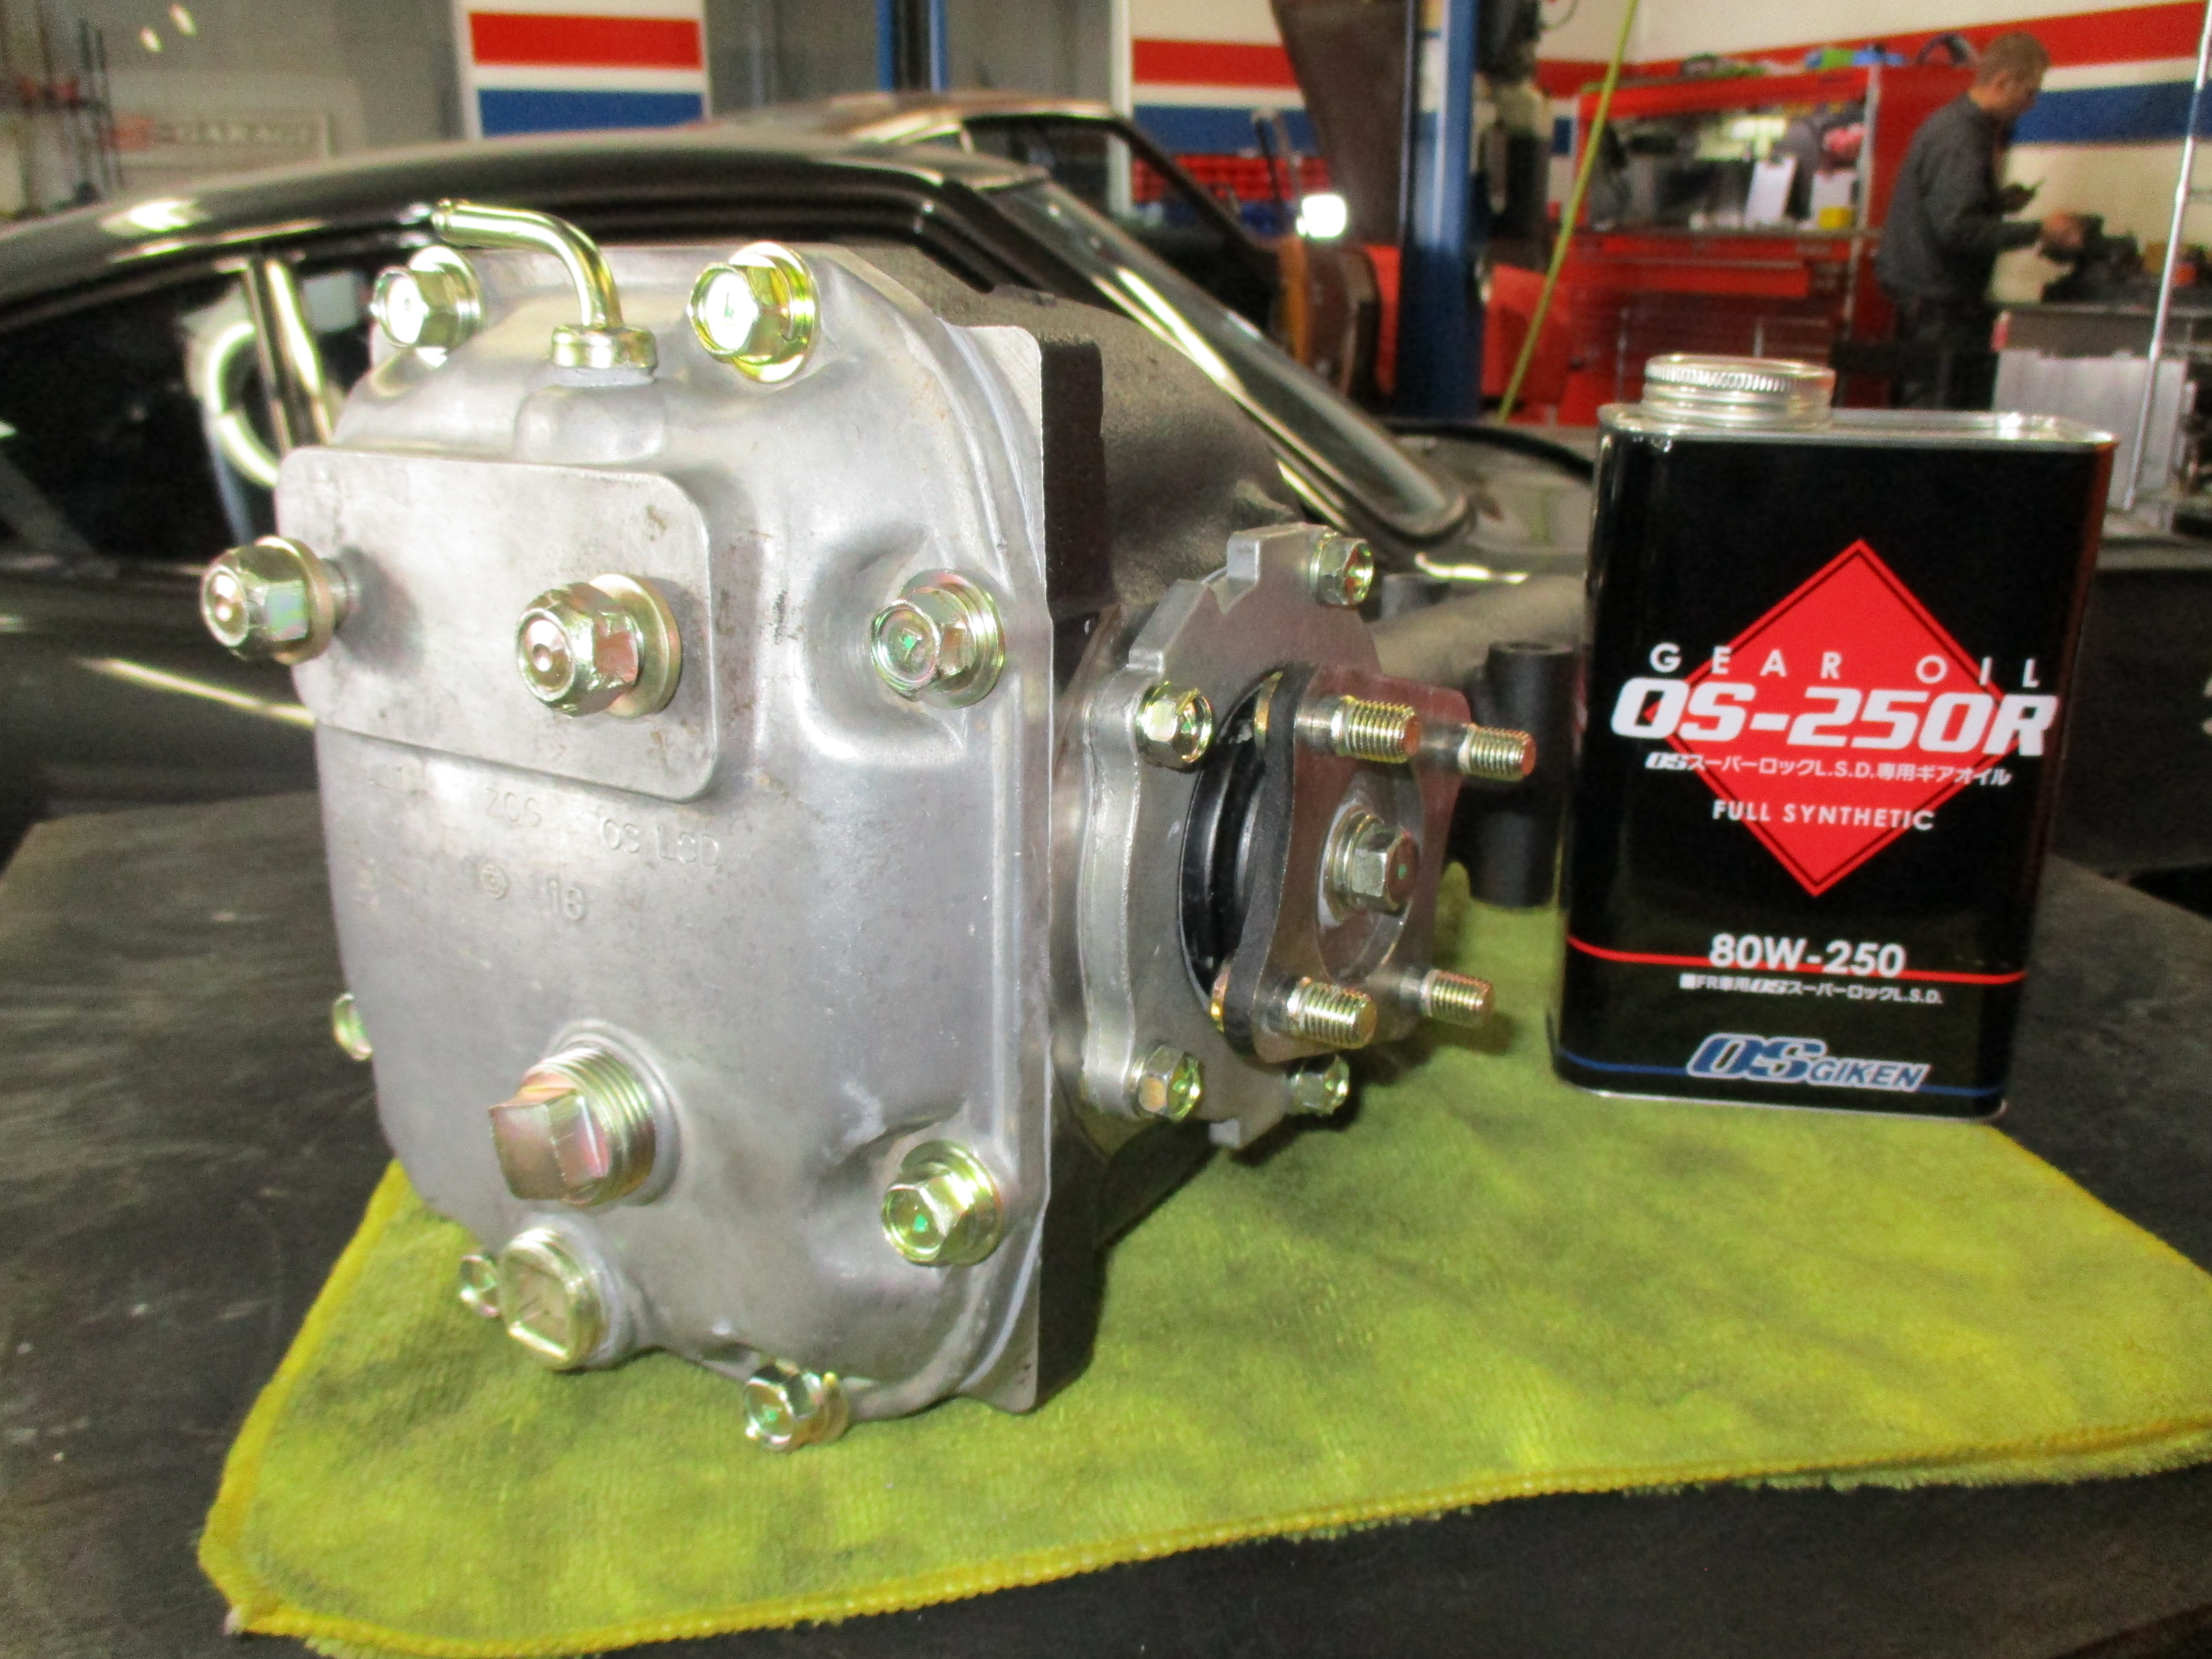
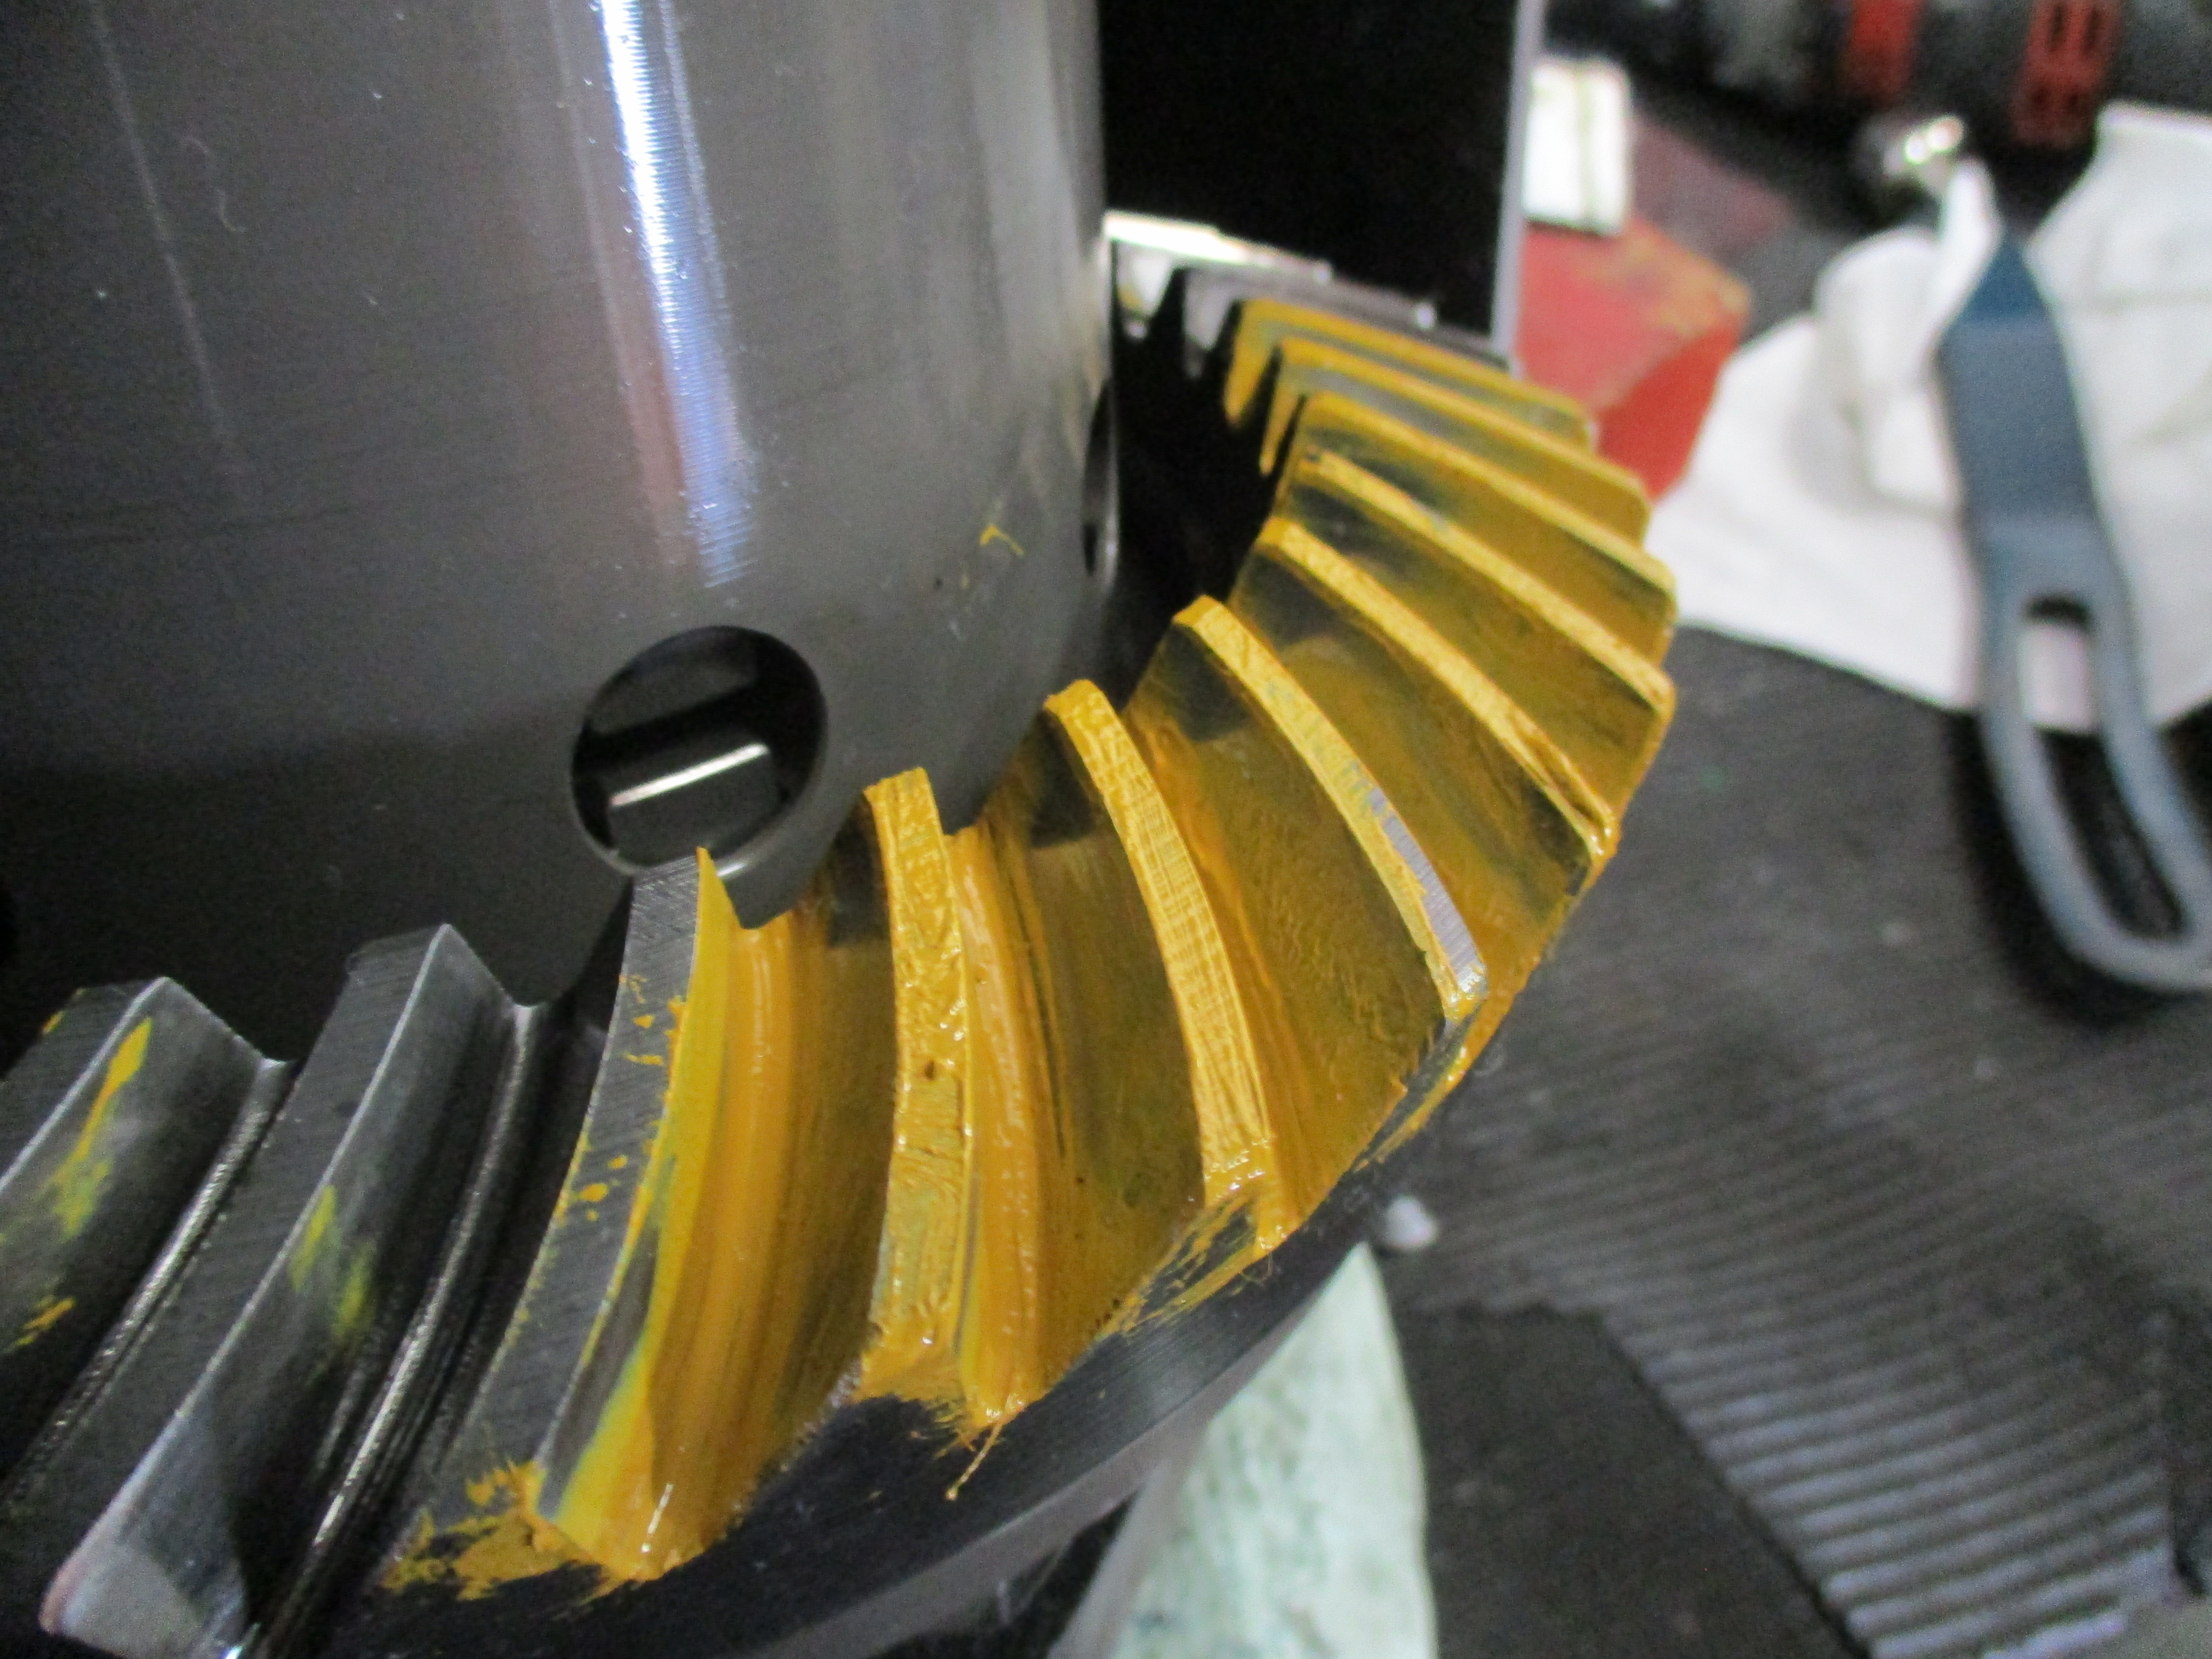
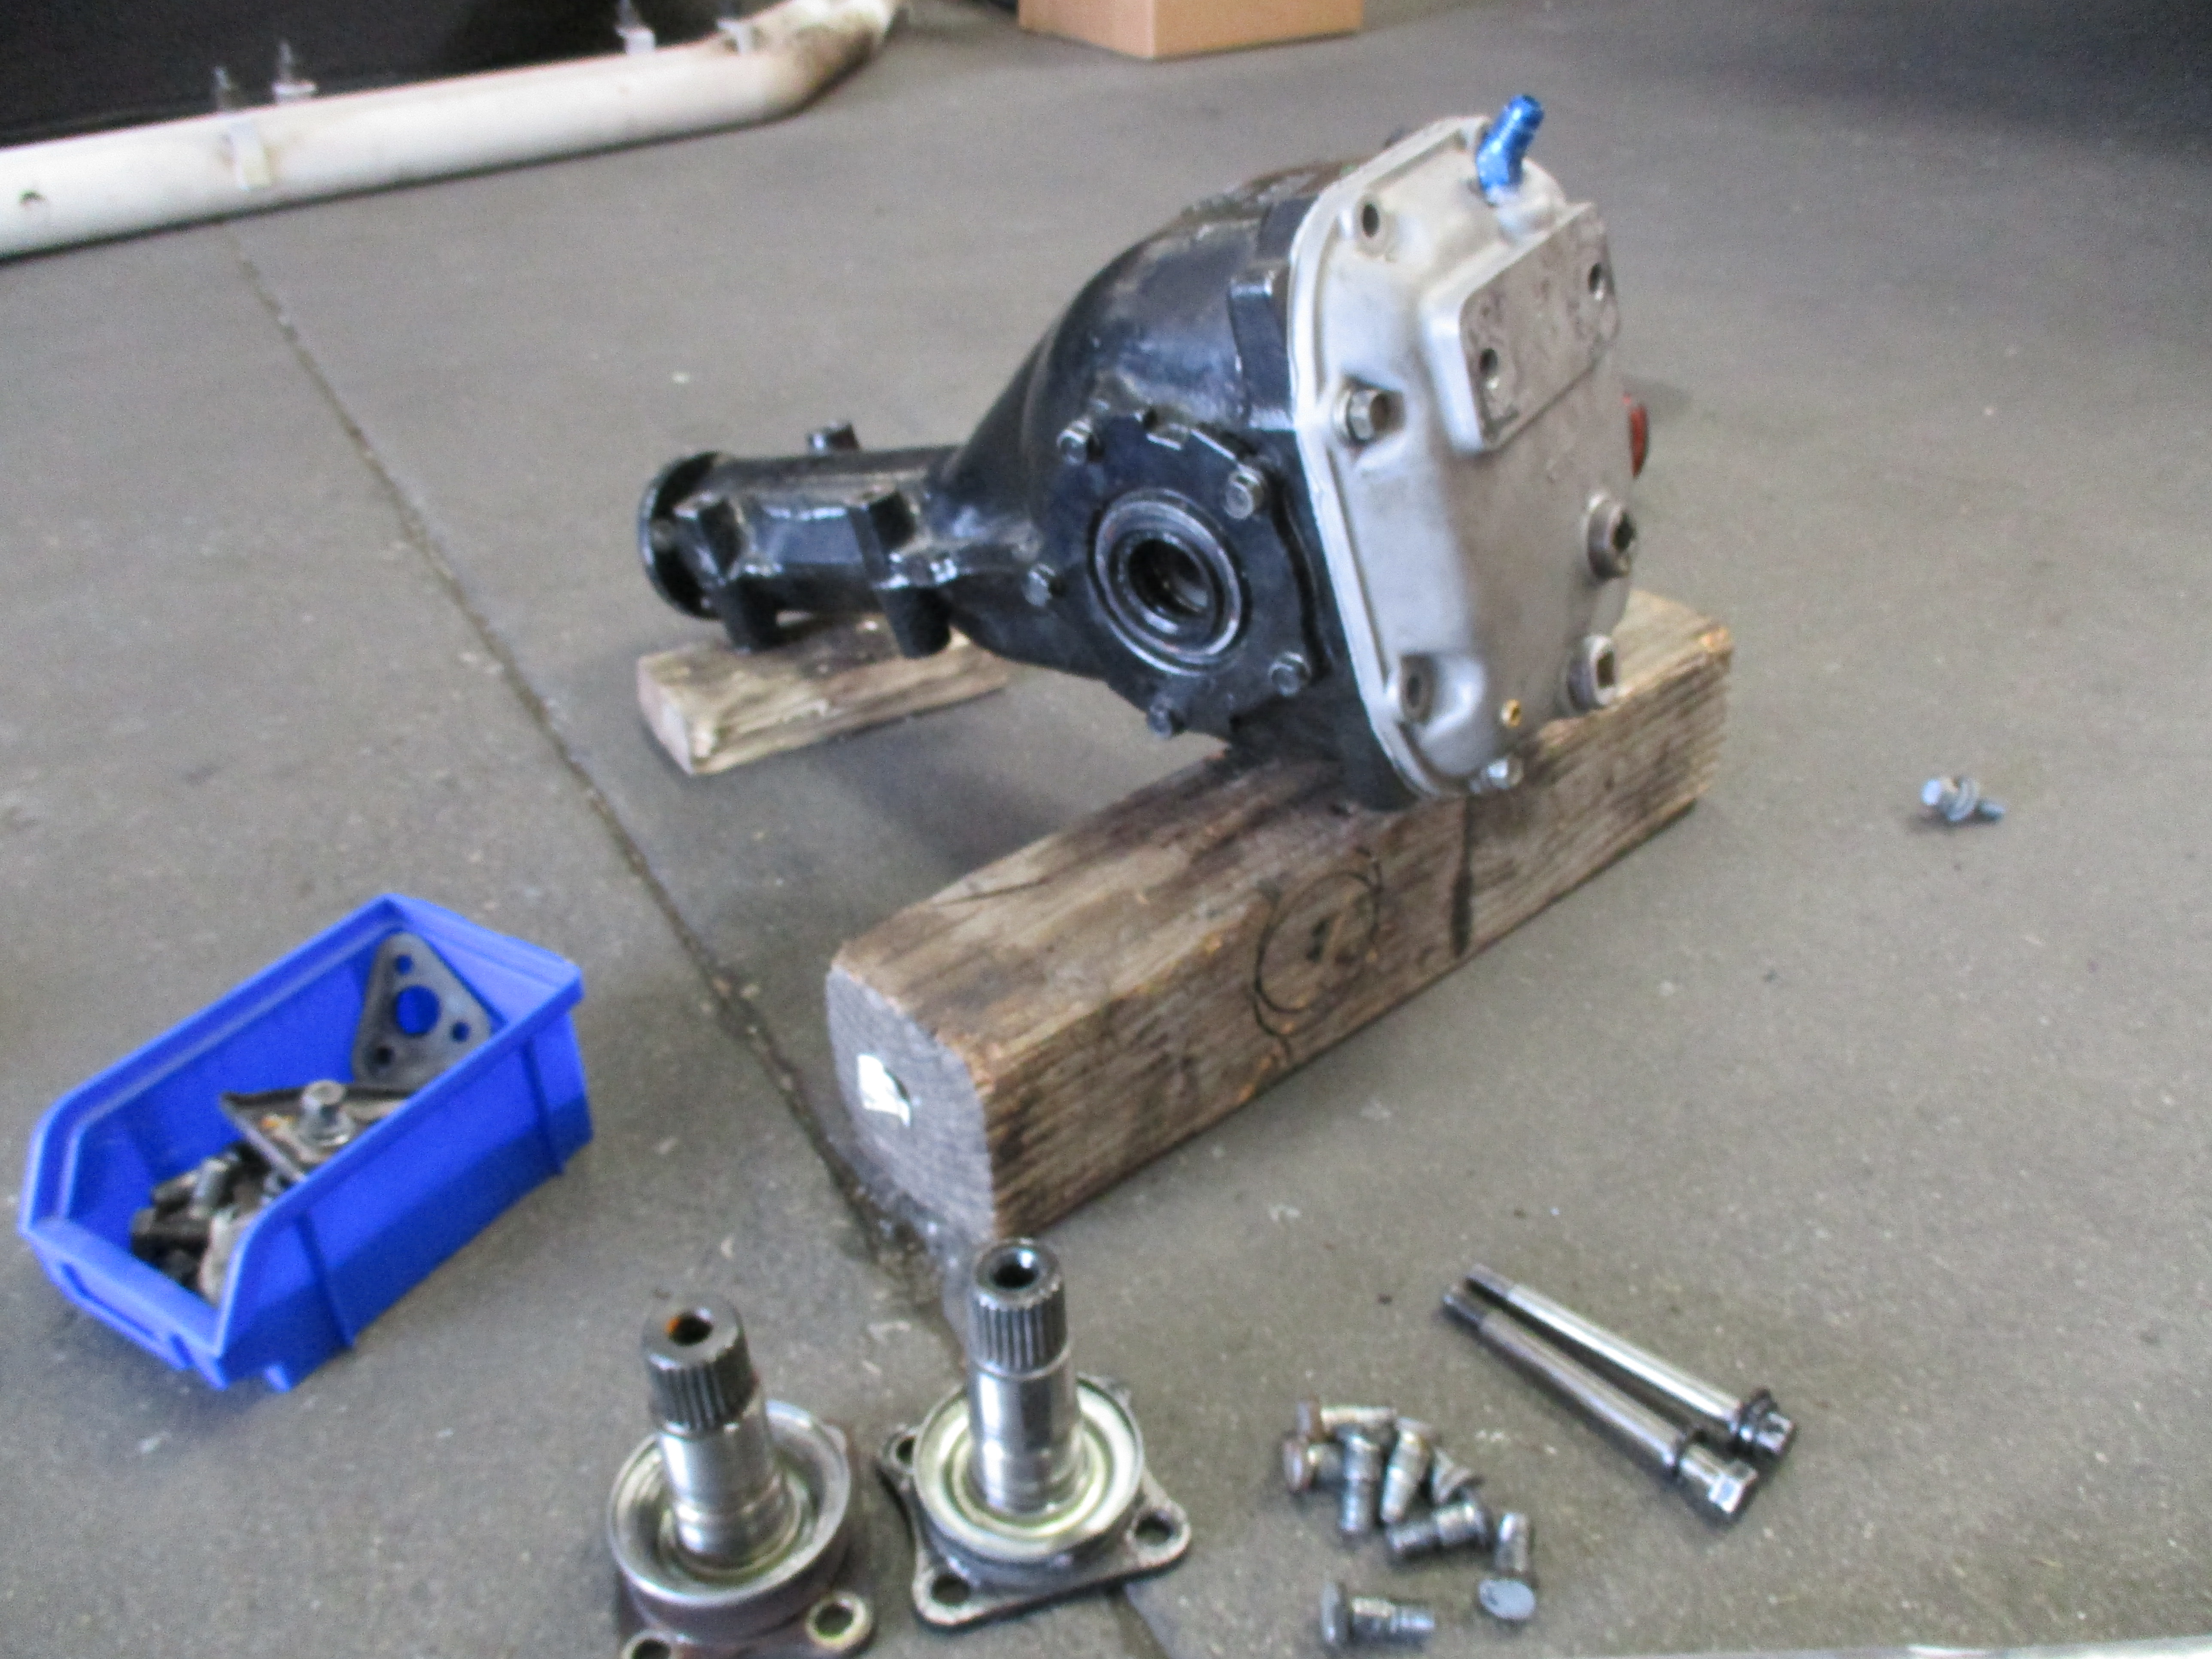
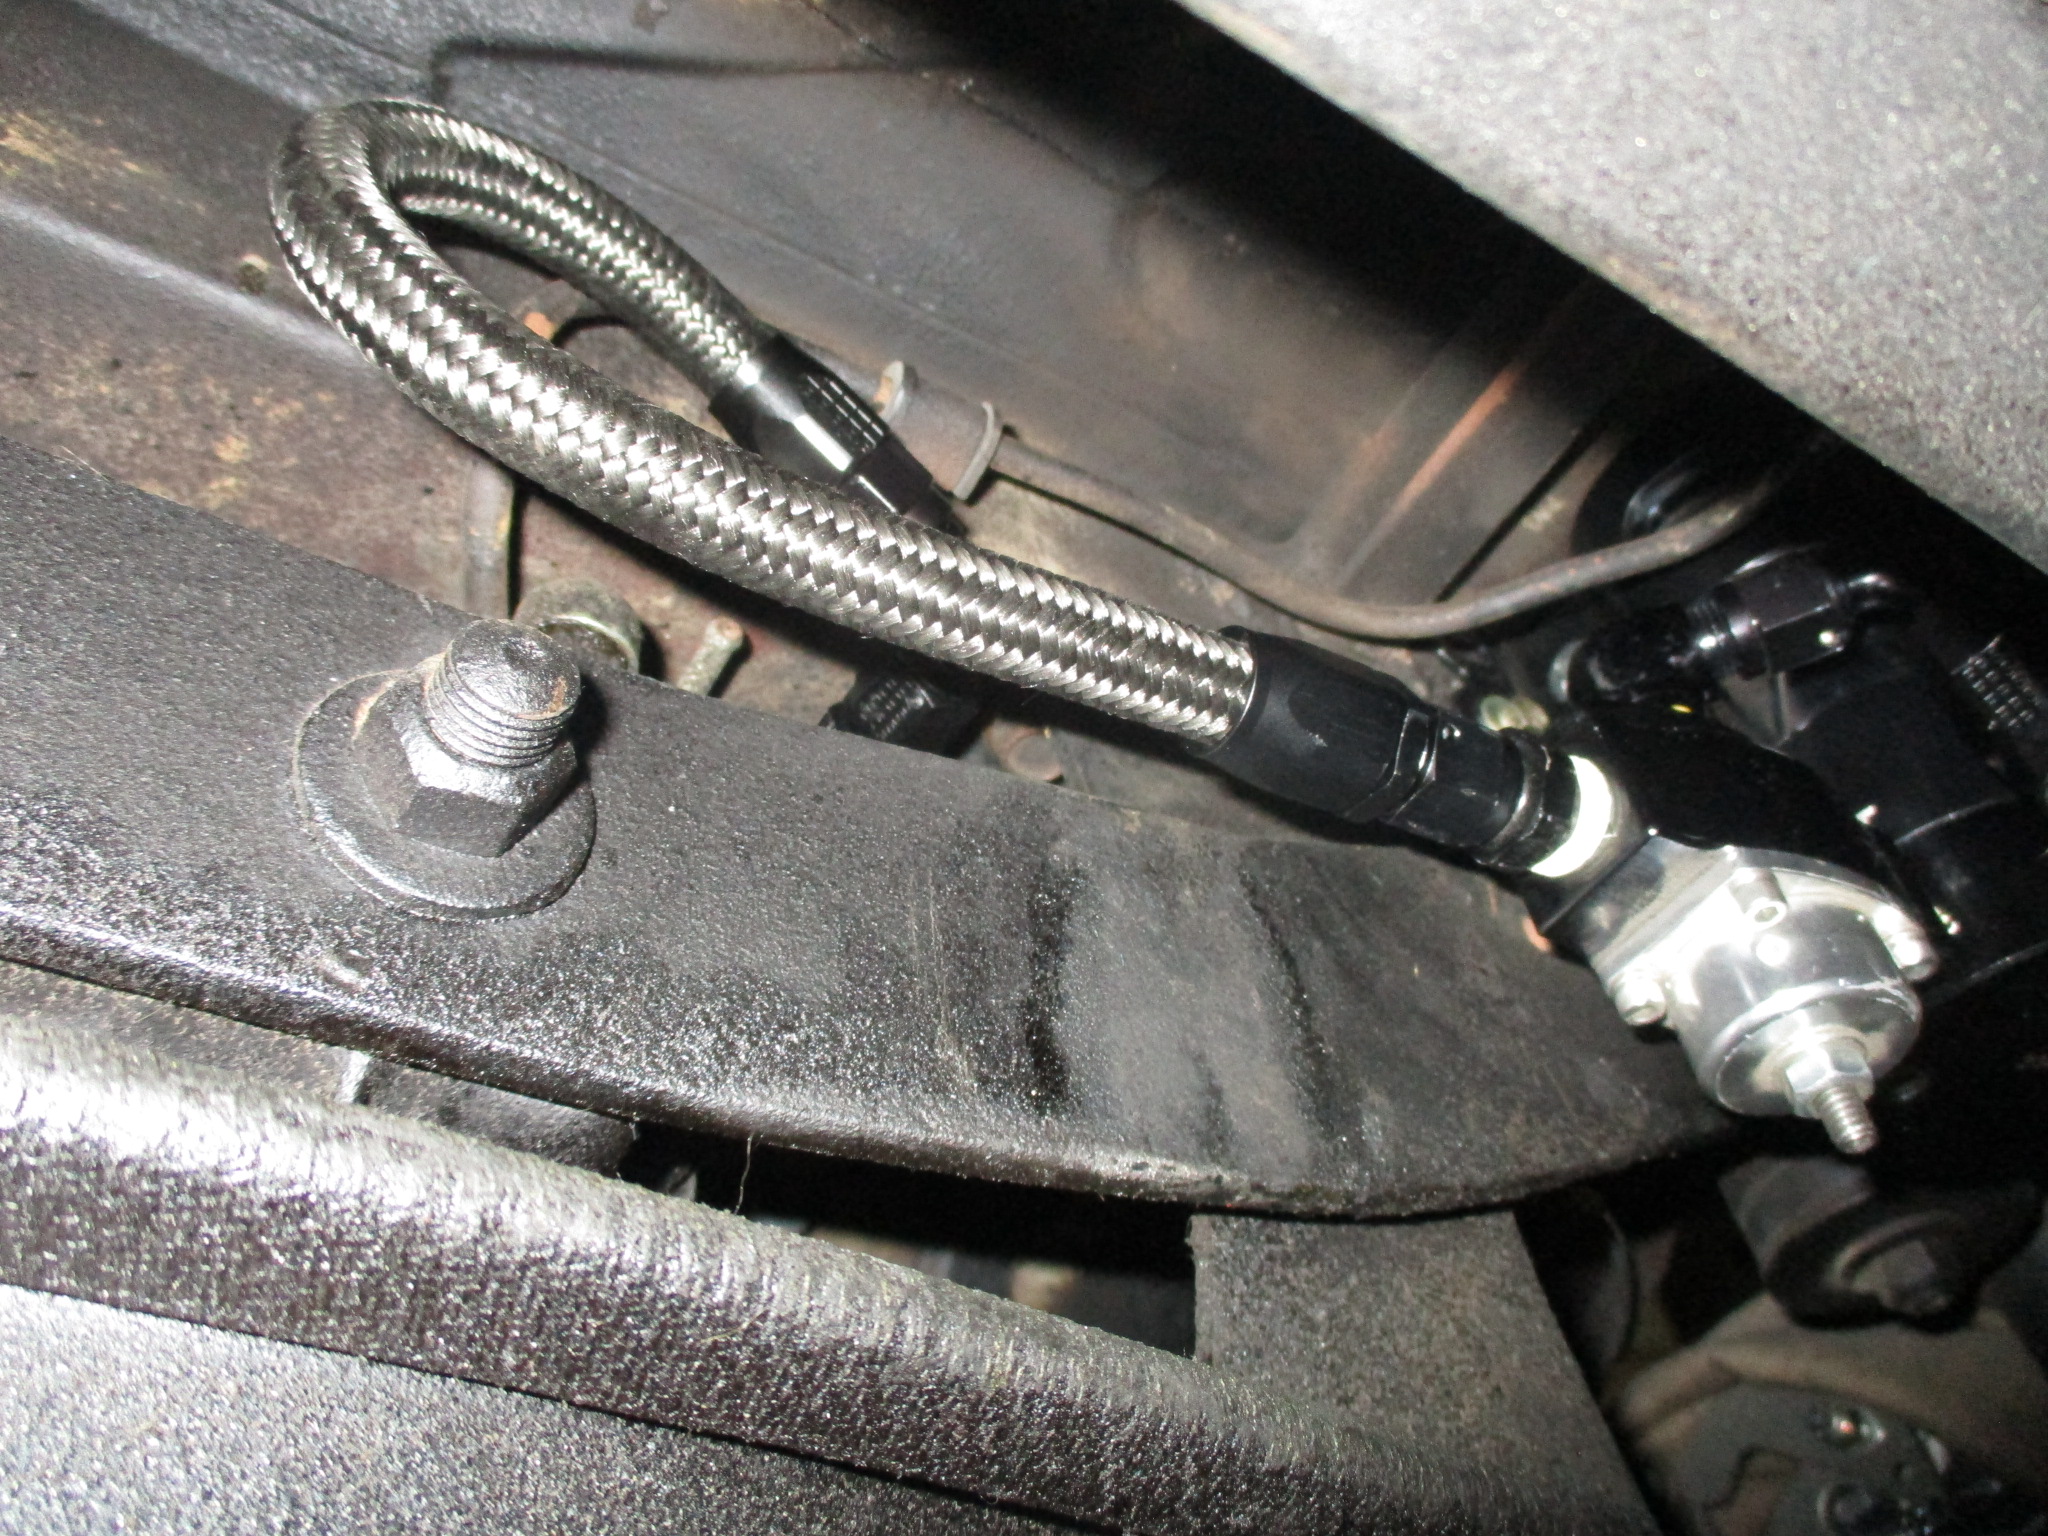
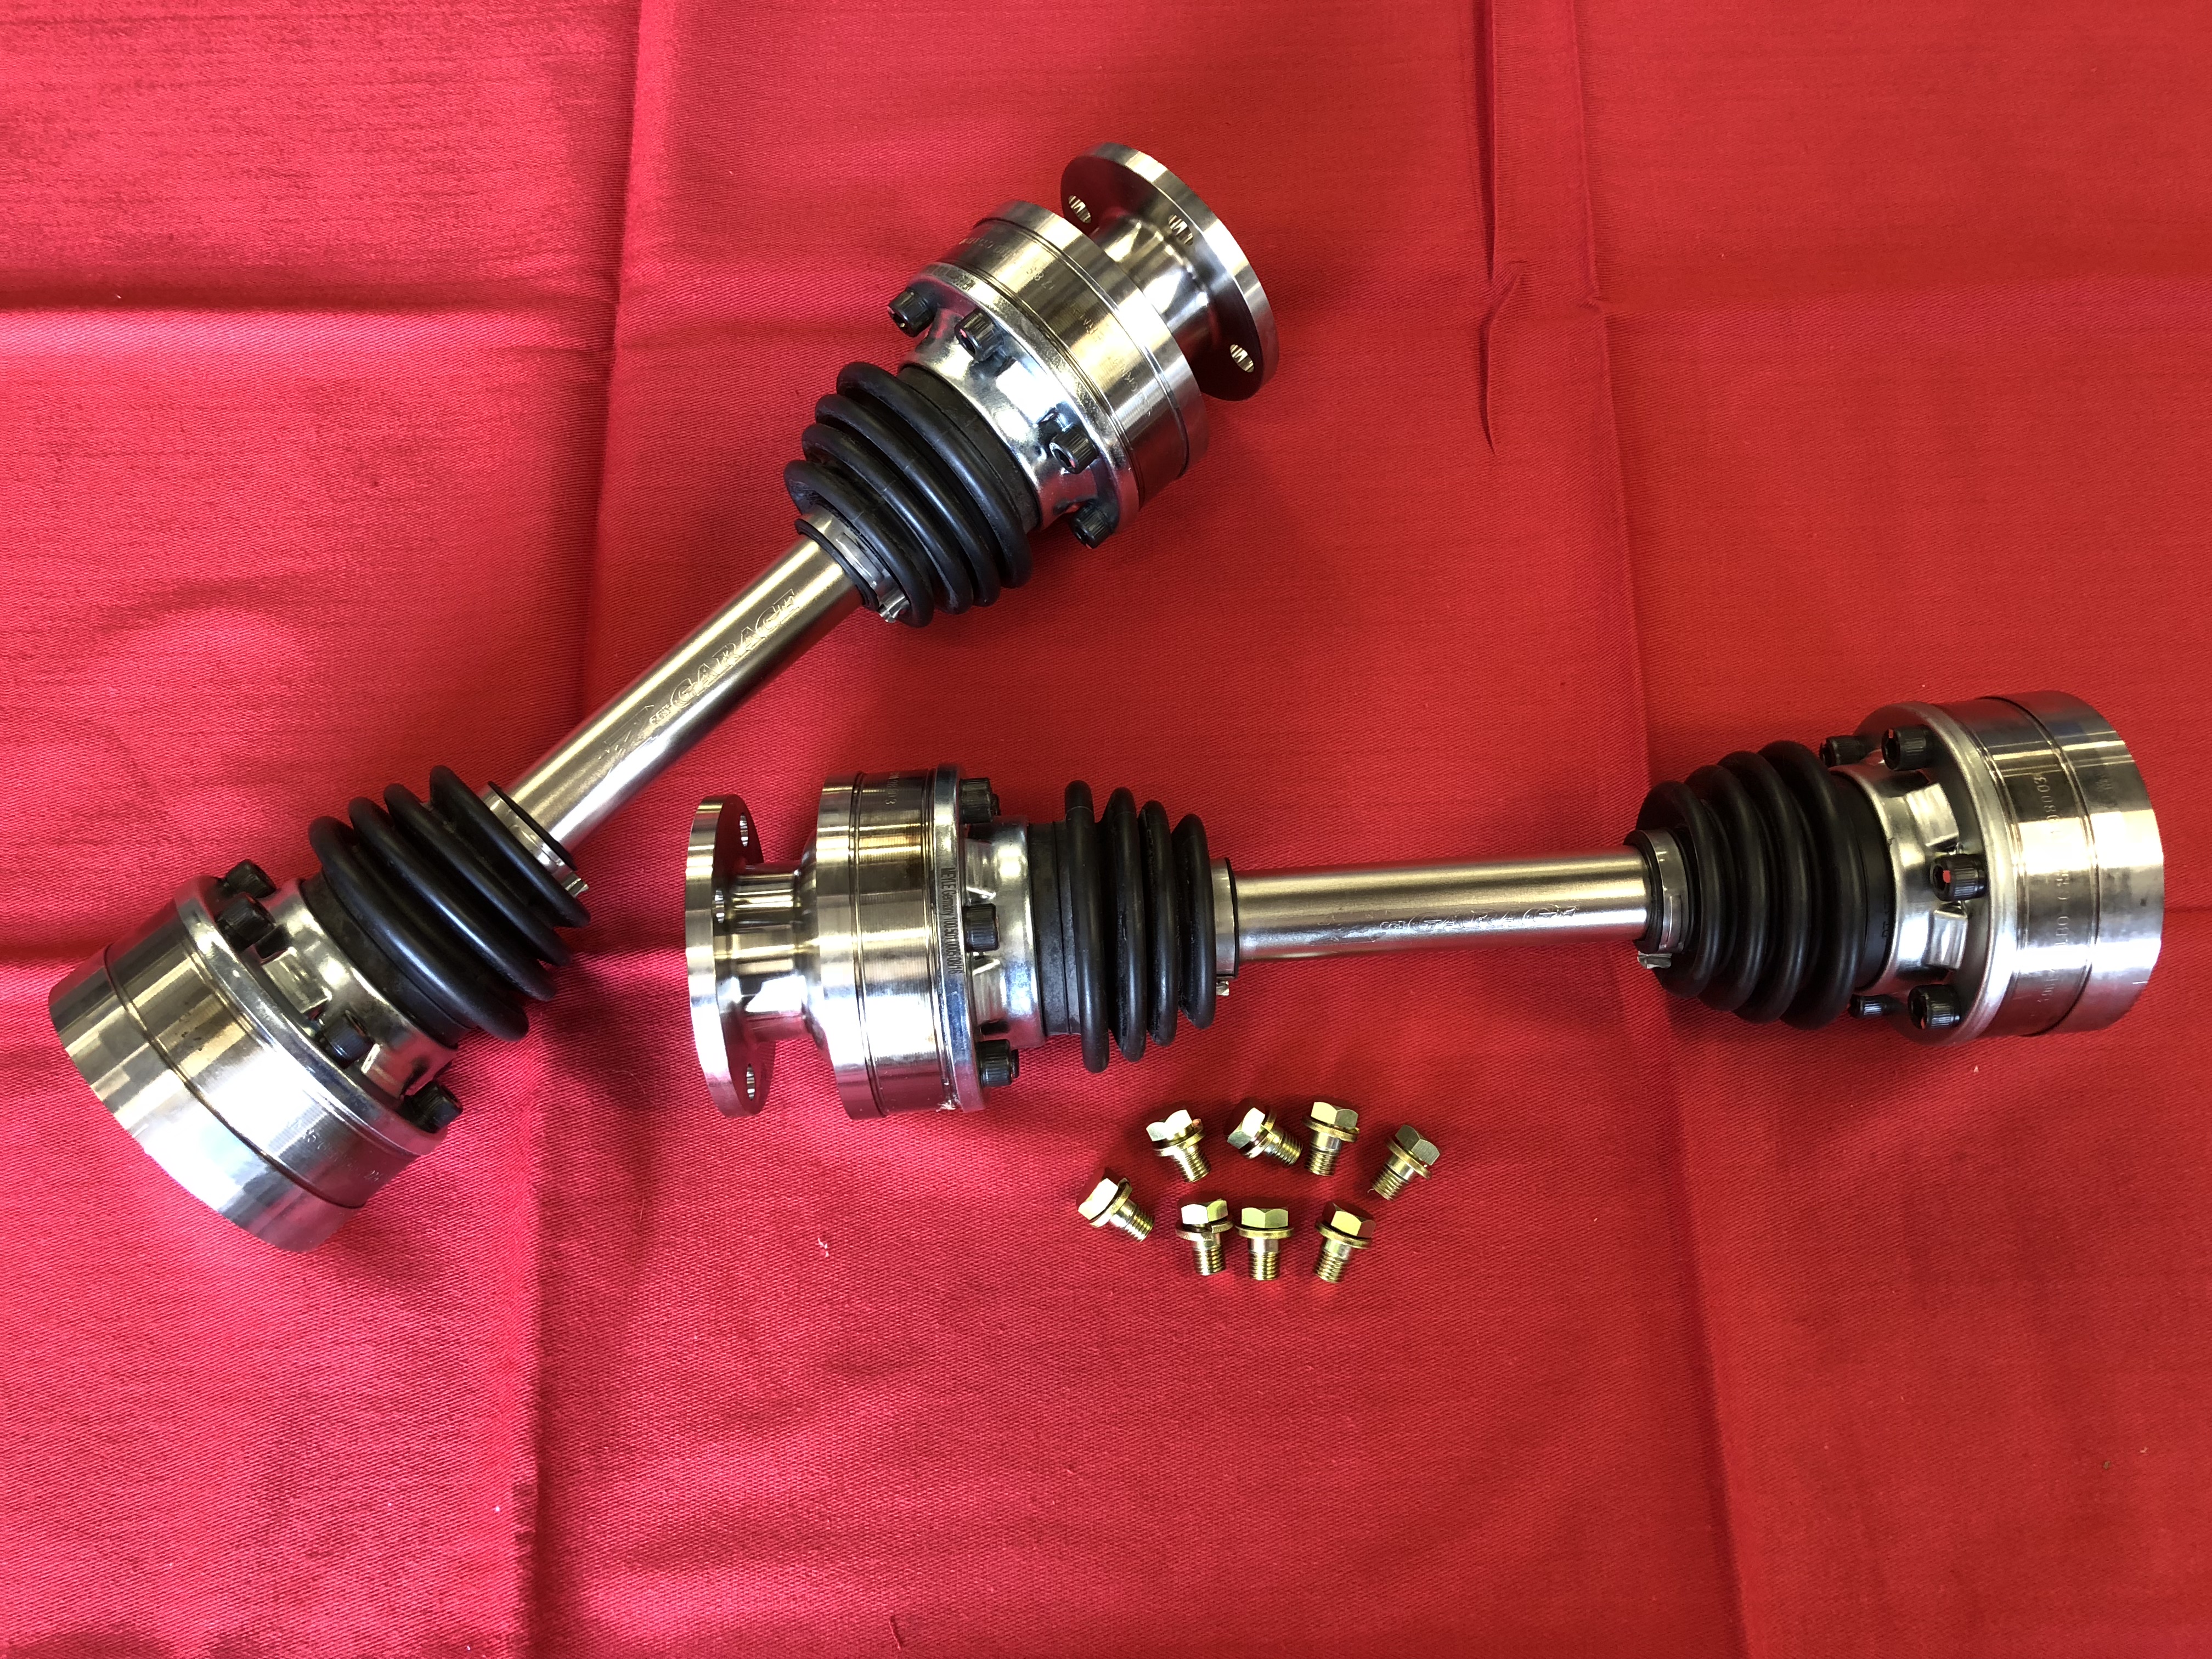
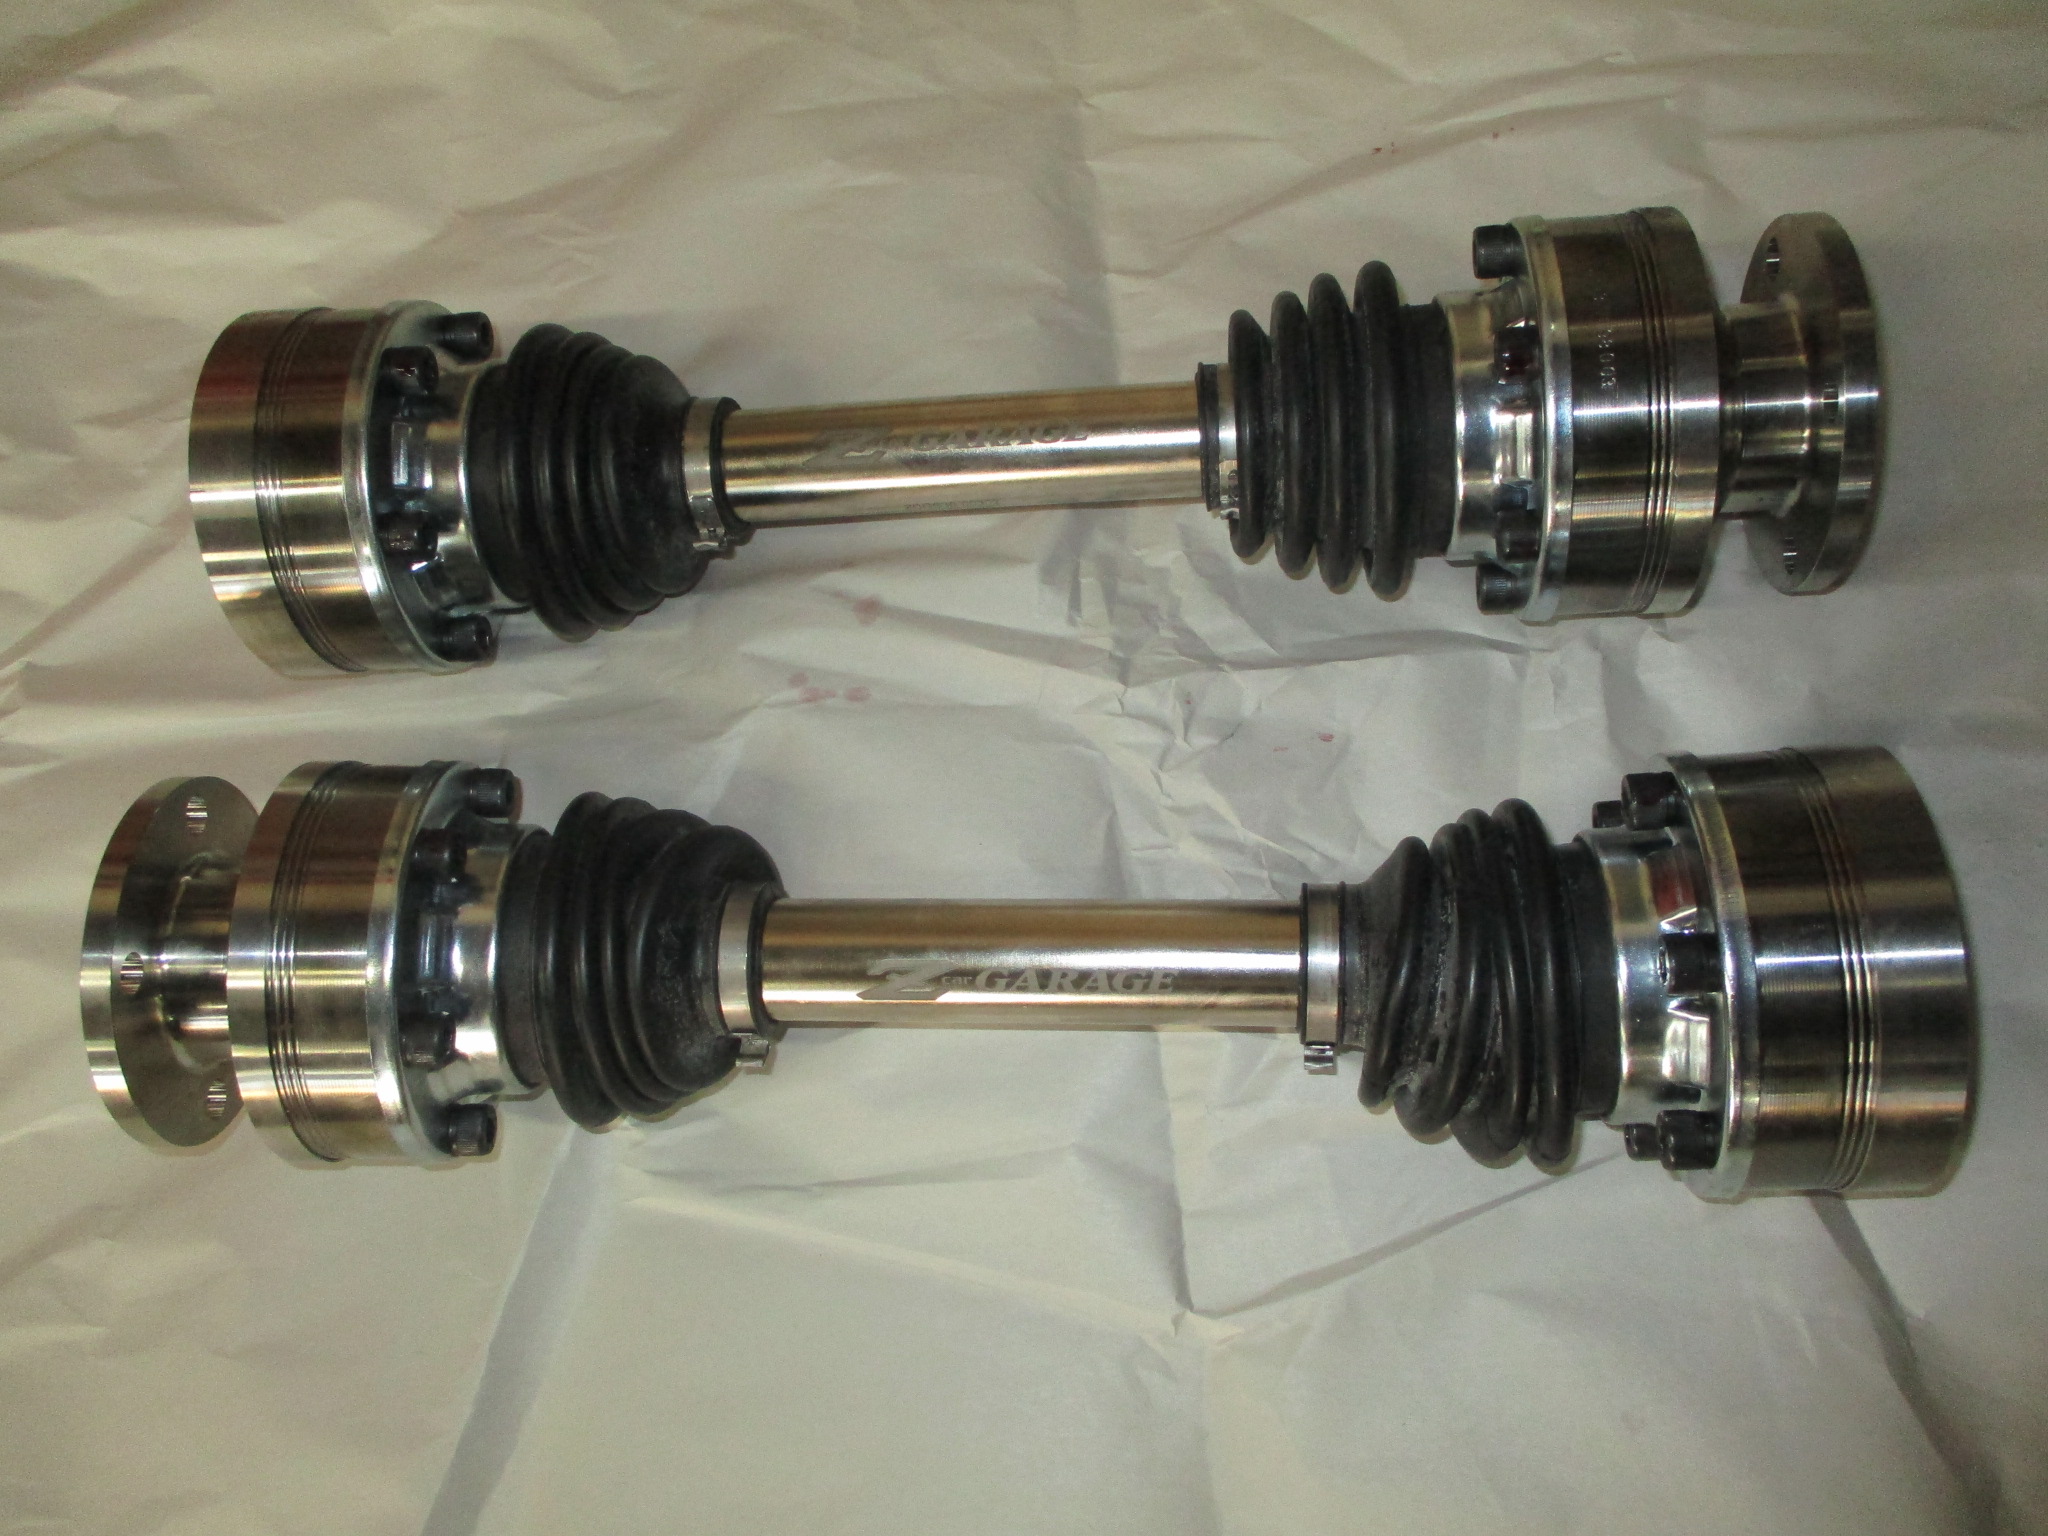
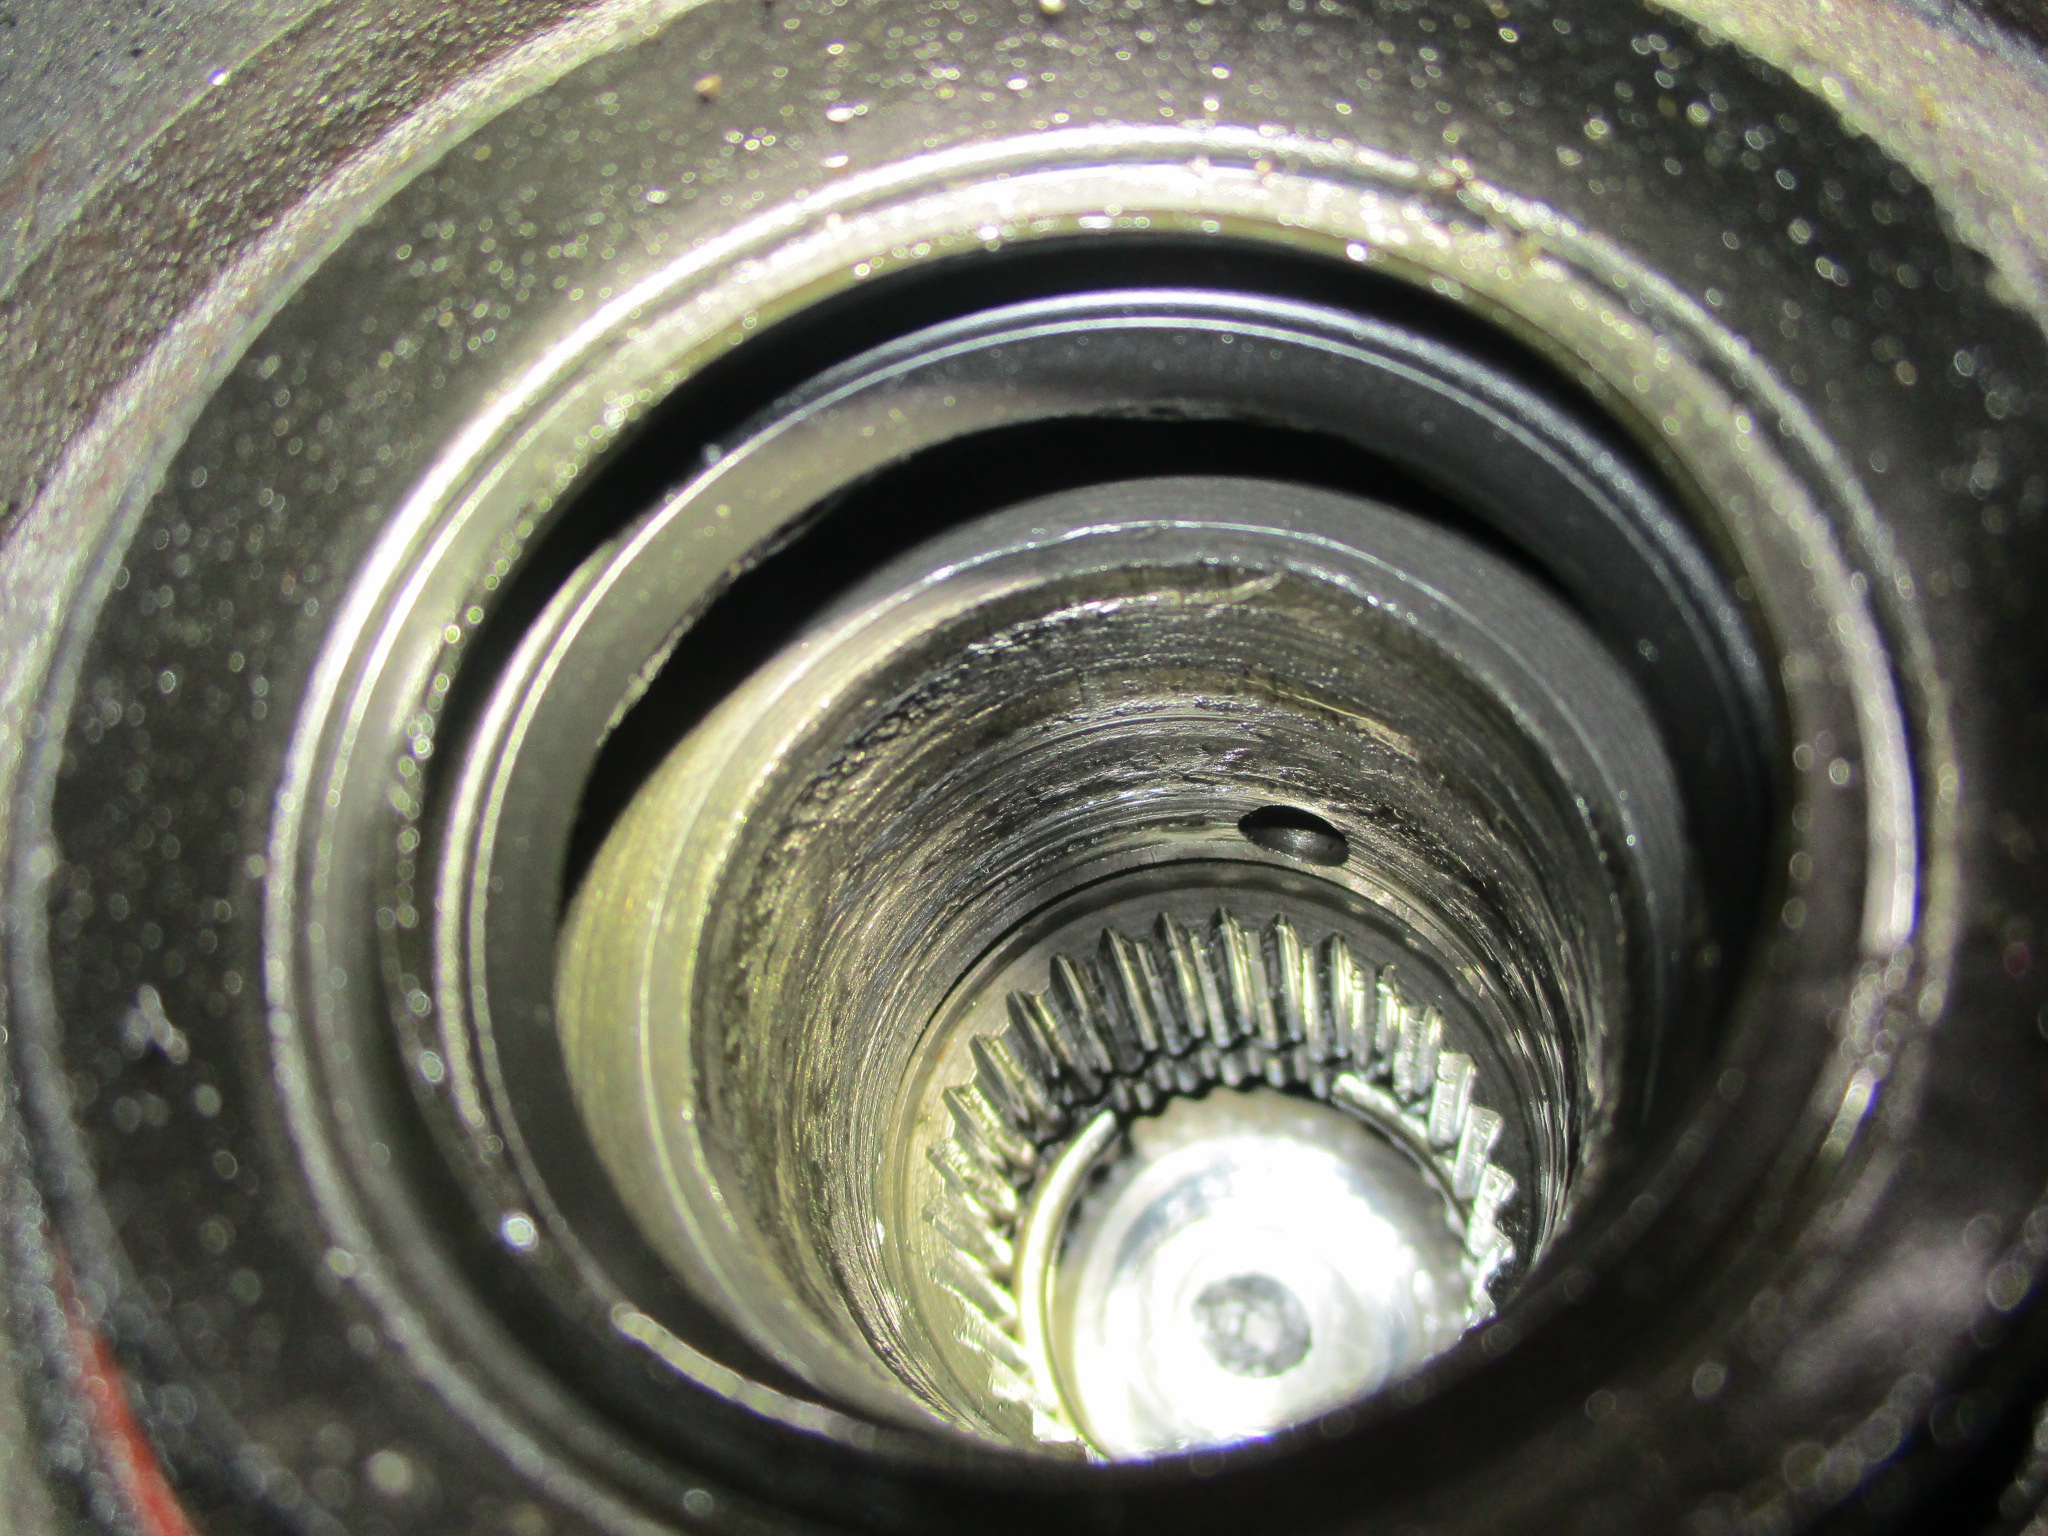
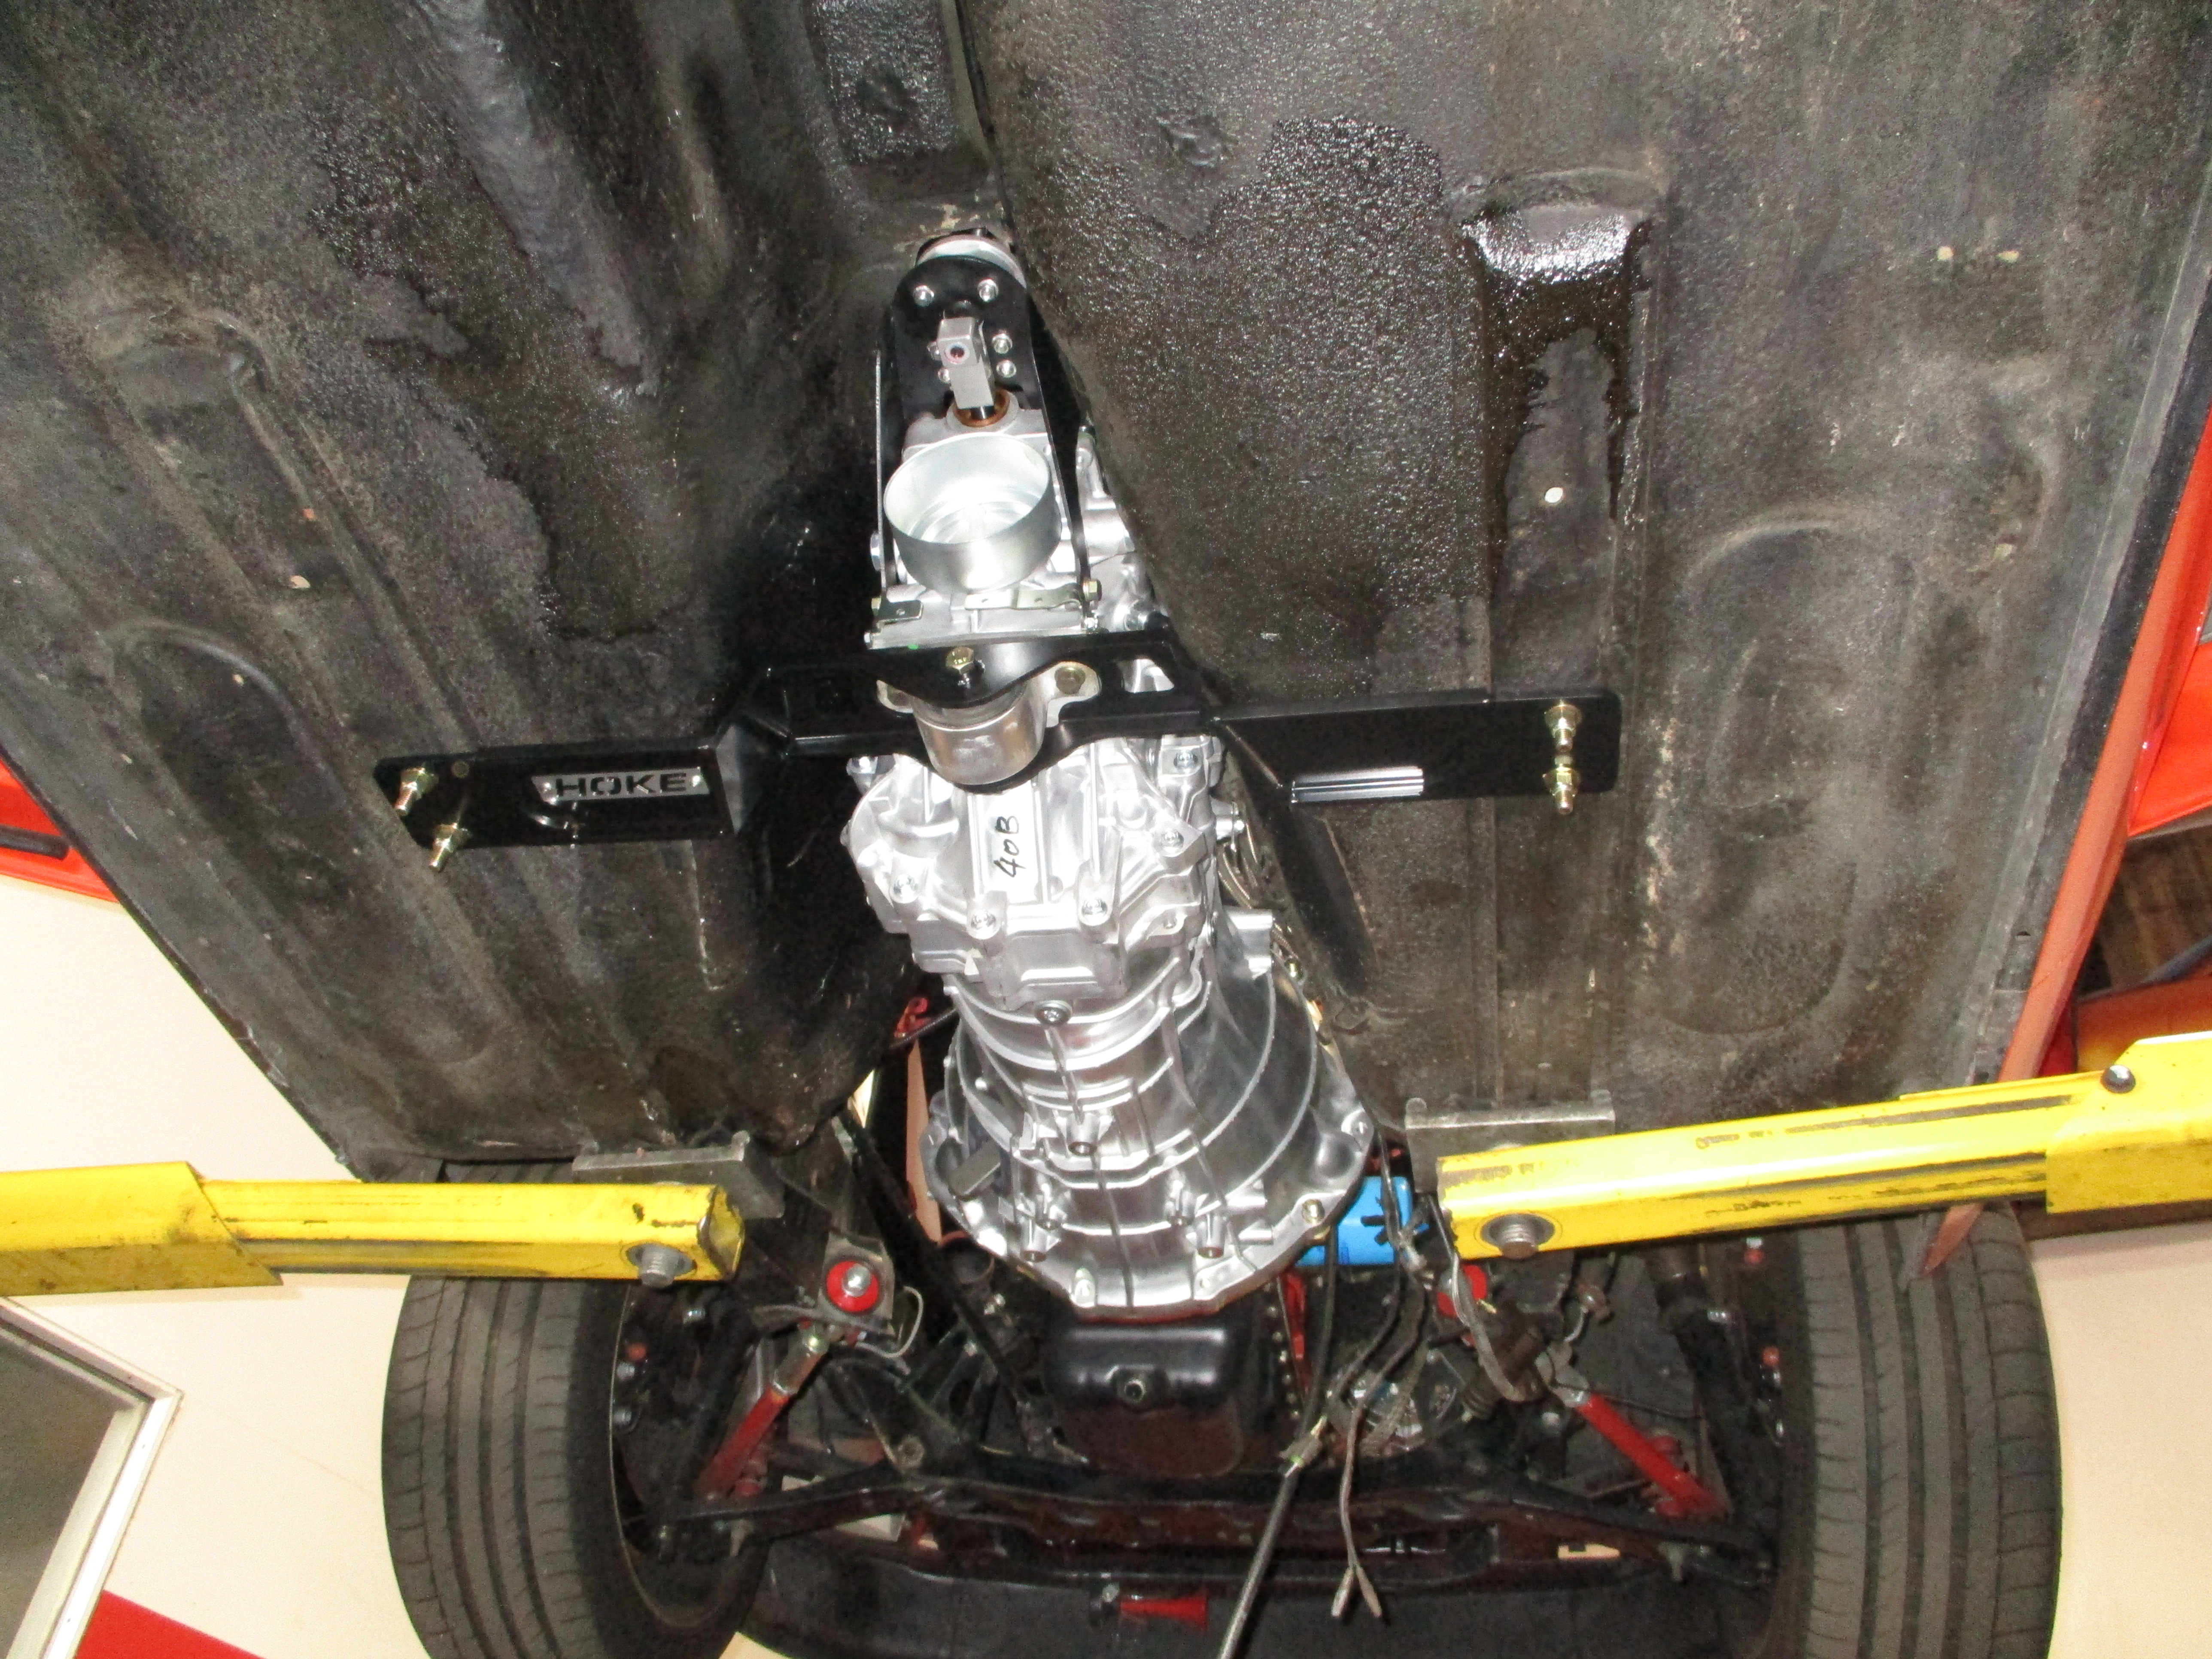
Our Z Car Garage CV Axles help transmit power to the ground and ensure smoother operation compared to your standard half shafts. We have over 100 CV axle kits on customer cars and we are stoked with all of the positive feedback.
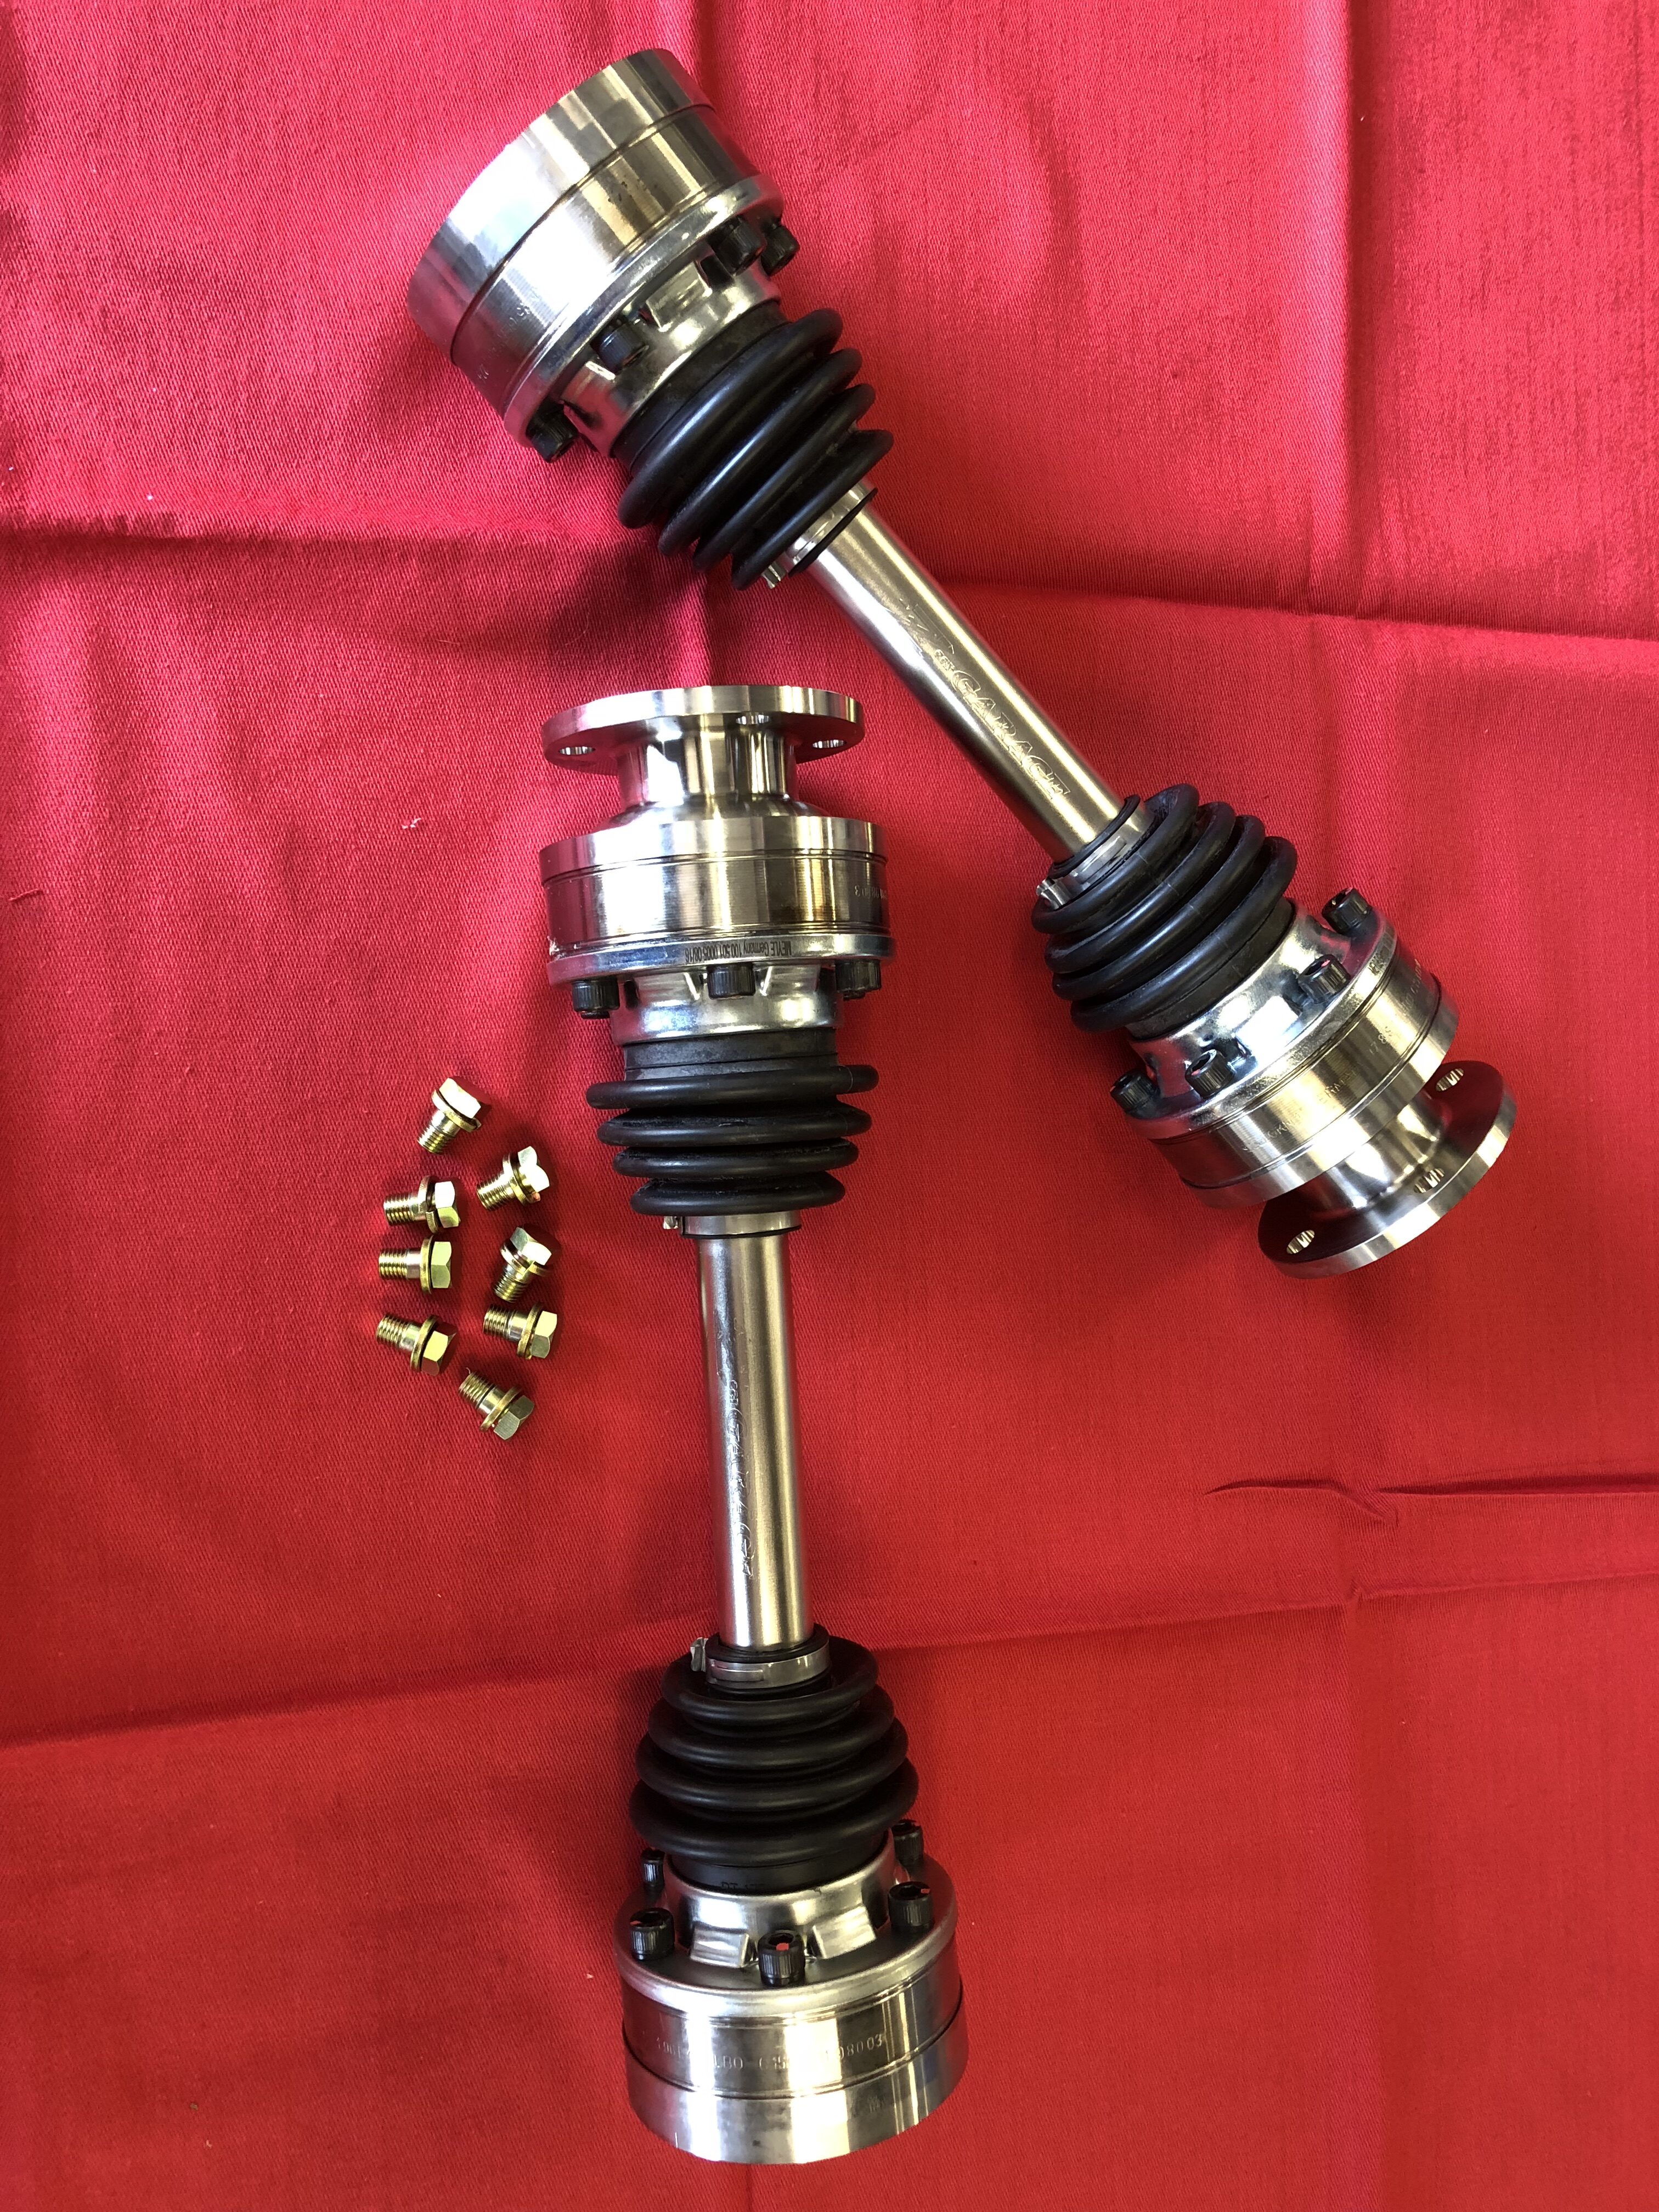
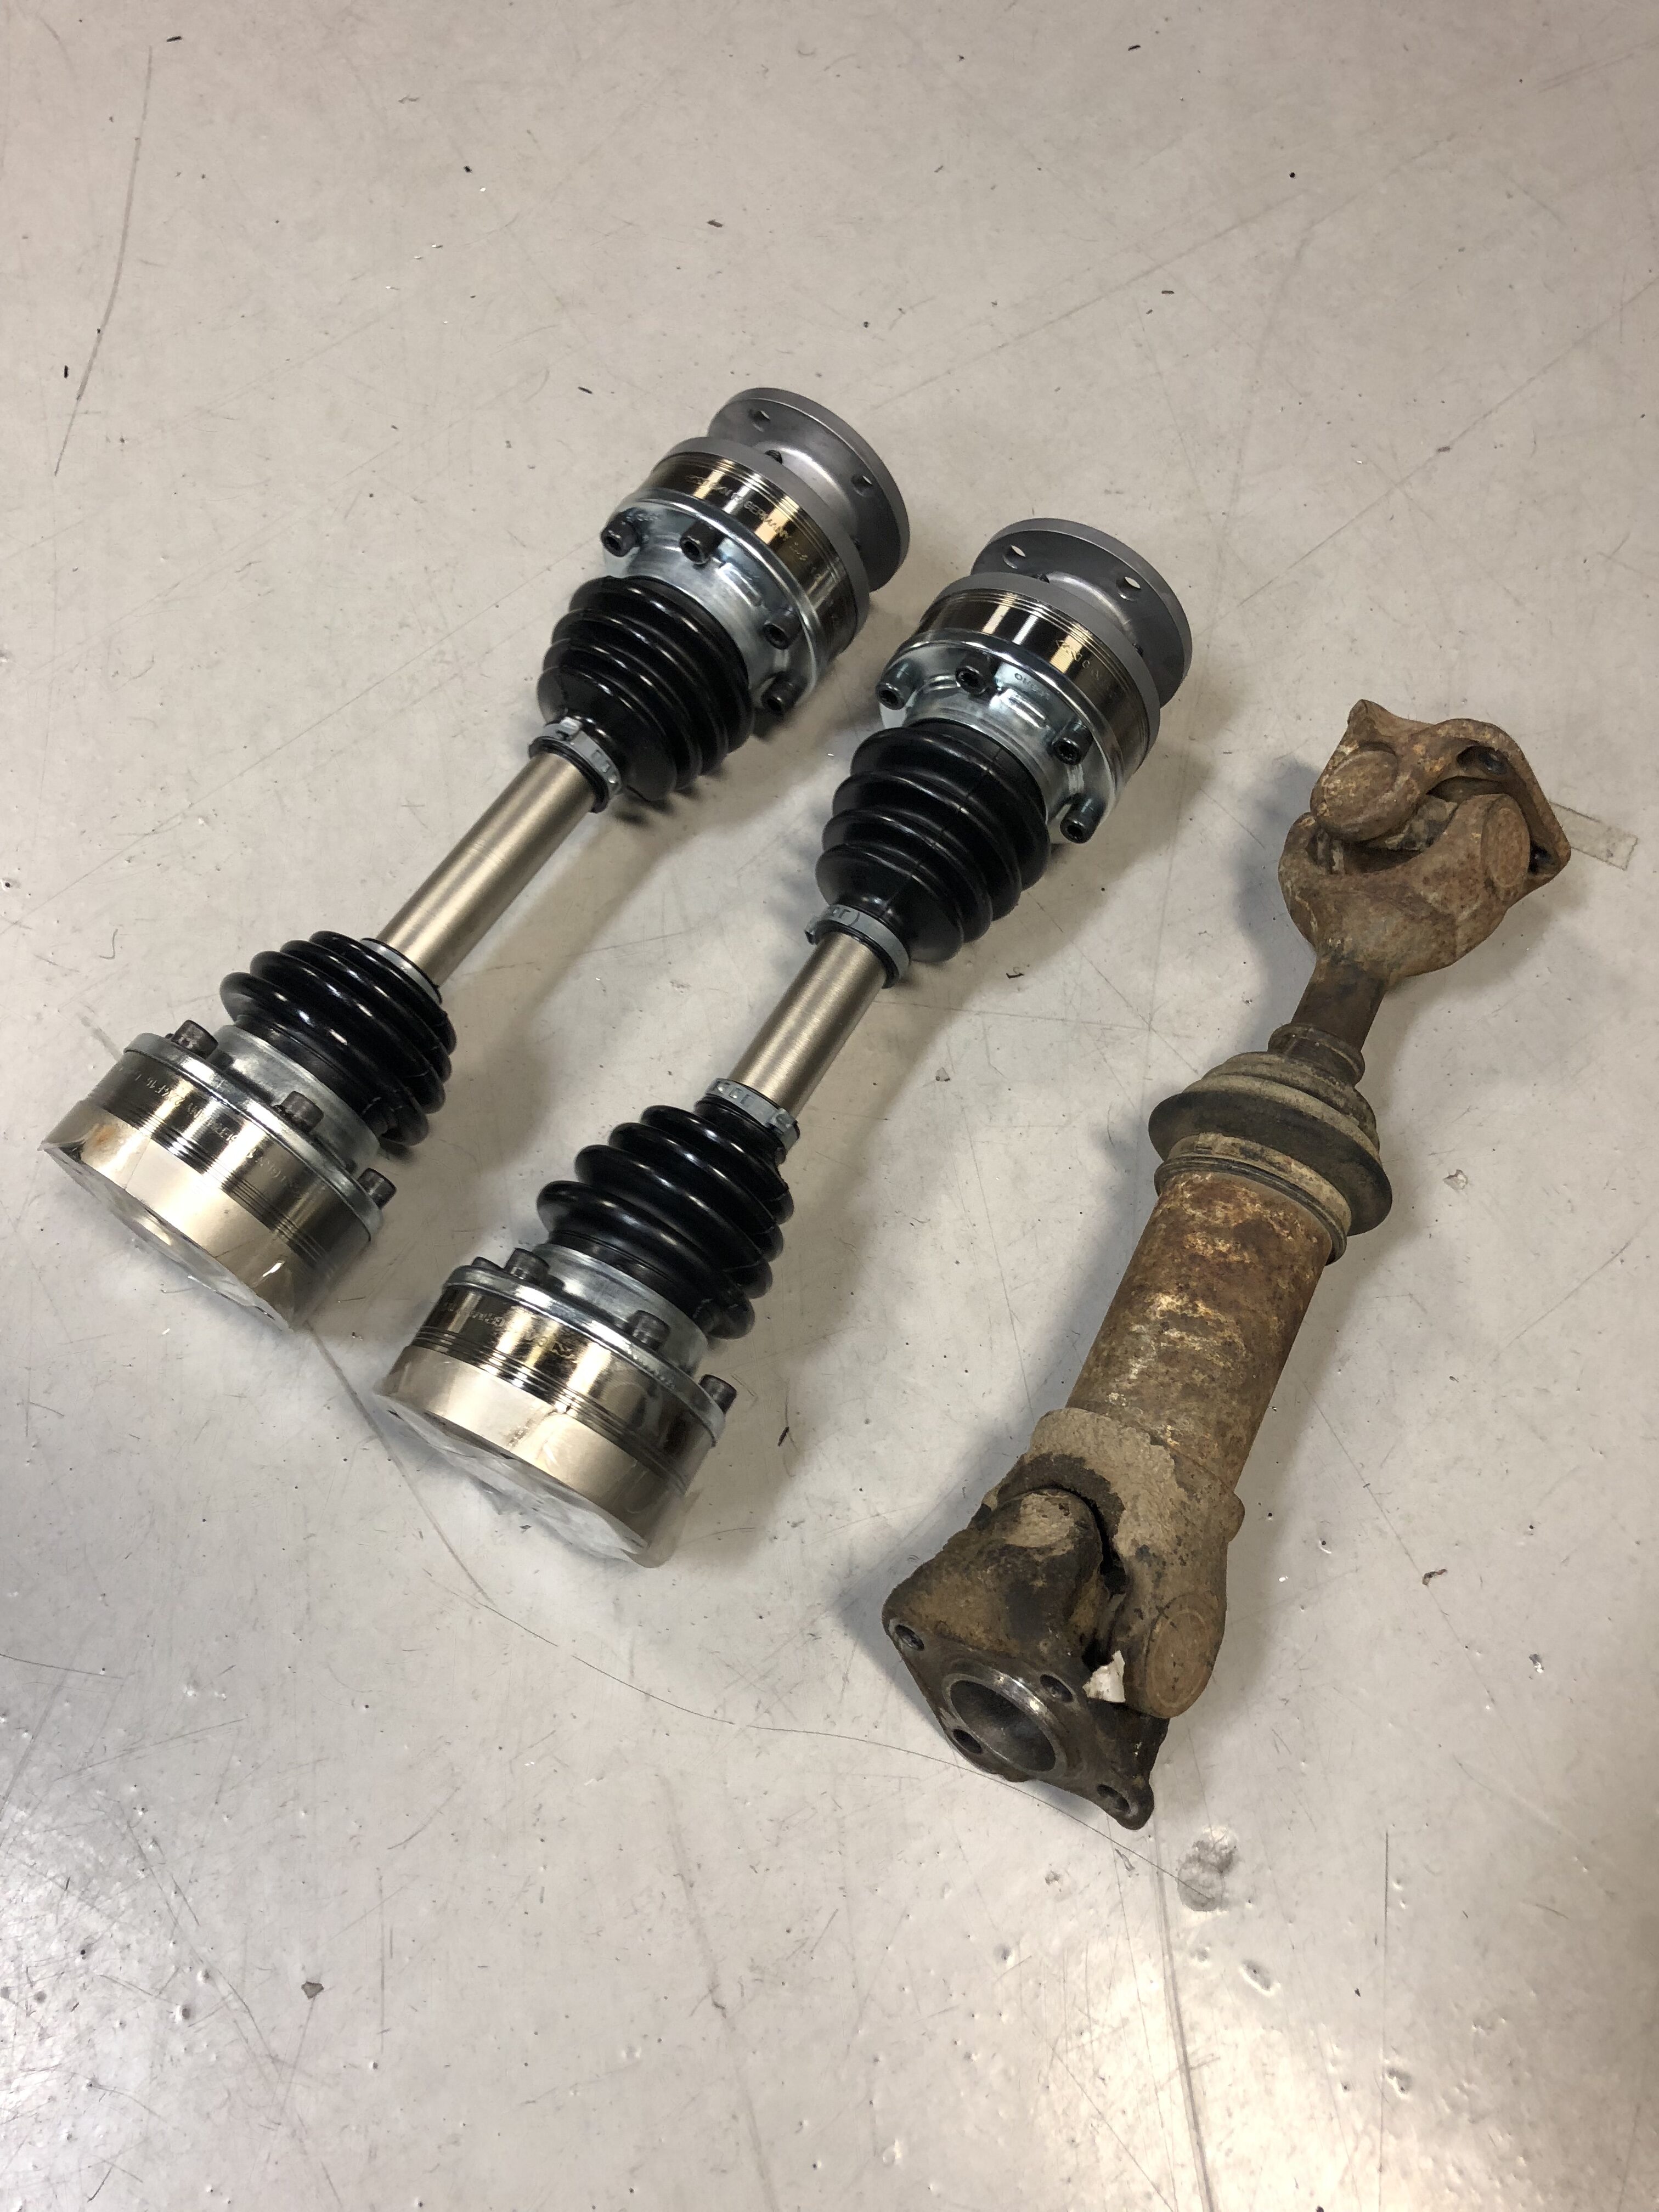
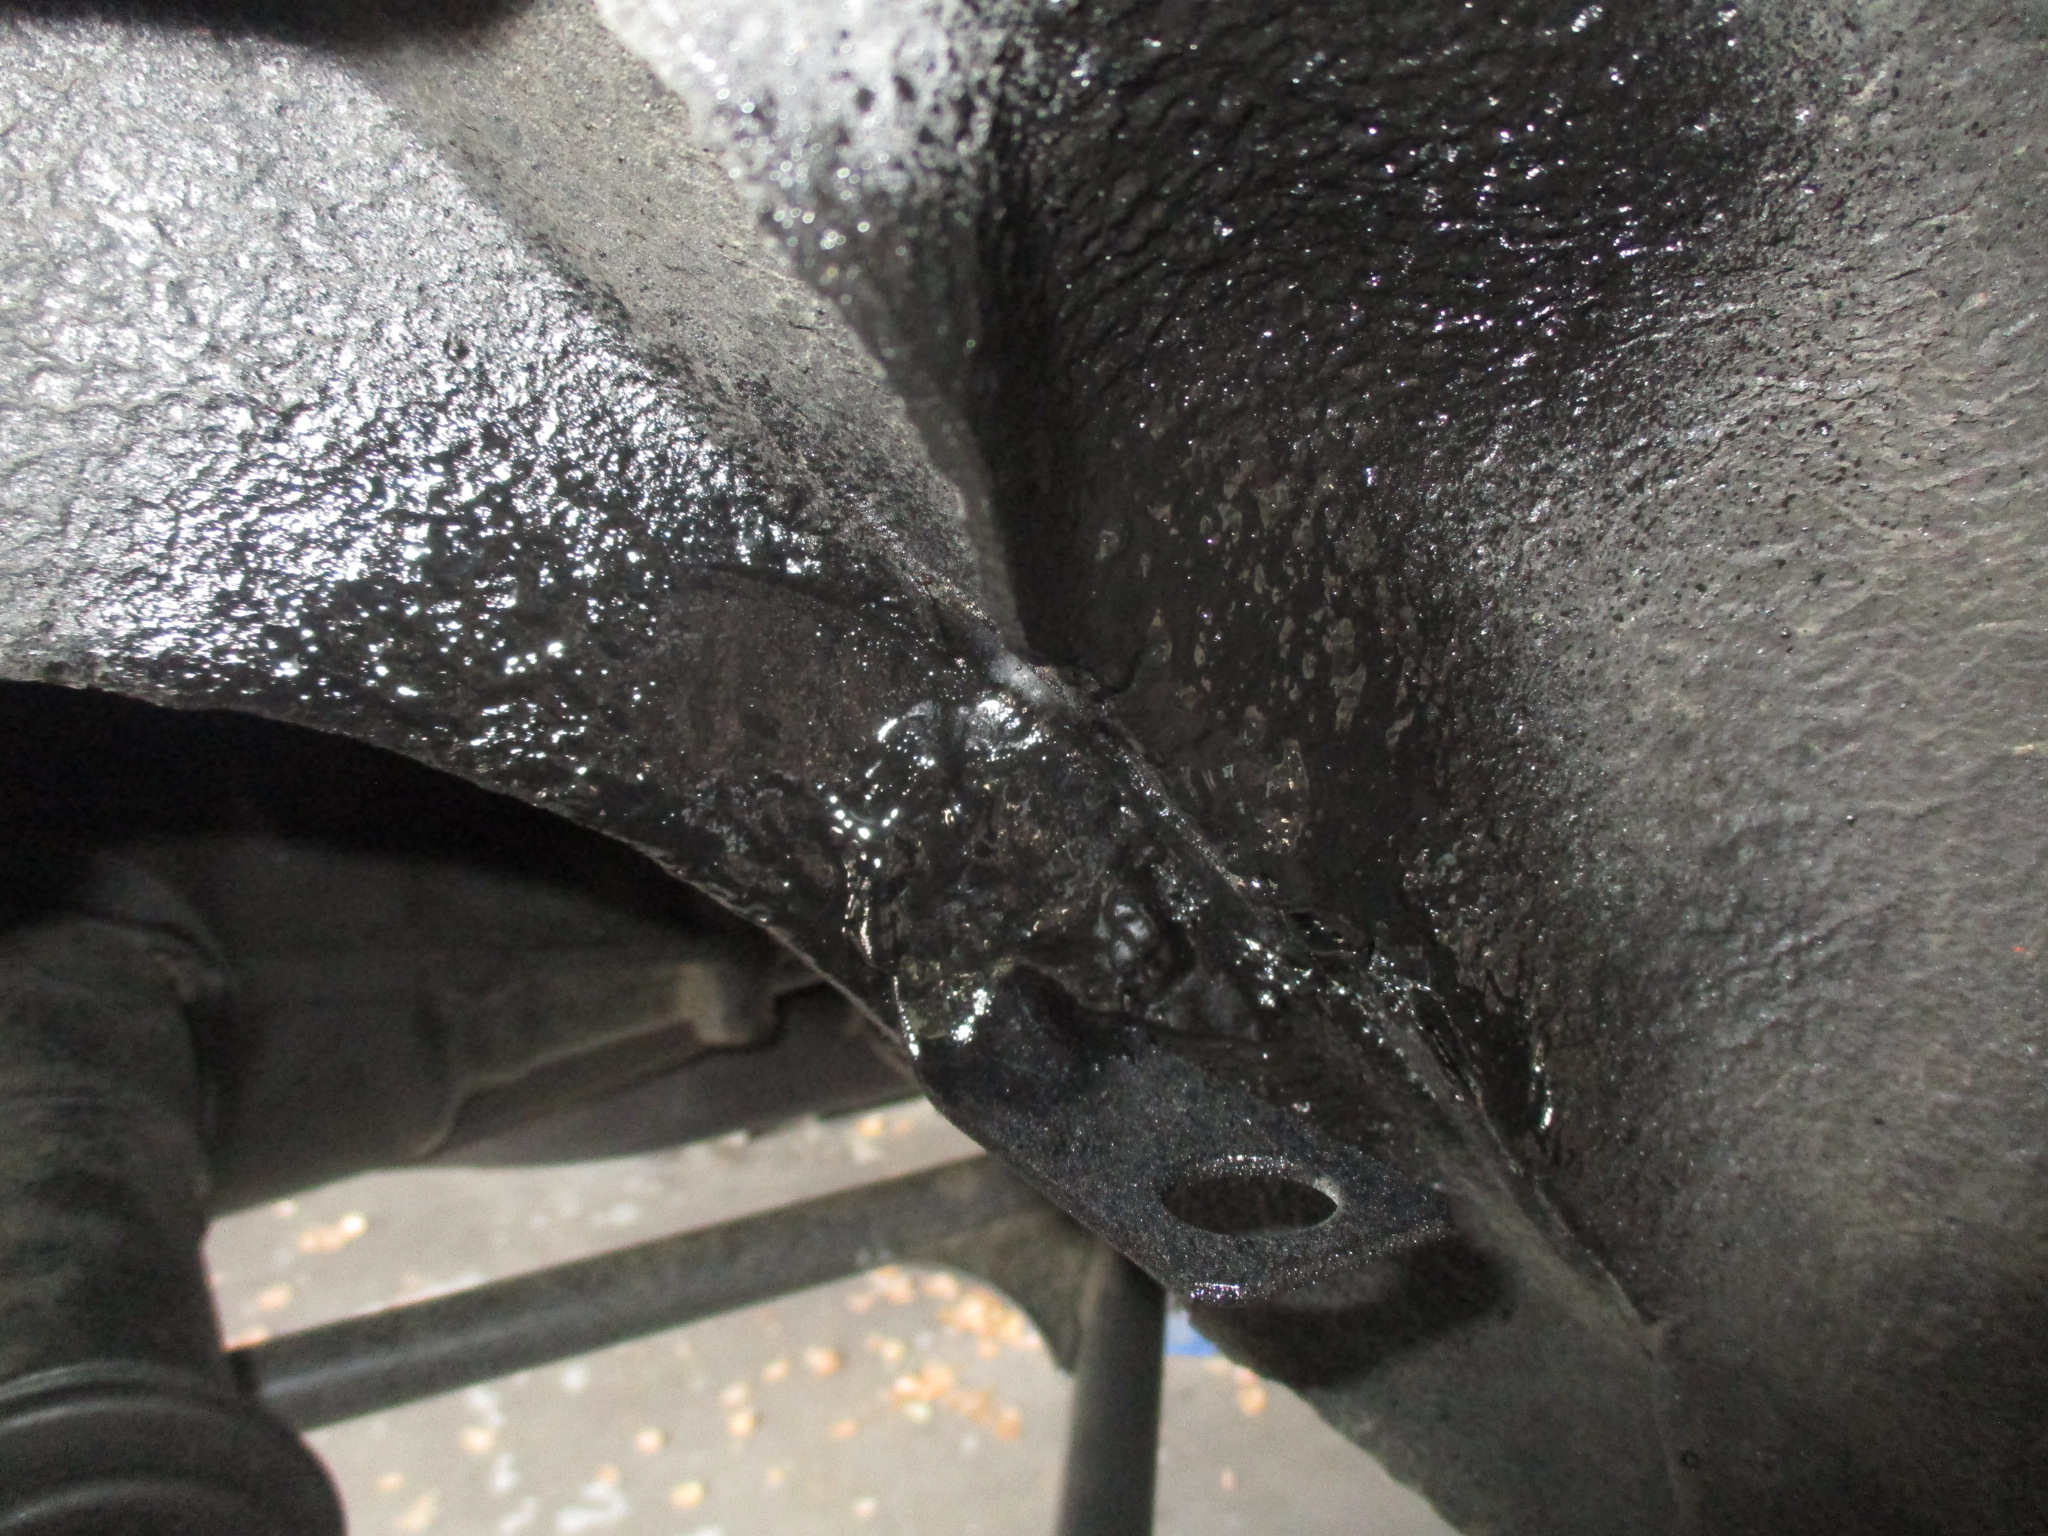
David received axle set #324. Stock half shafts (L) and ZCG units shown below with more pictures in the gallery:
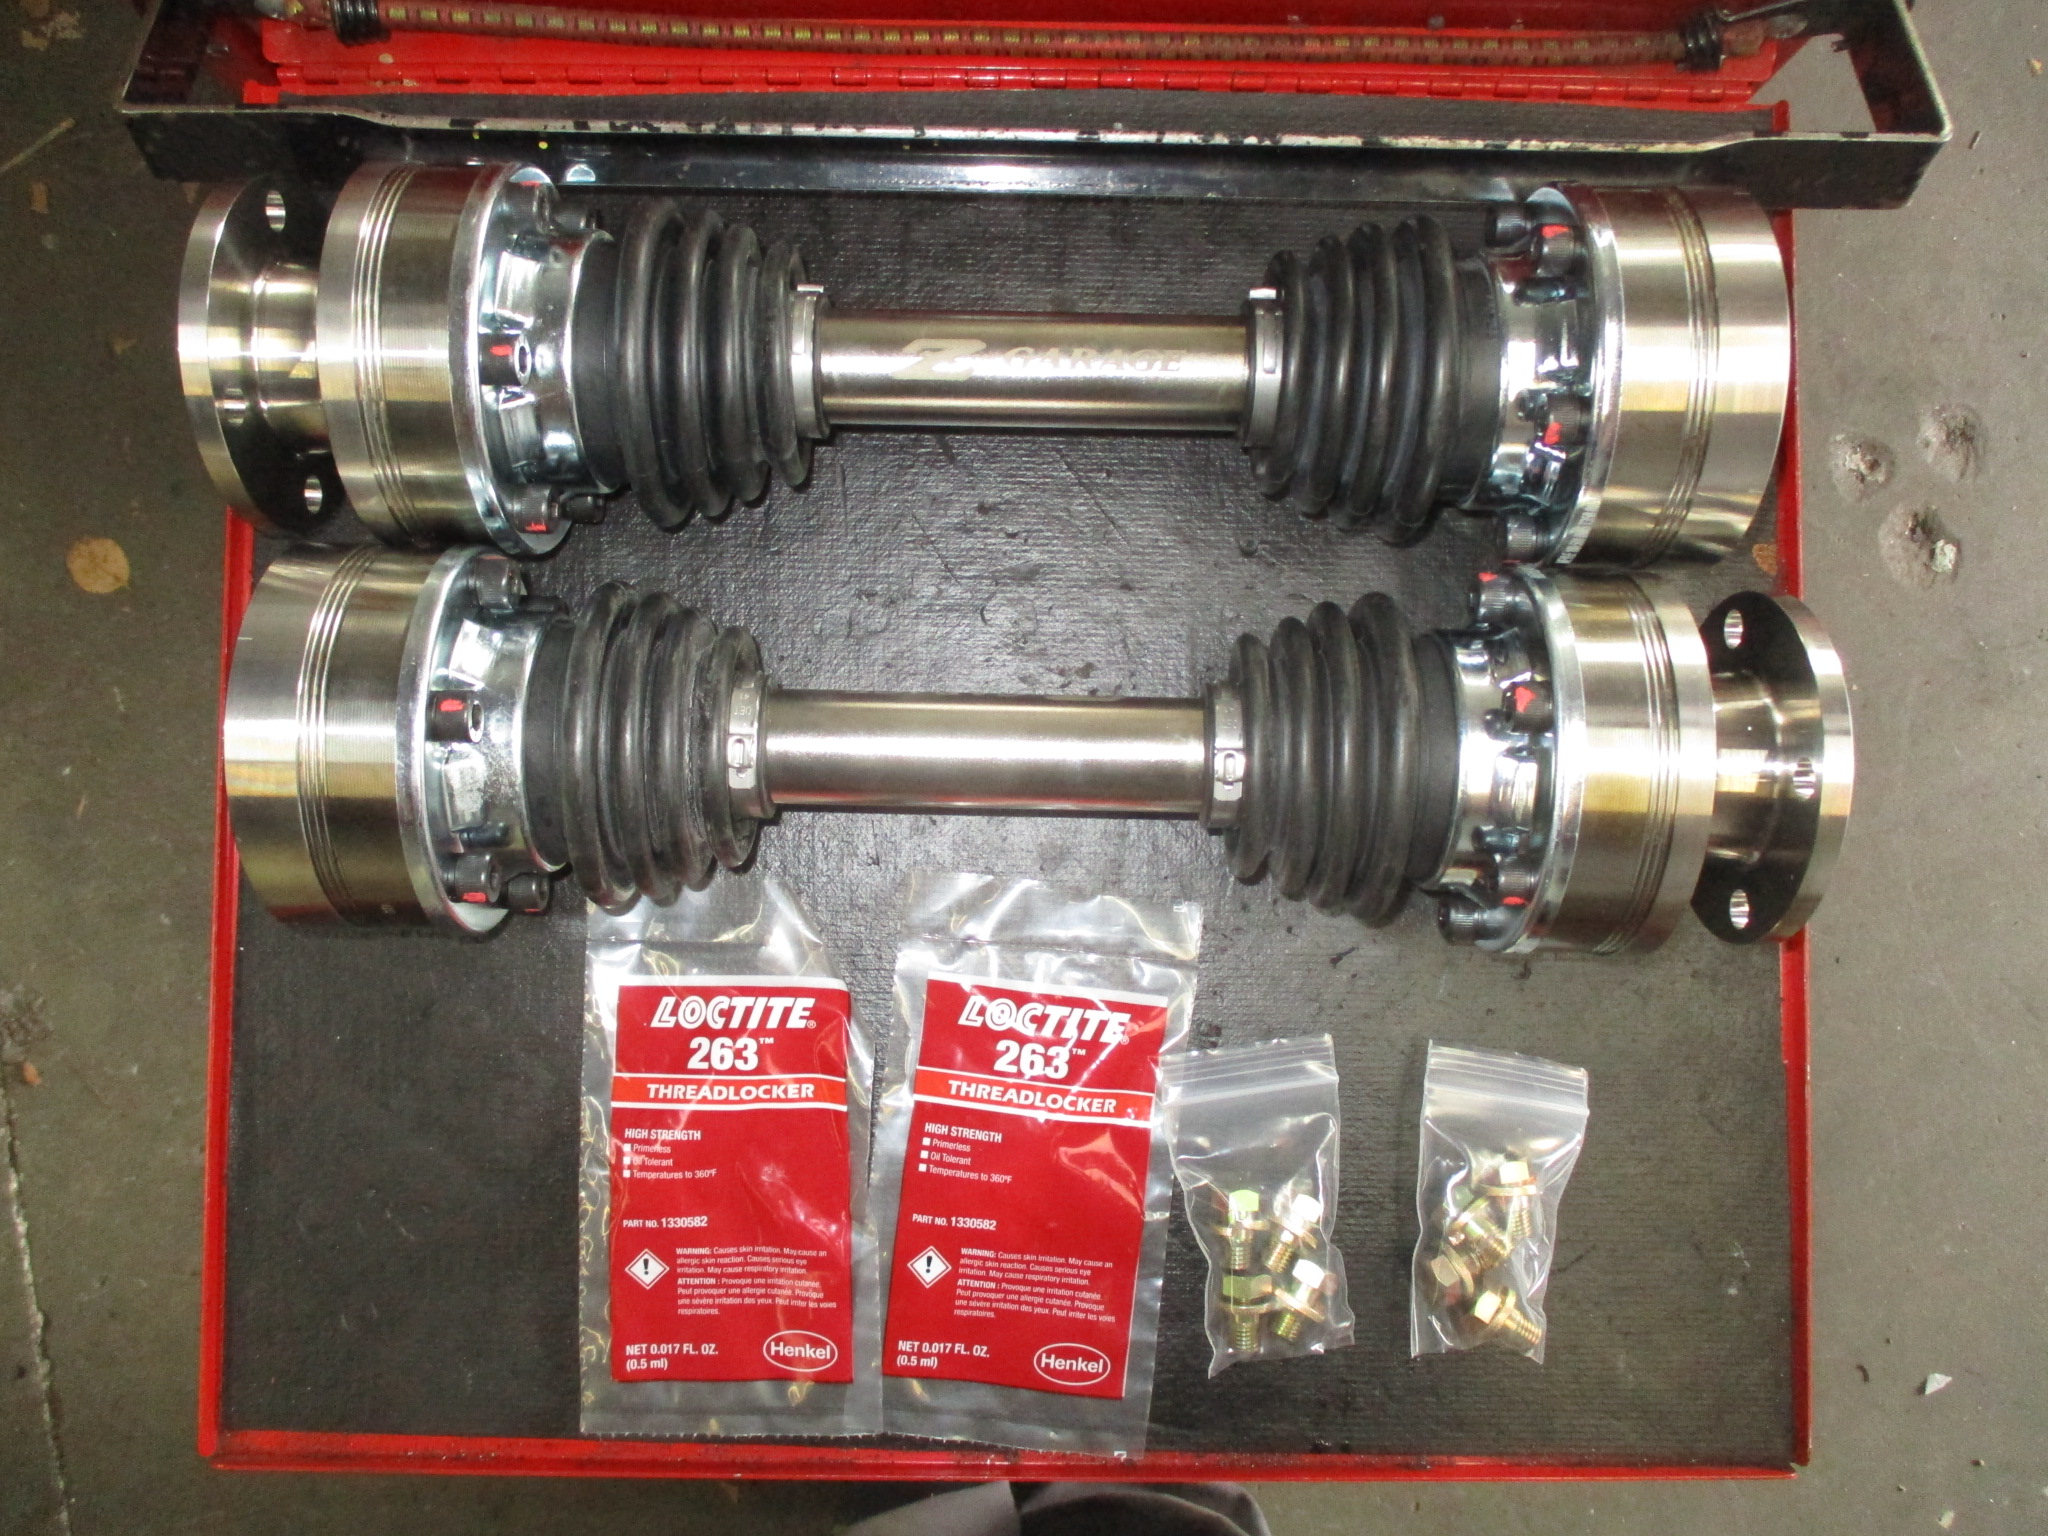
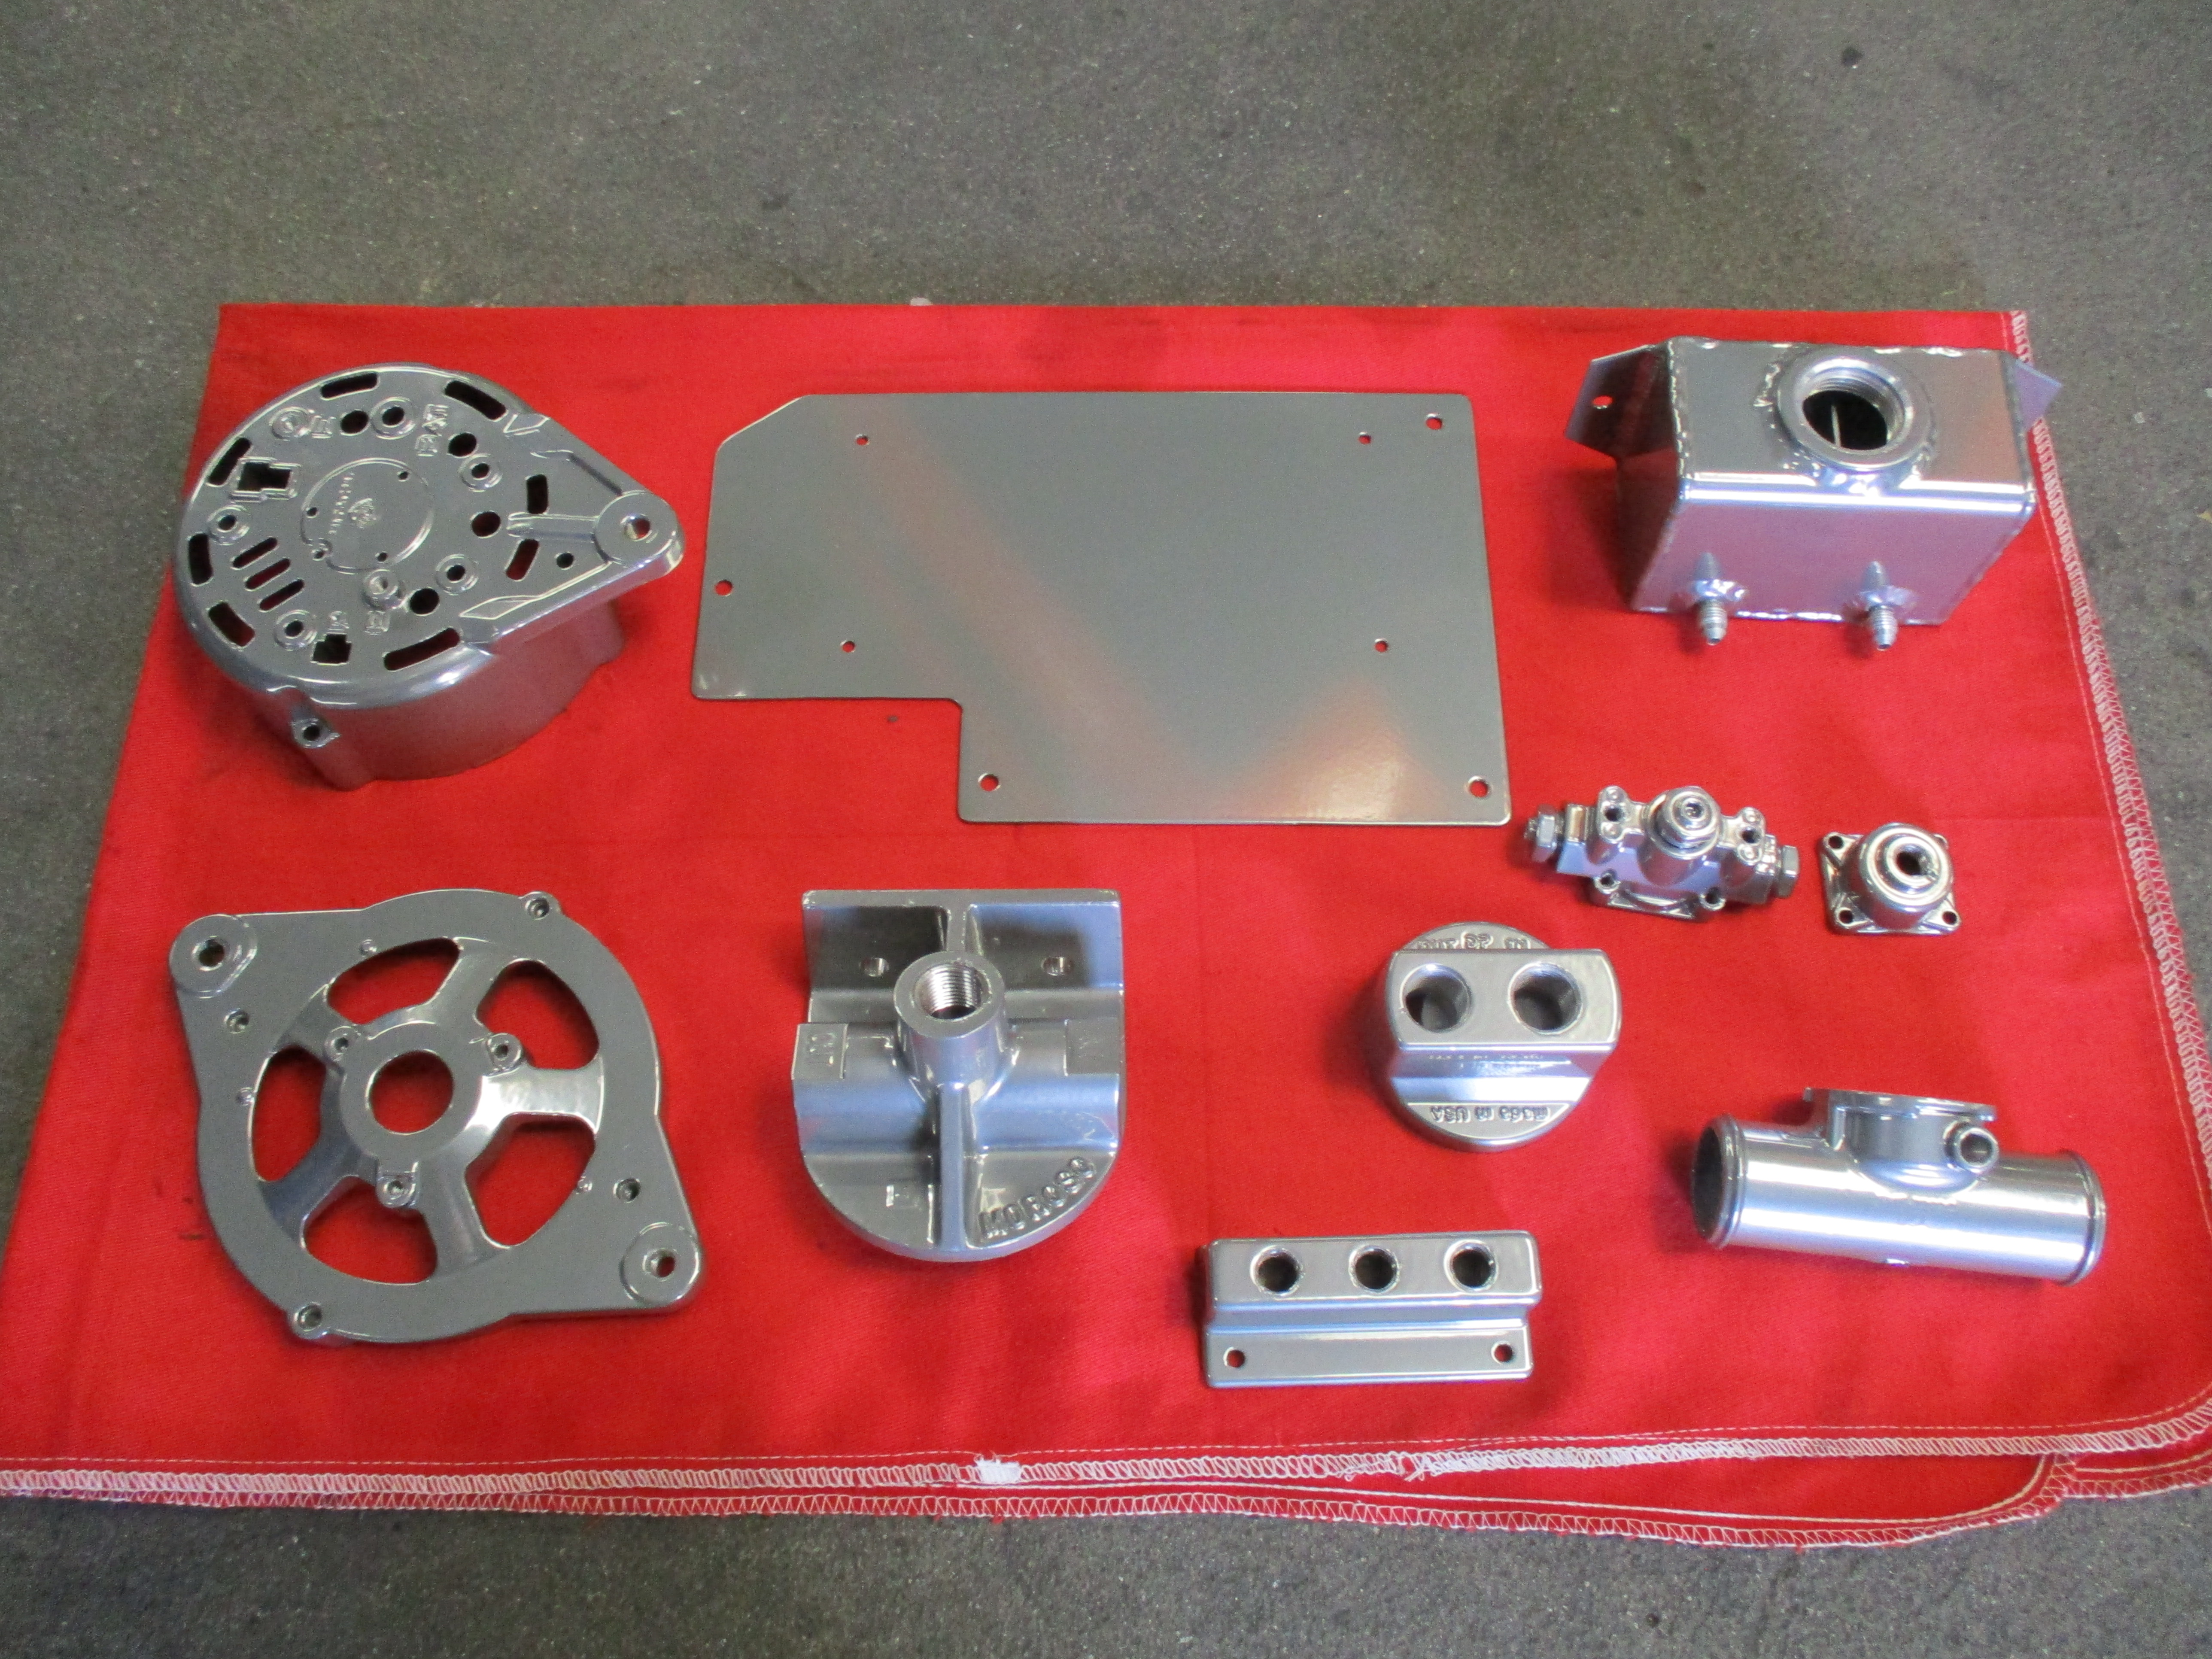
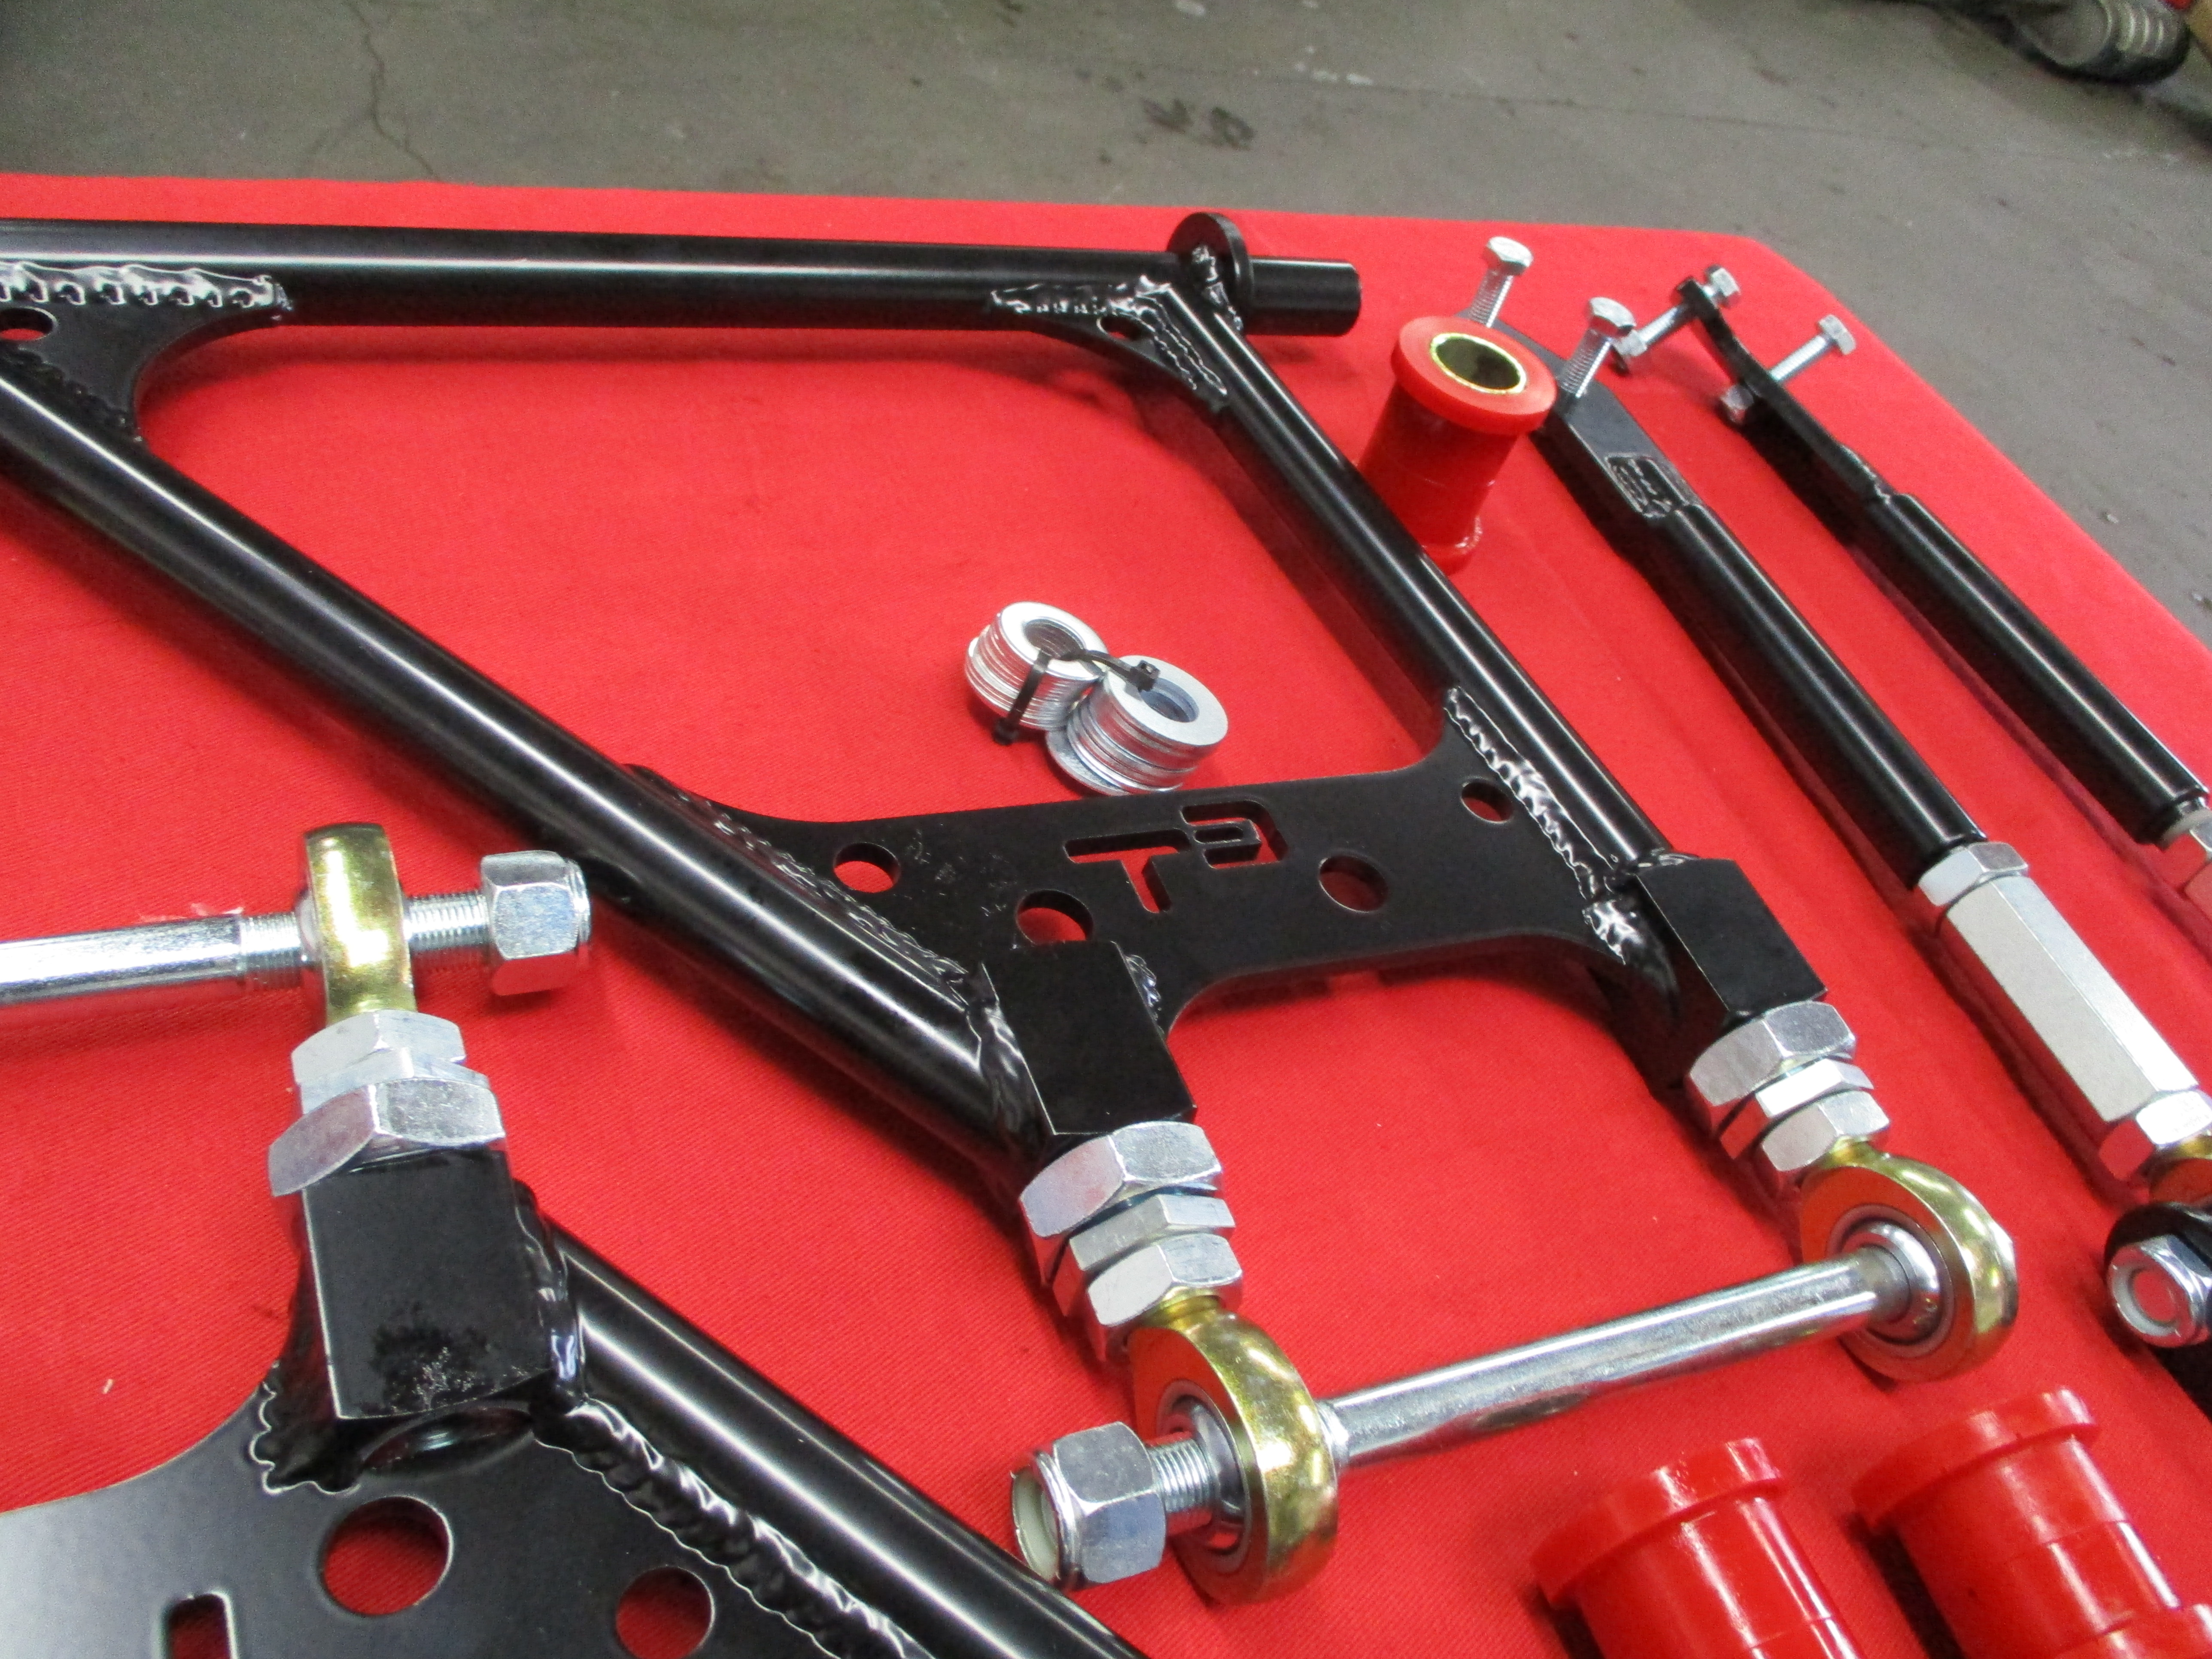
Details
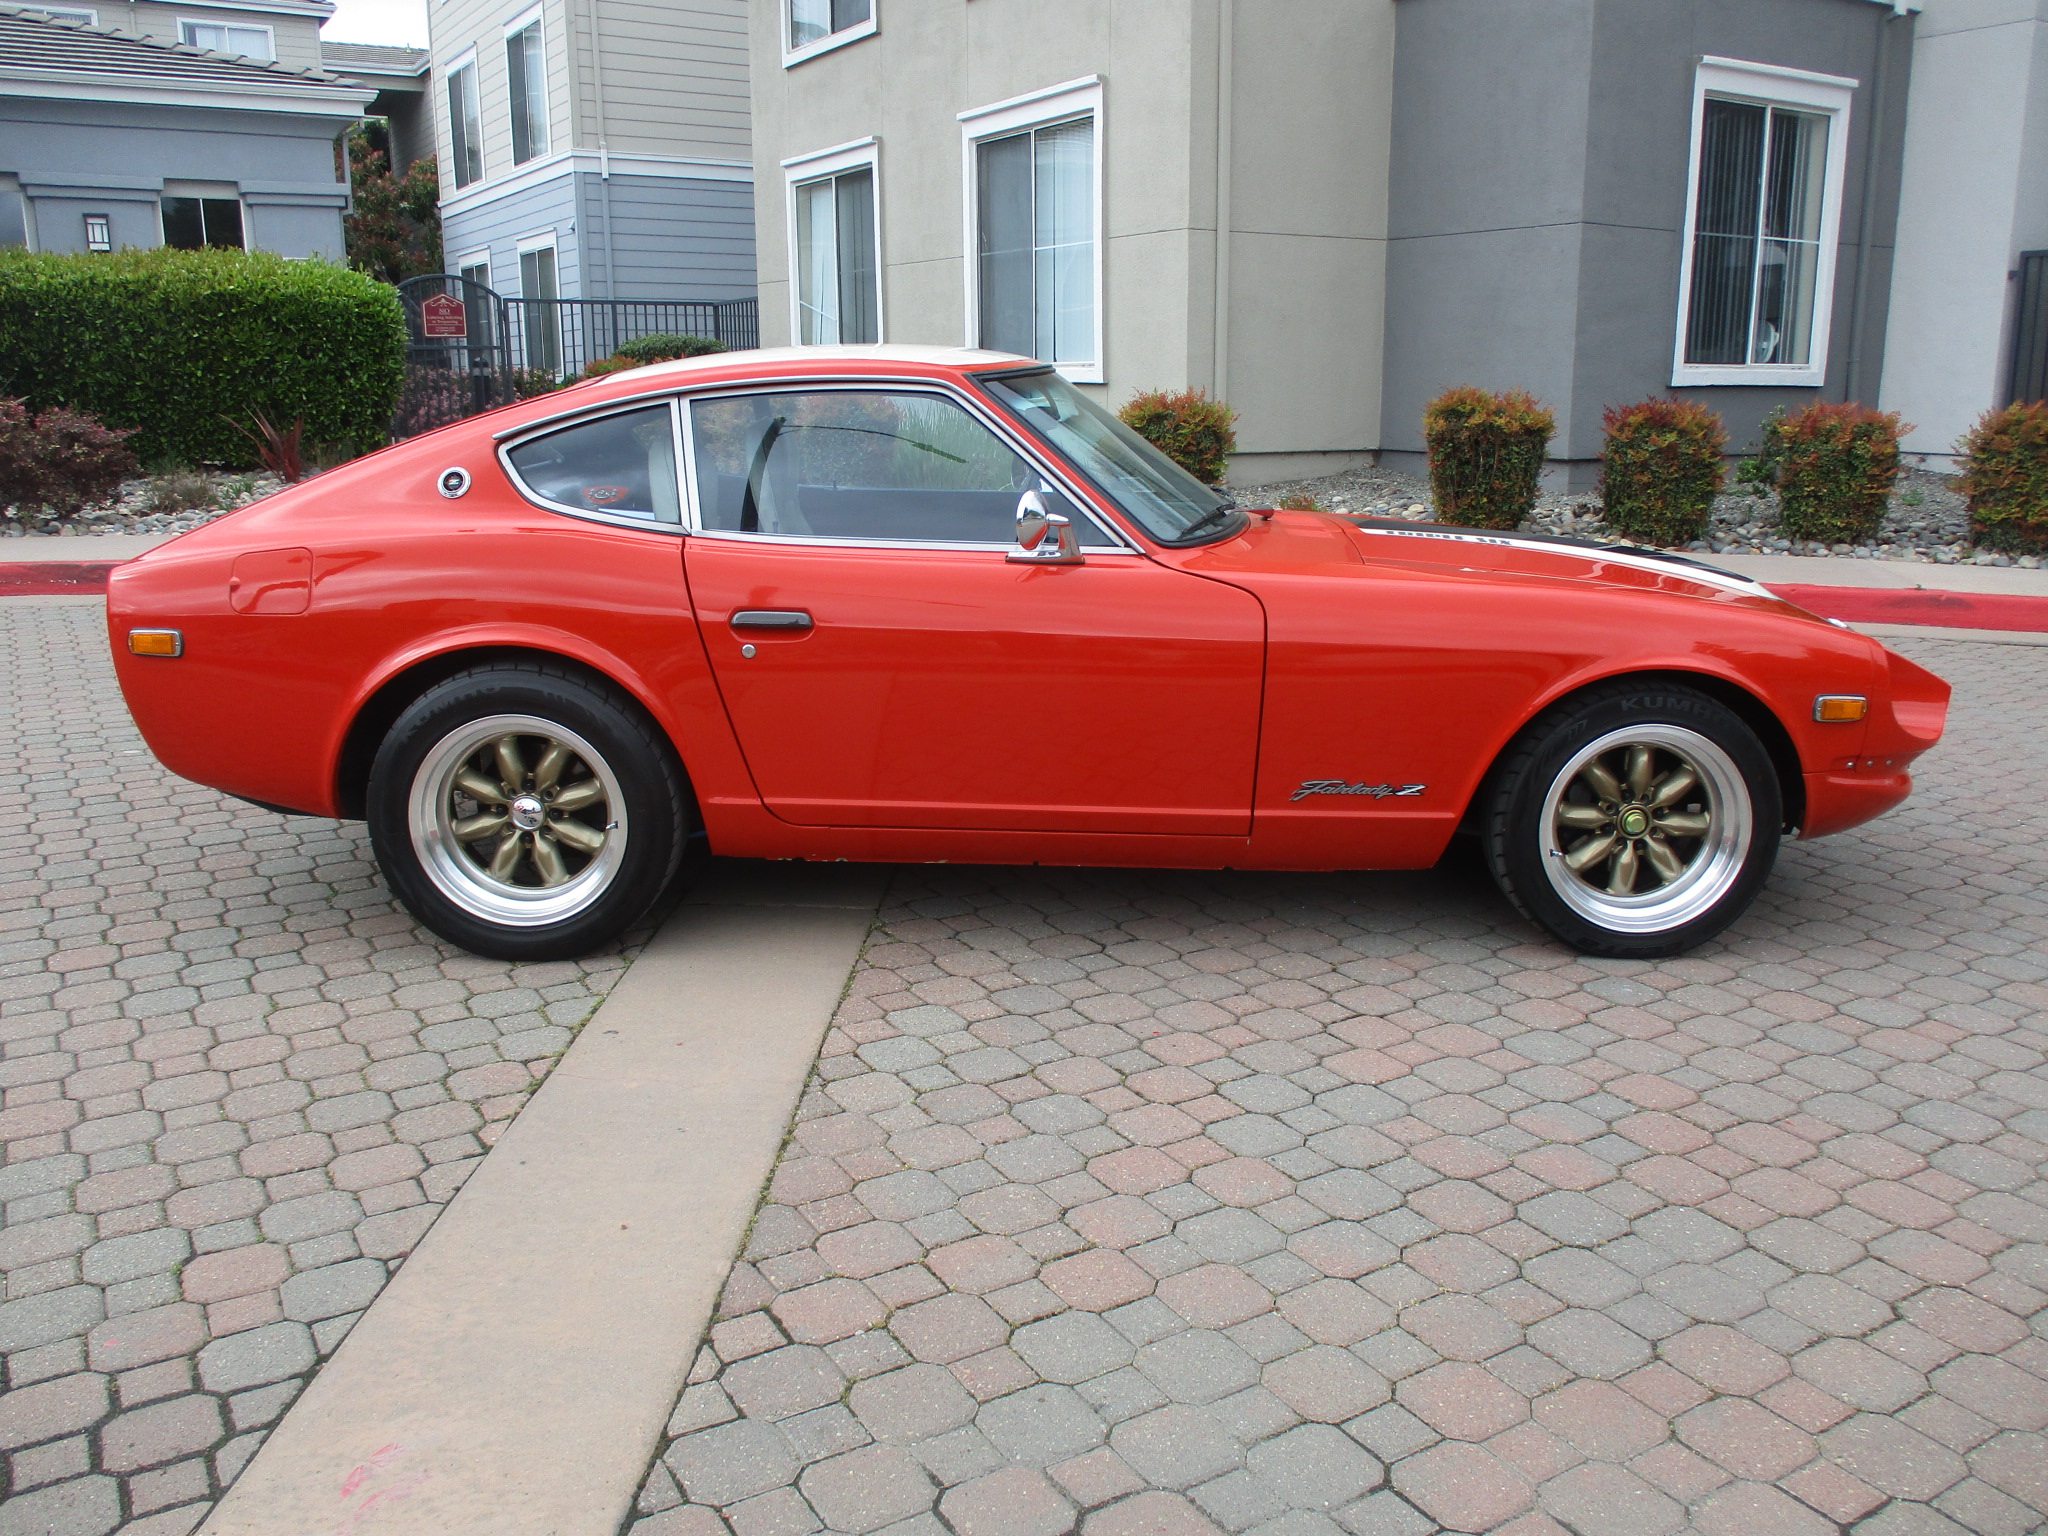
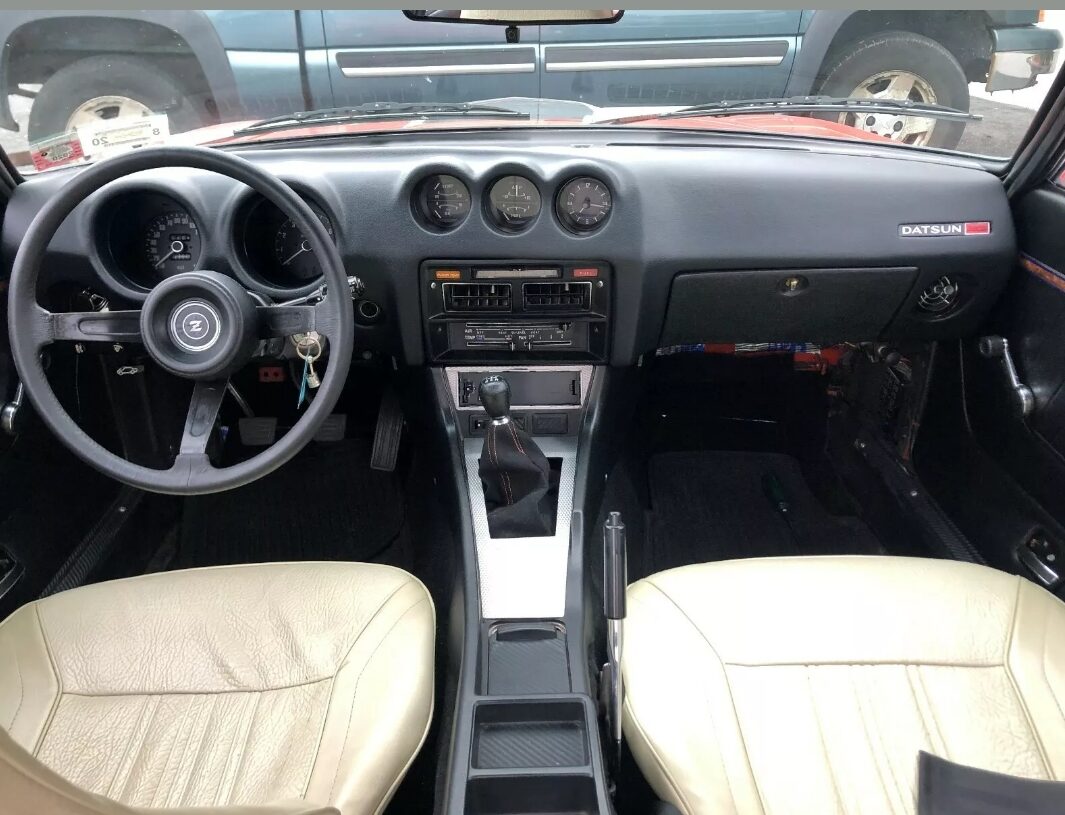
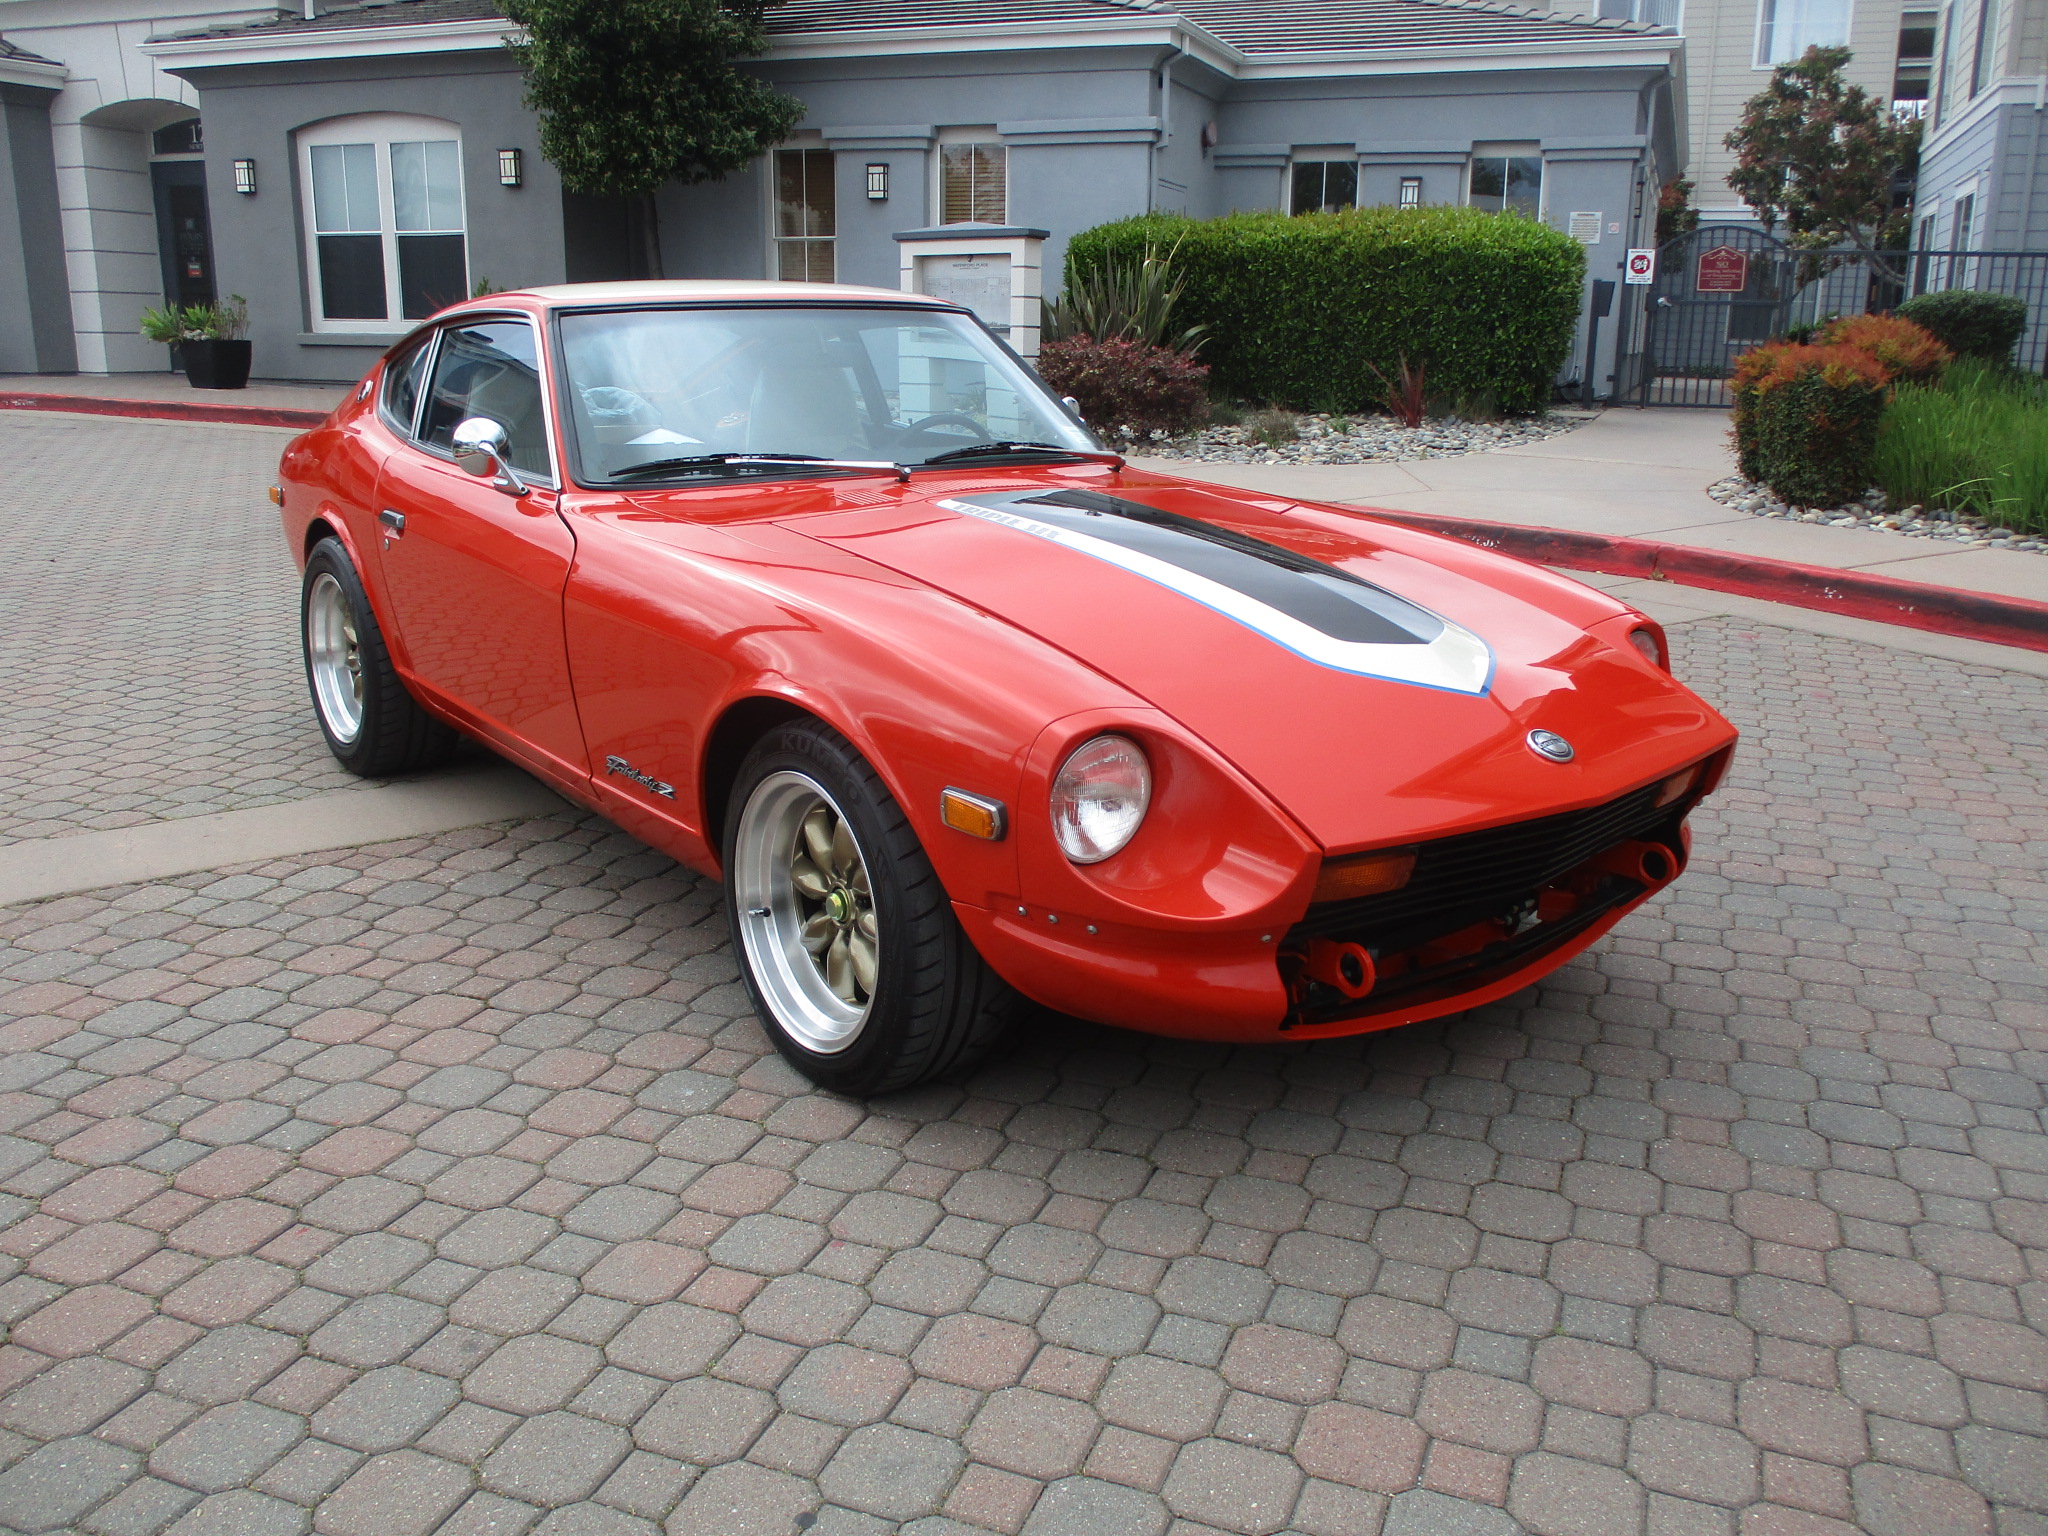
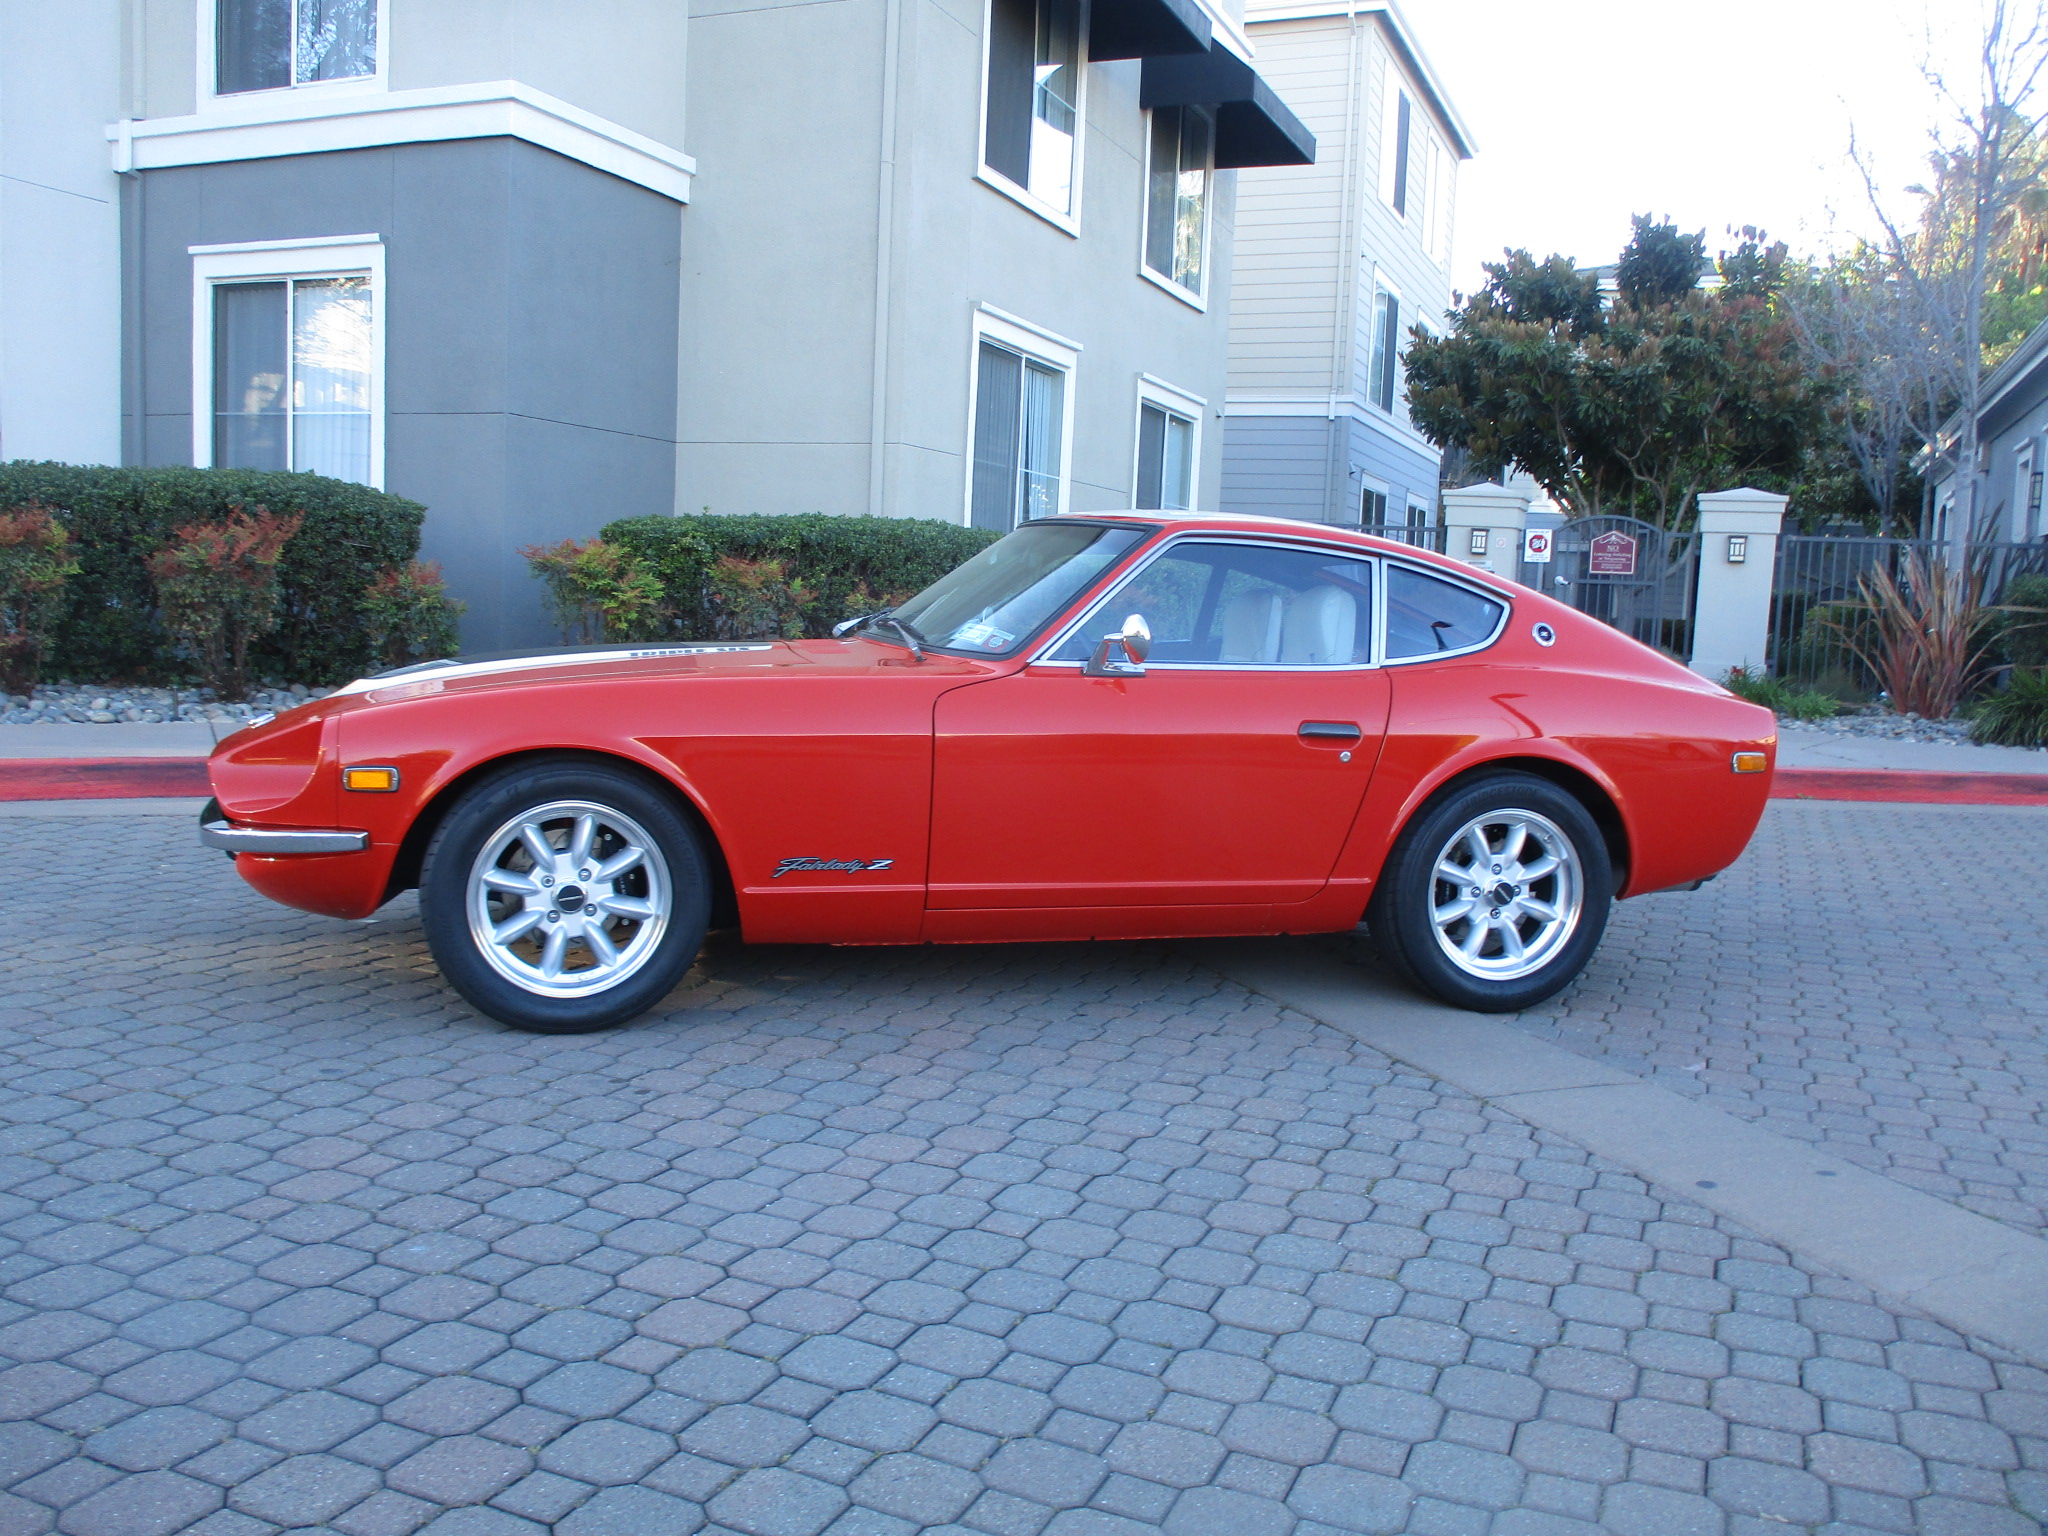
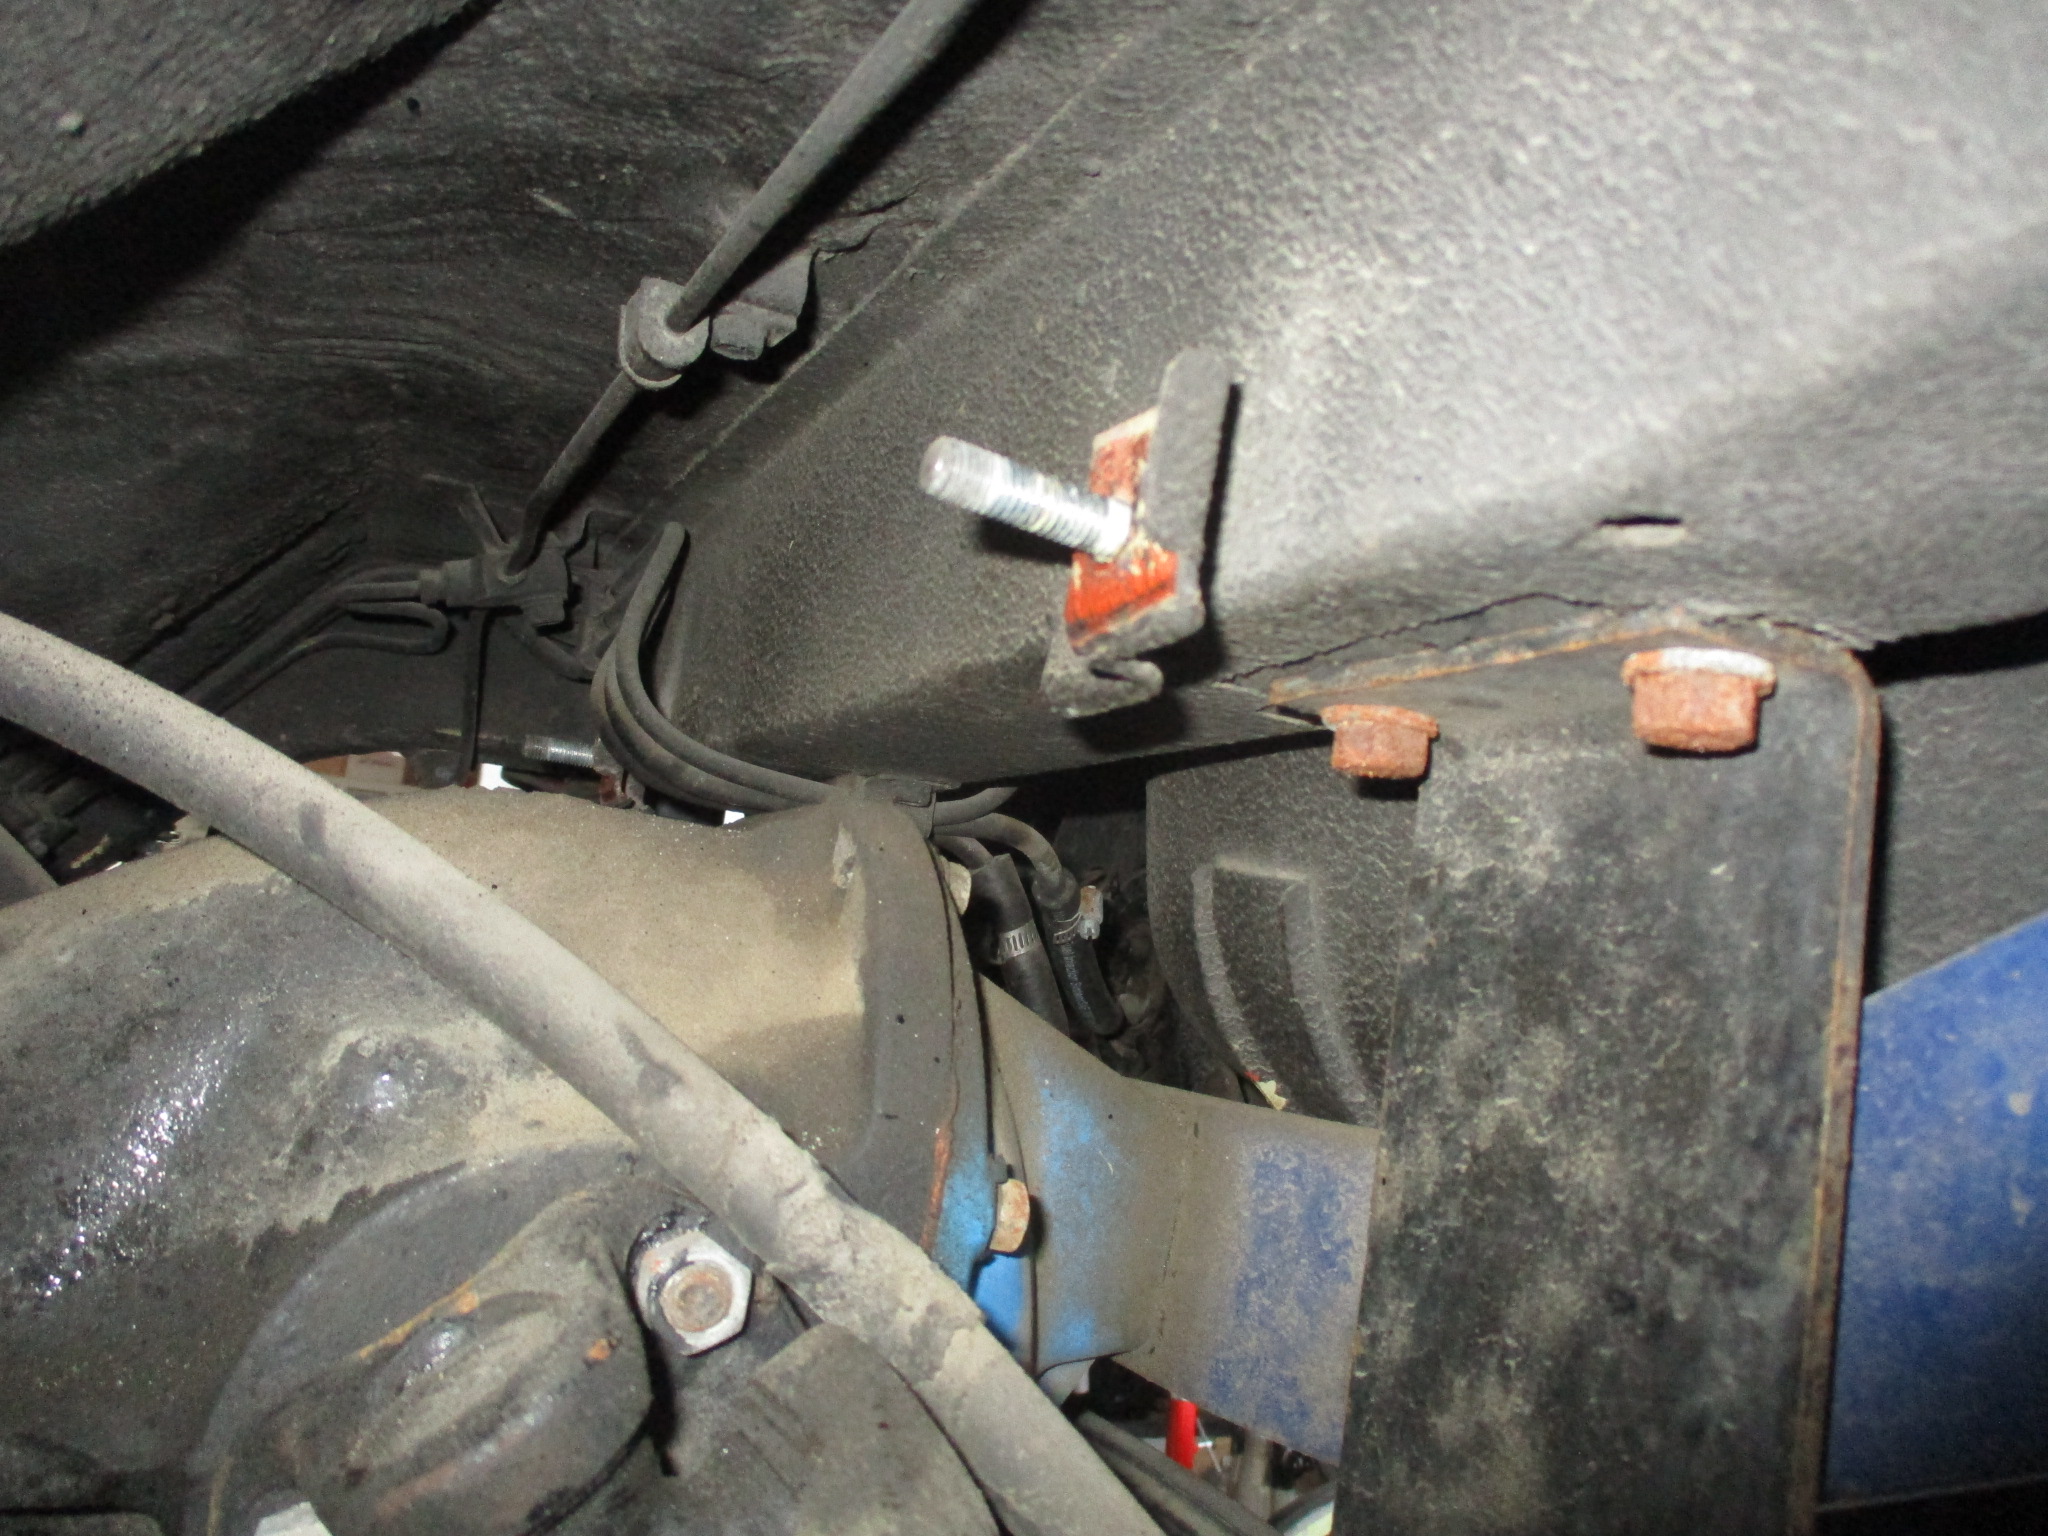
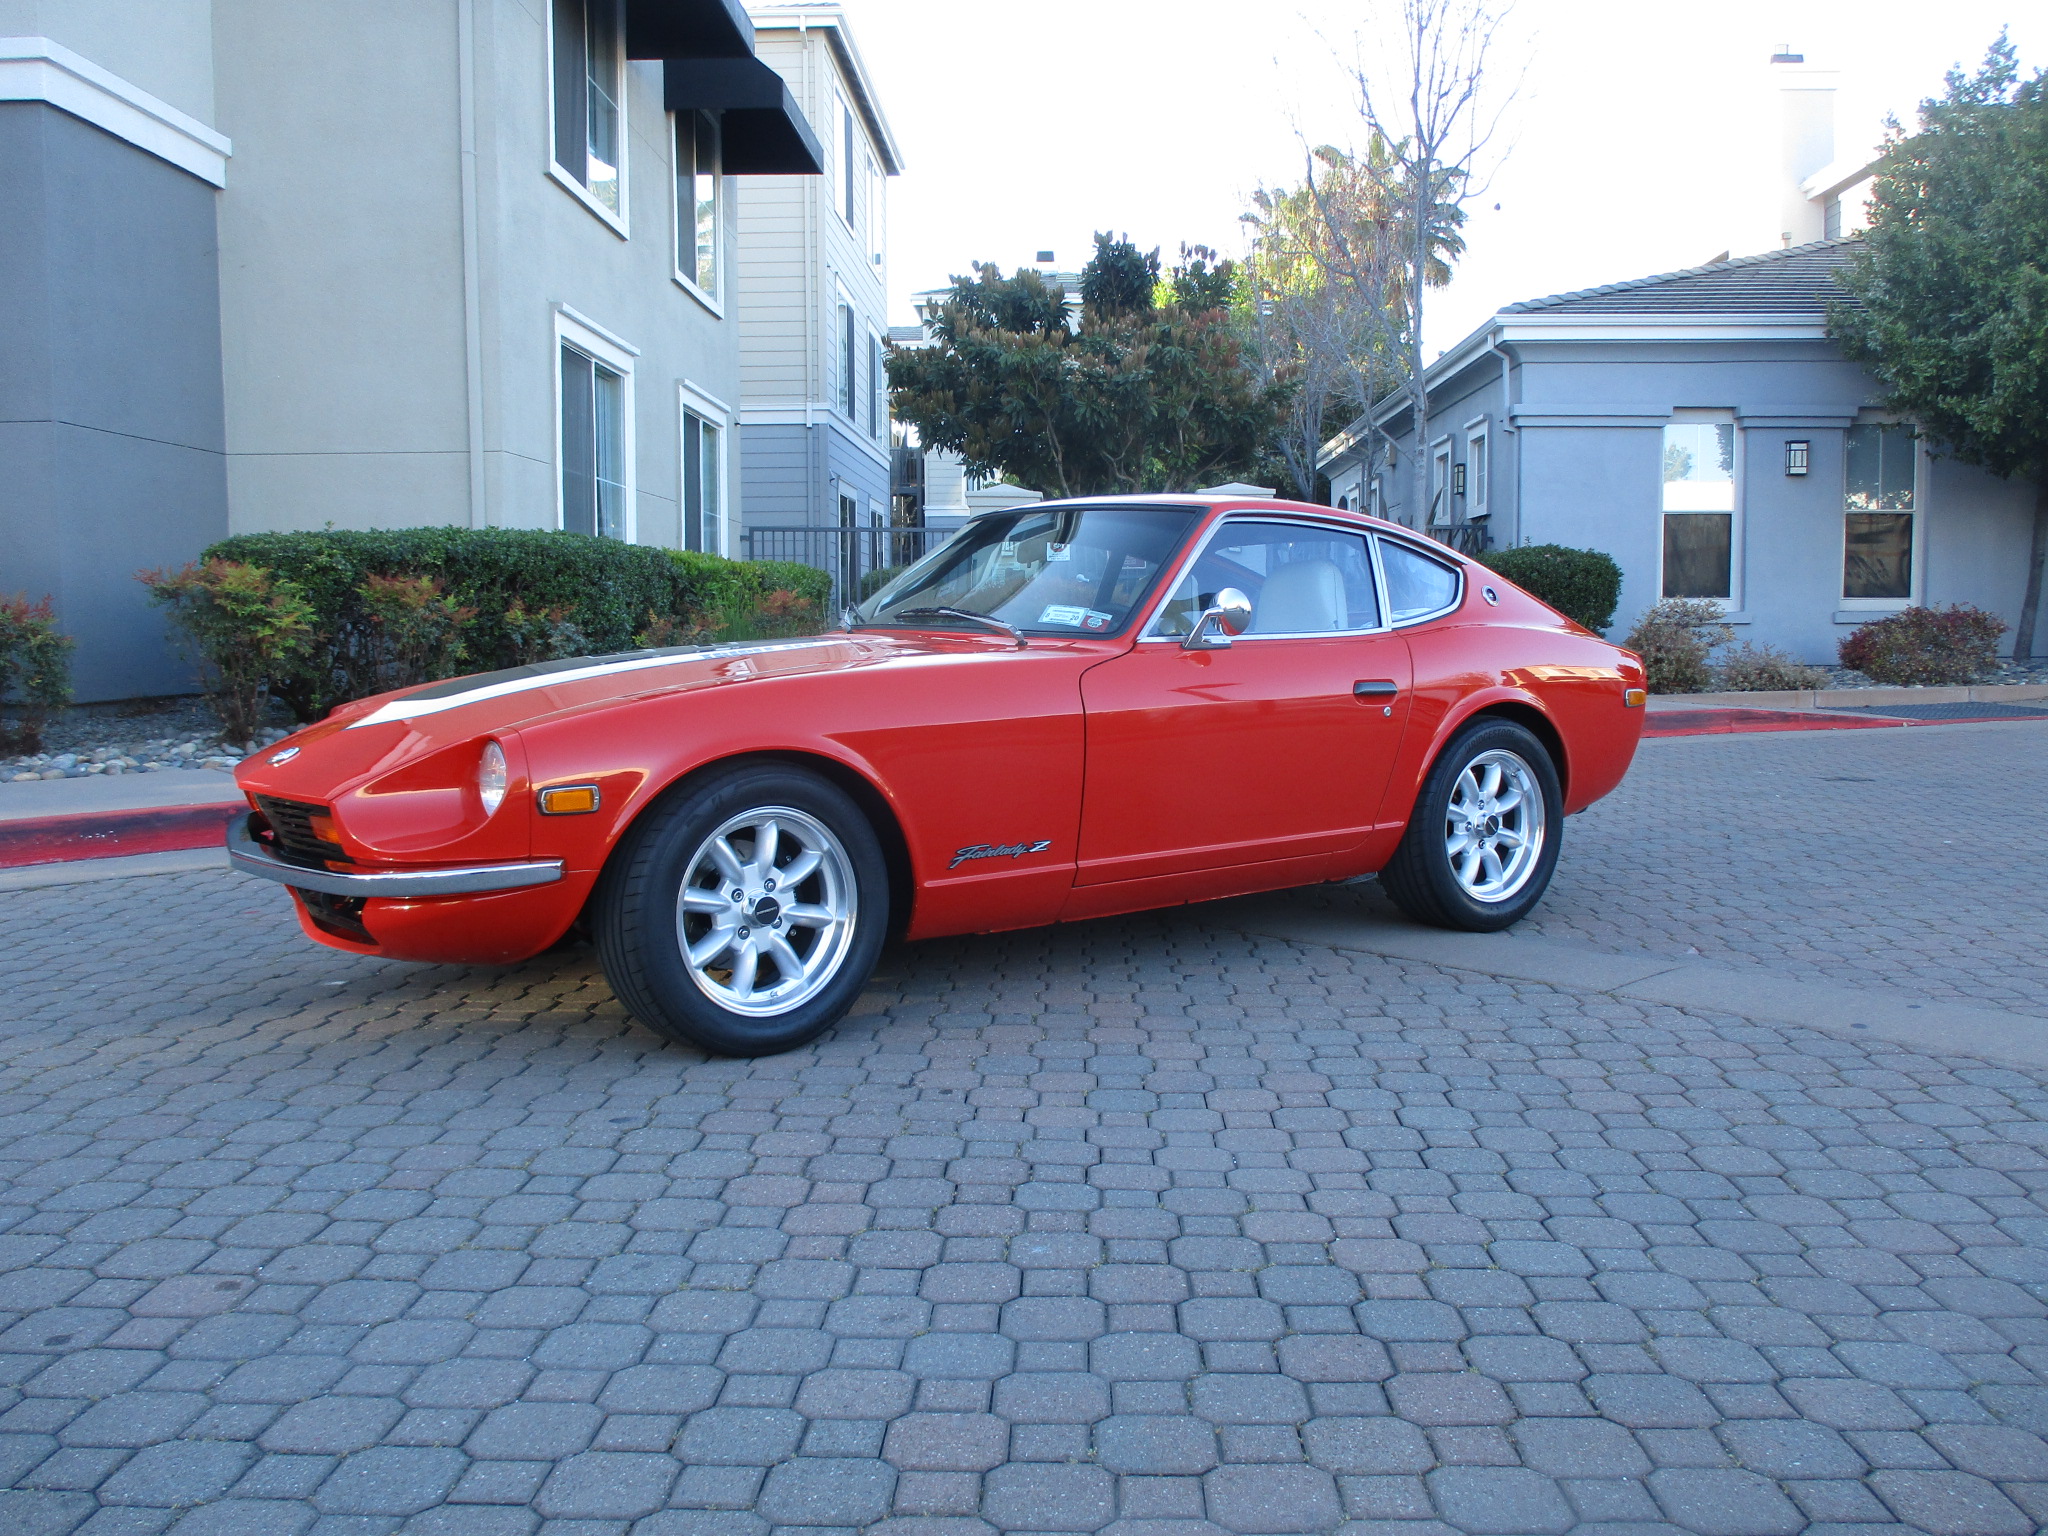
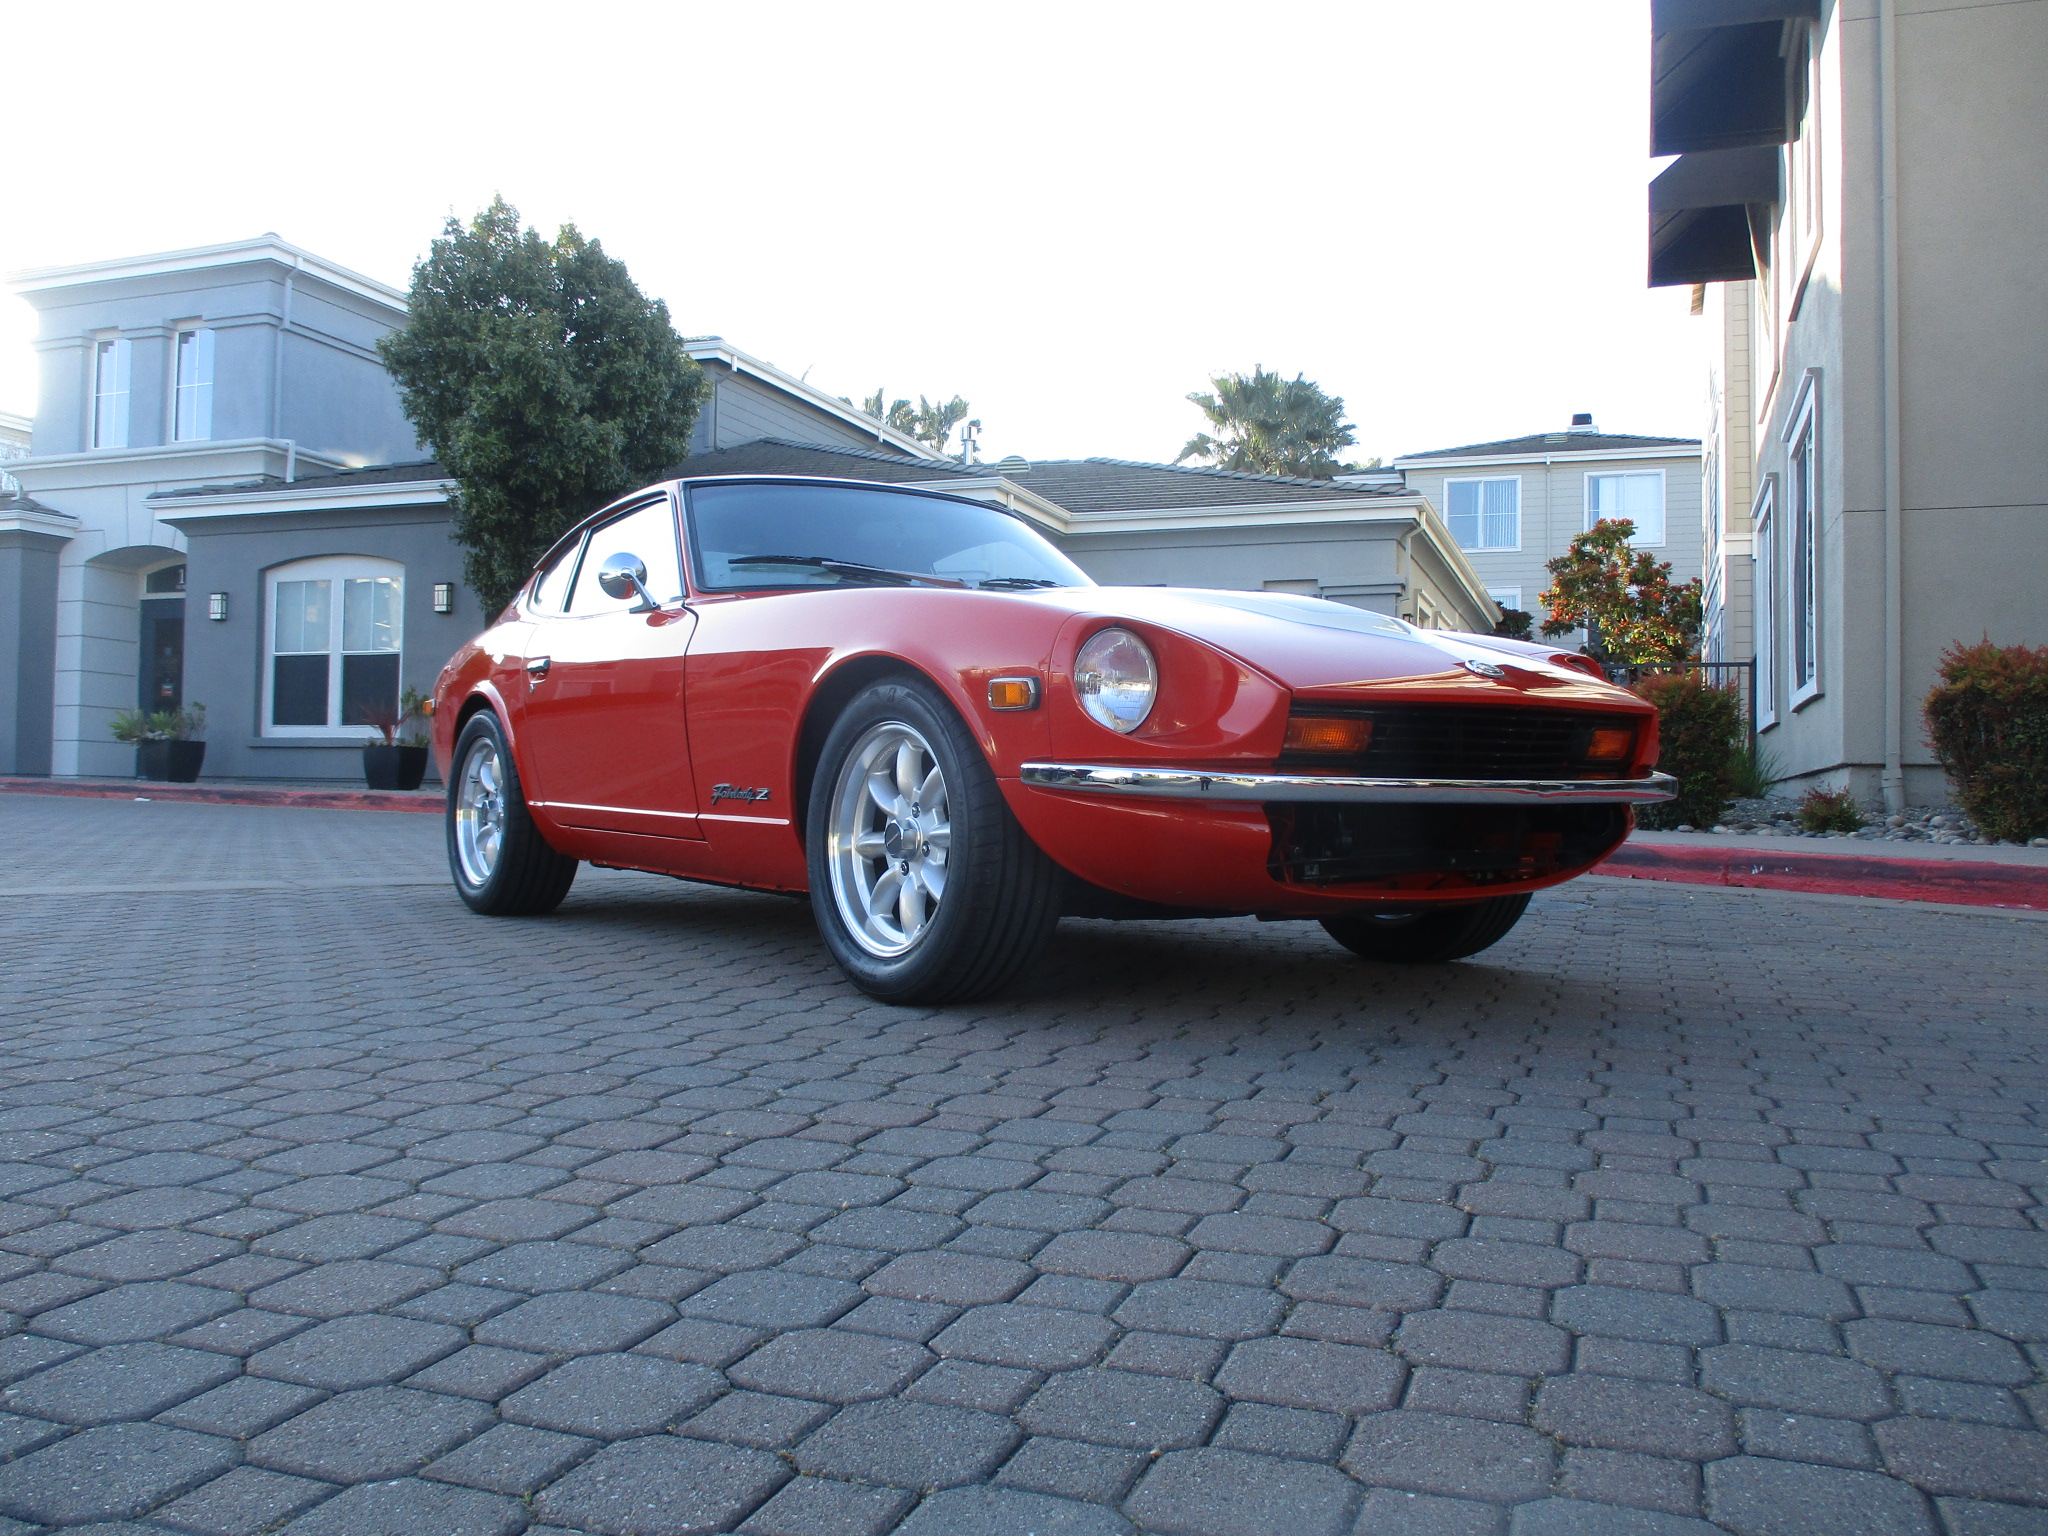
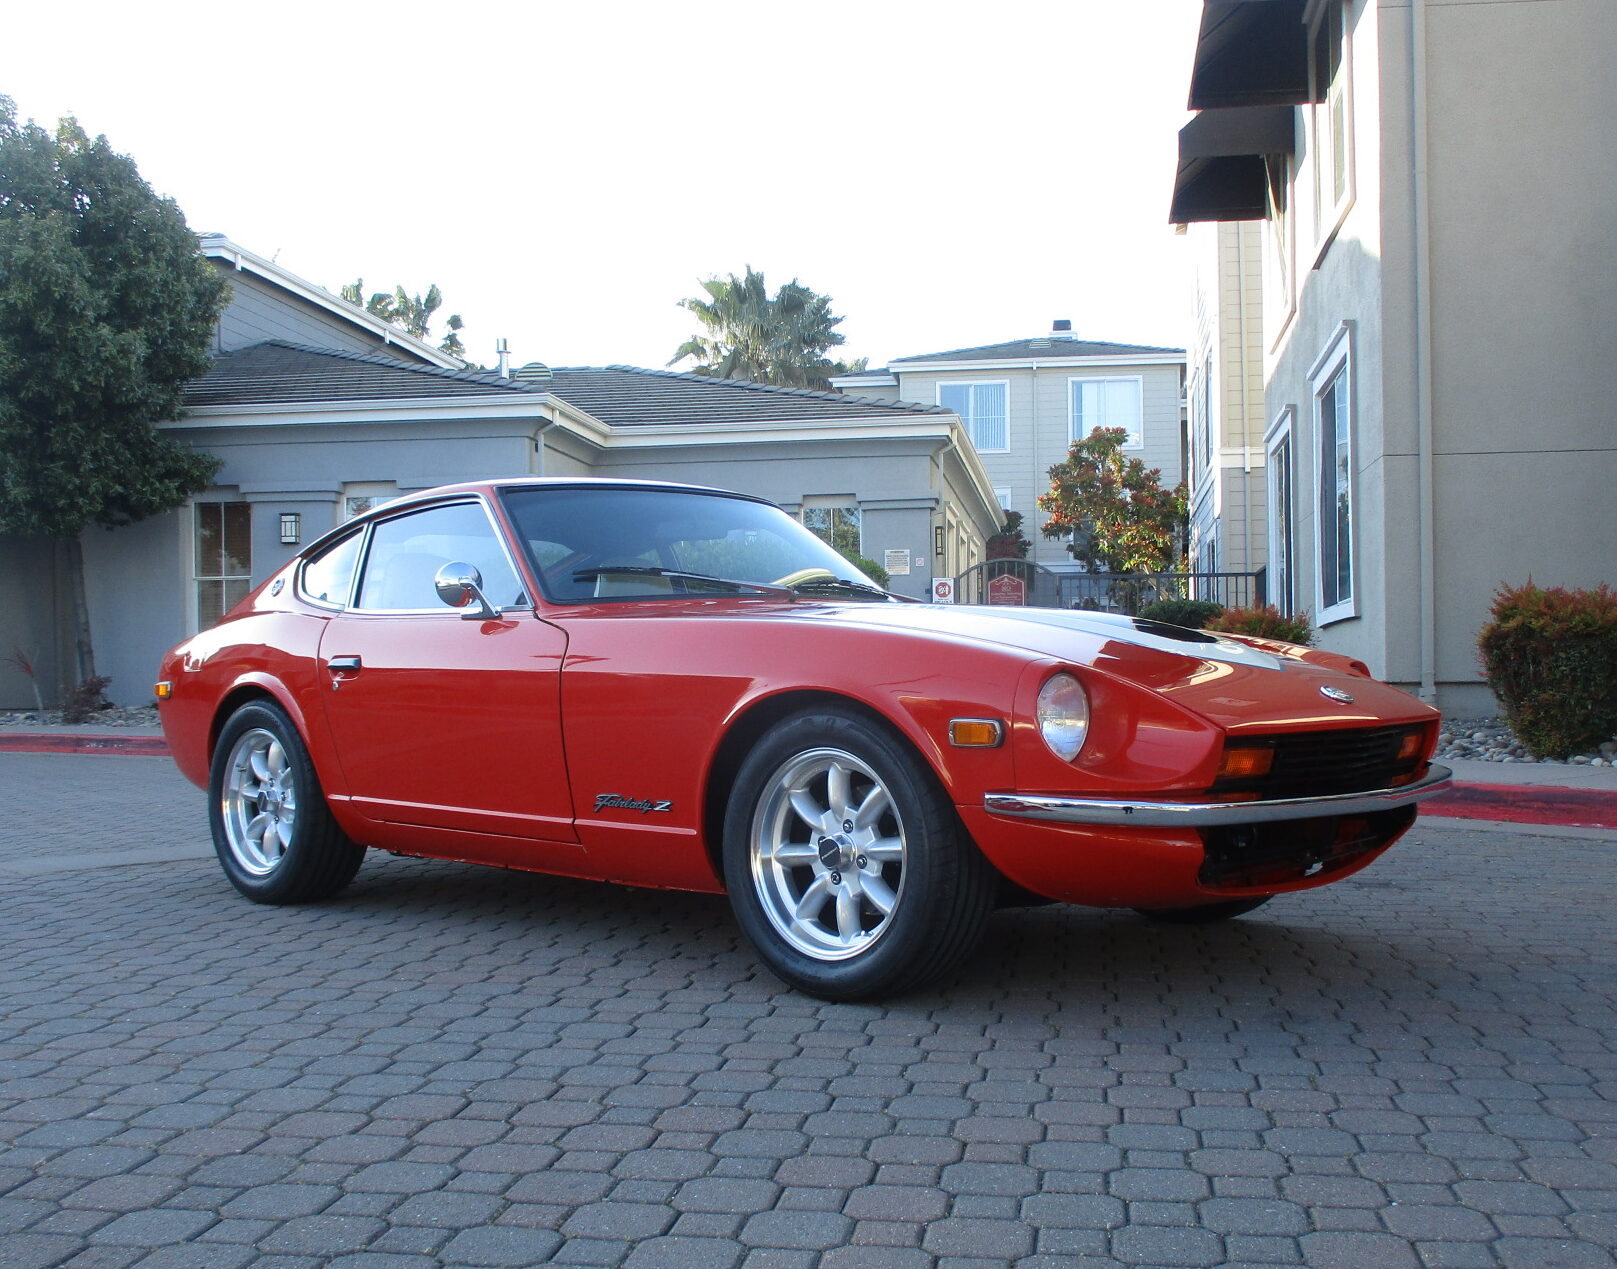
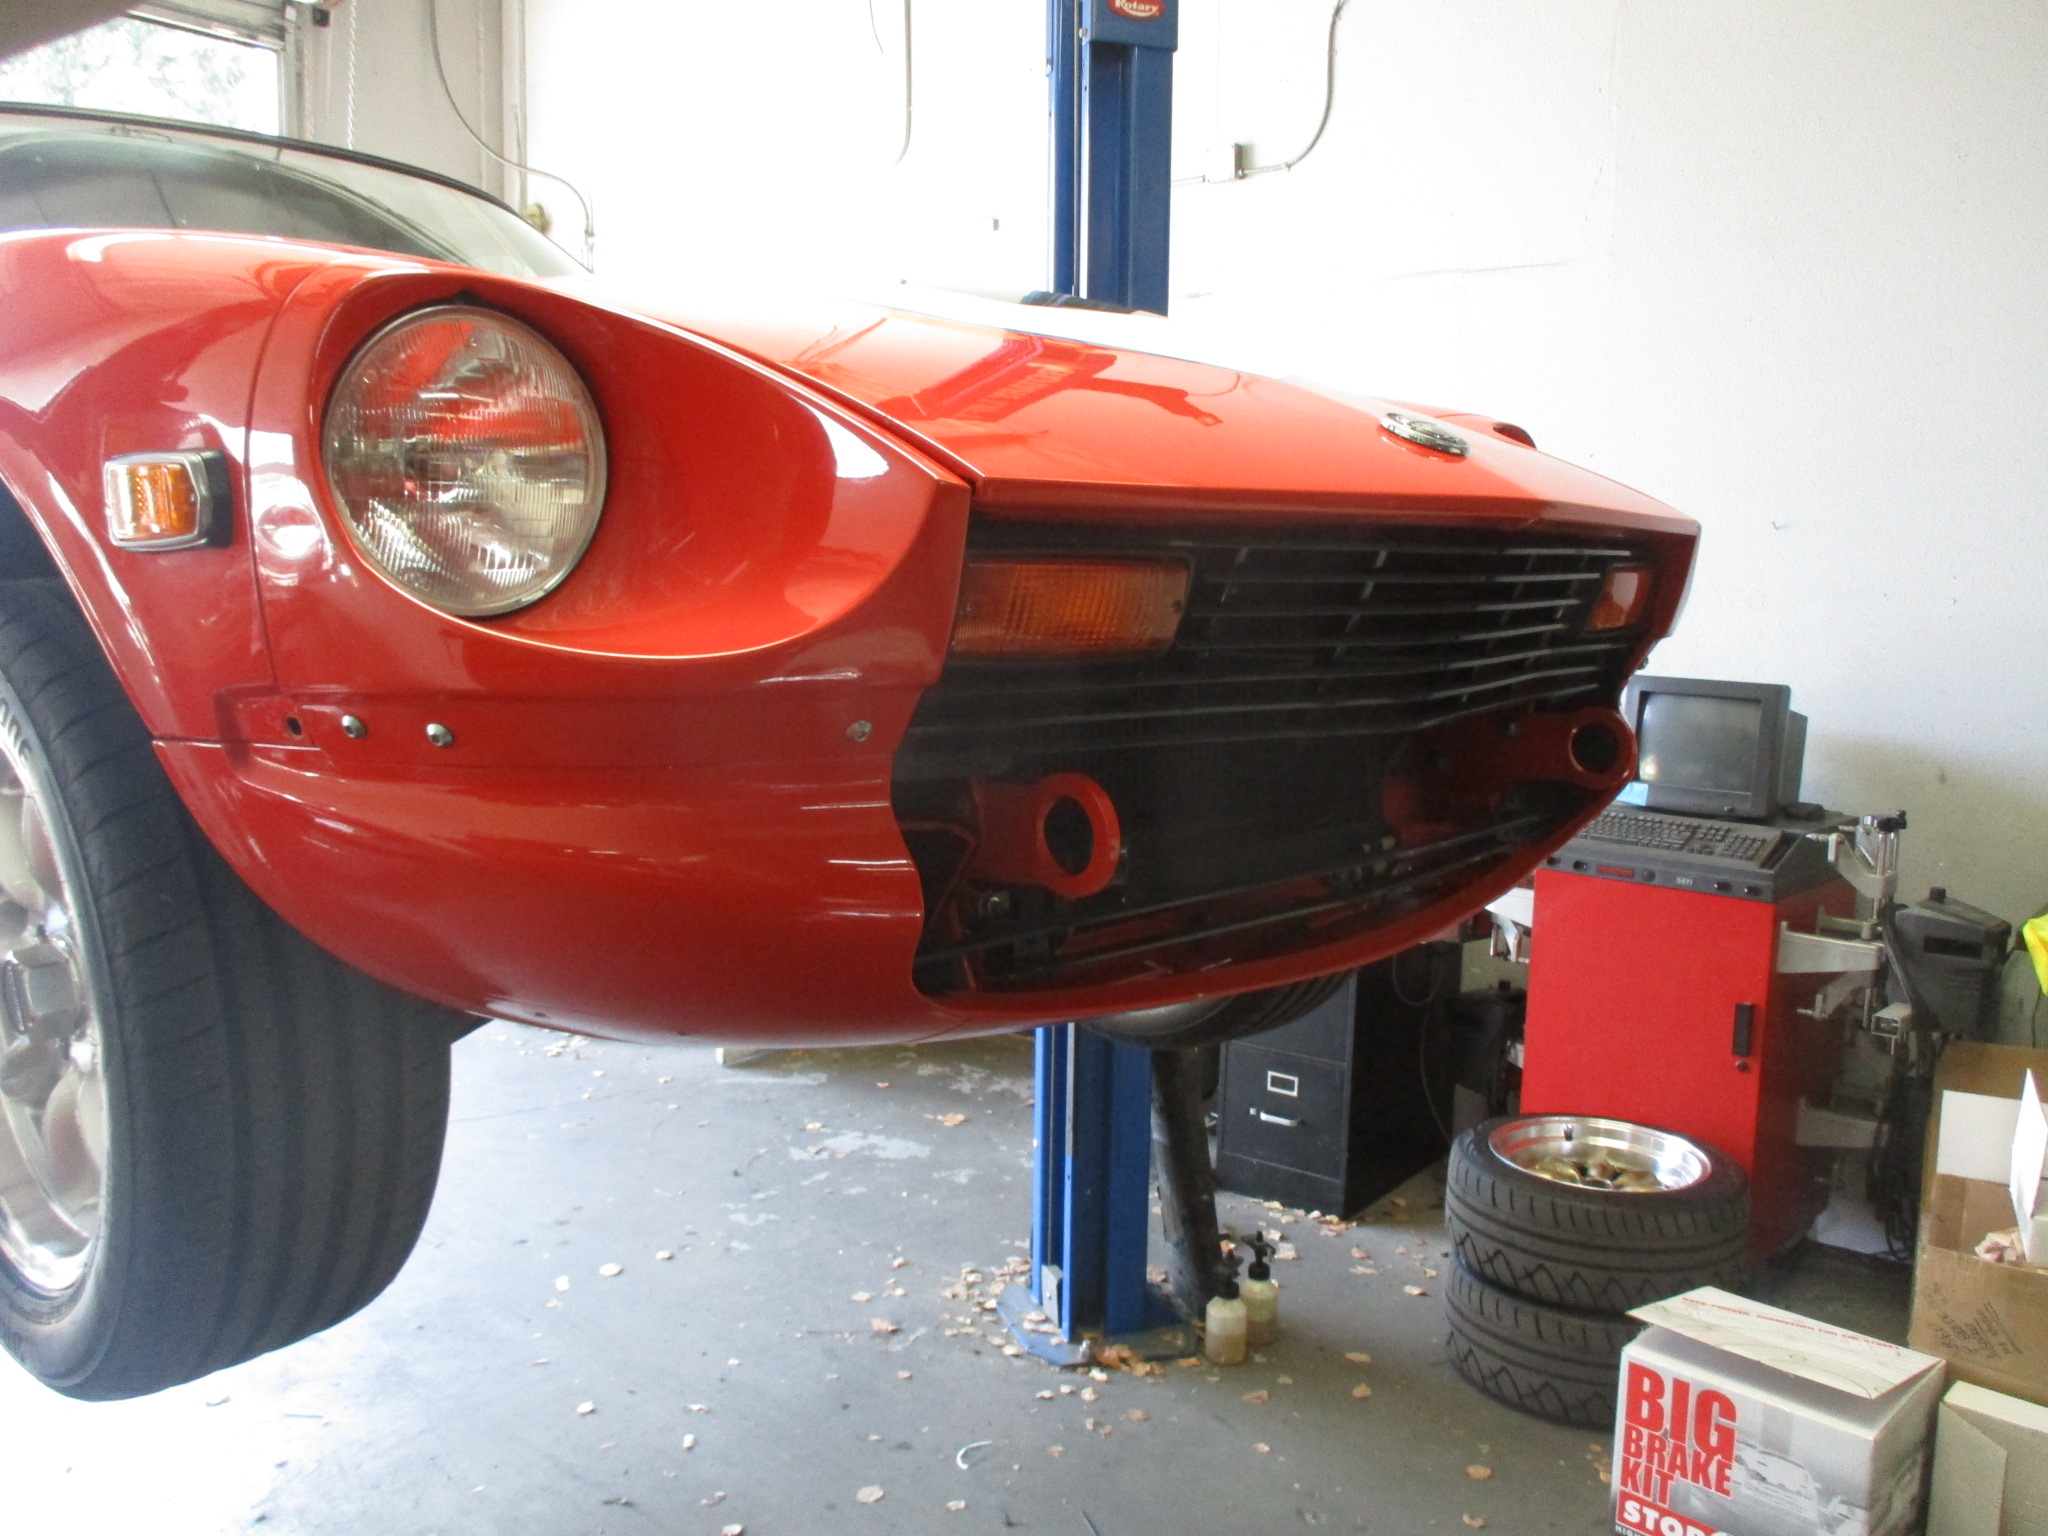
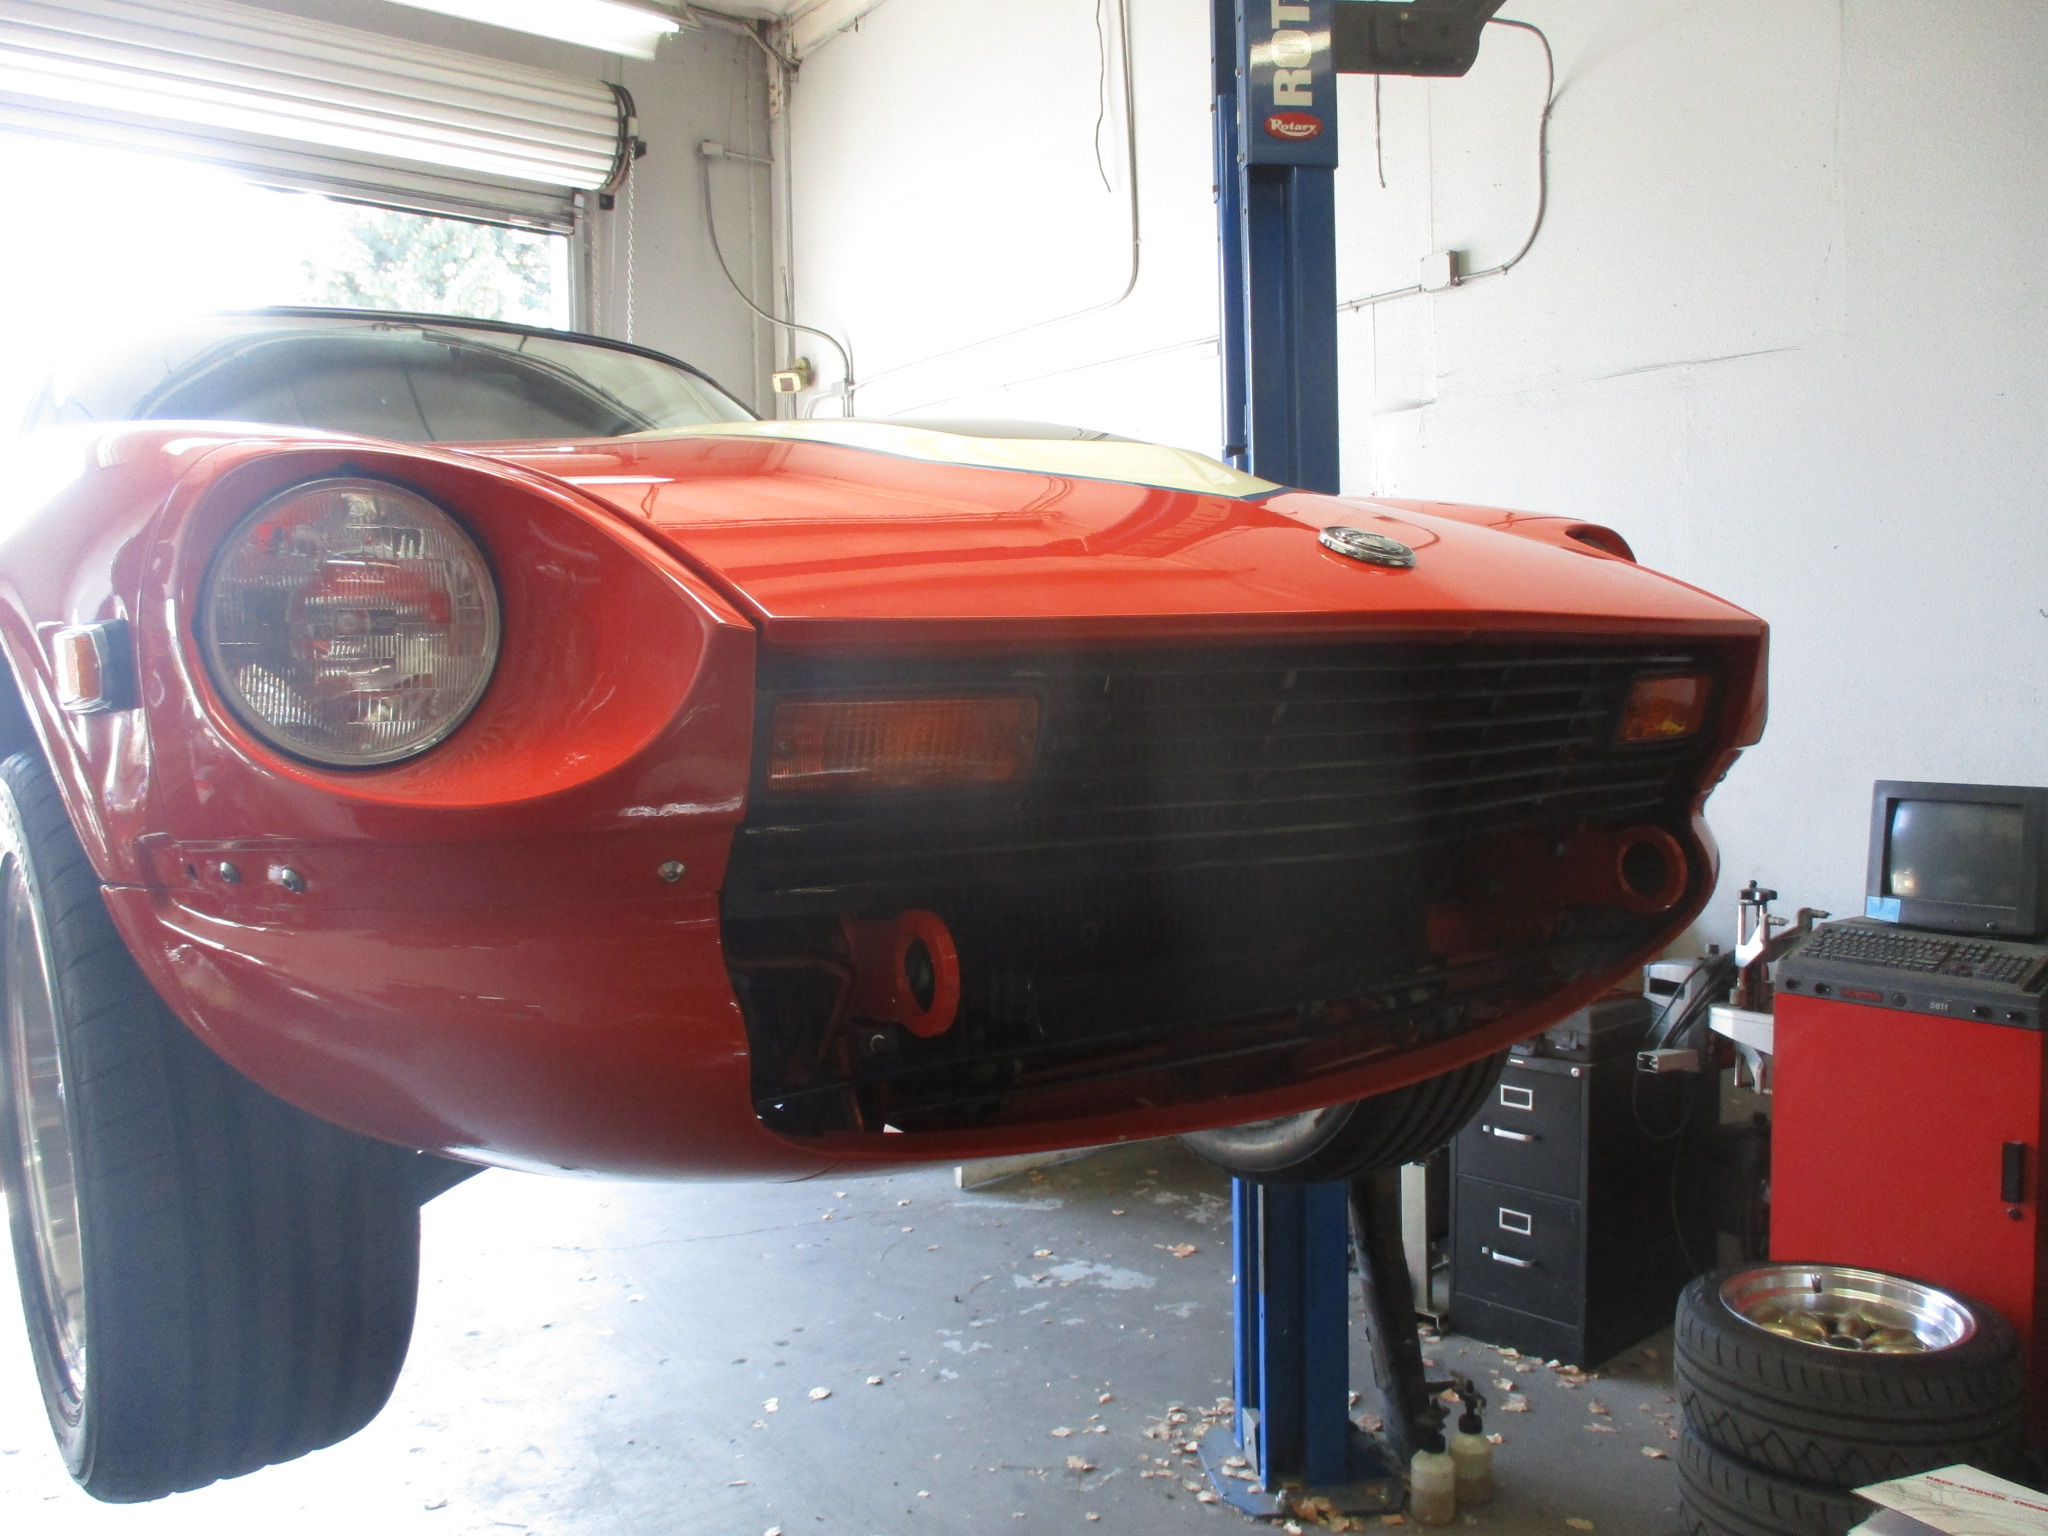
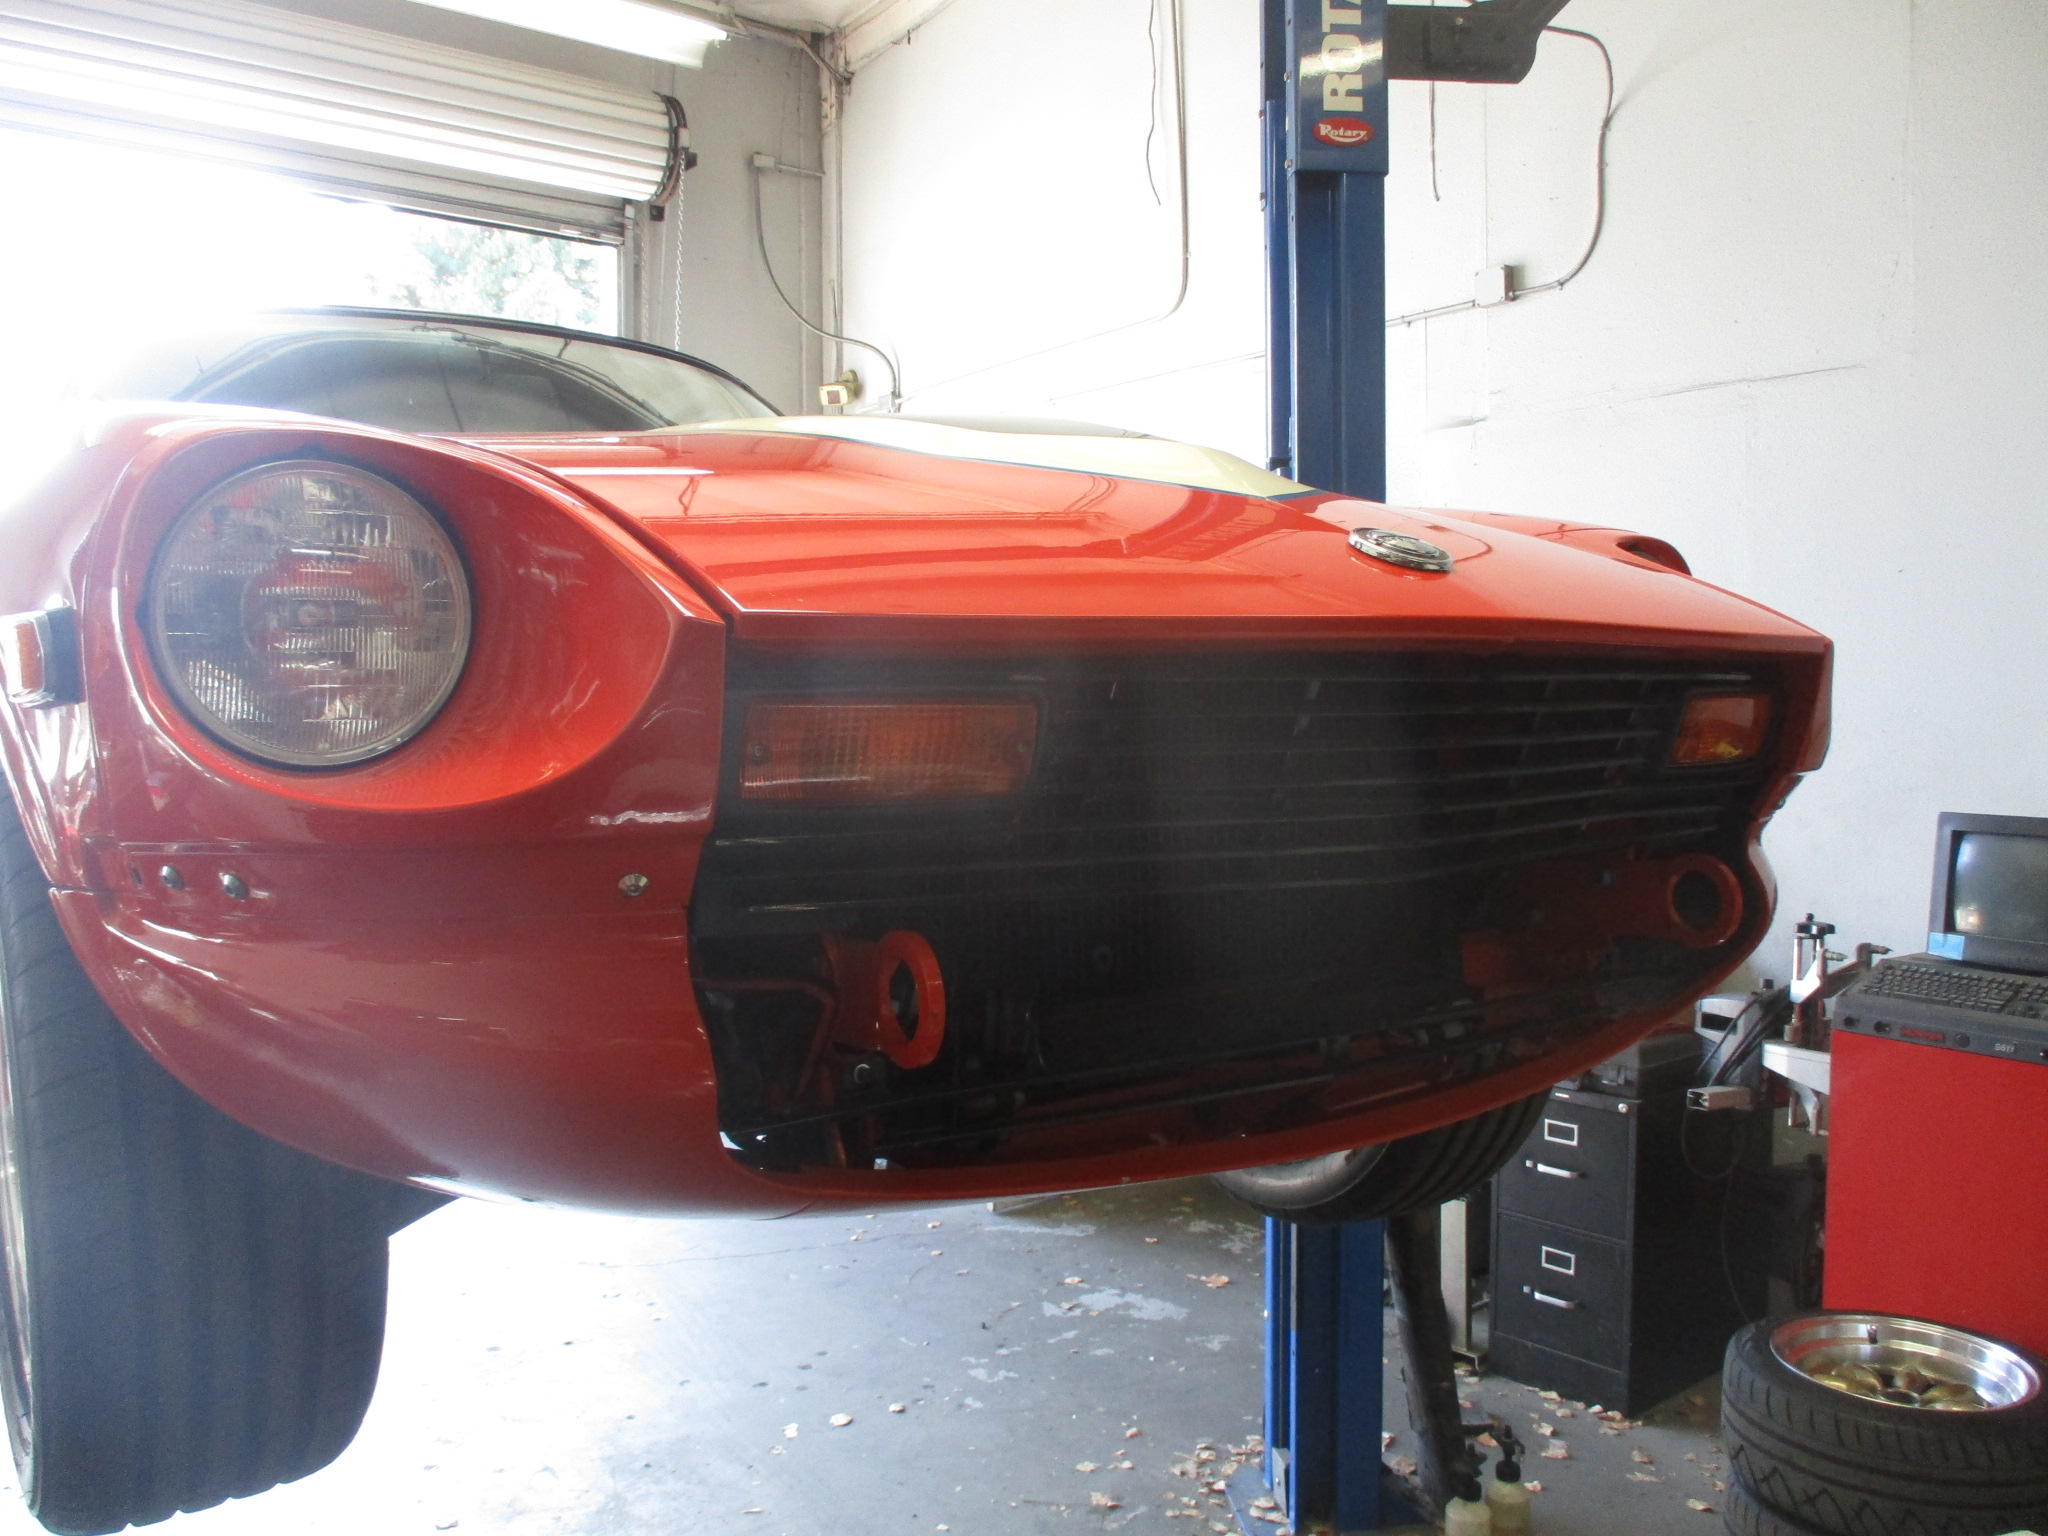
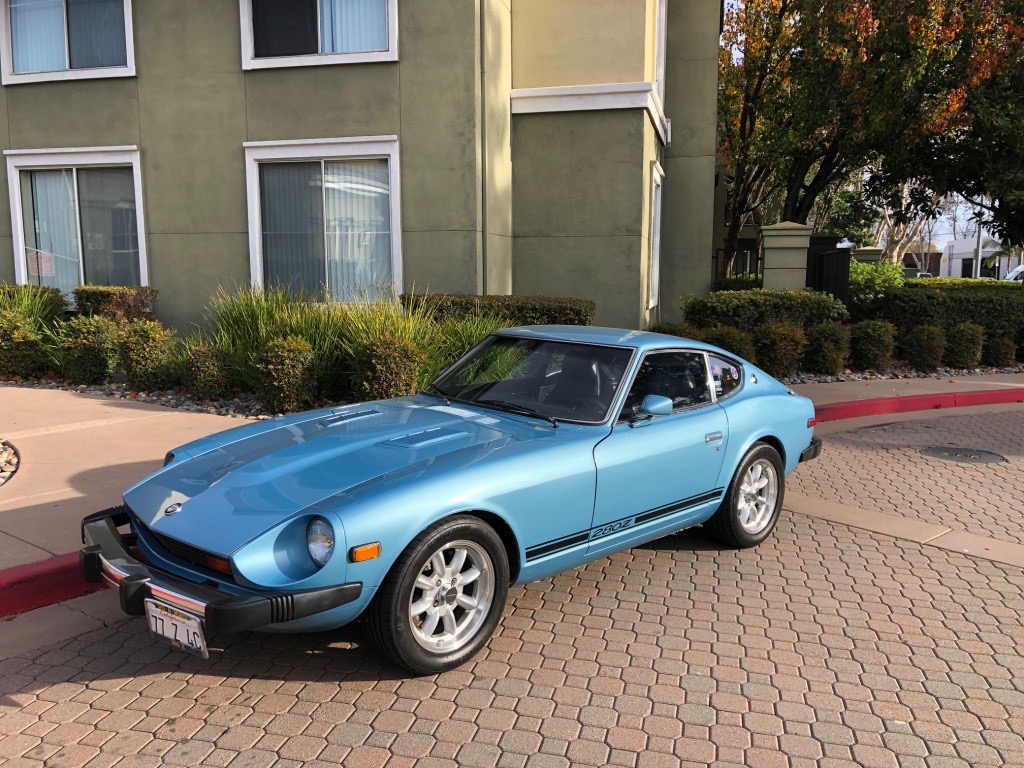
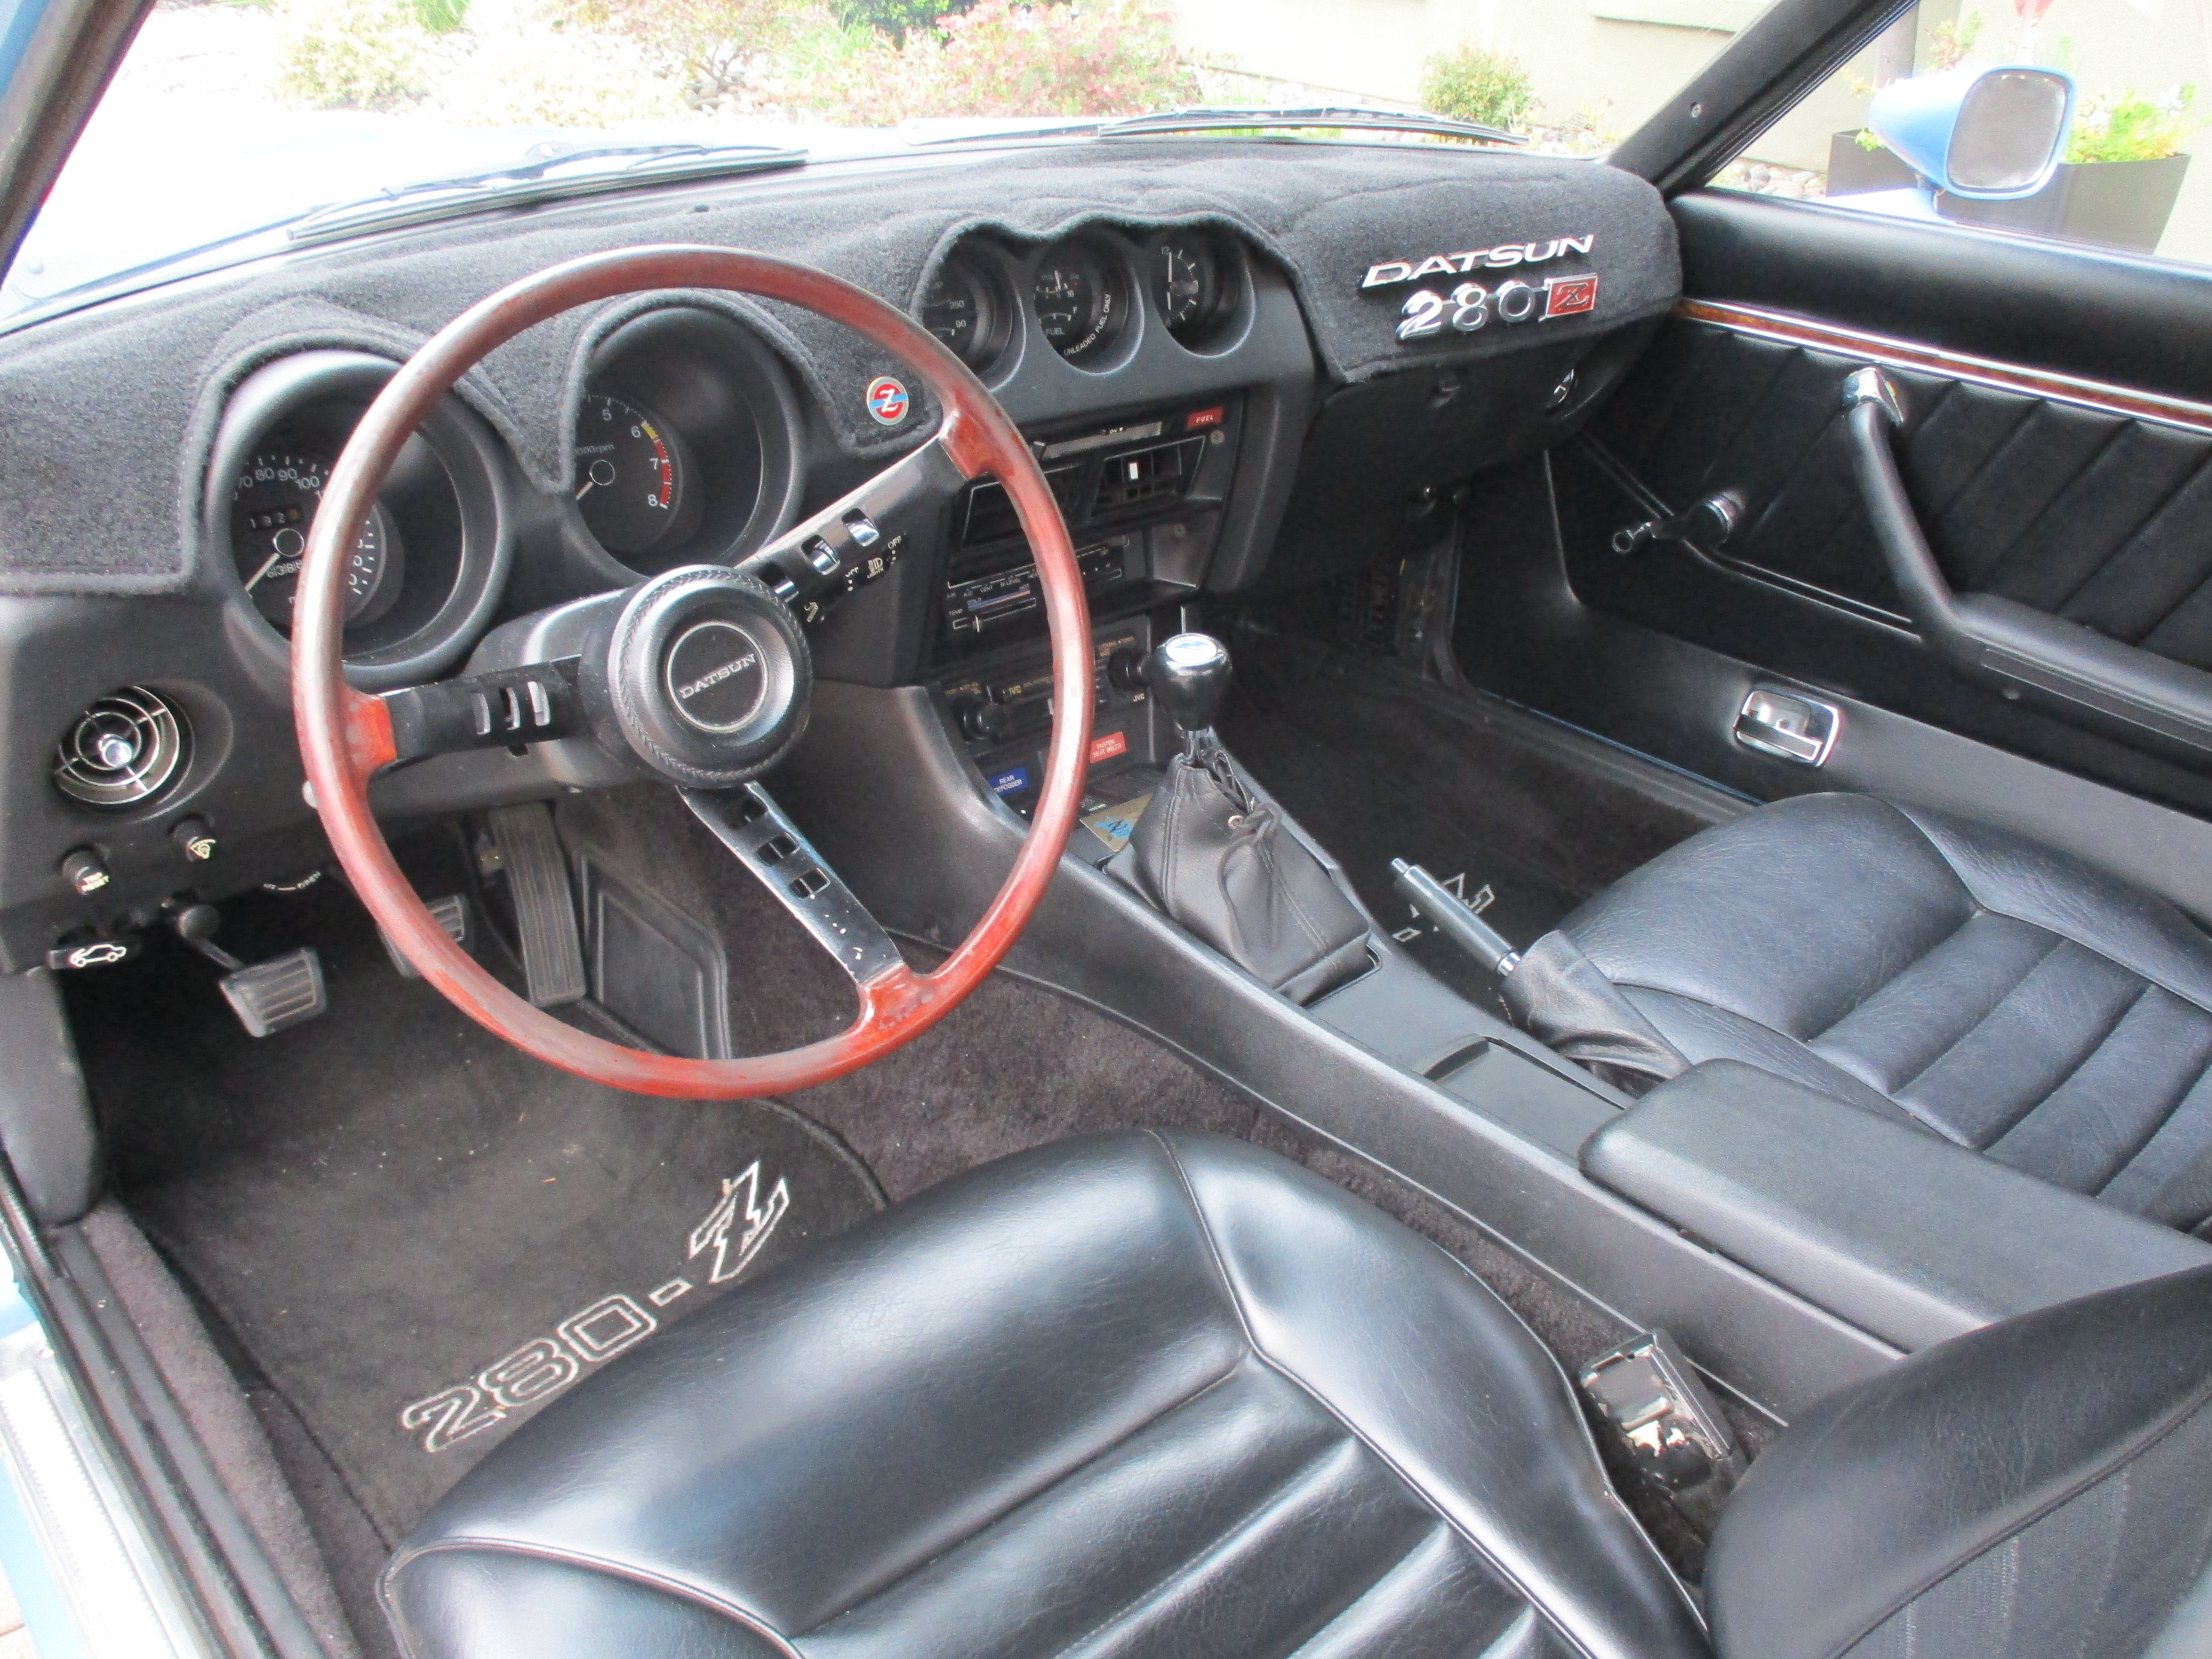
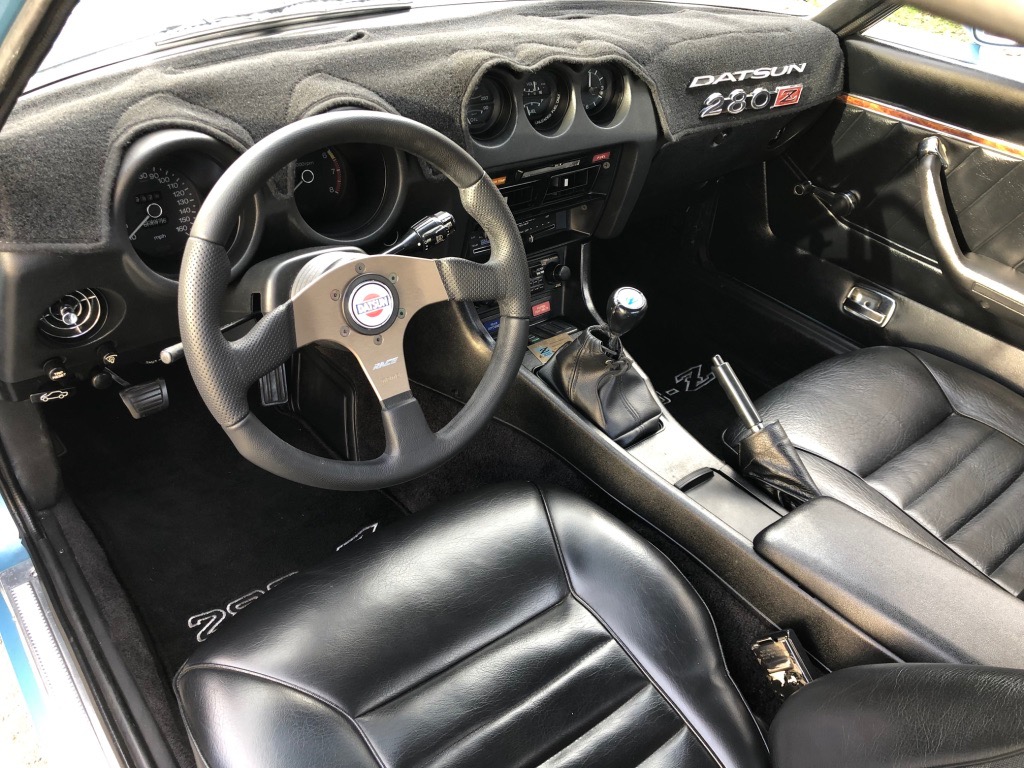
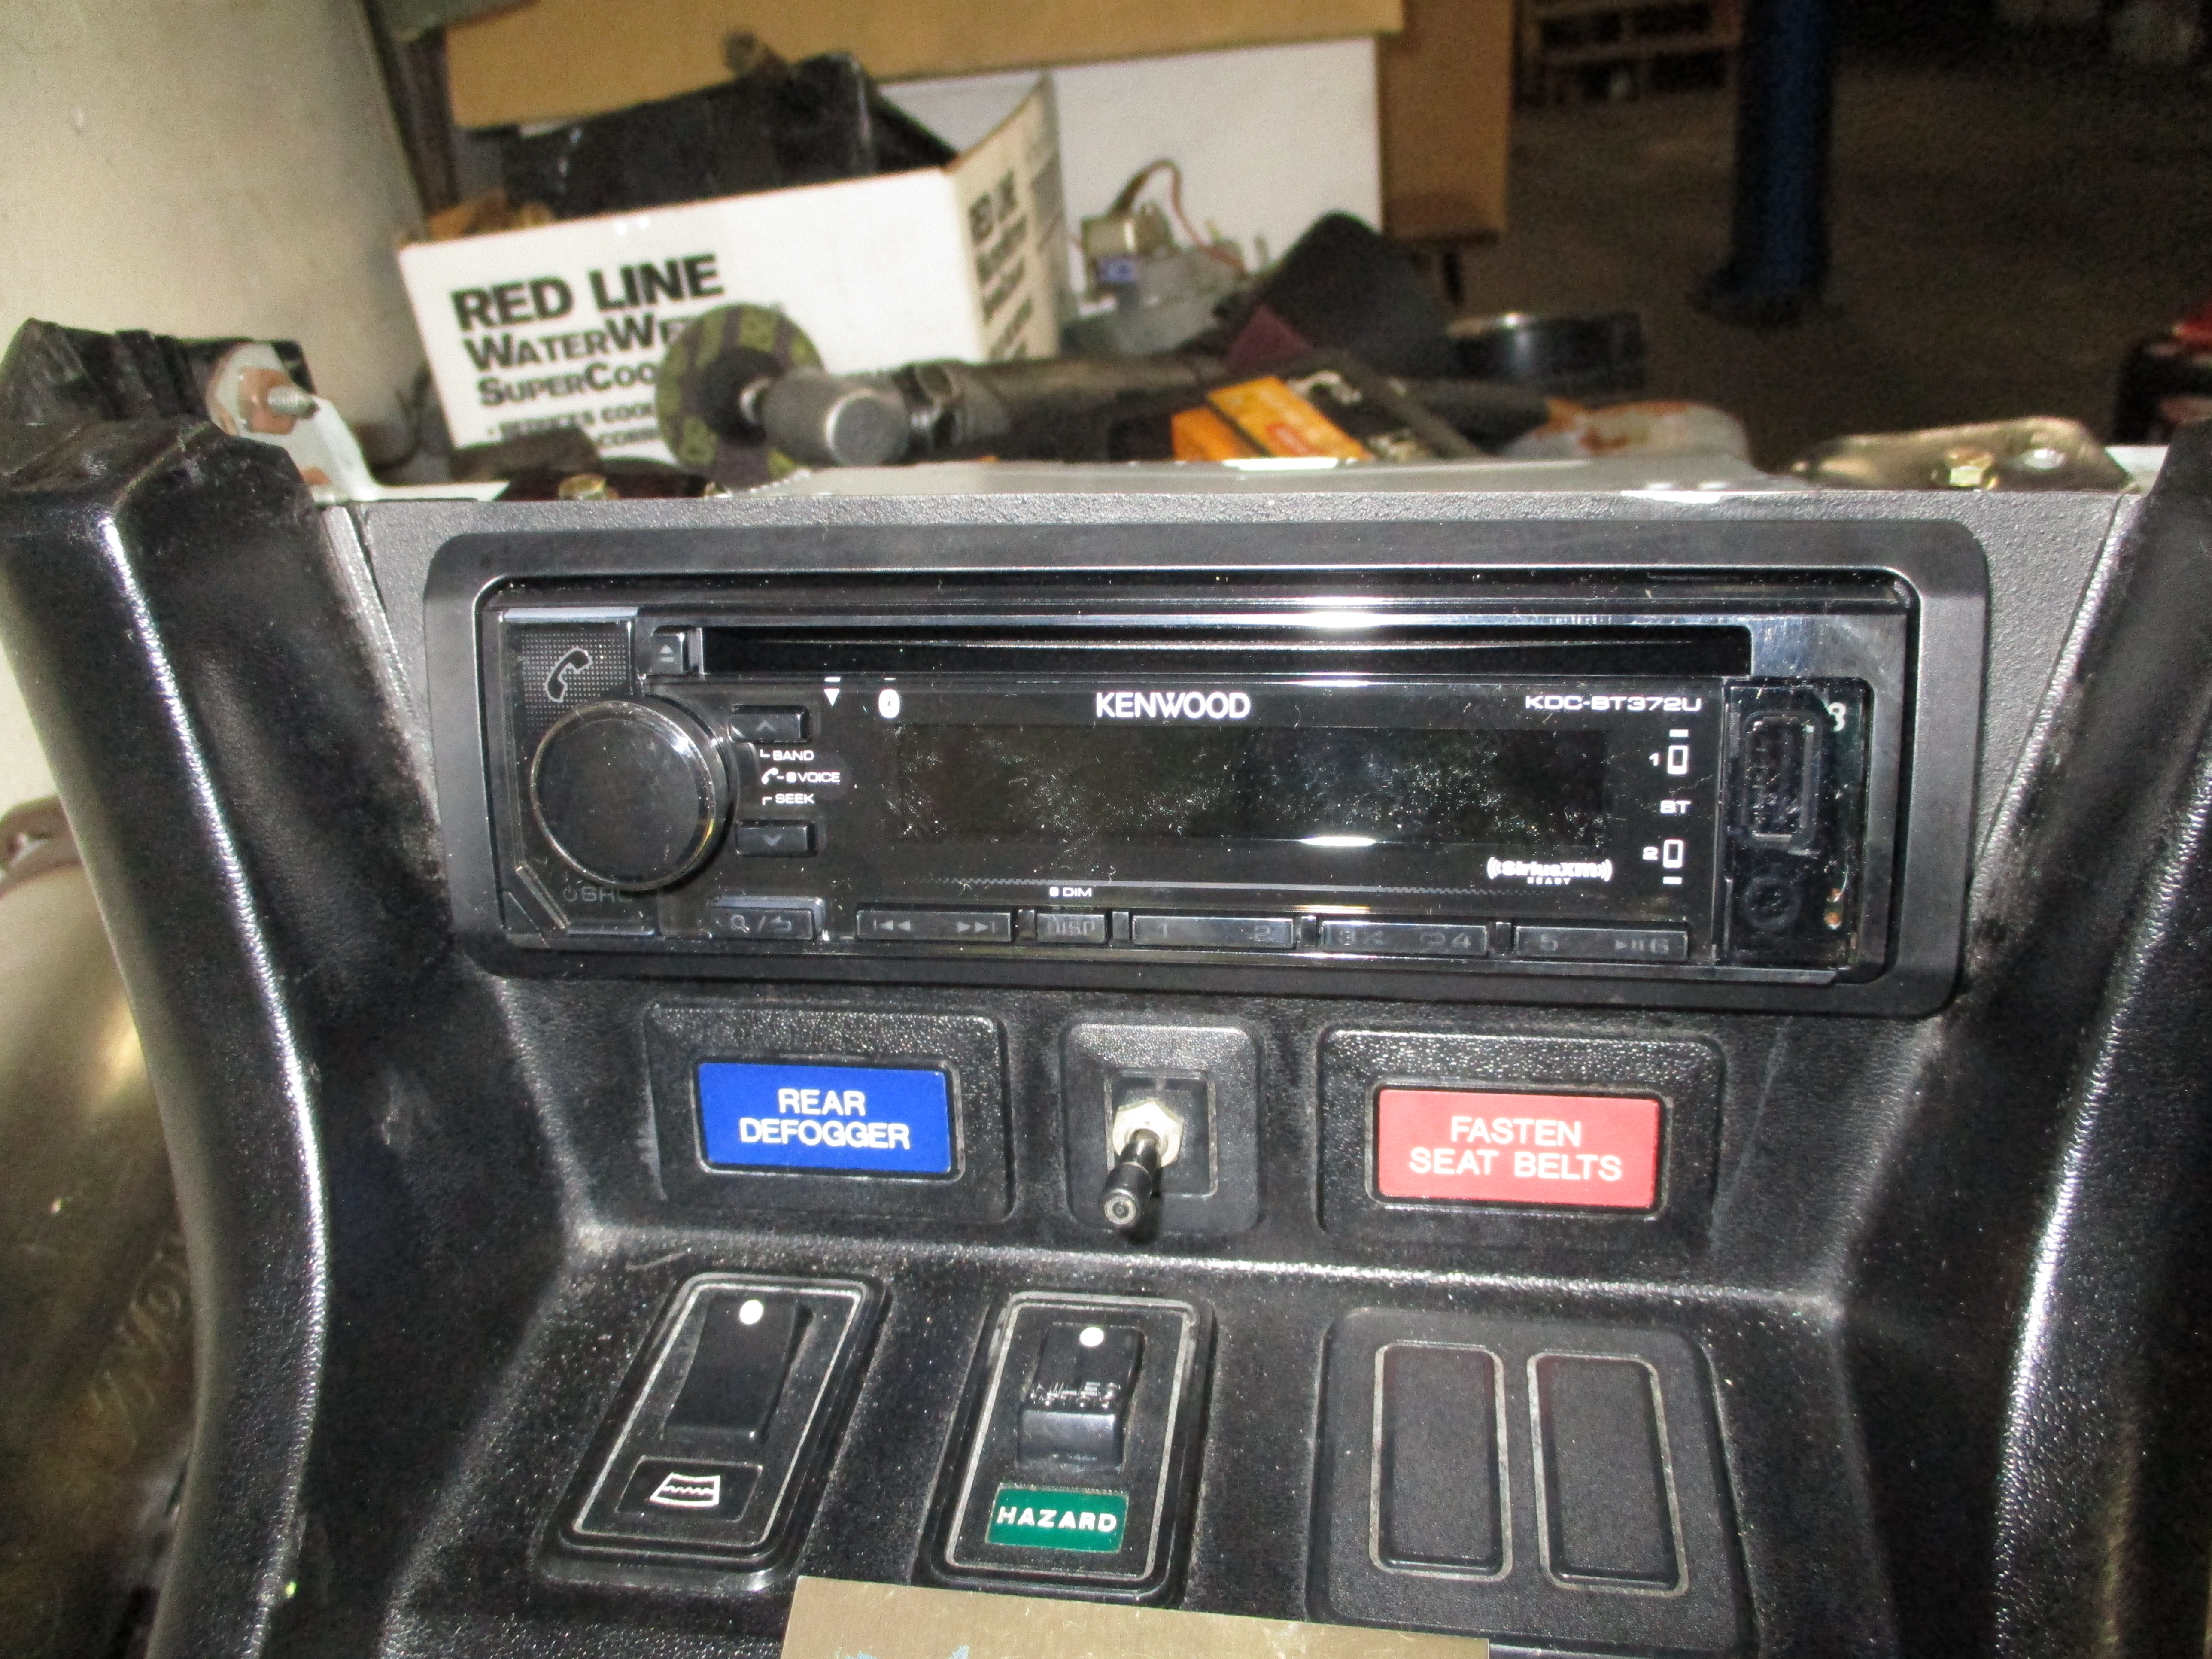
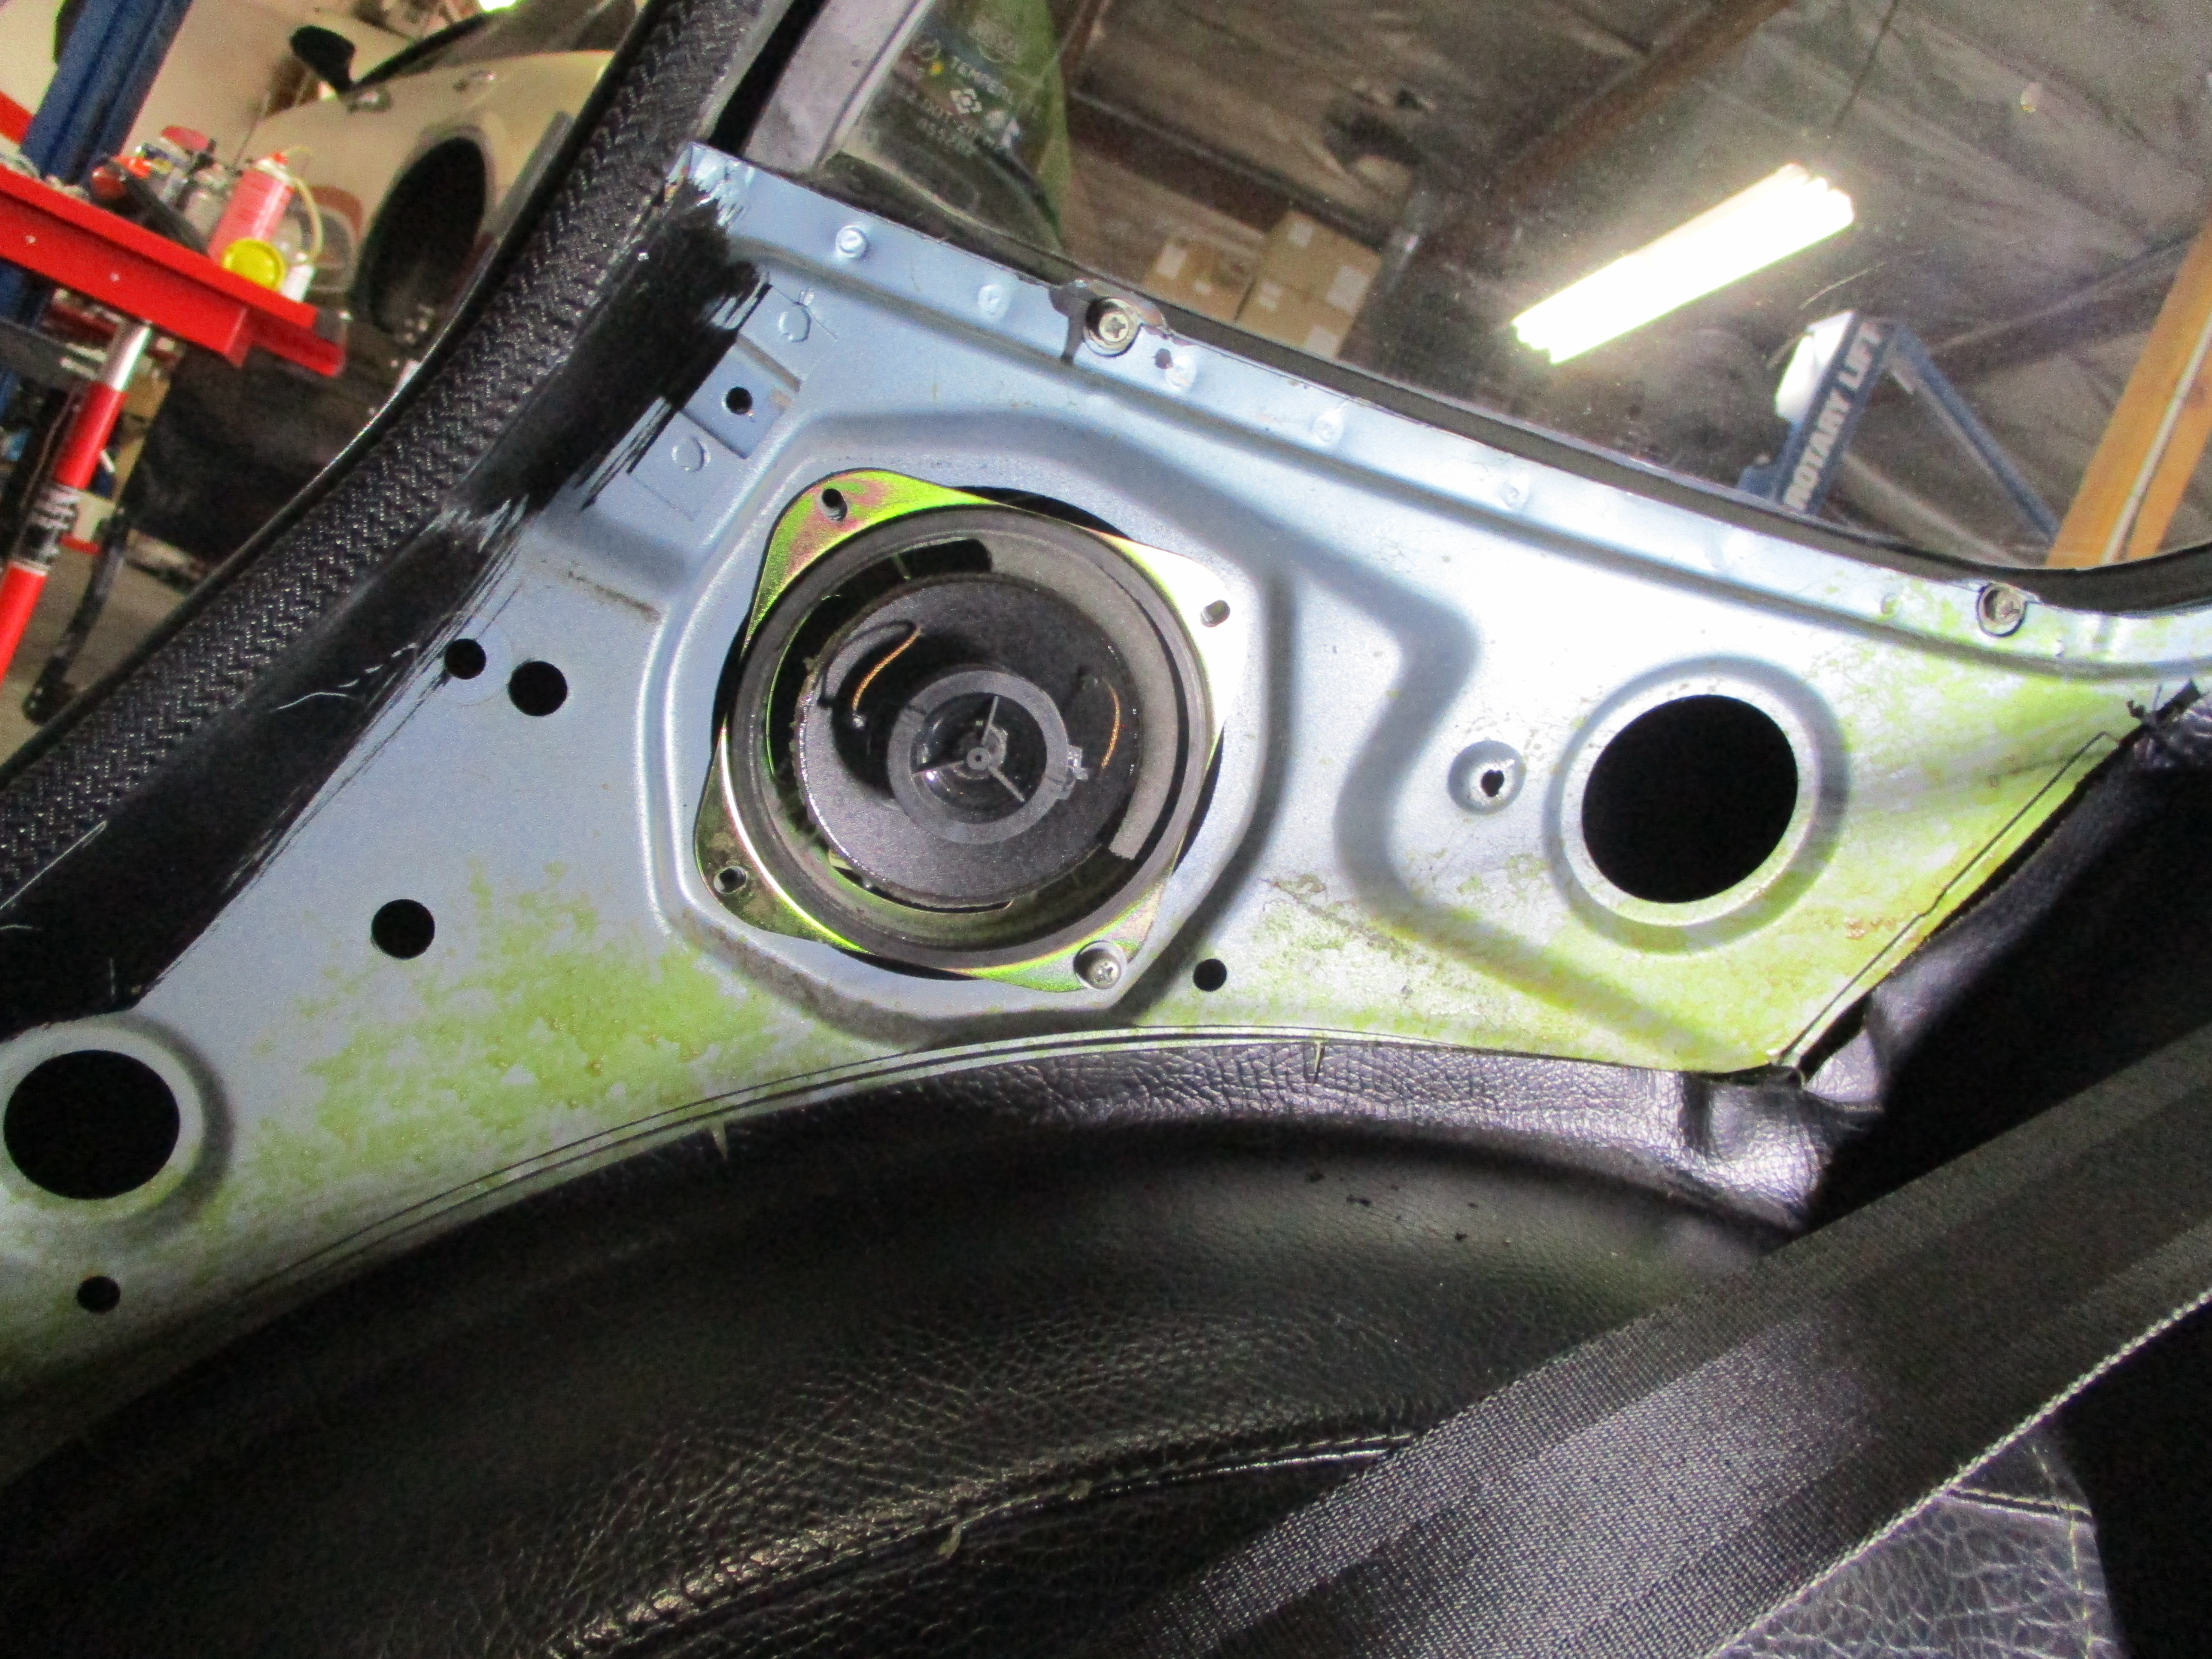
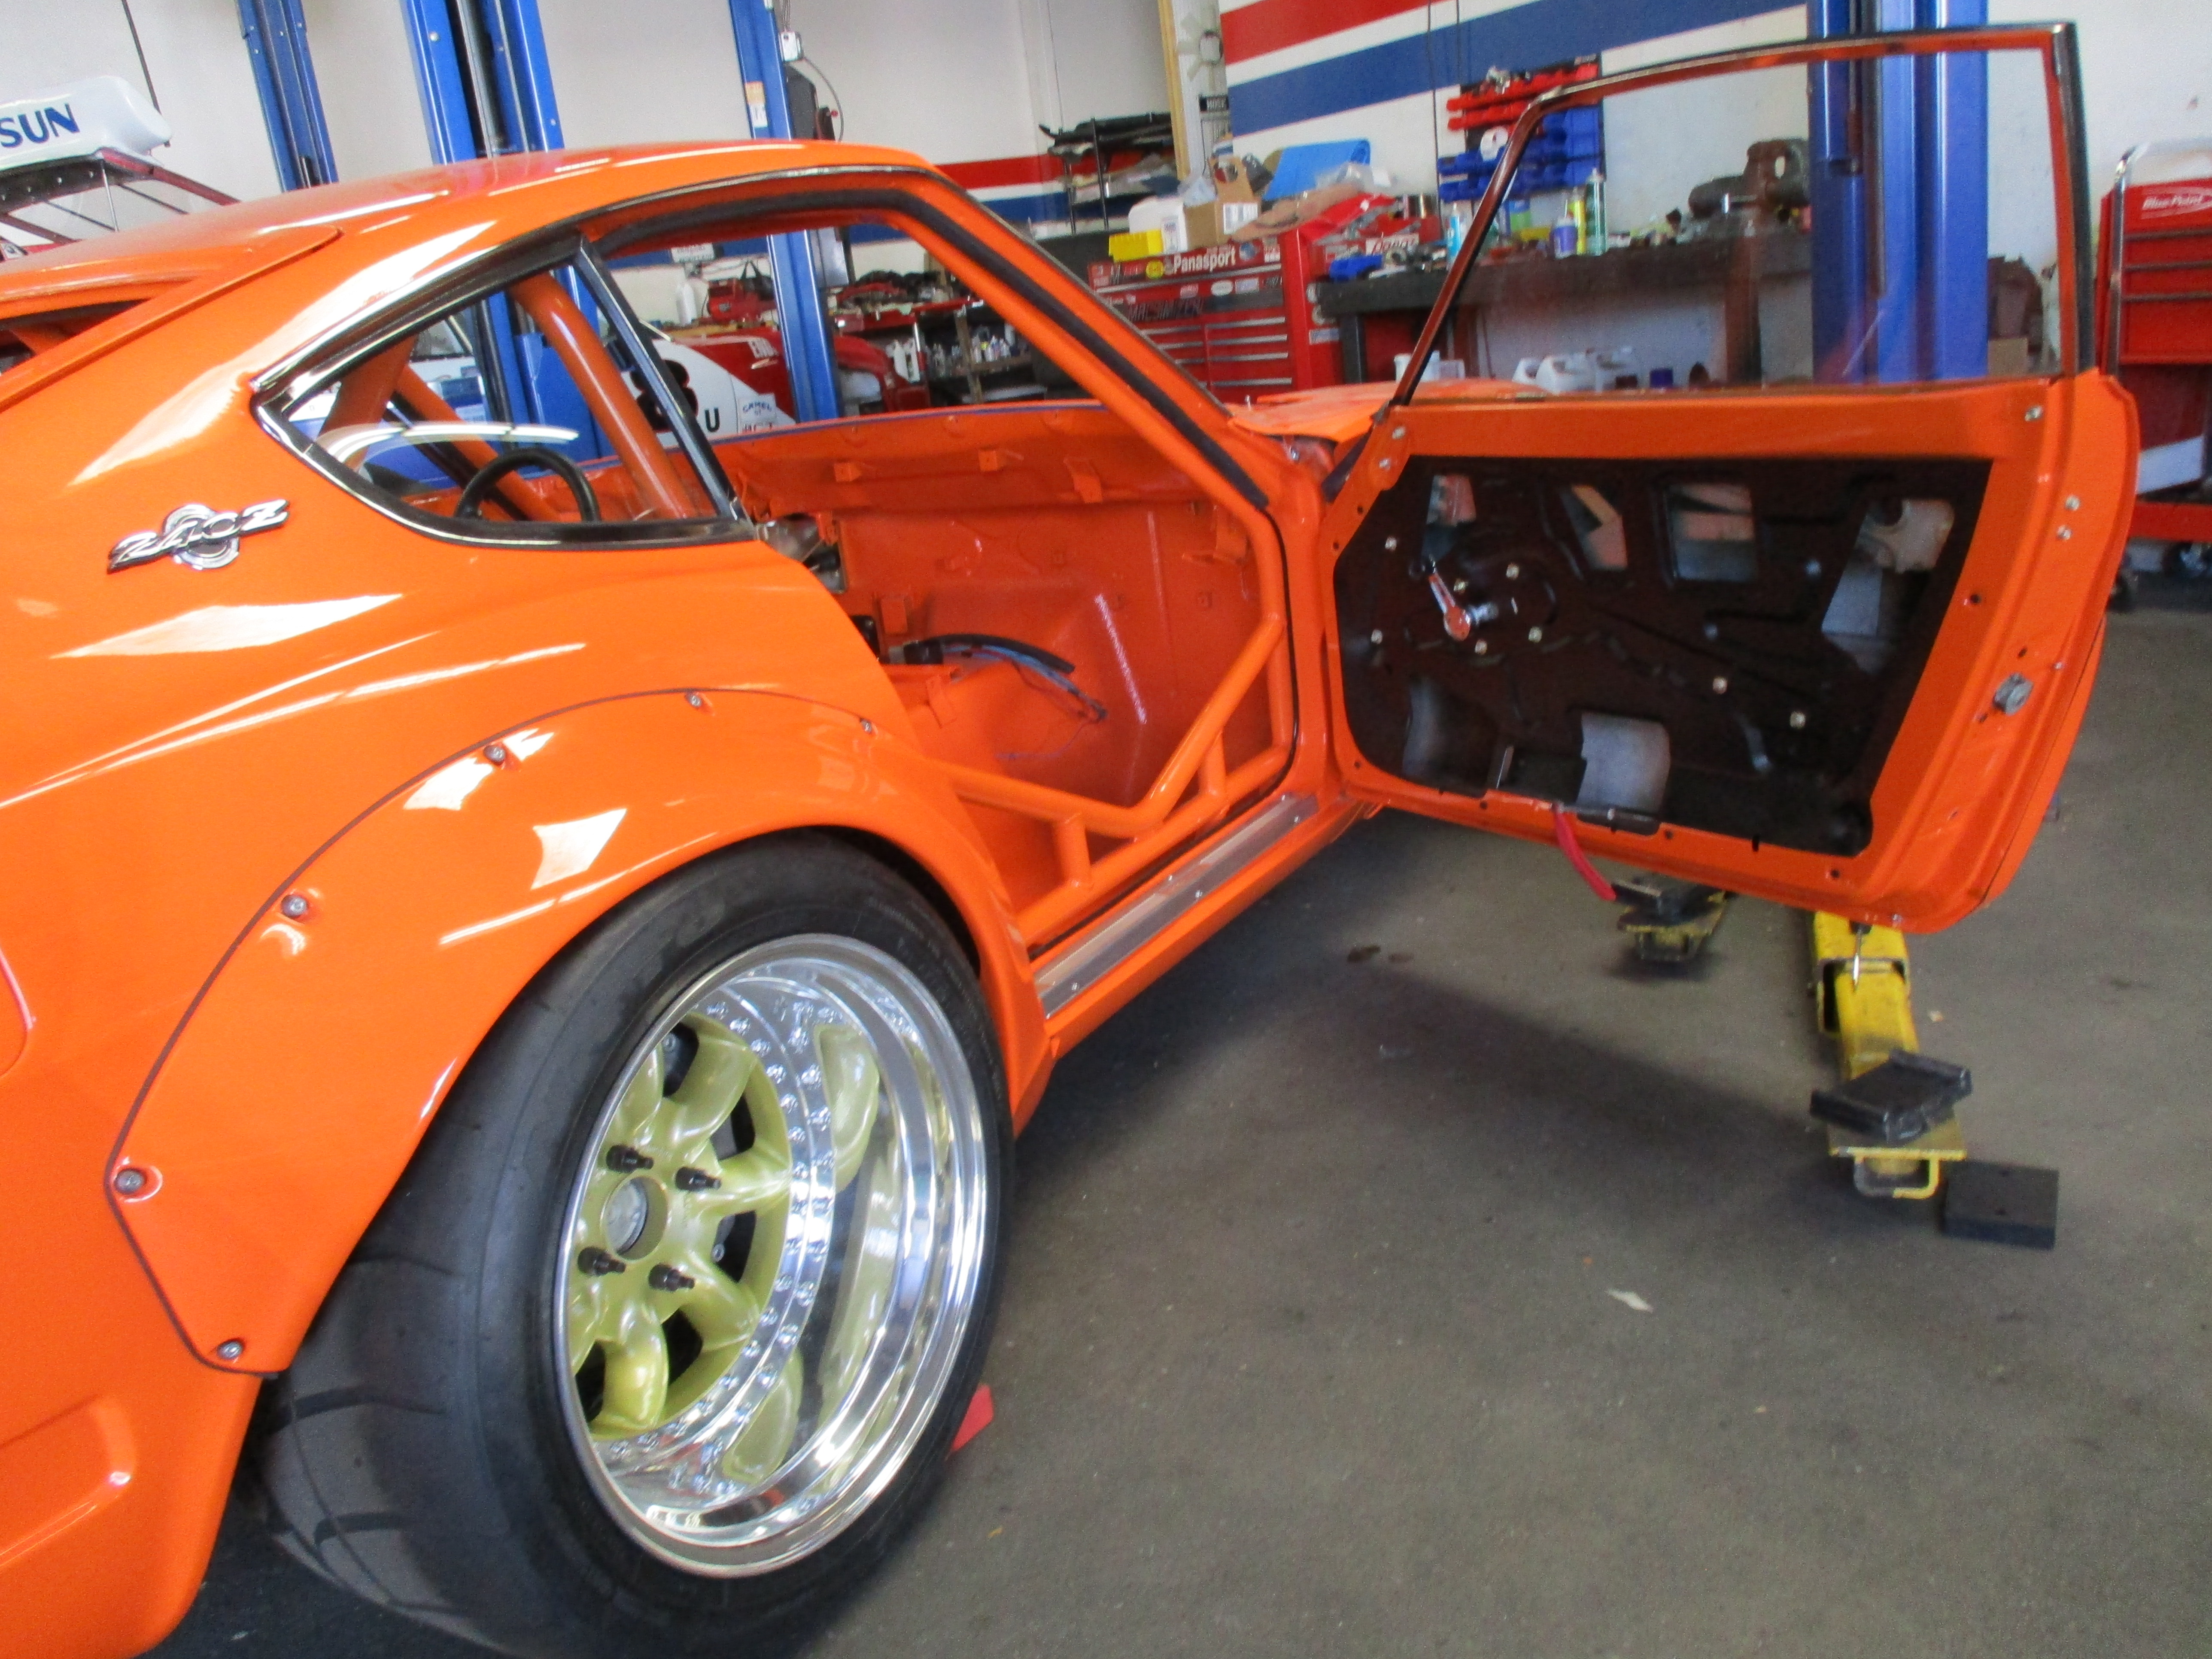
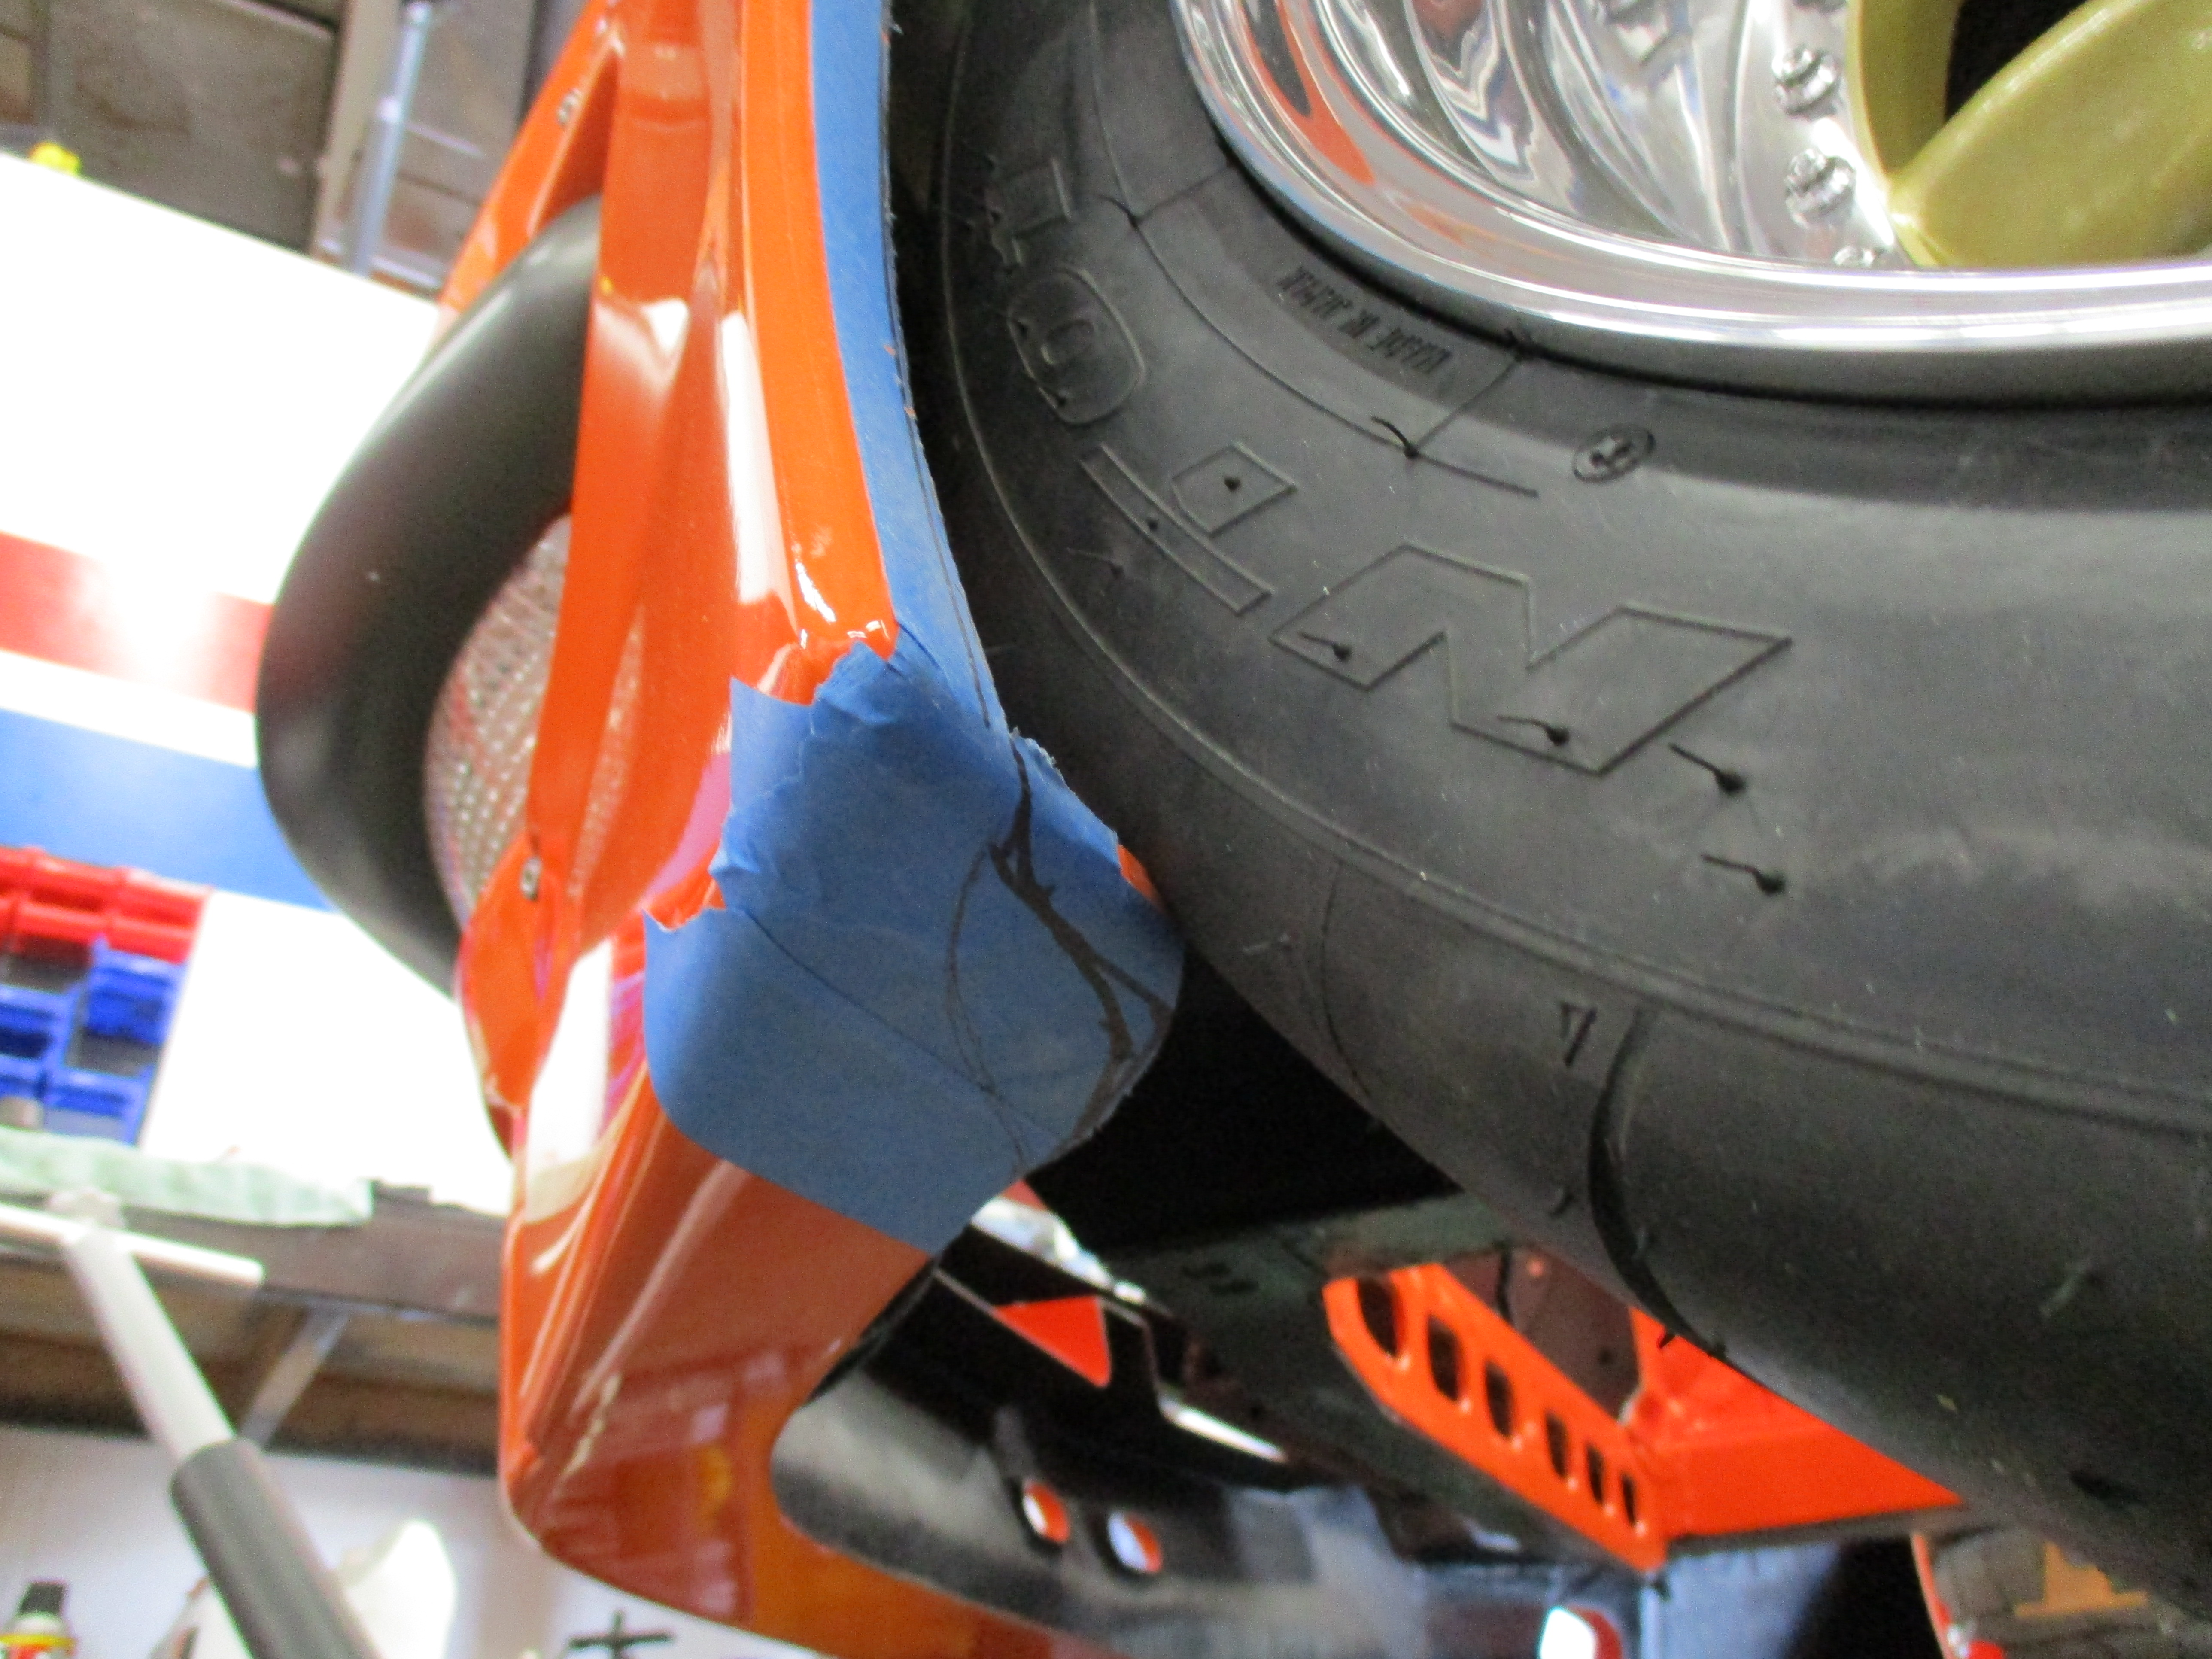
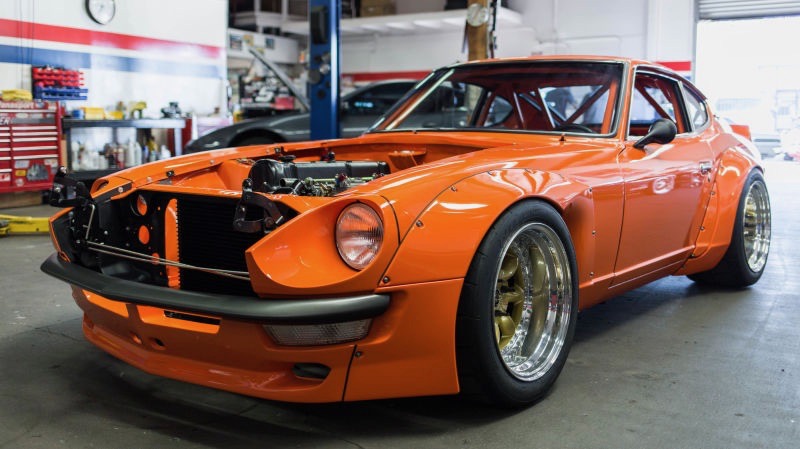
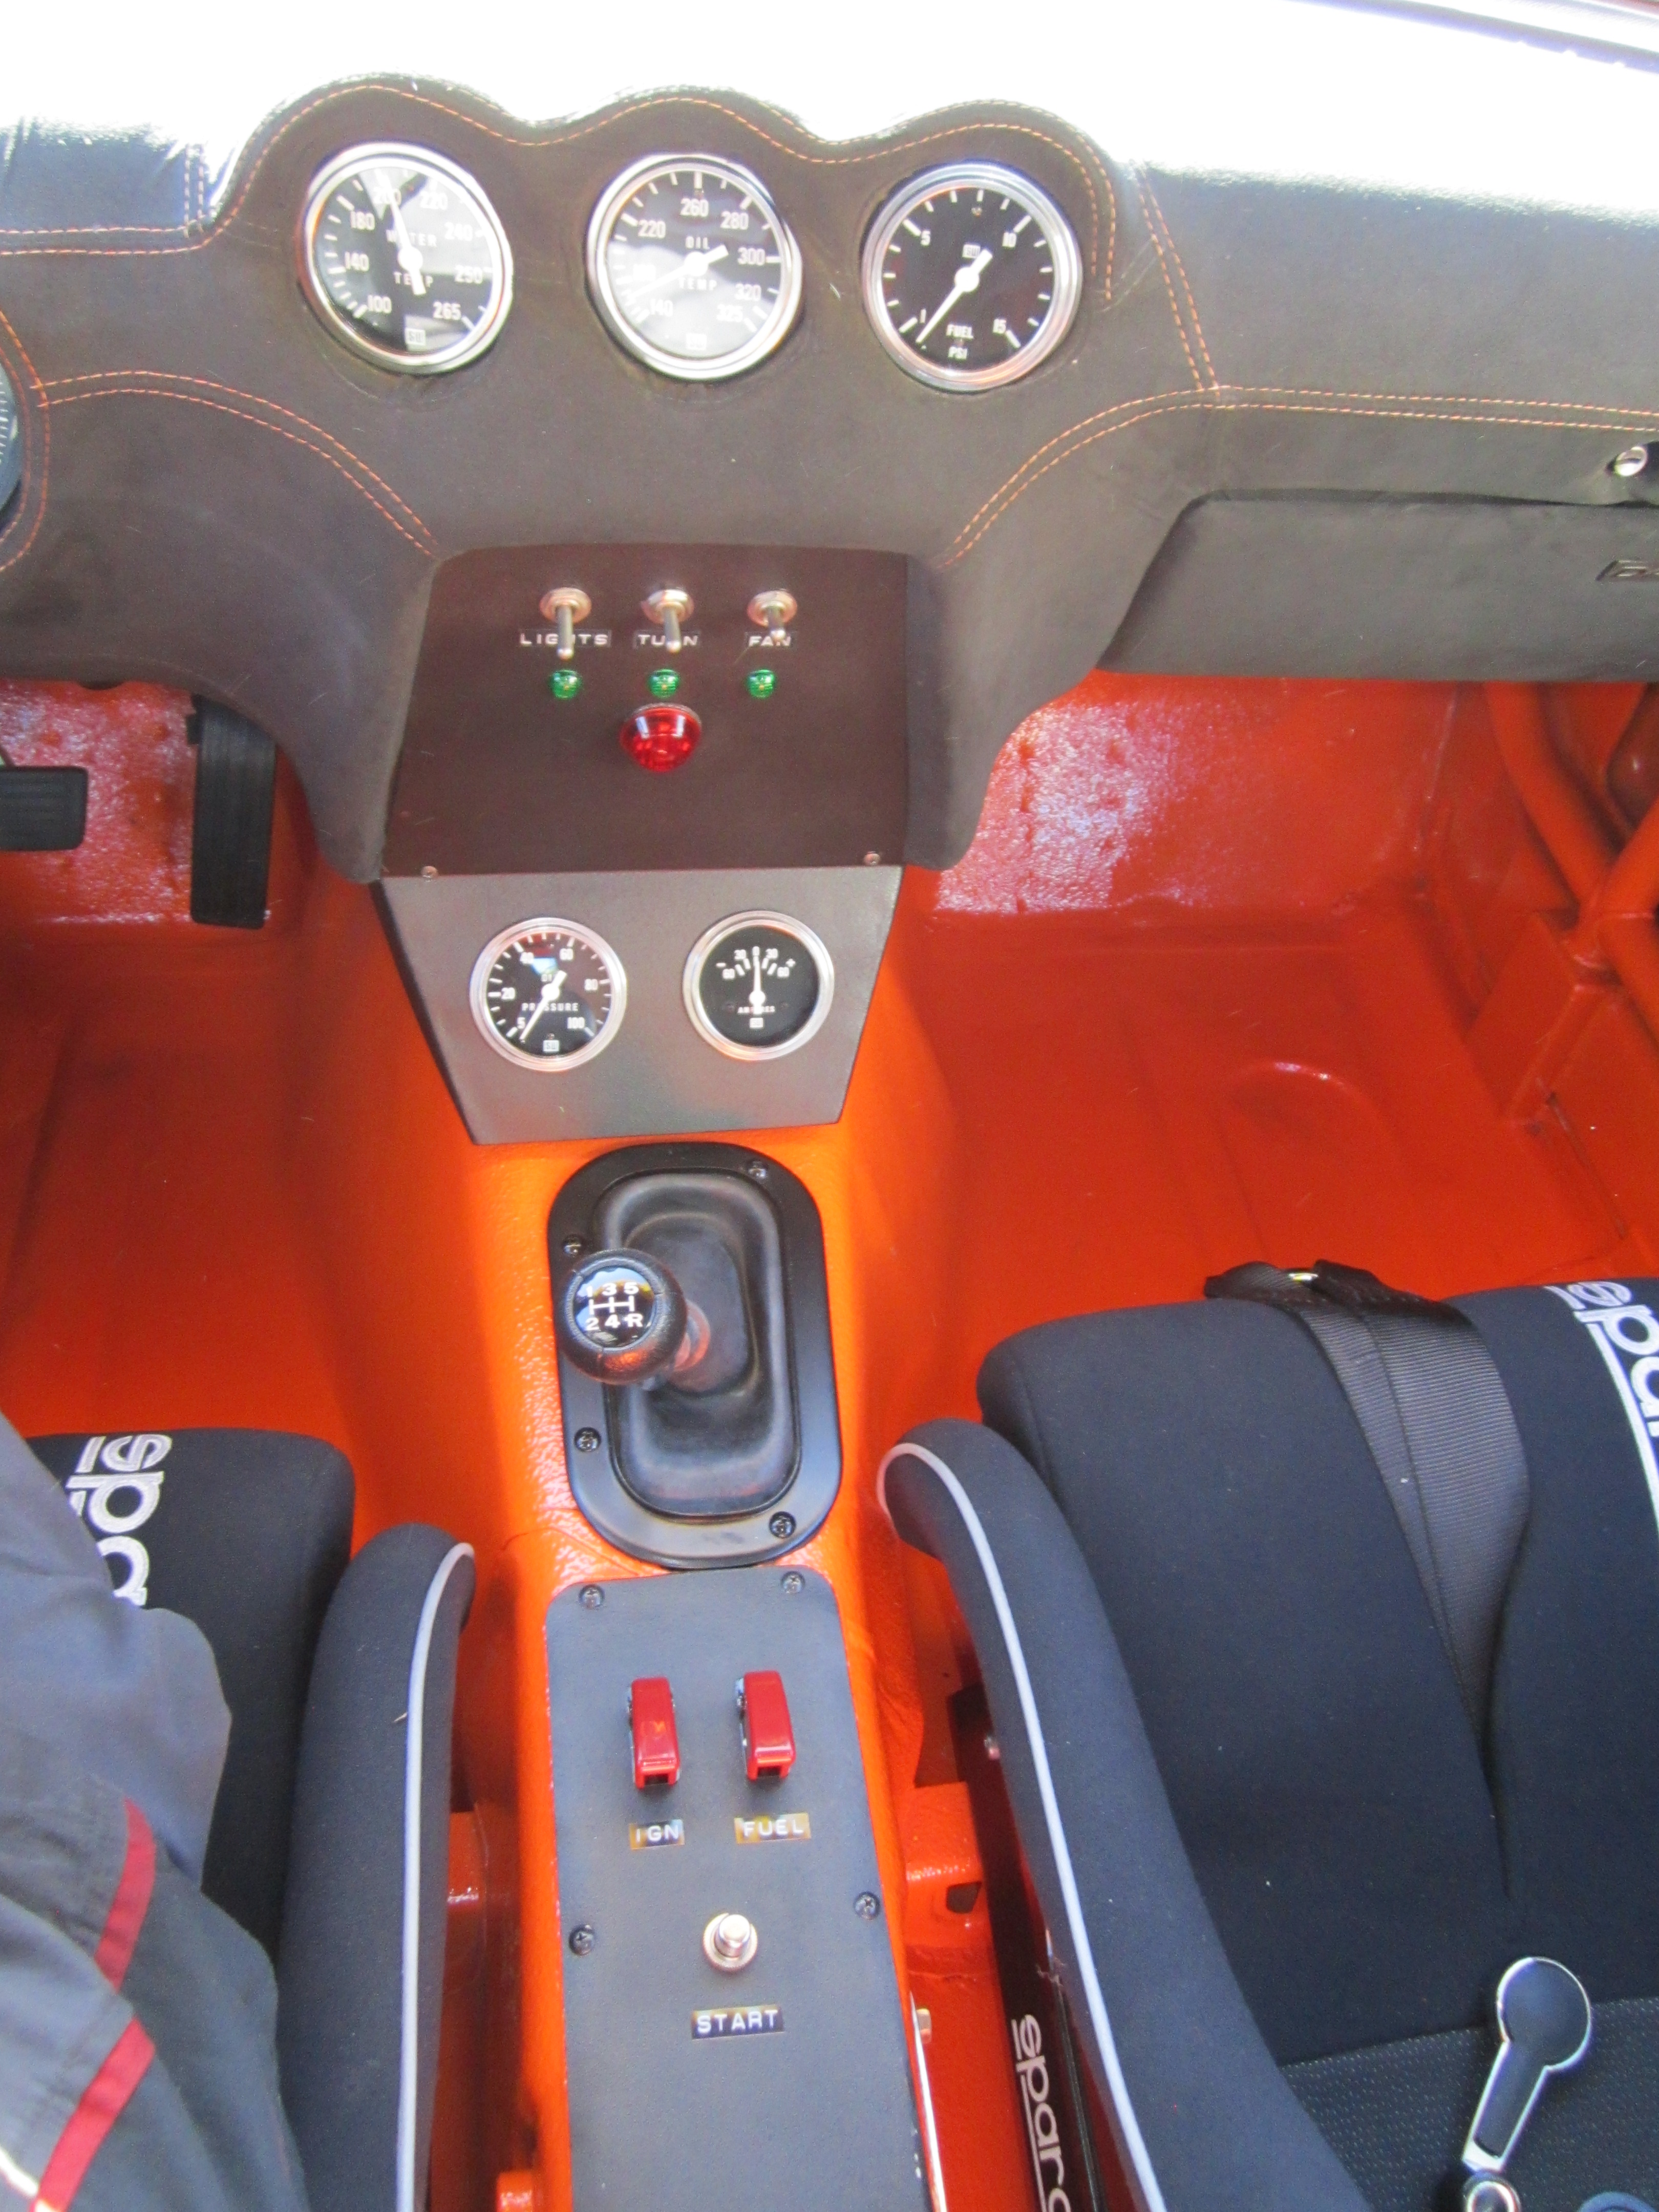
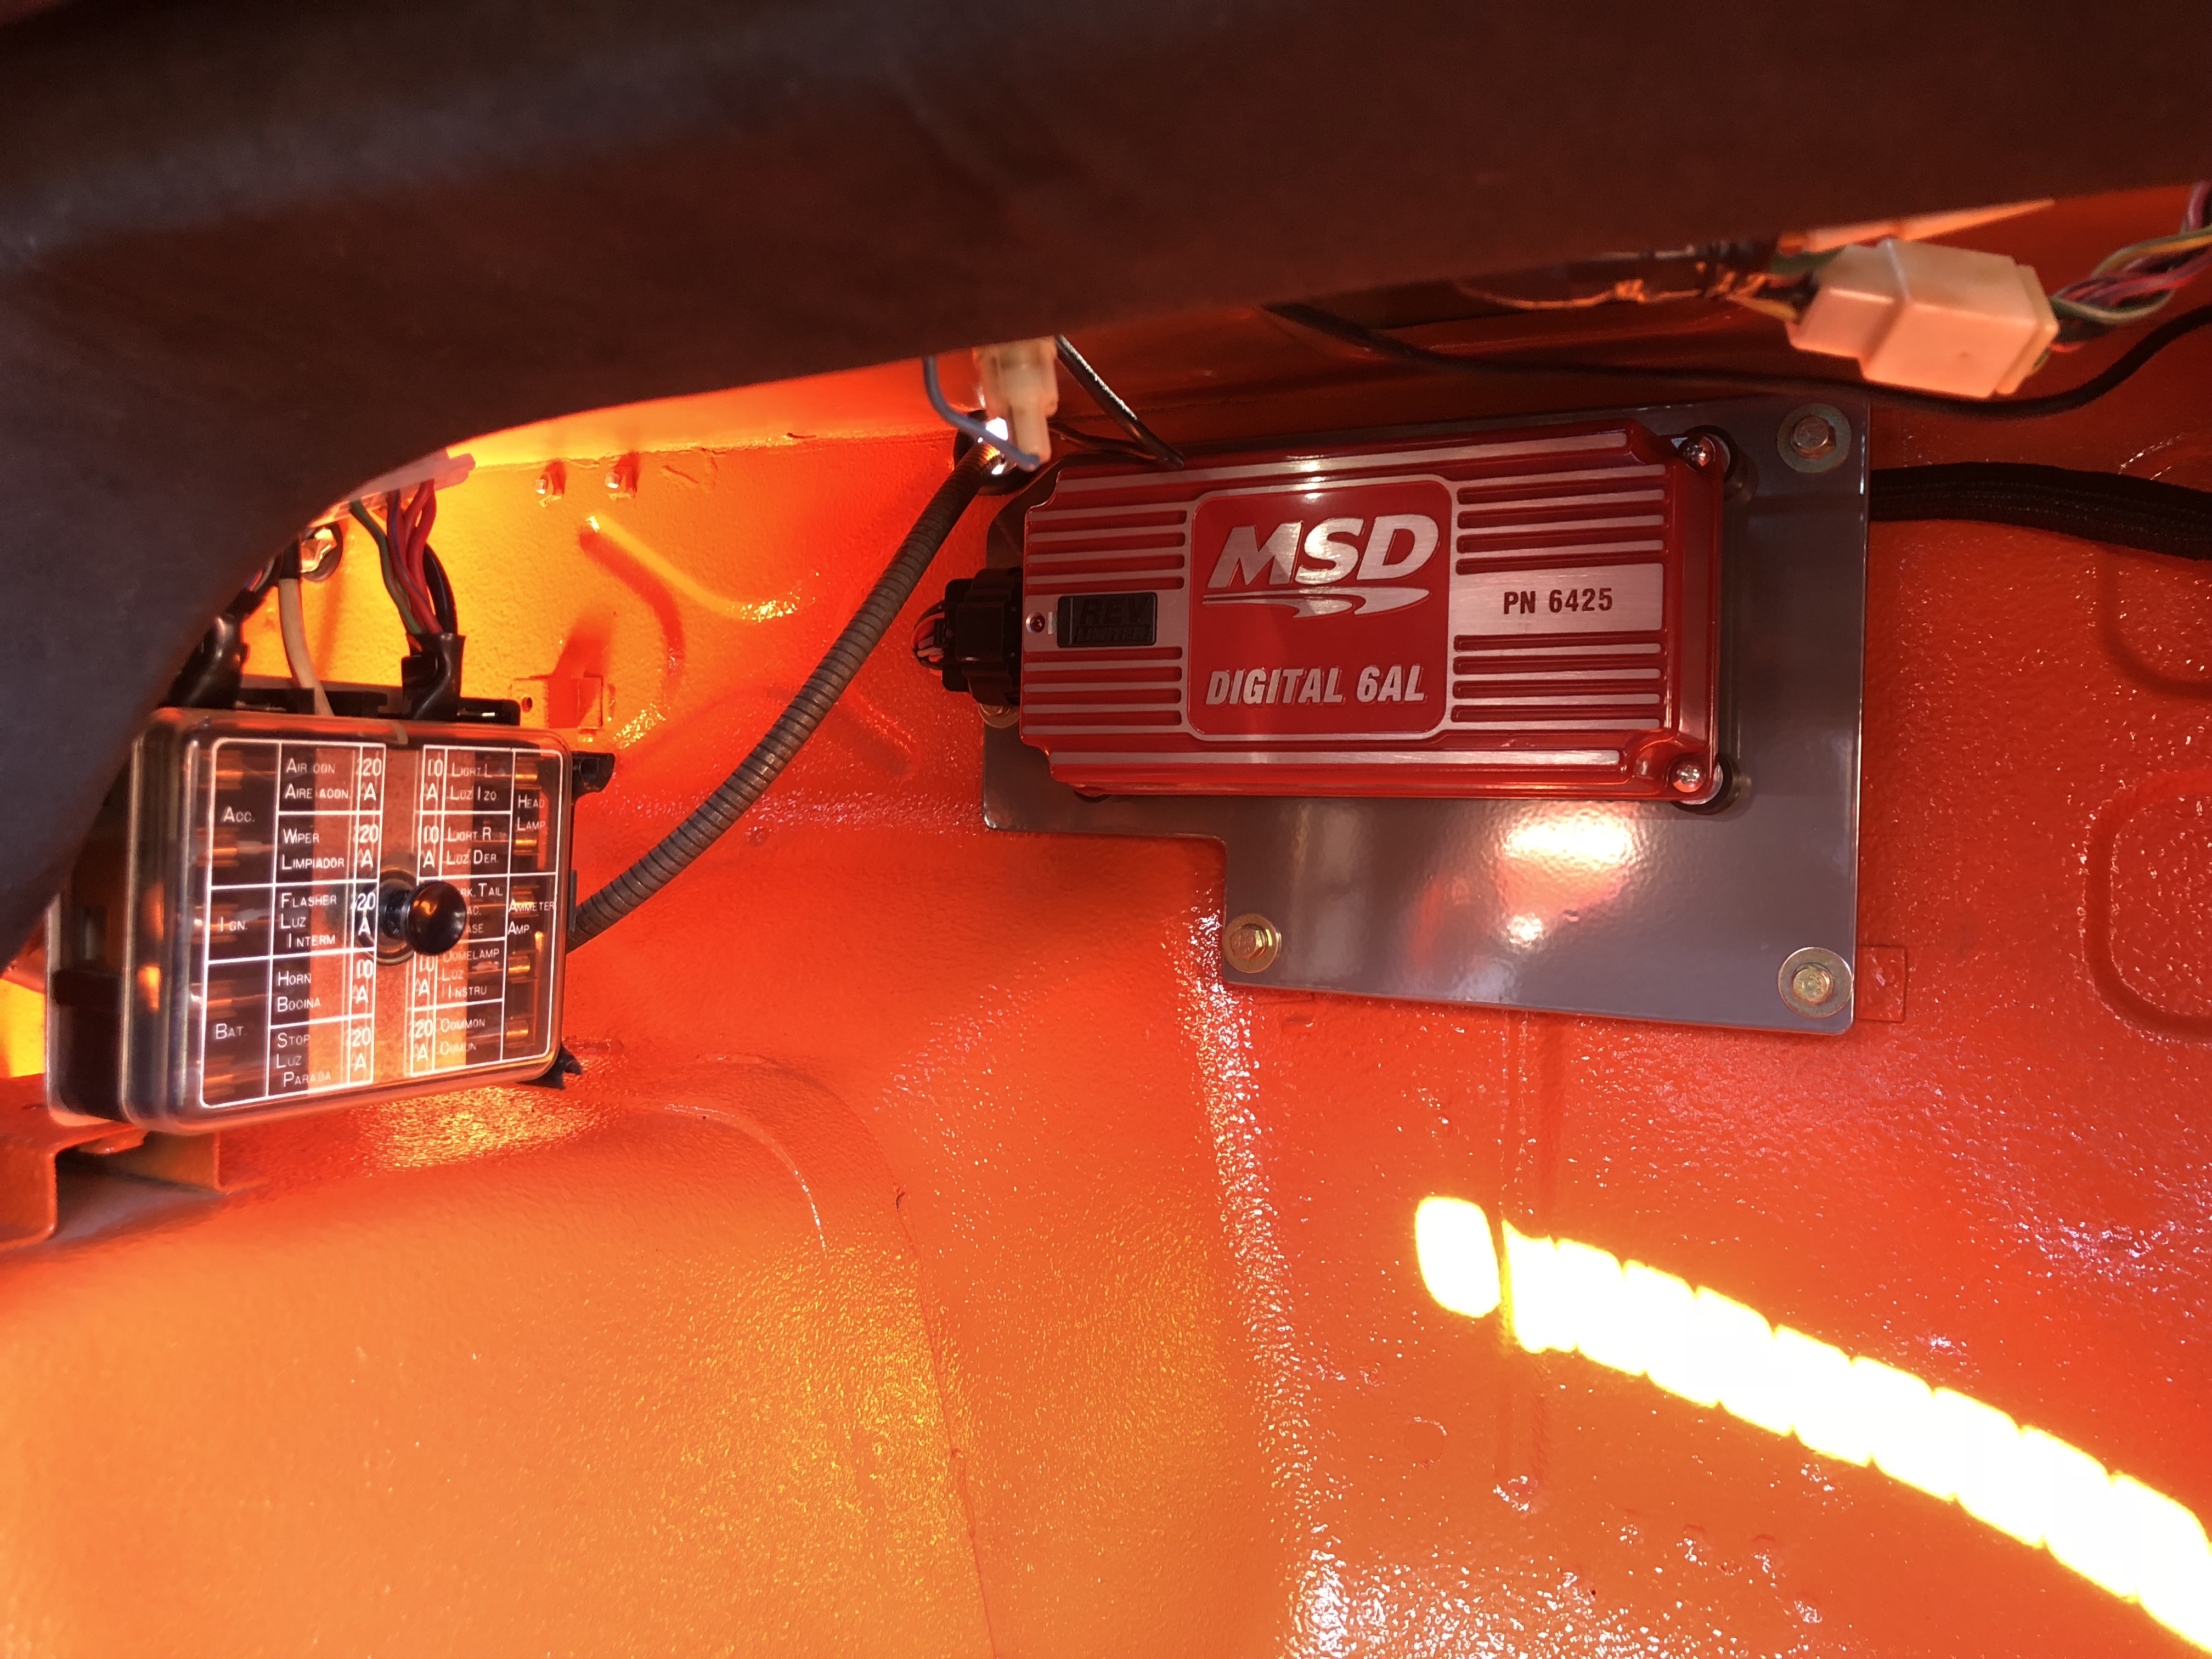
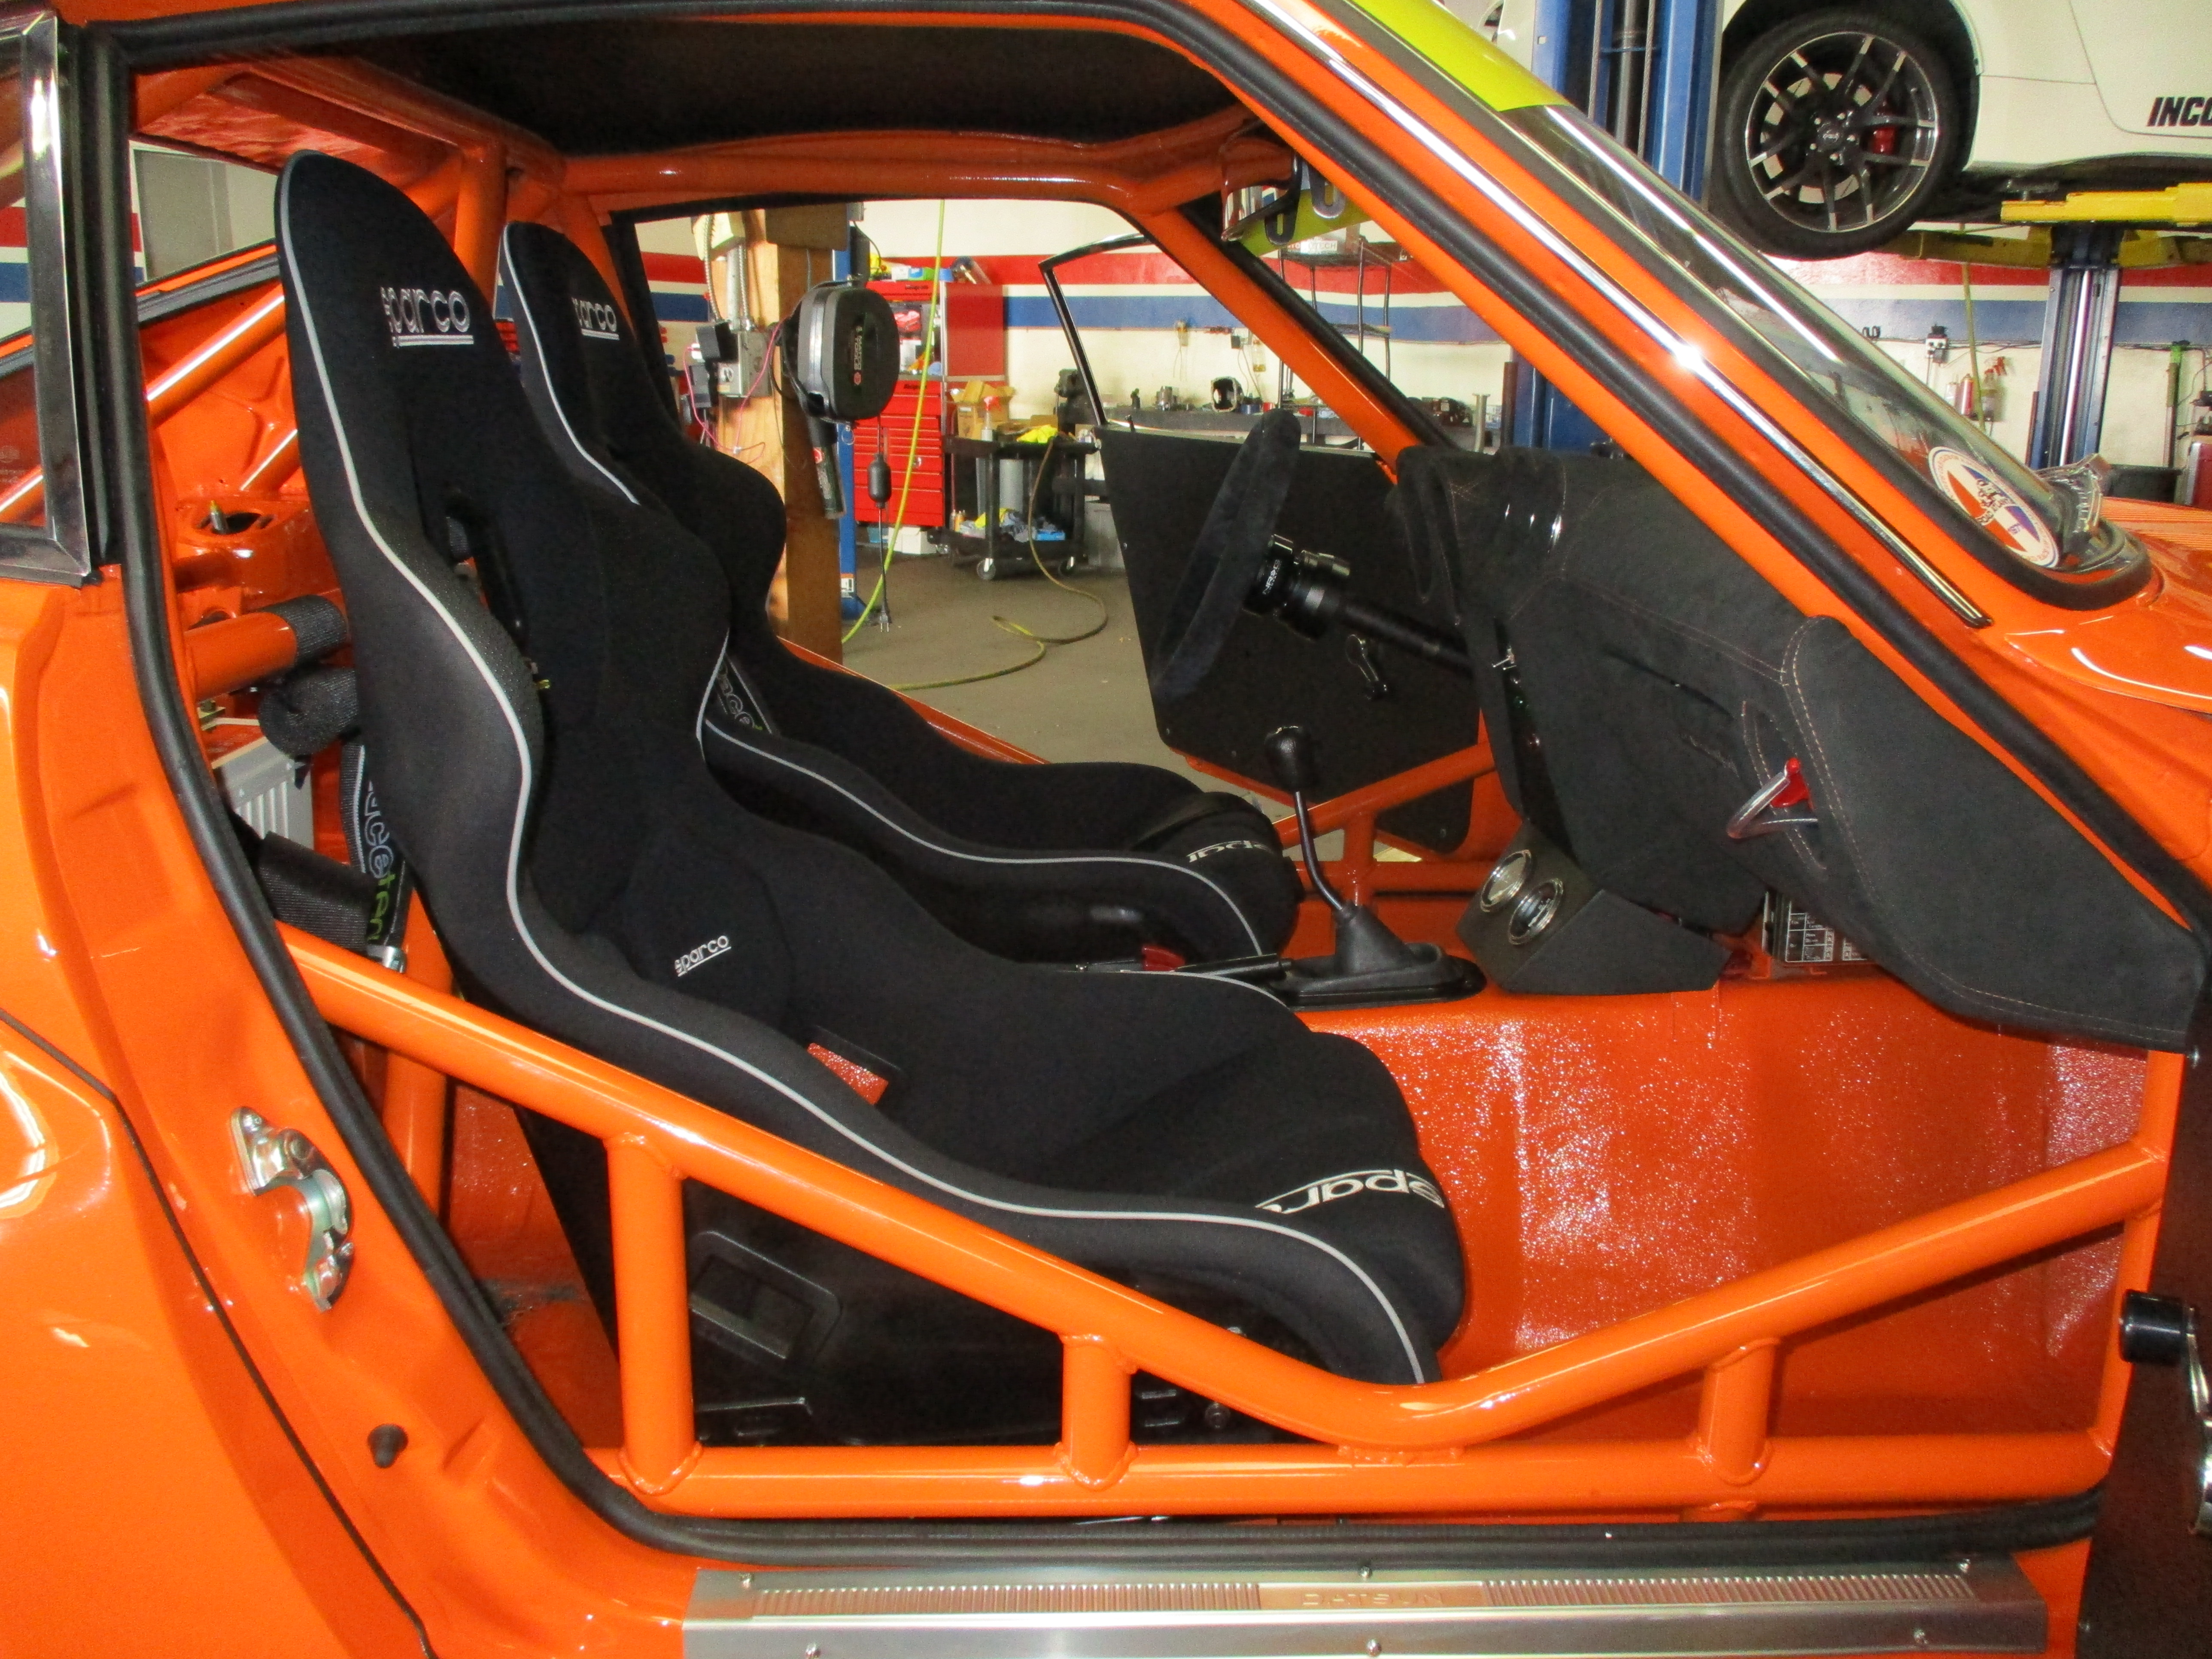
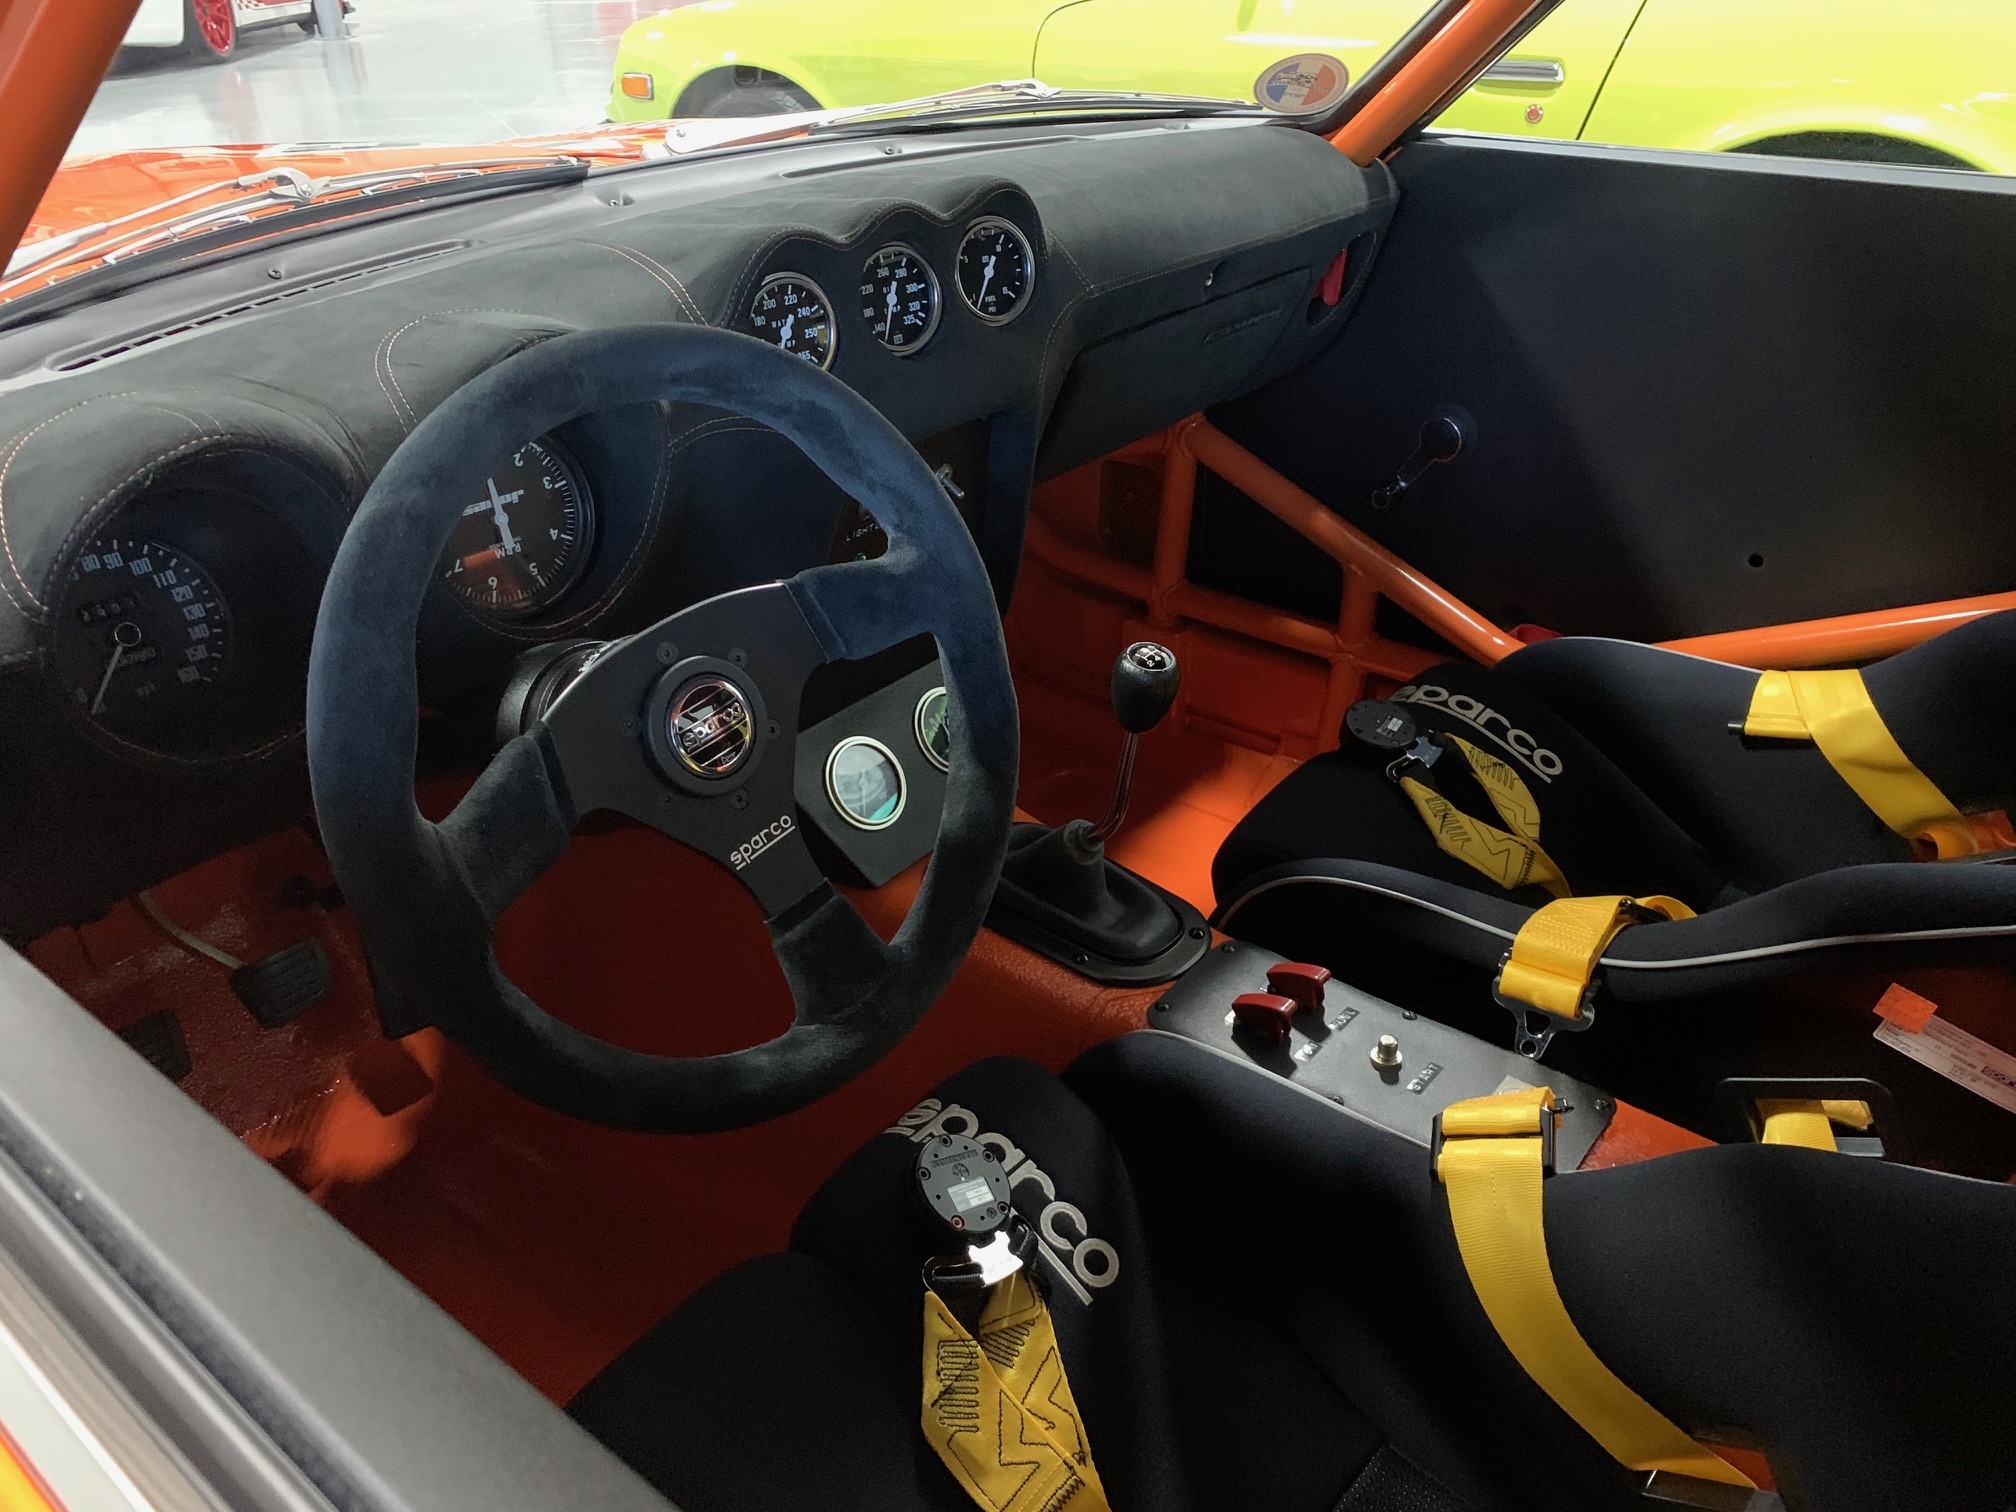
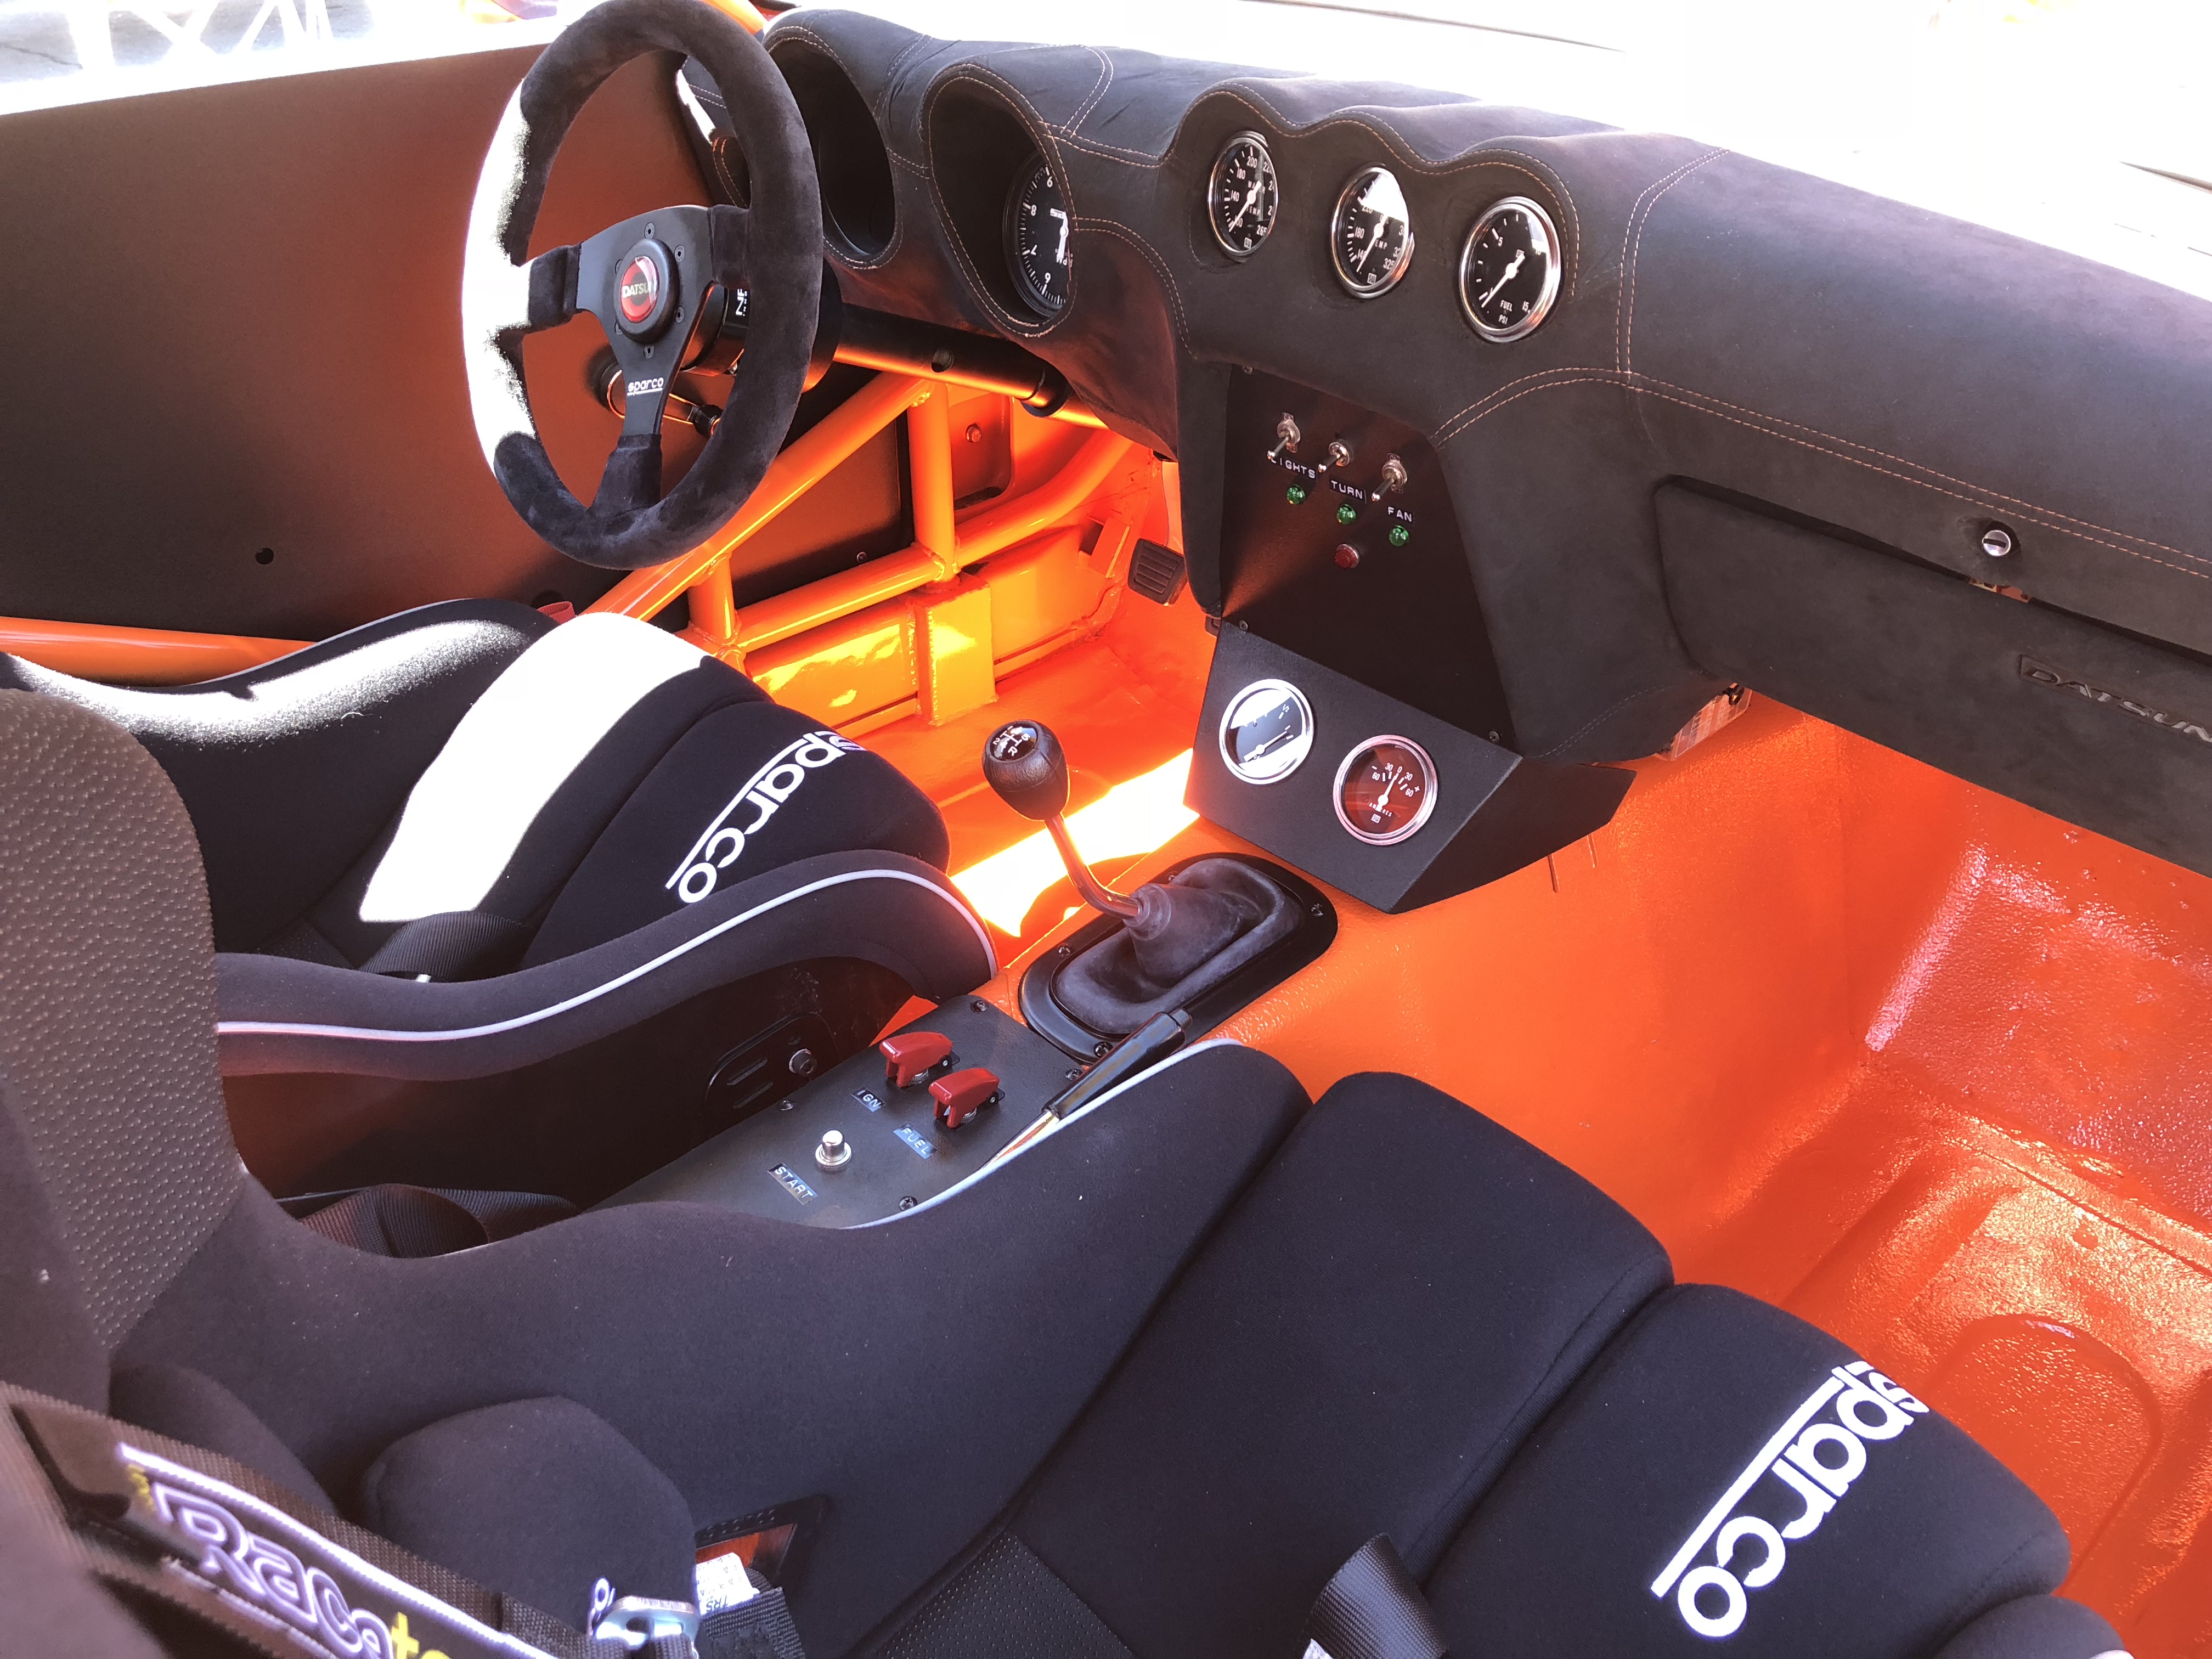
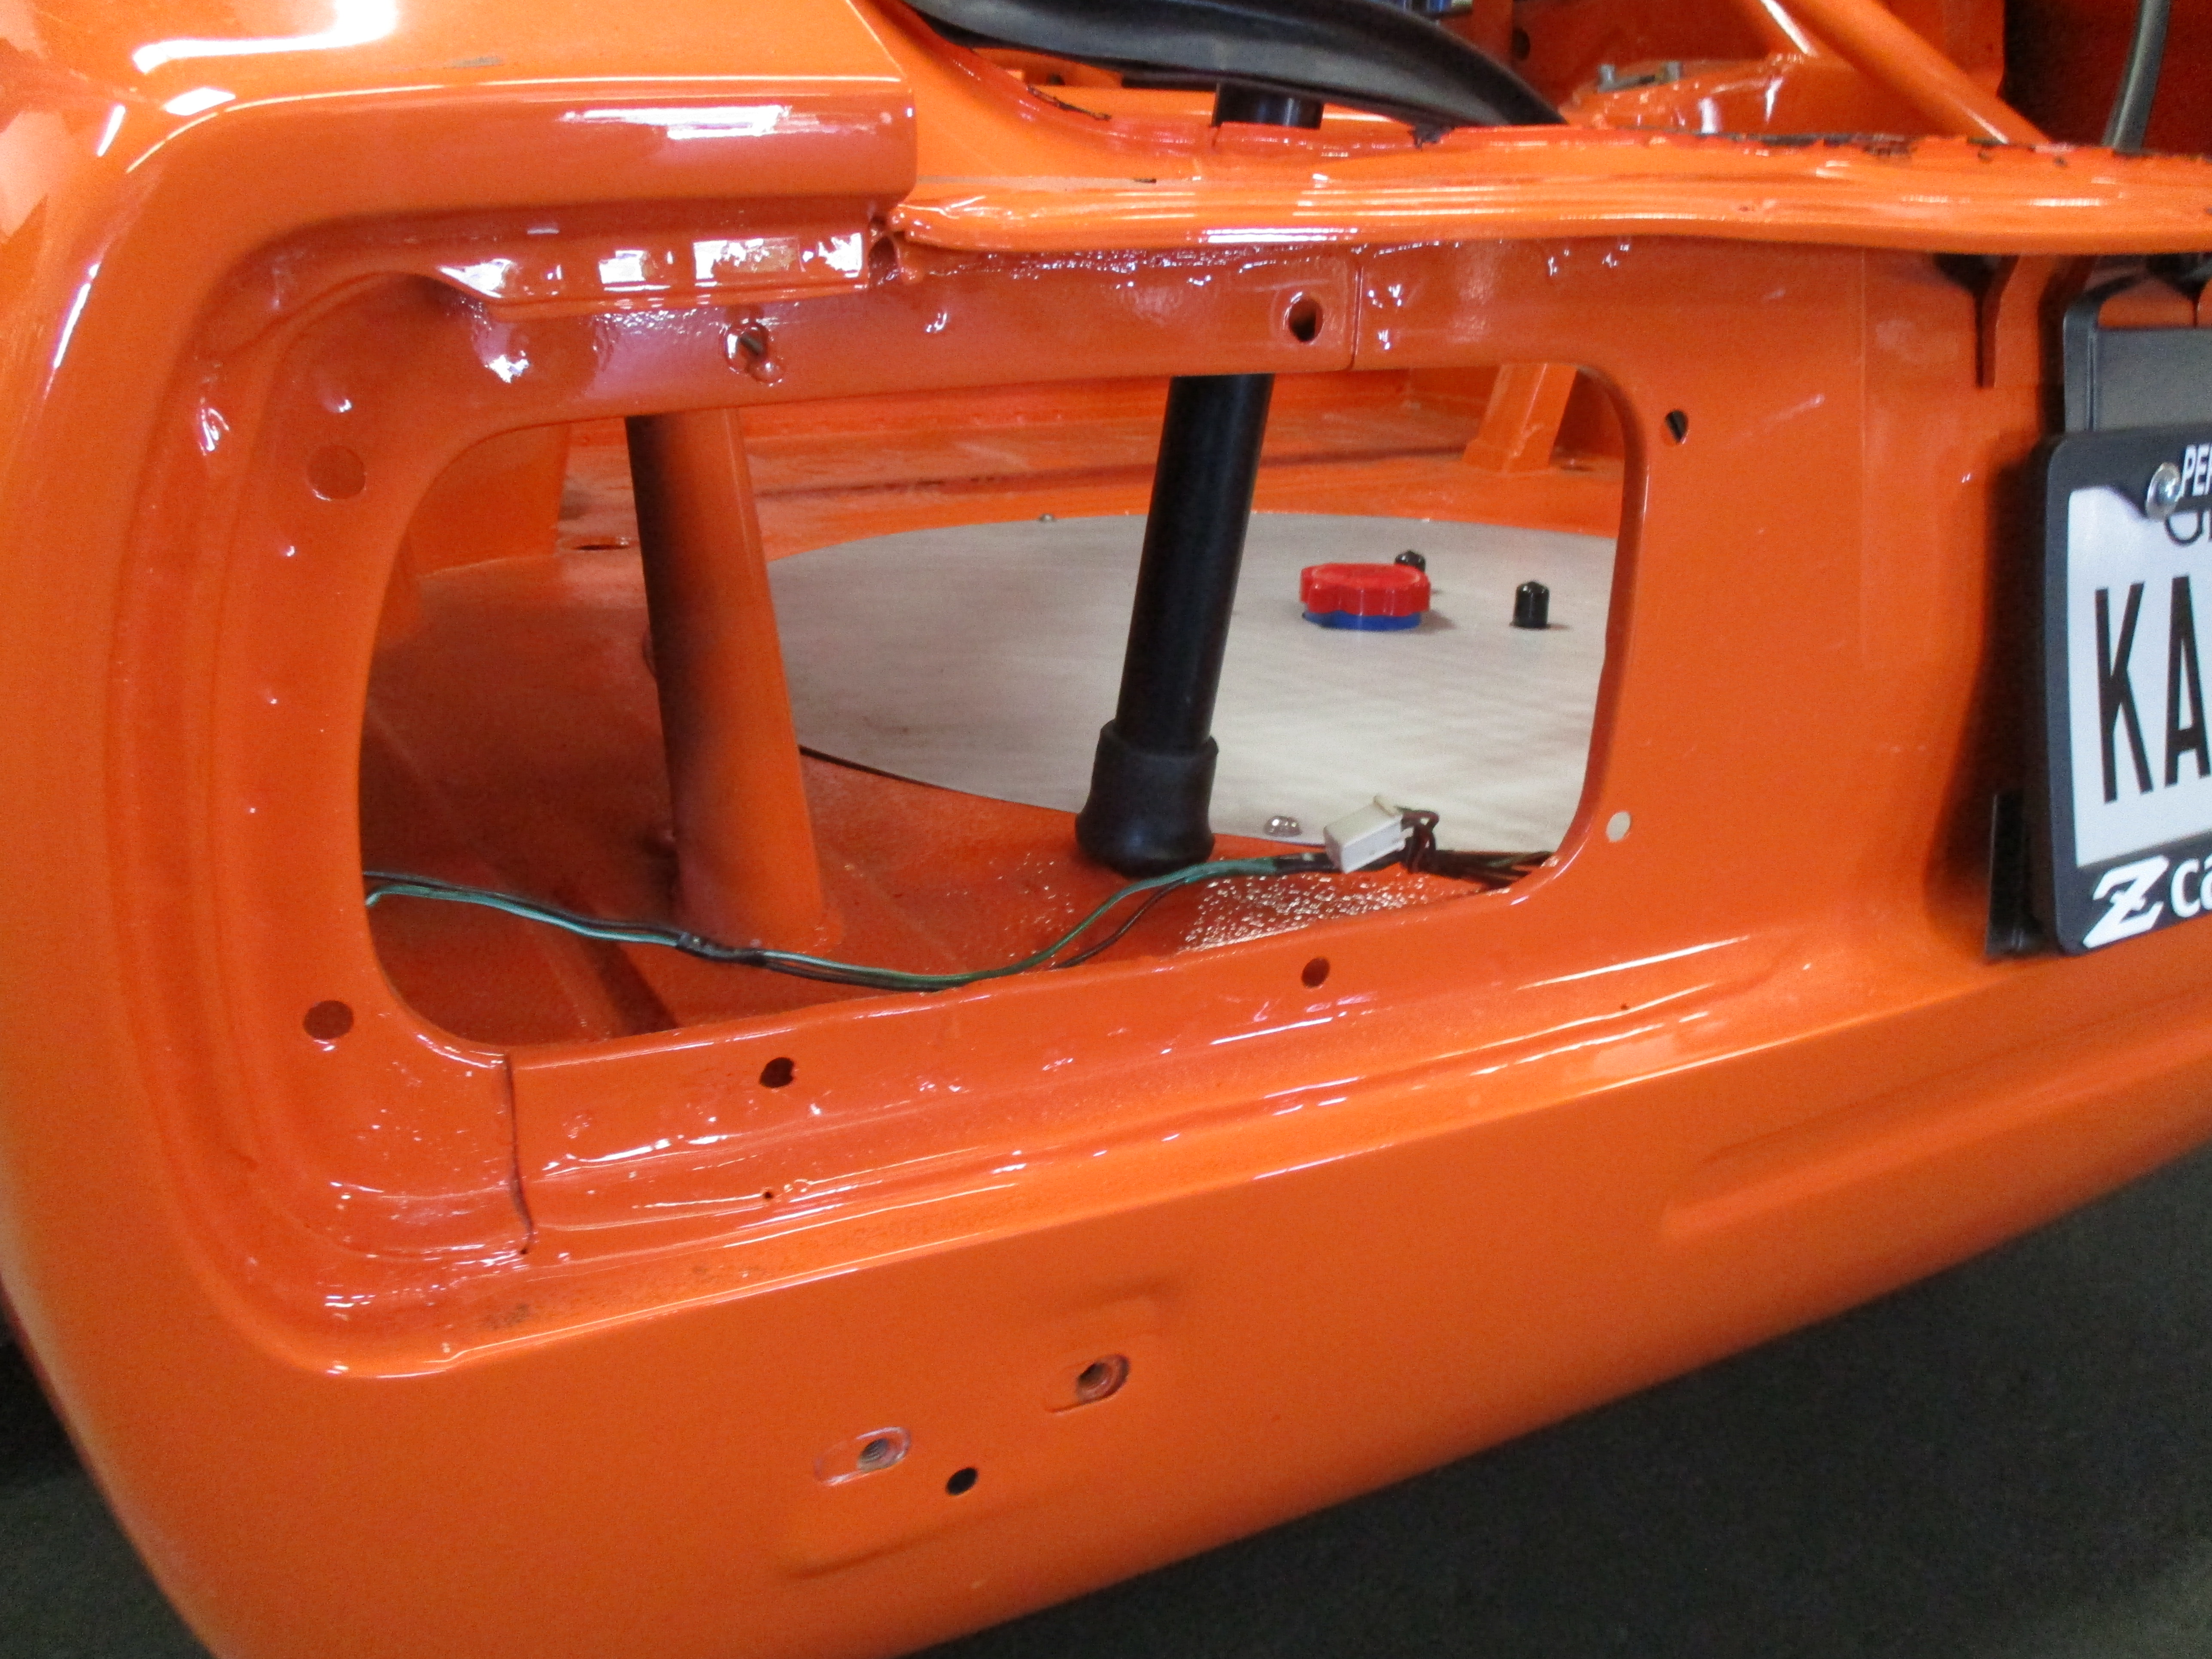
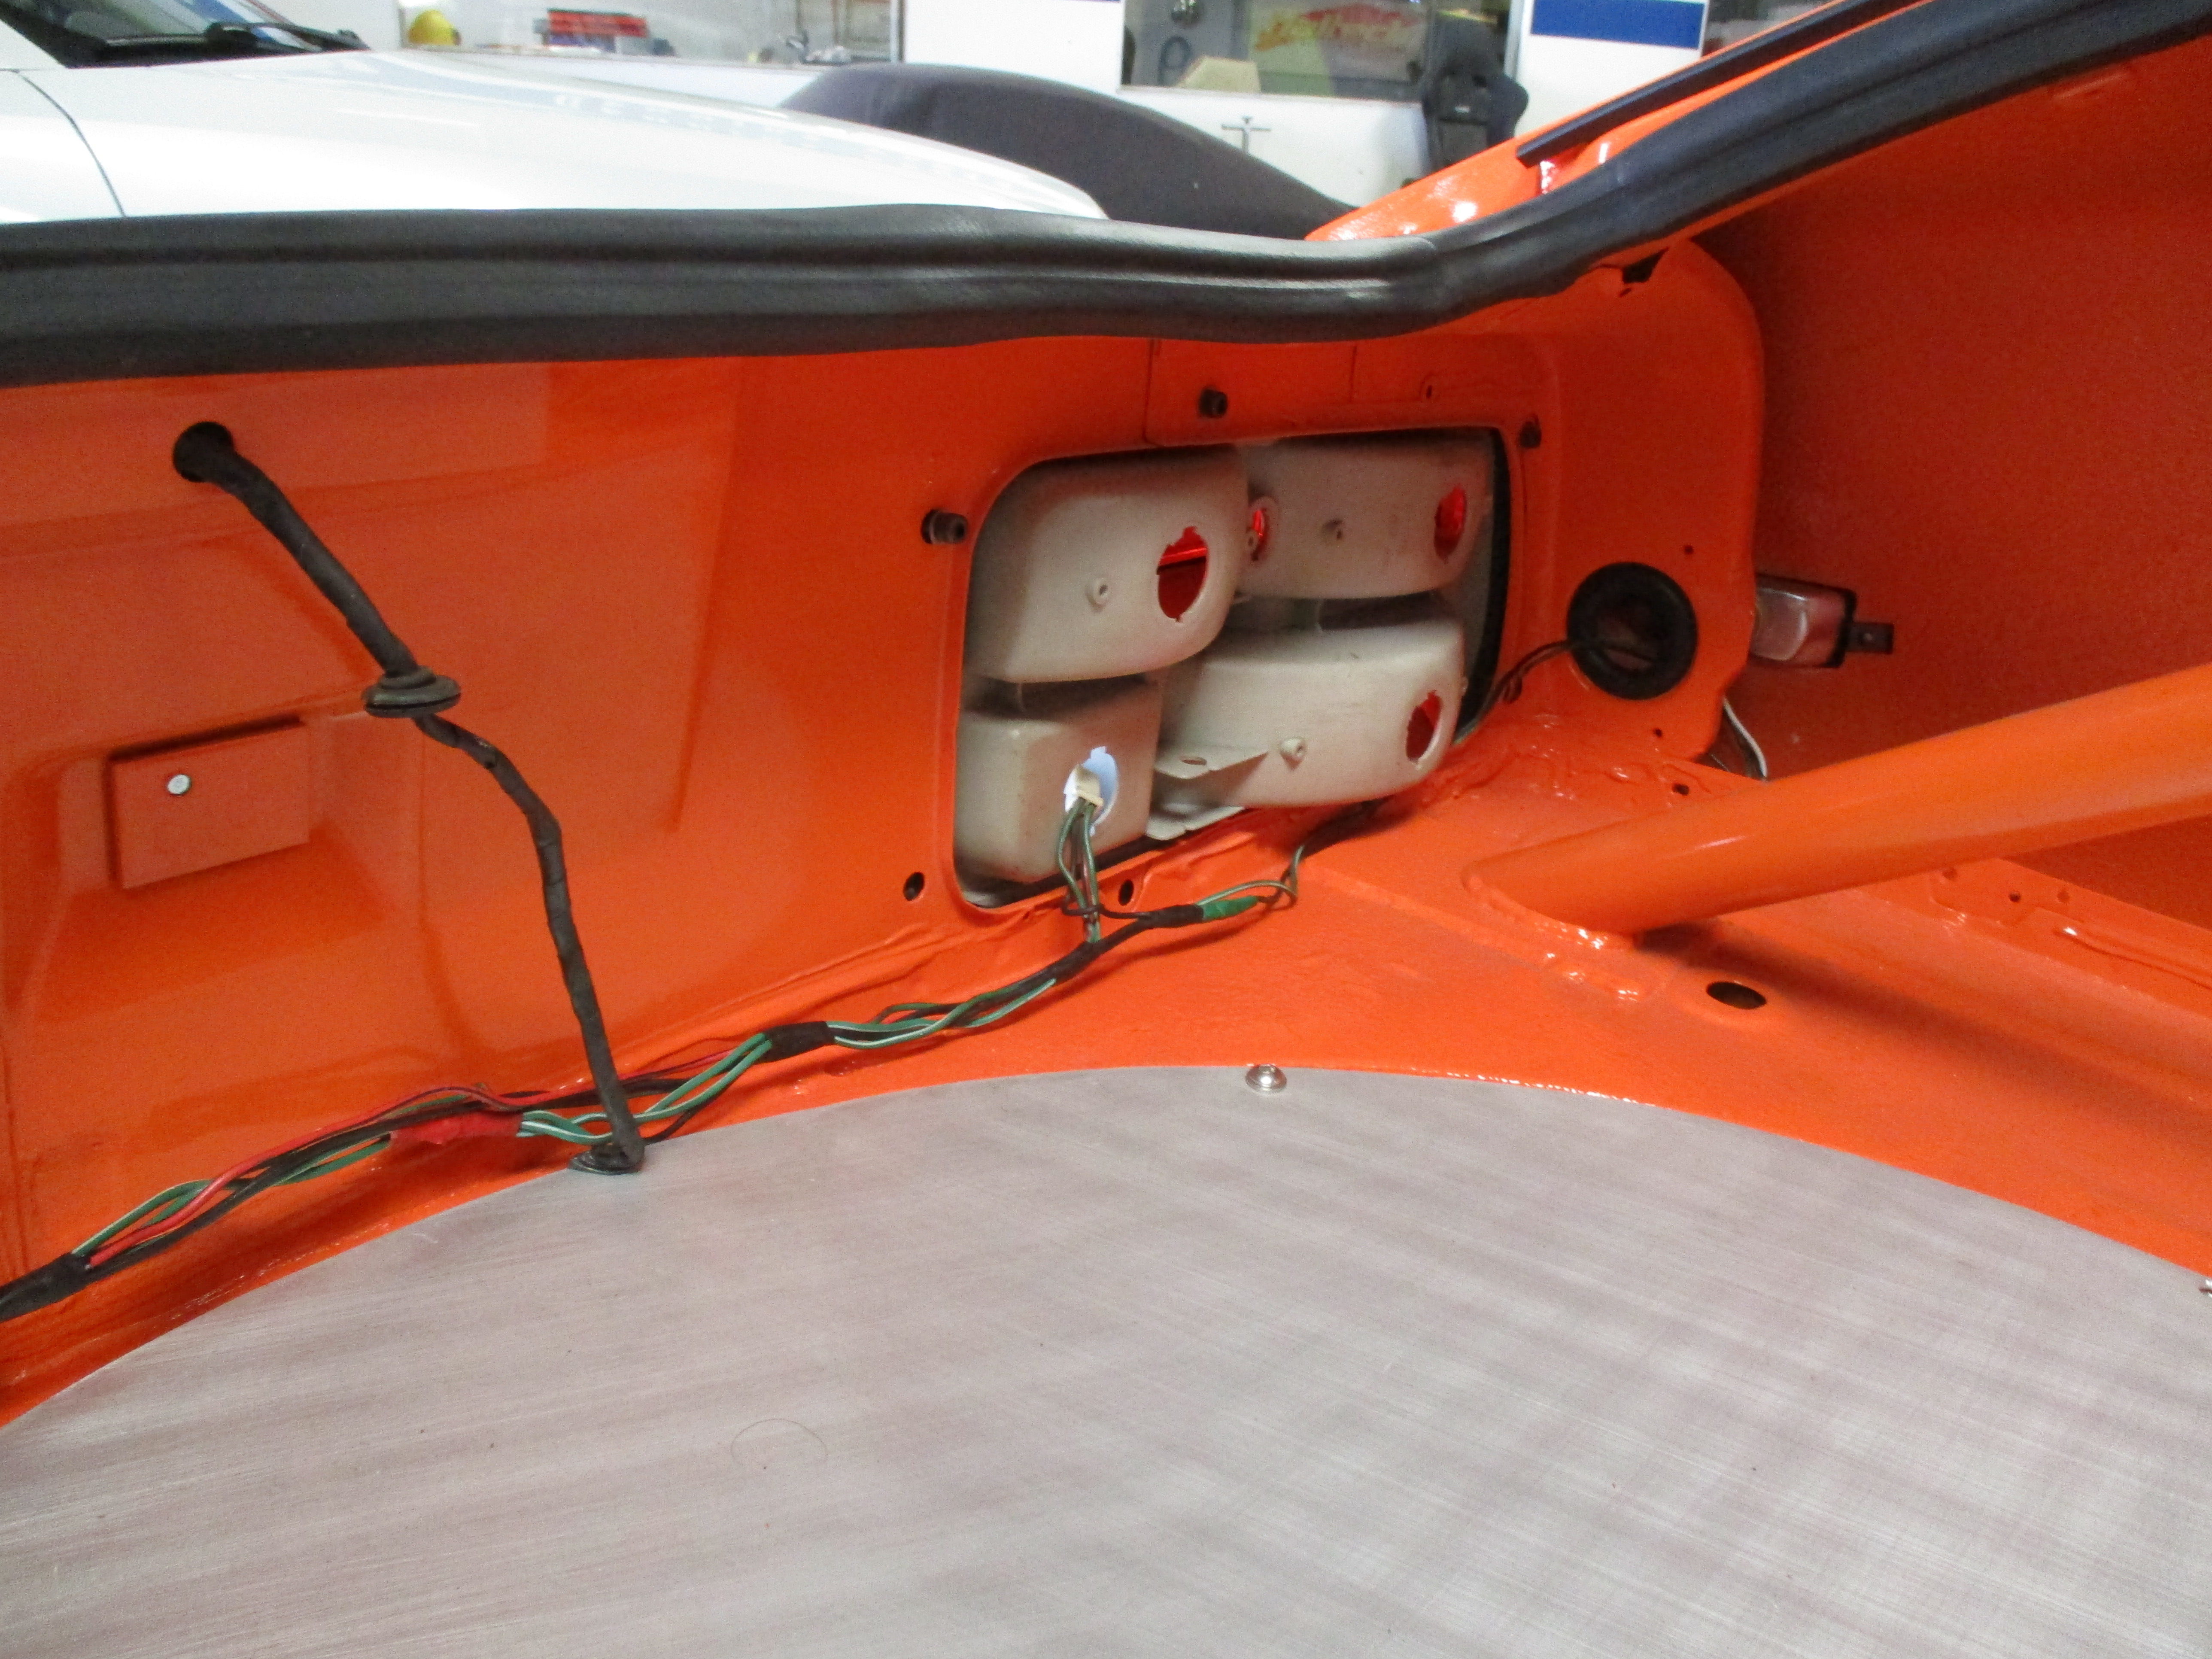
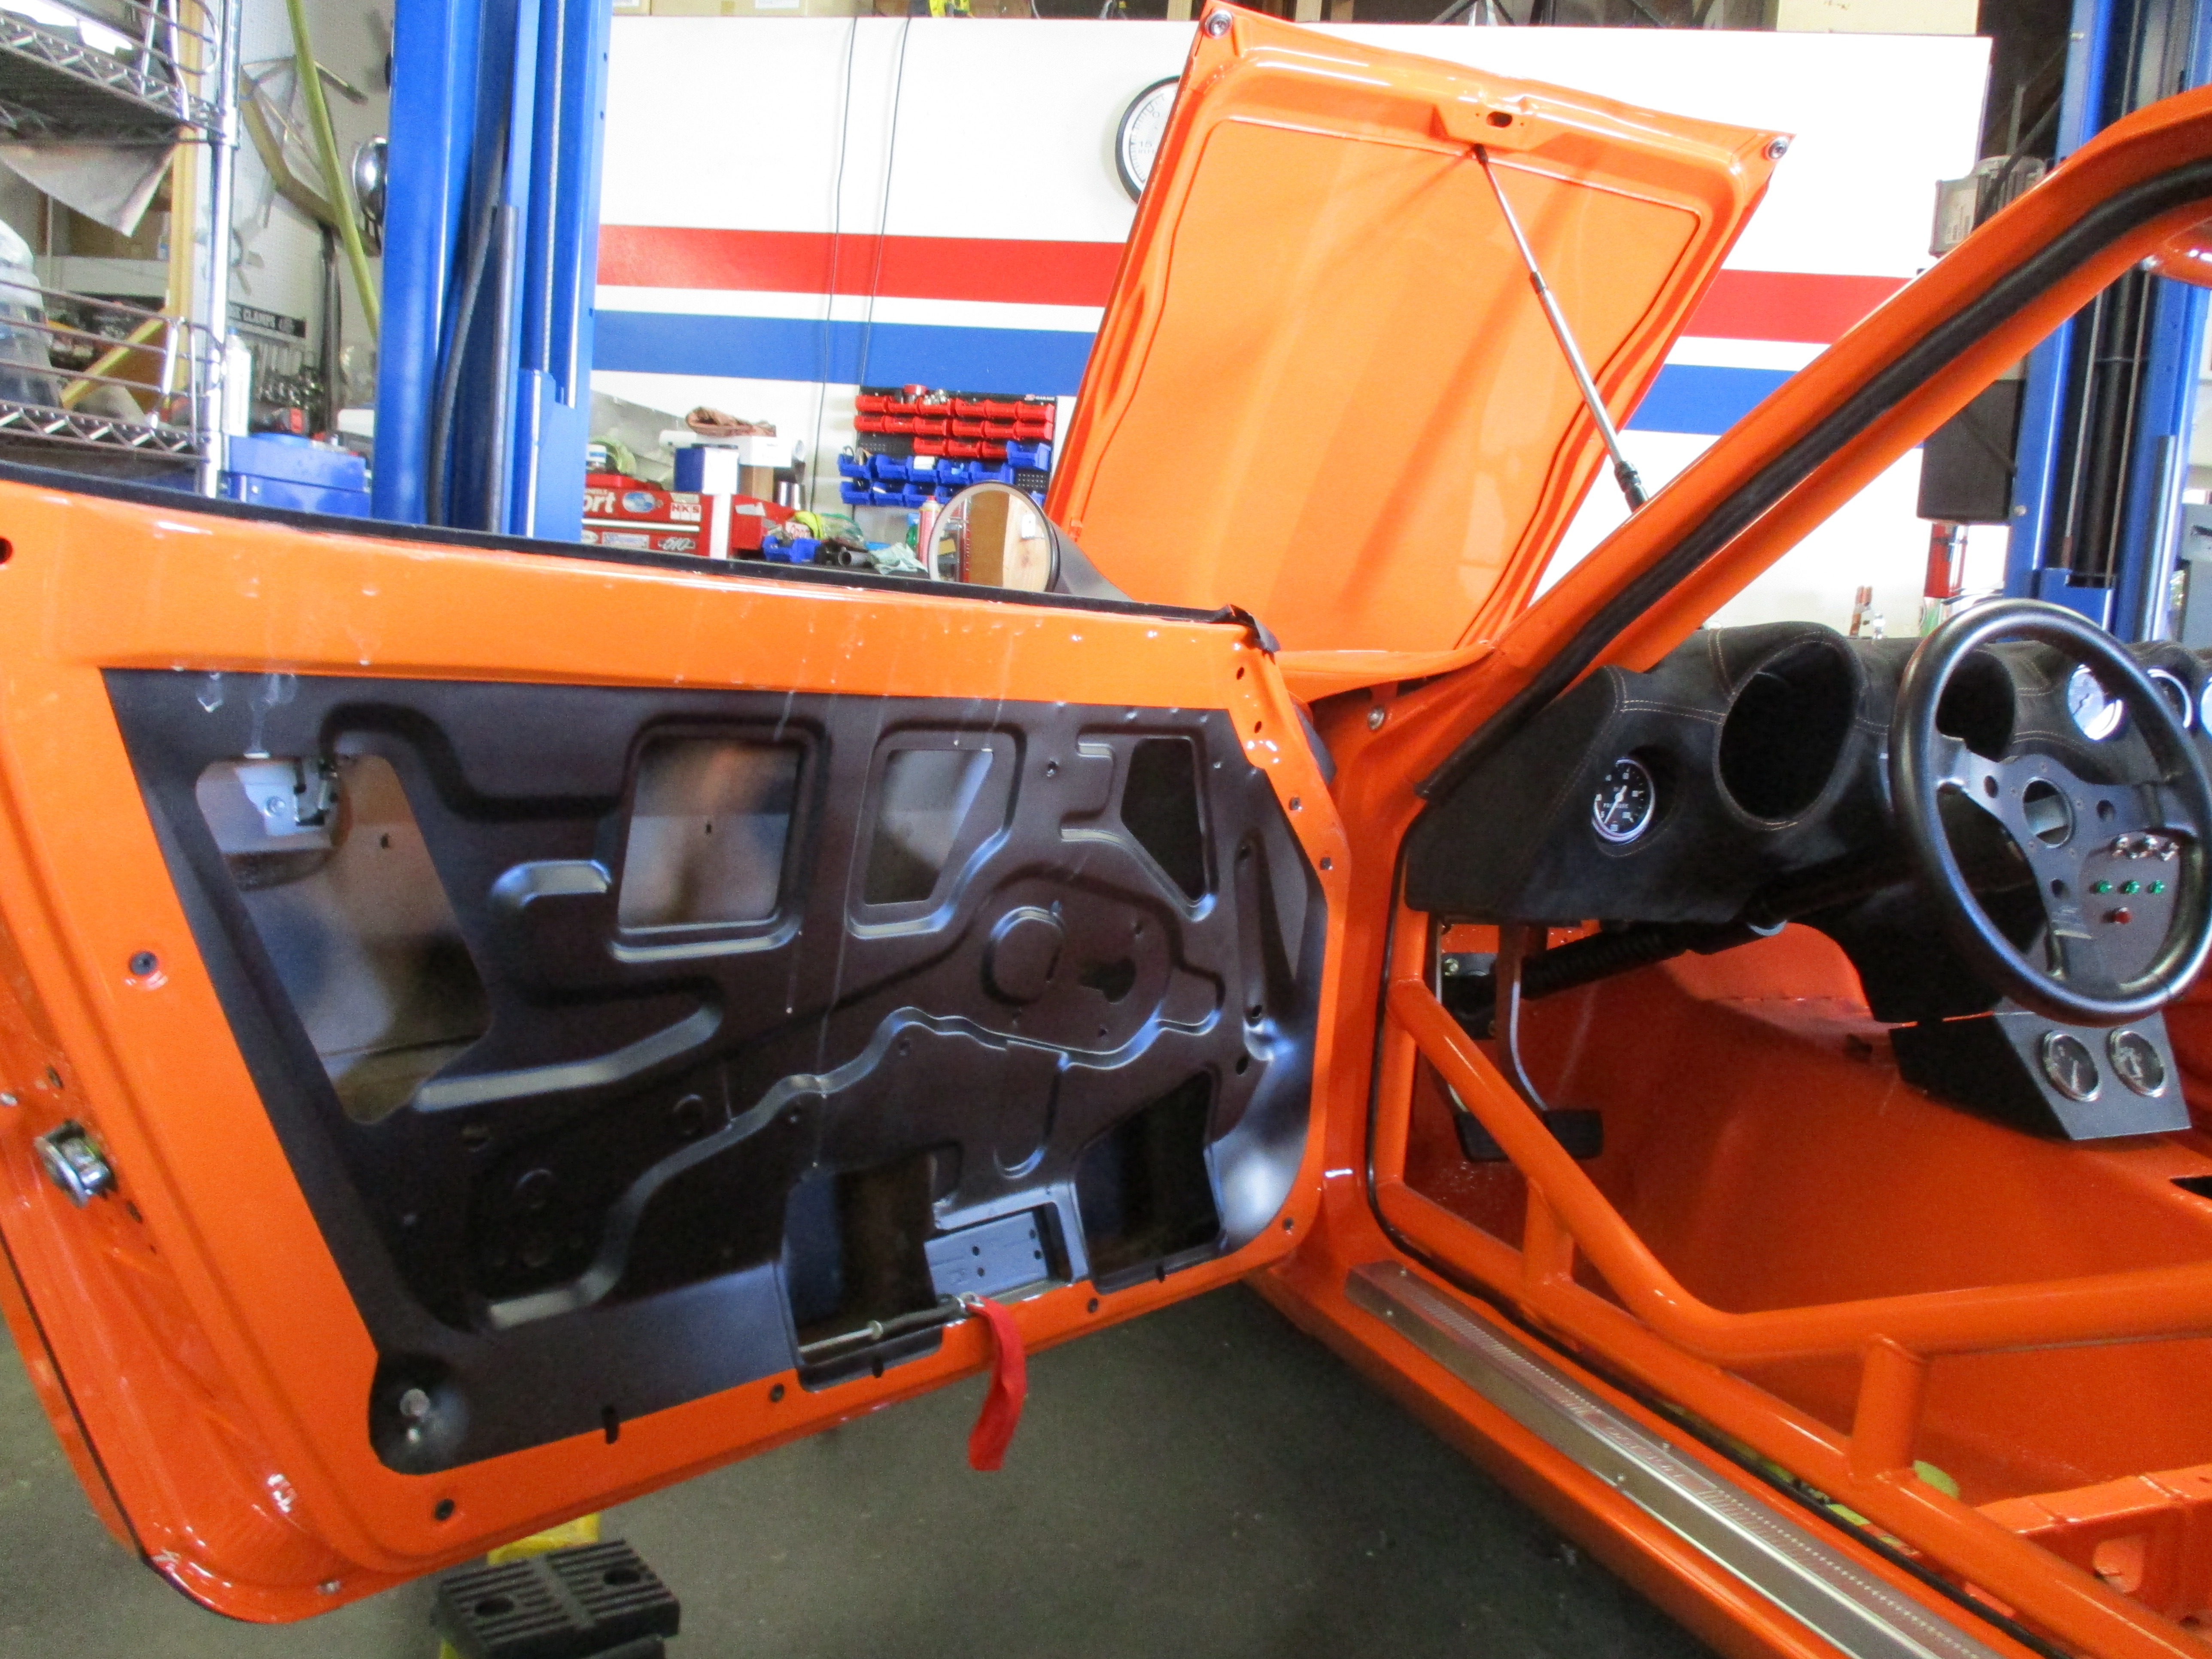
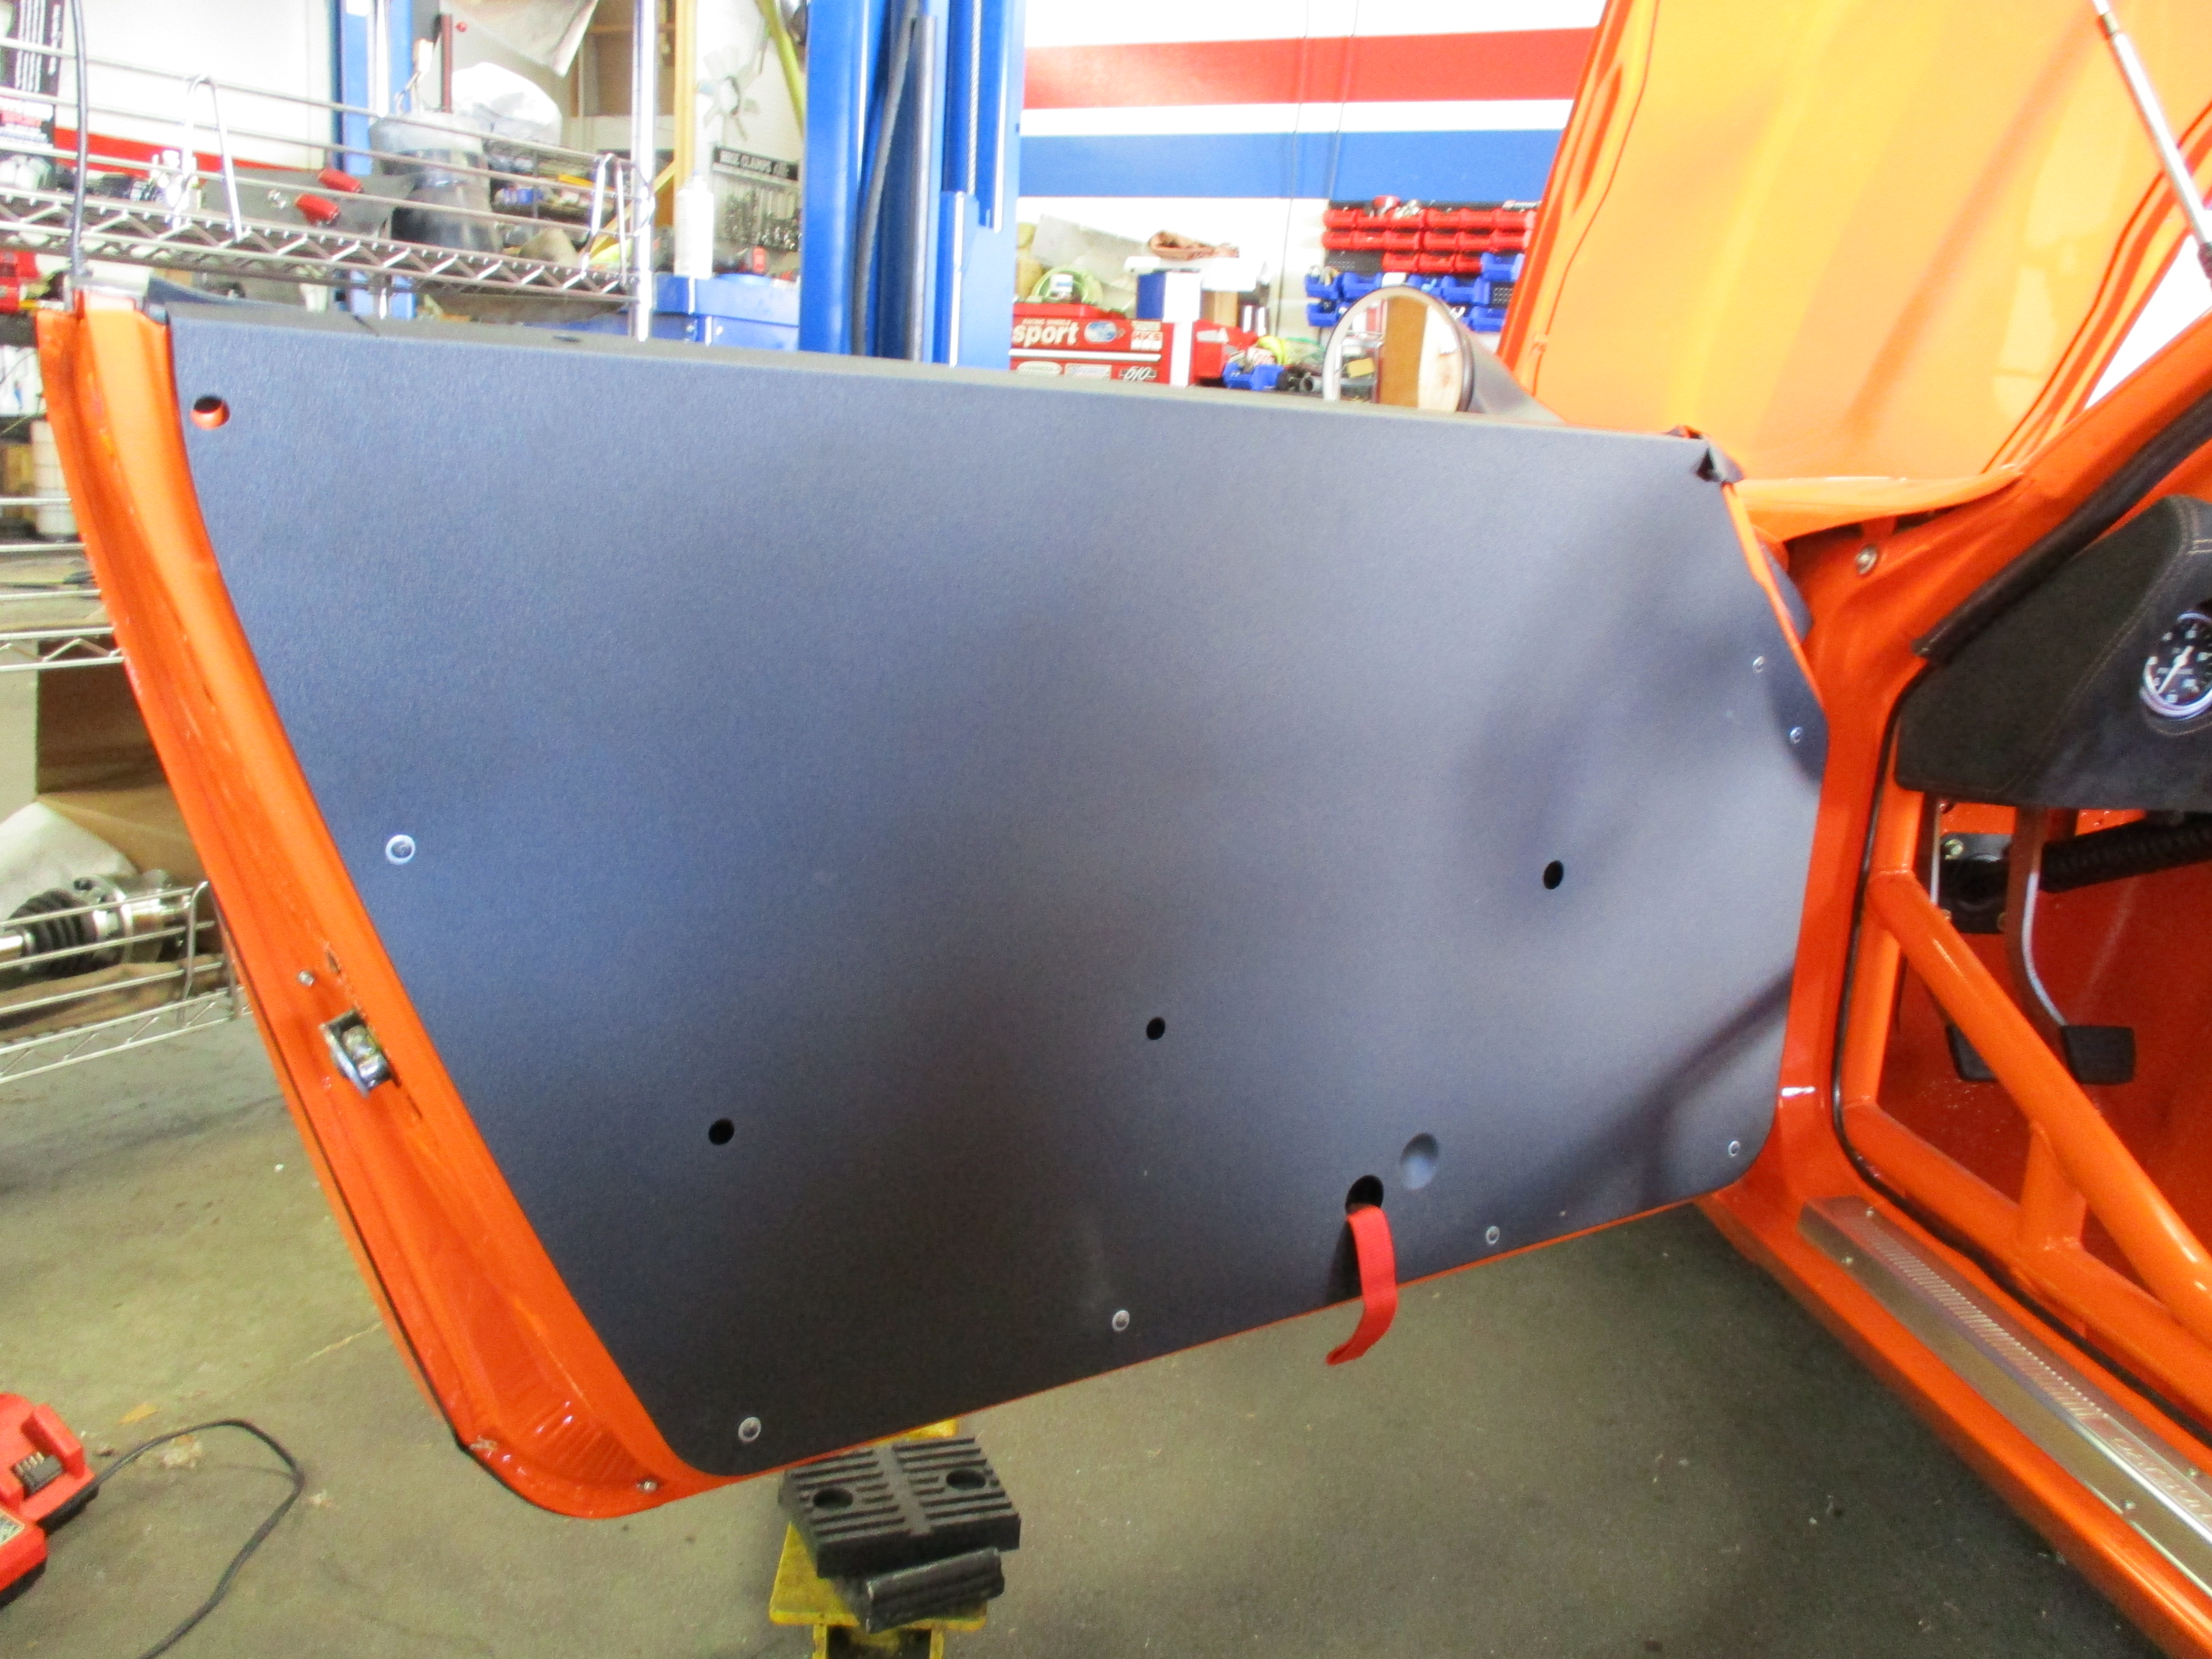
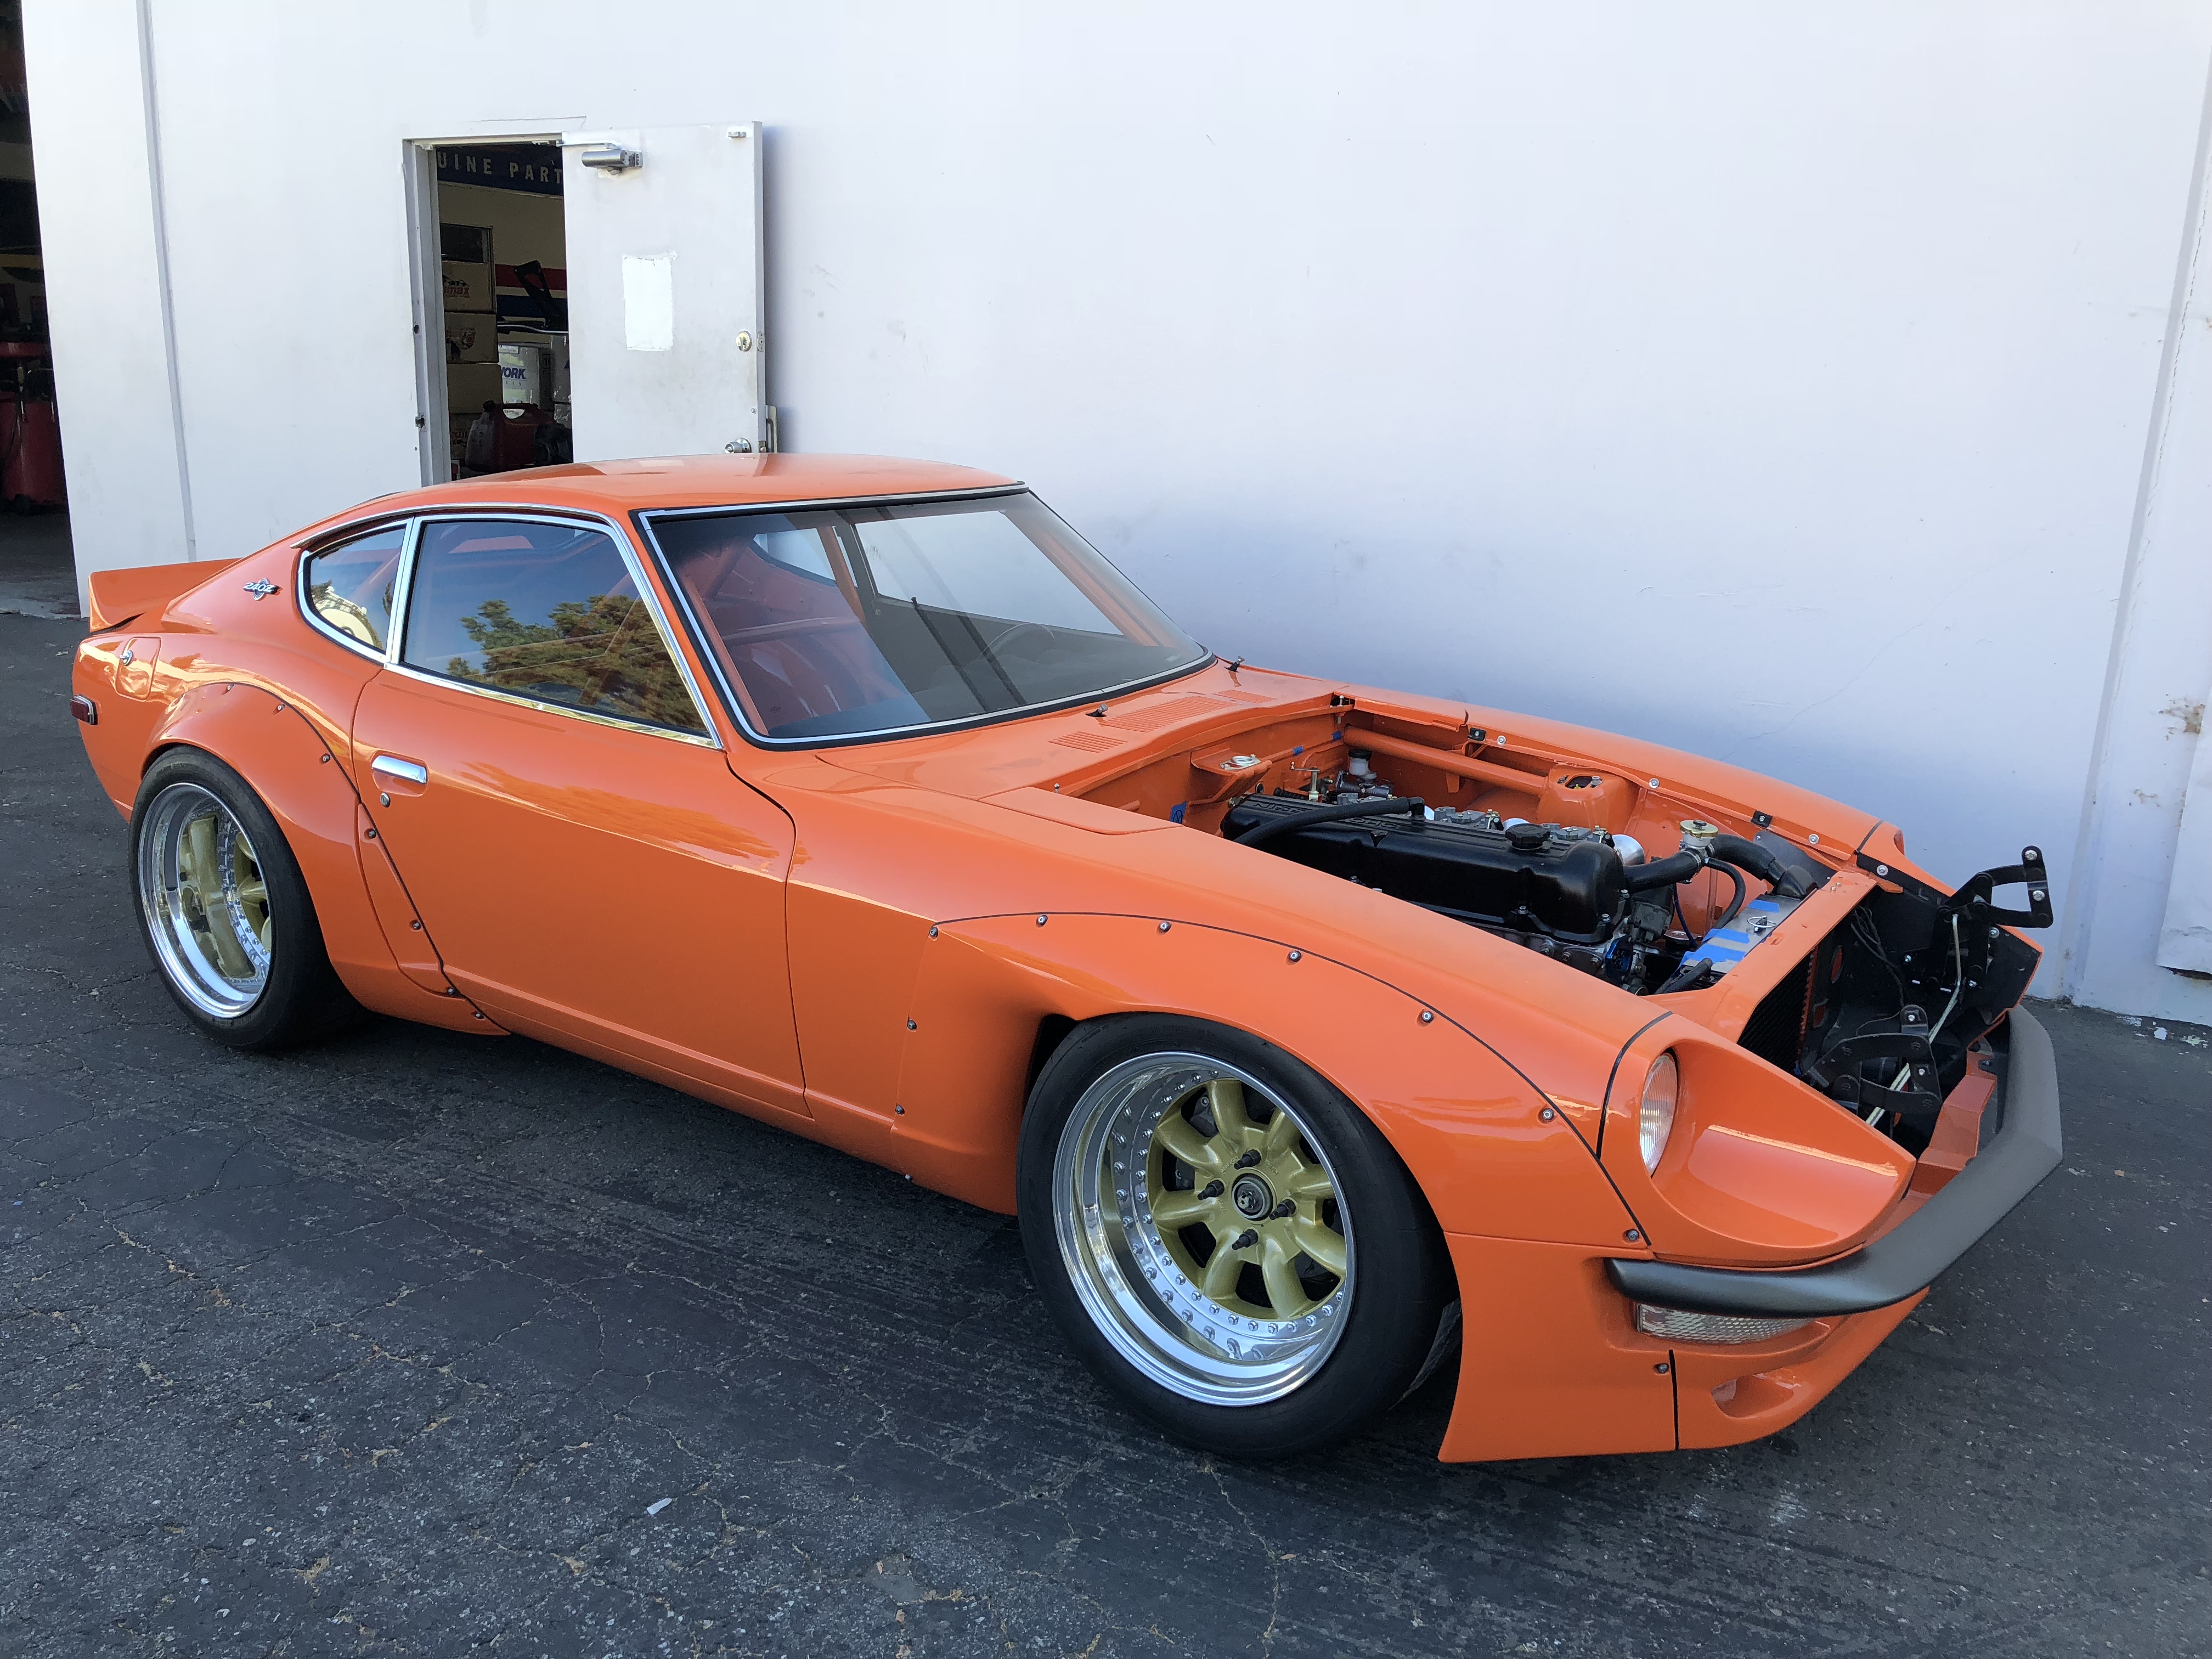
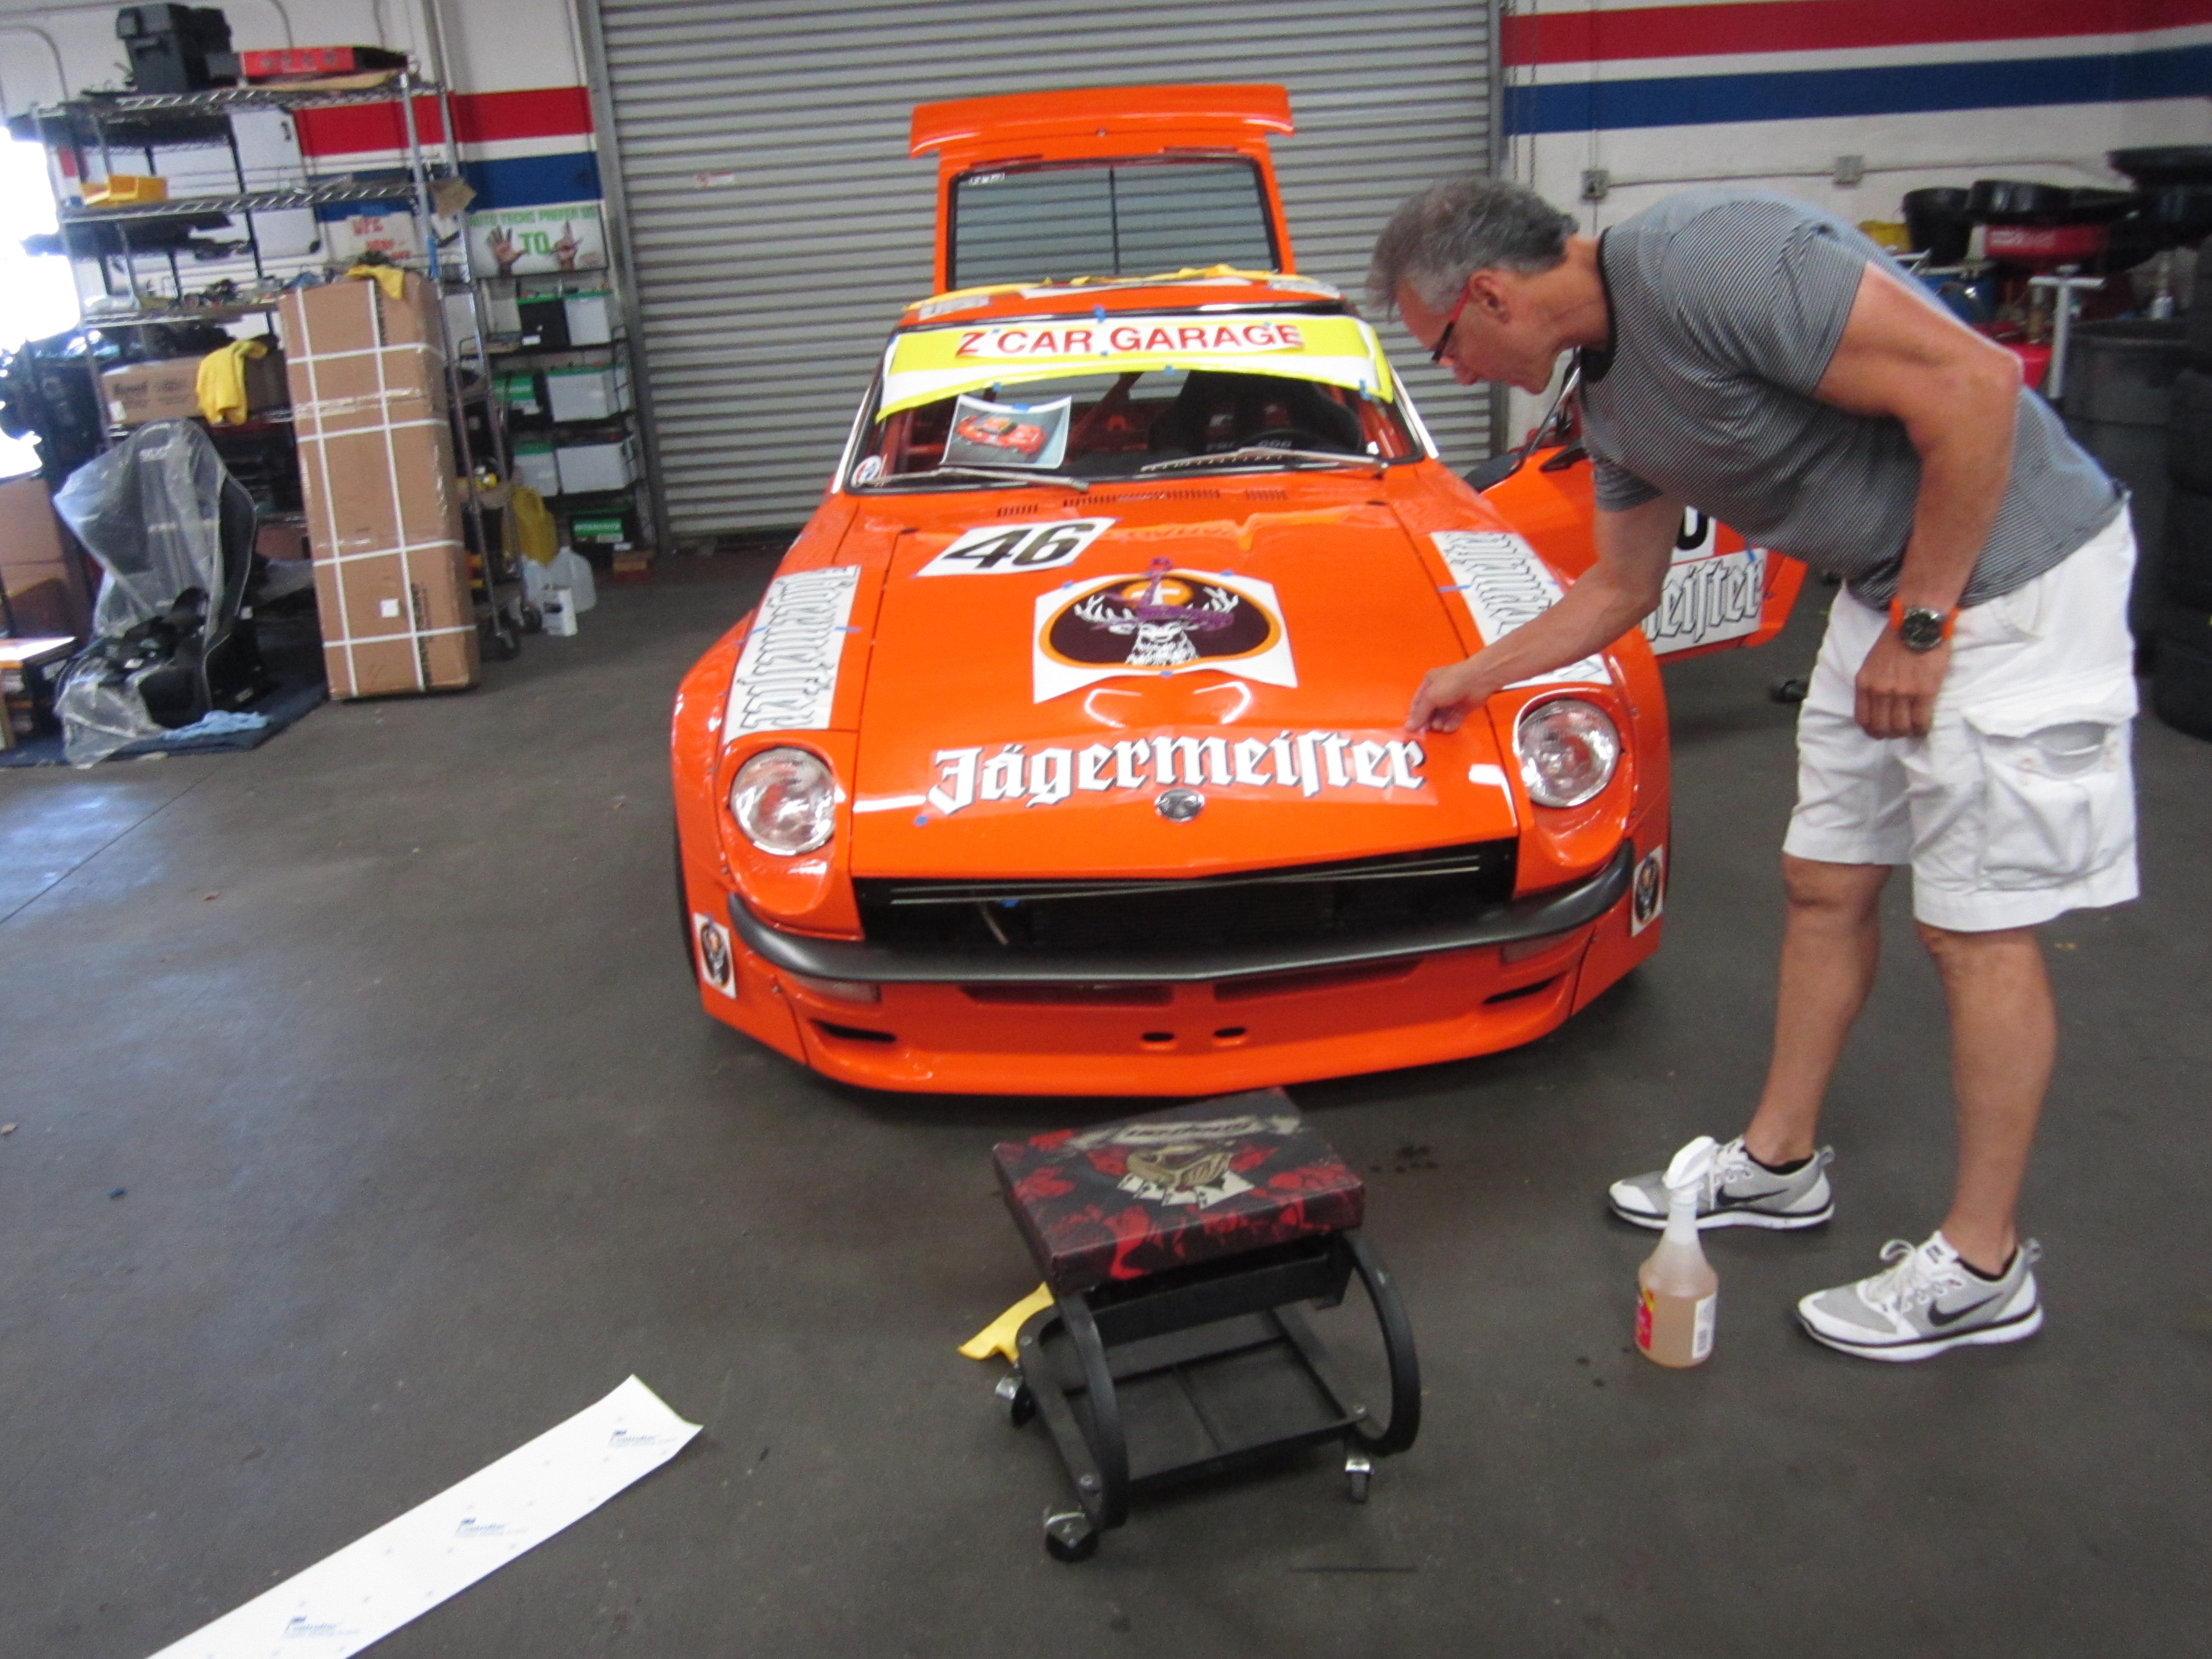
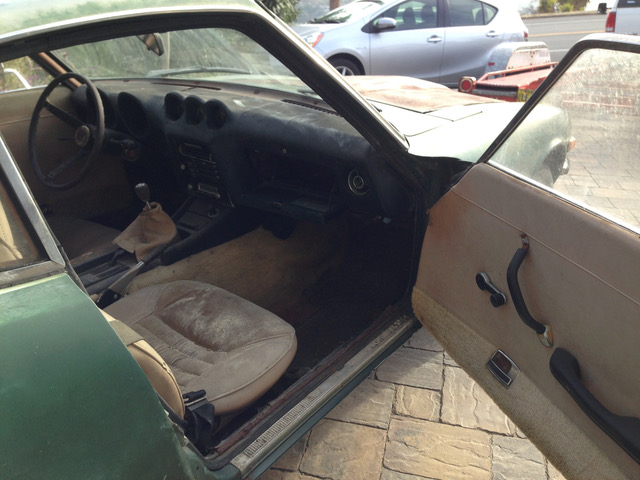
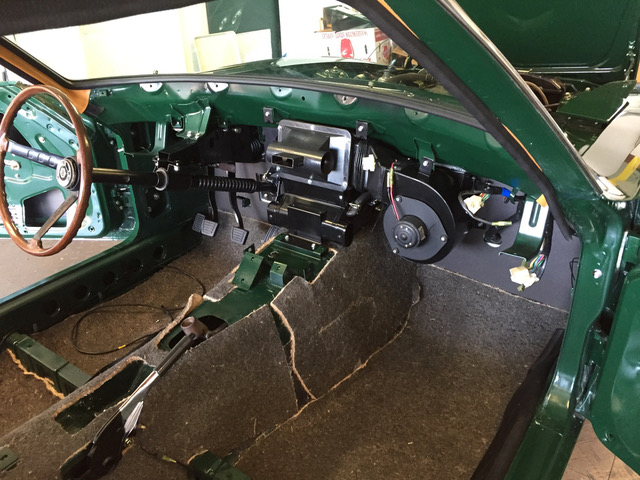
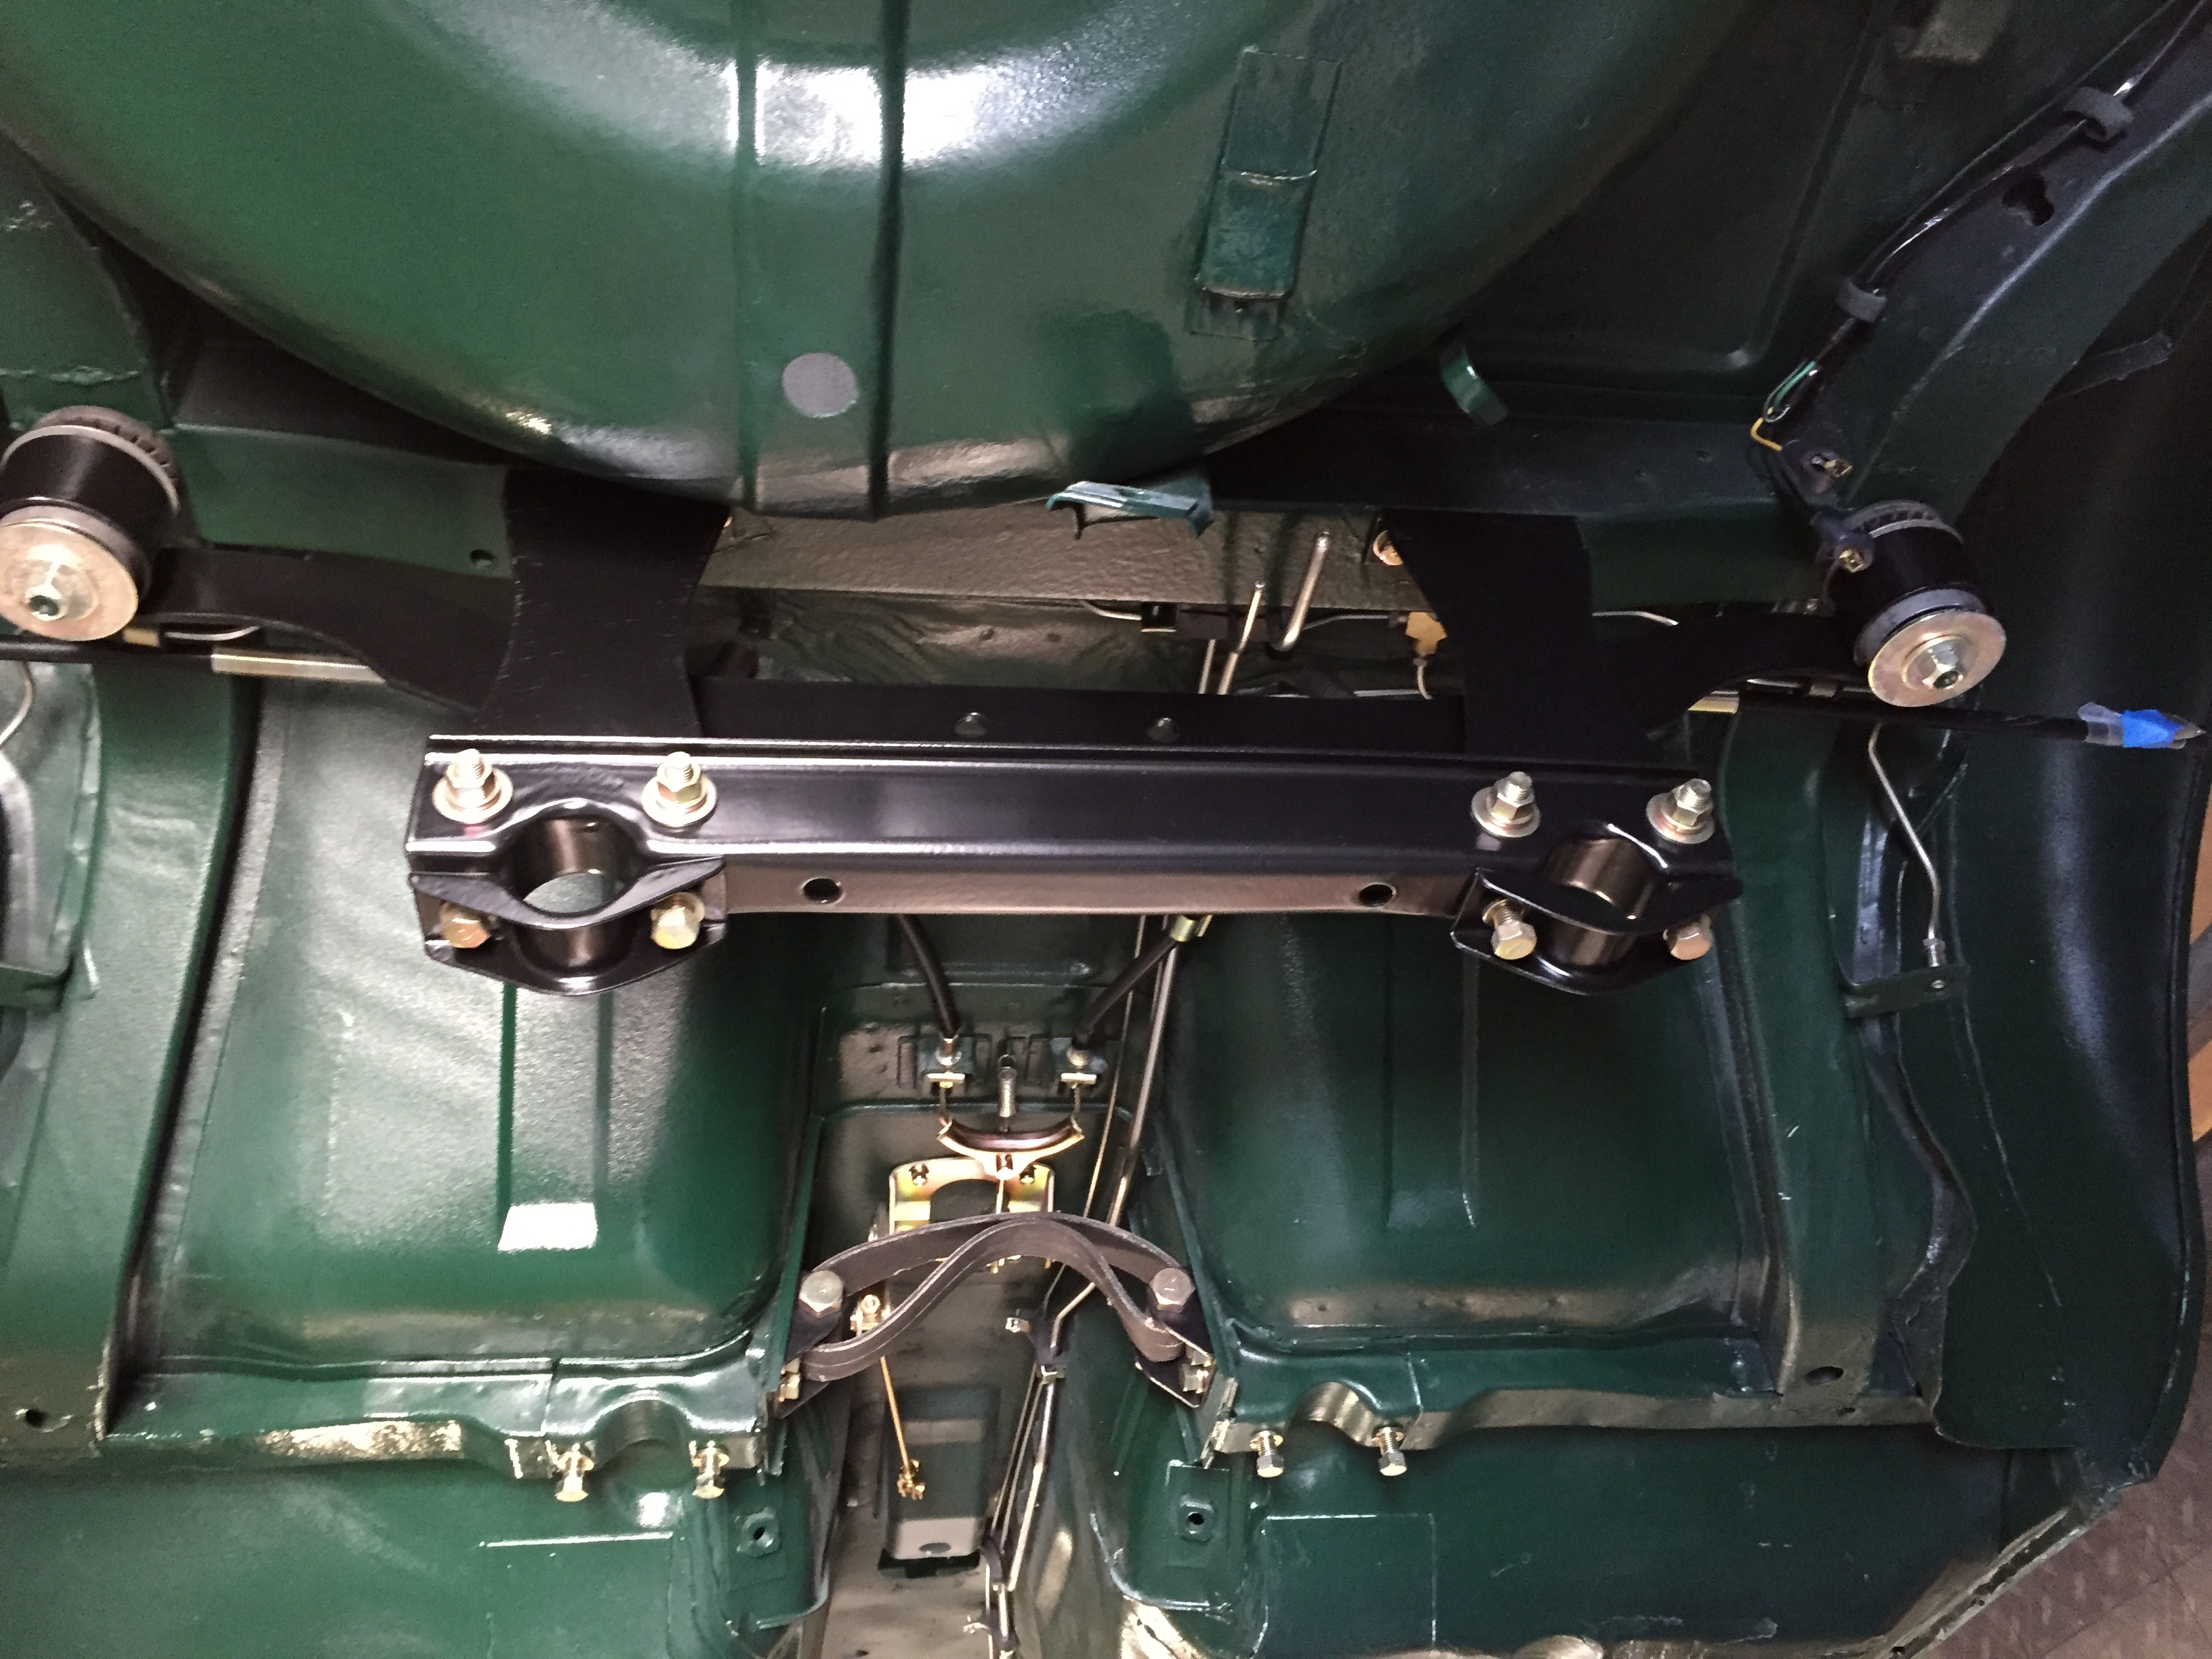
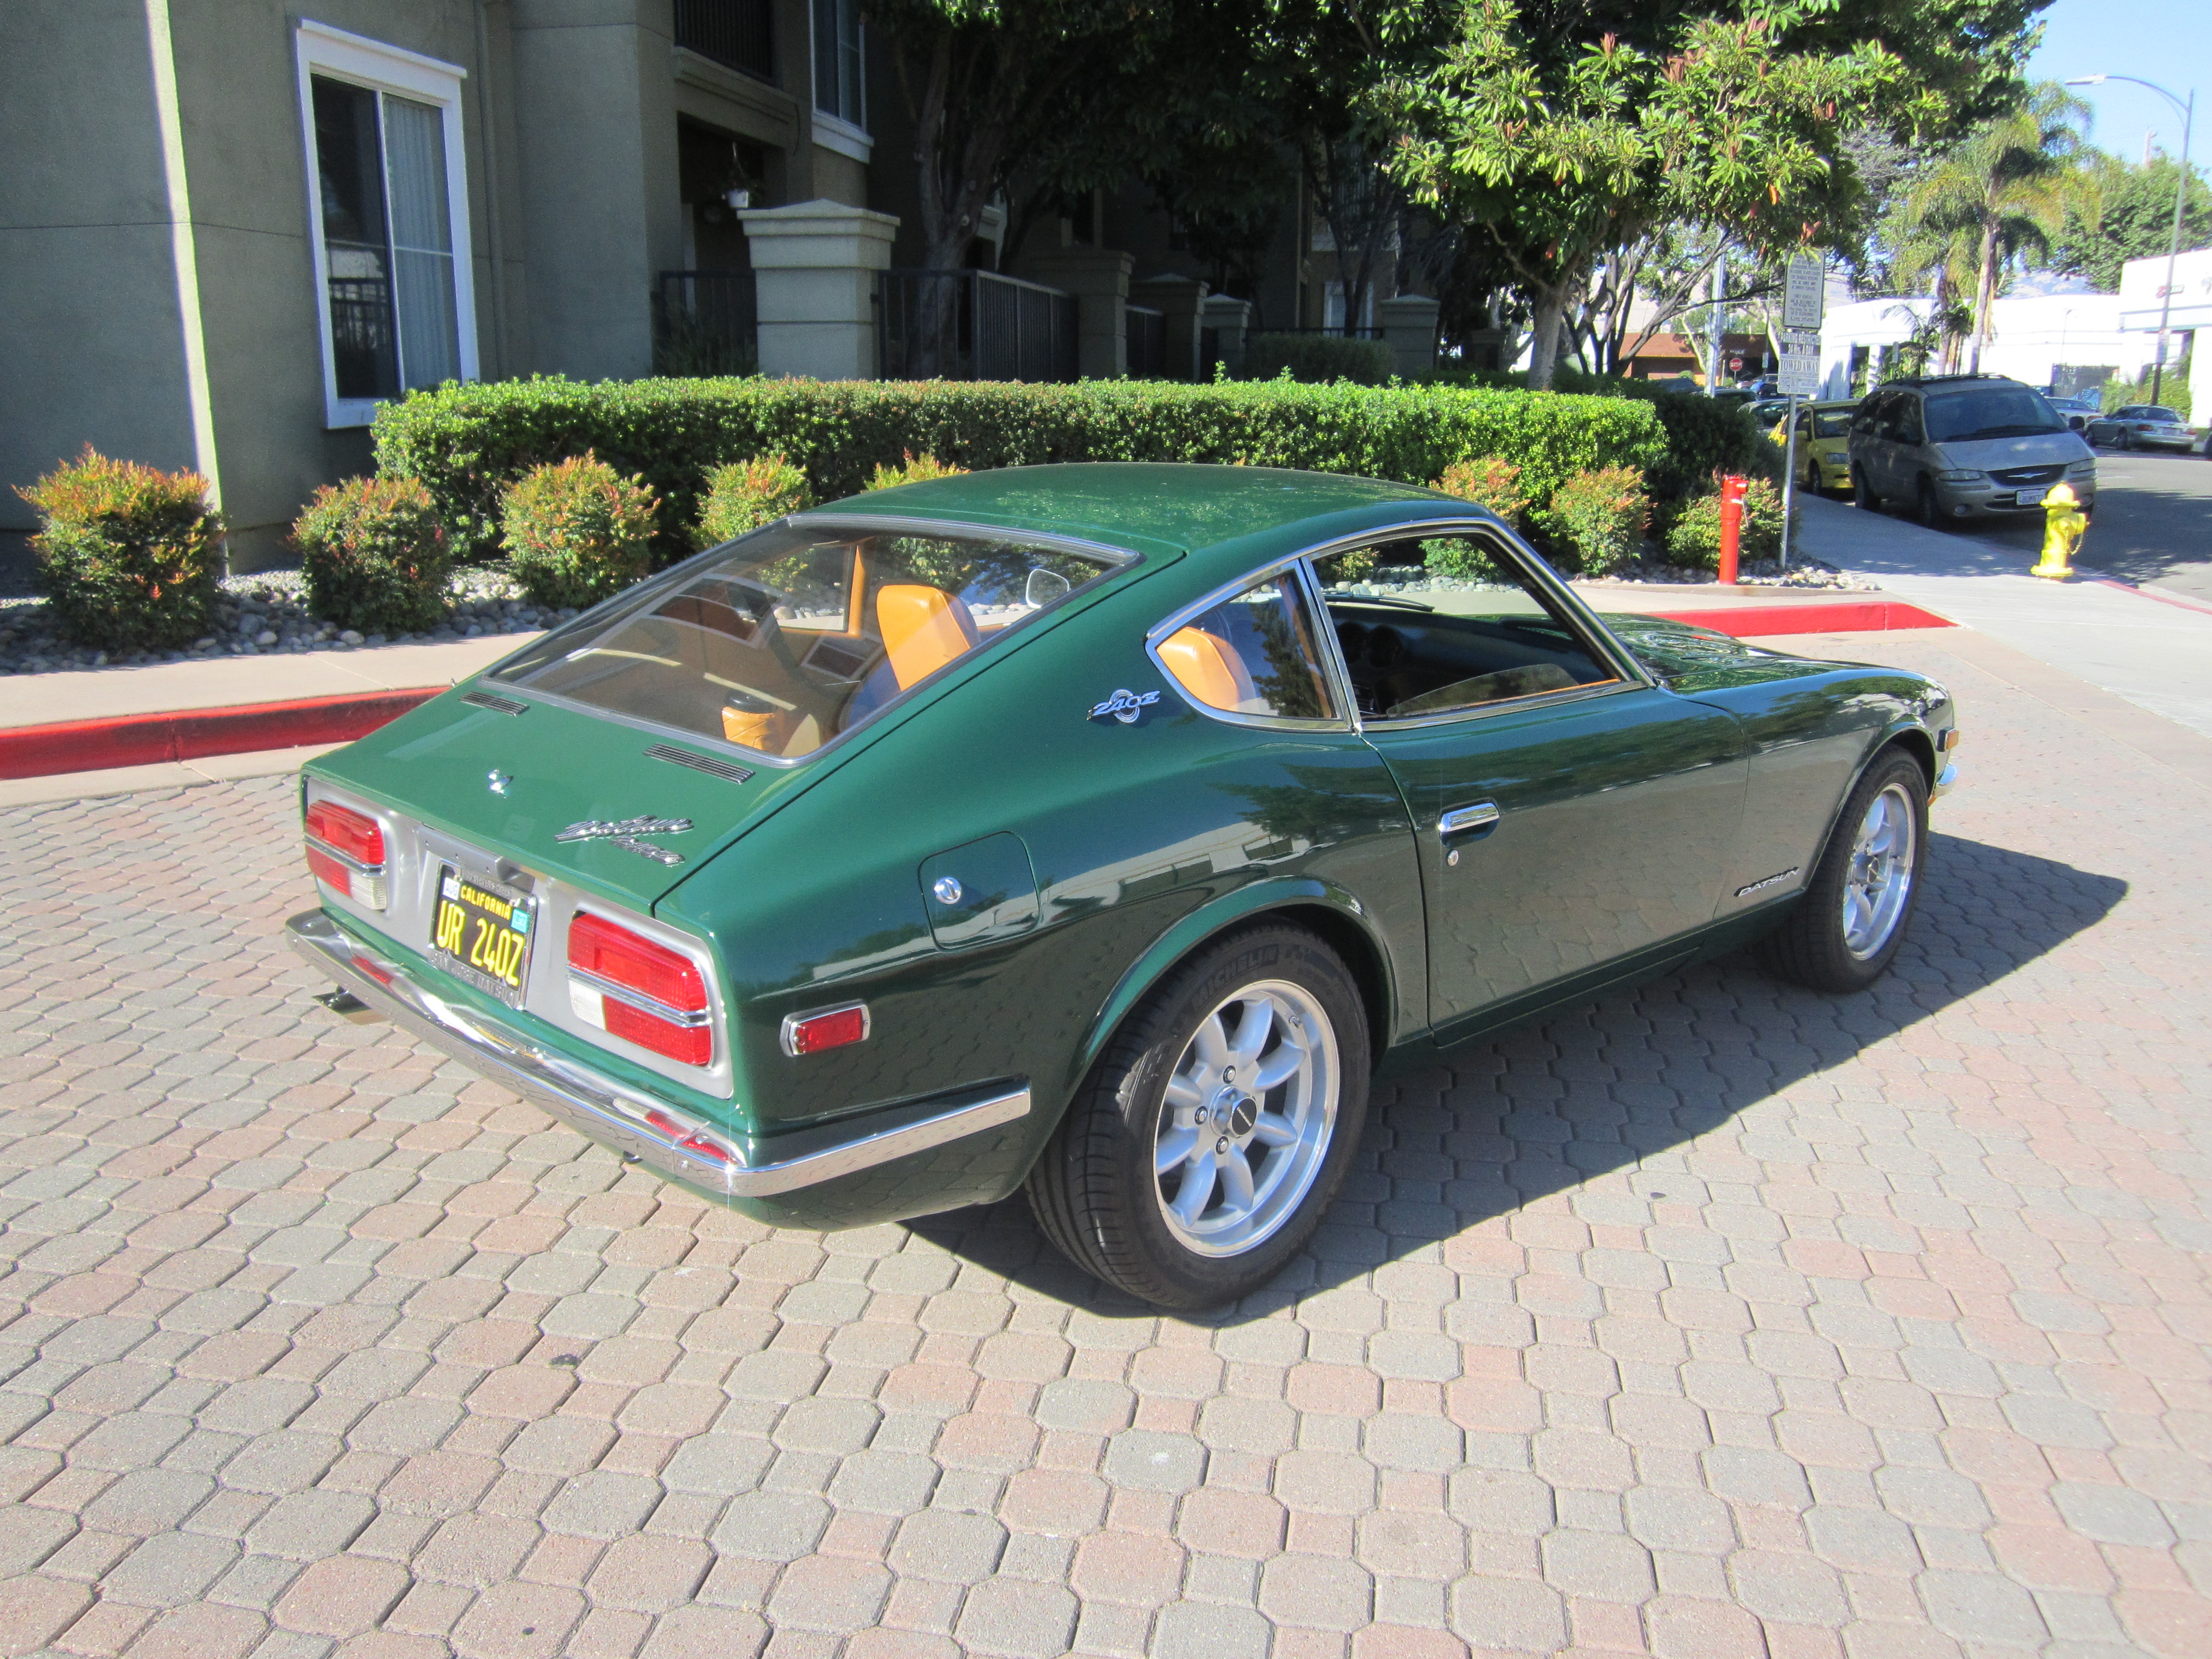
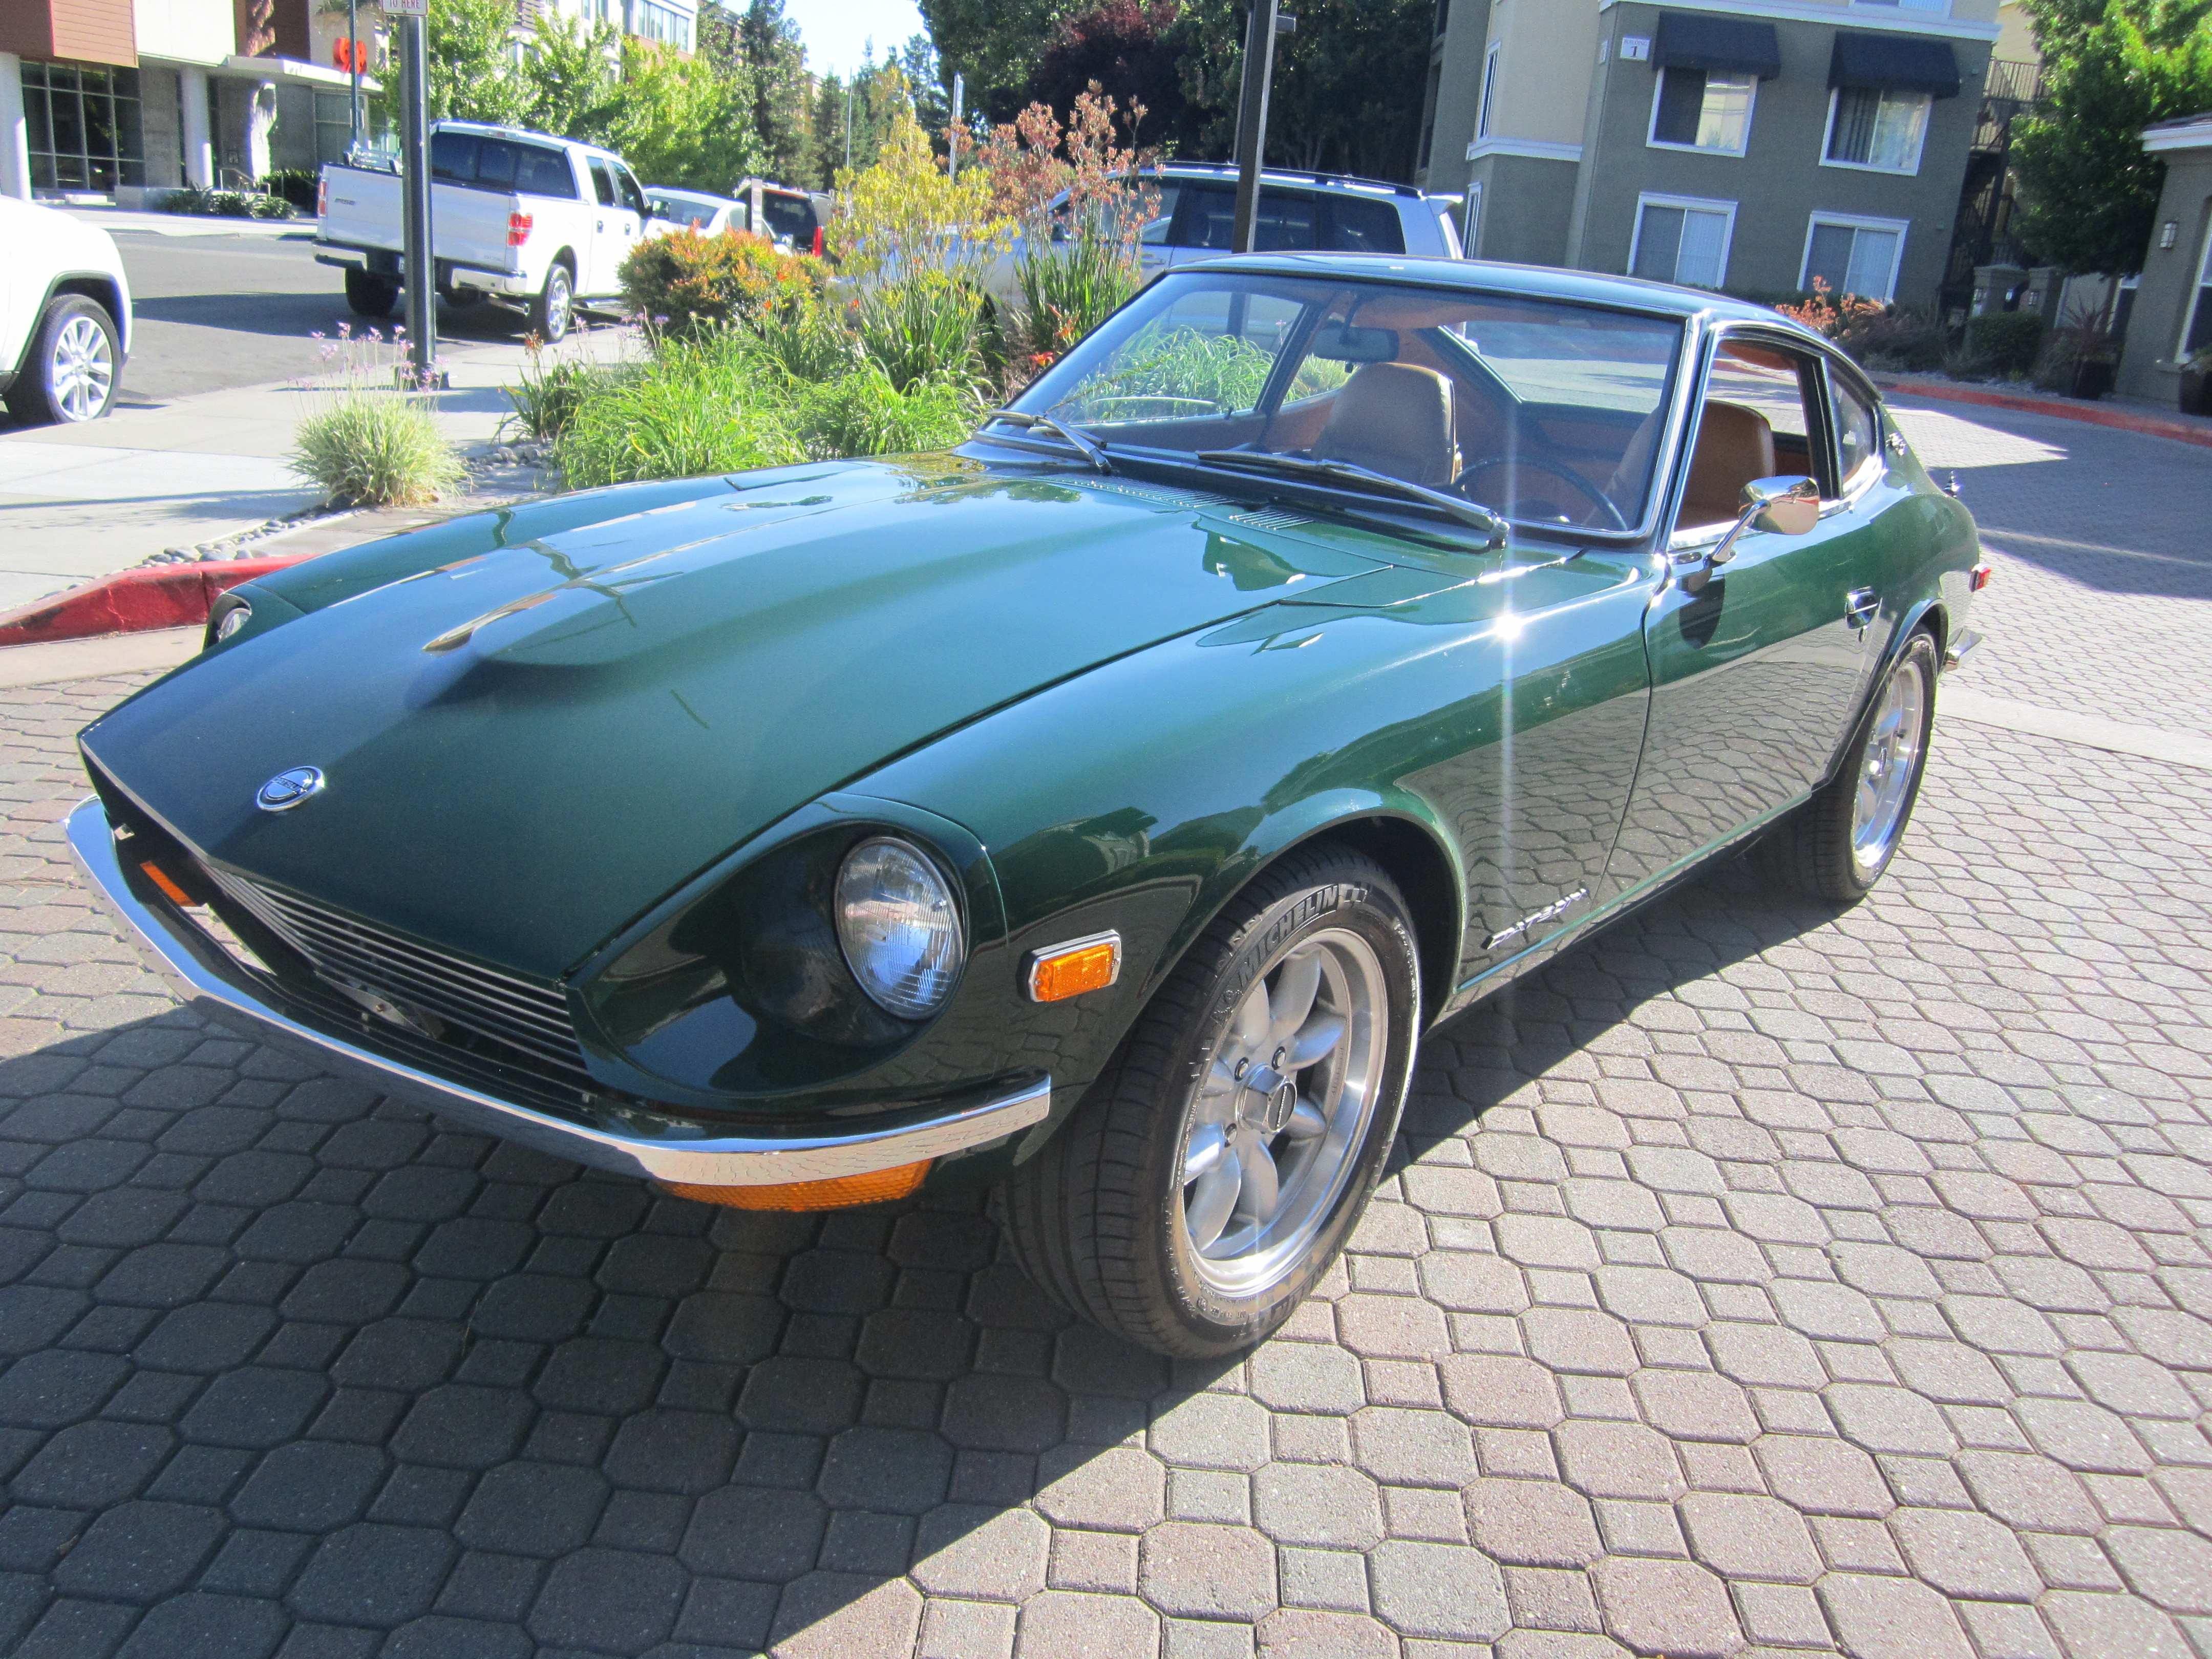
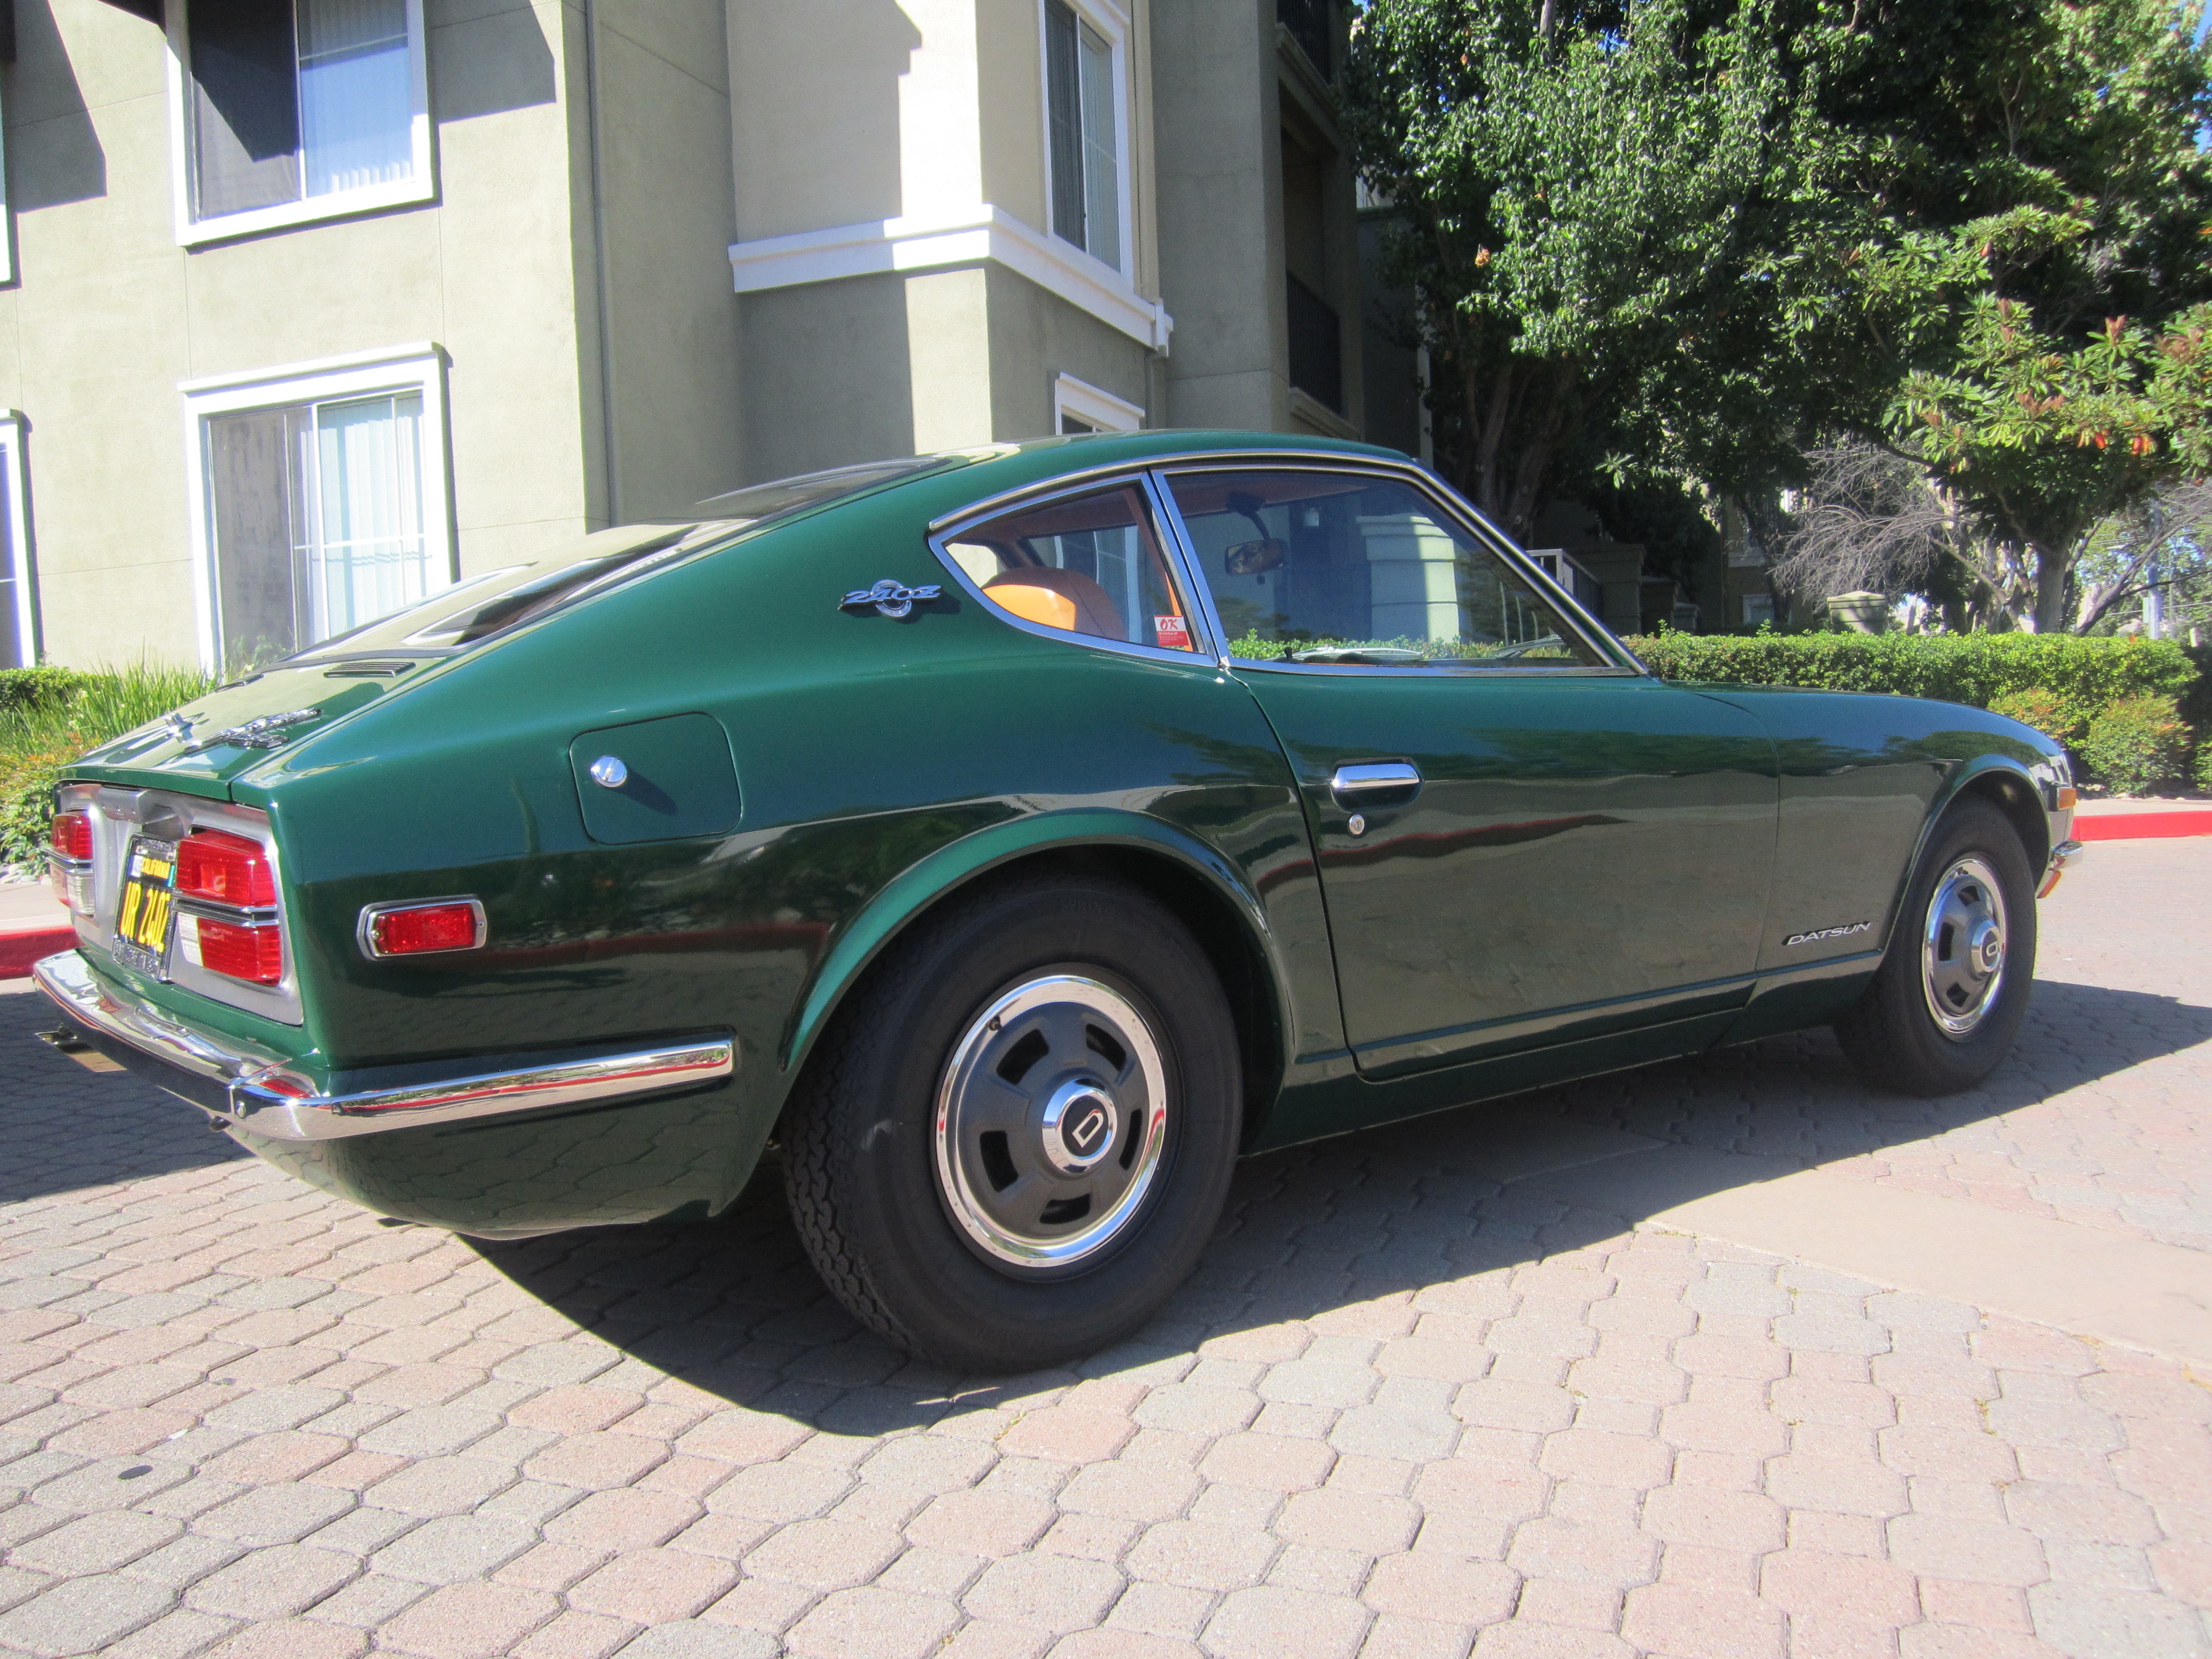
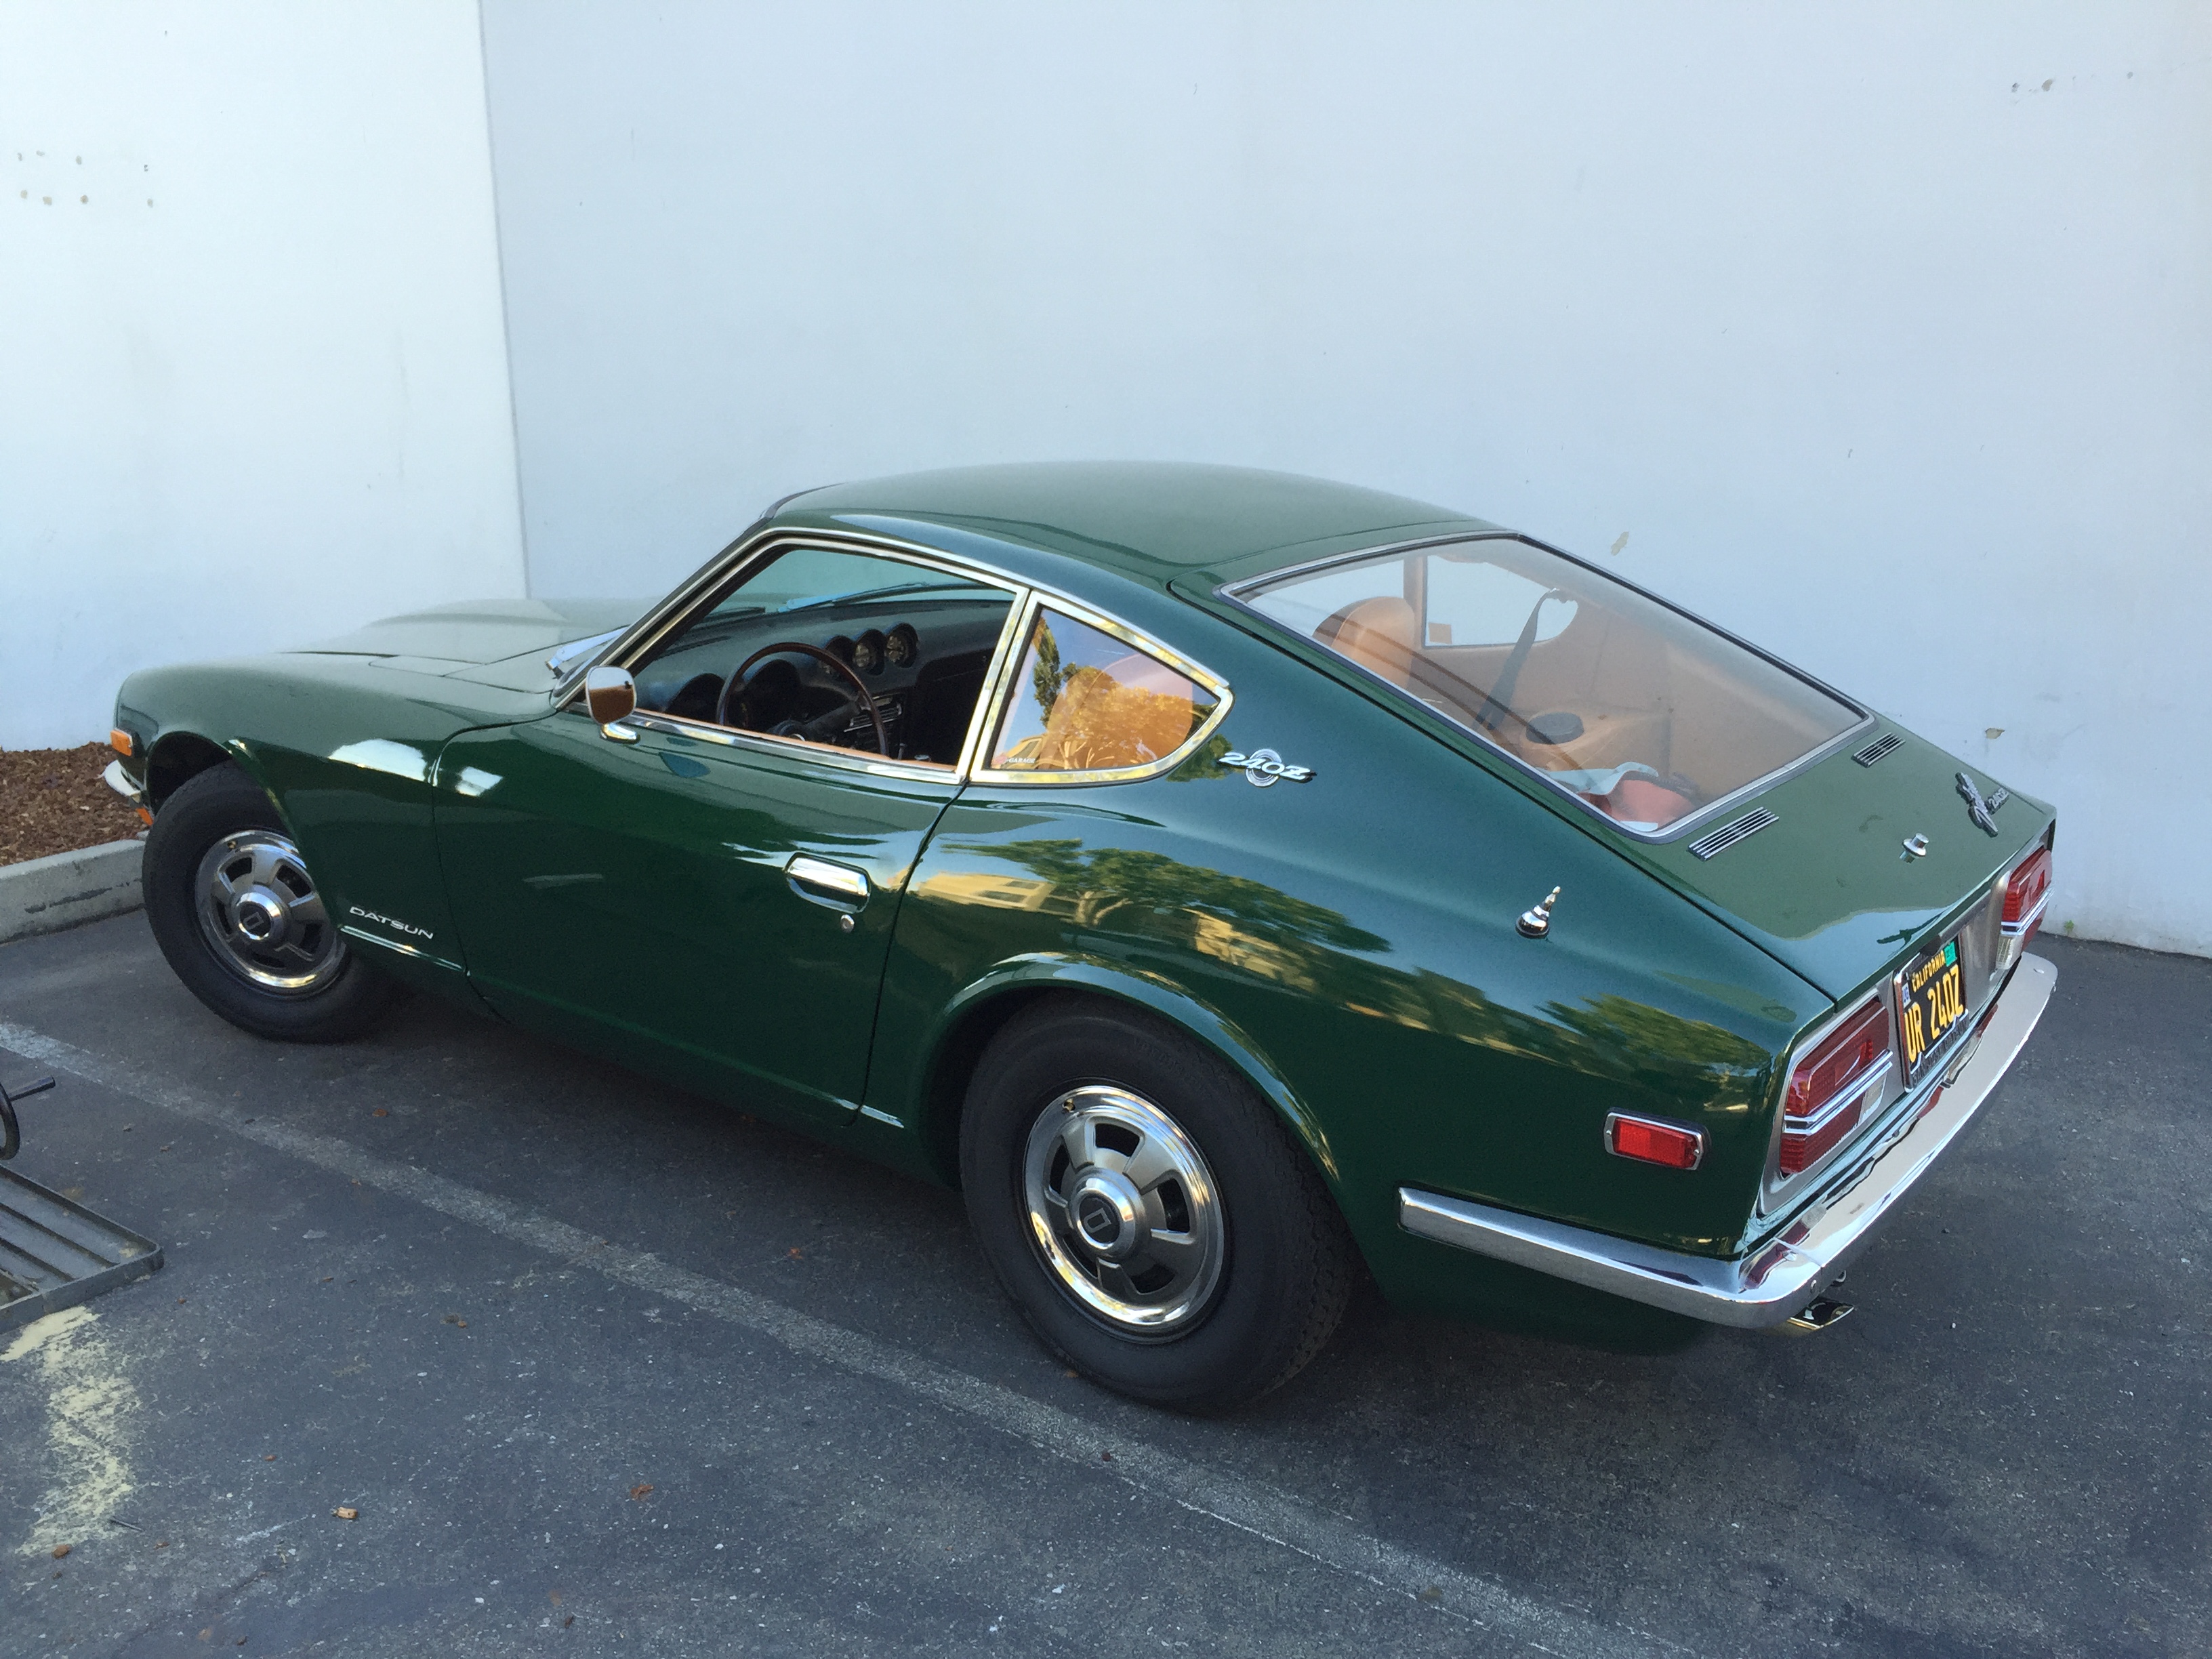
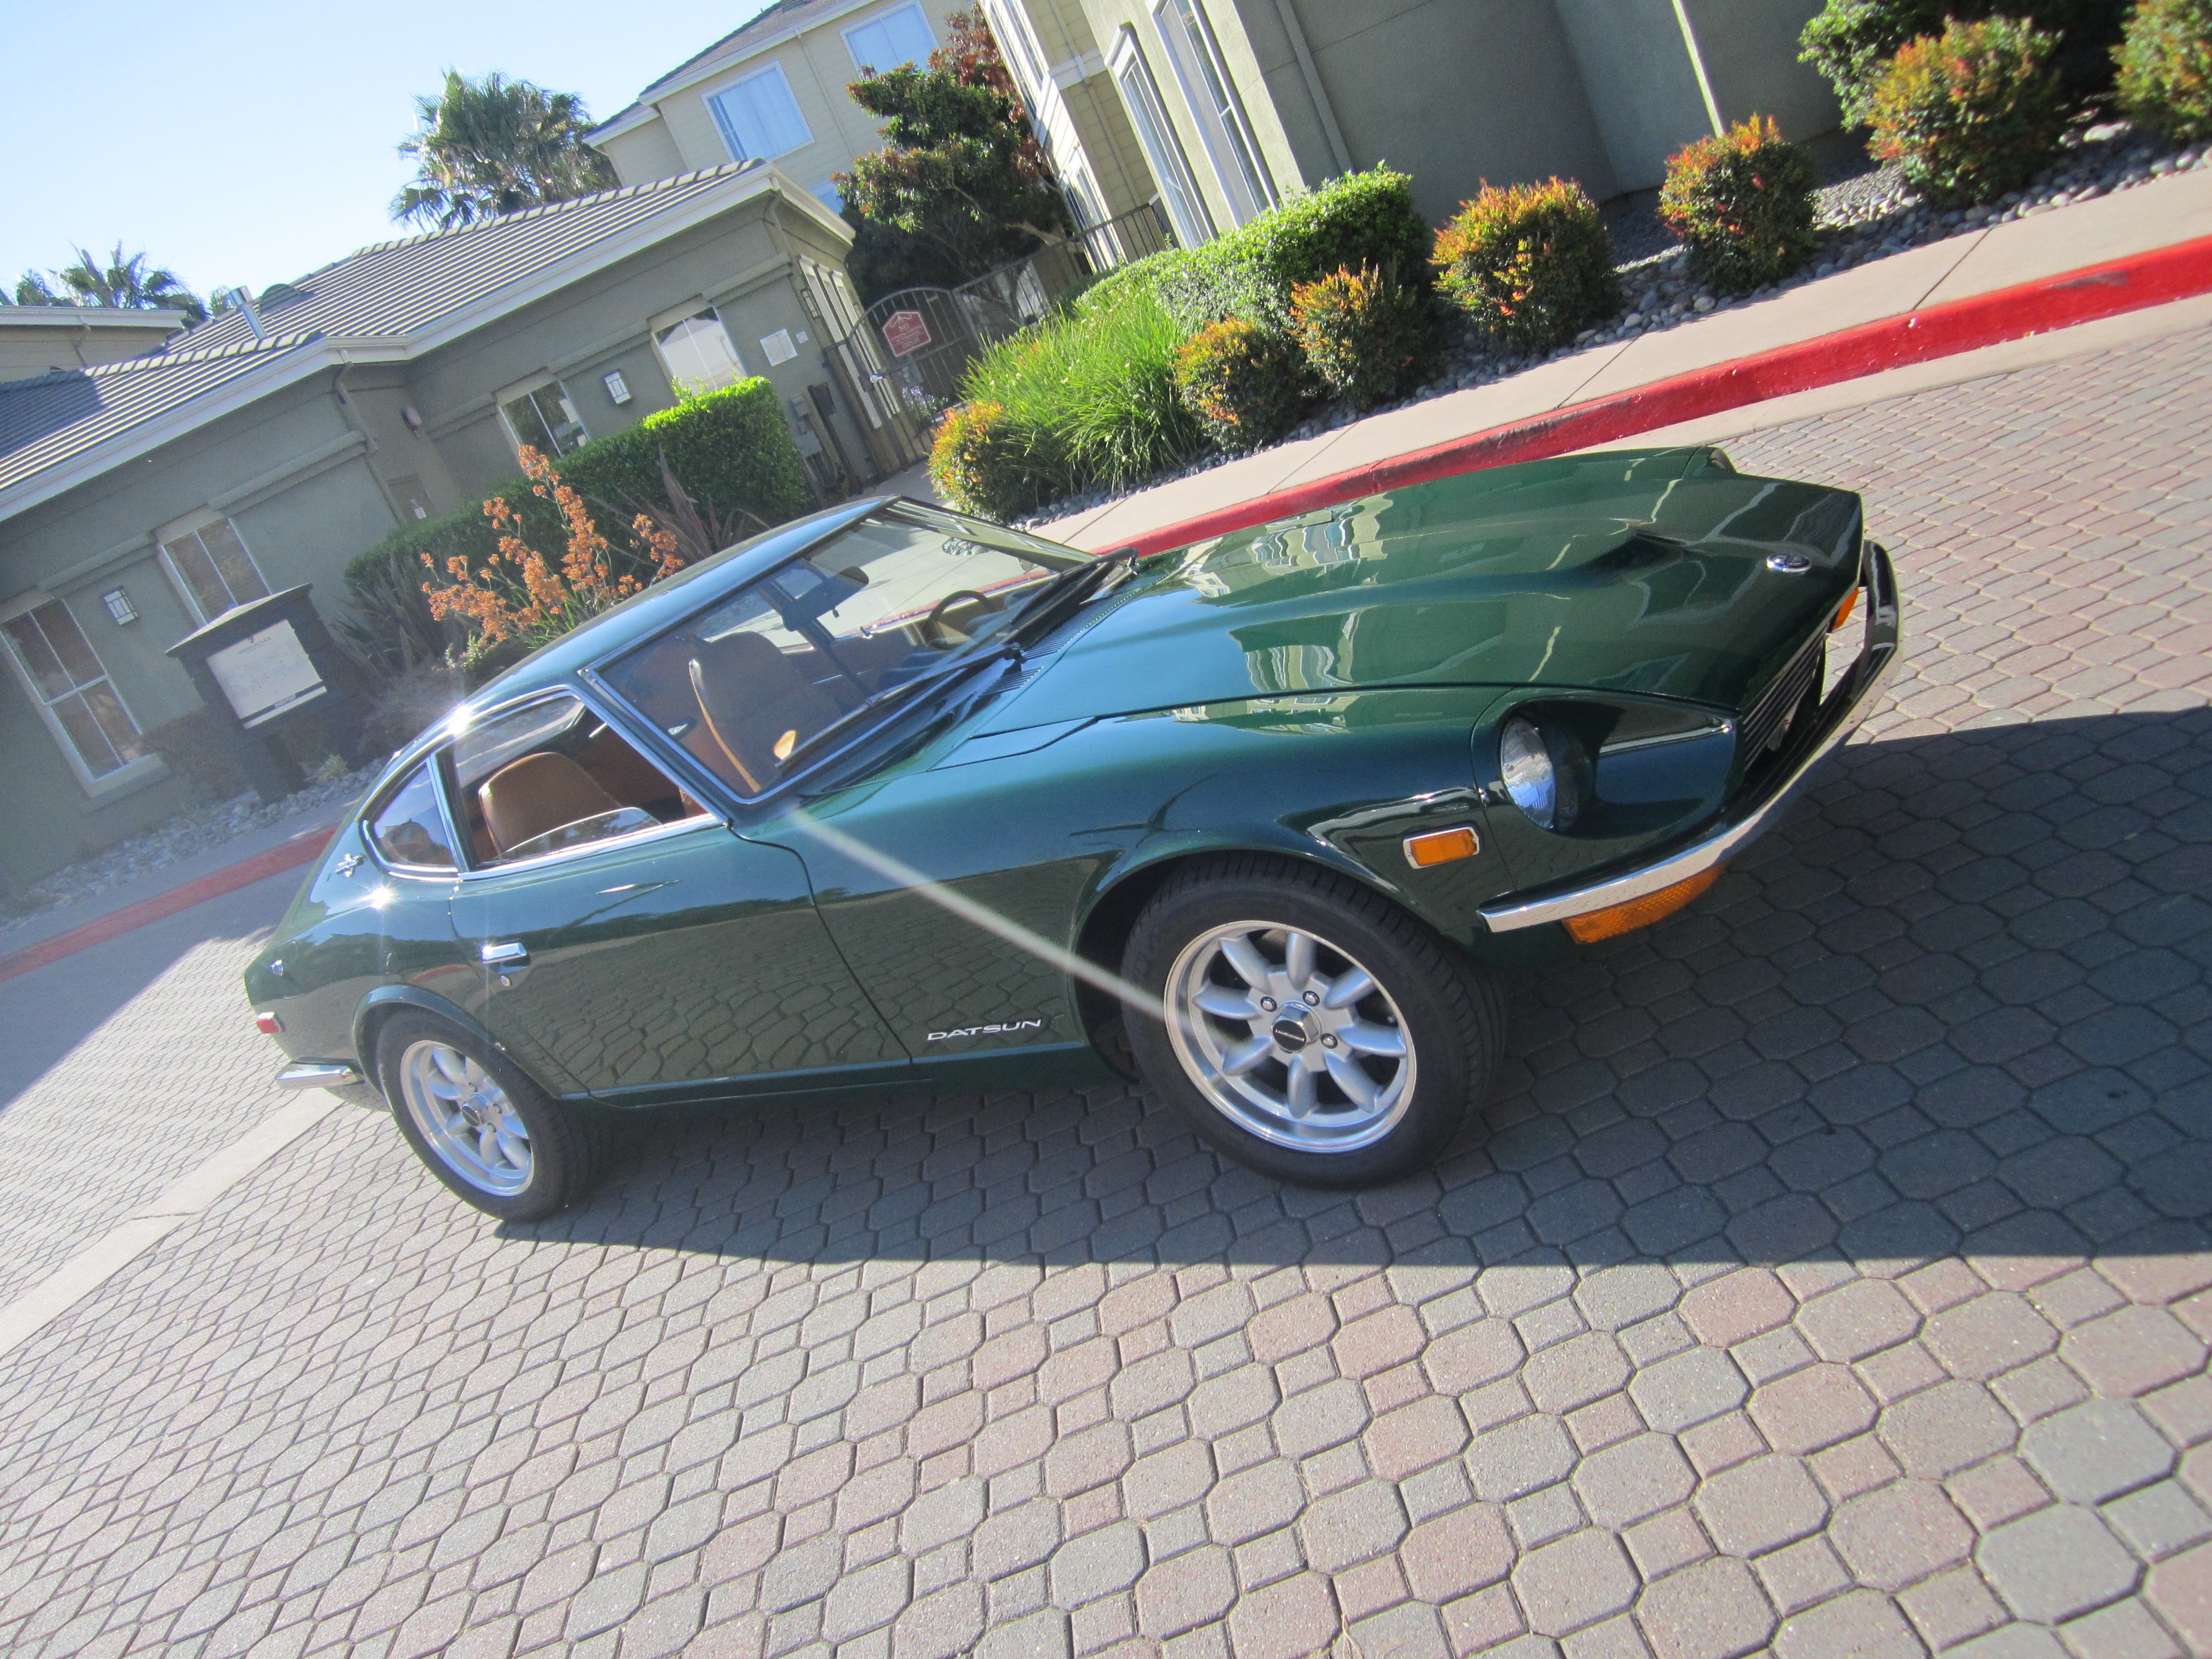
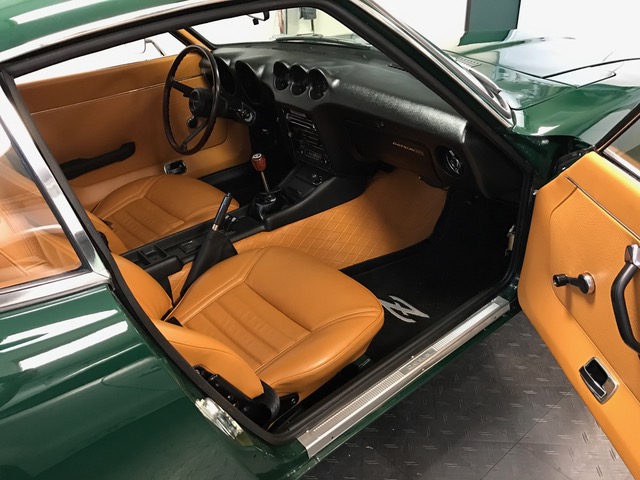
To ensure that David could pick up his Z from us and start Enjoying The Ride immediately, we performed clean-up work on the interior and sorted the turn signals and headlights. Aesthetically he wanted to change a few things like the front end. We installed a Euro front bumper with Josh fabricating some brackets to make this 280Z look great:
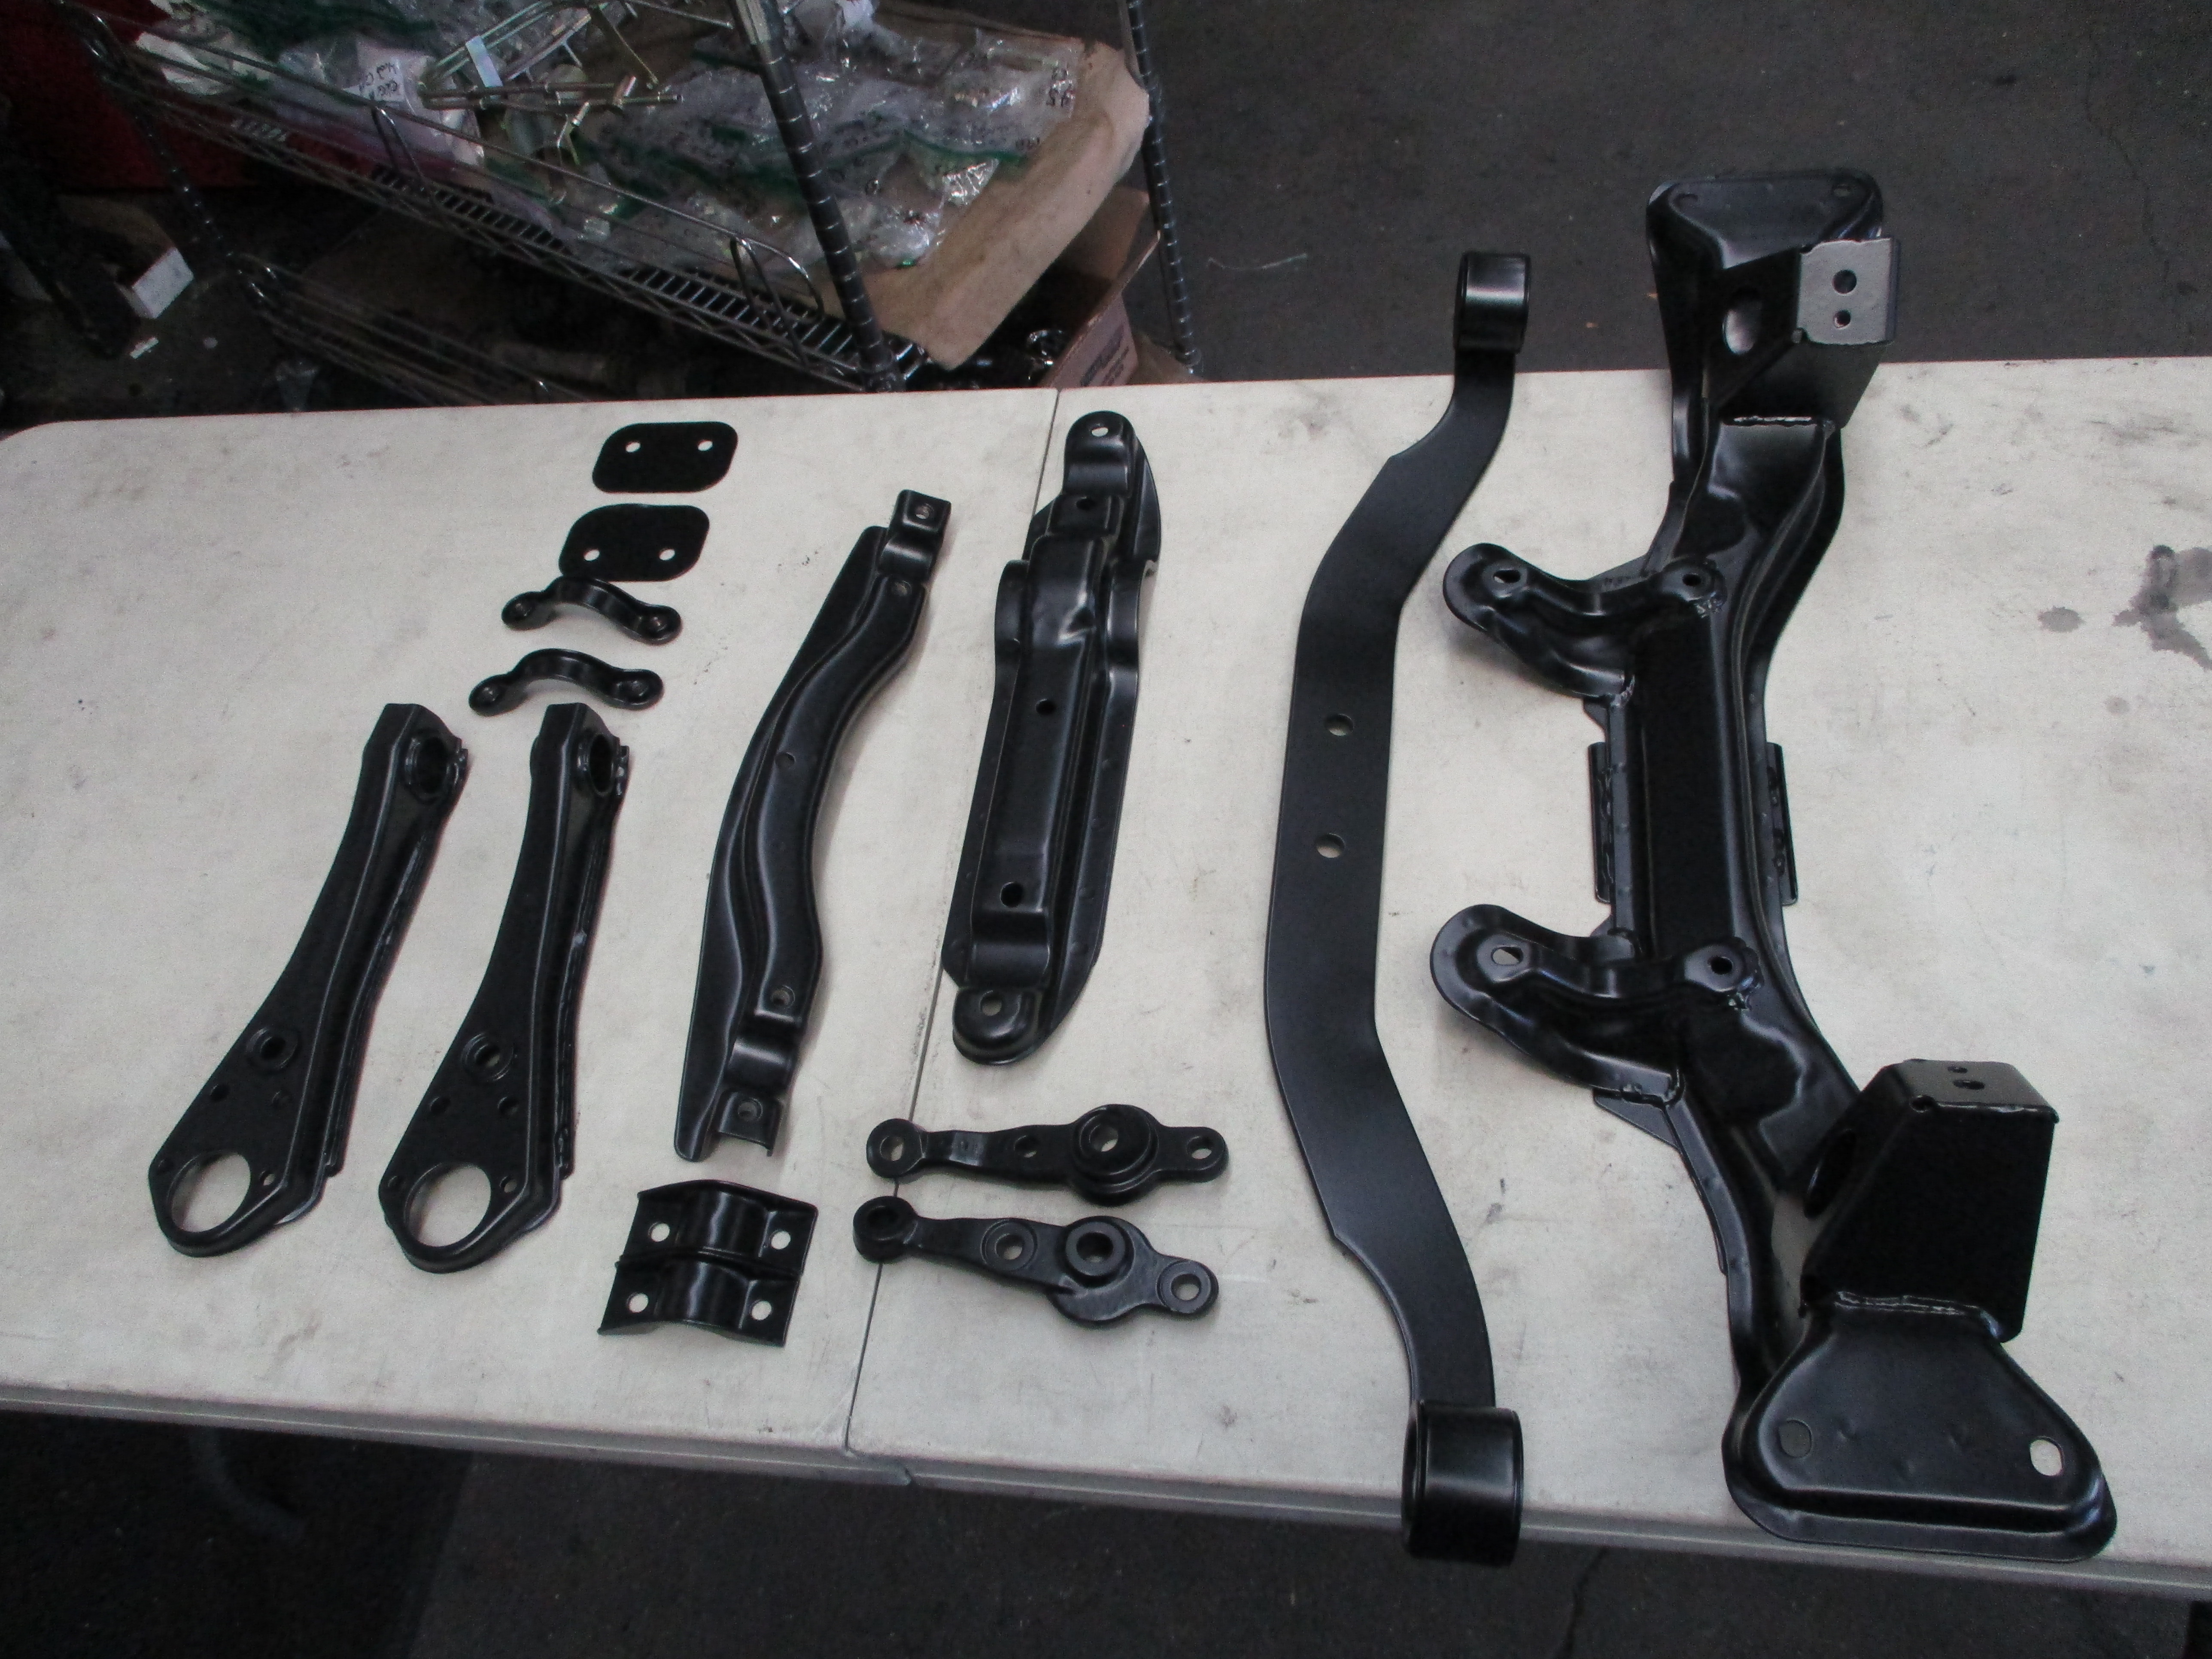
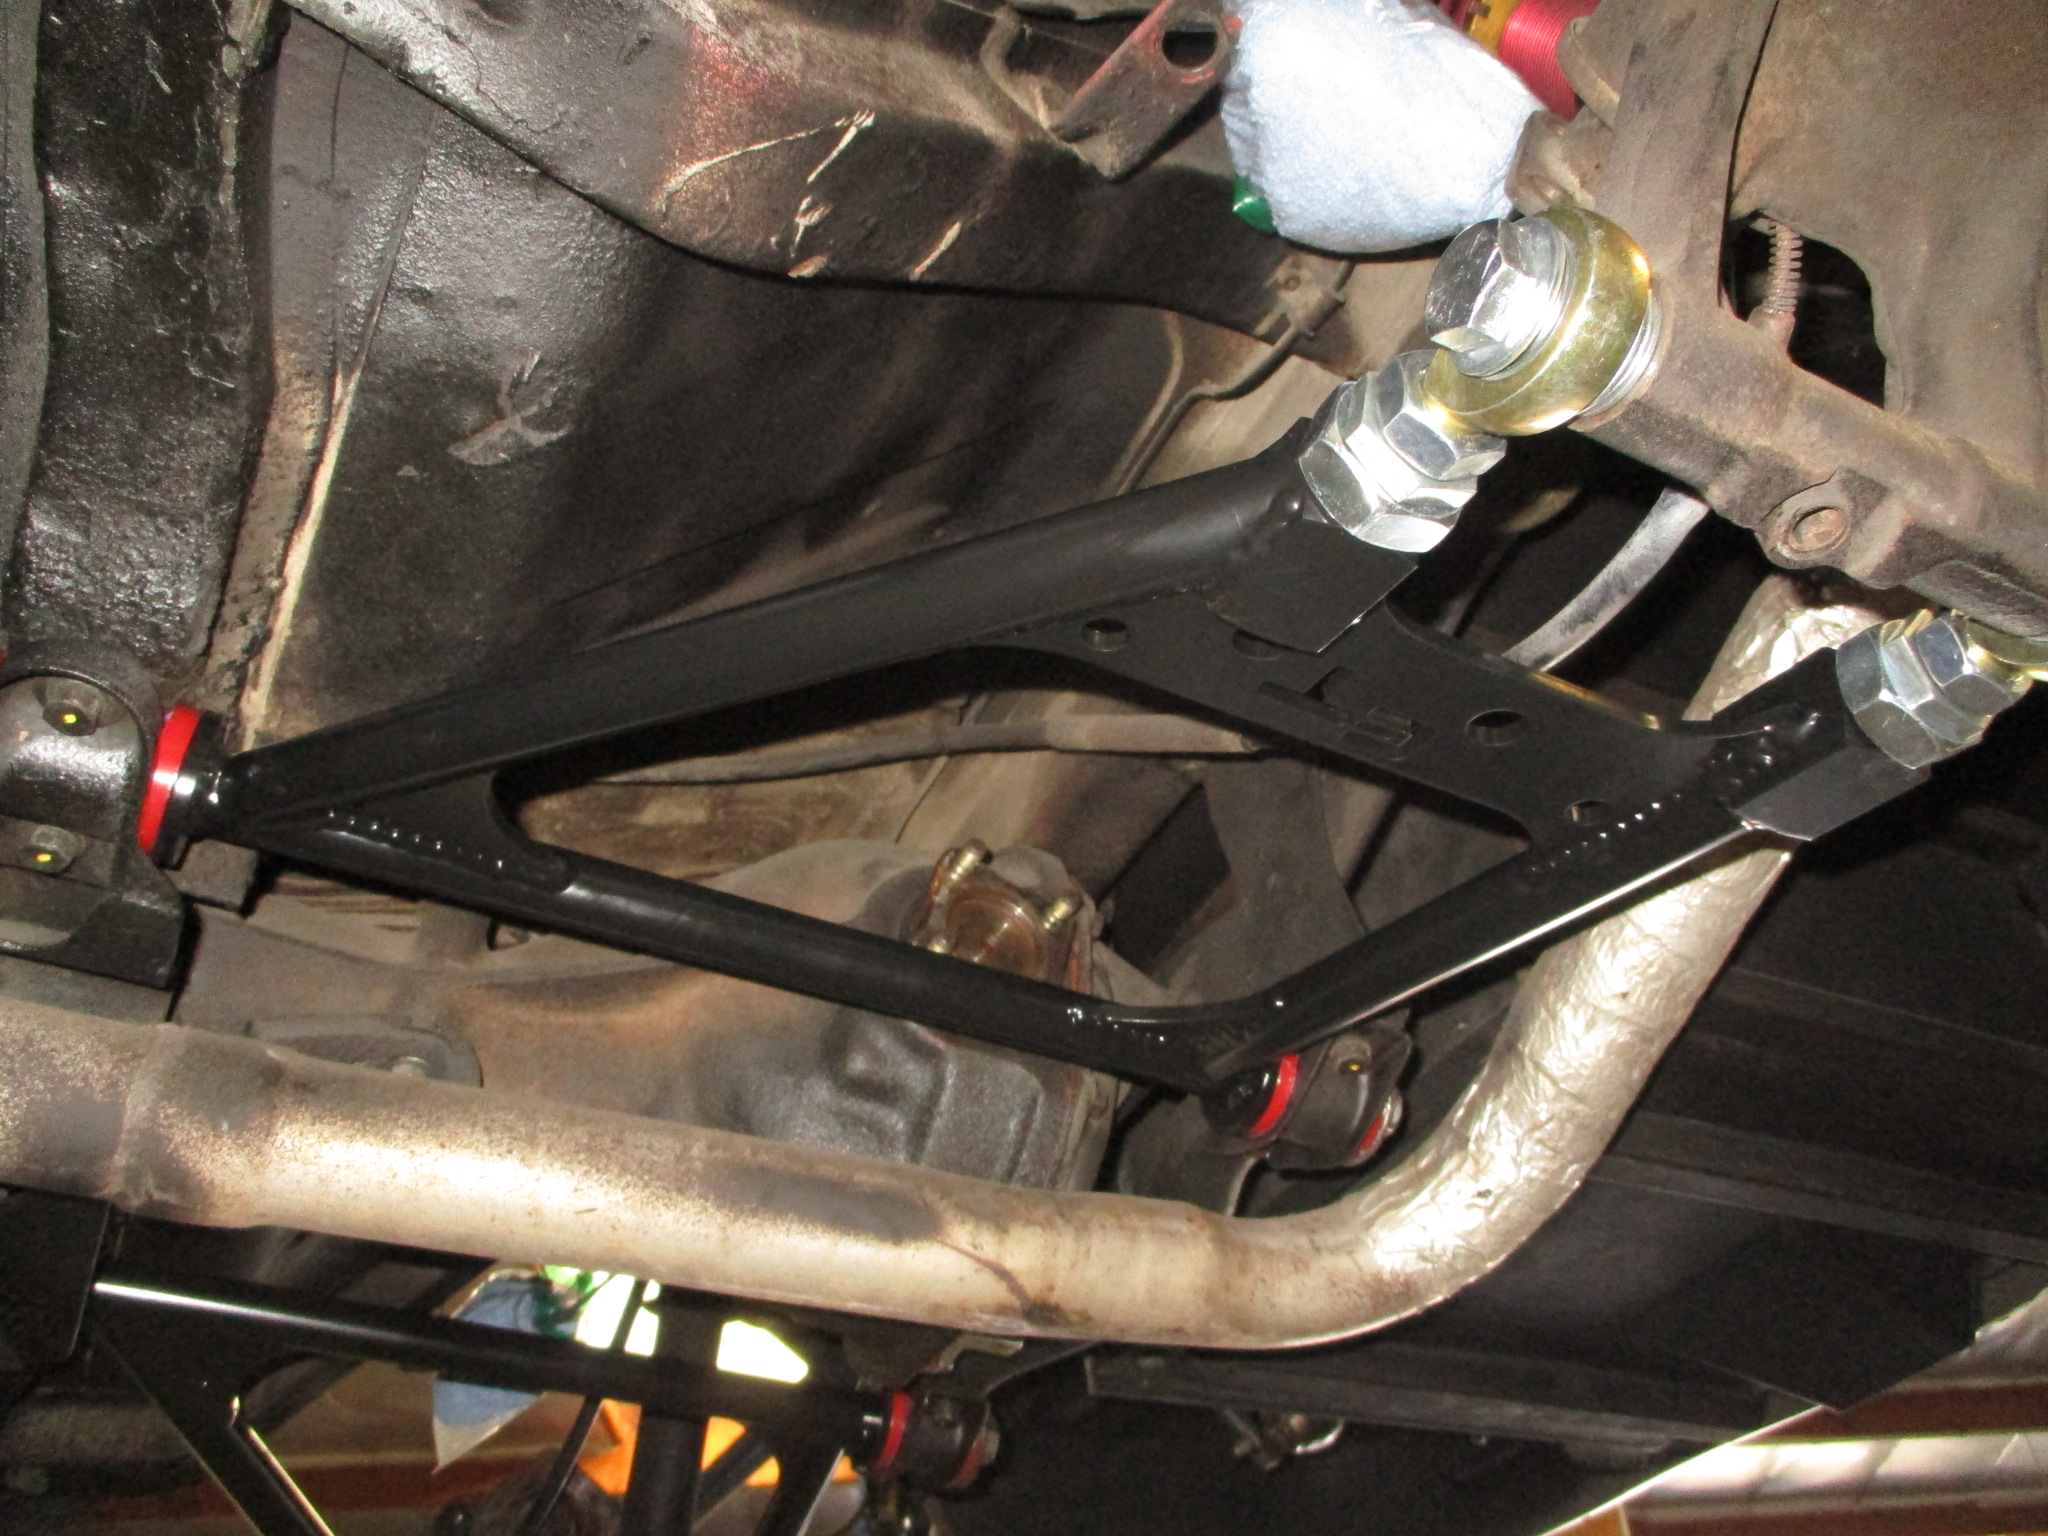
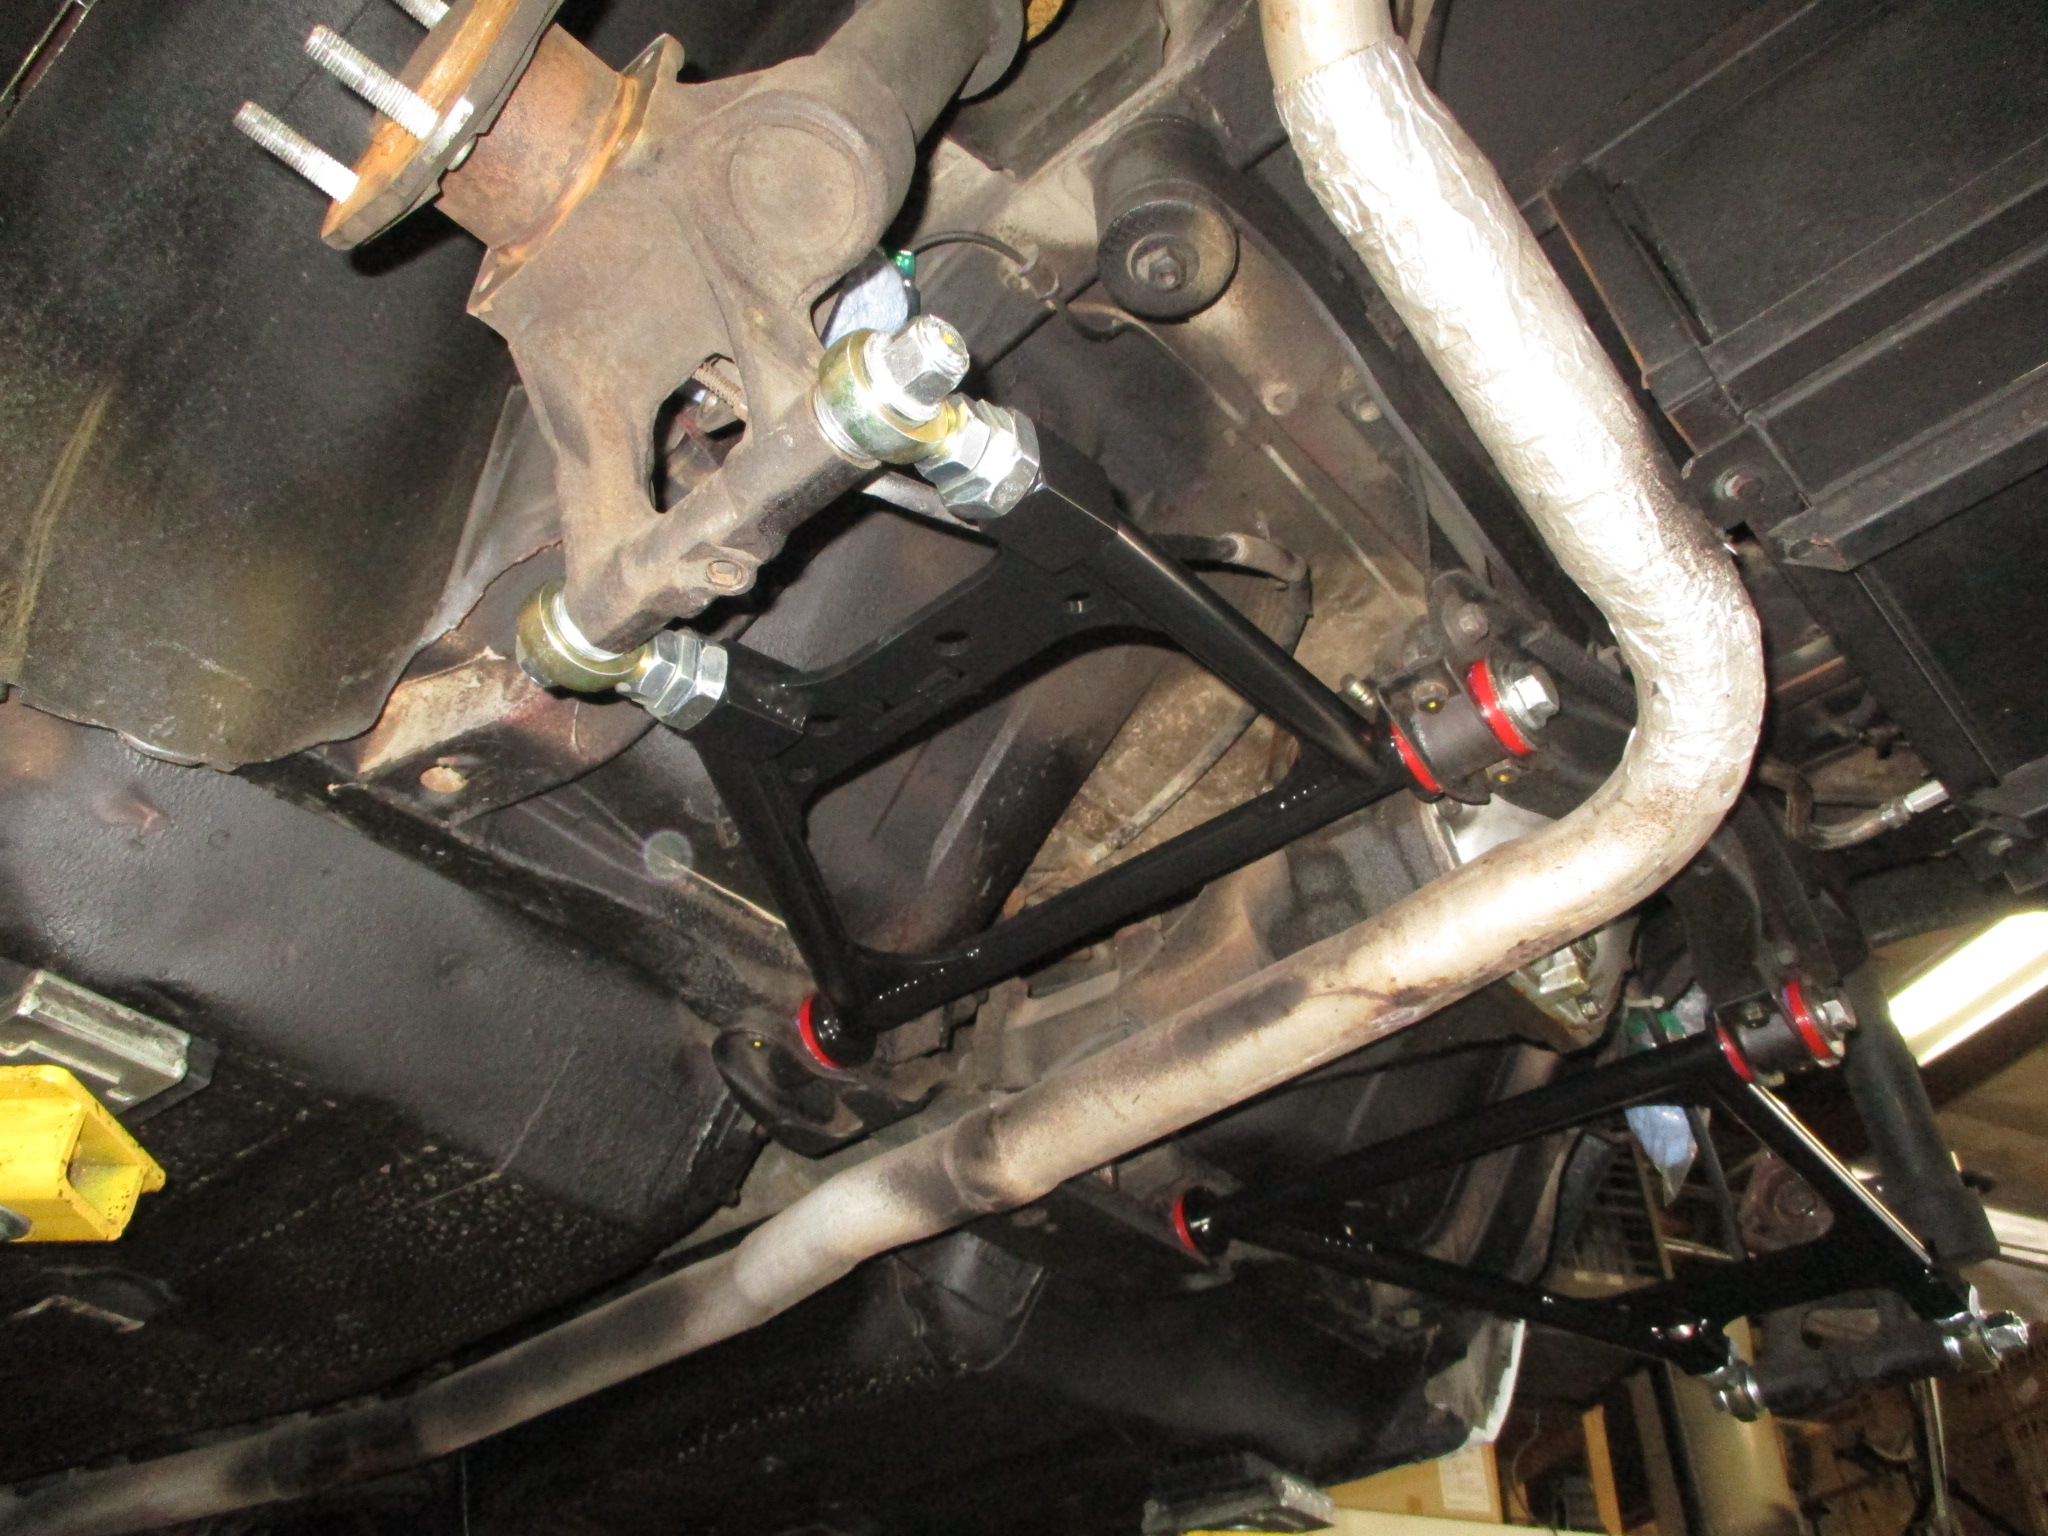
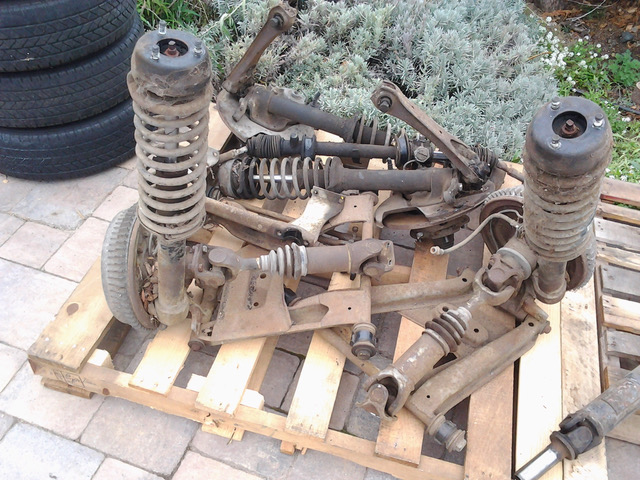
David was blown away by the suspension and braking upgrades:
“I was completely convinced that Rob was not only the right one, but probably the only one that could bring my 1975 280Z up to its fullest potential. I say the only one because of the custom built Z car garage suspension and brakes that Rob uses. We agreed on a comprehensive upgrade to my Z that would be completed in two stages. The first stage was completed this past March. The 45 year old suspension was, to say the least, upgraded. Because Rob believes in a holistic approach, the suspension work also included the proper brakes, wheels and tires. All of the components were specifically chosen to work together in order to produce a car that handles phenomenally and almost unbelievably well.”
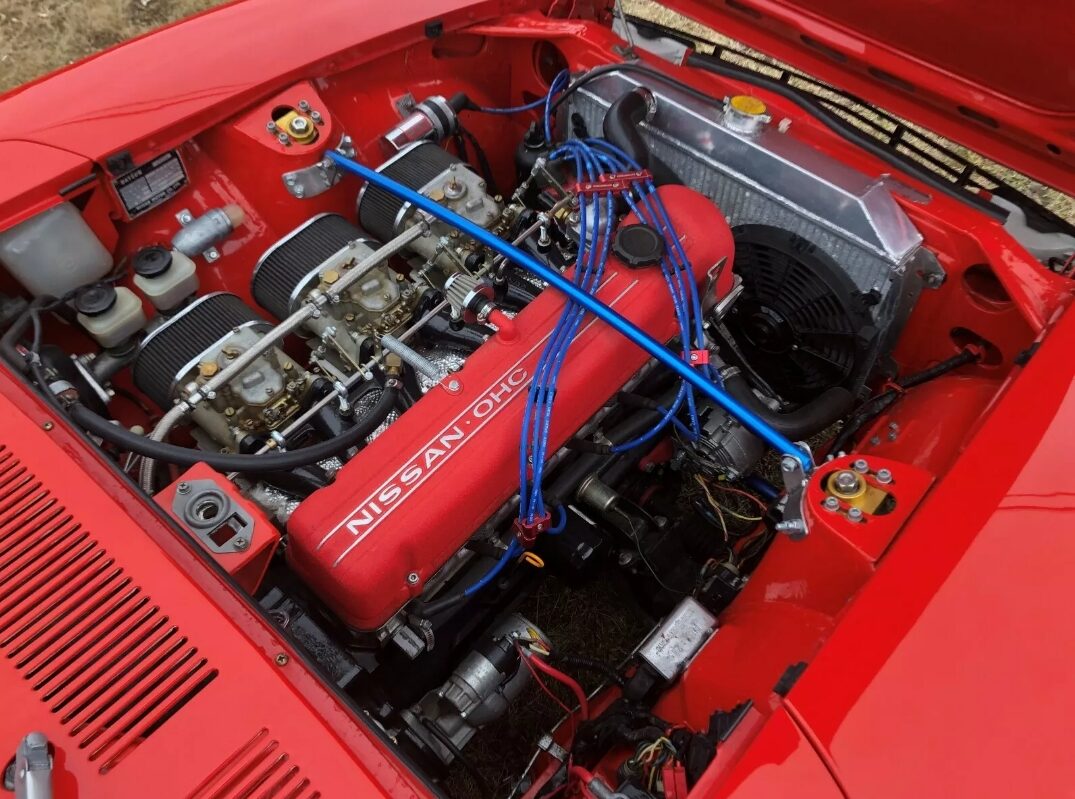
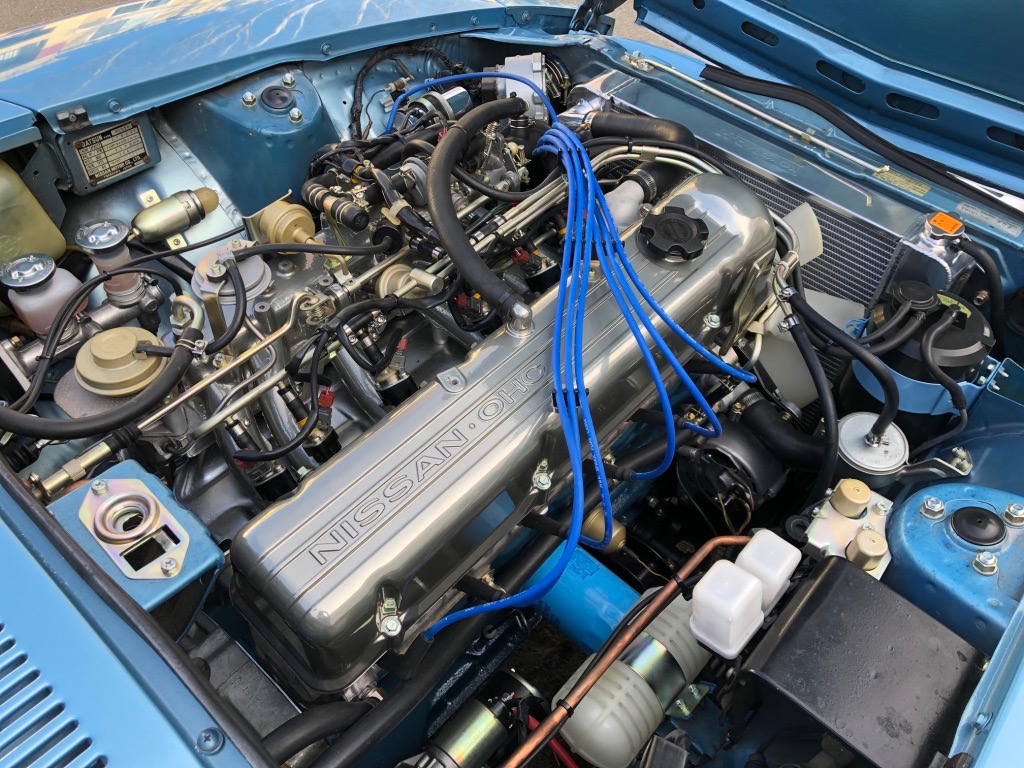
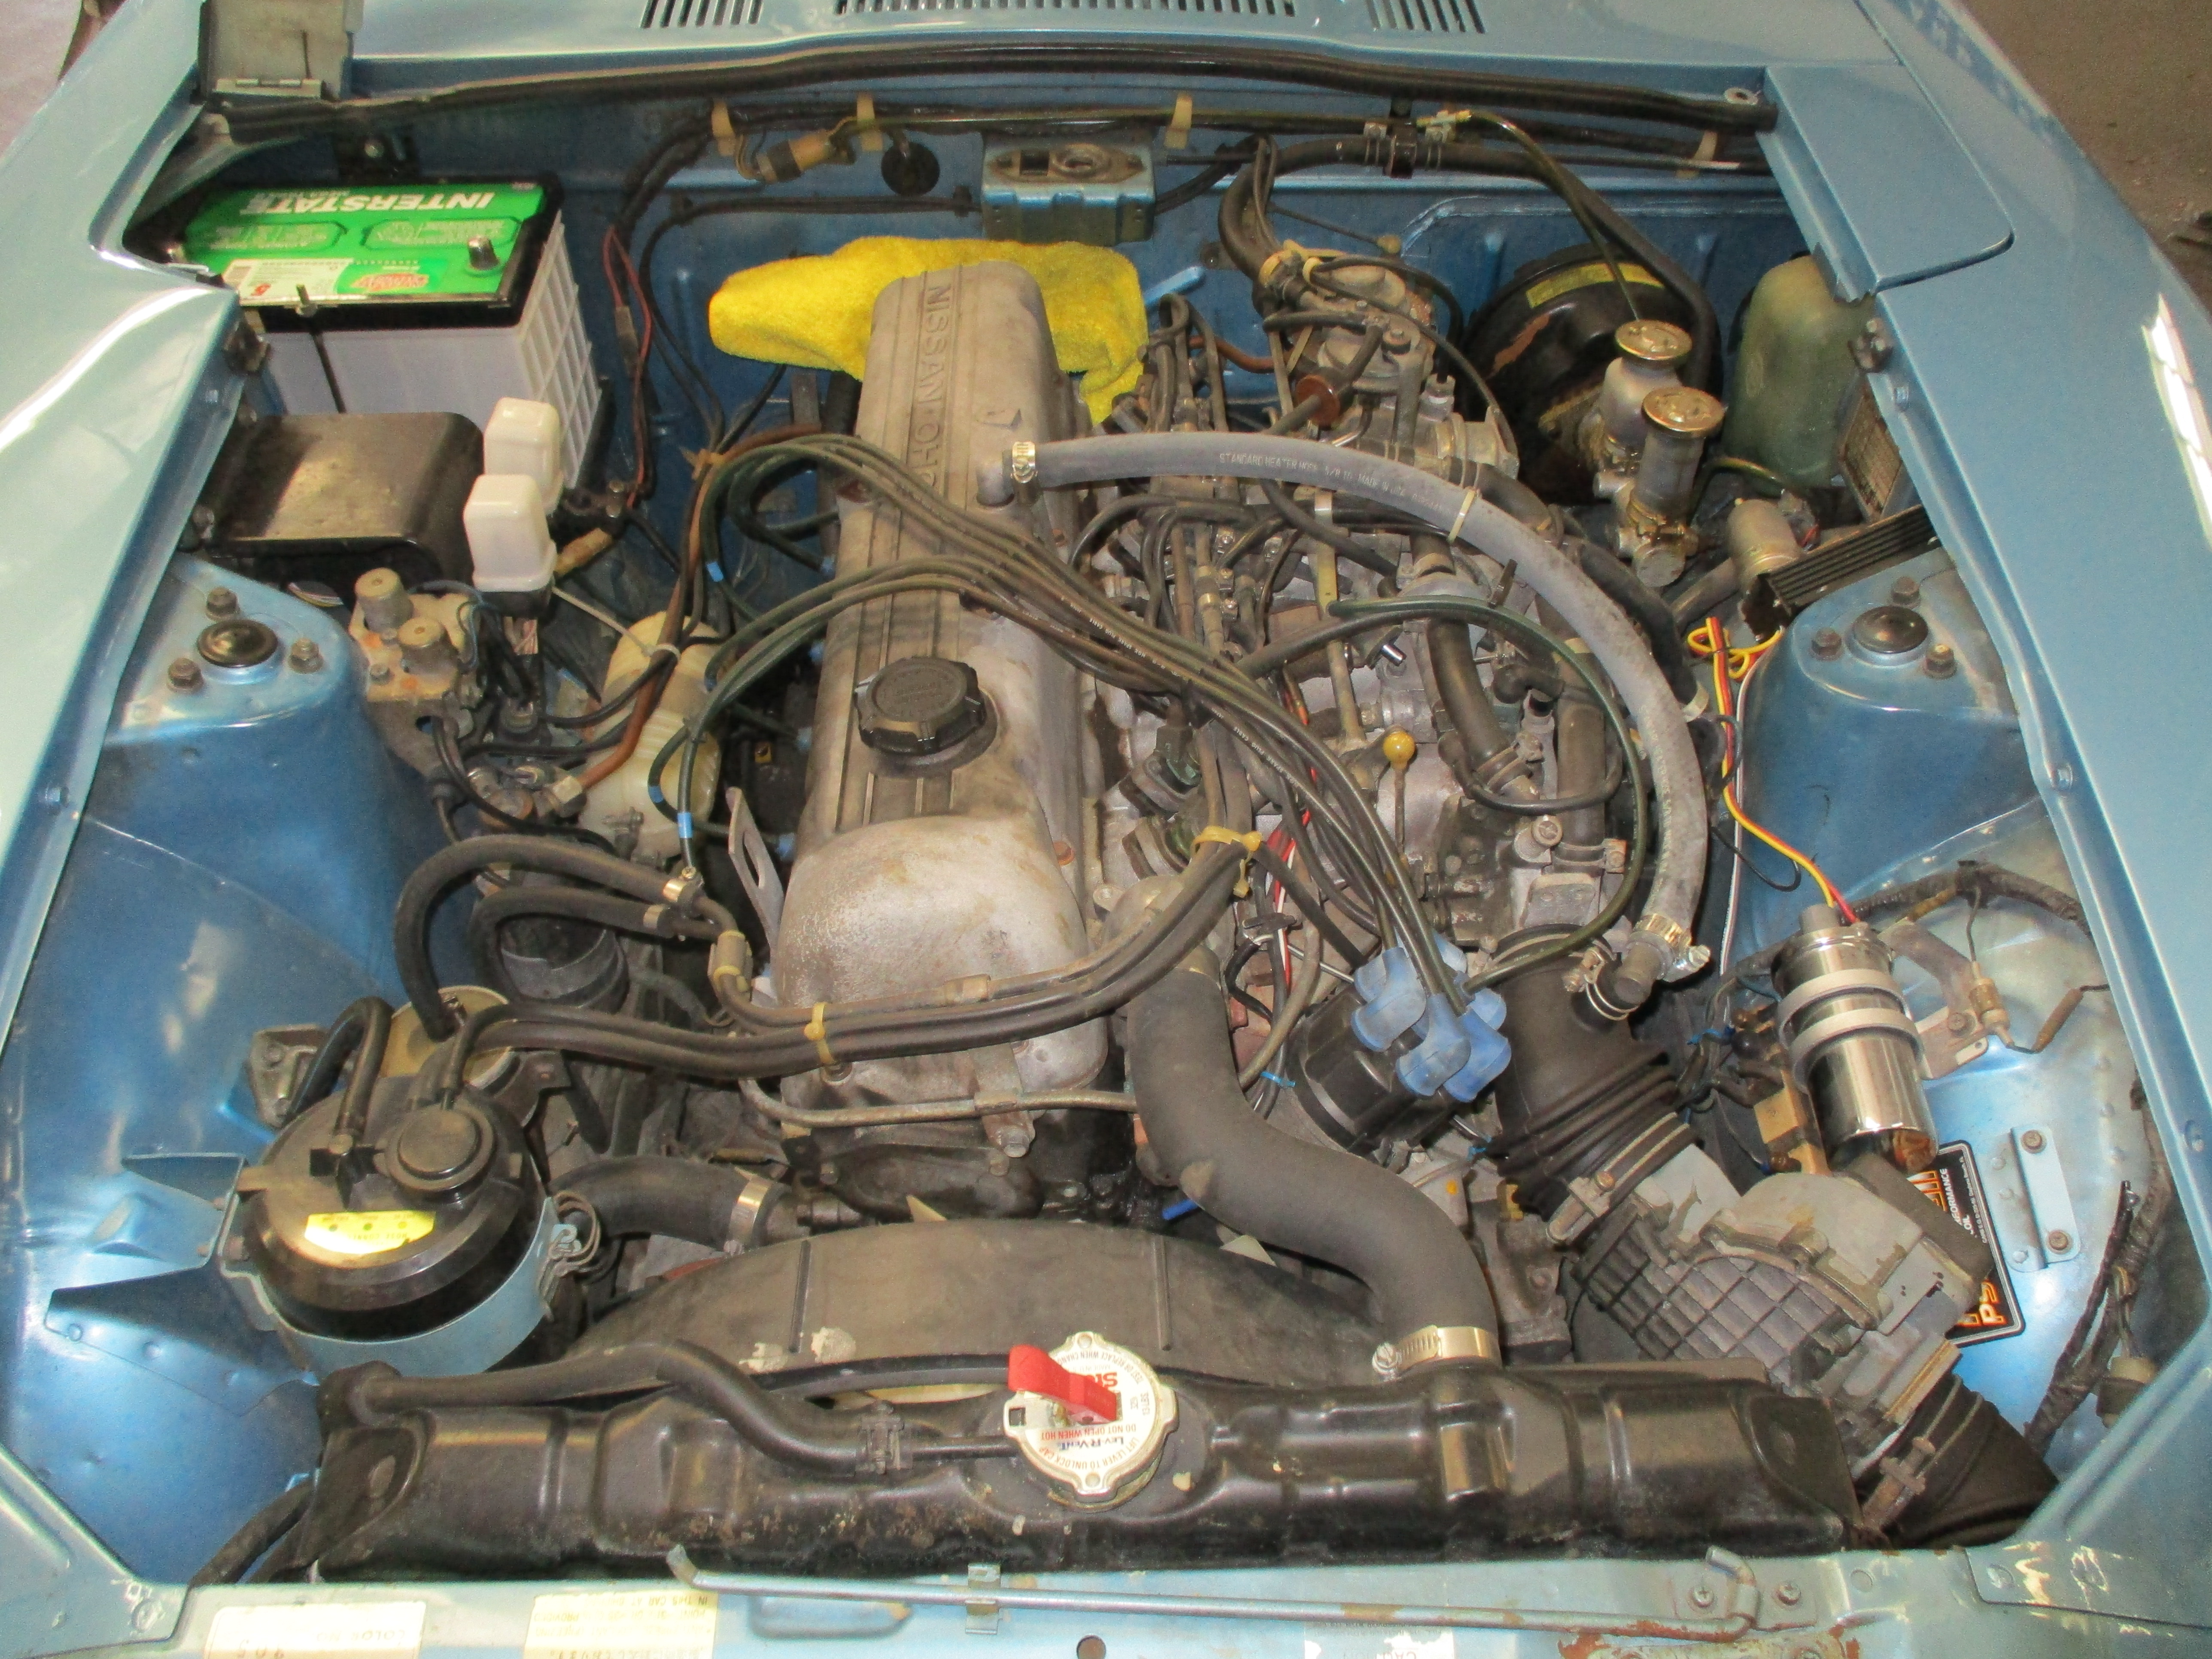
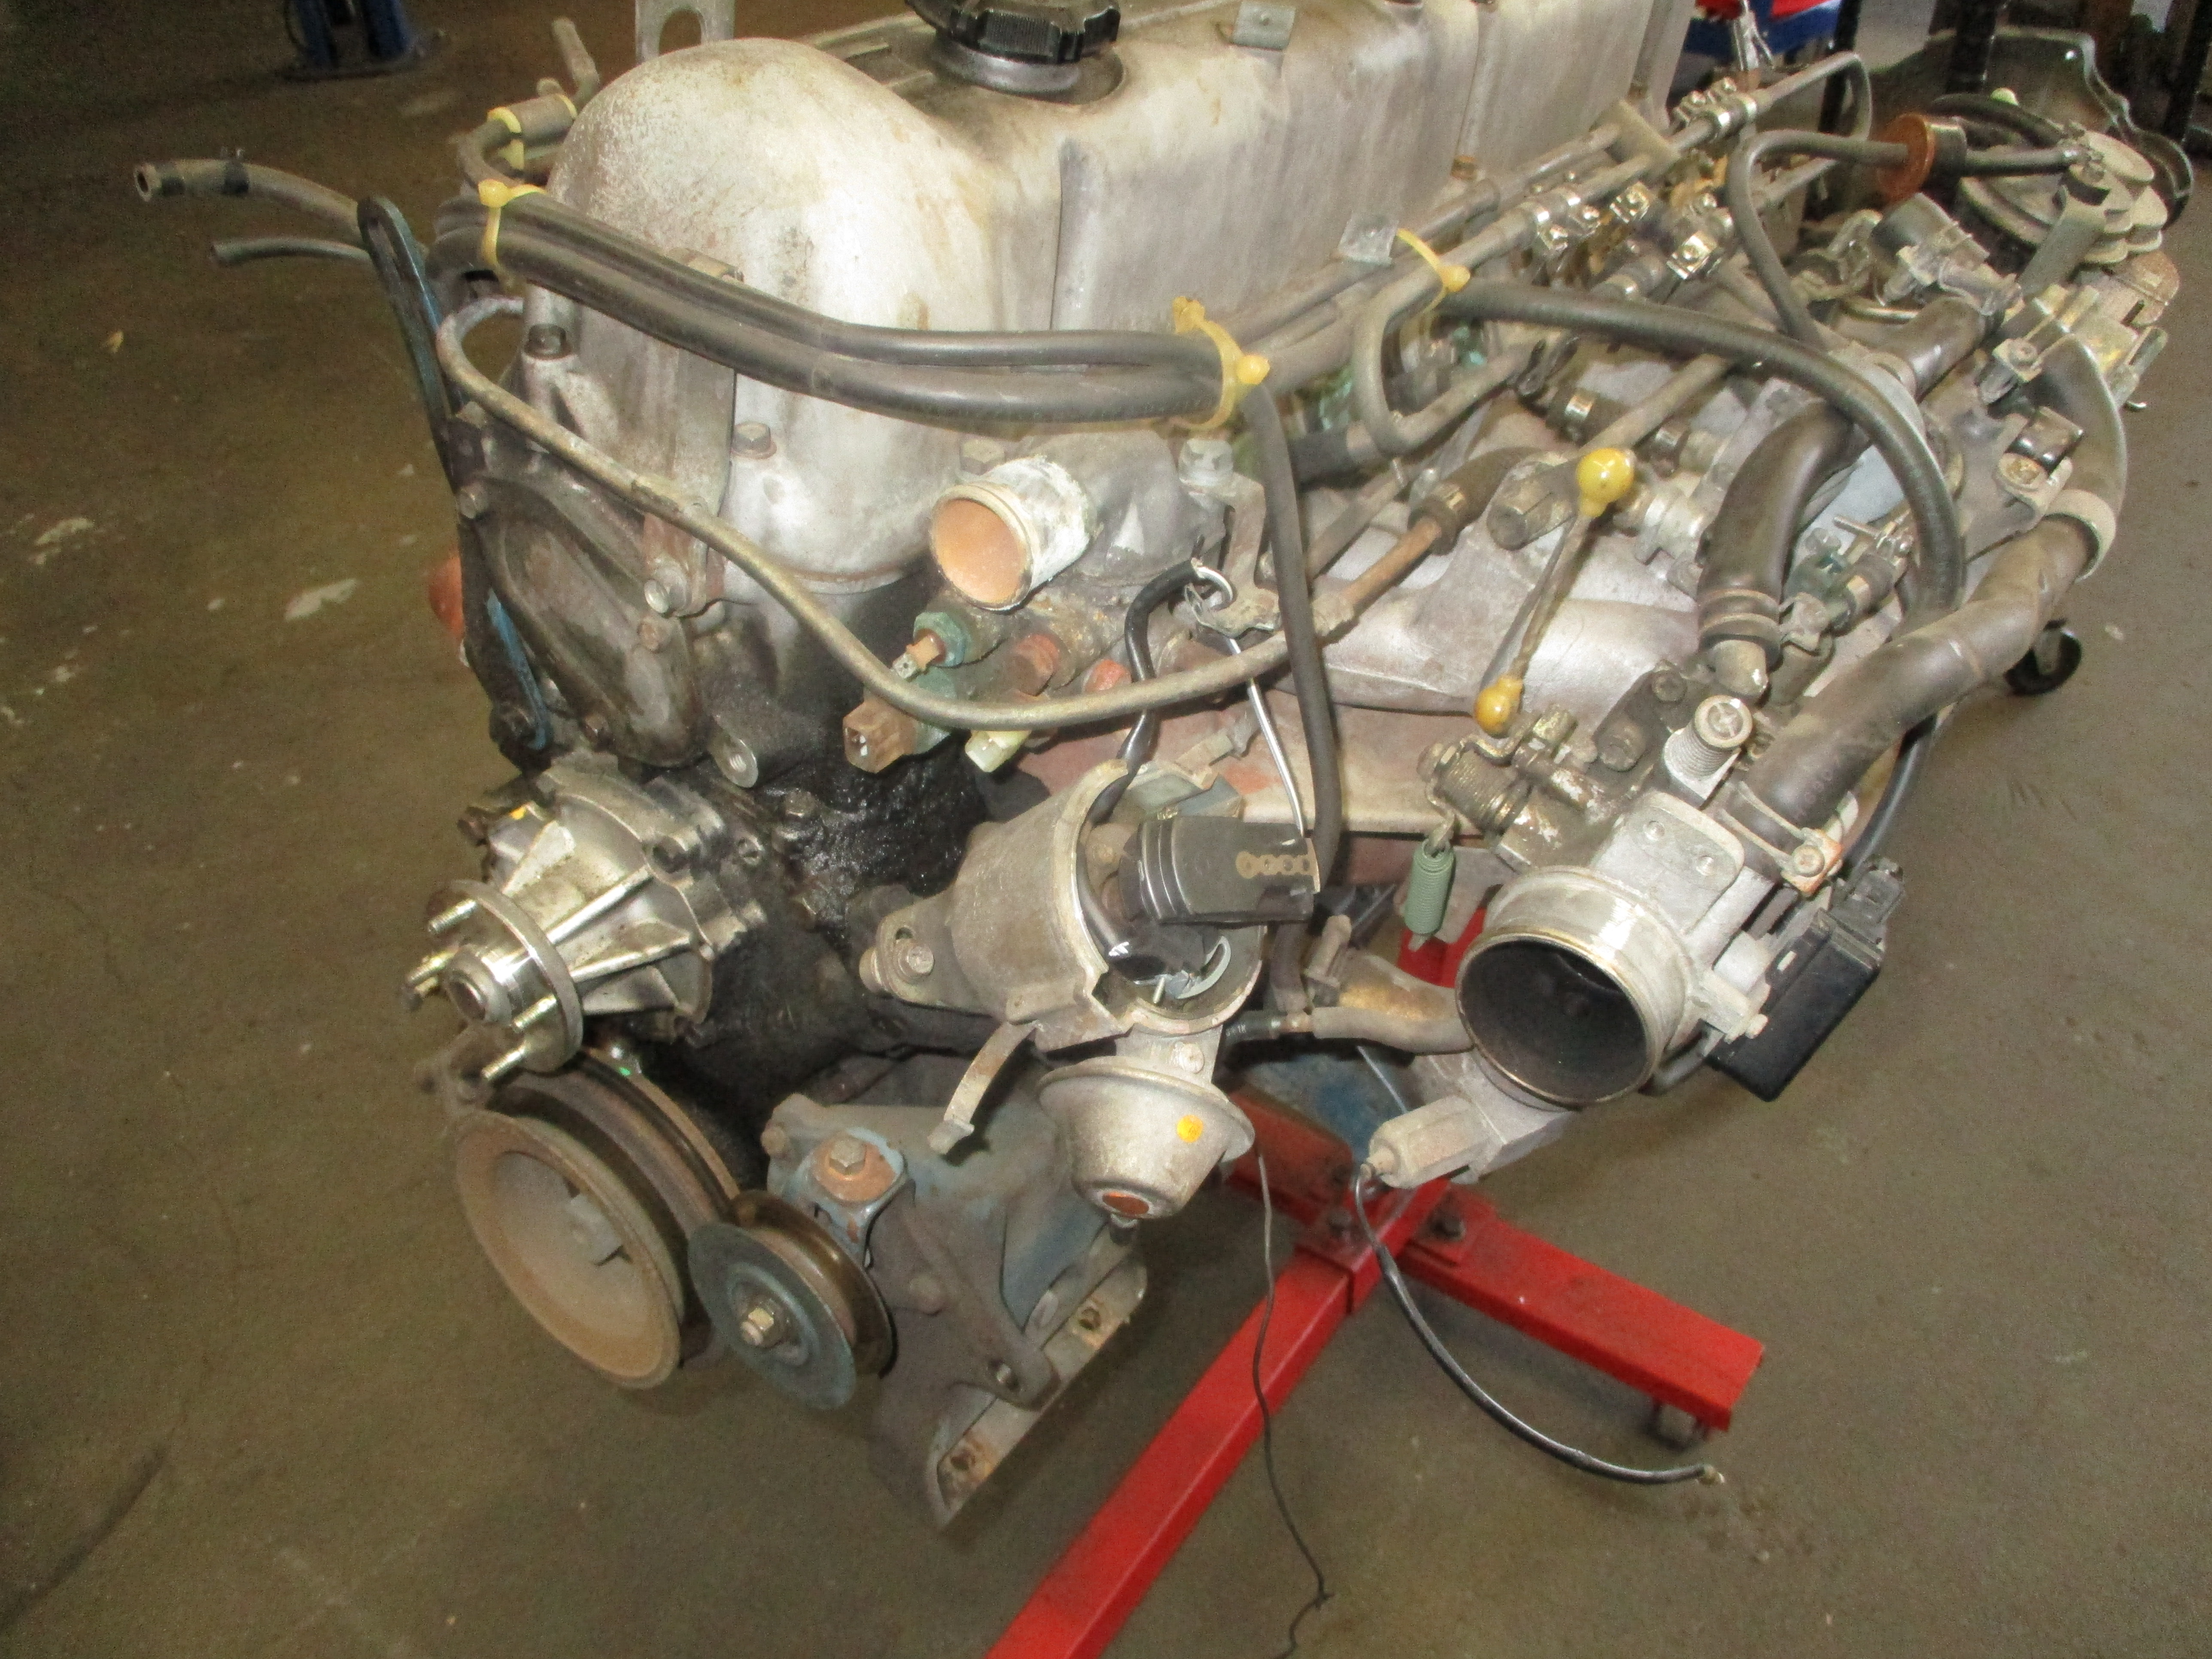
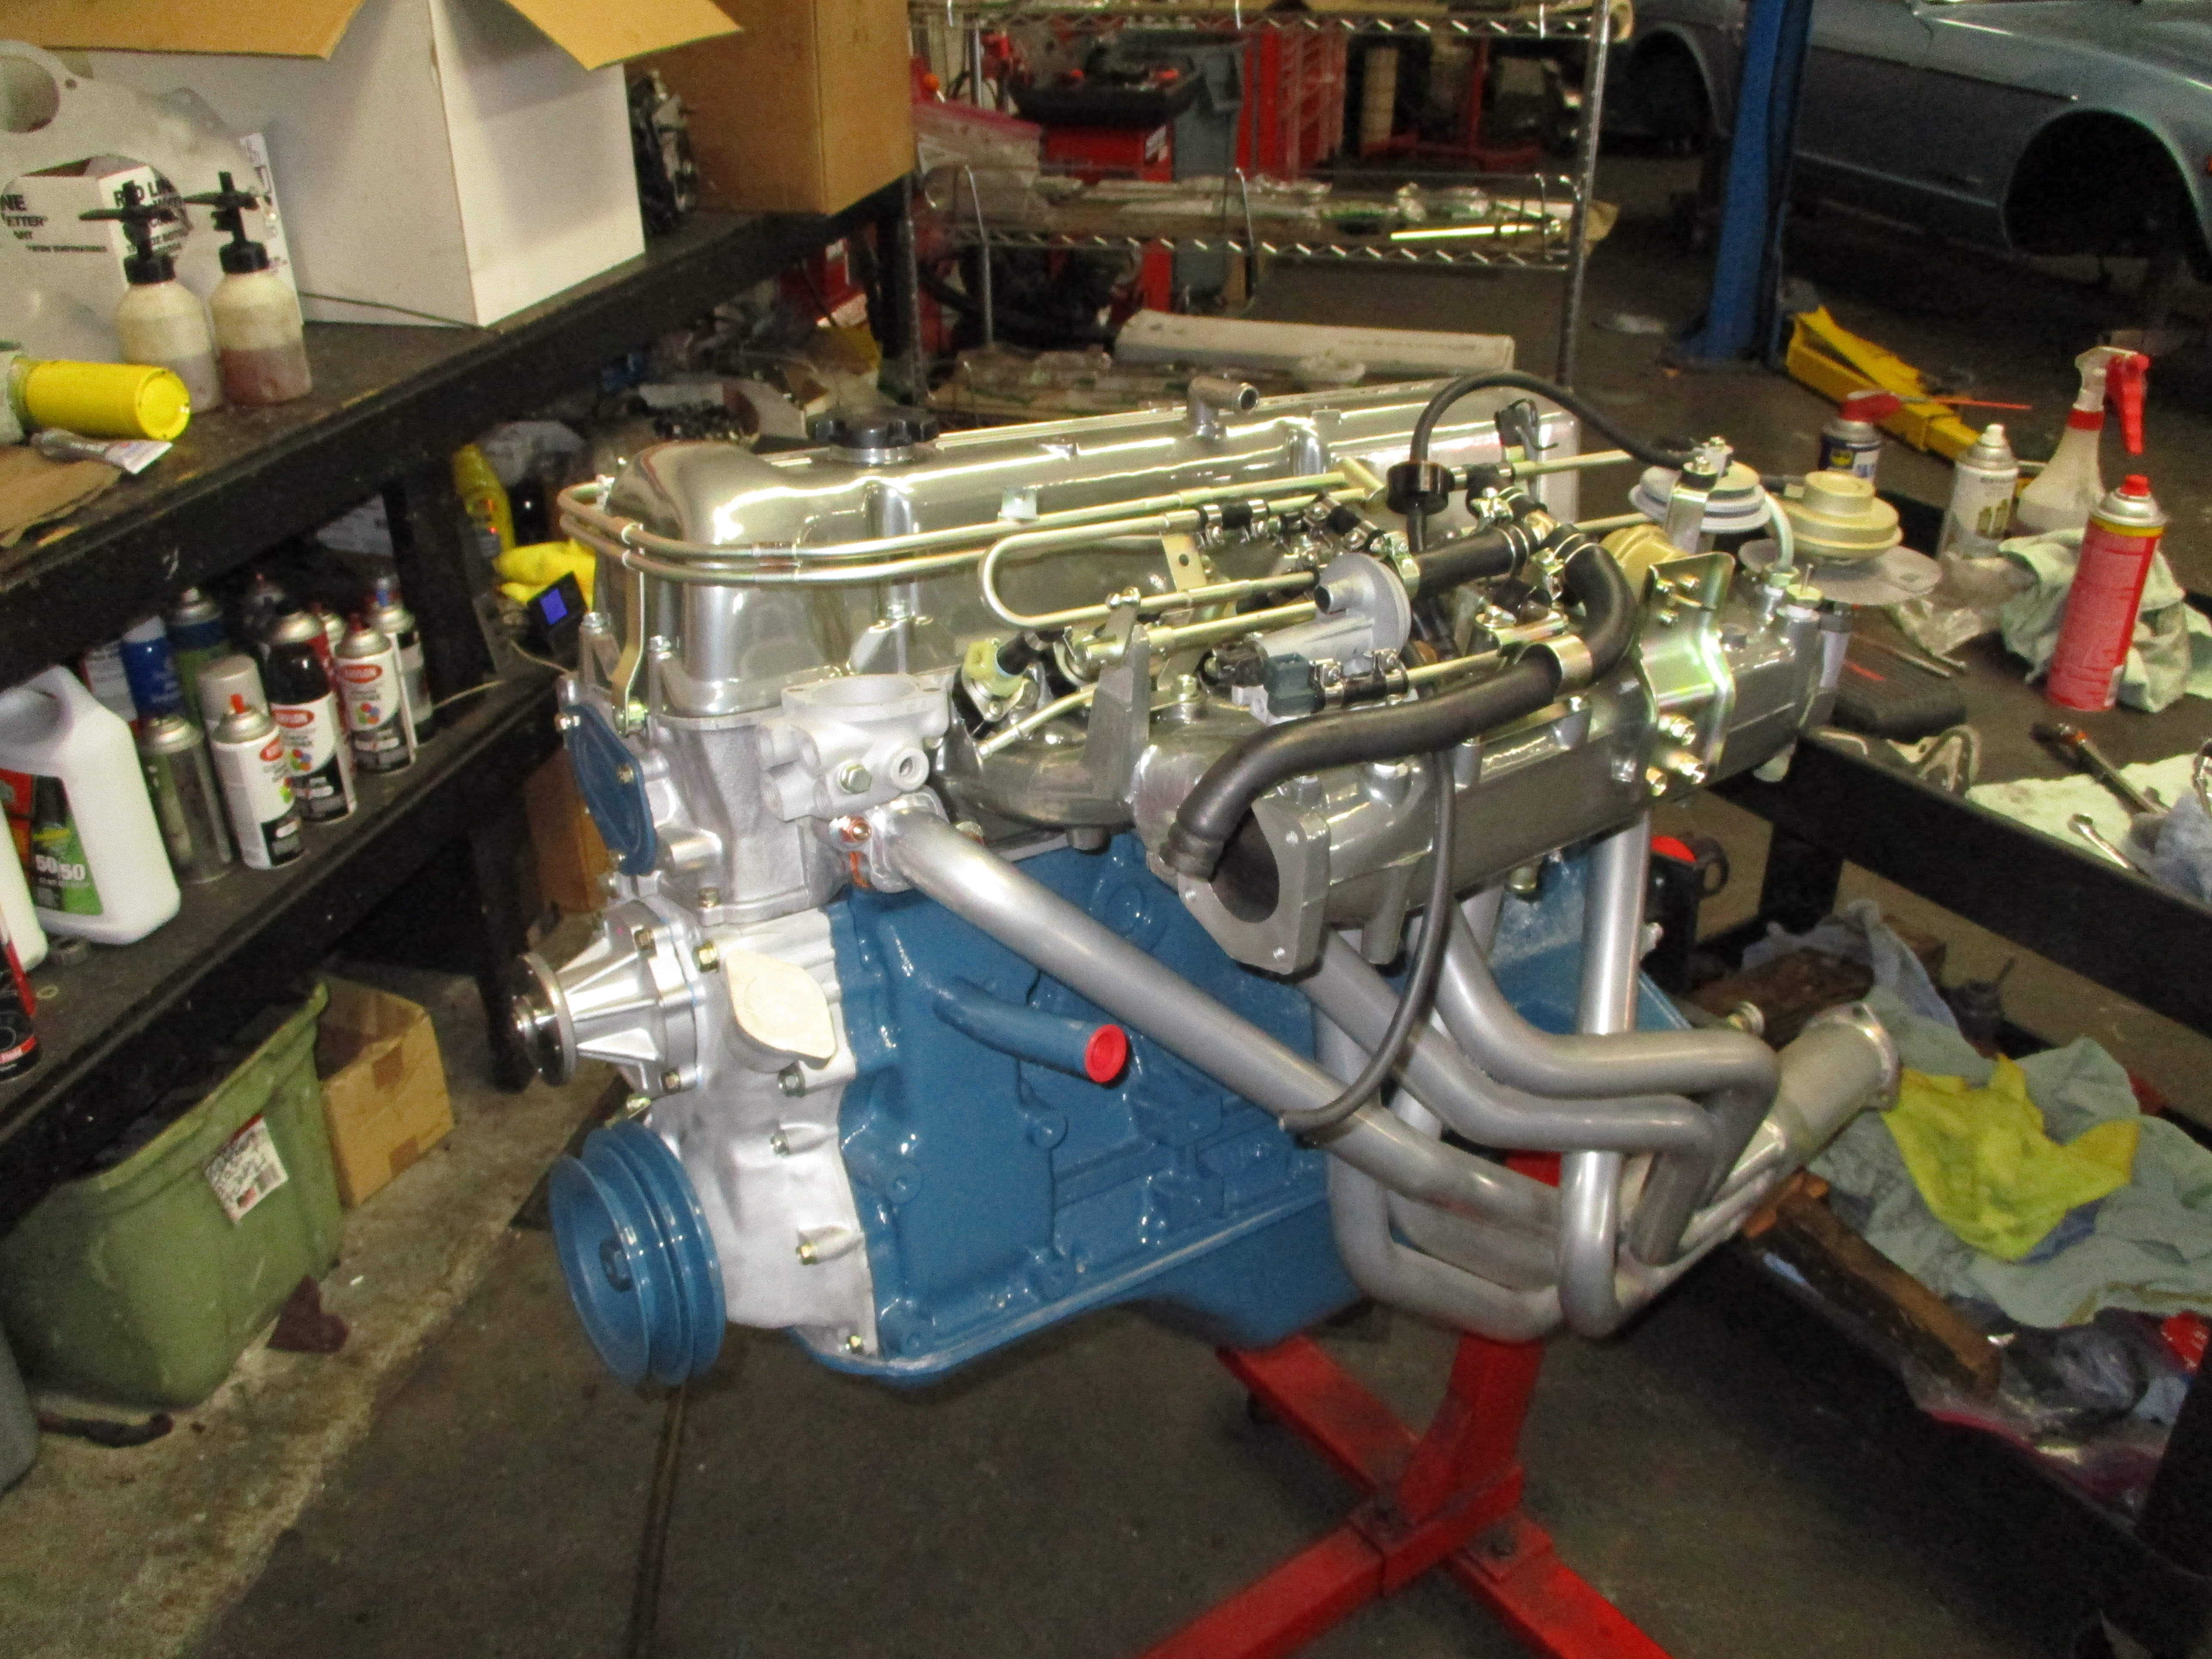
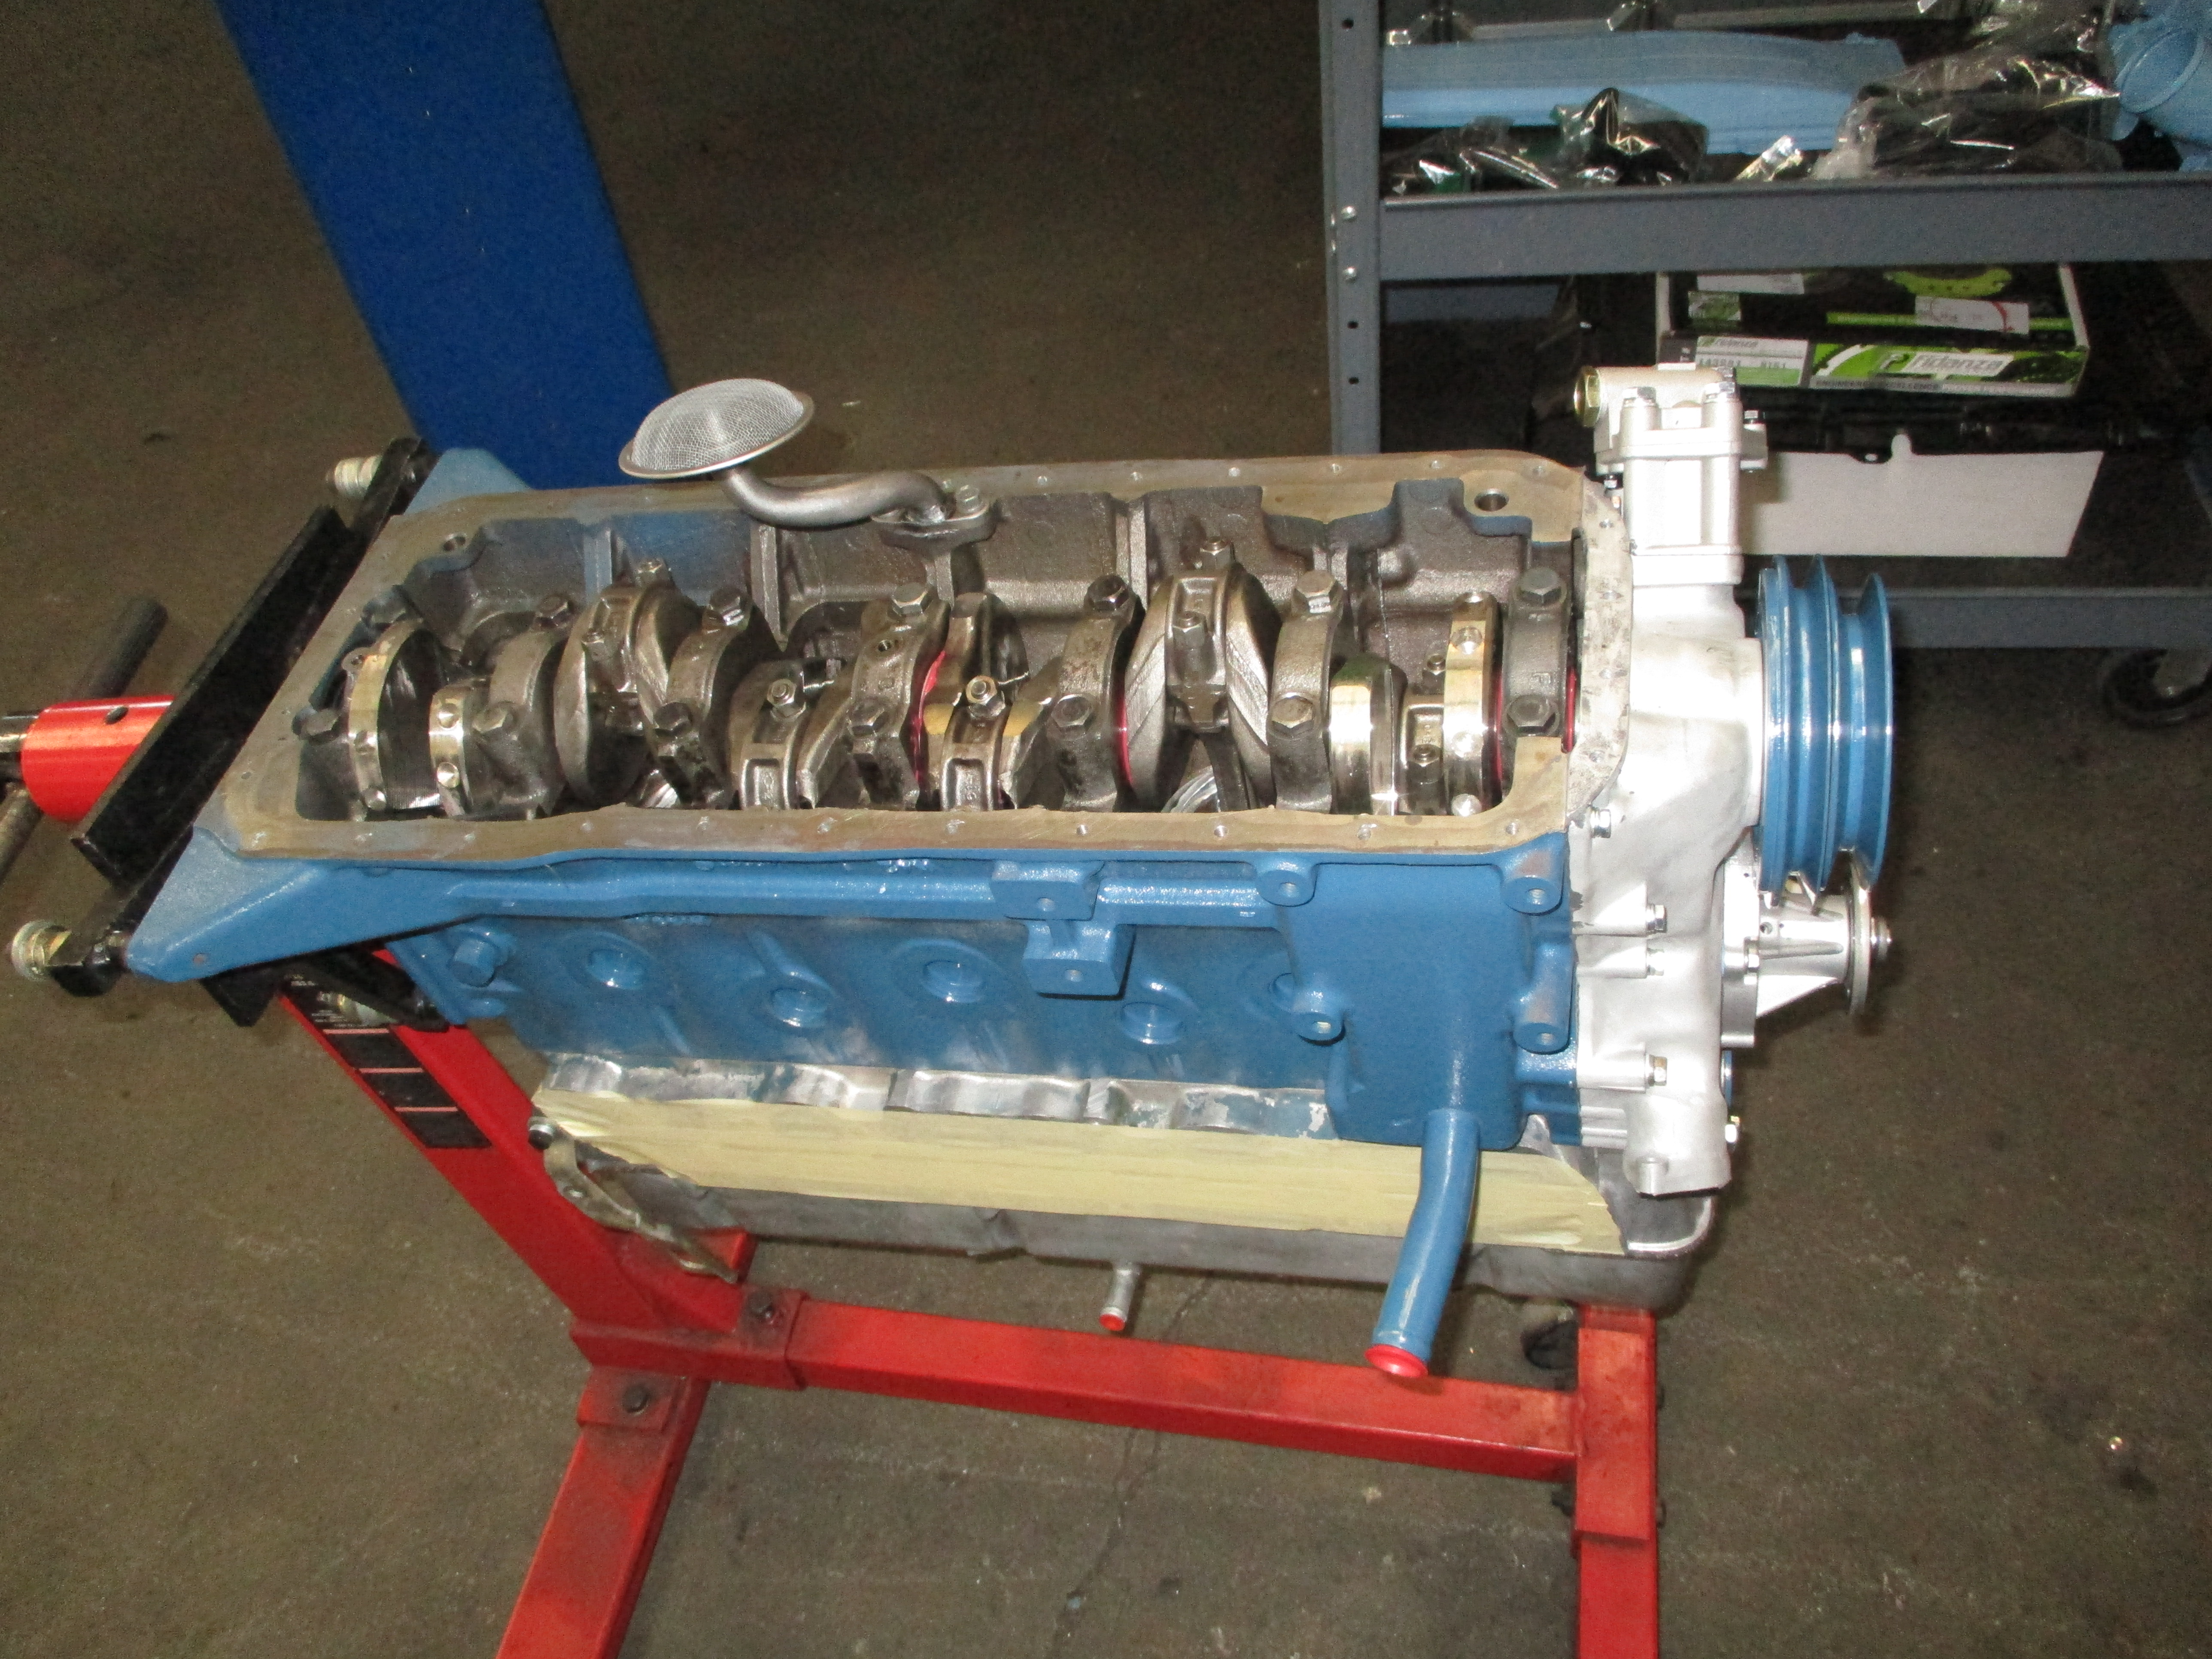
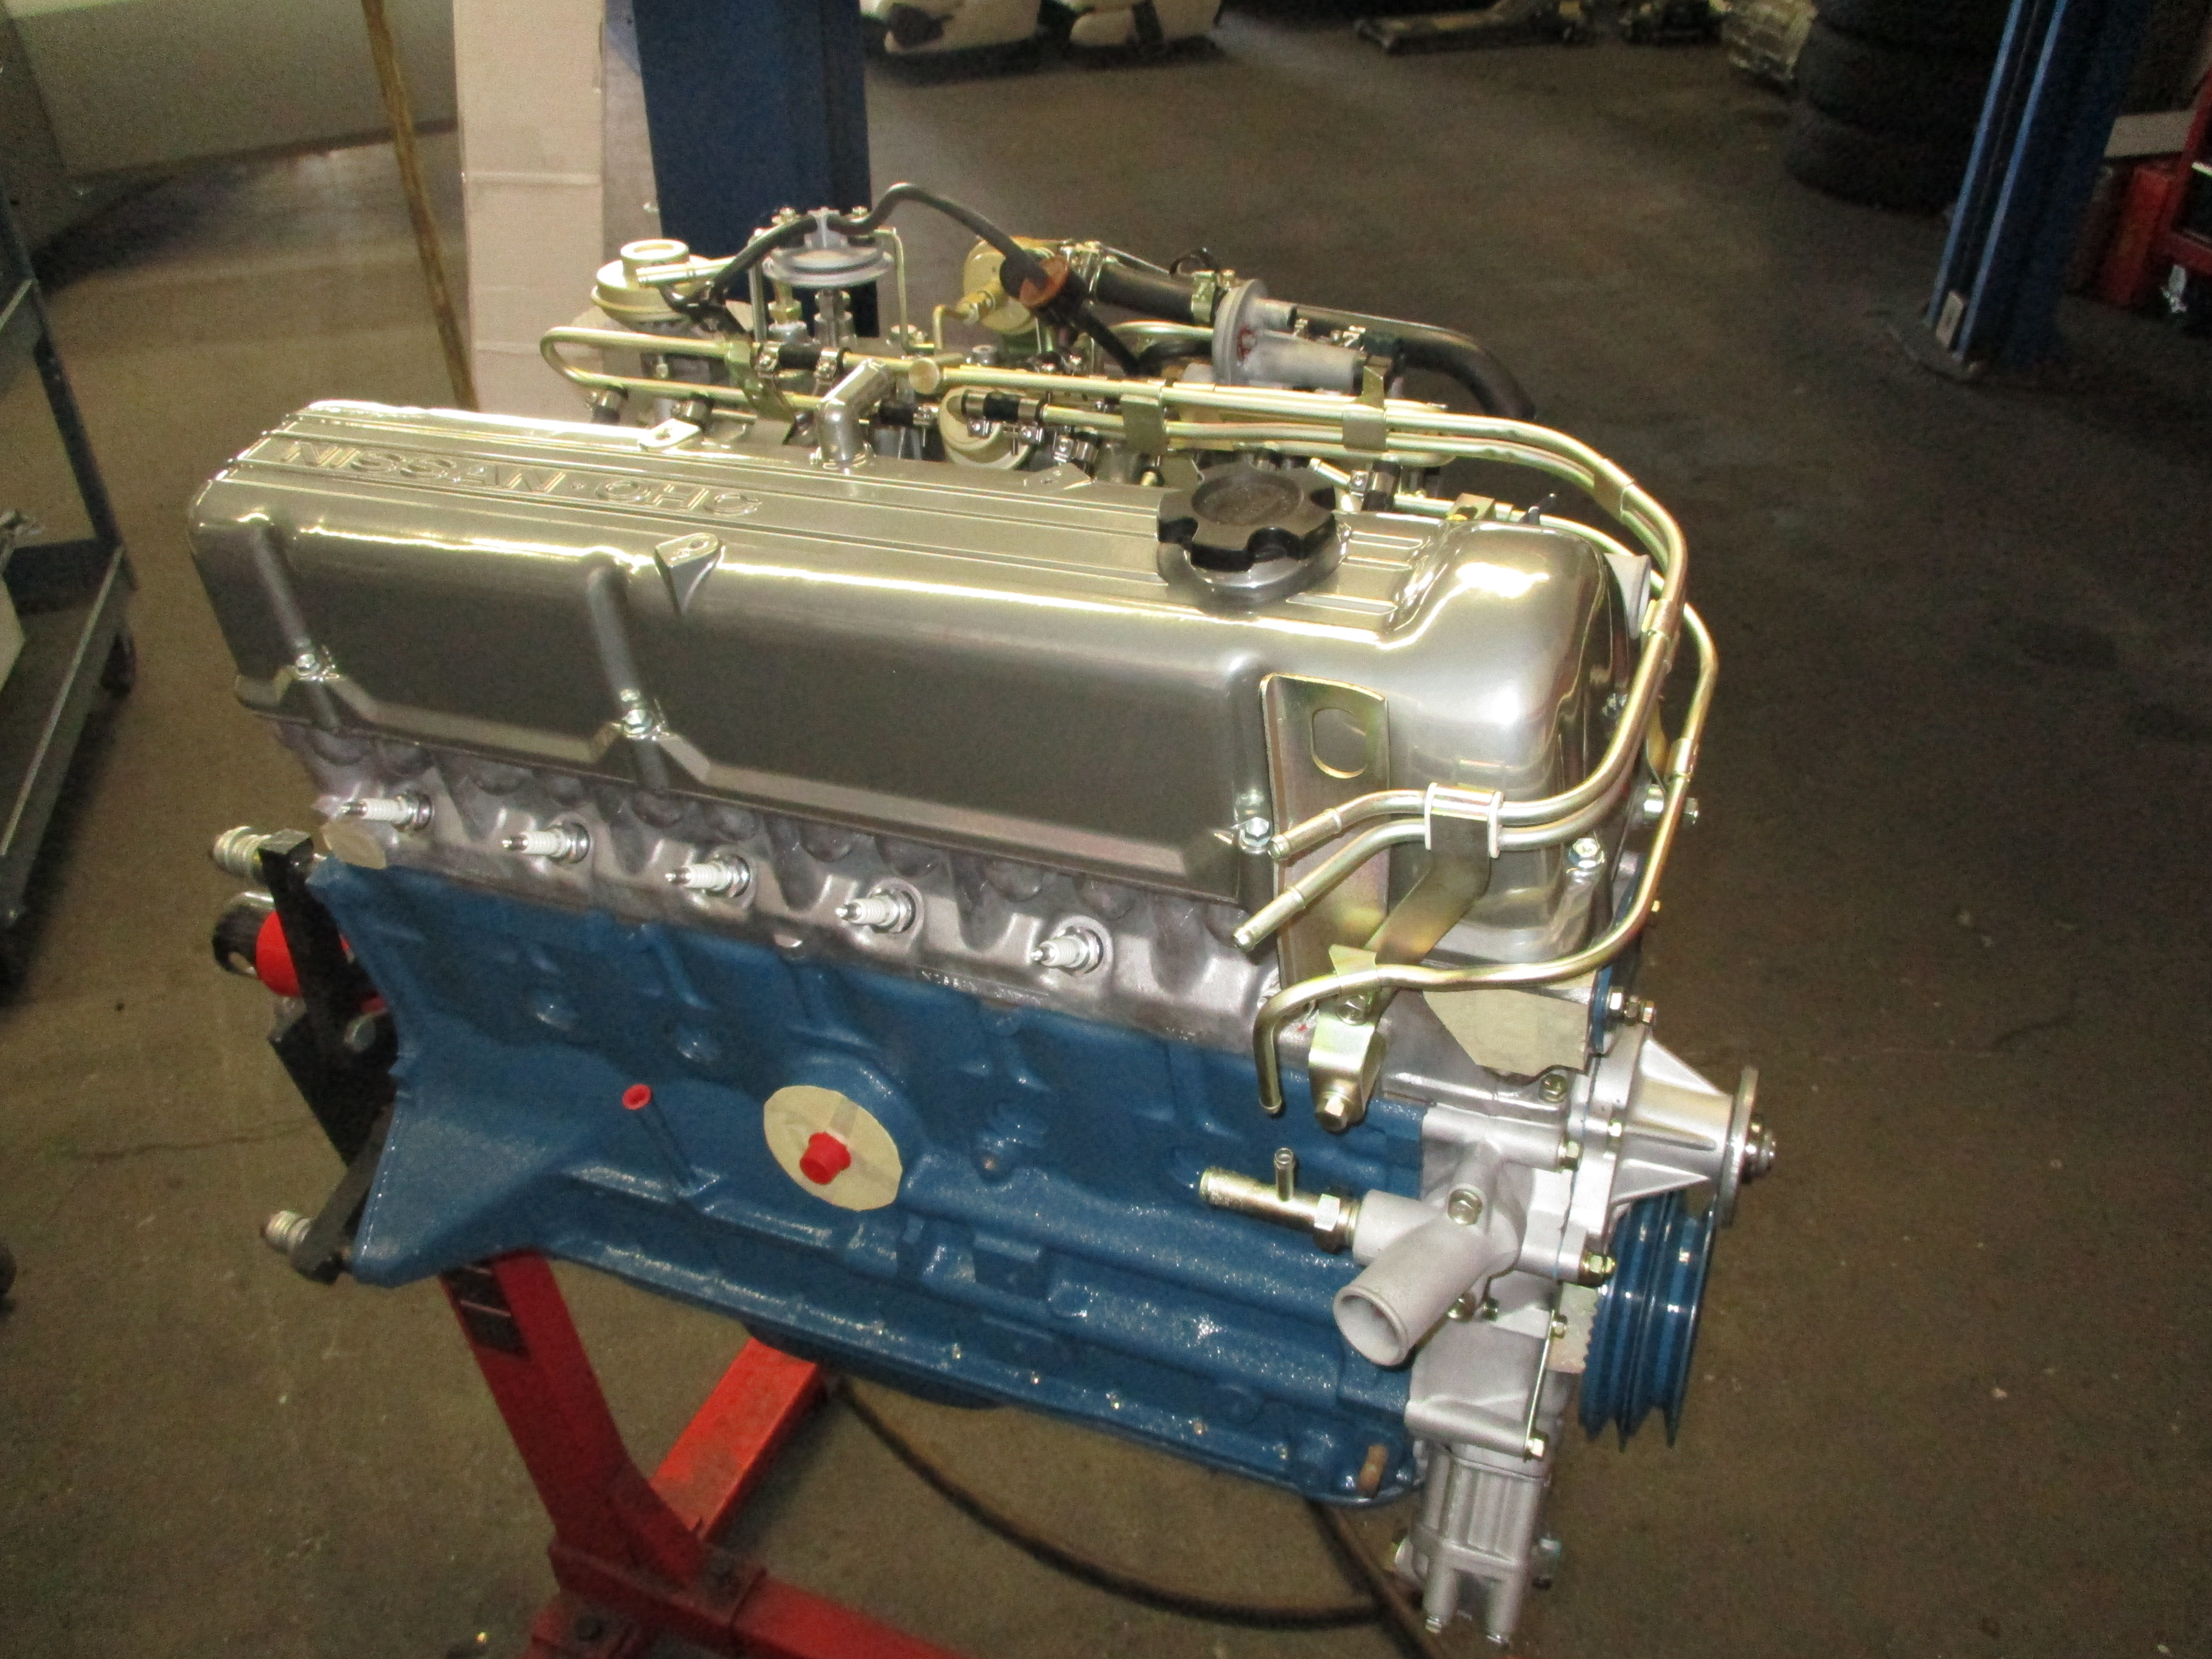
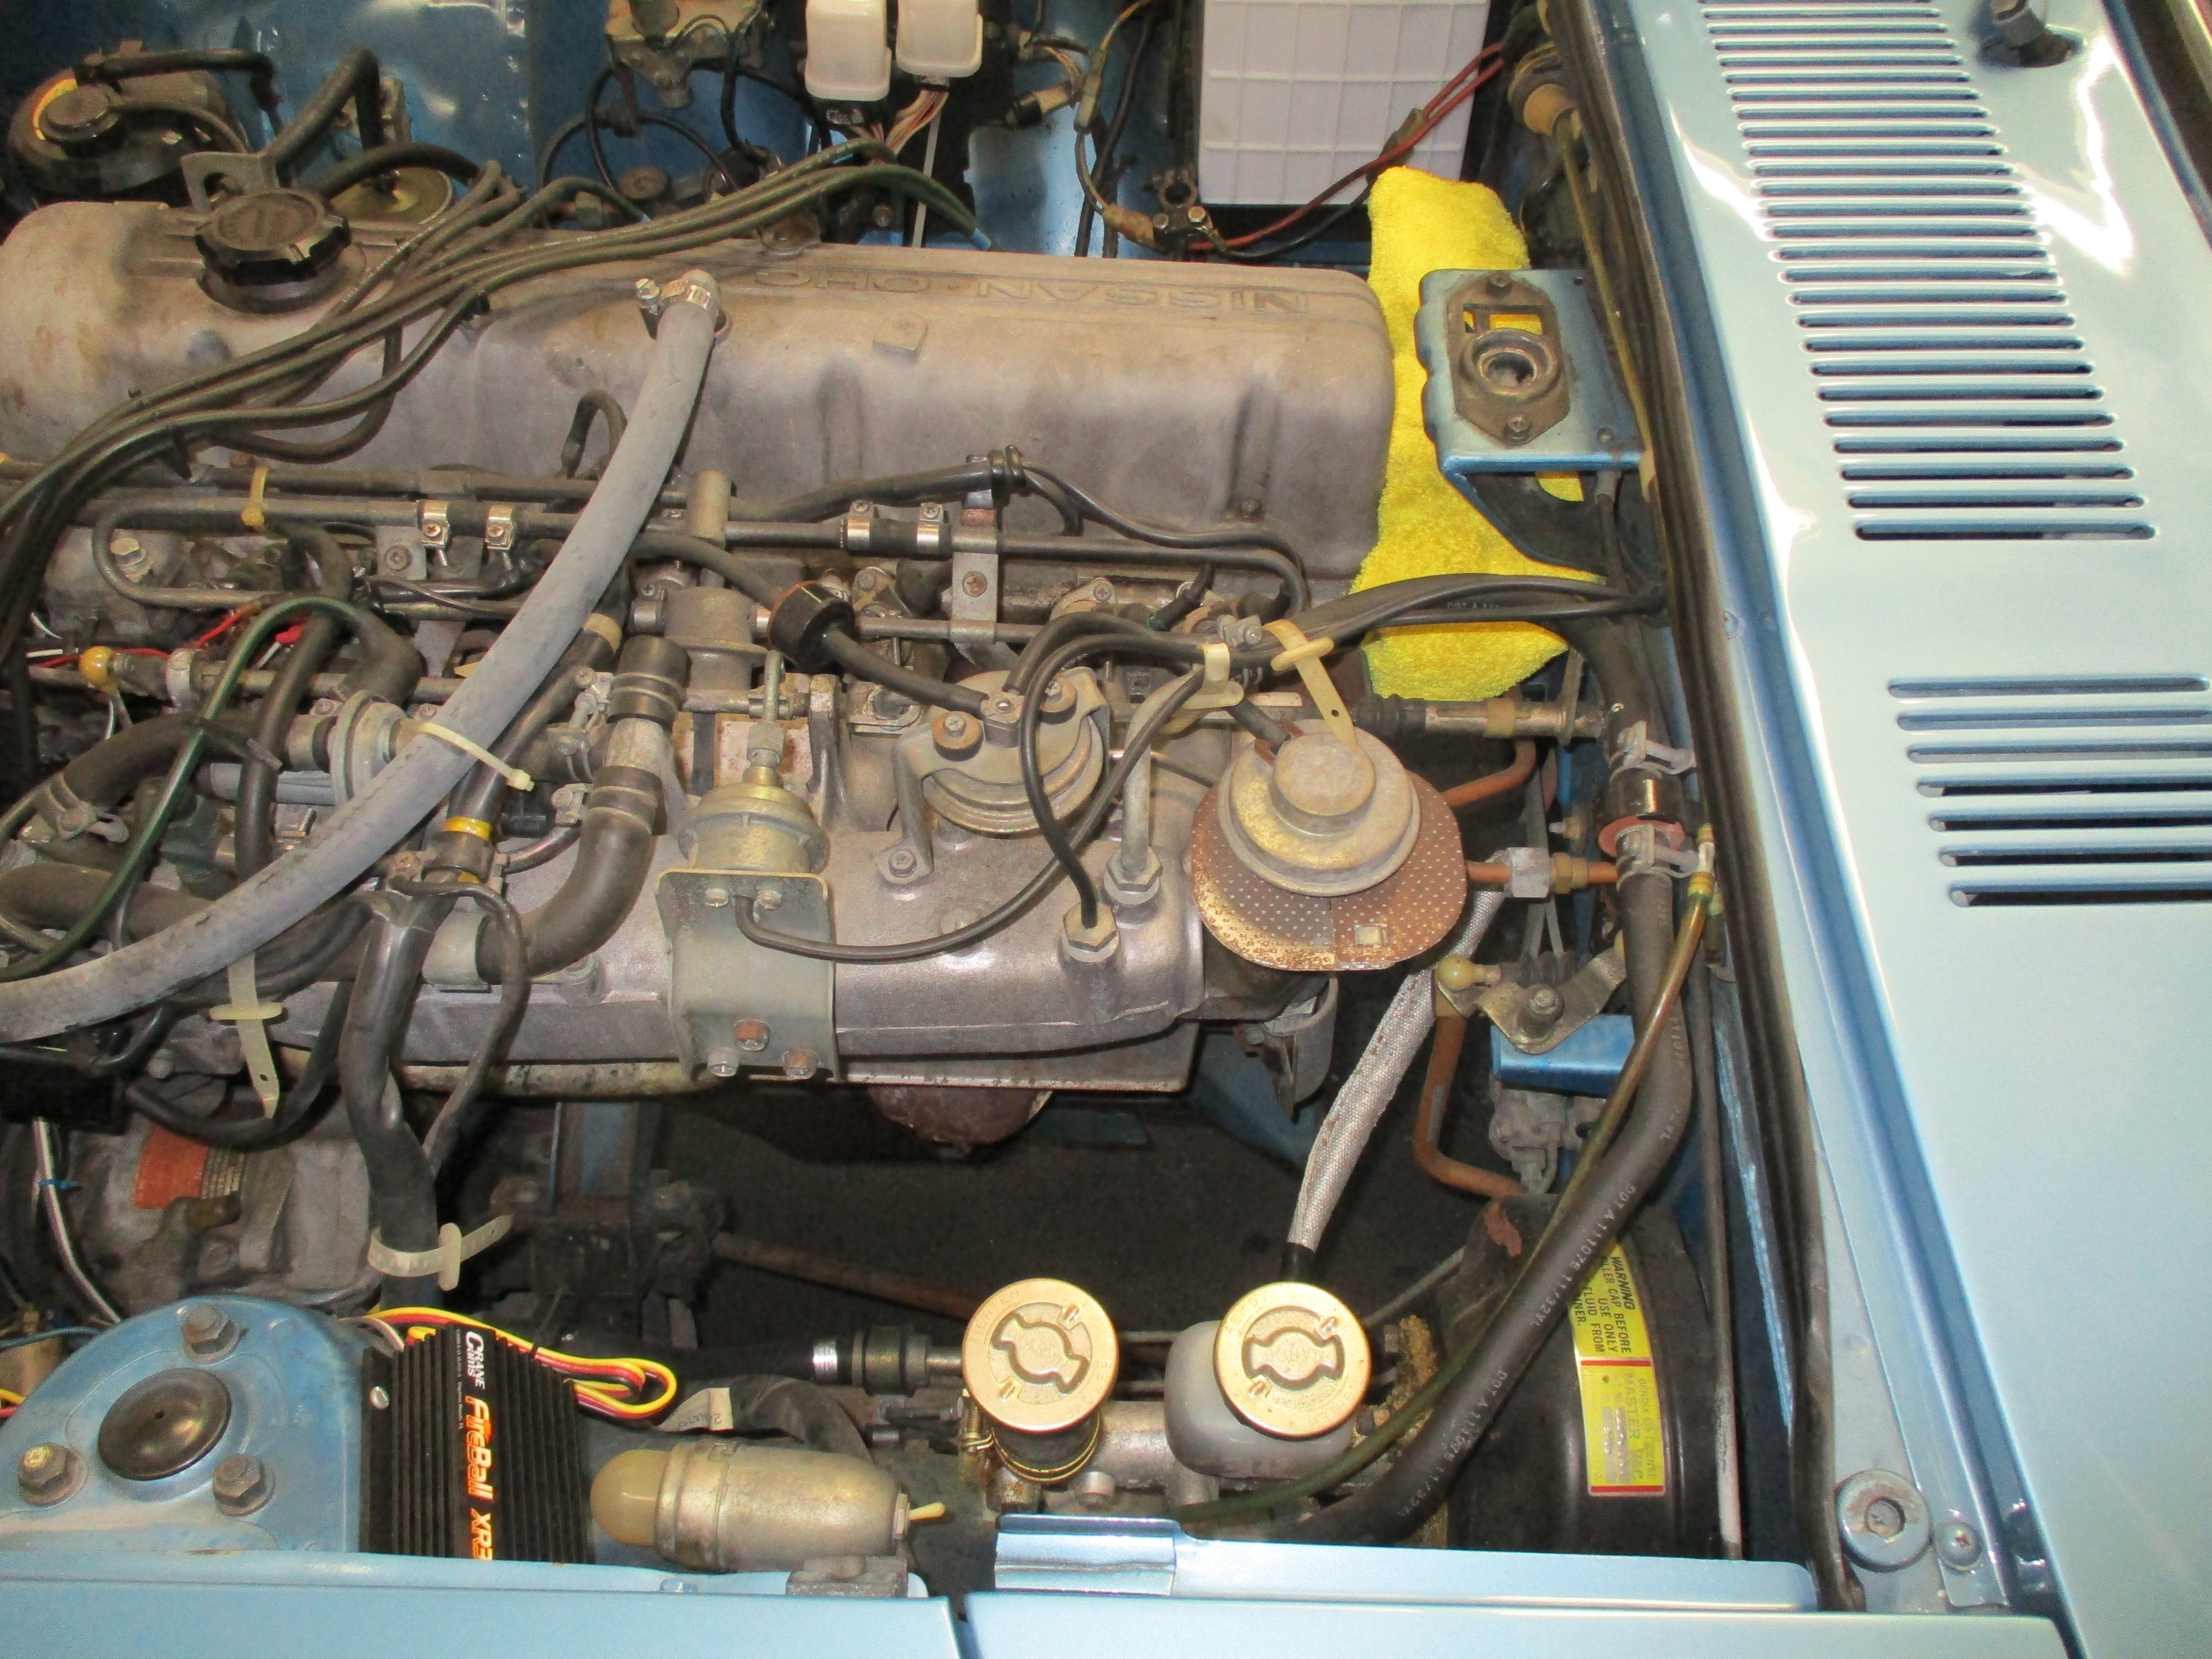
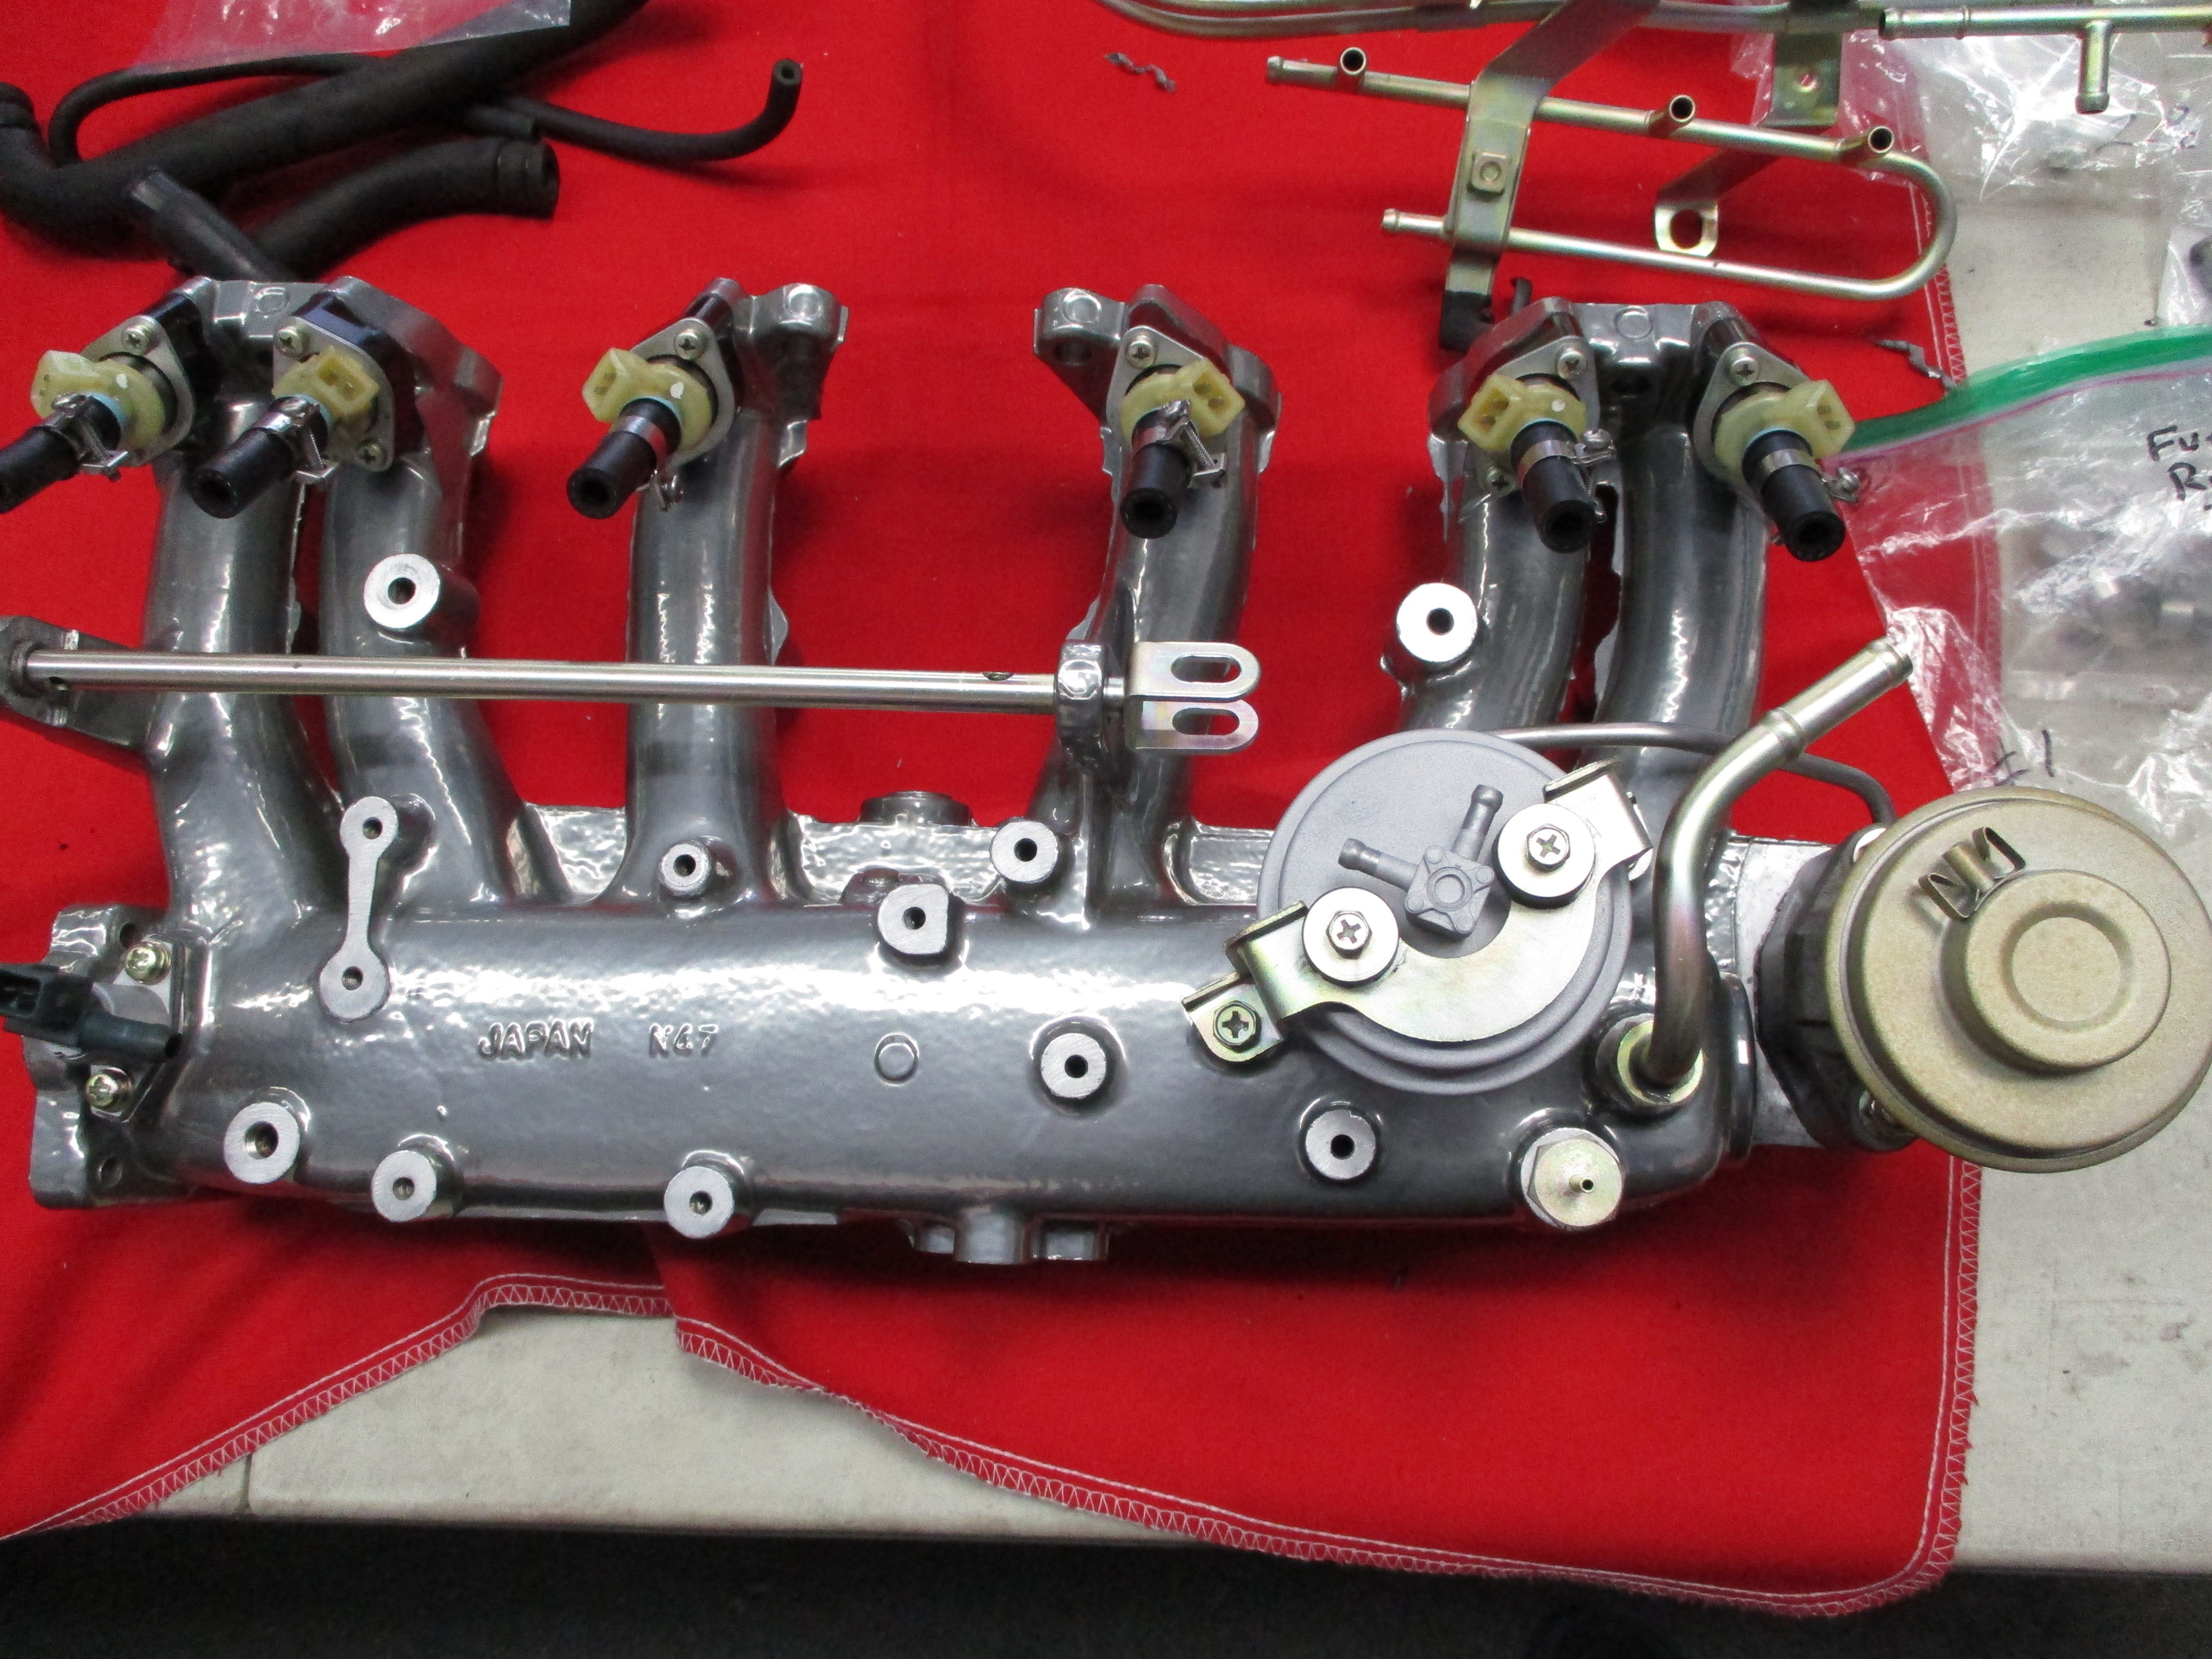
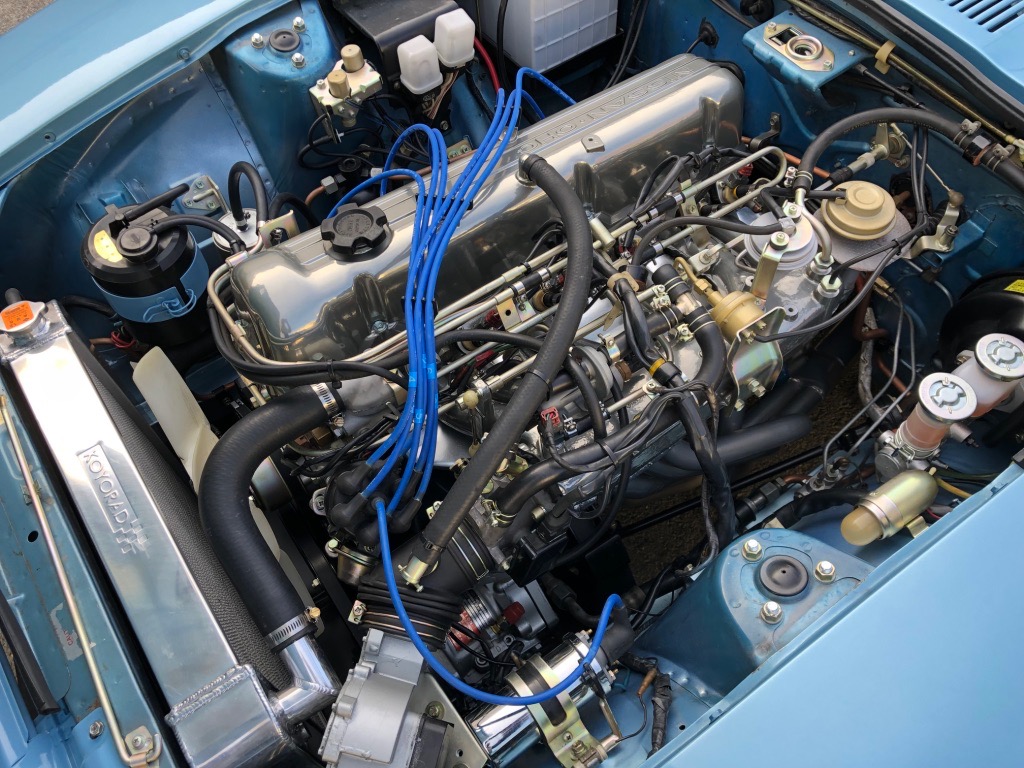
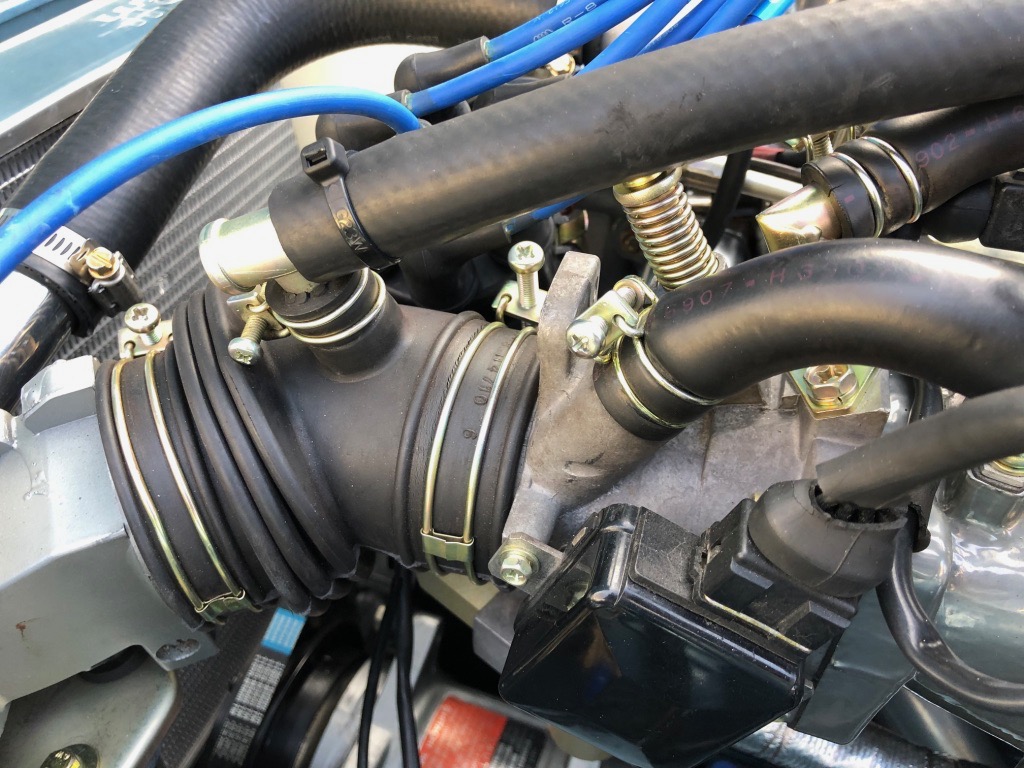
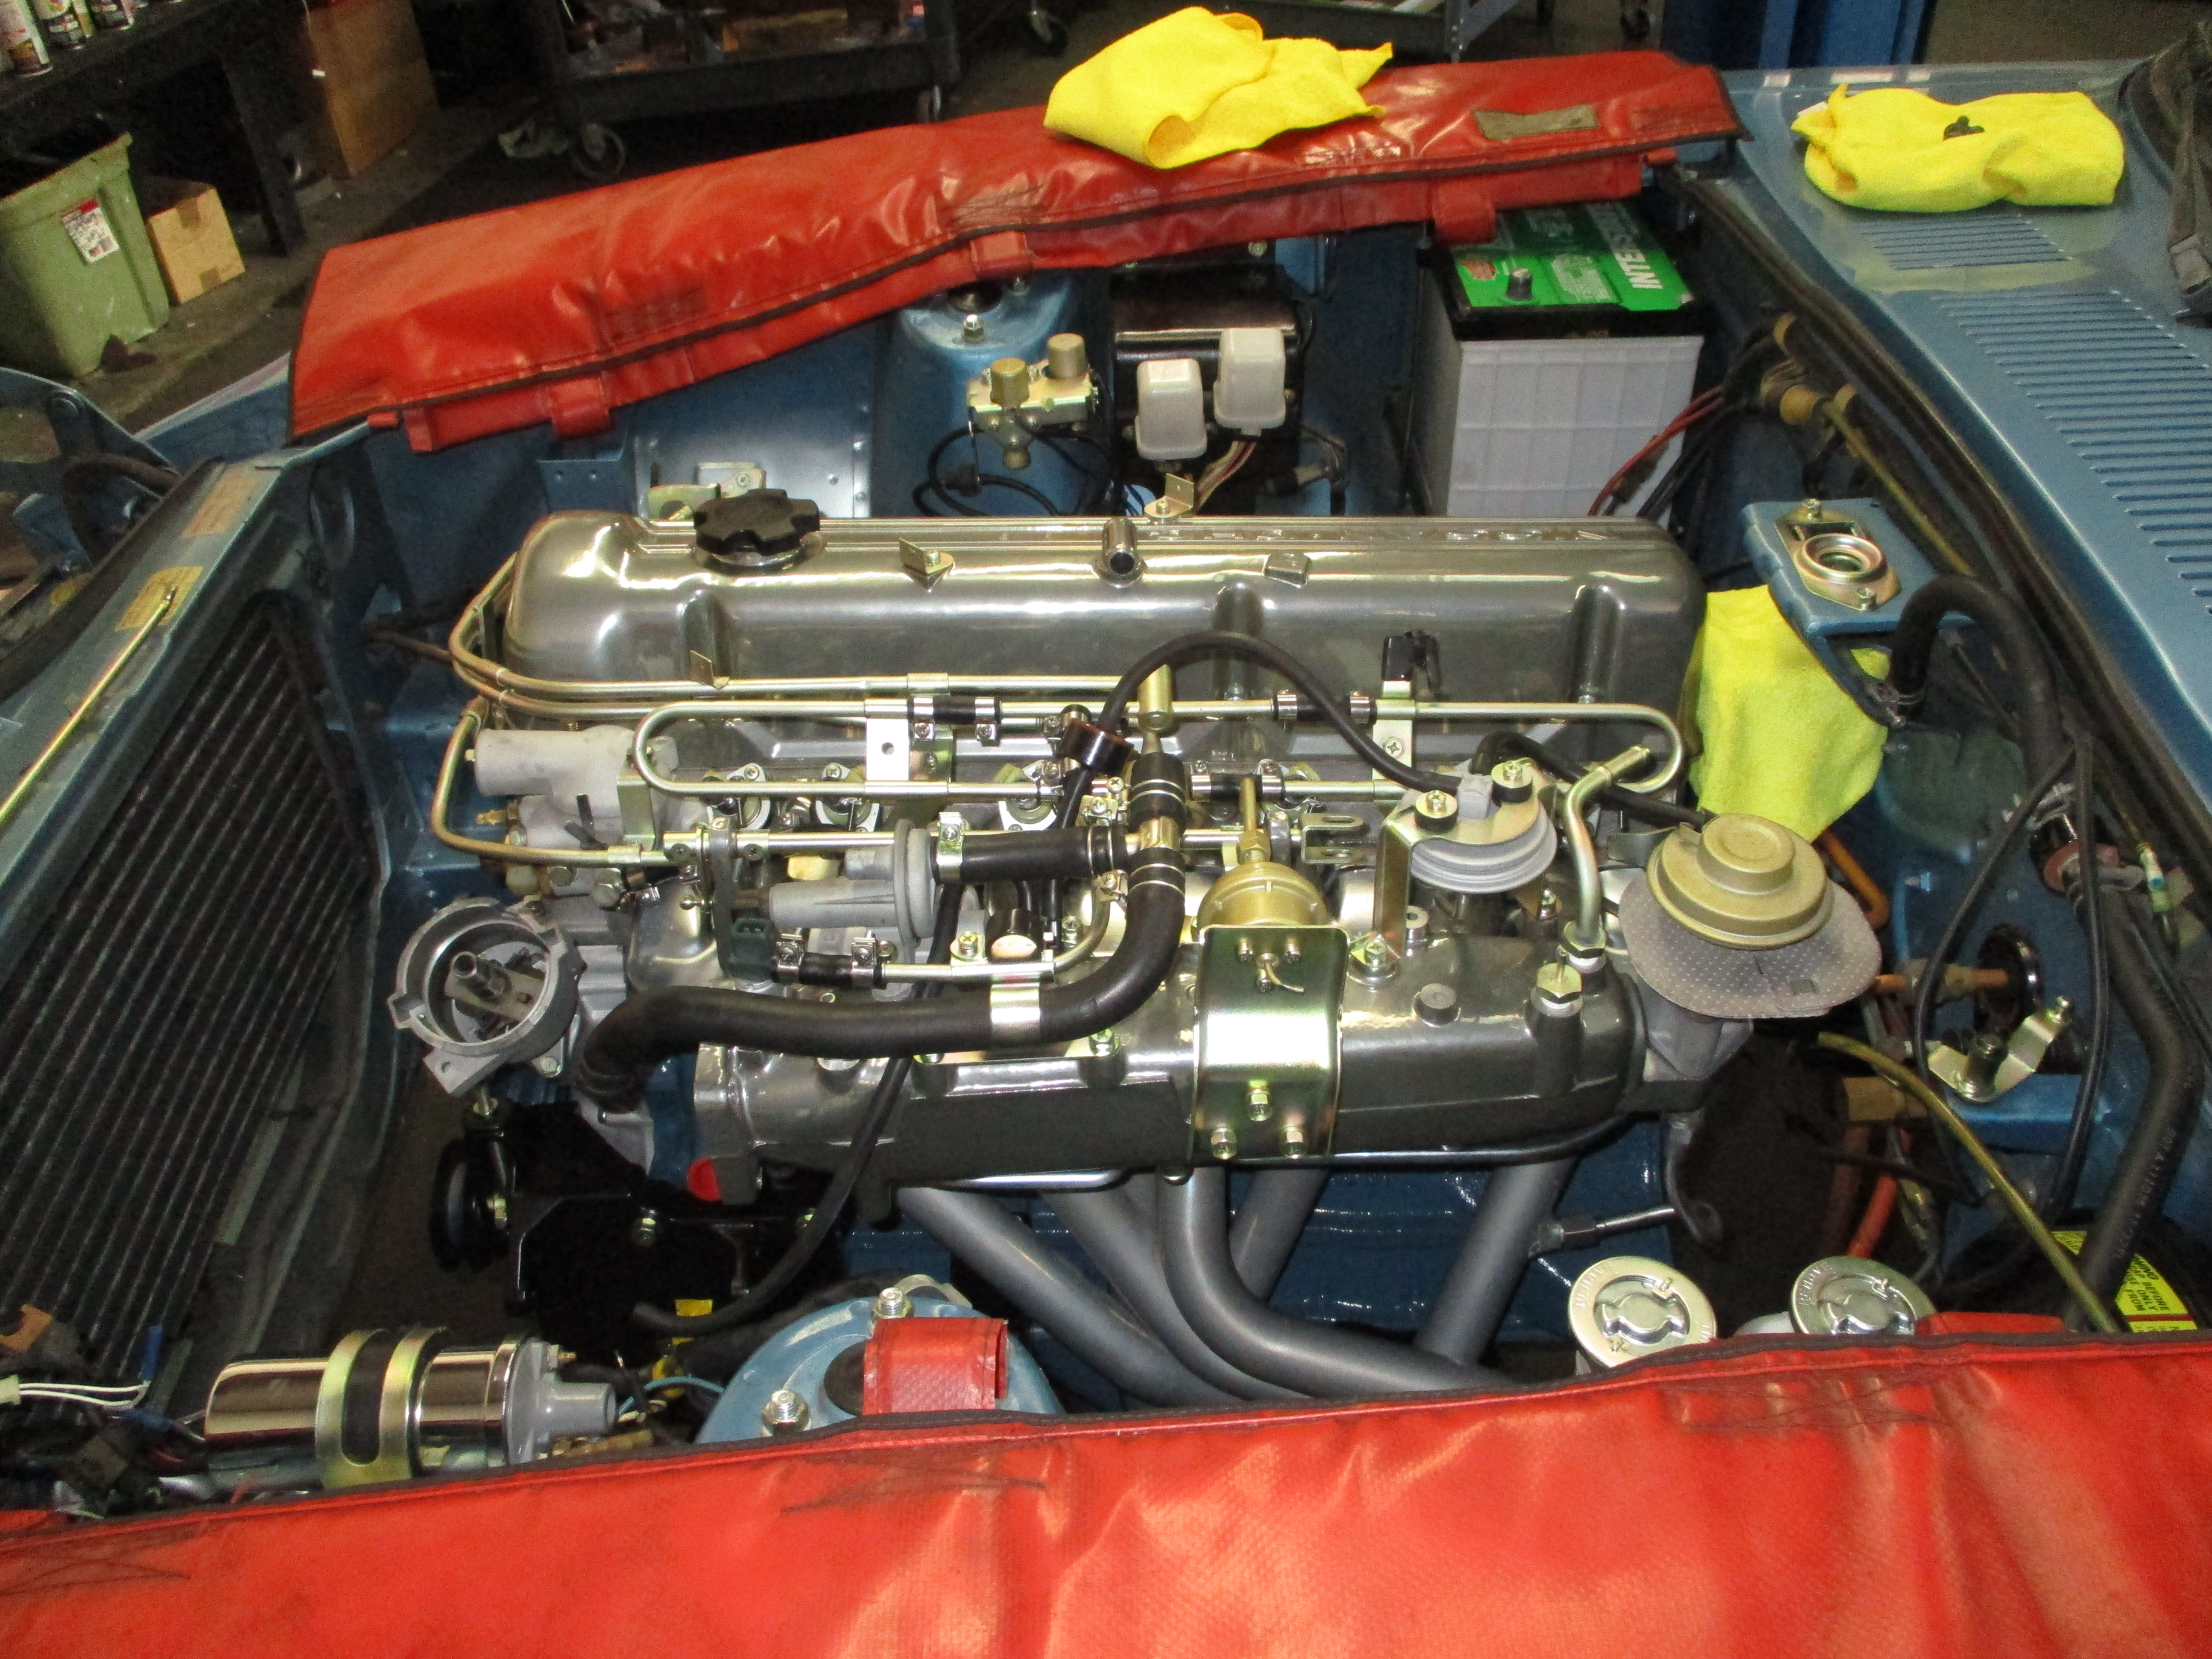
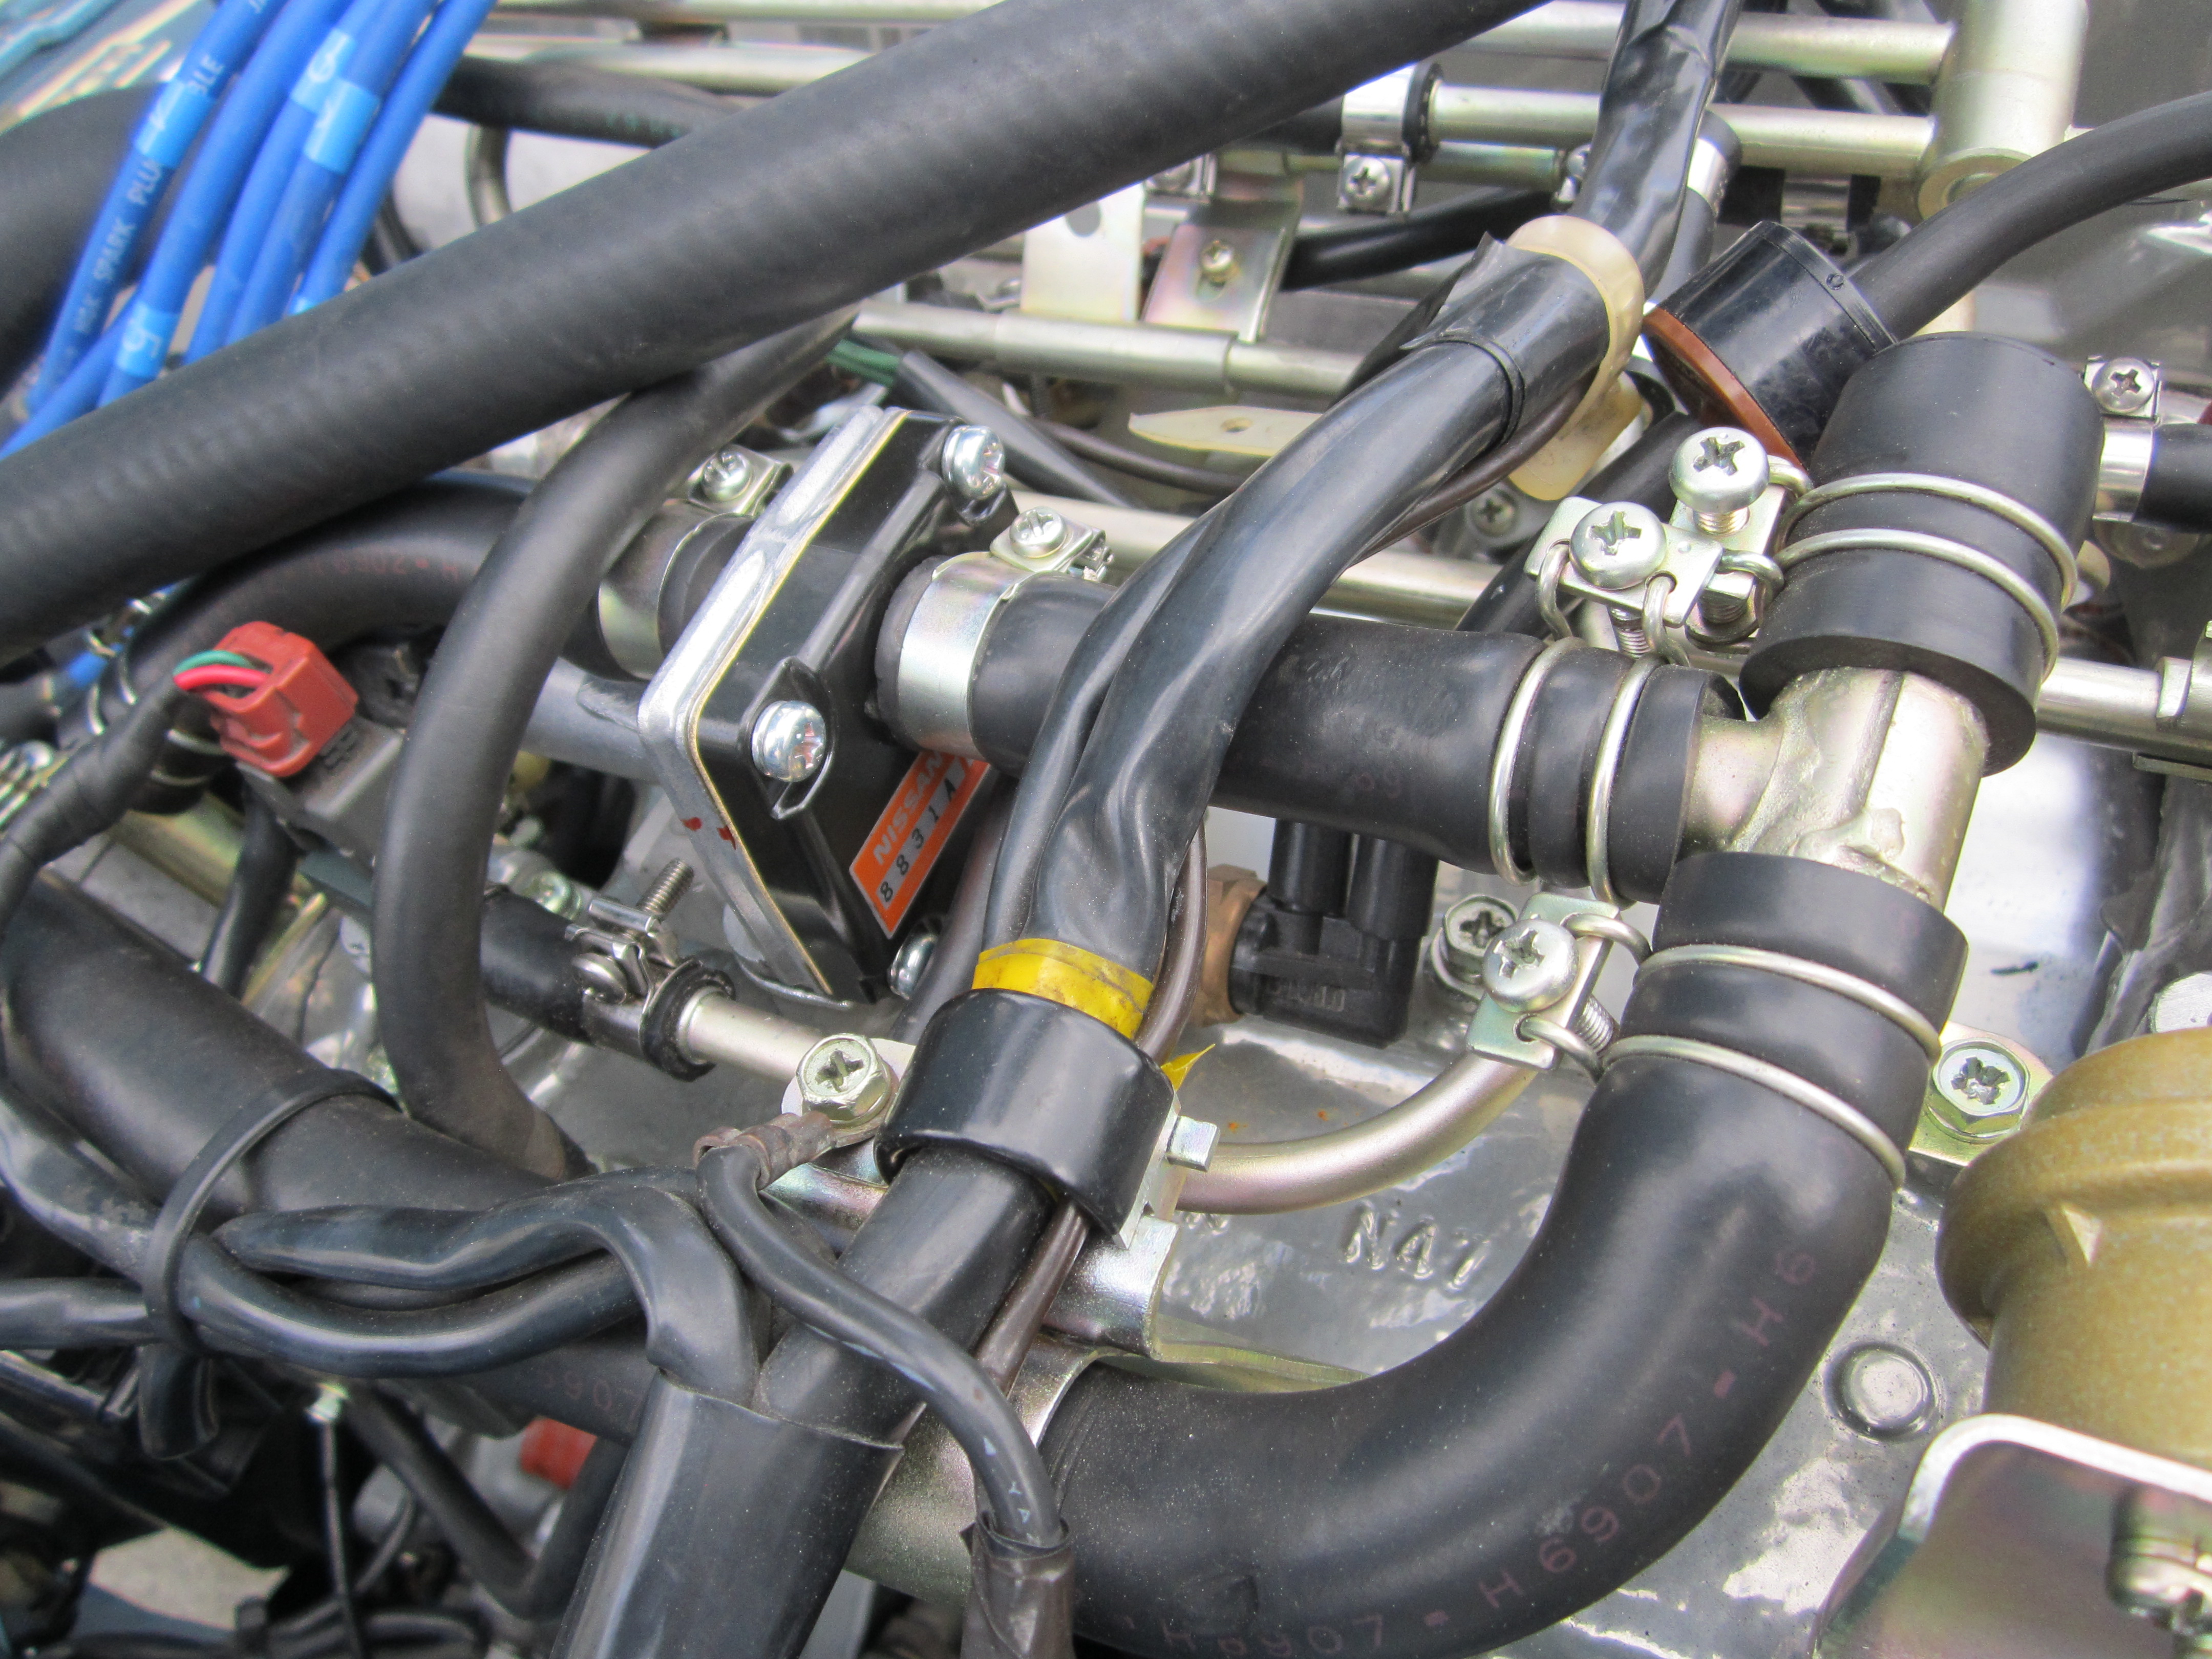
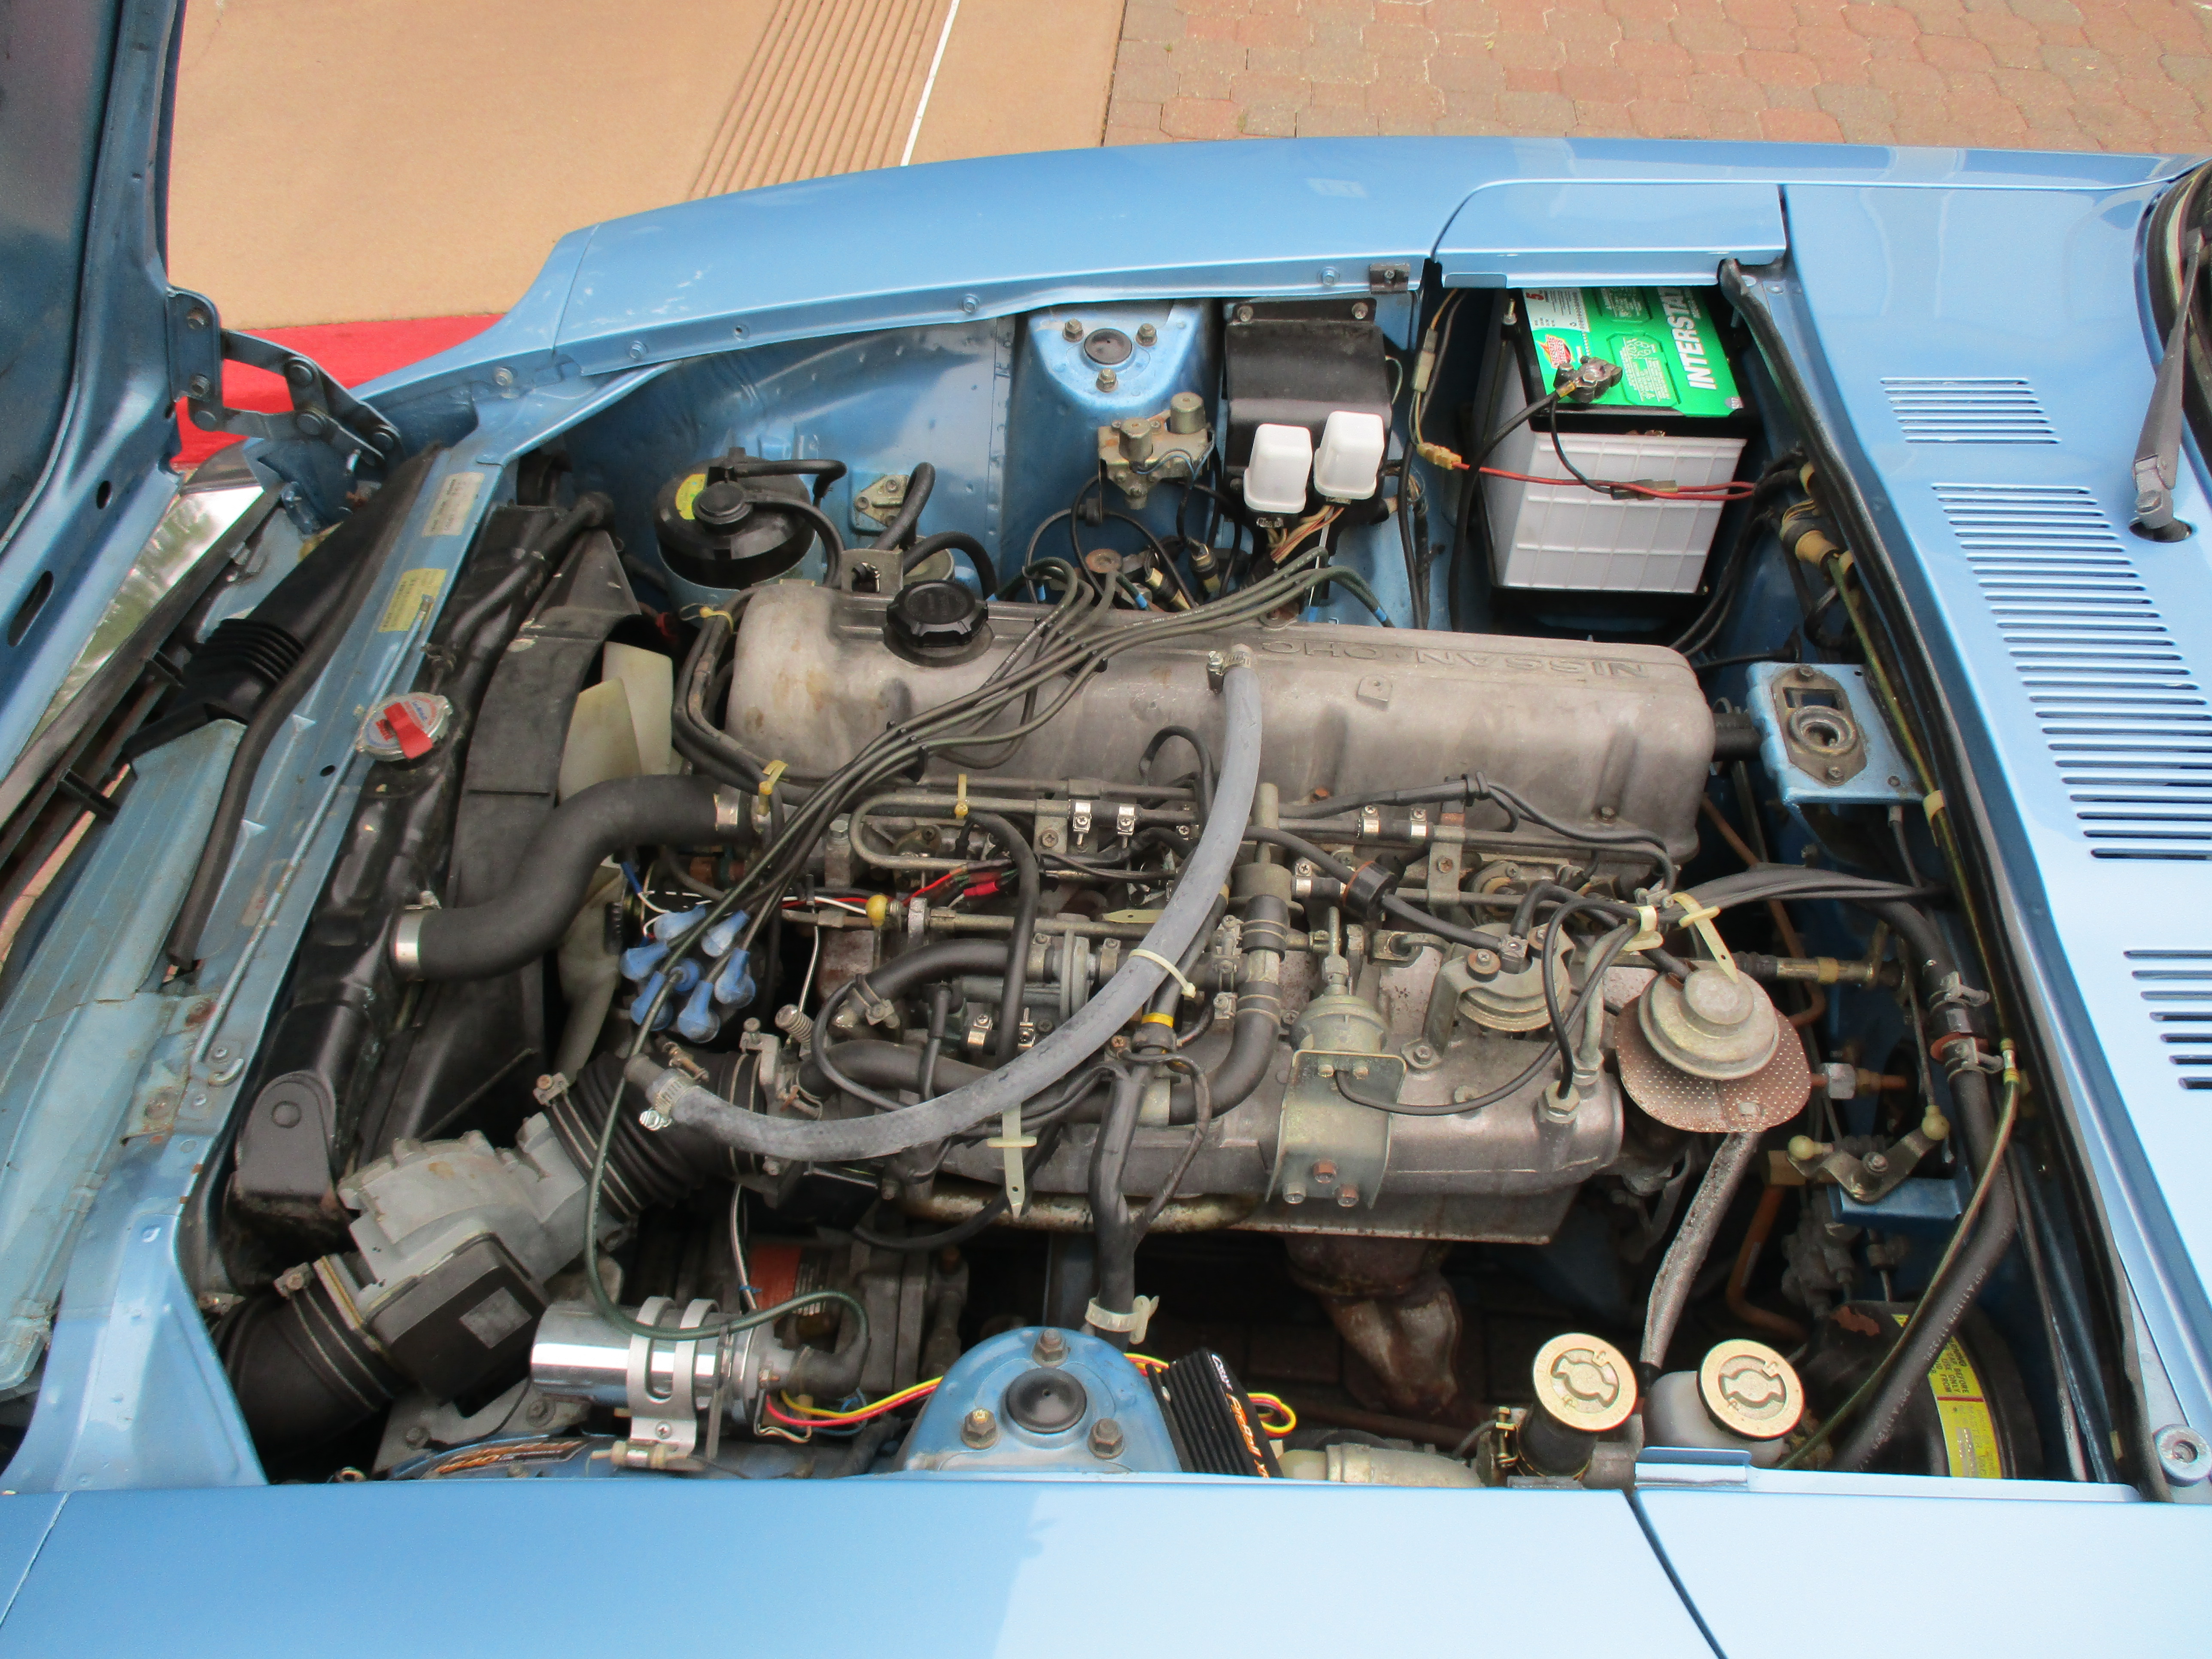
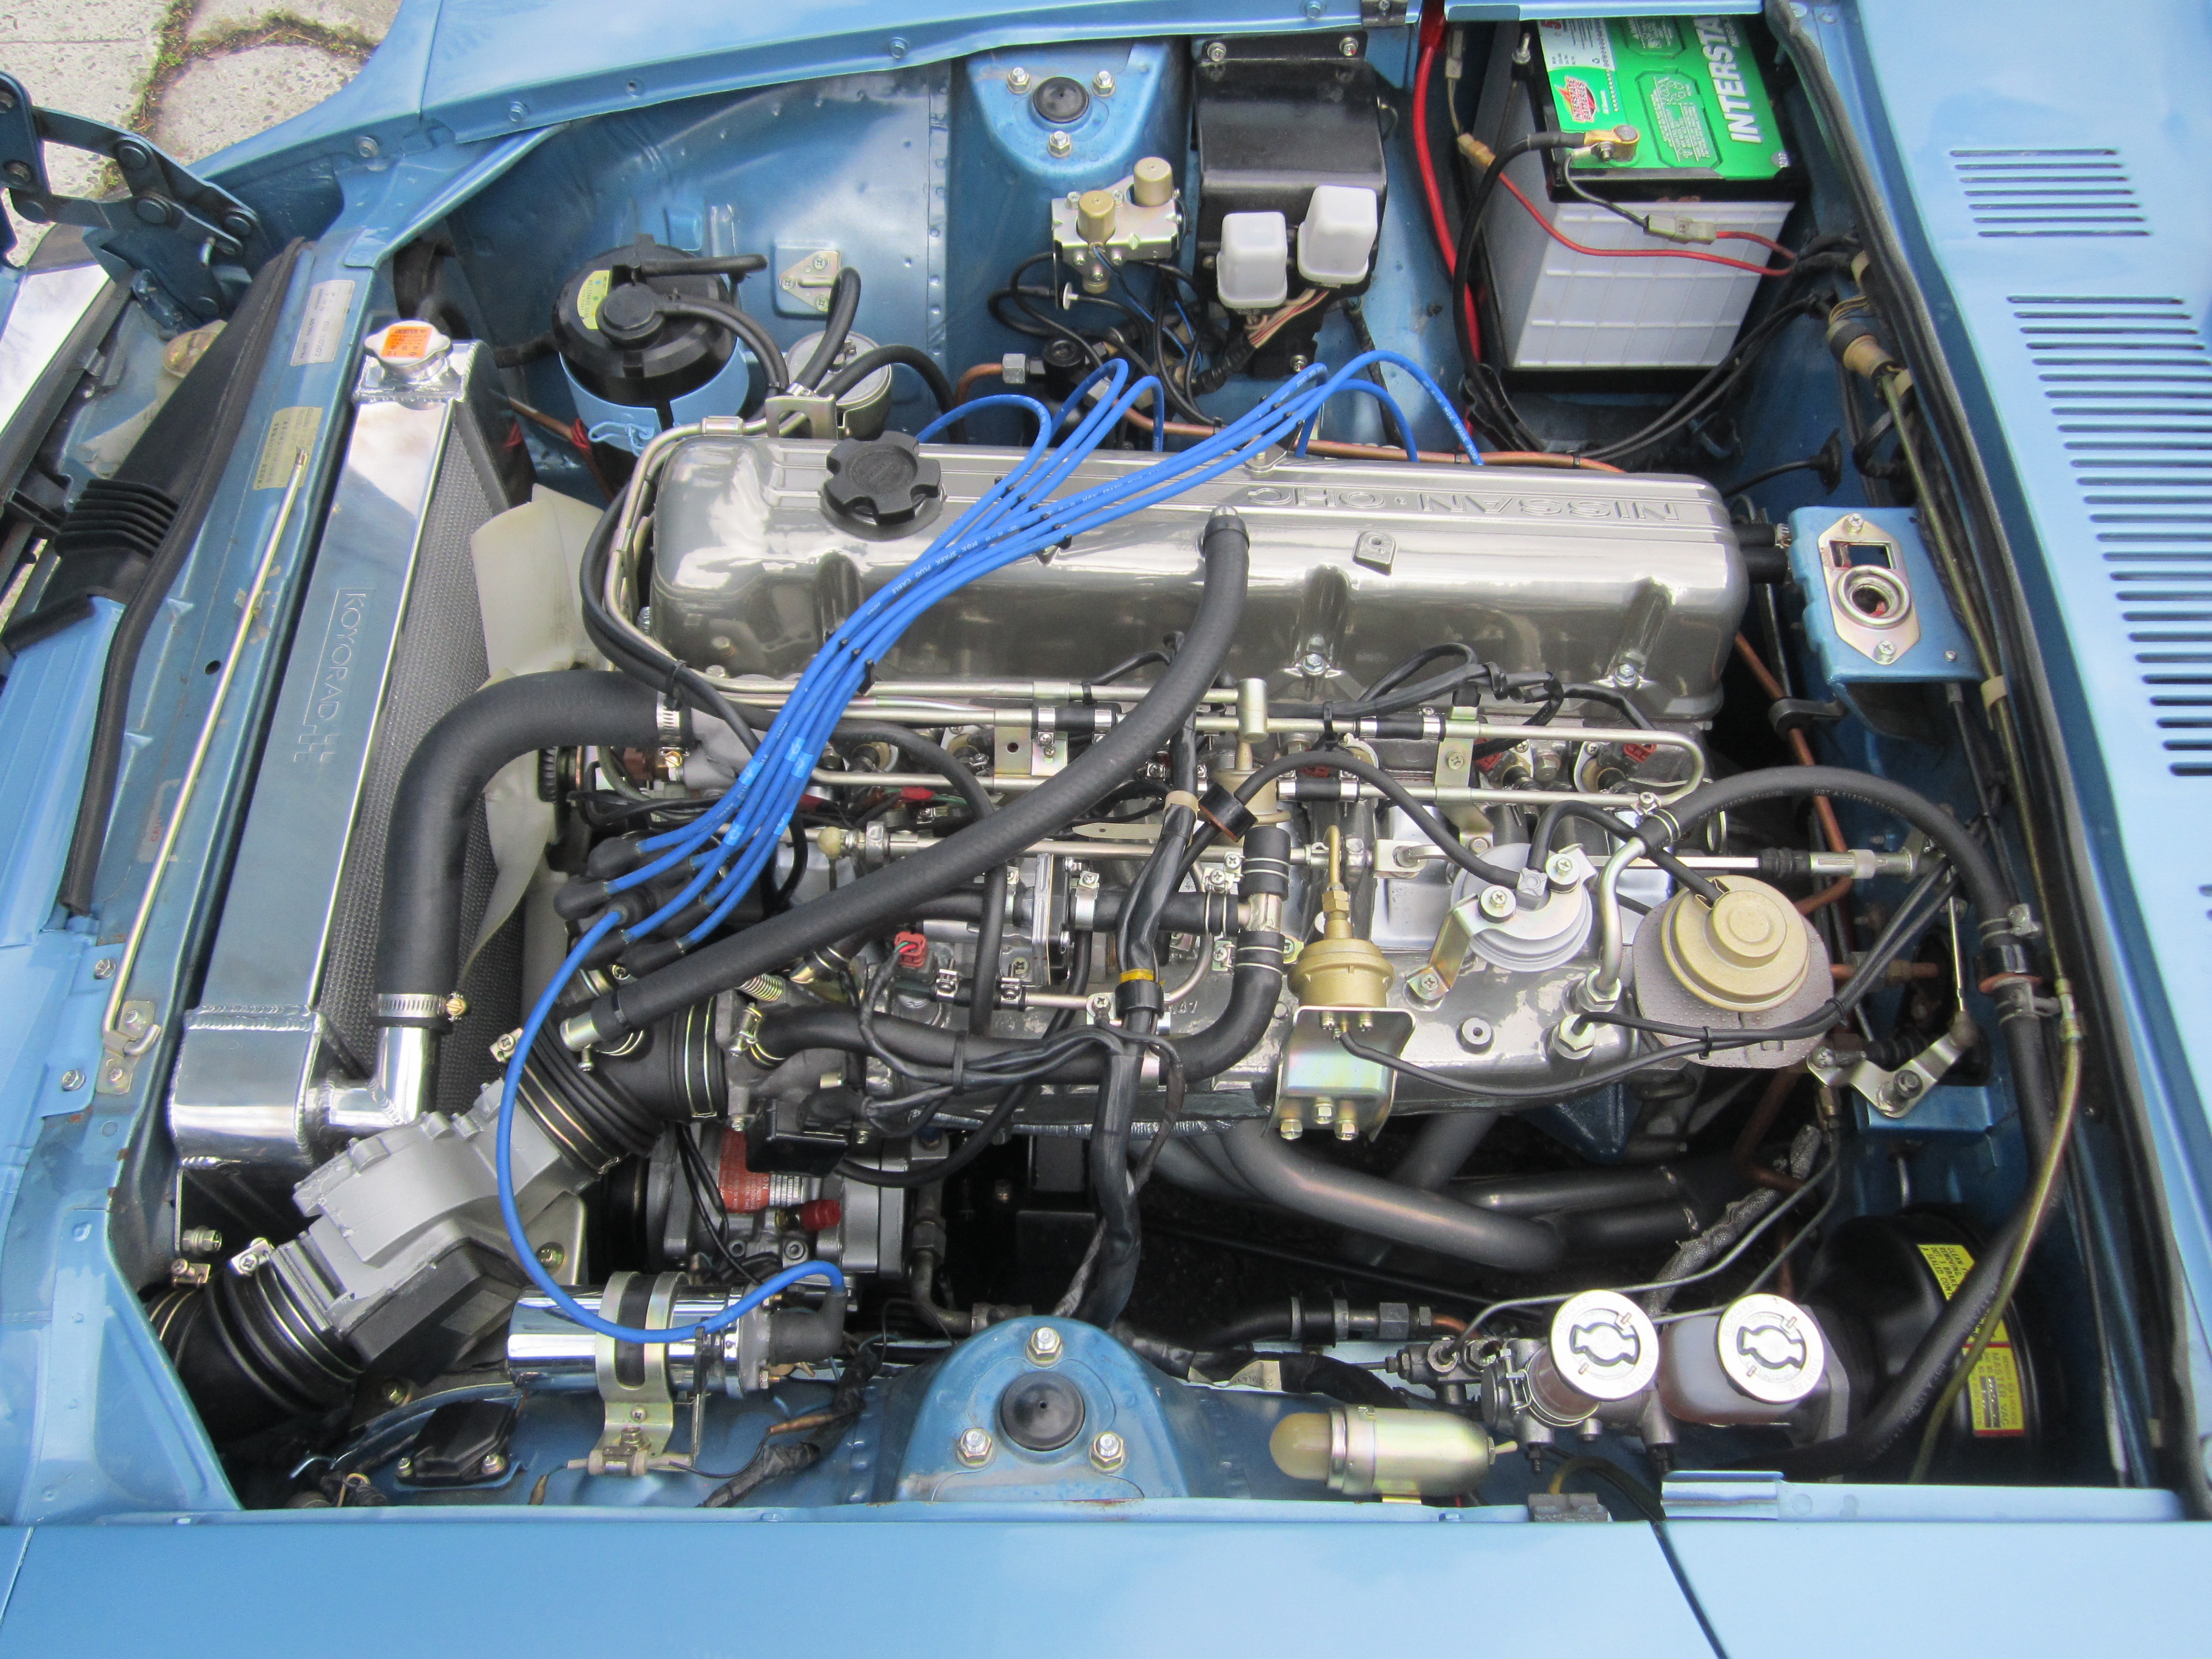
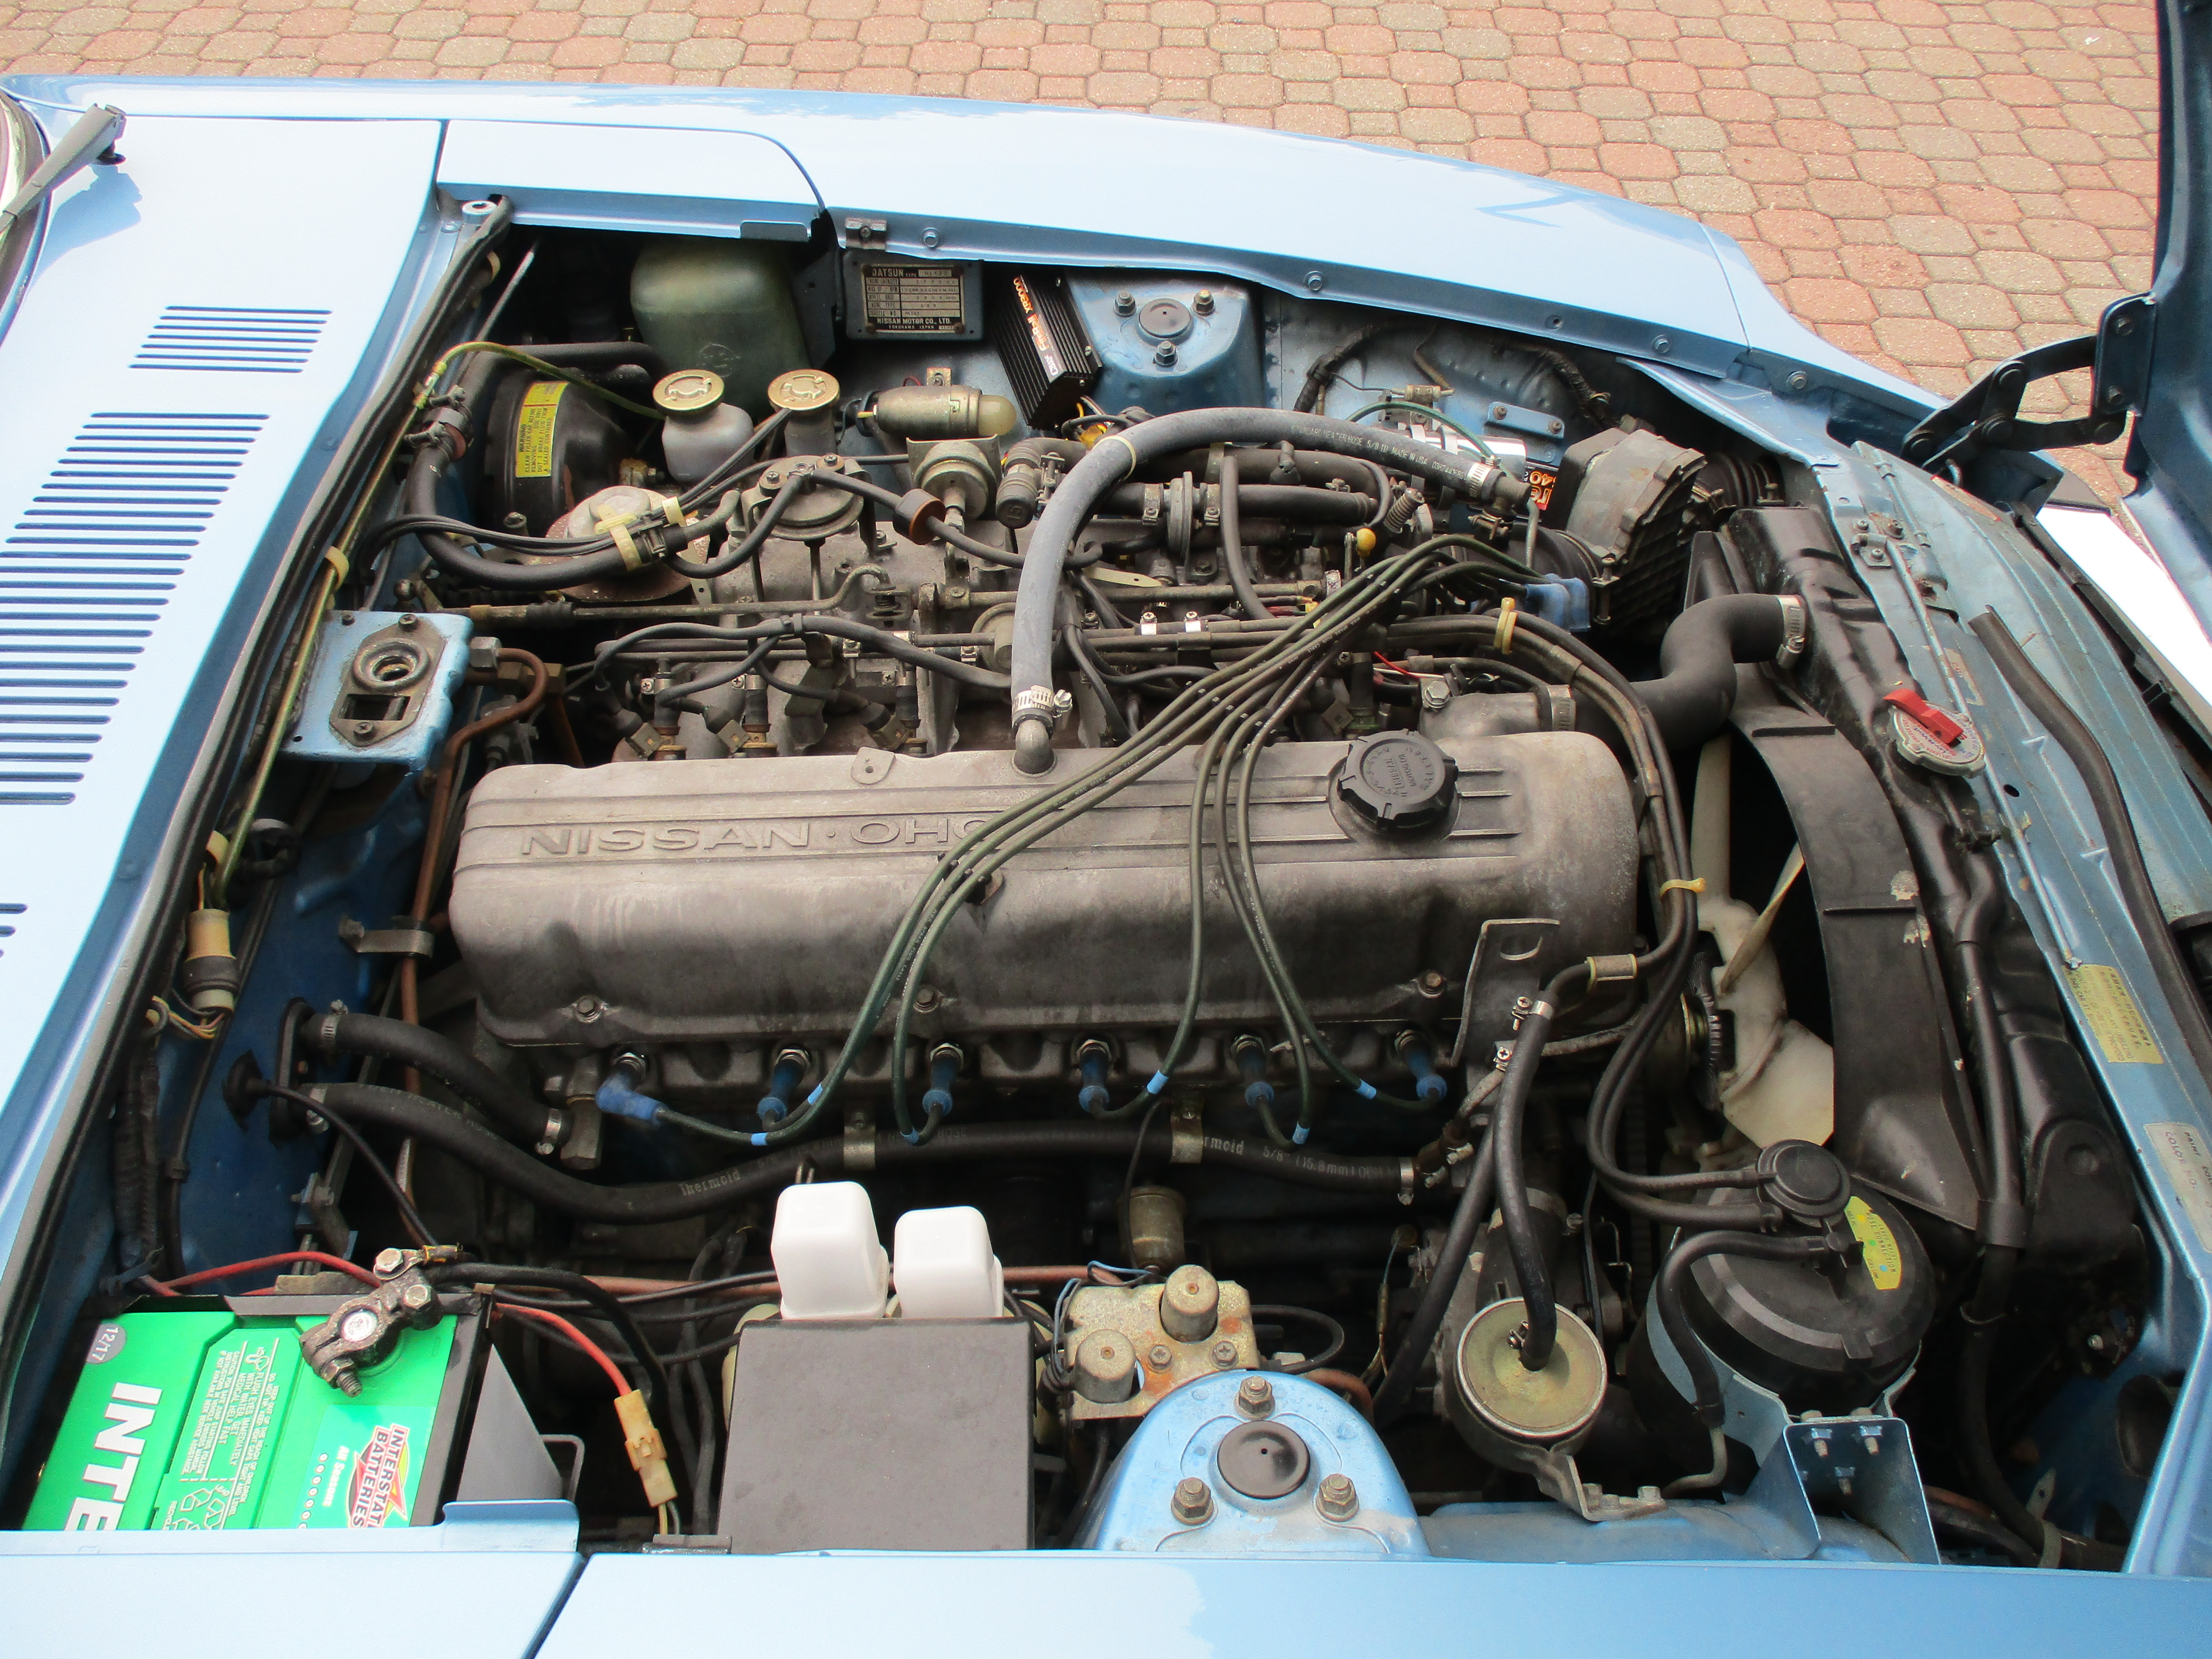
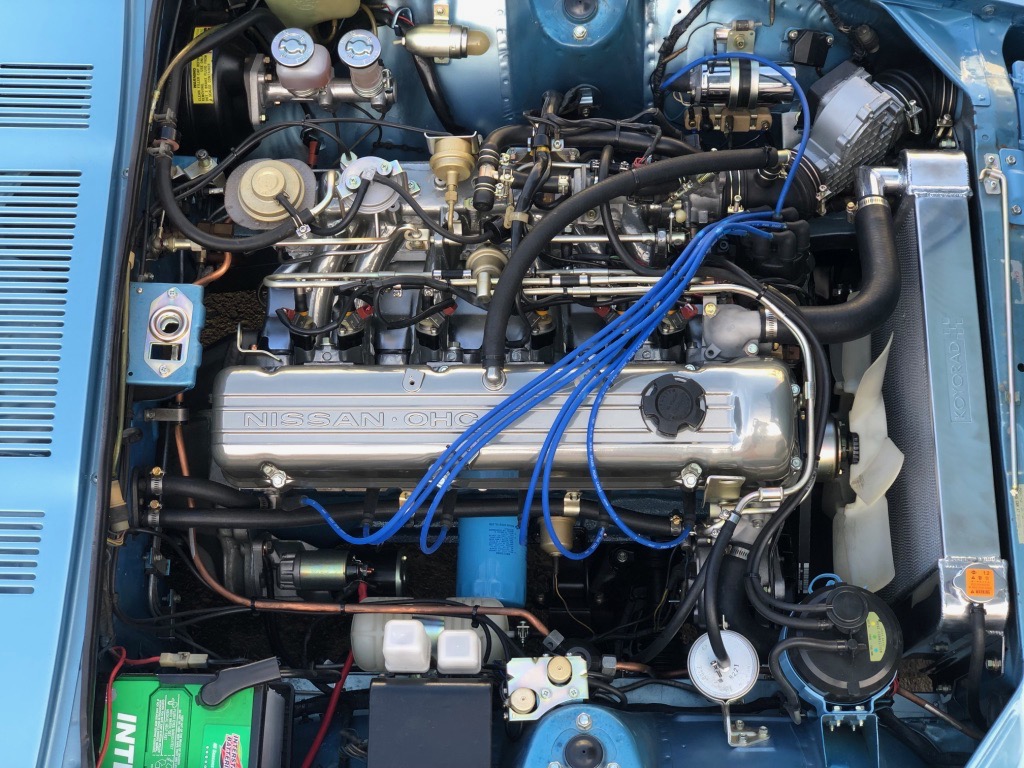
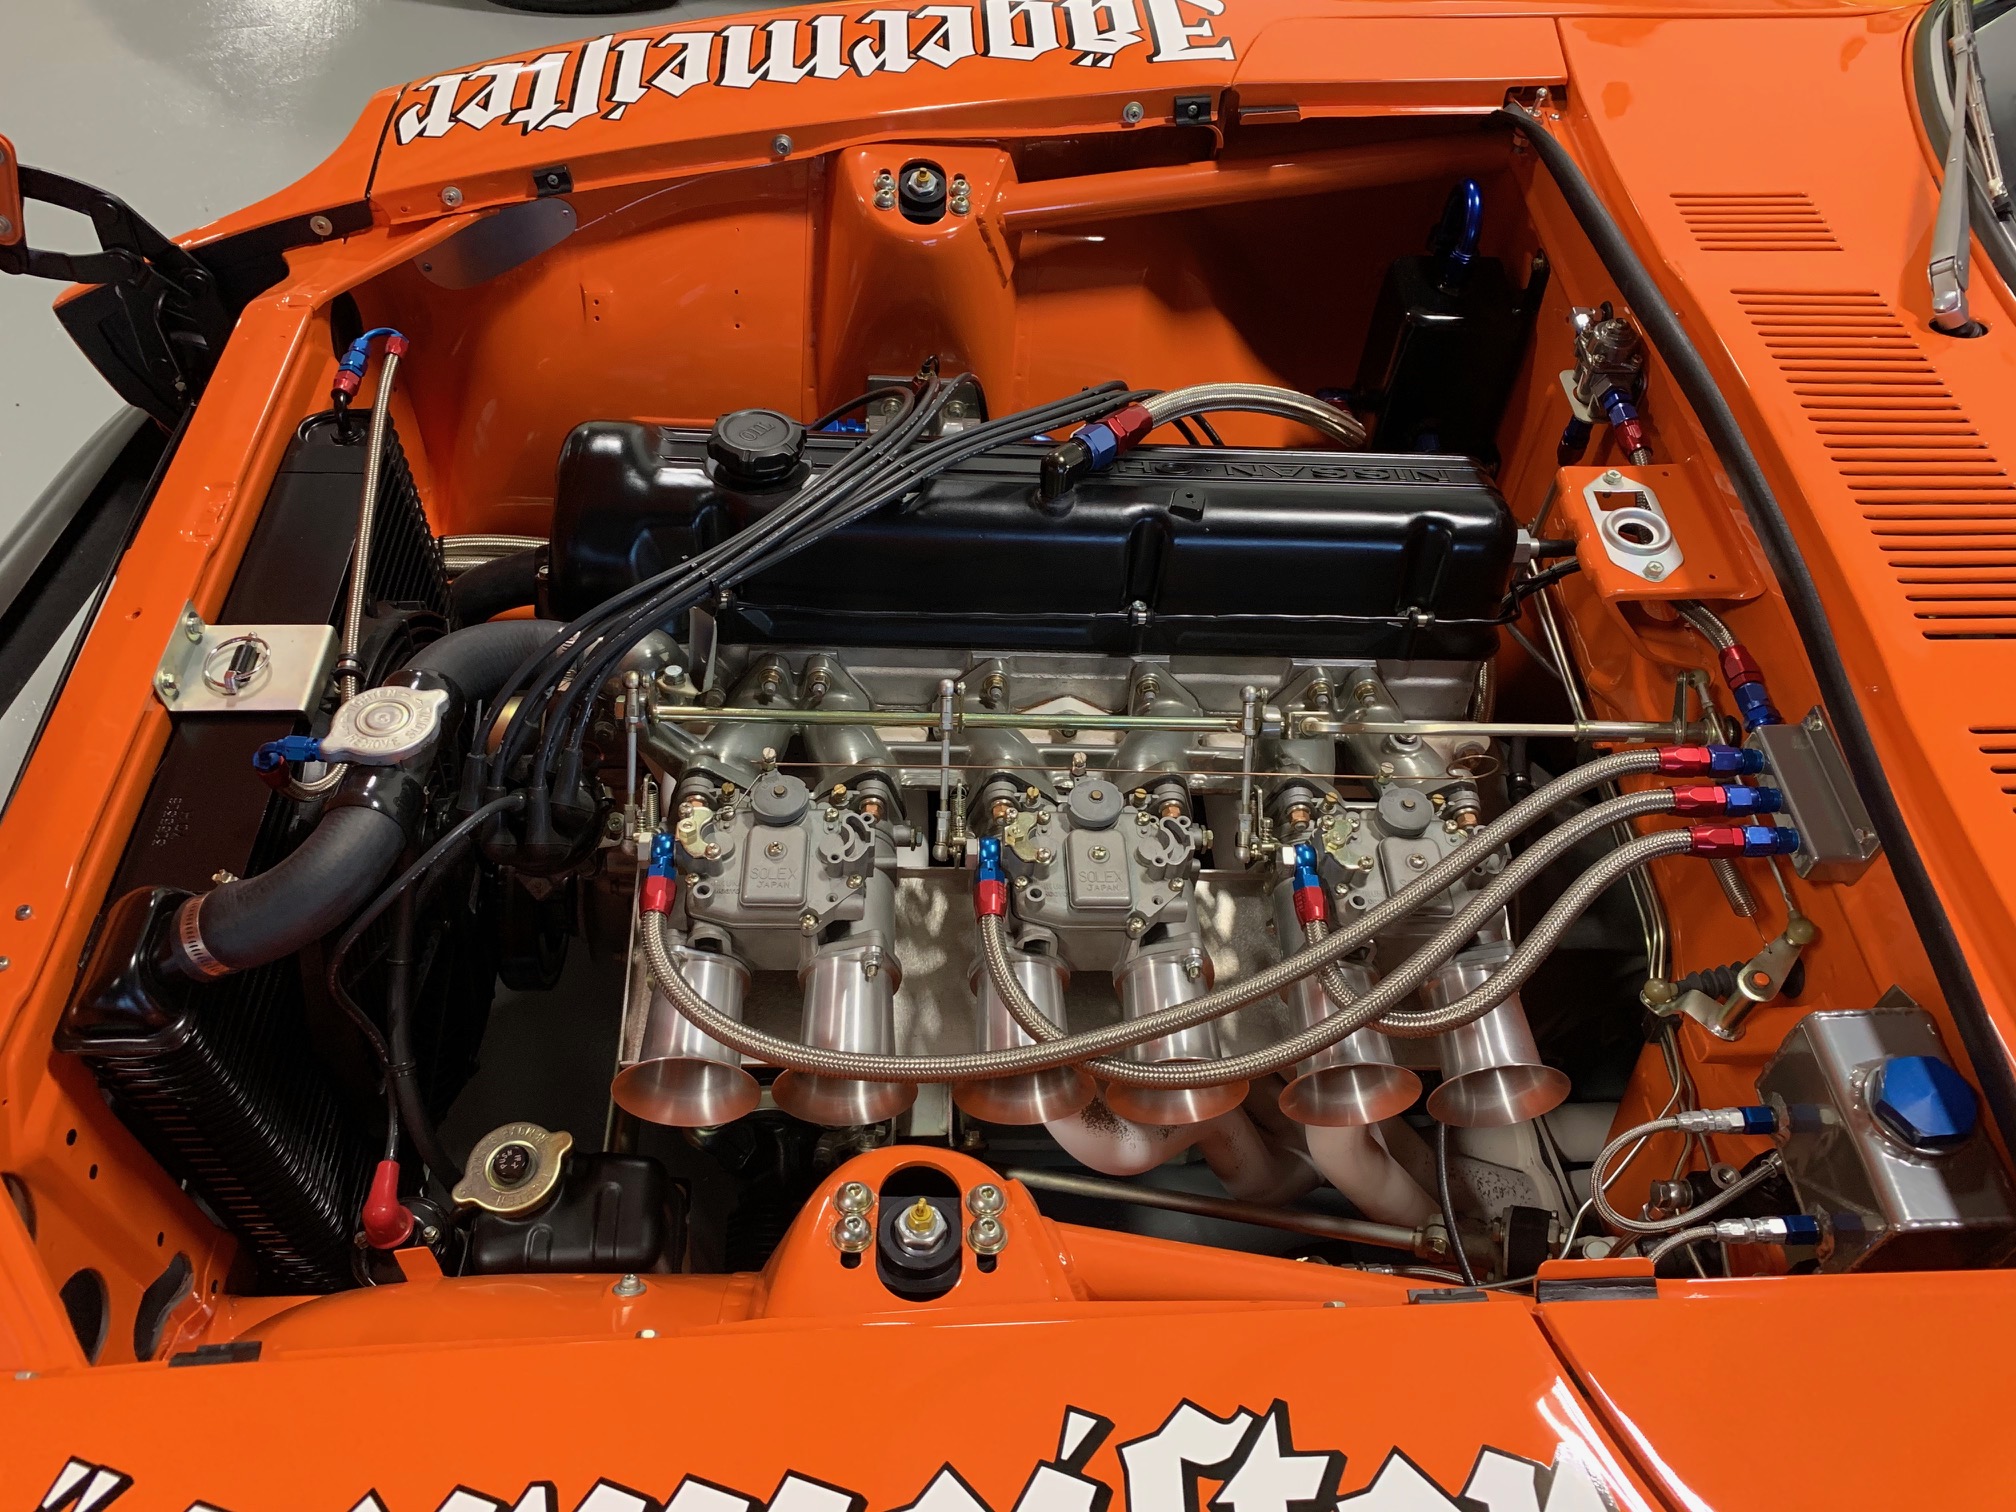
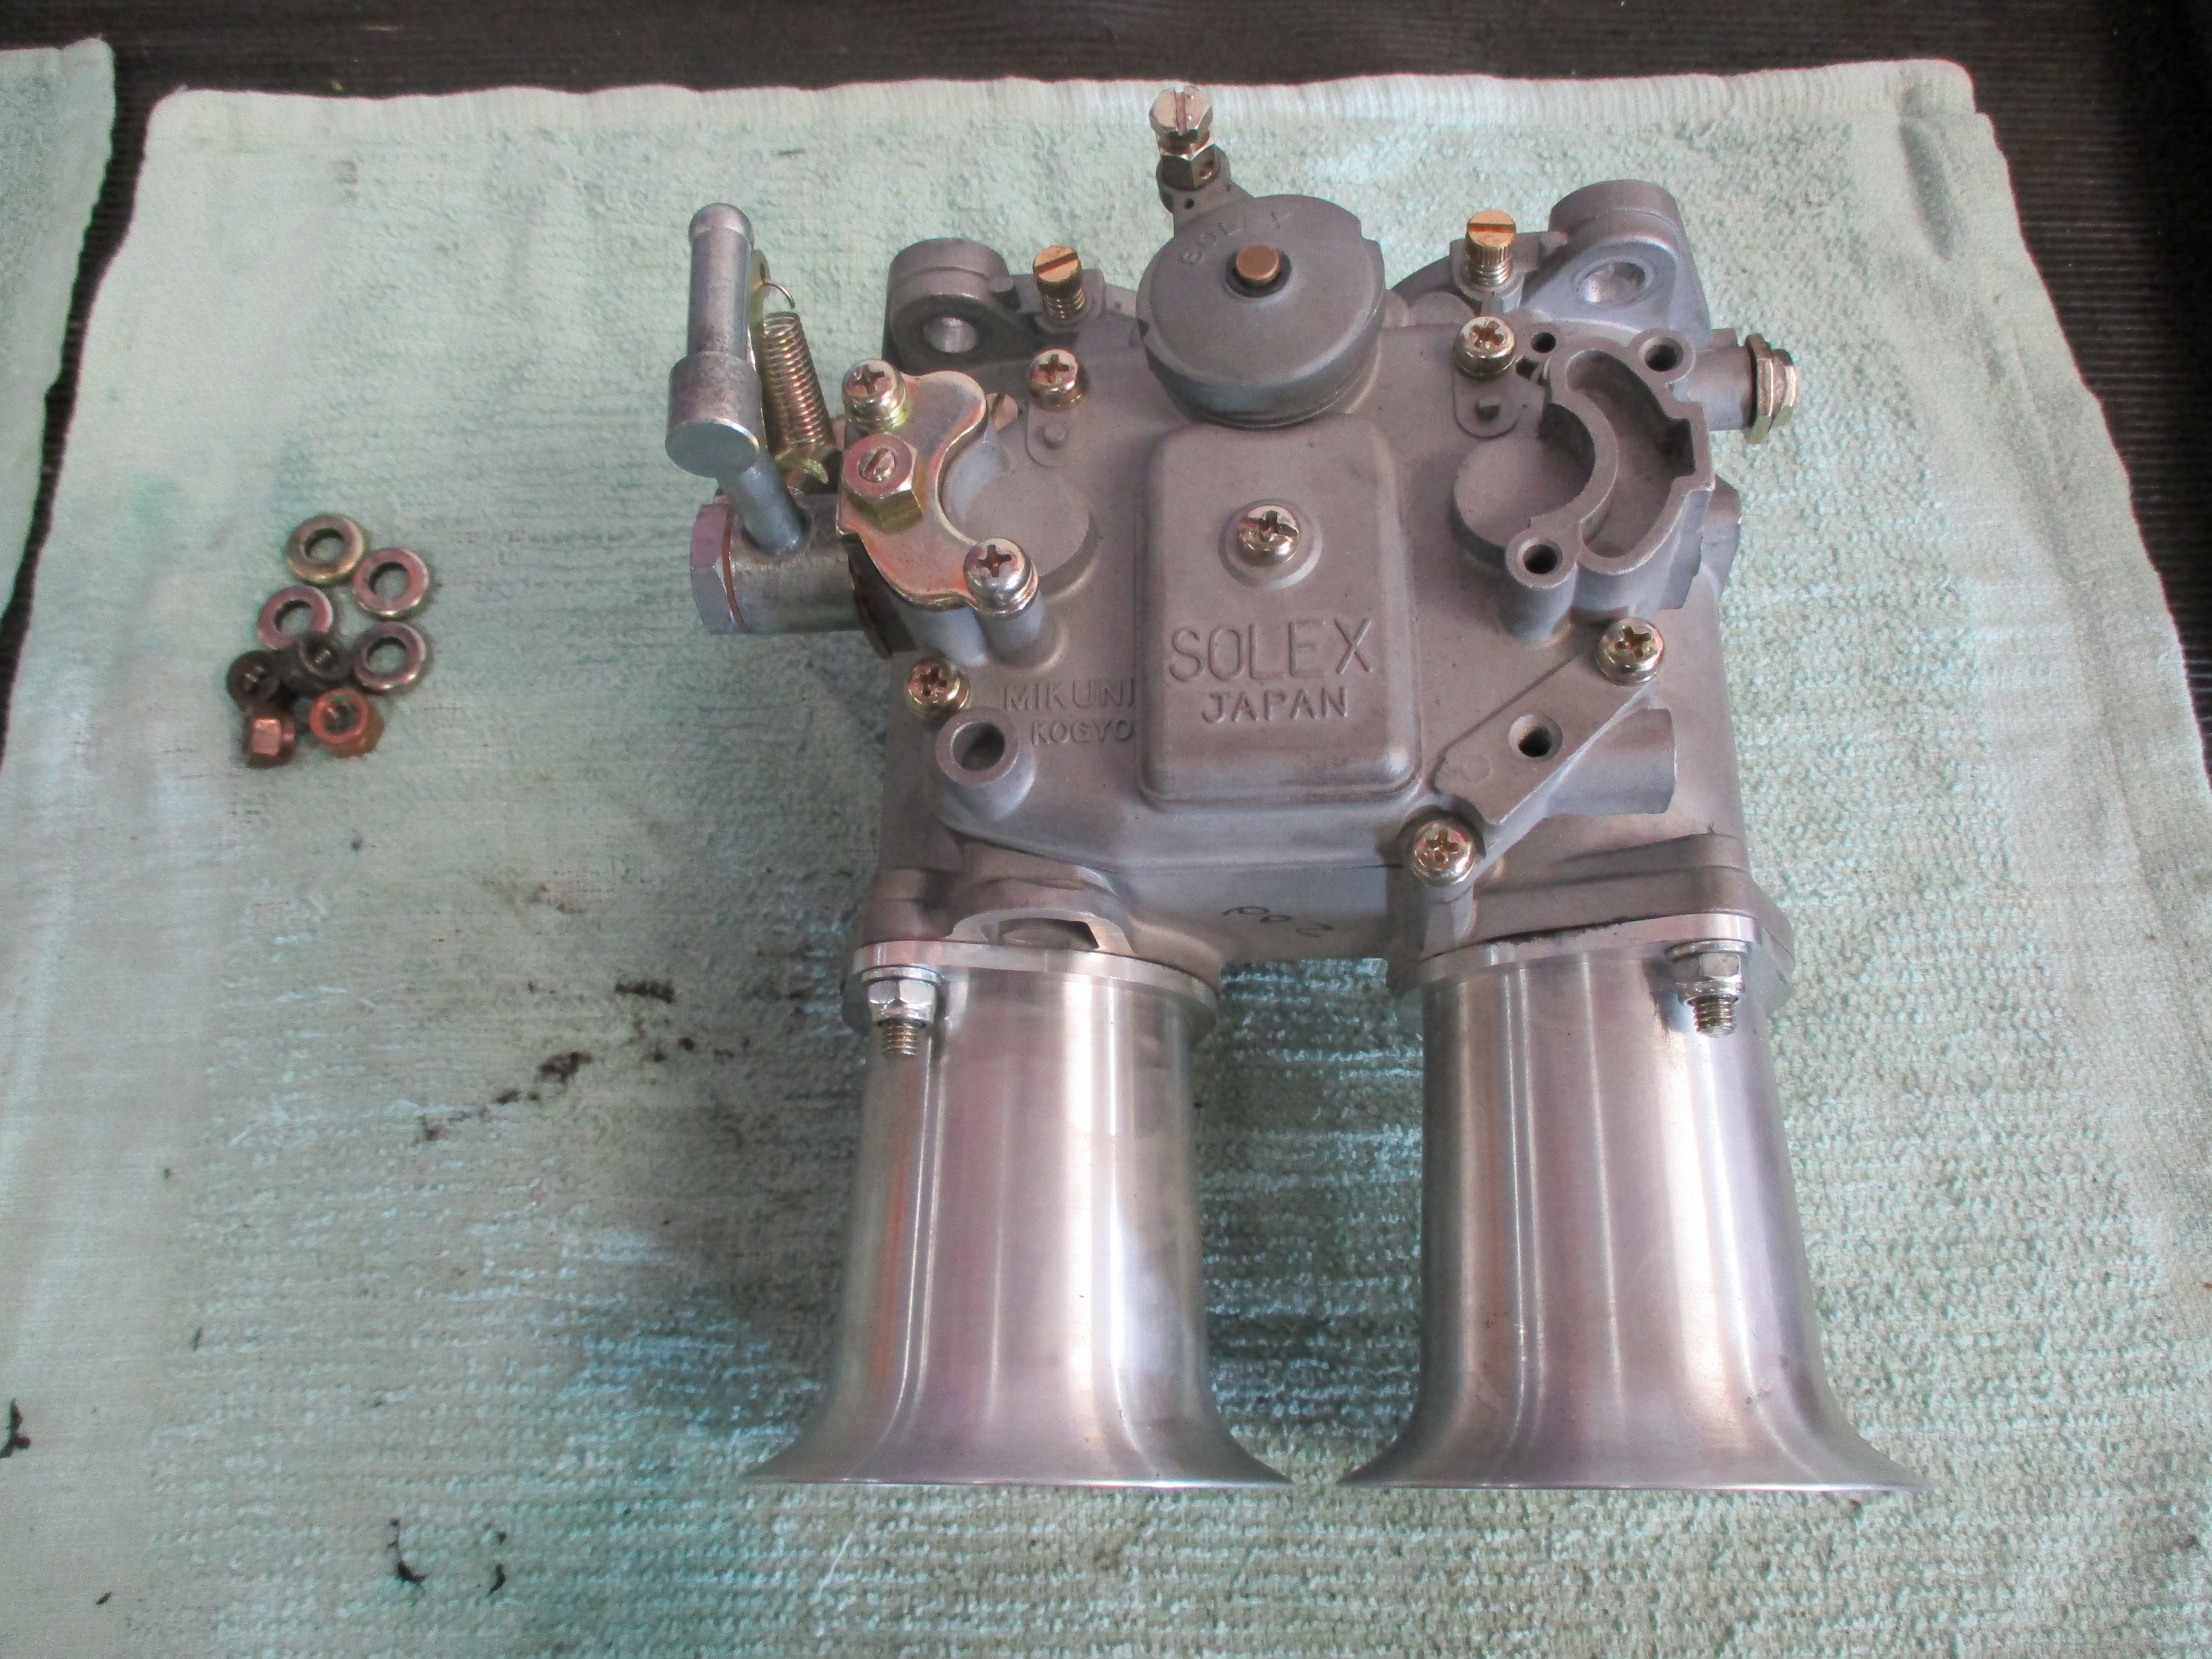
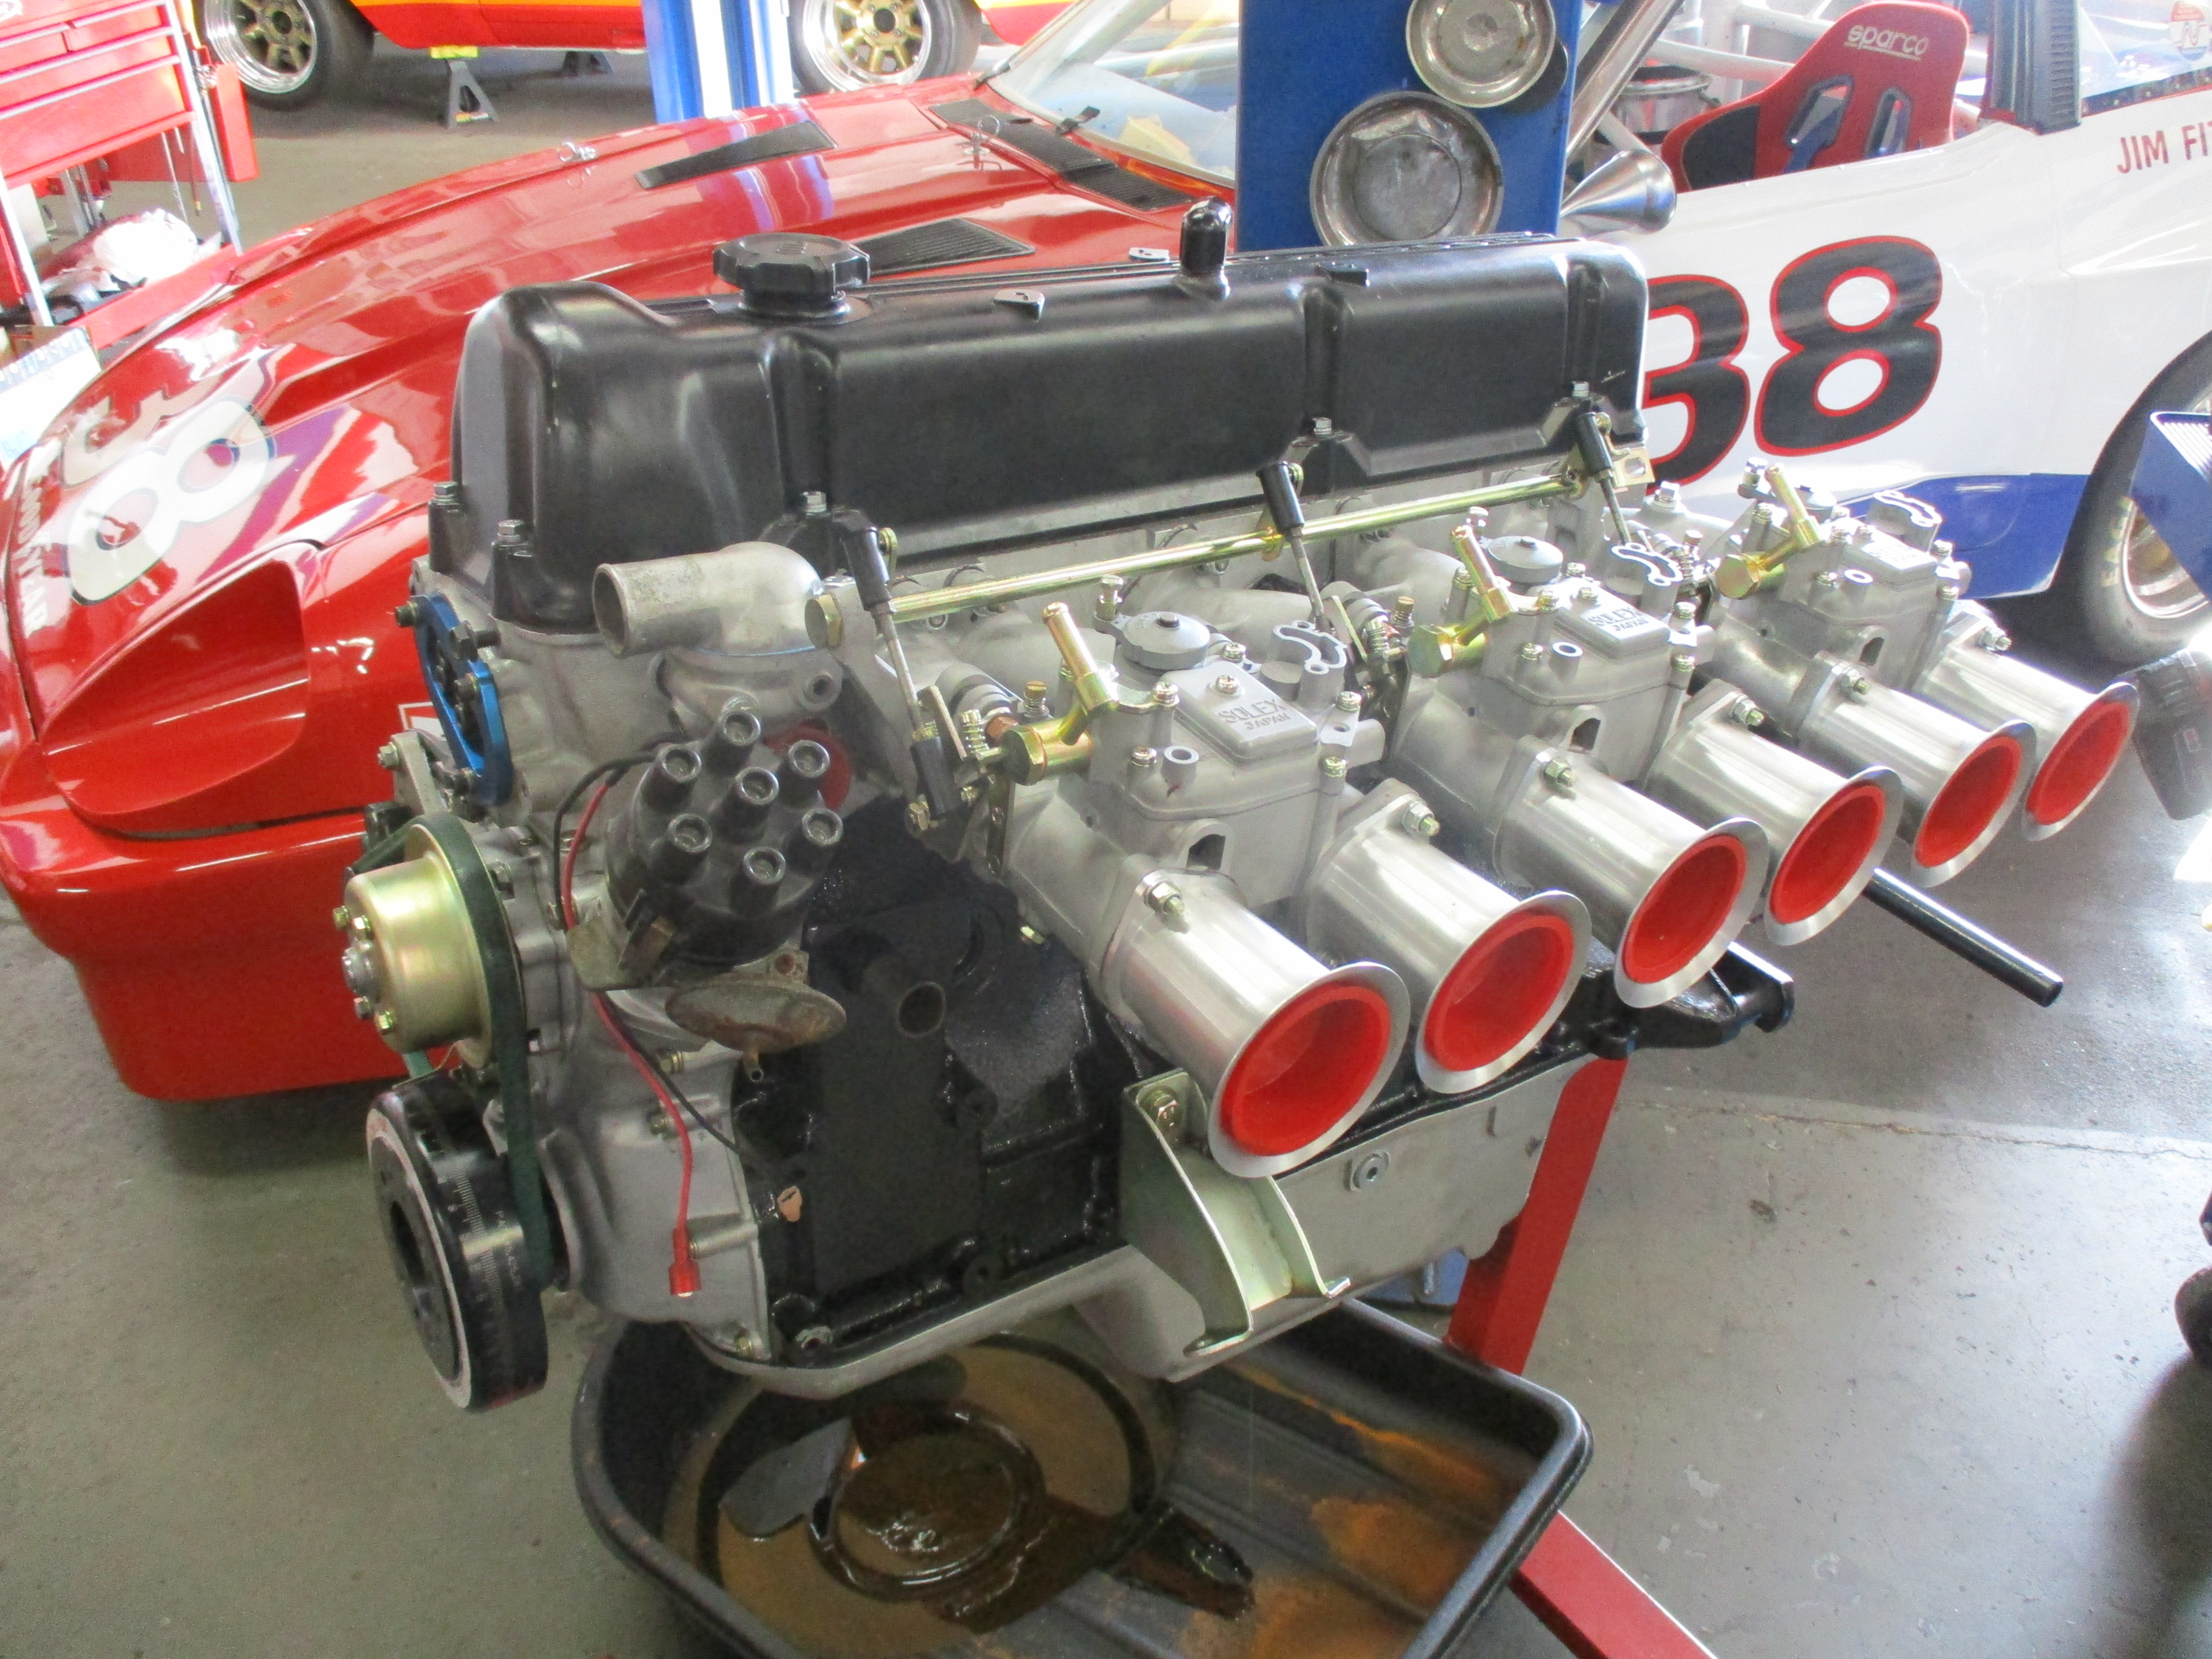
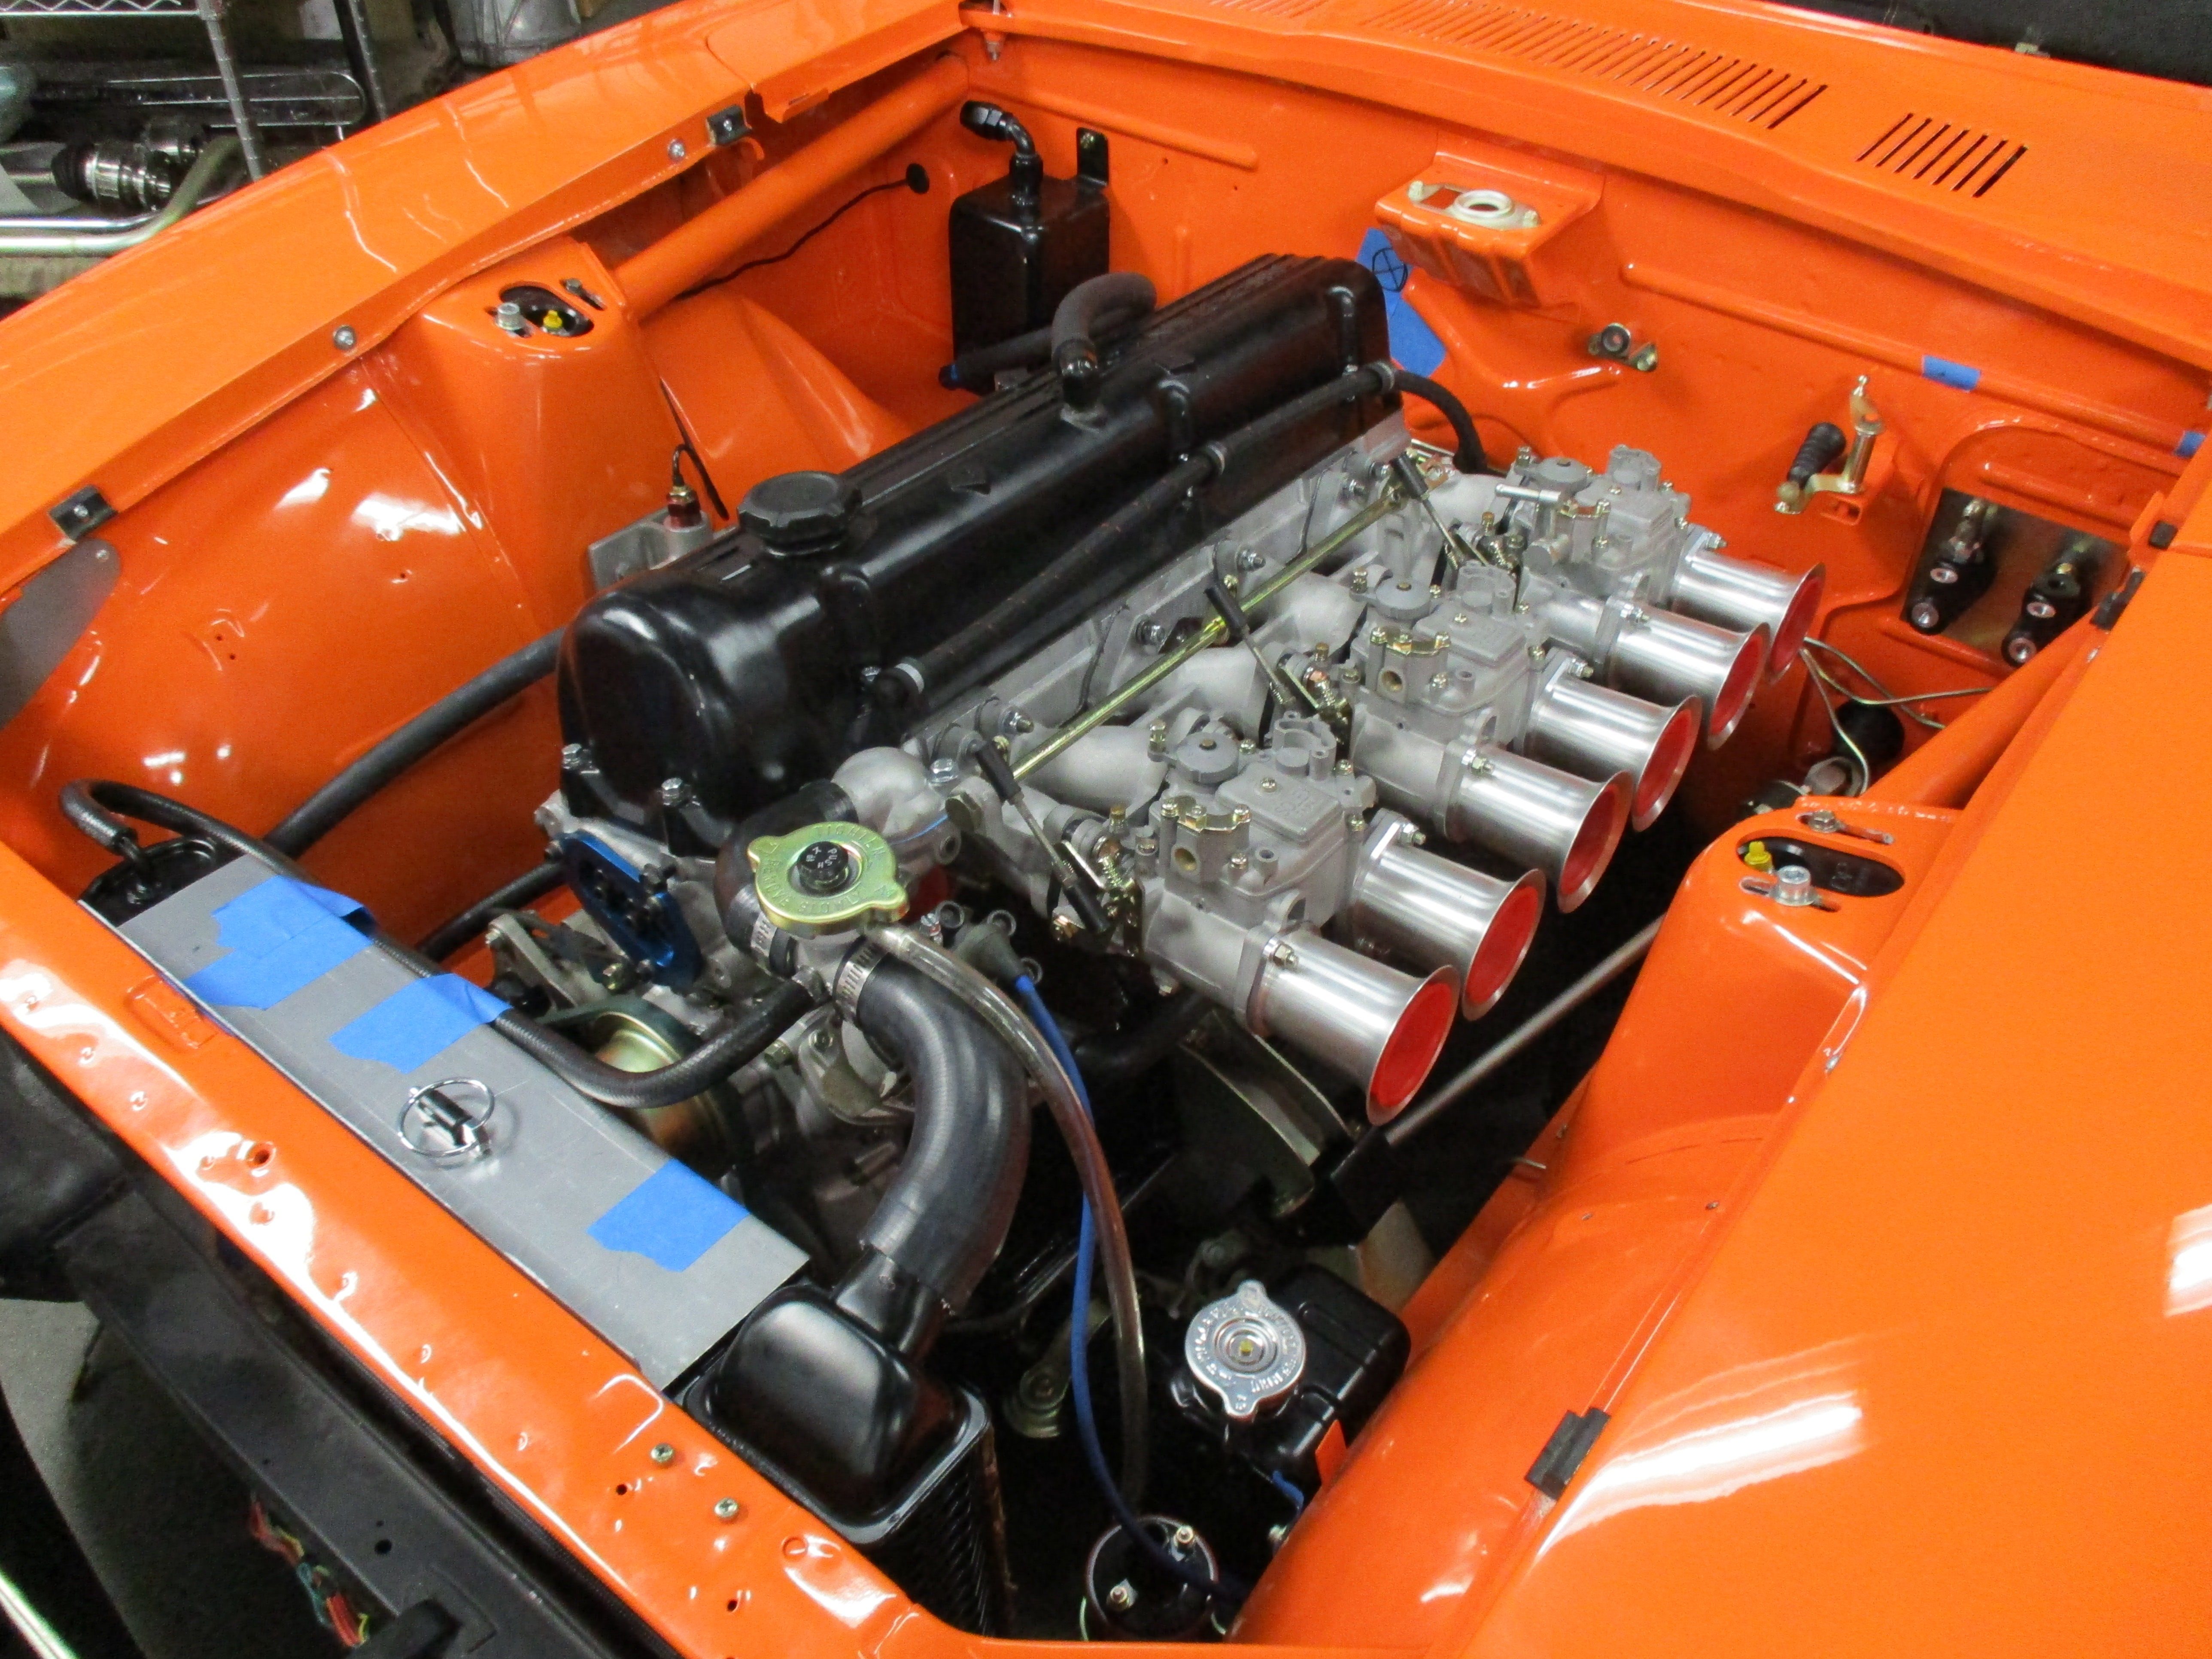
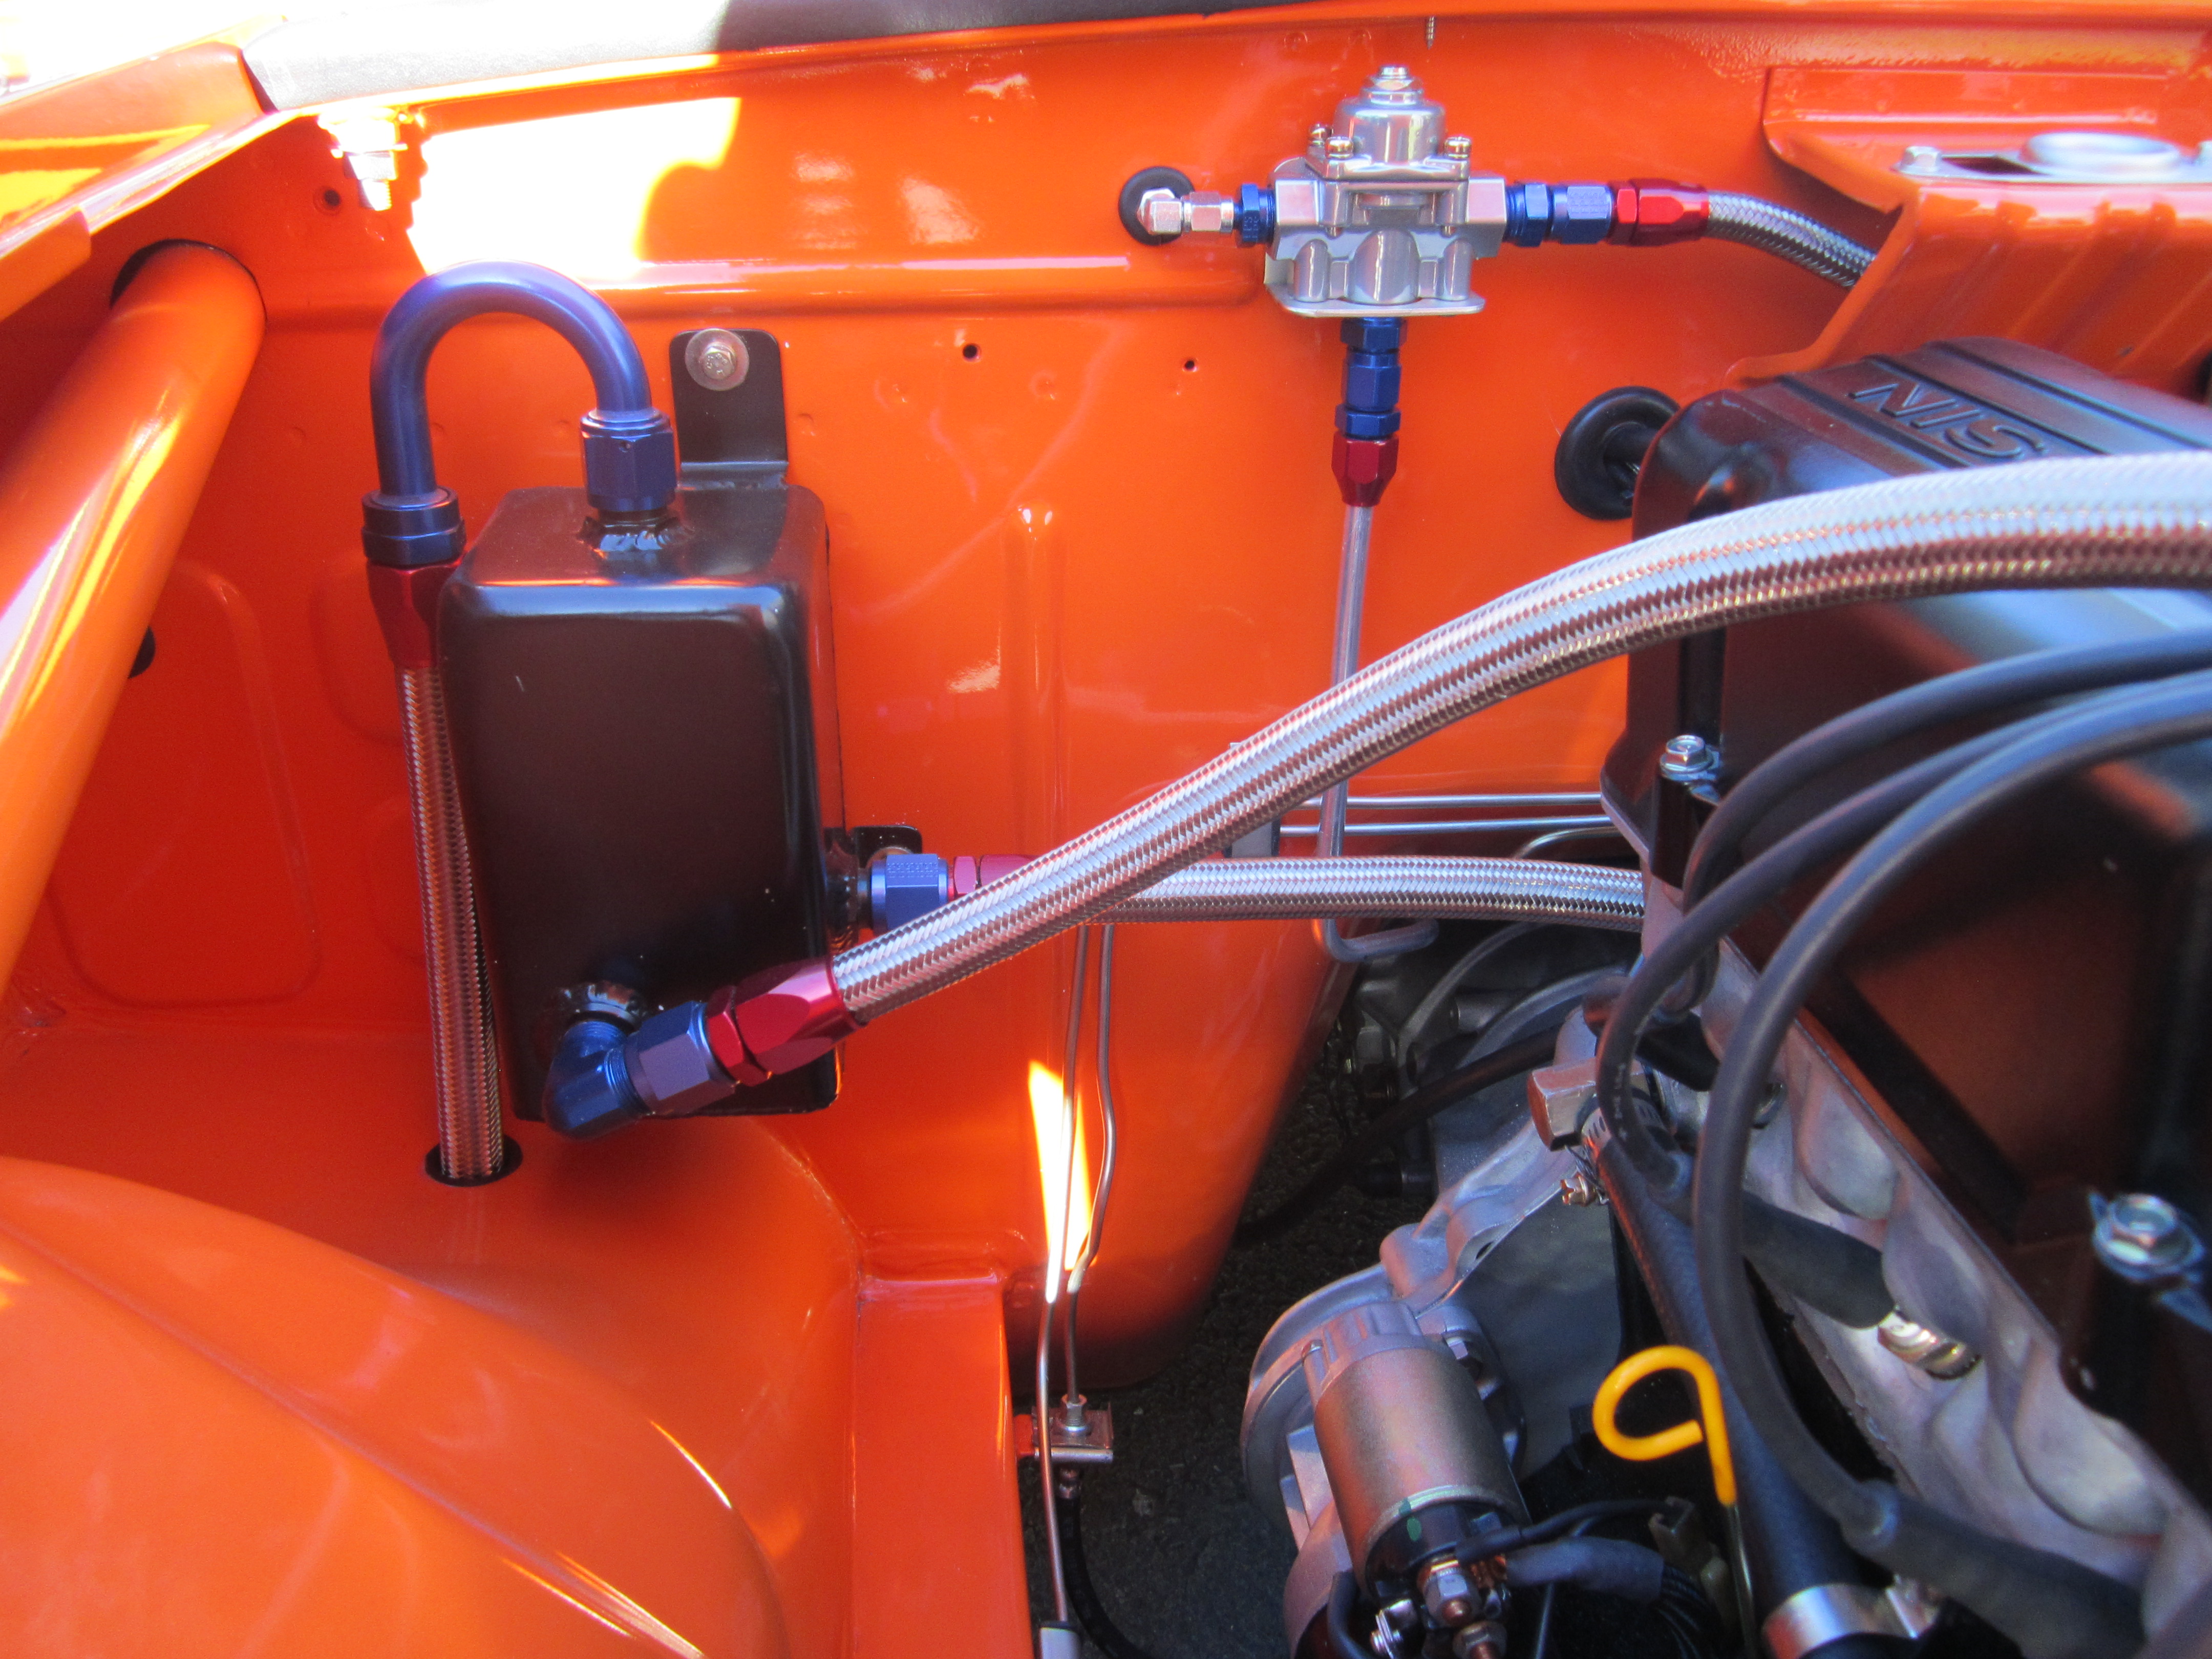
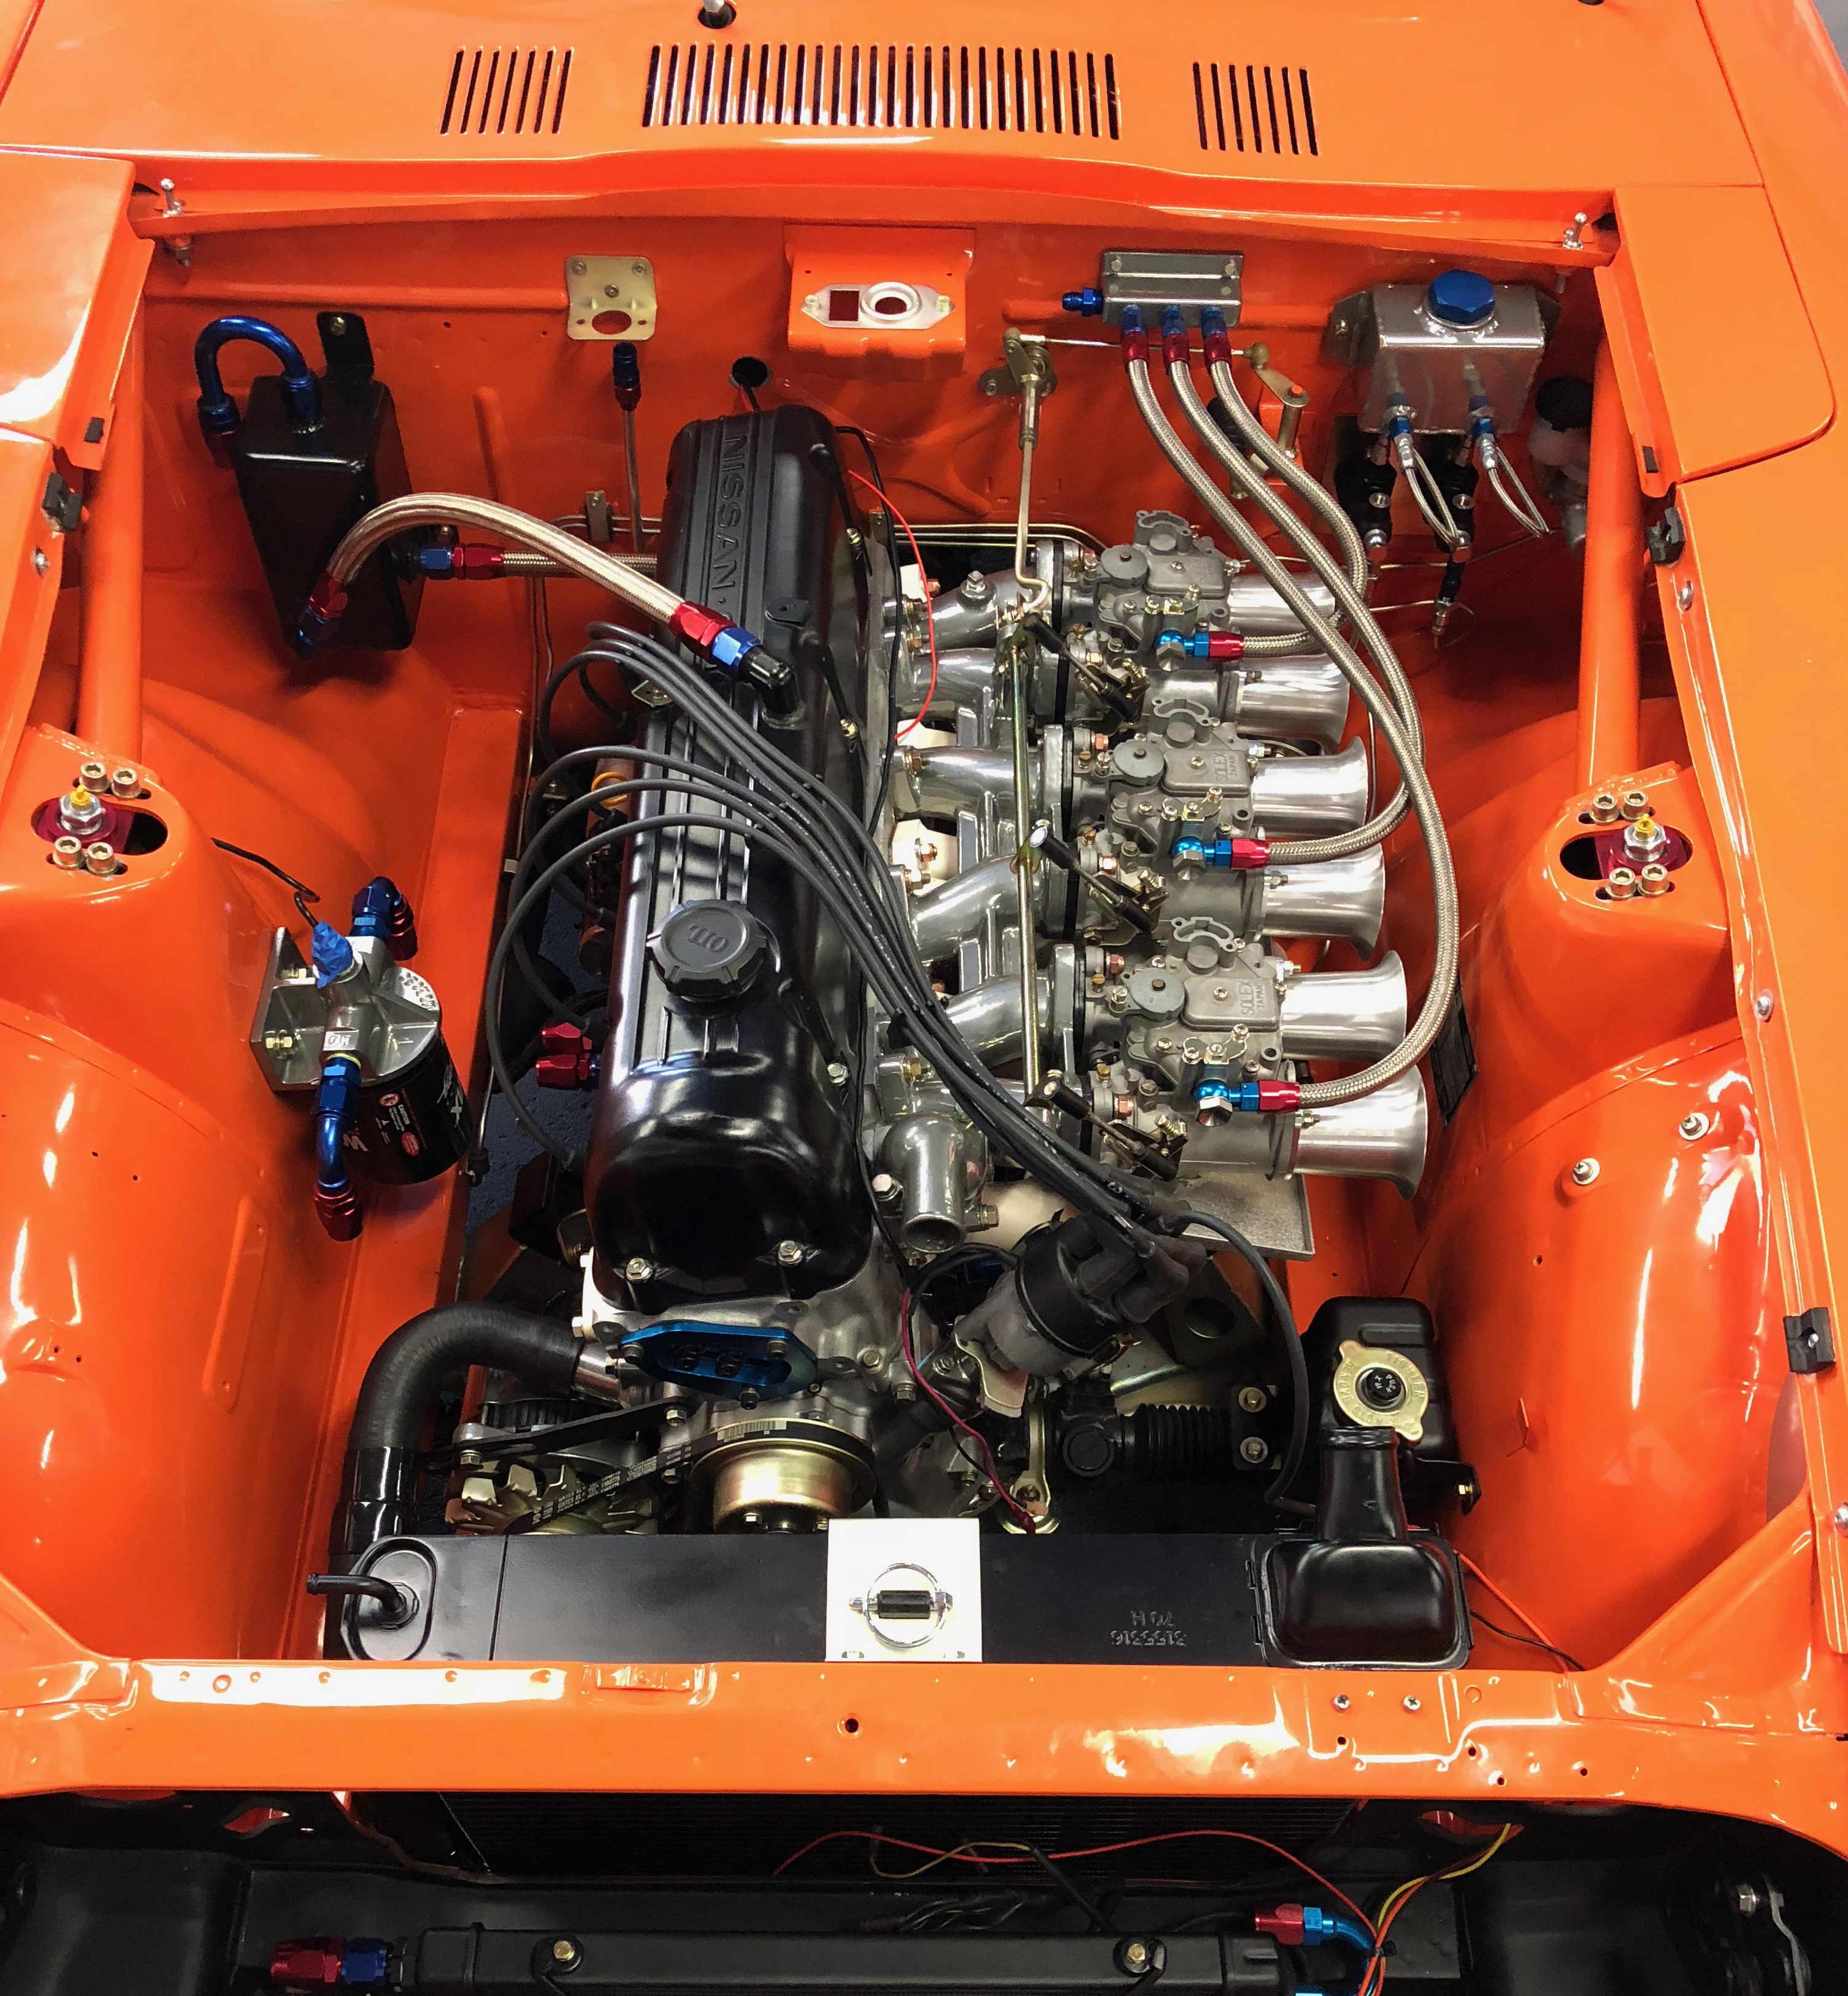
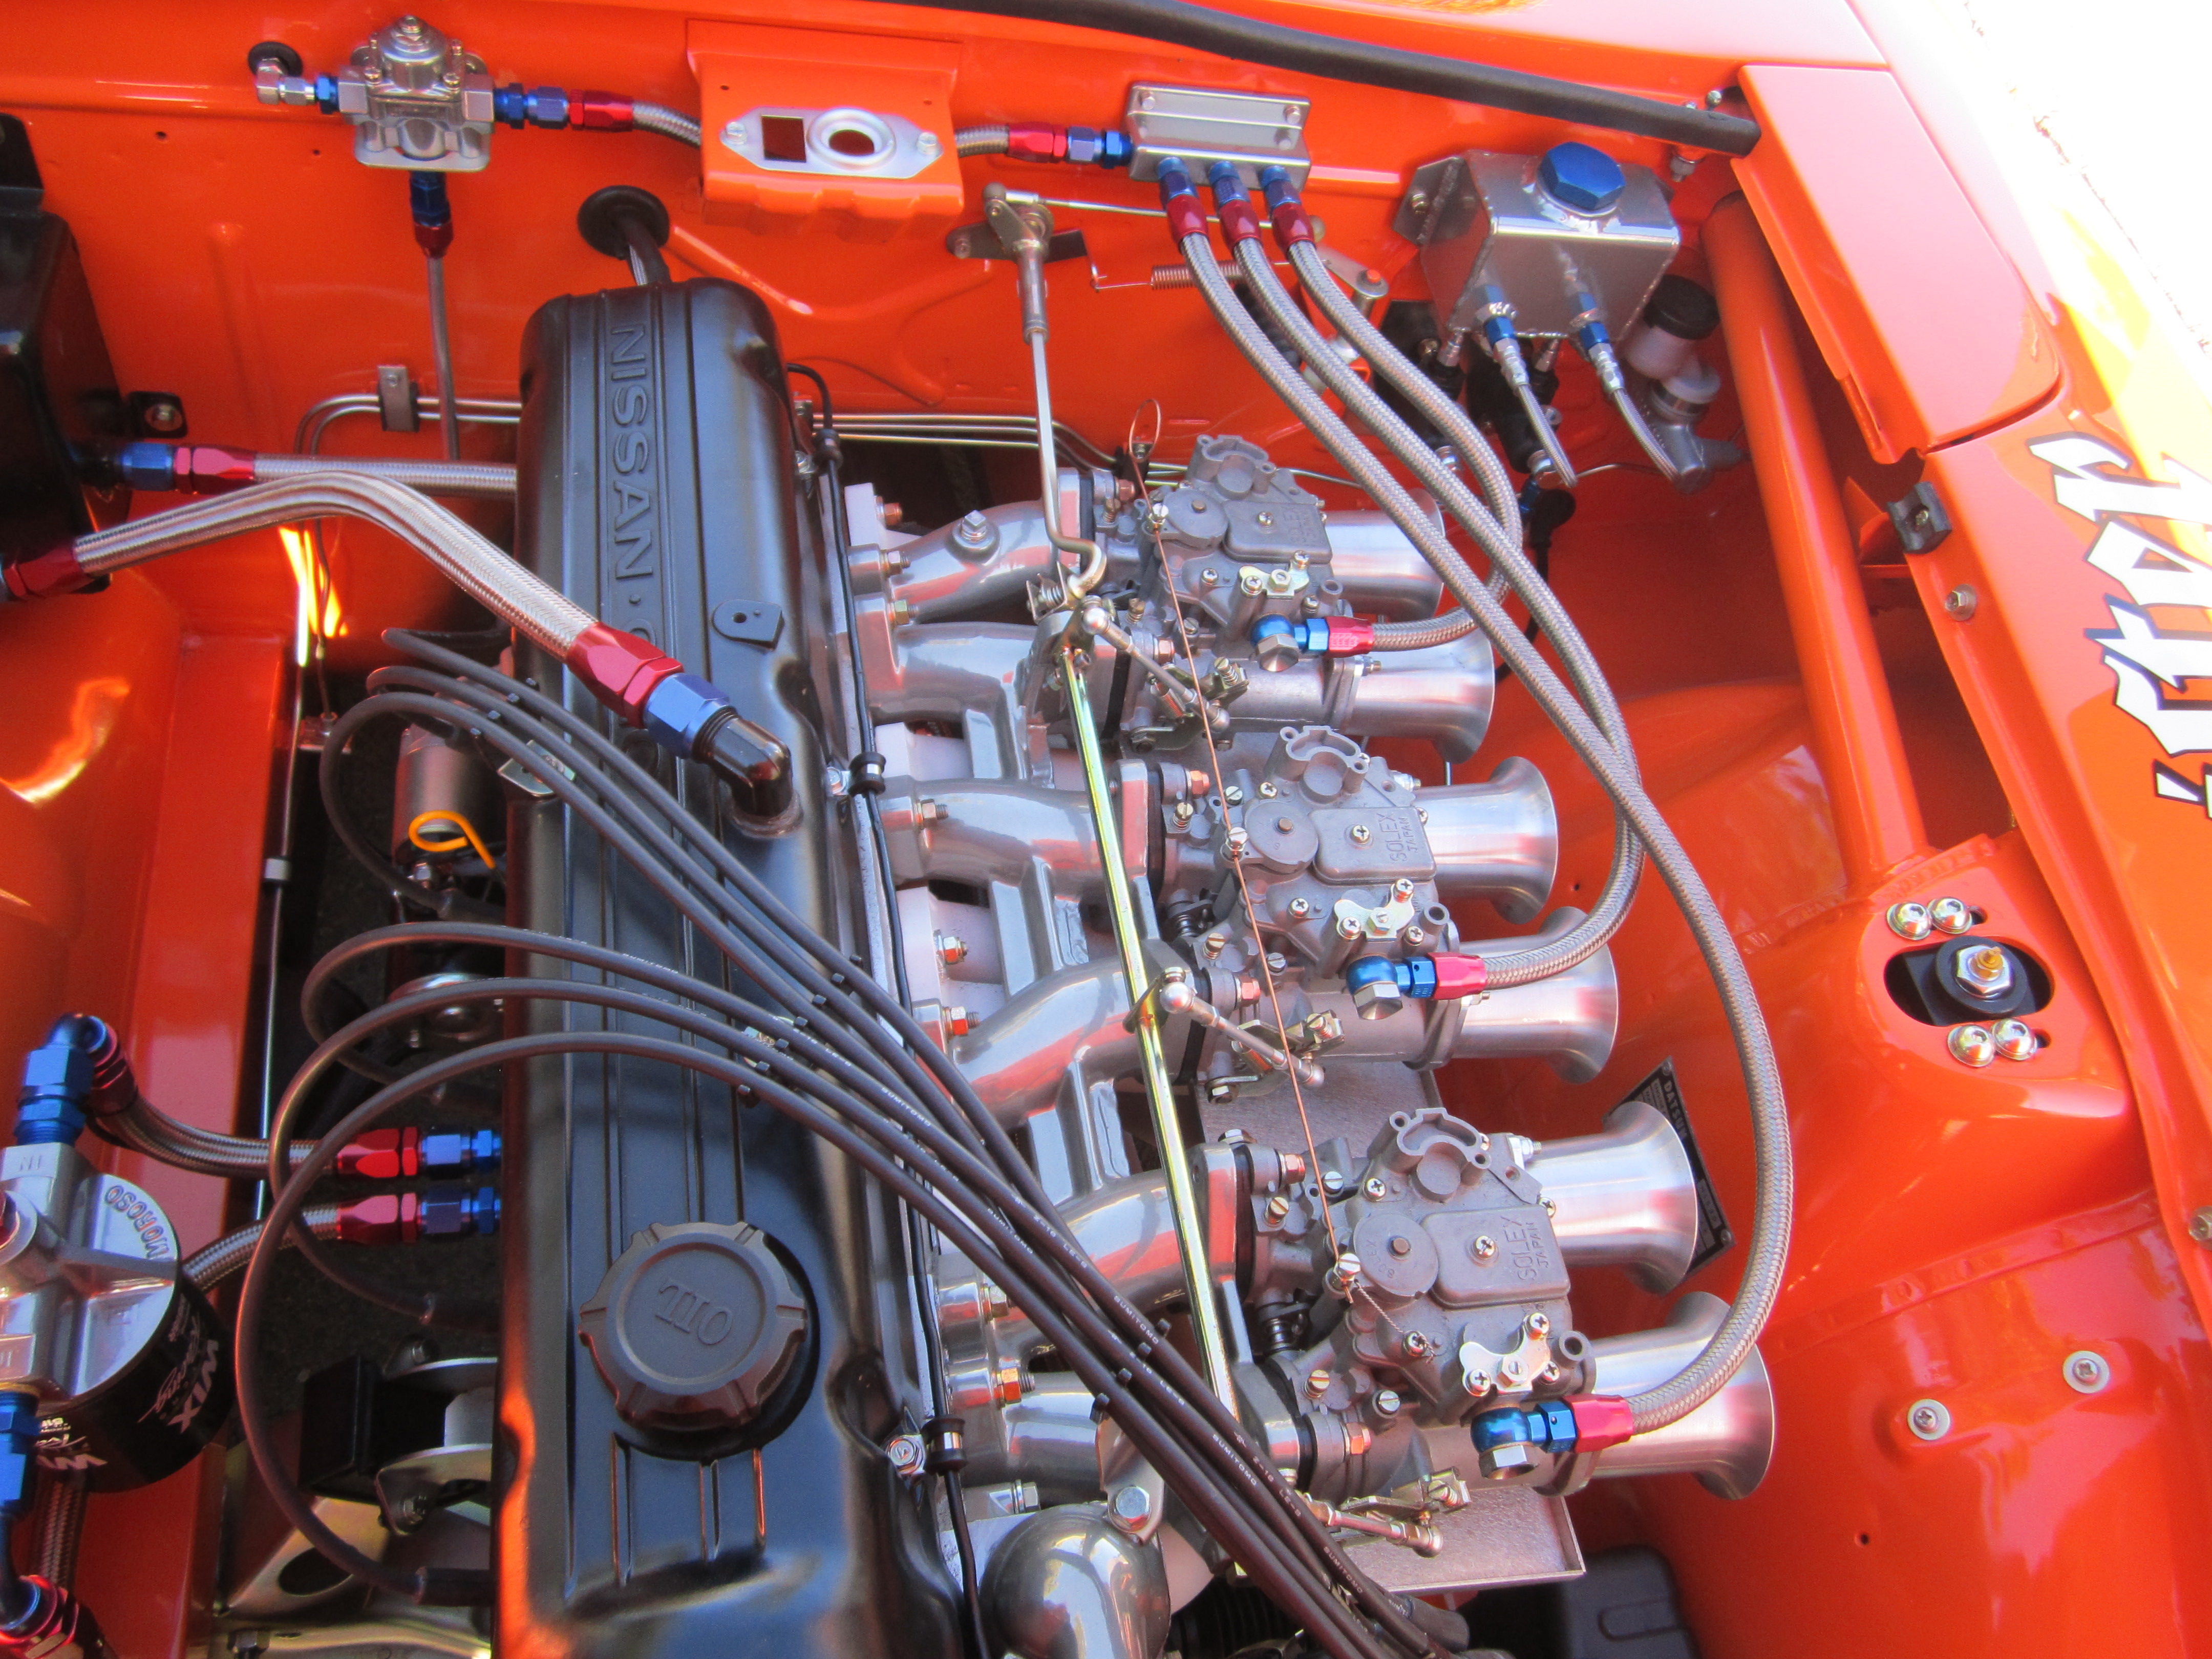
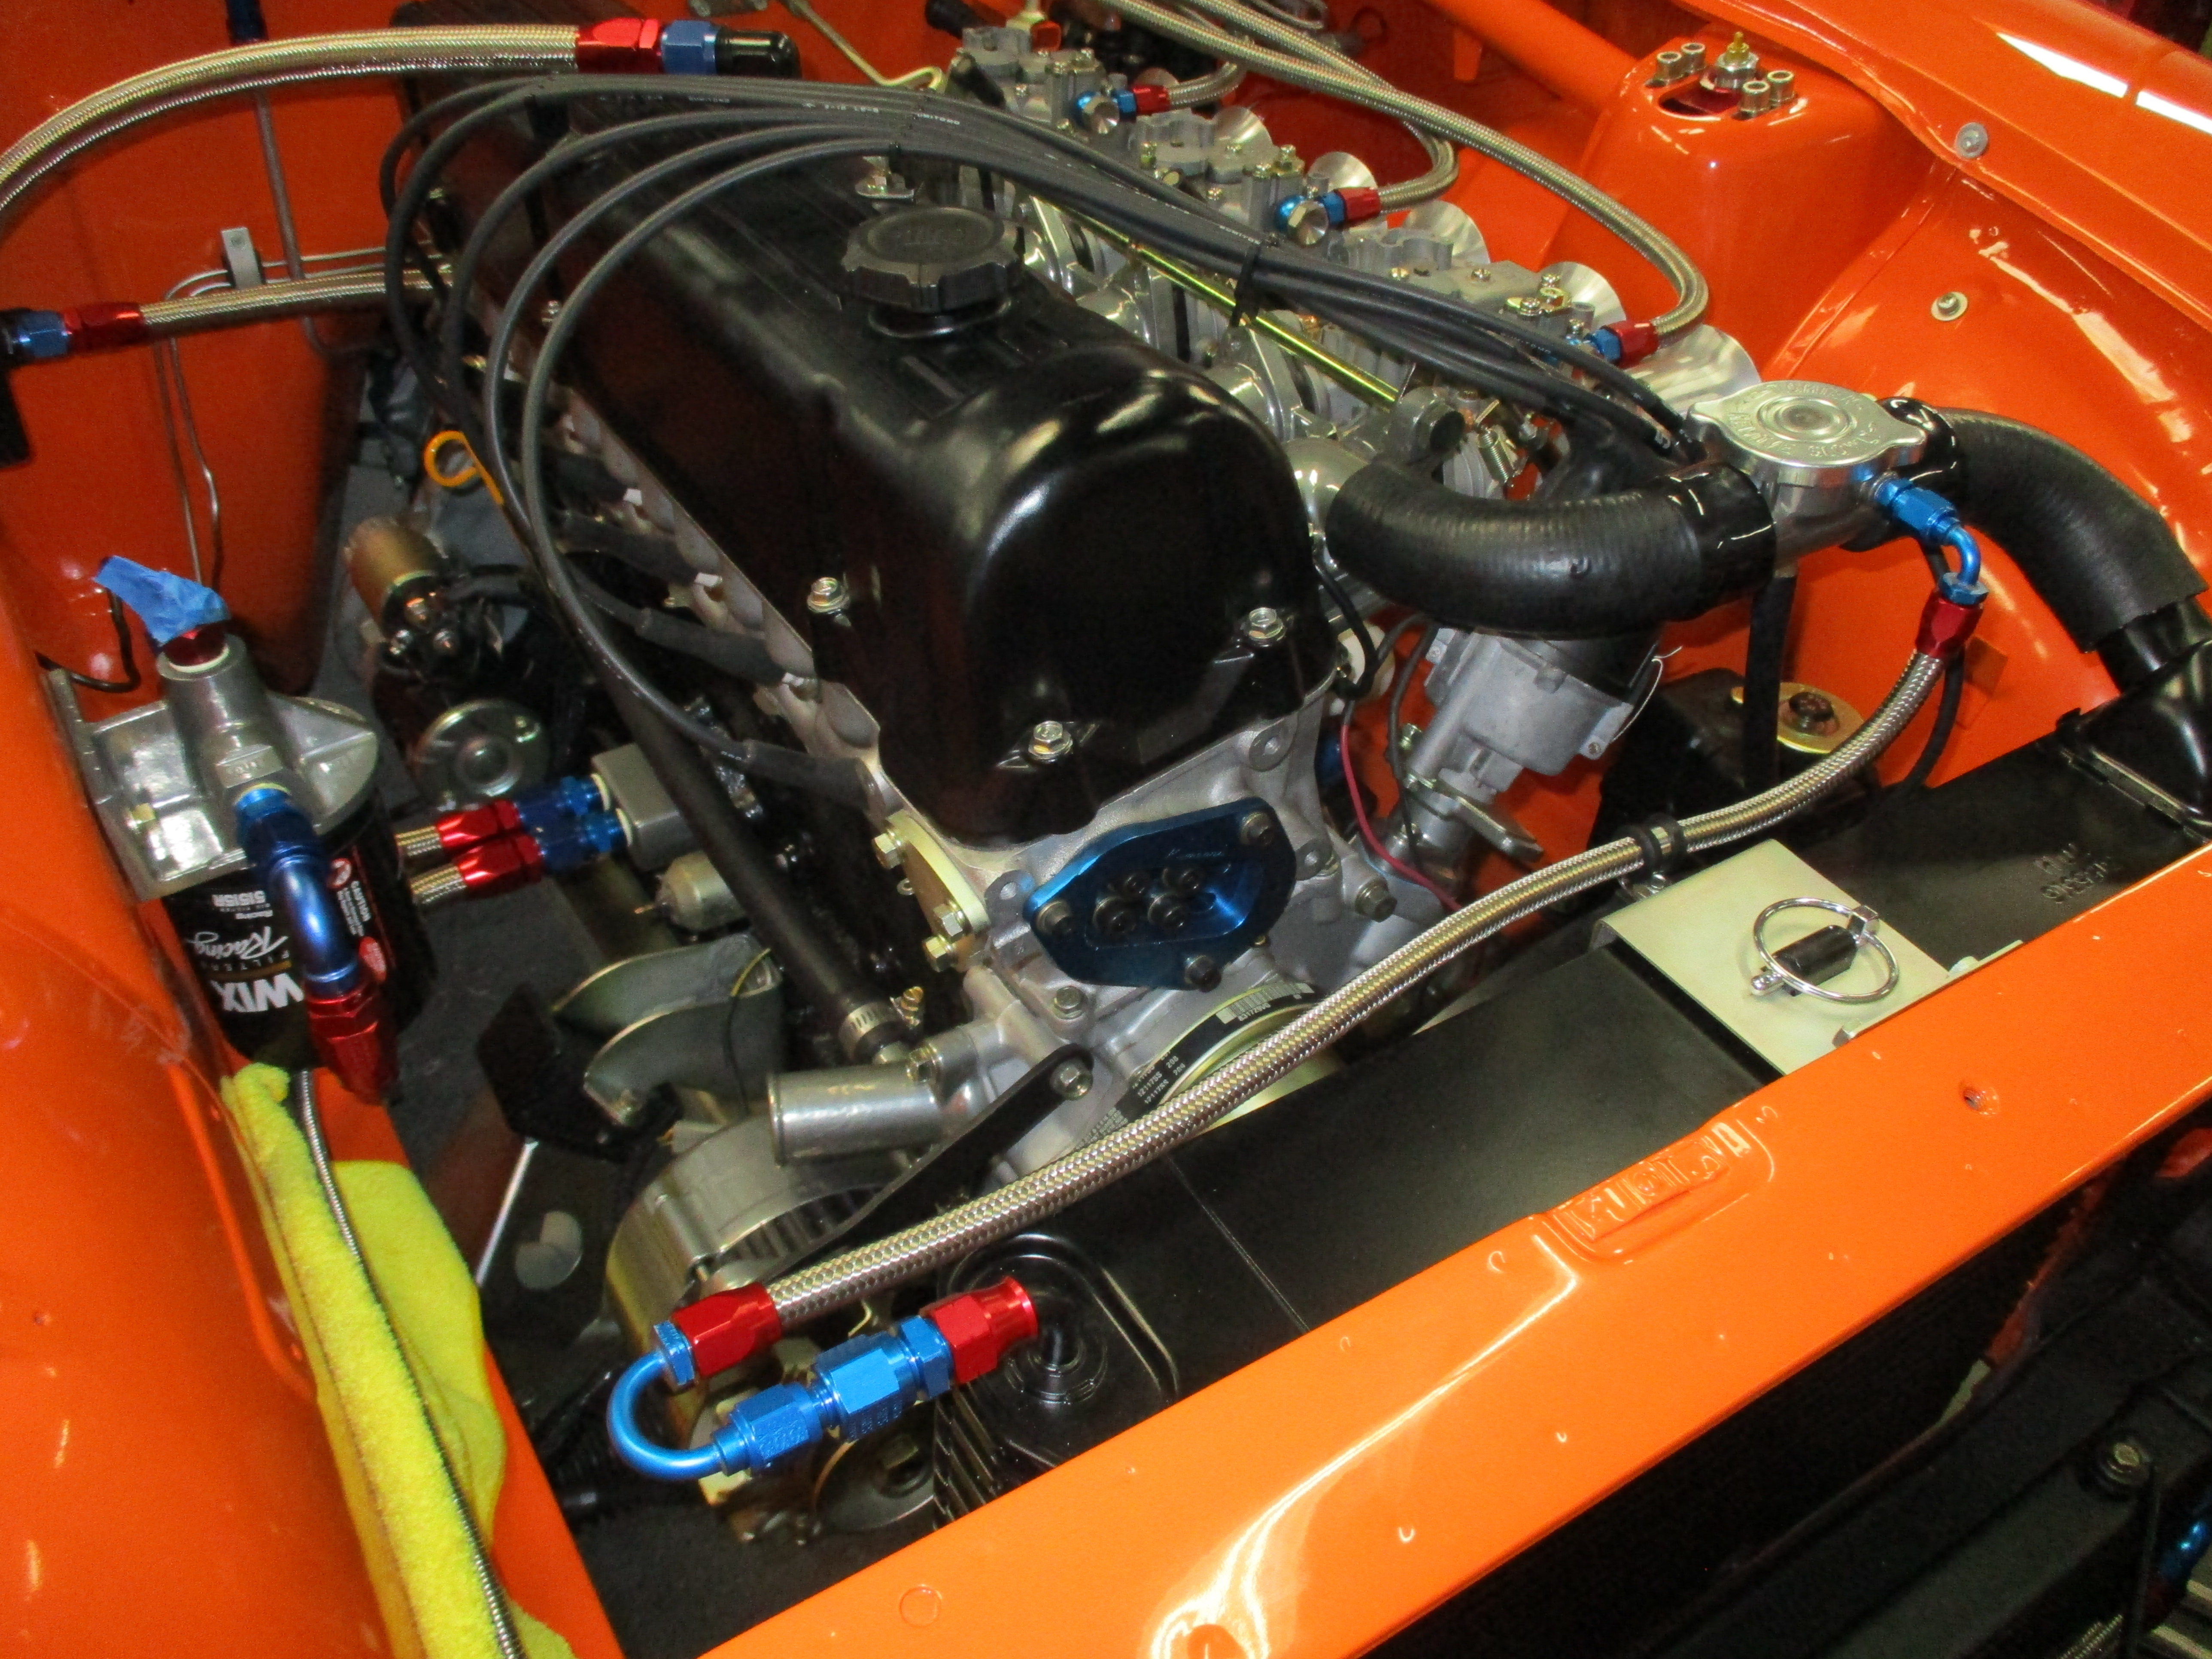
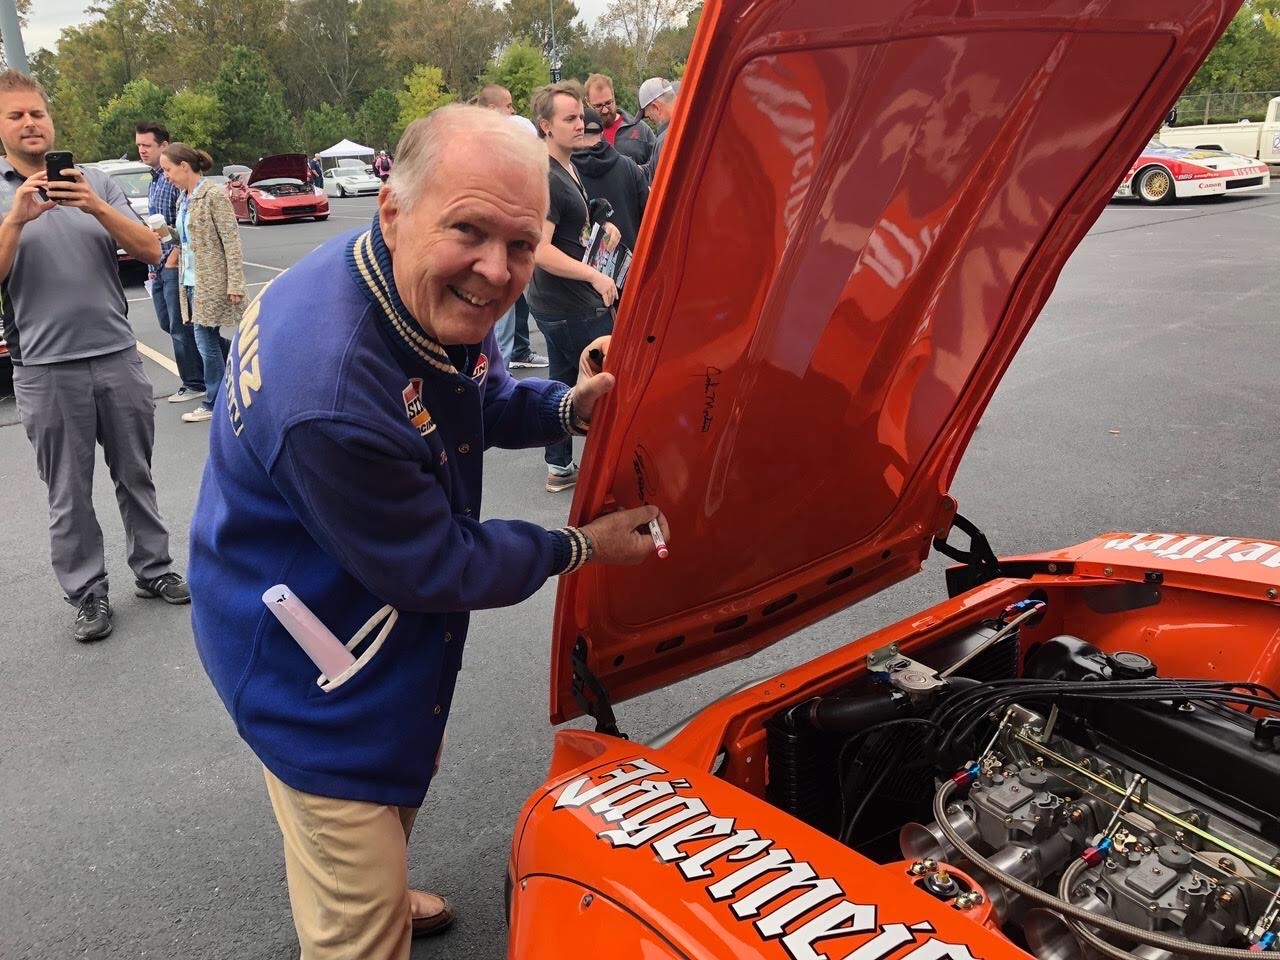
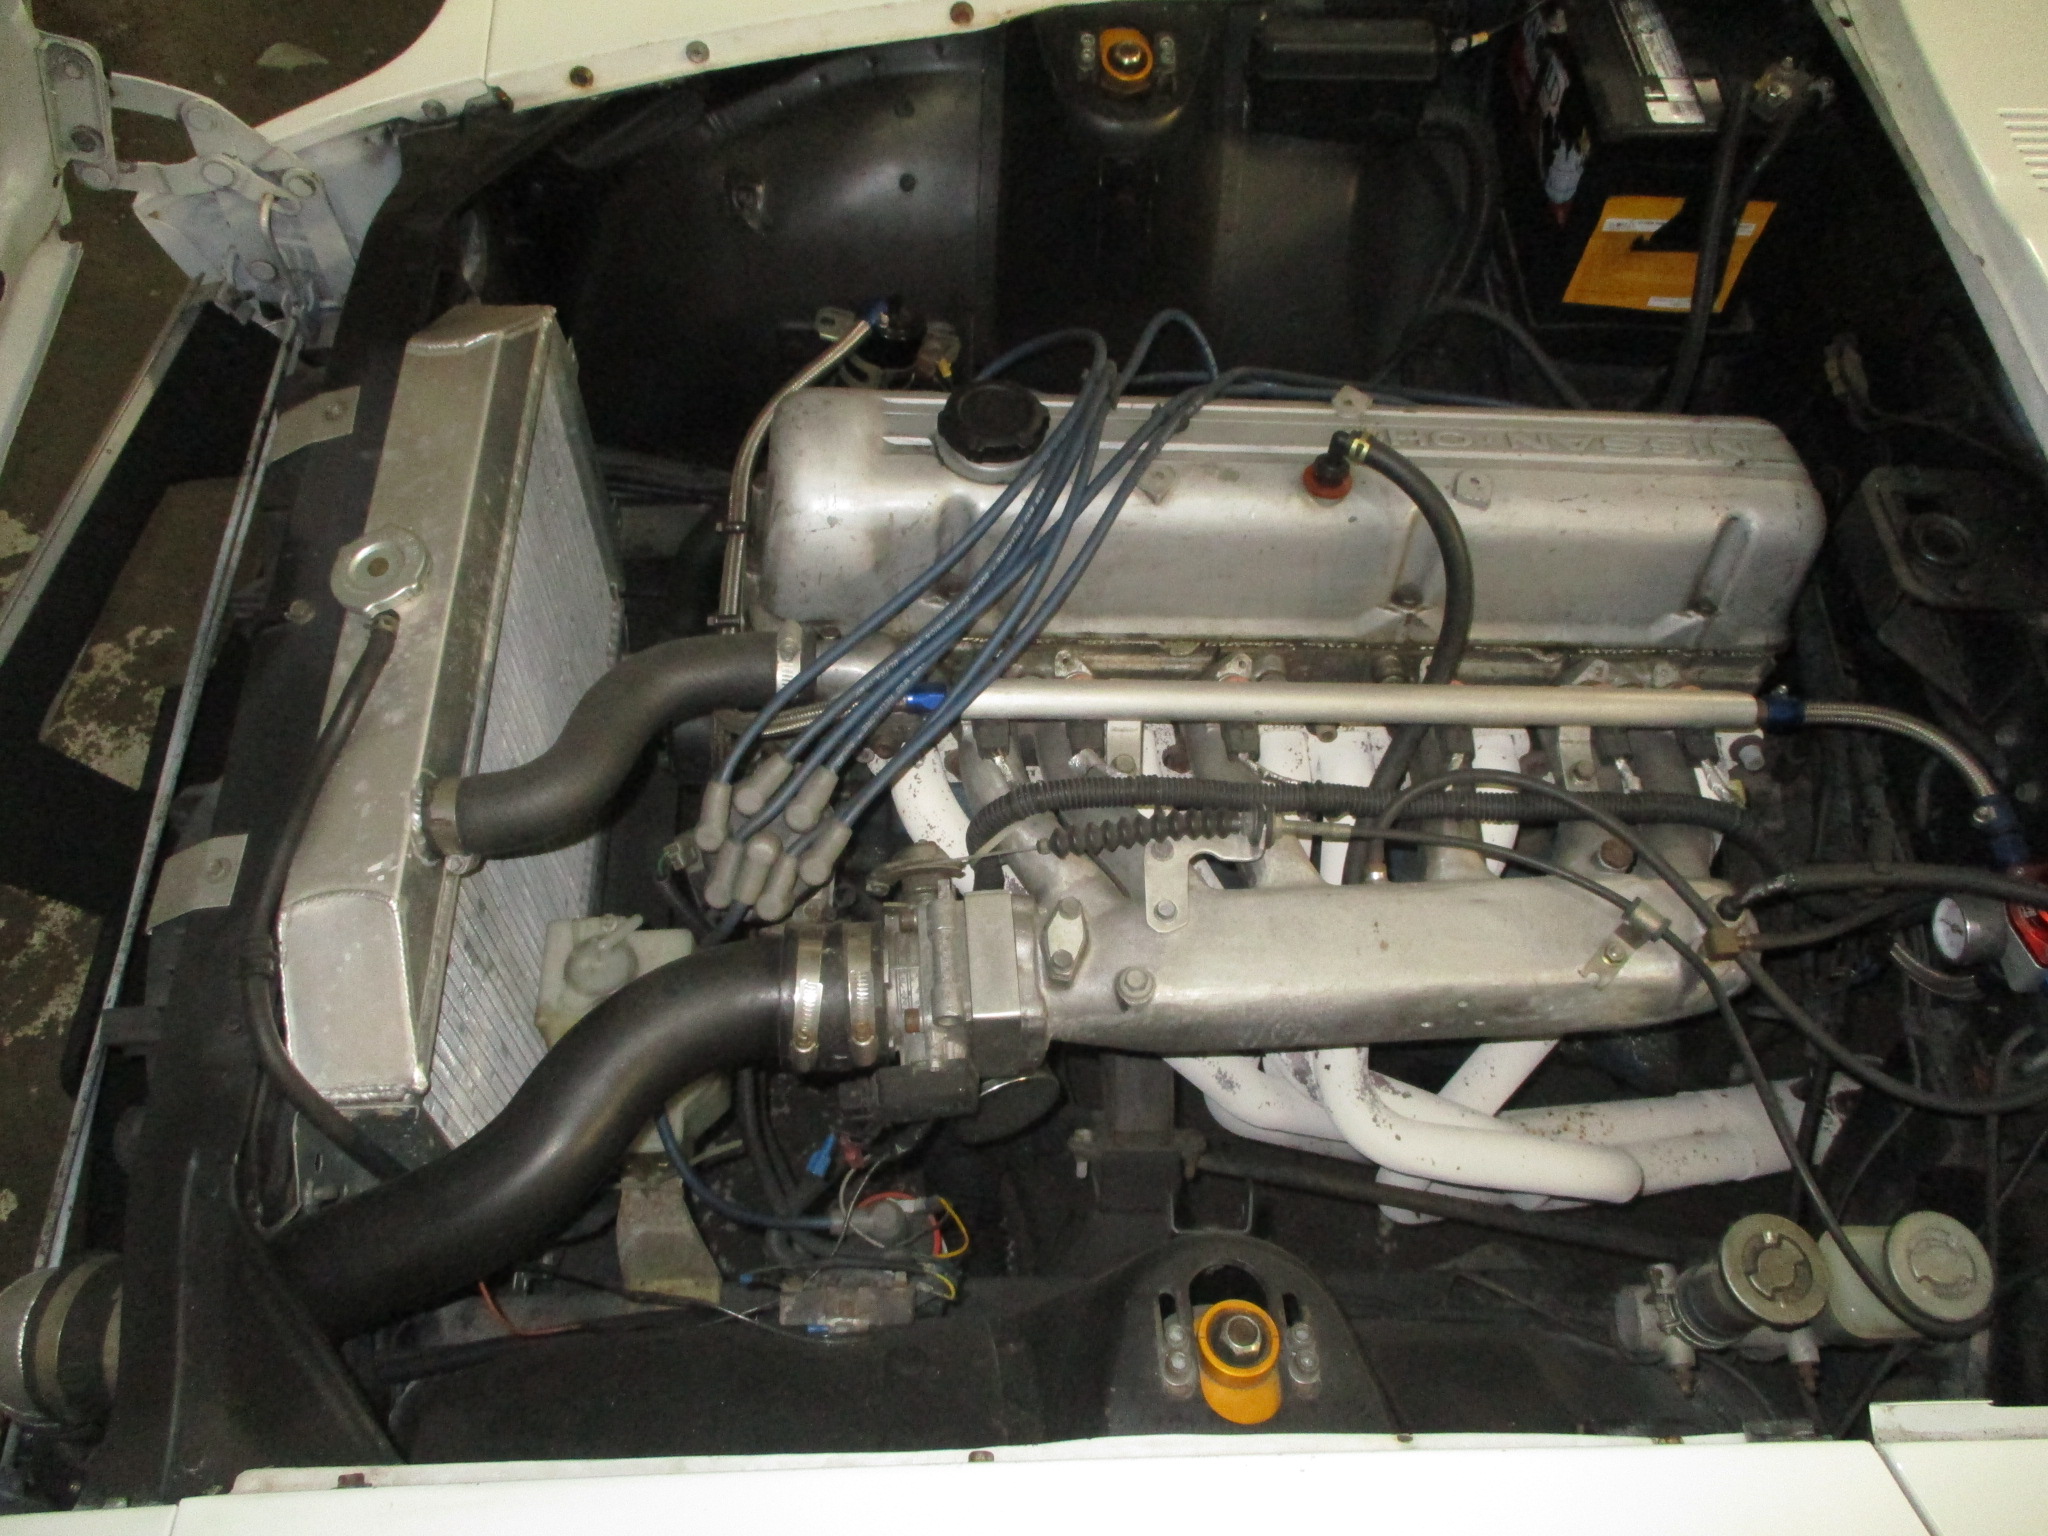
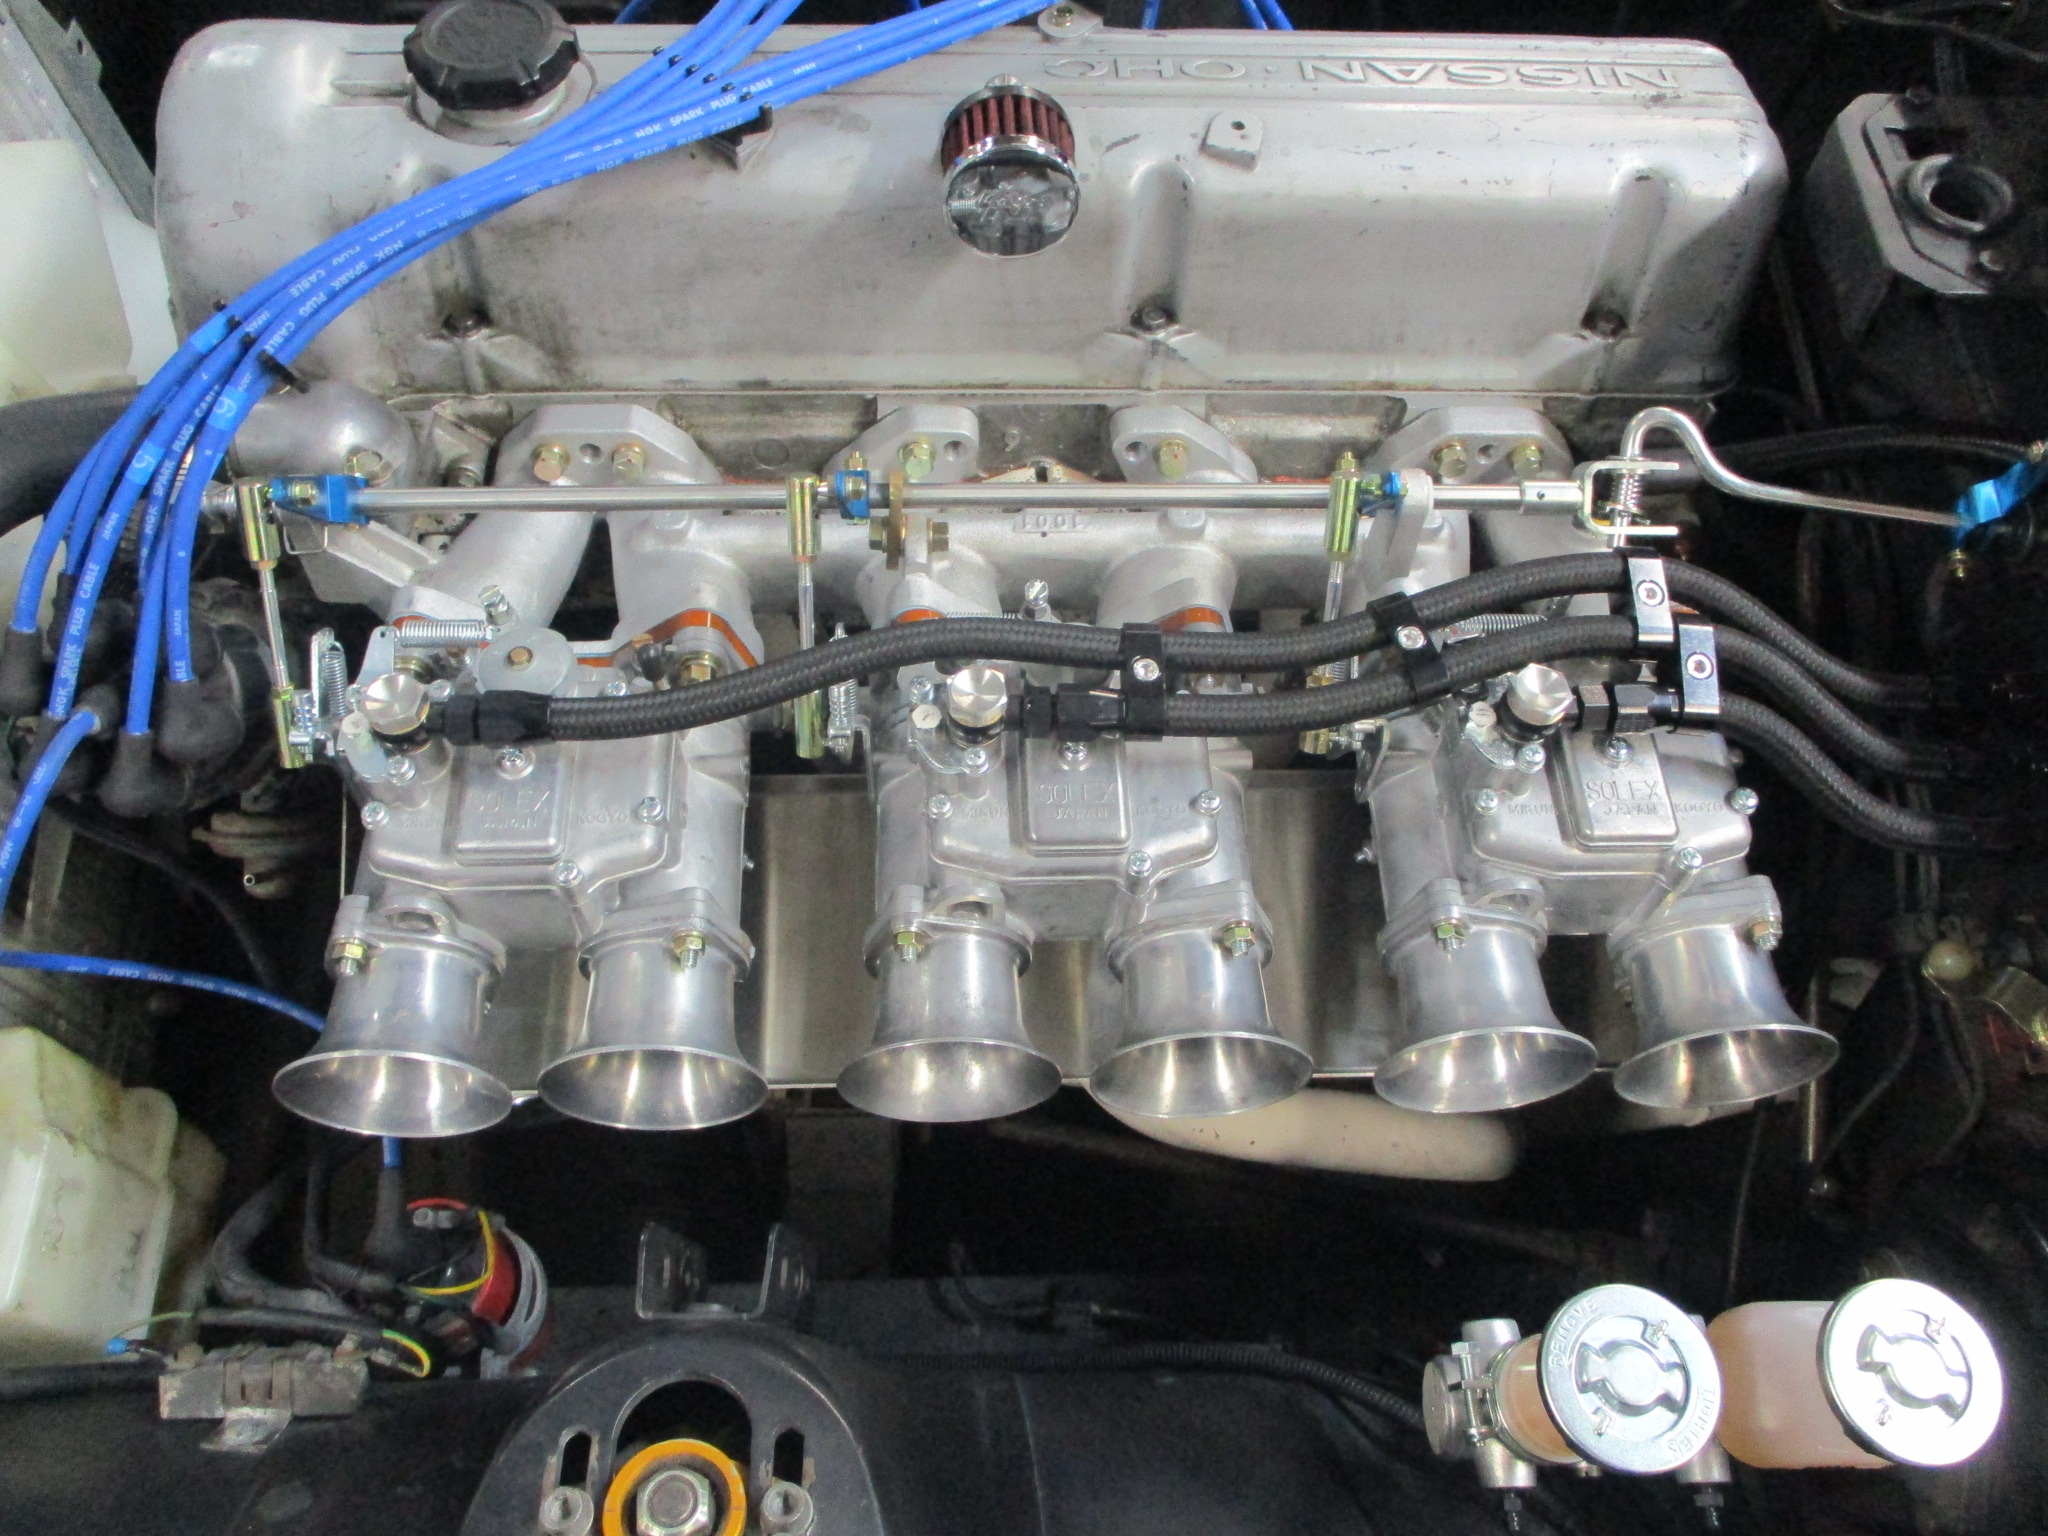
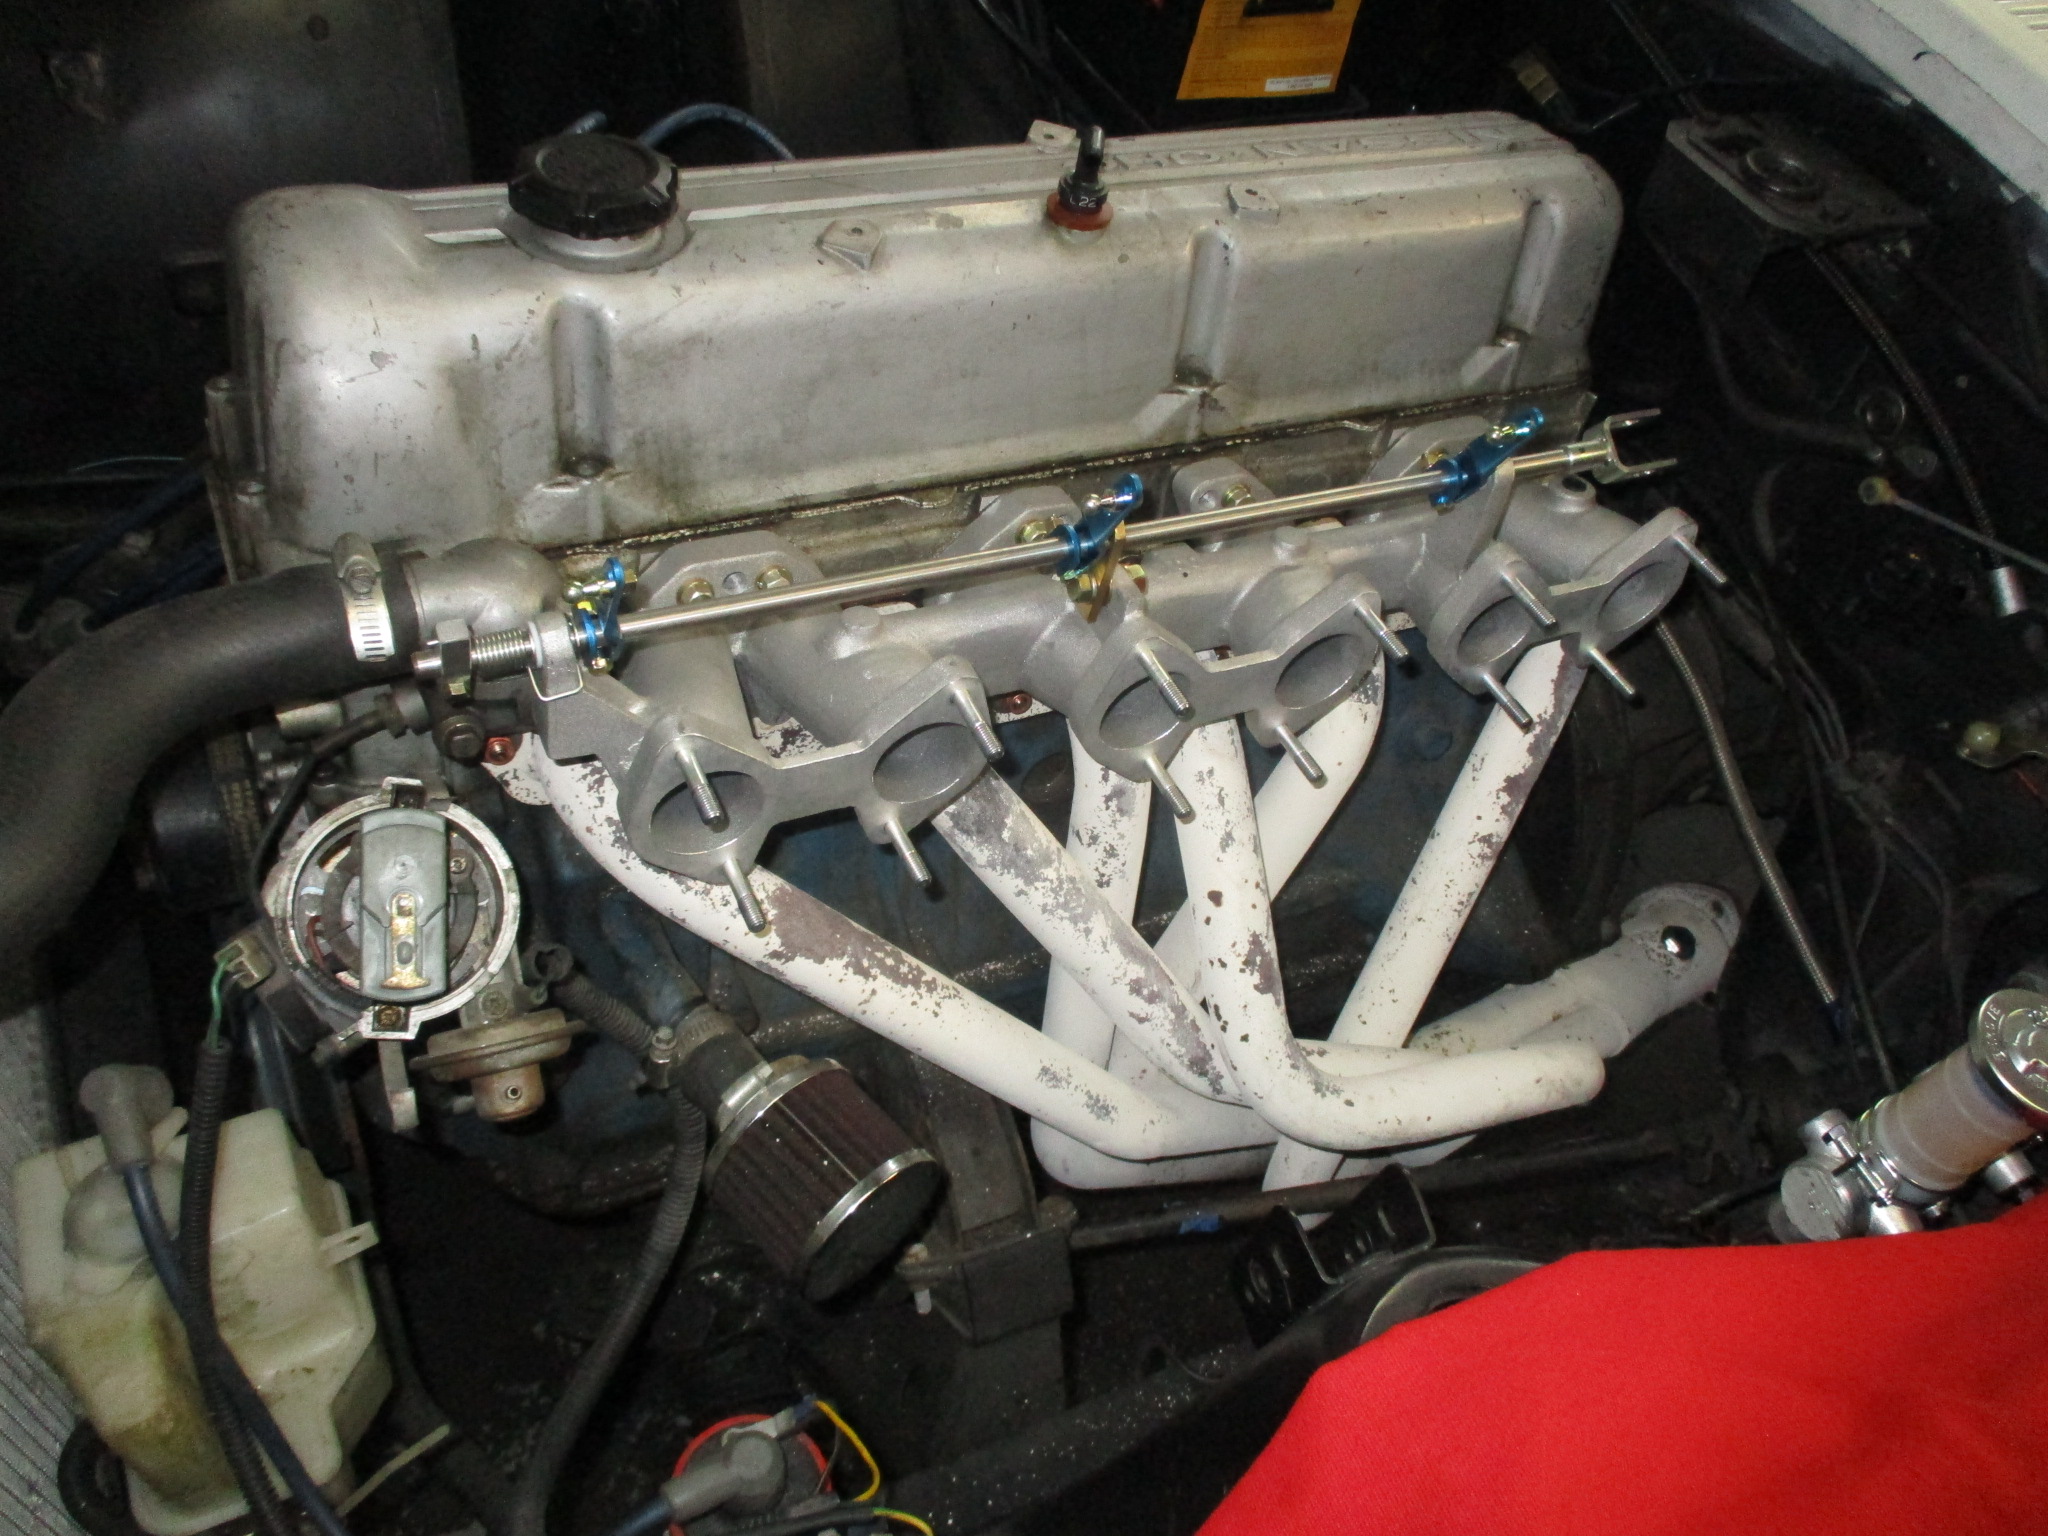
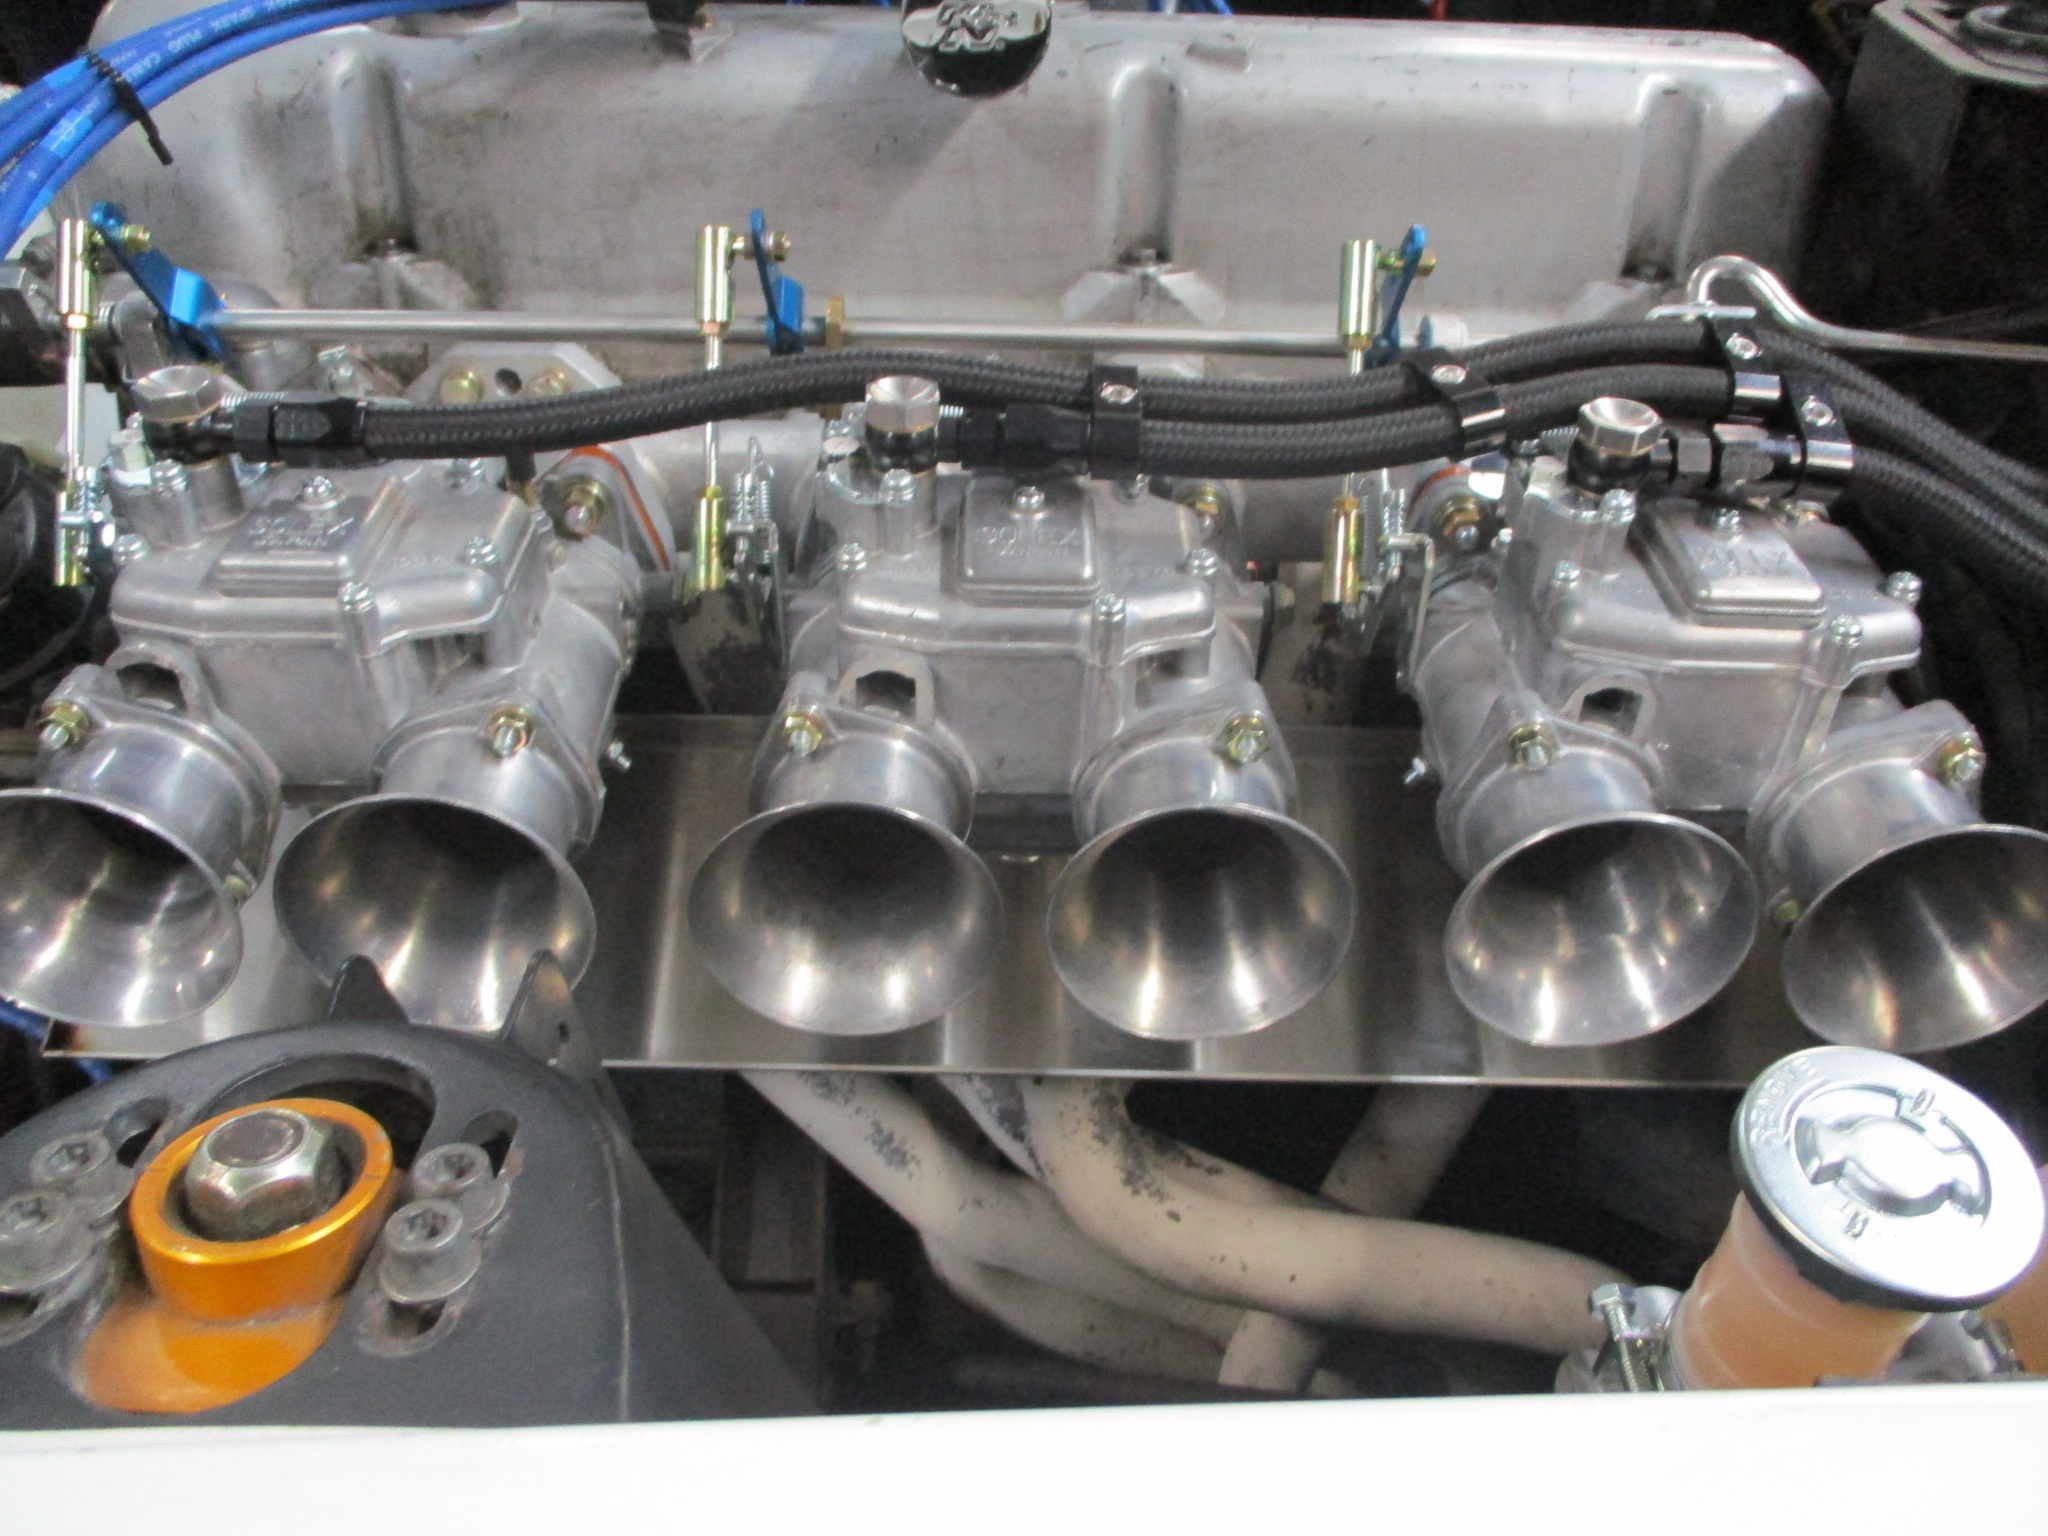
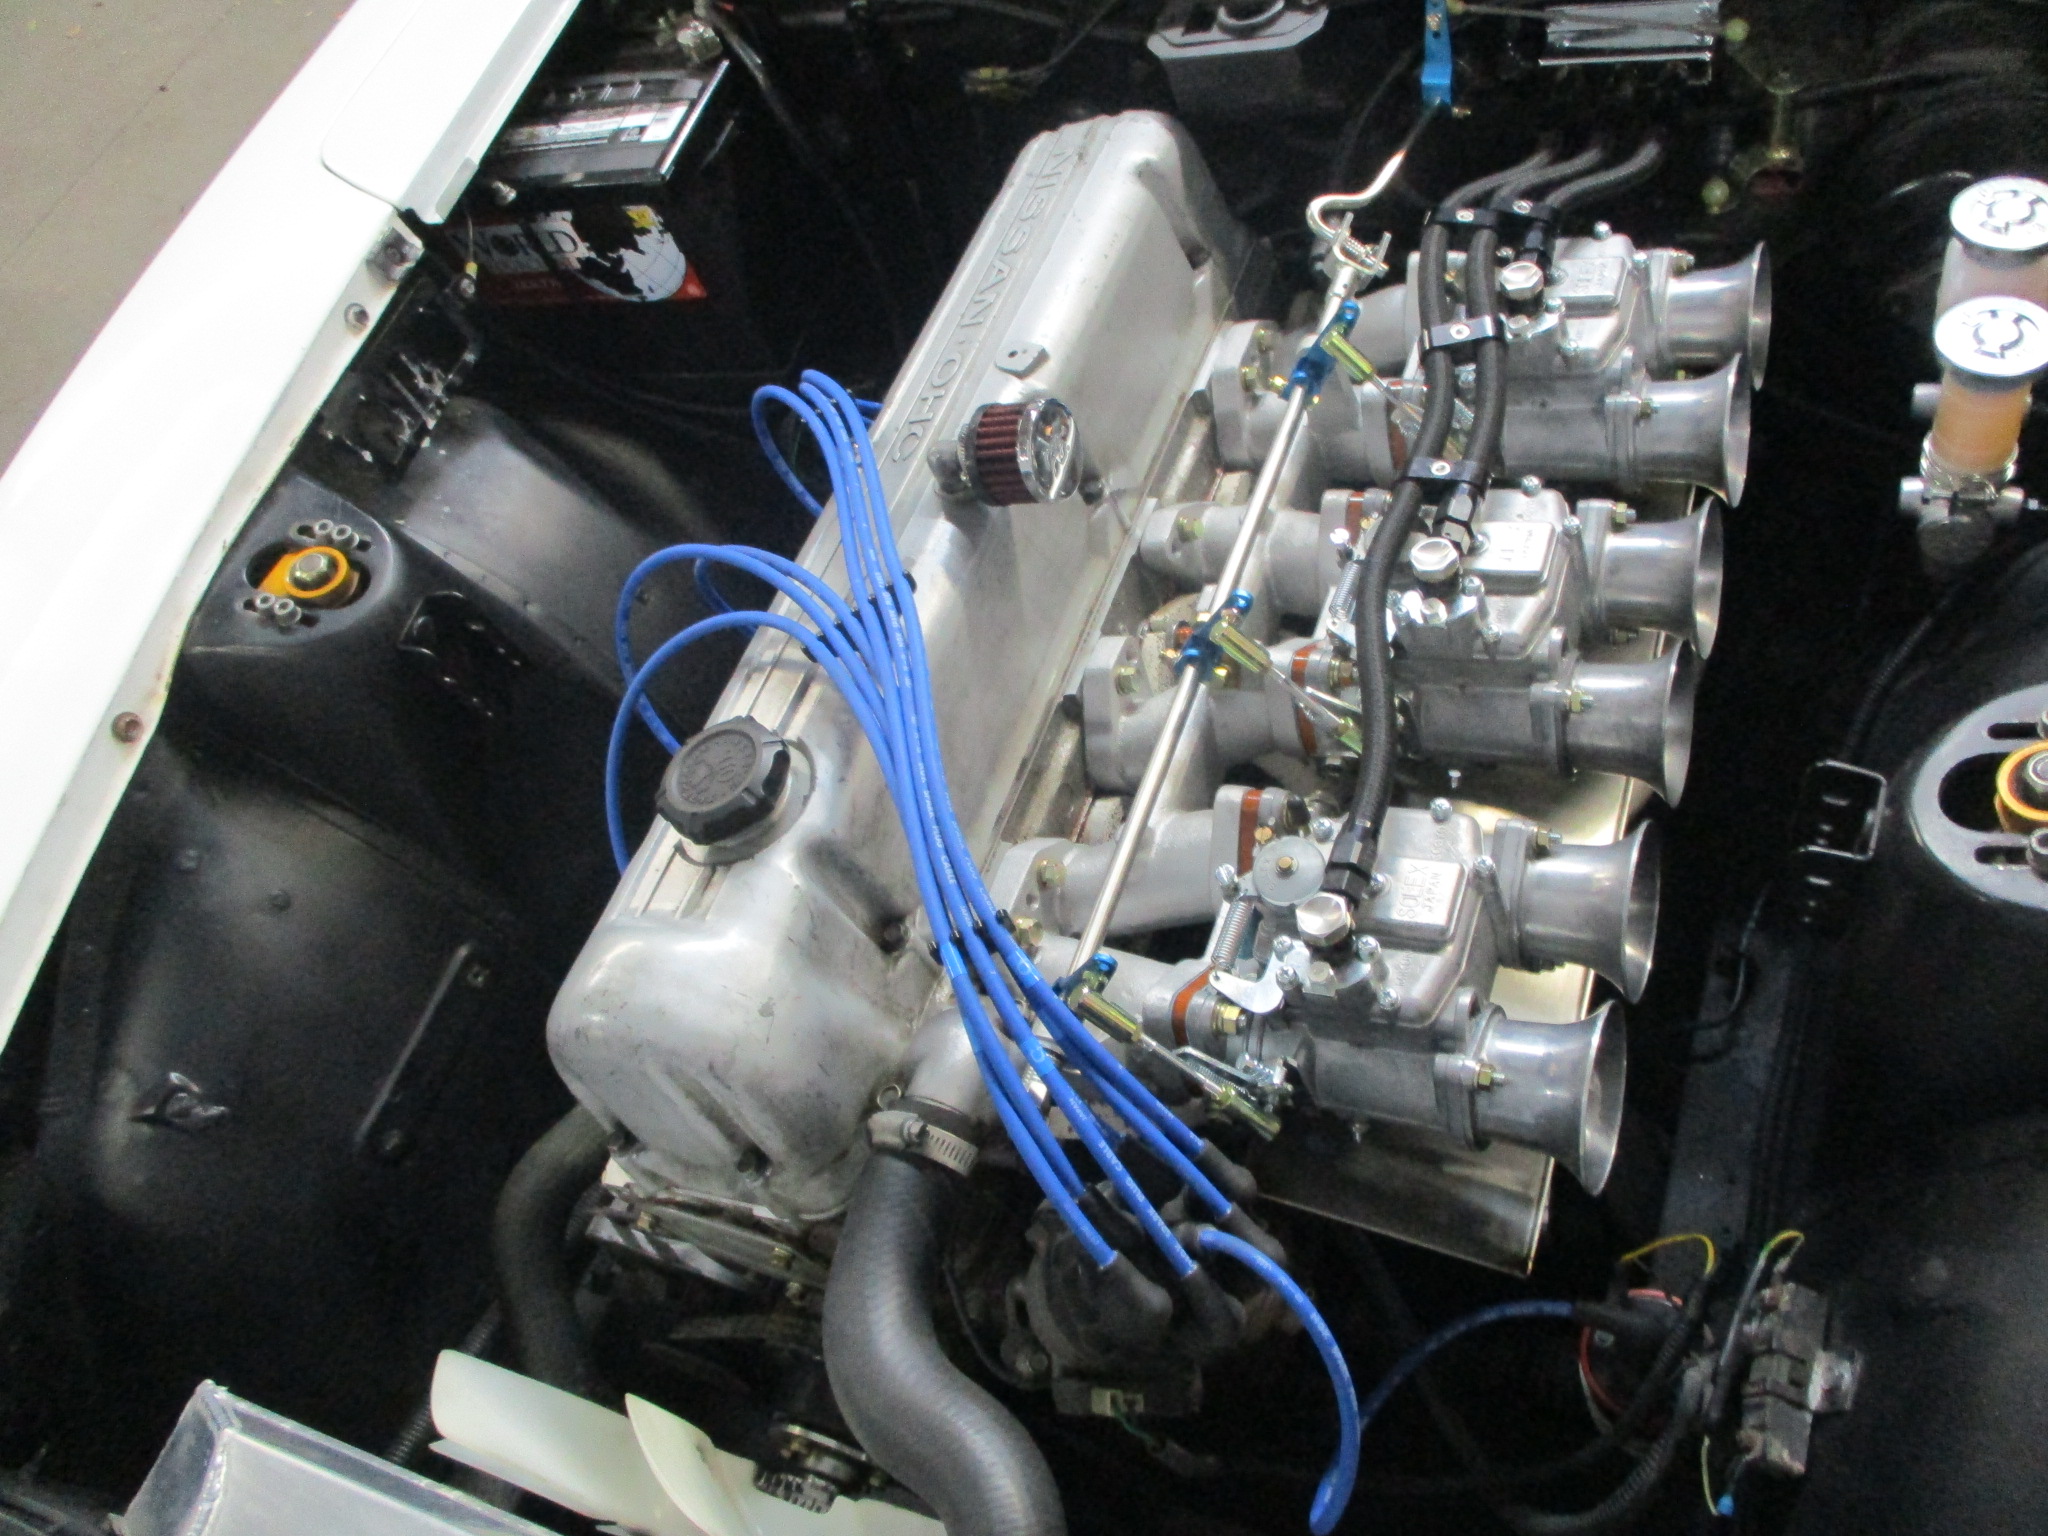
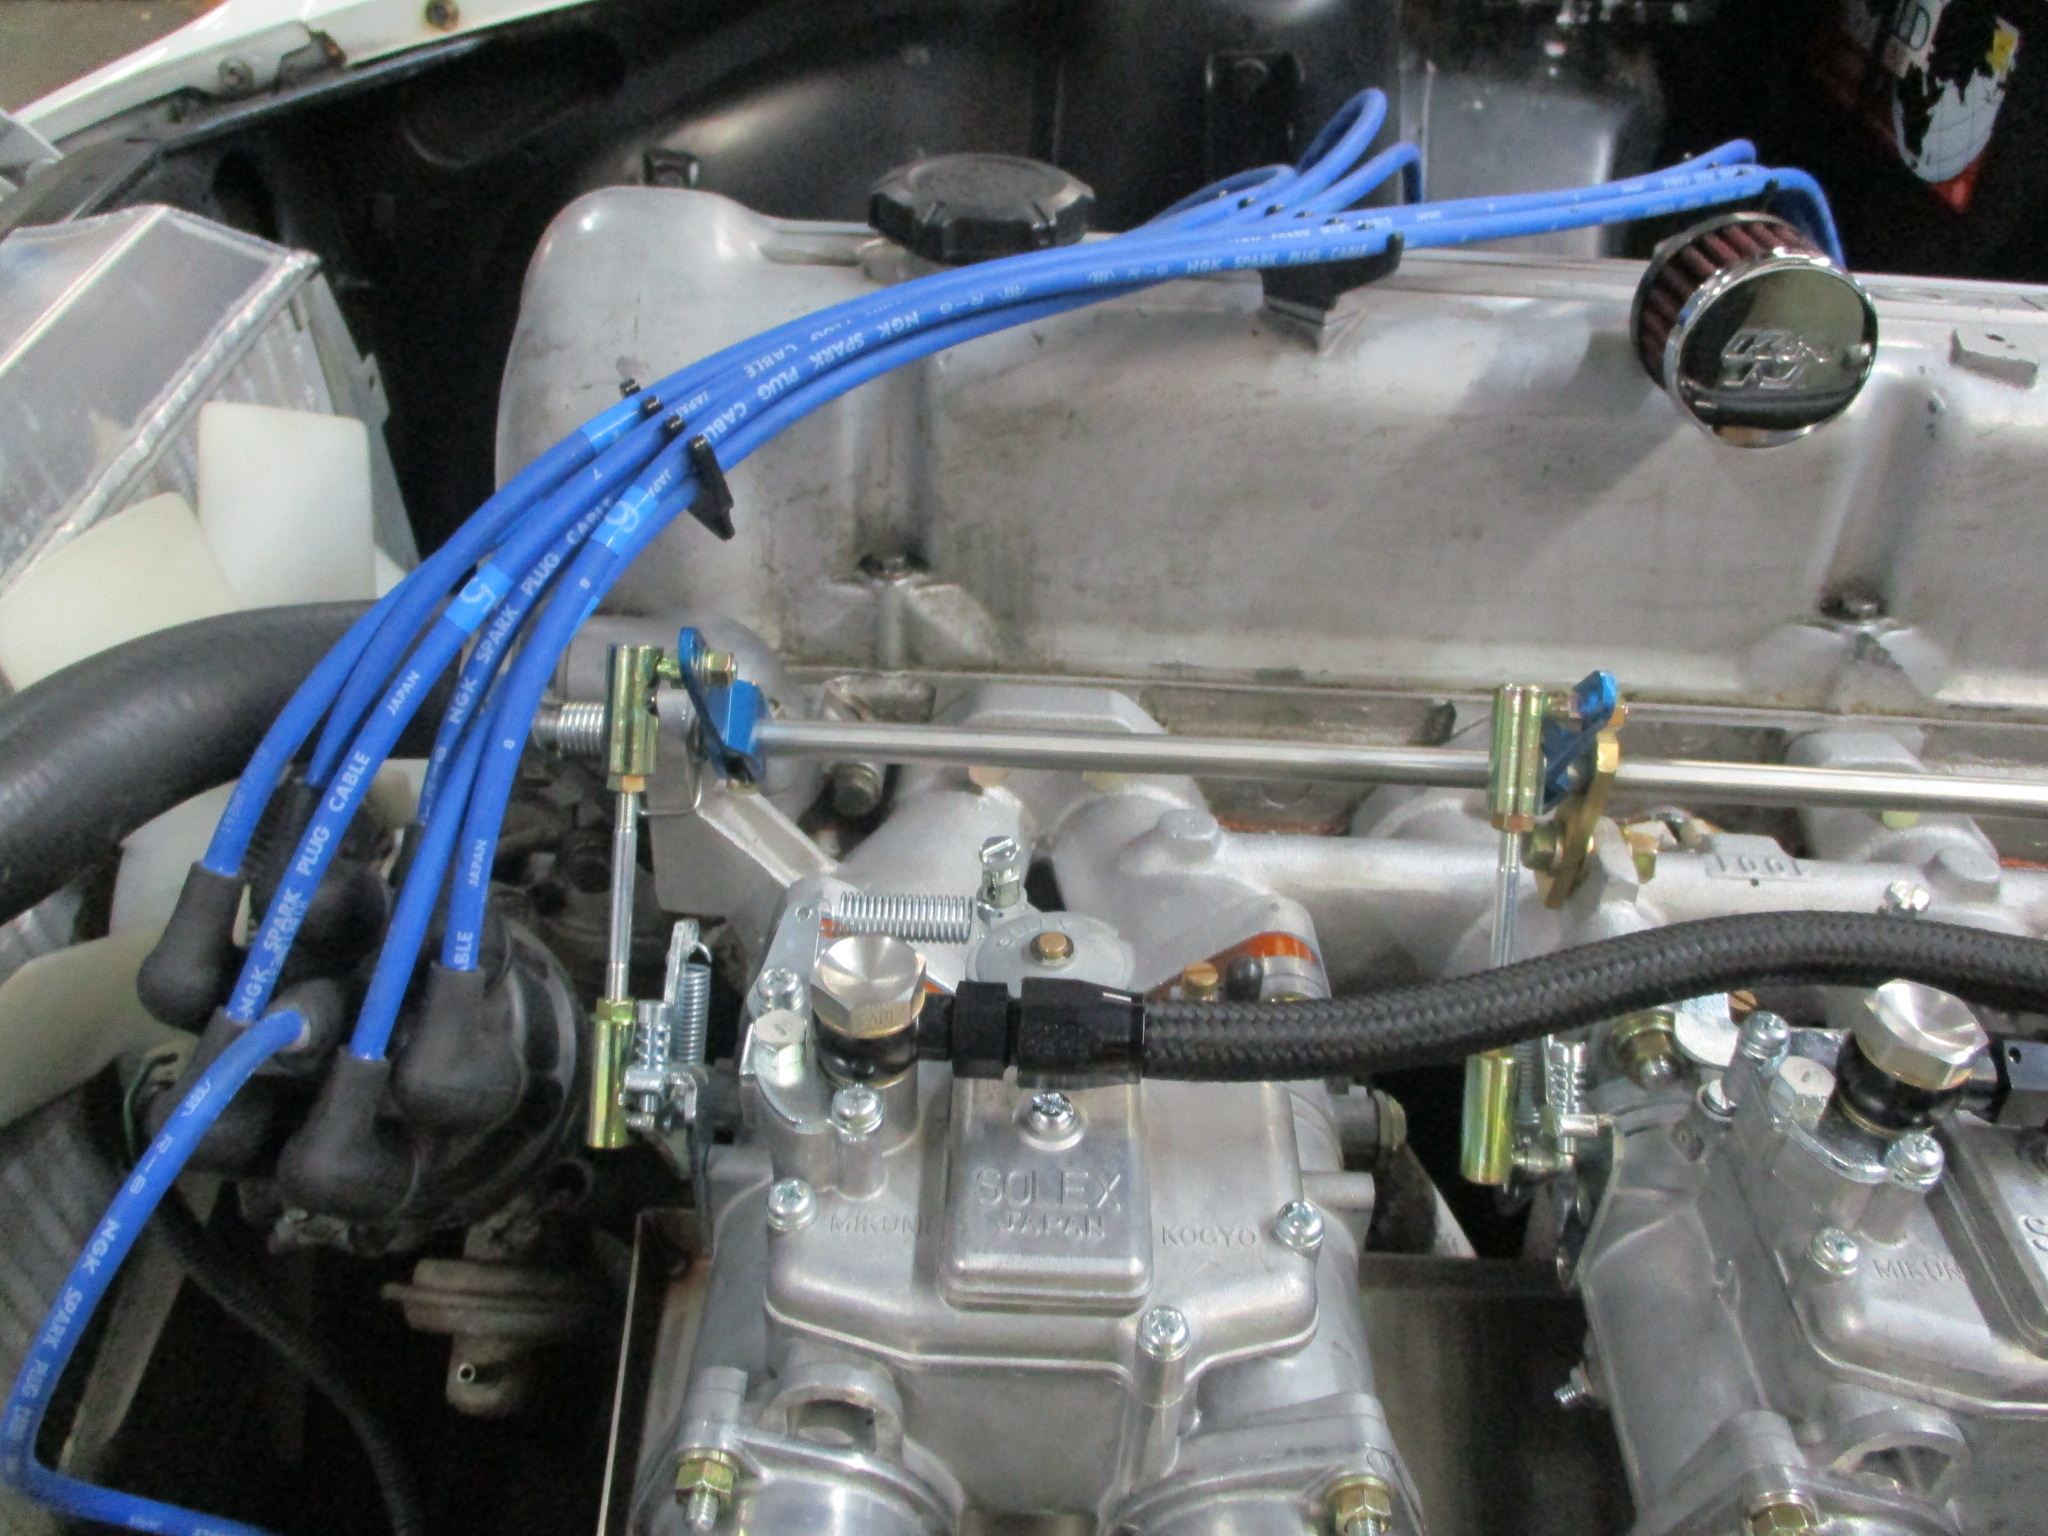
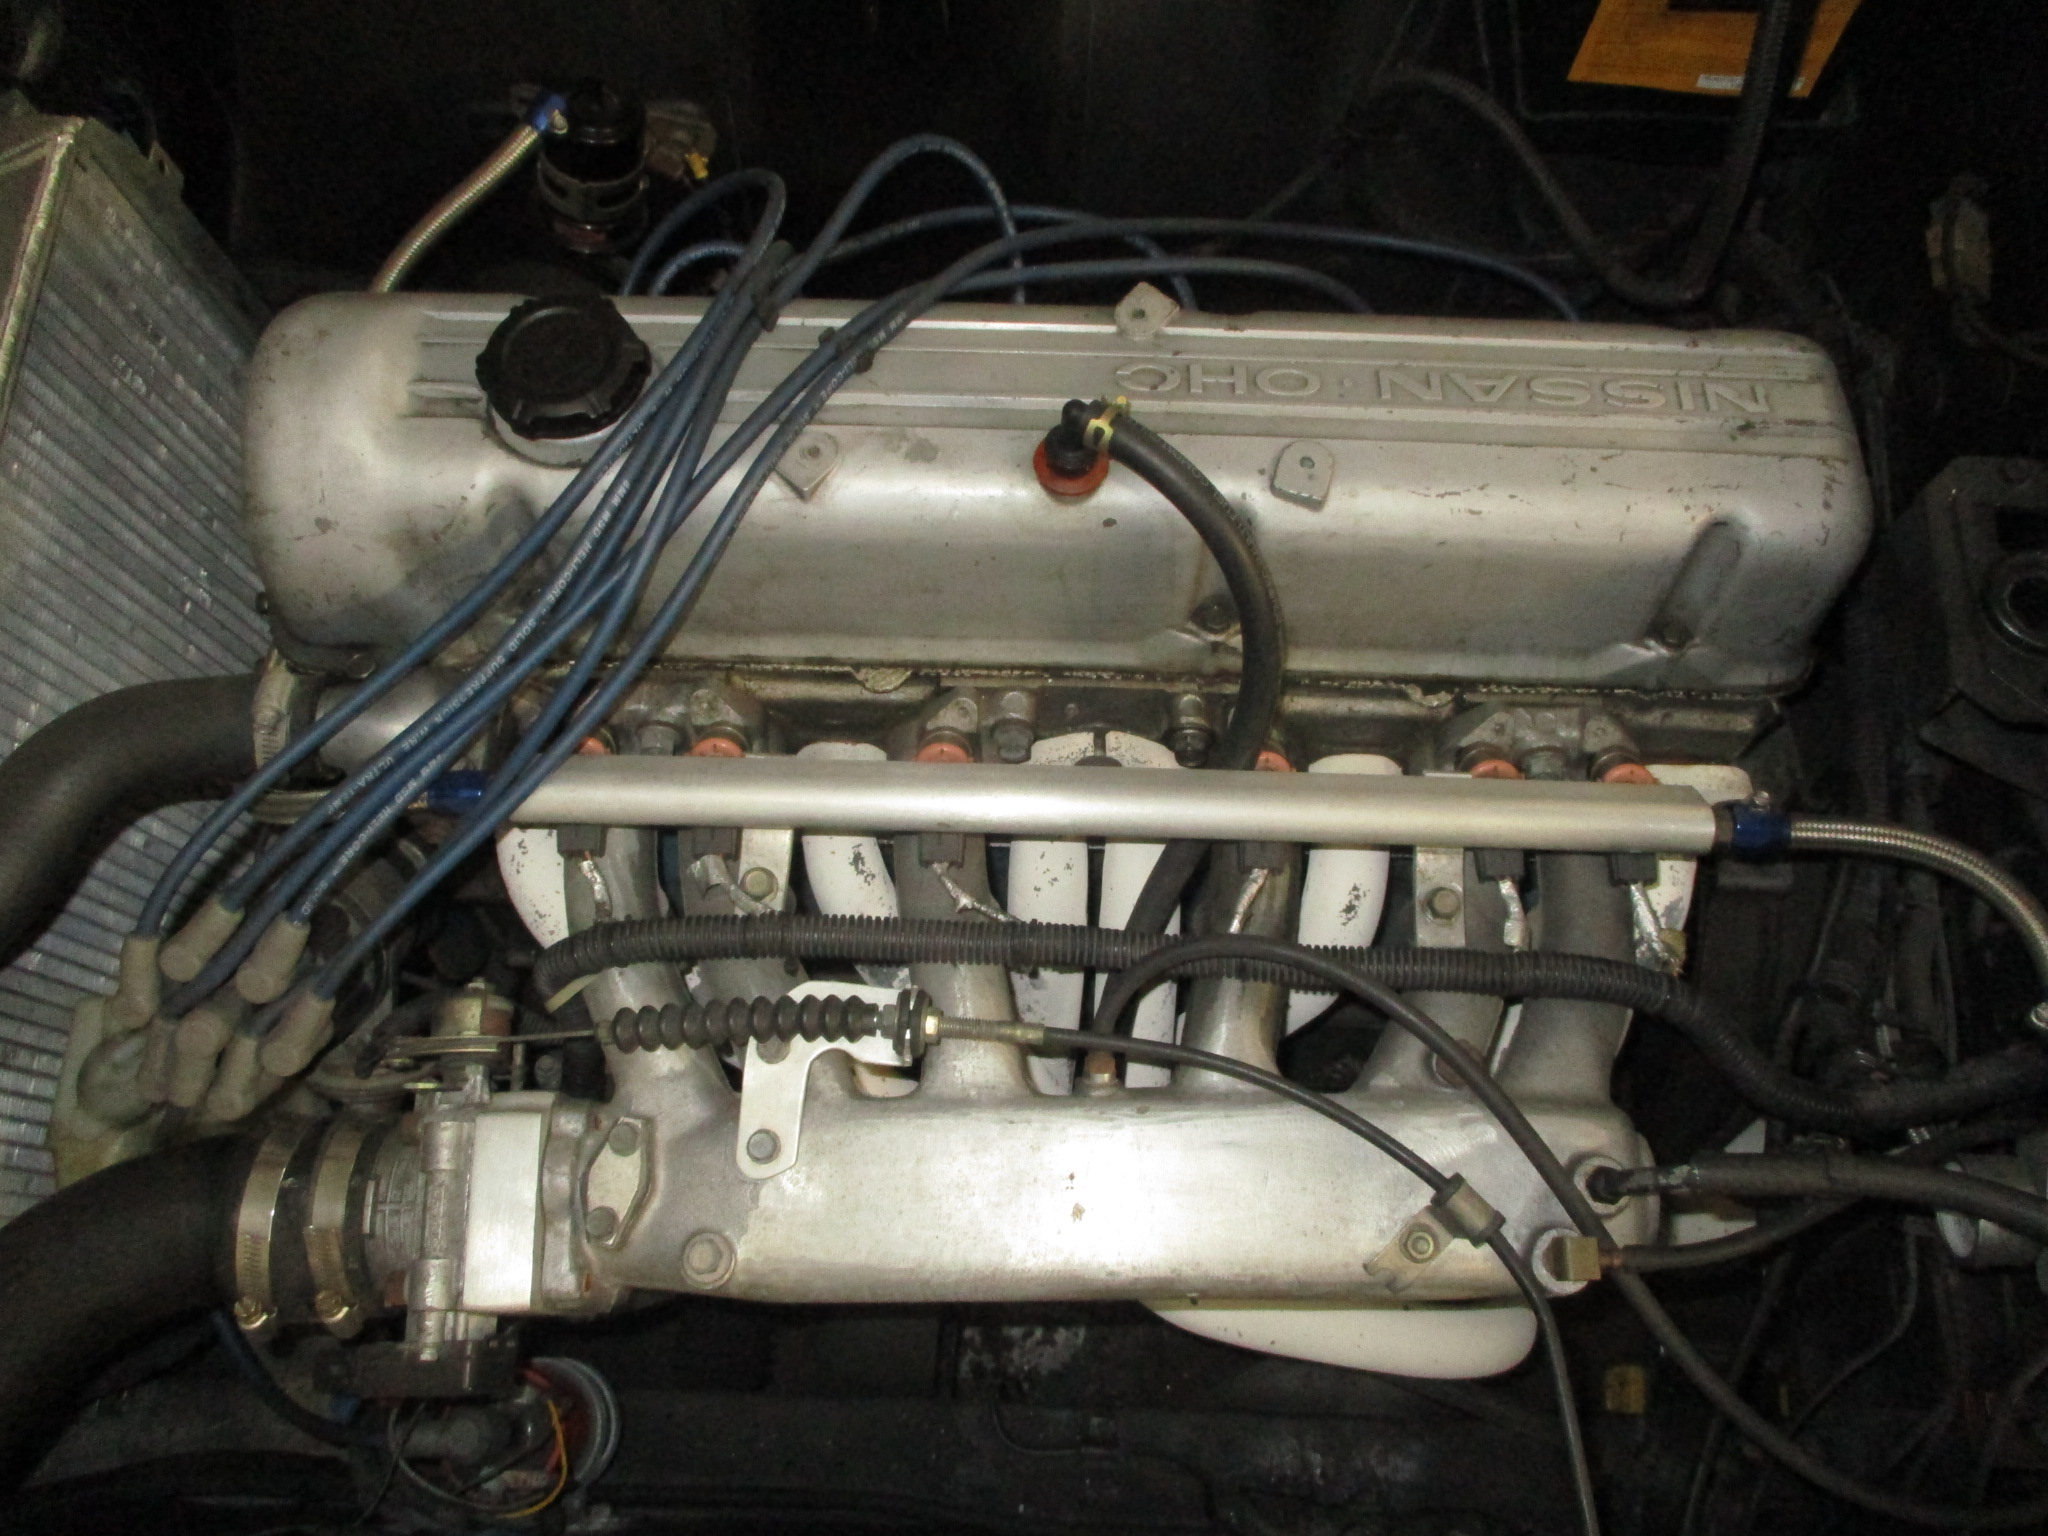
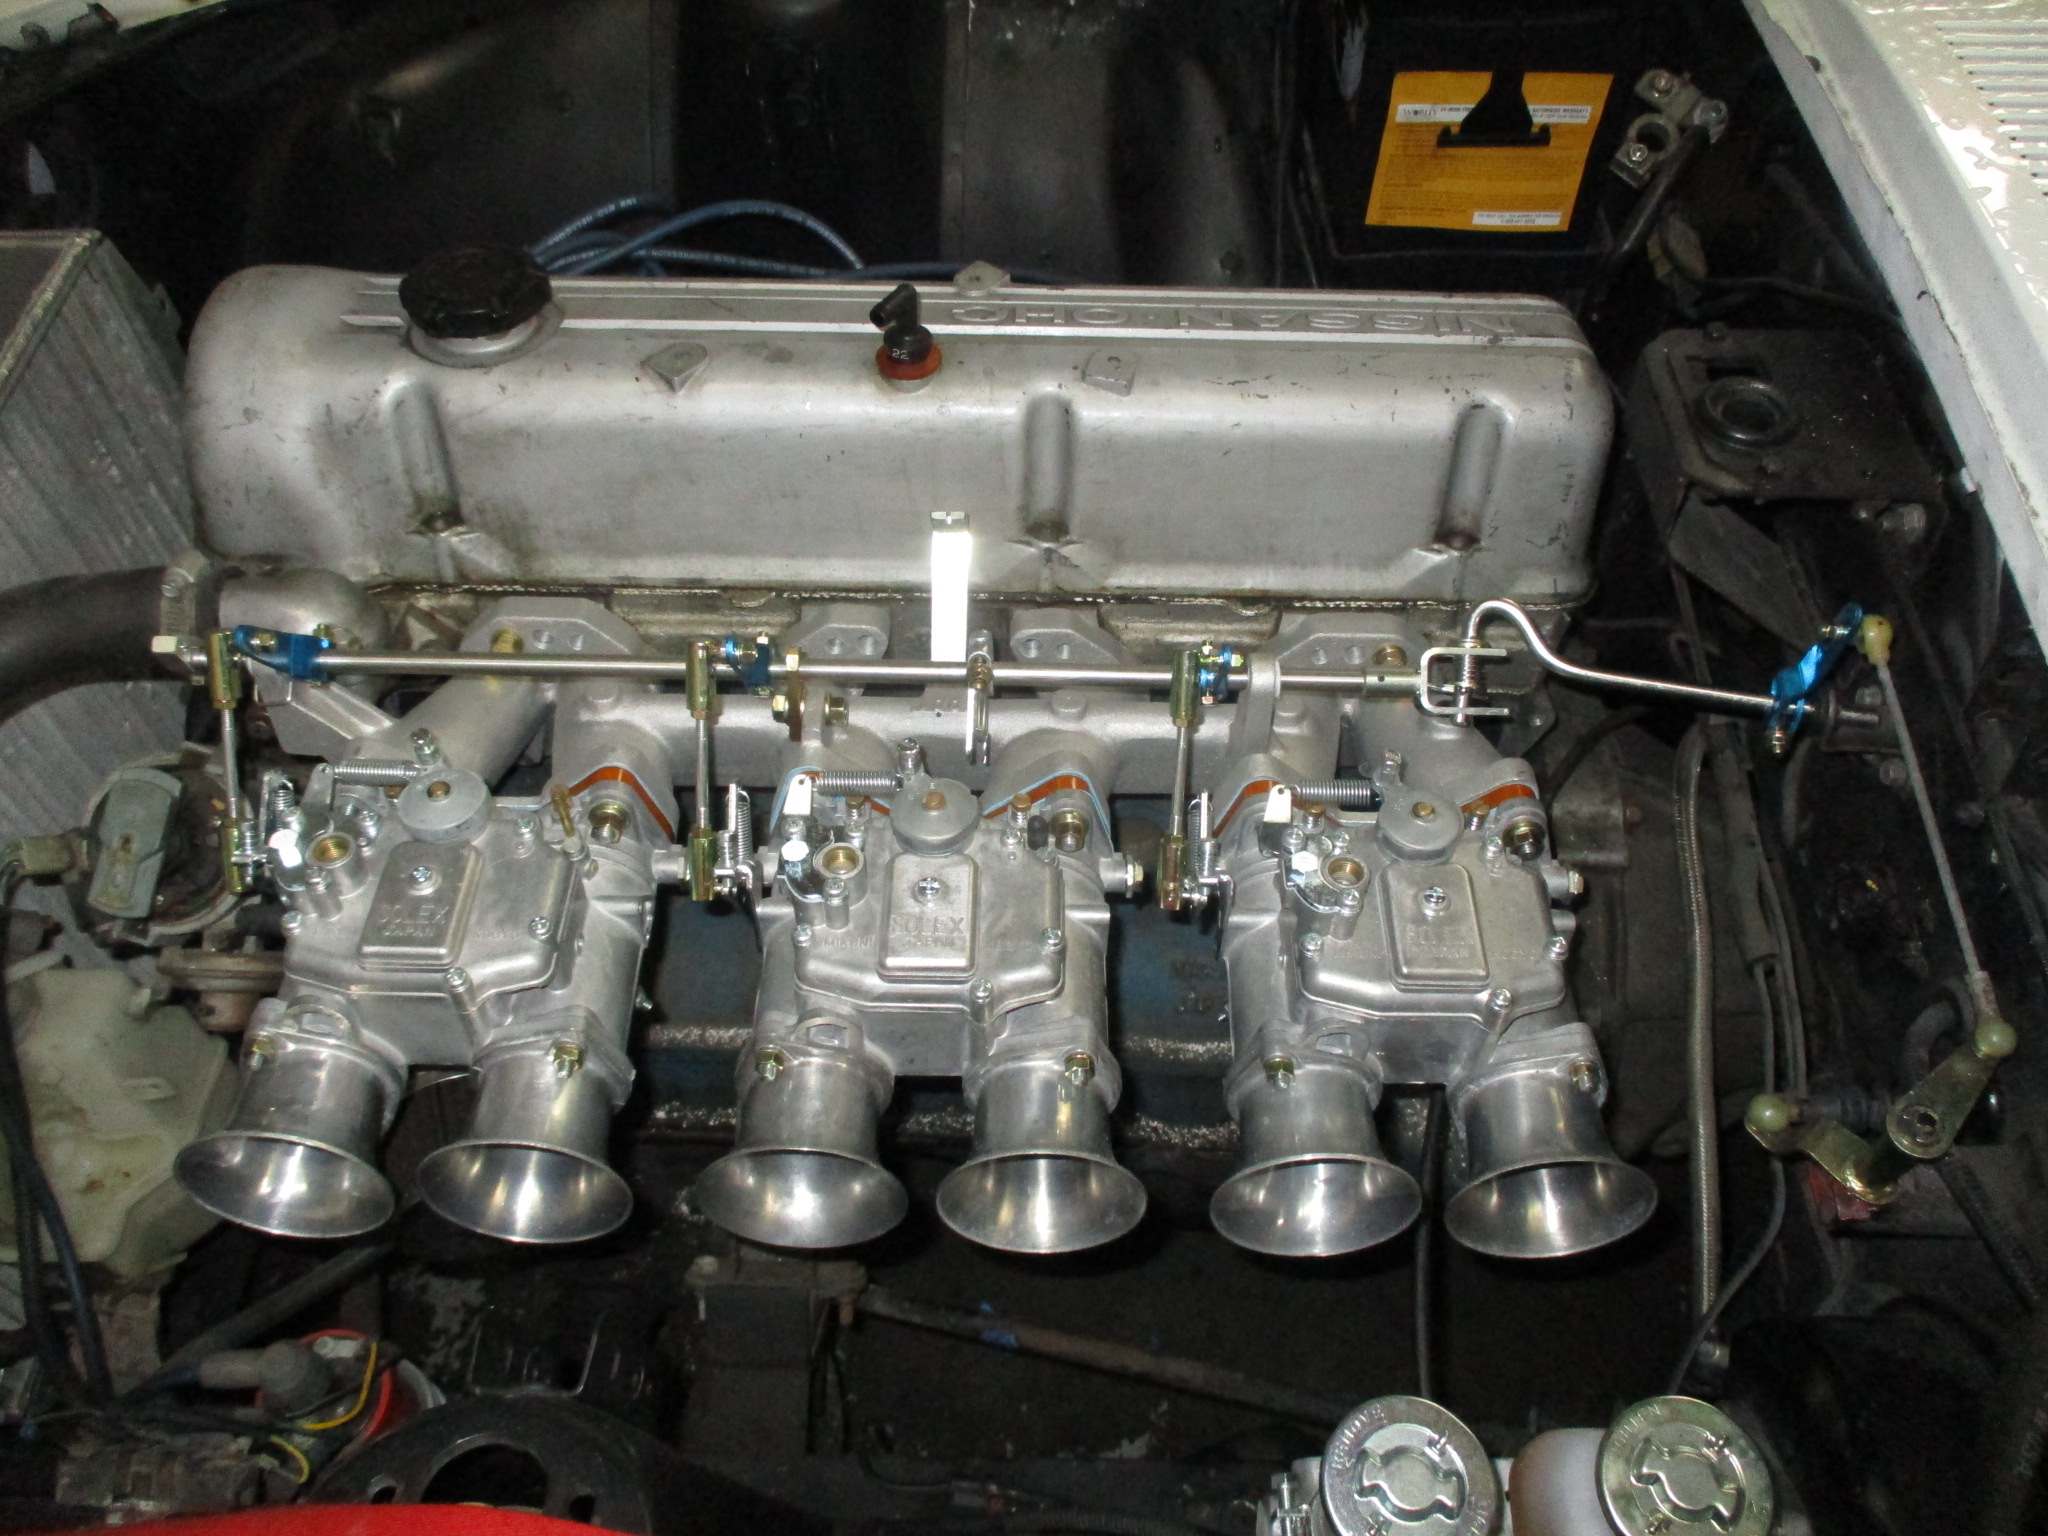
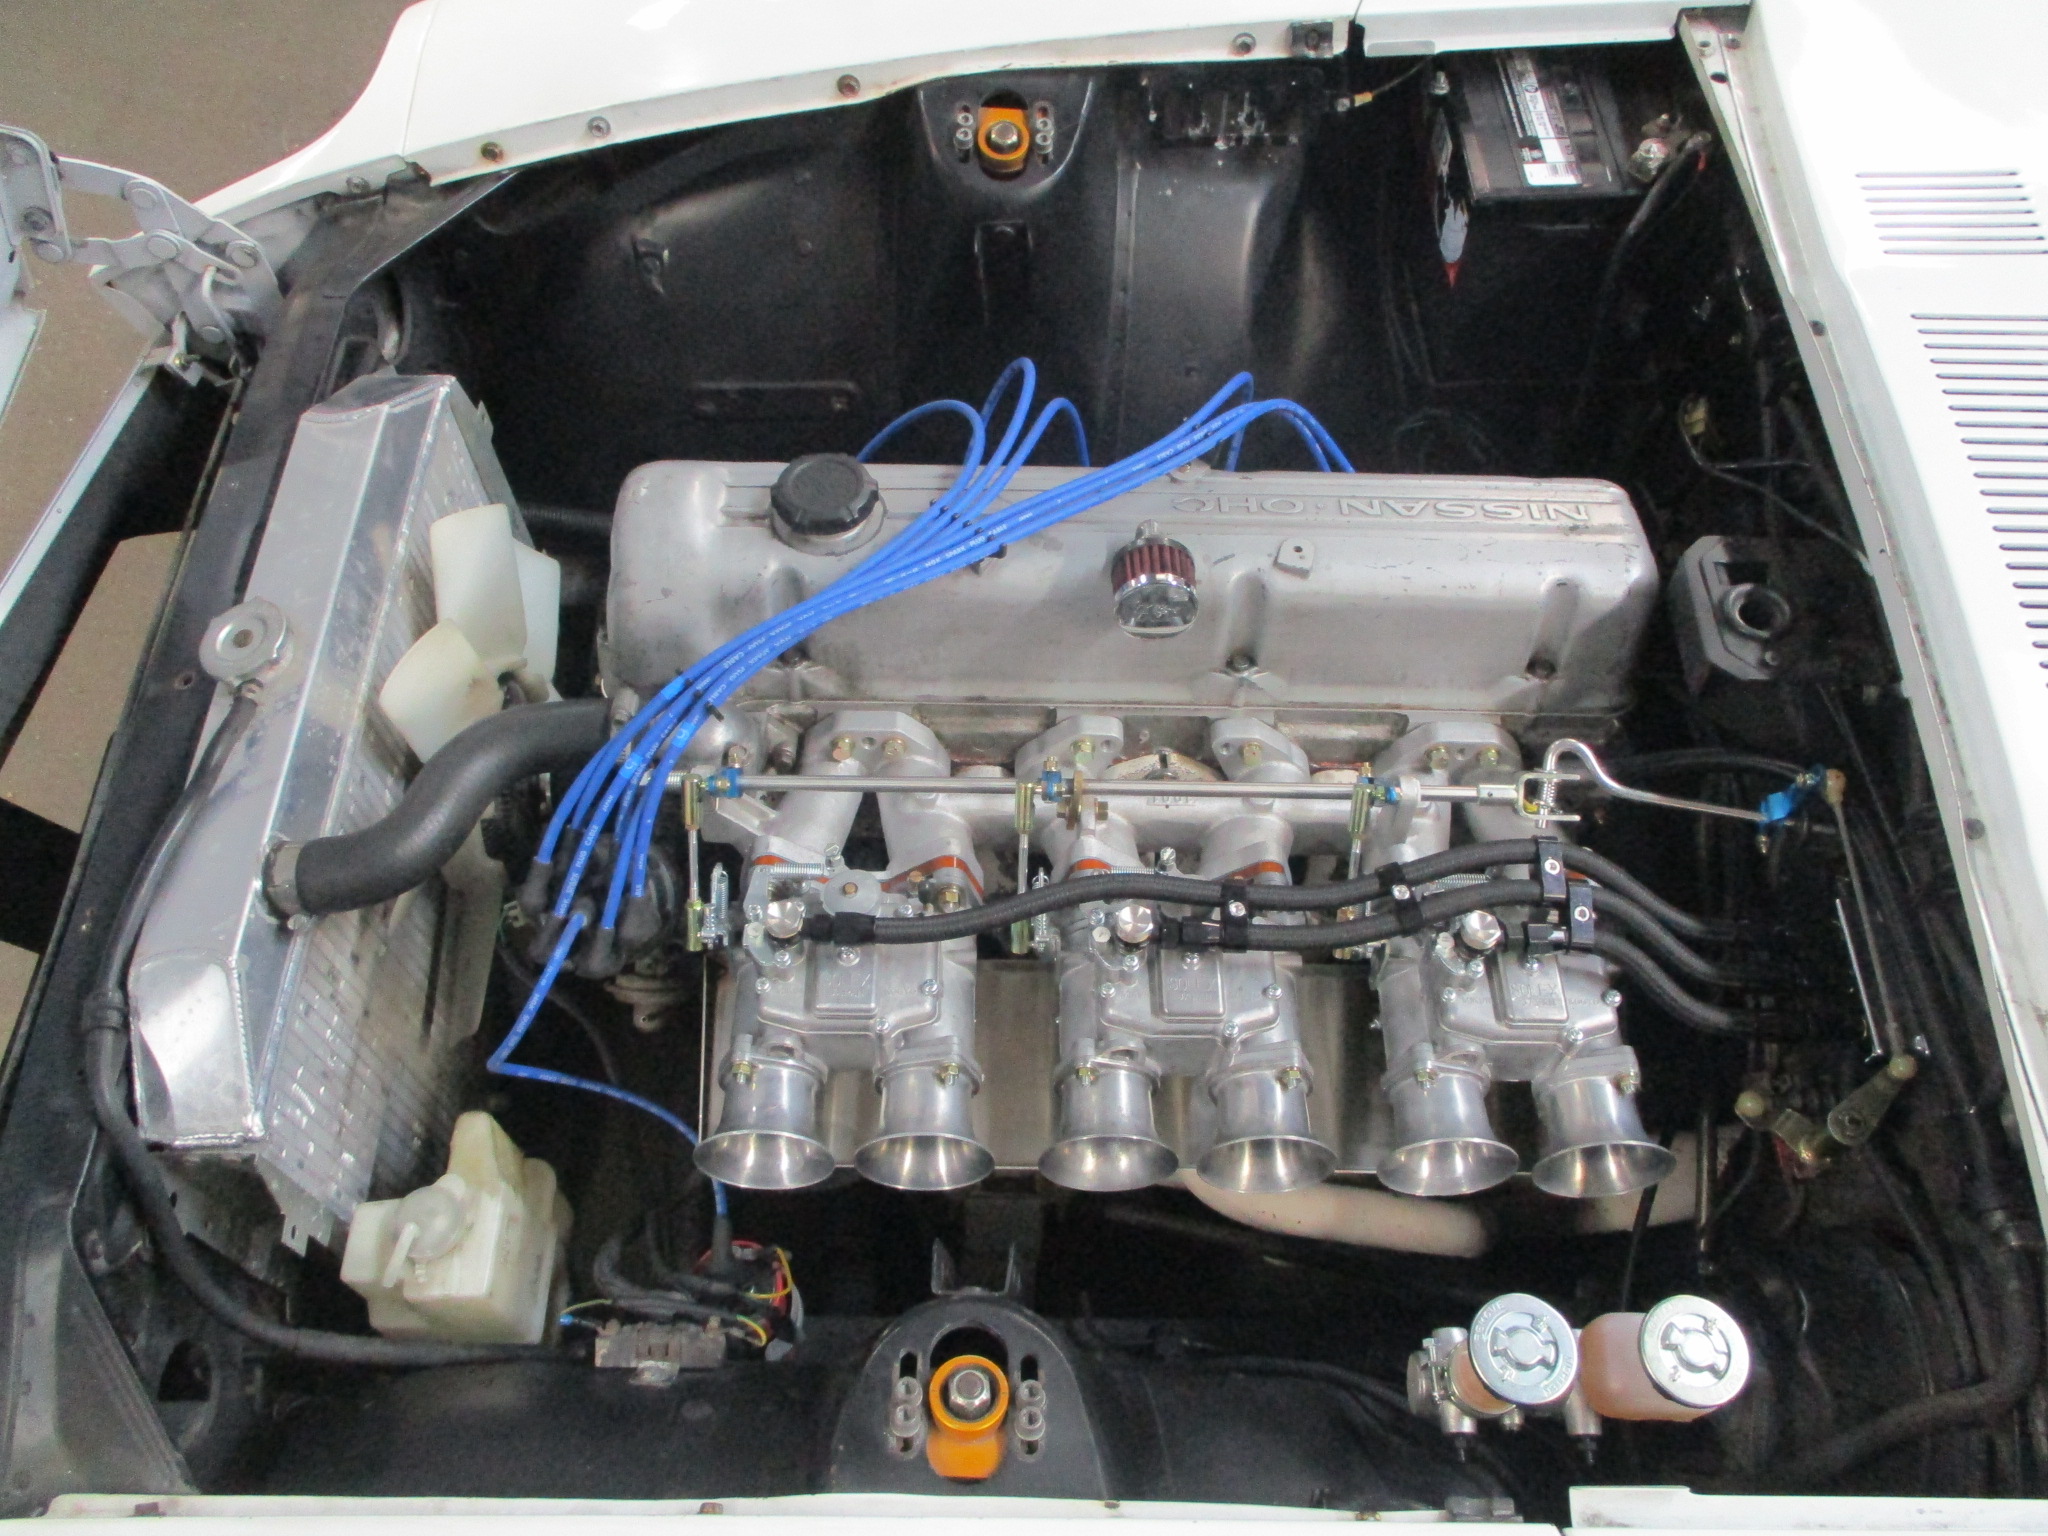
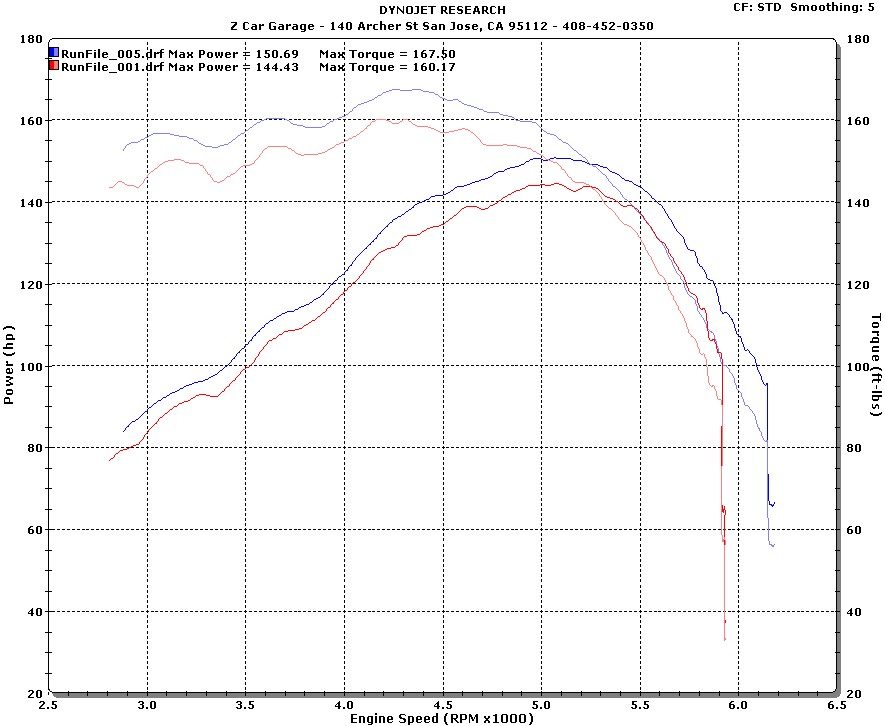
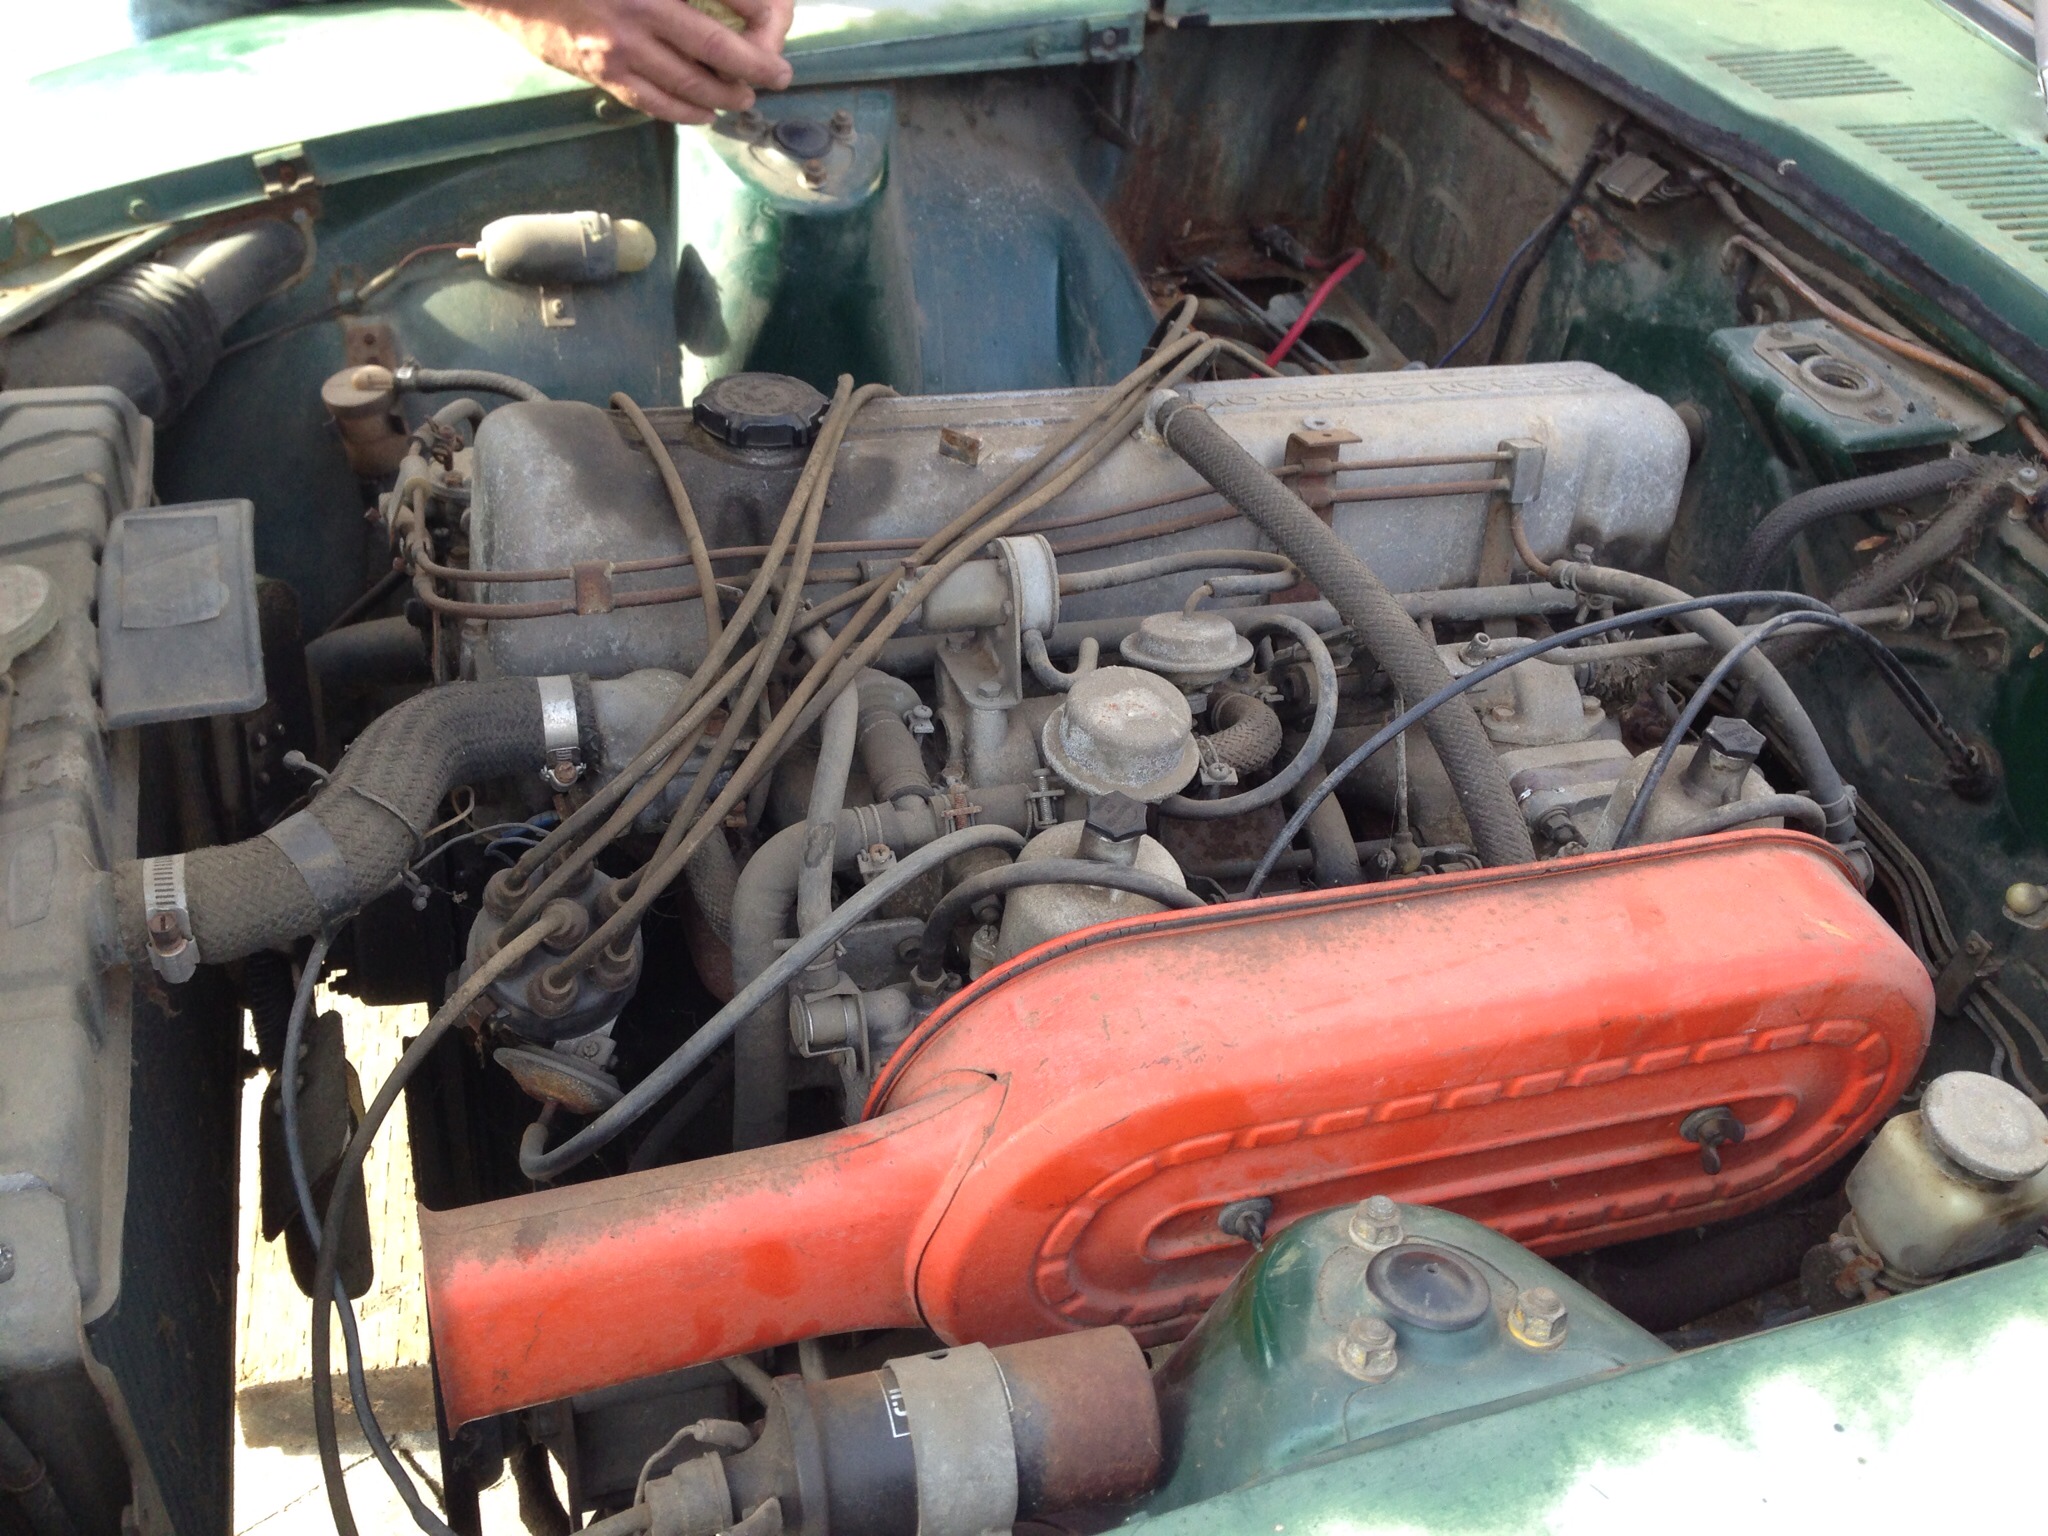
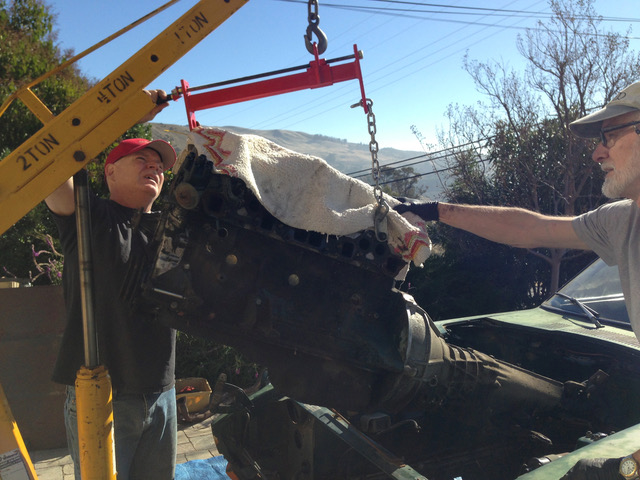
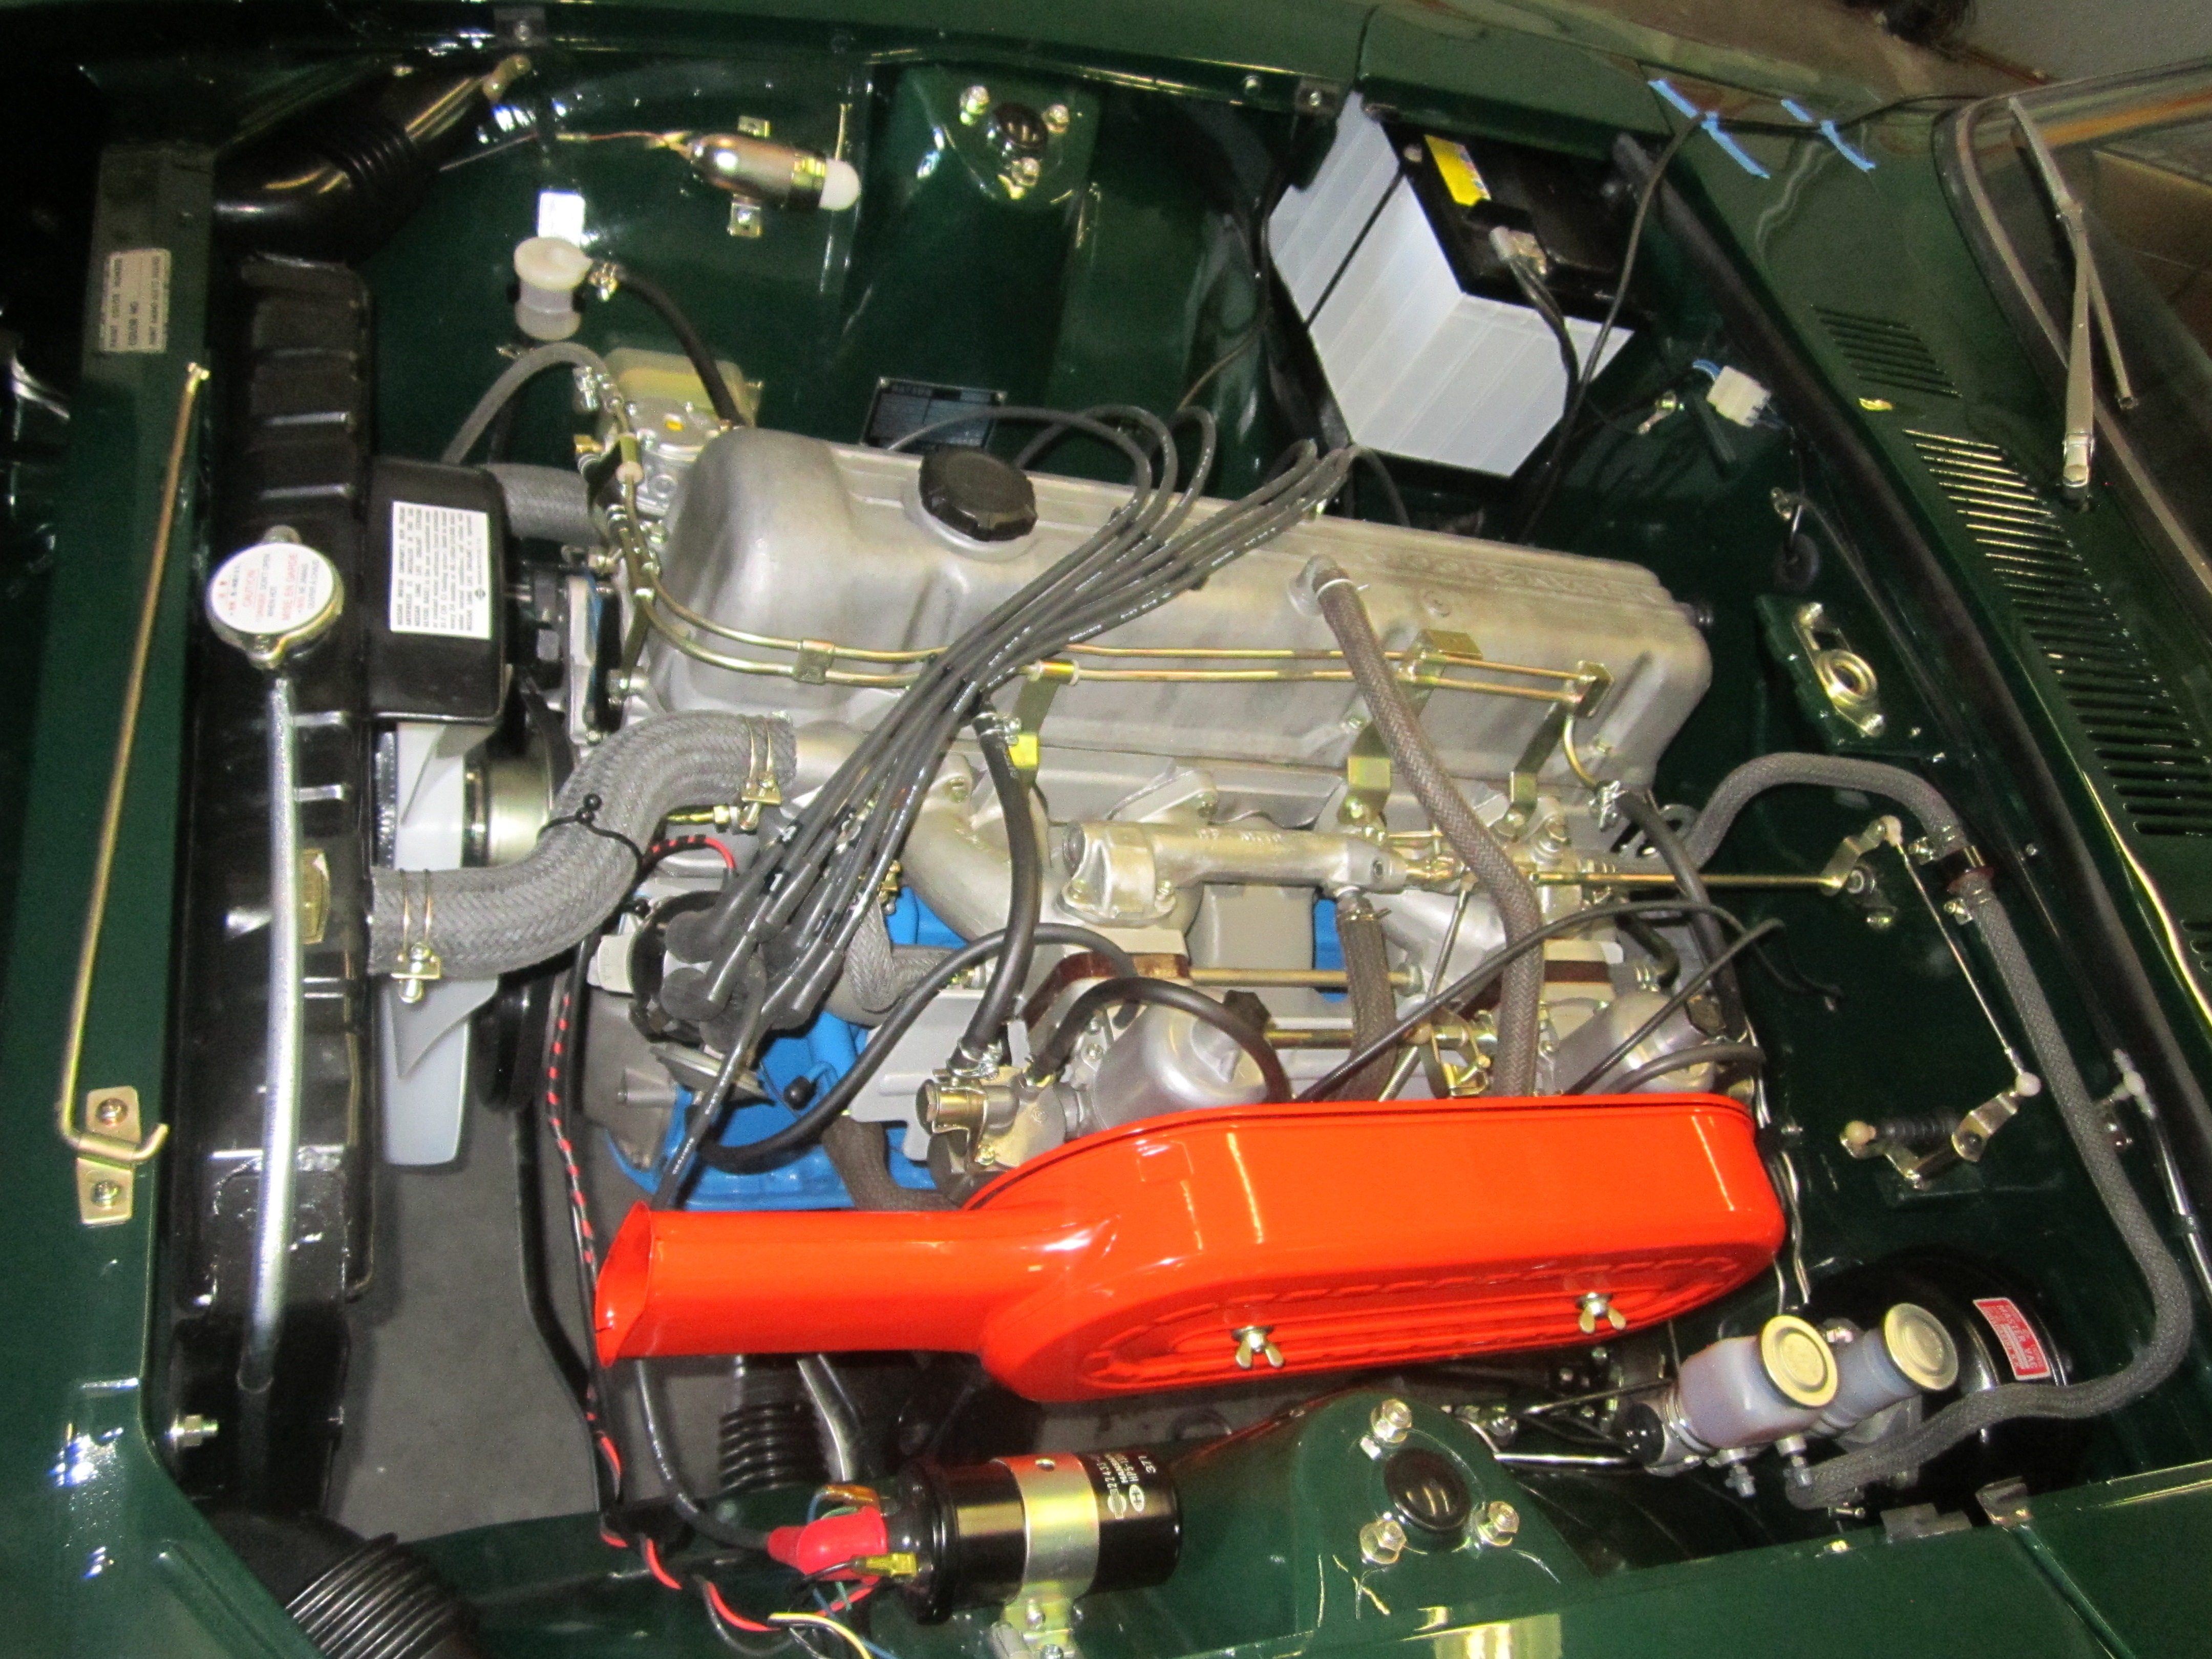
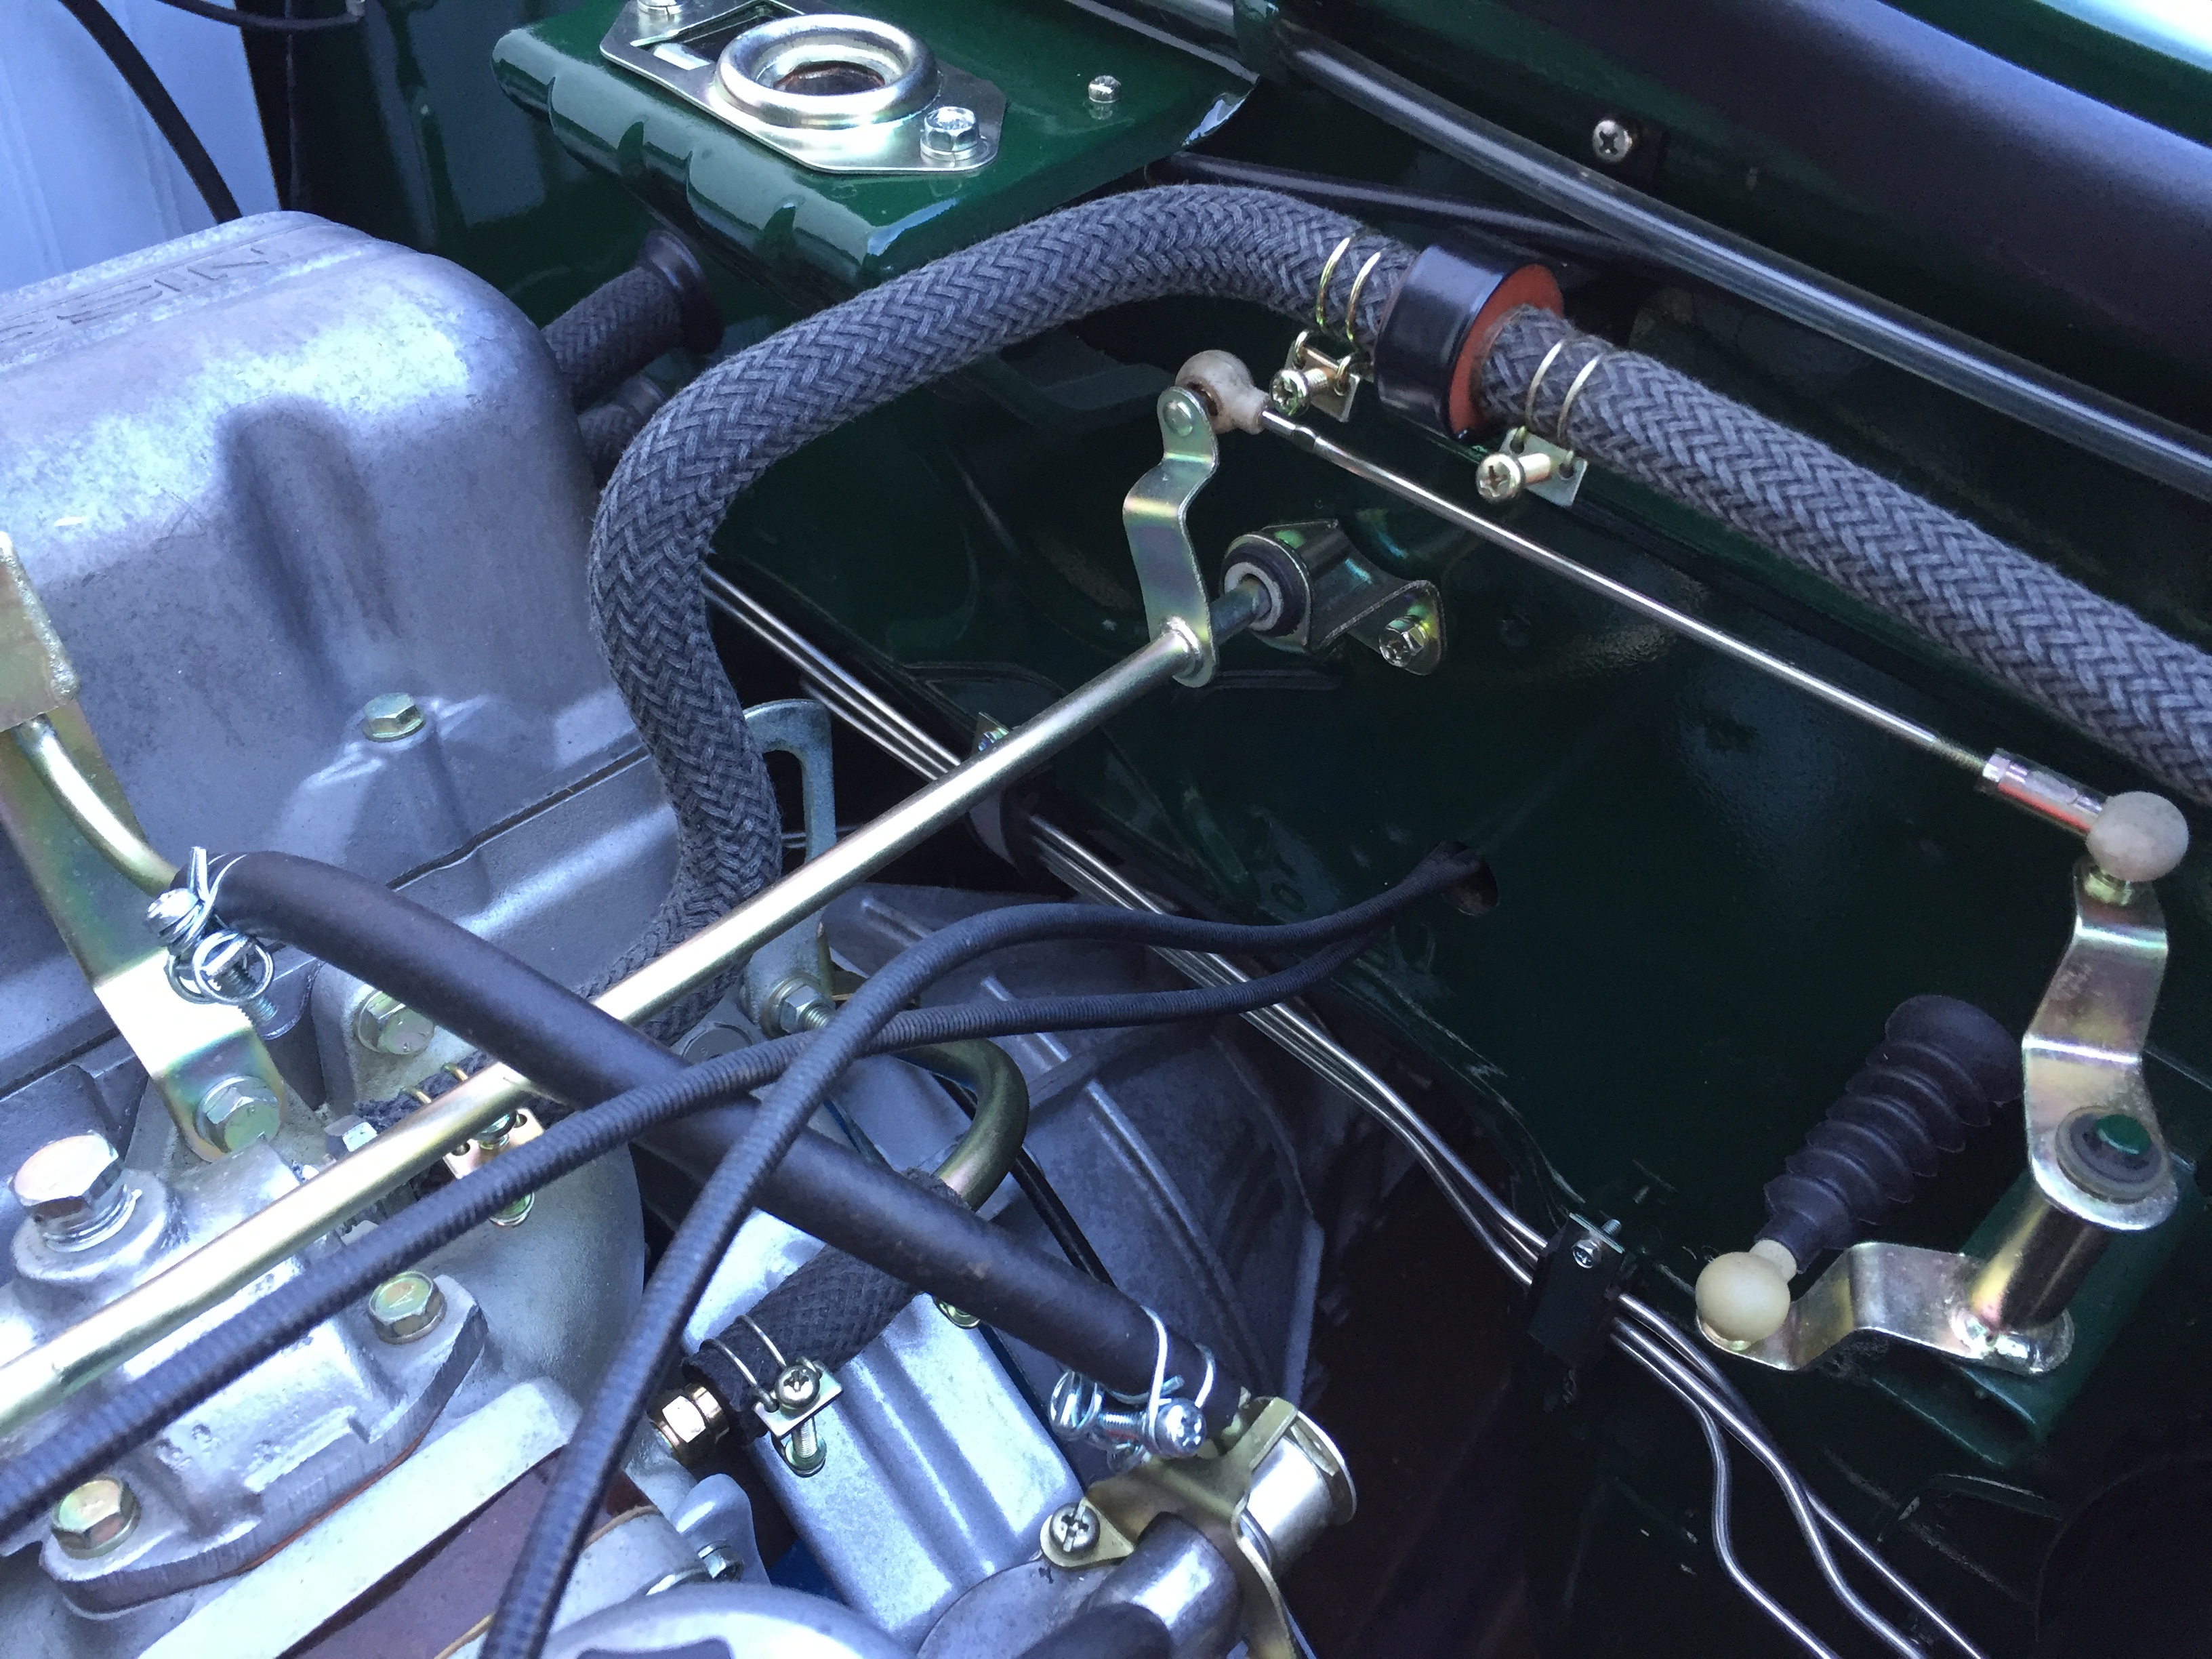
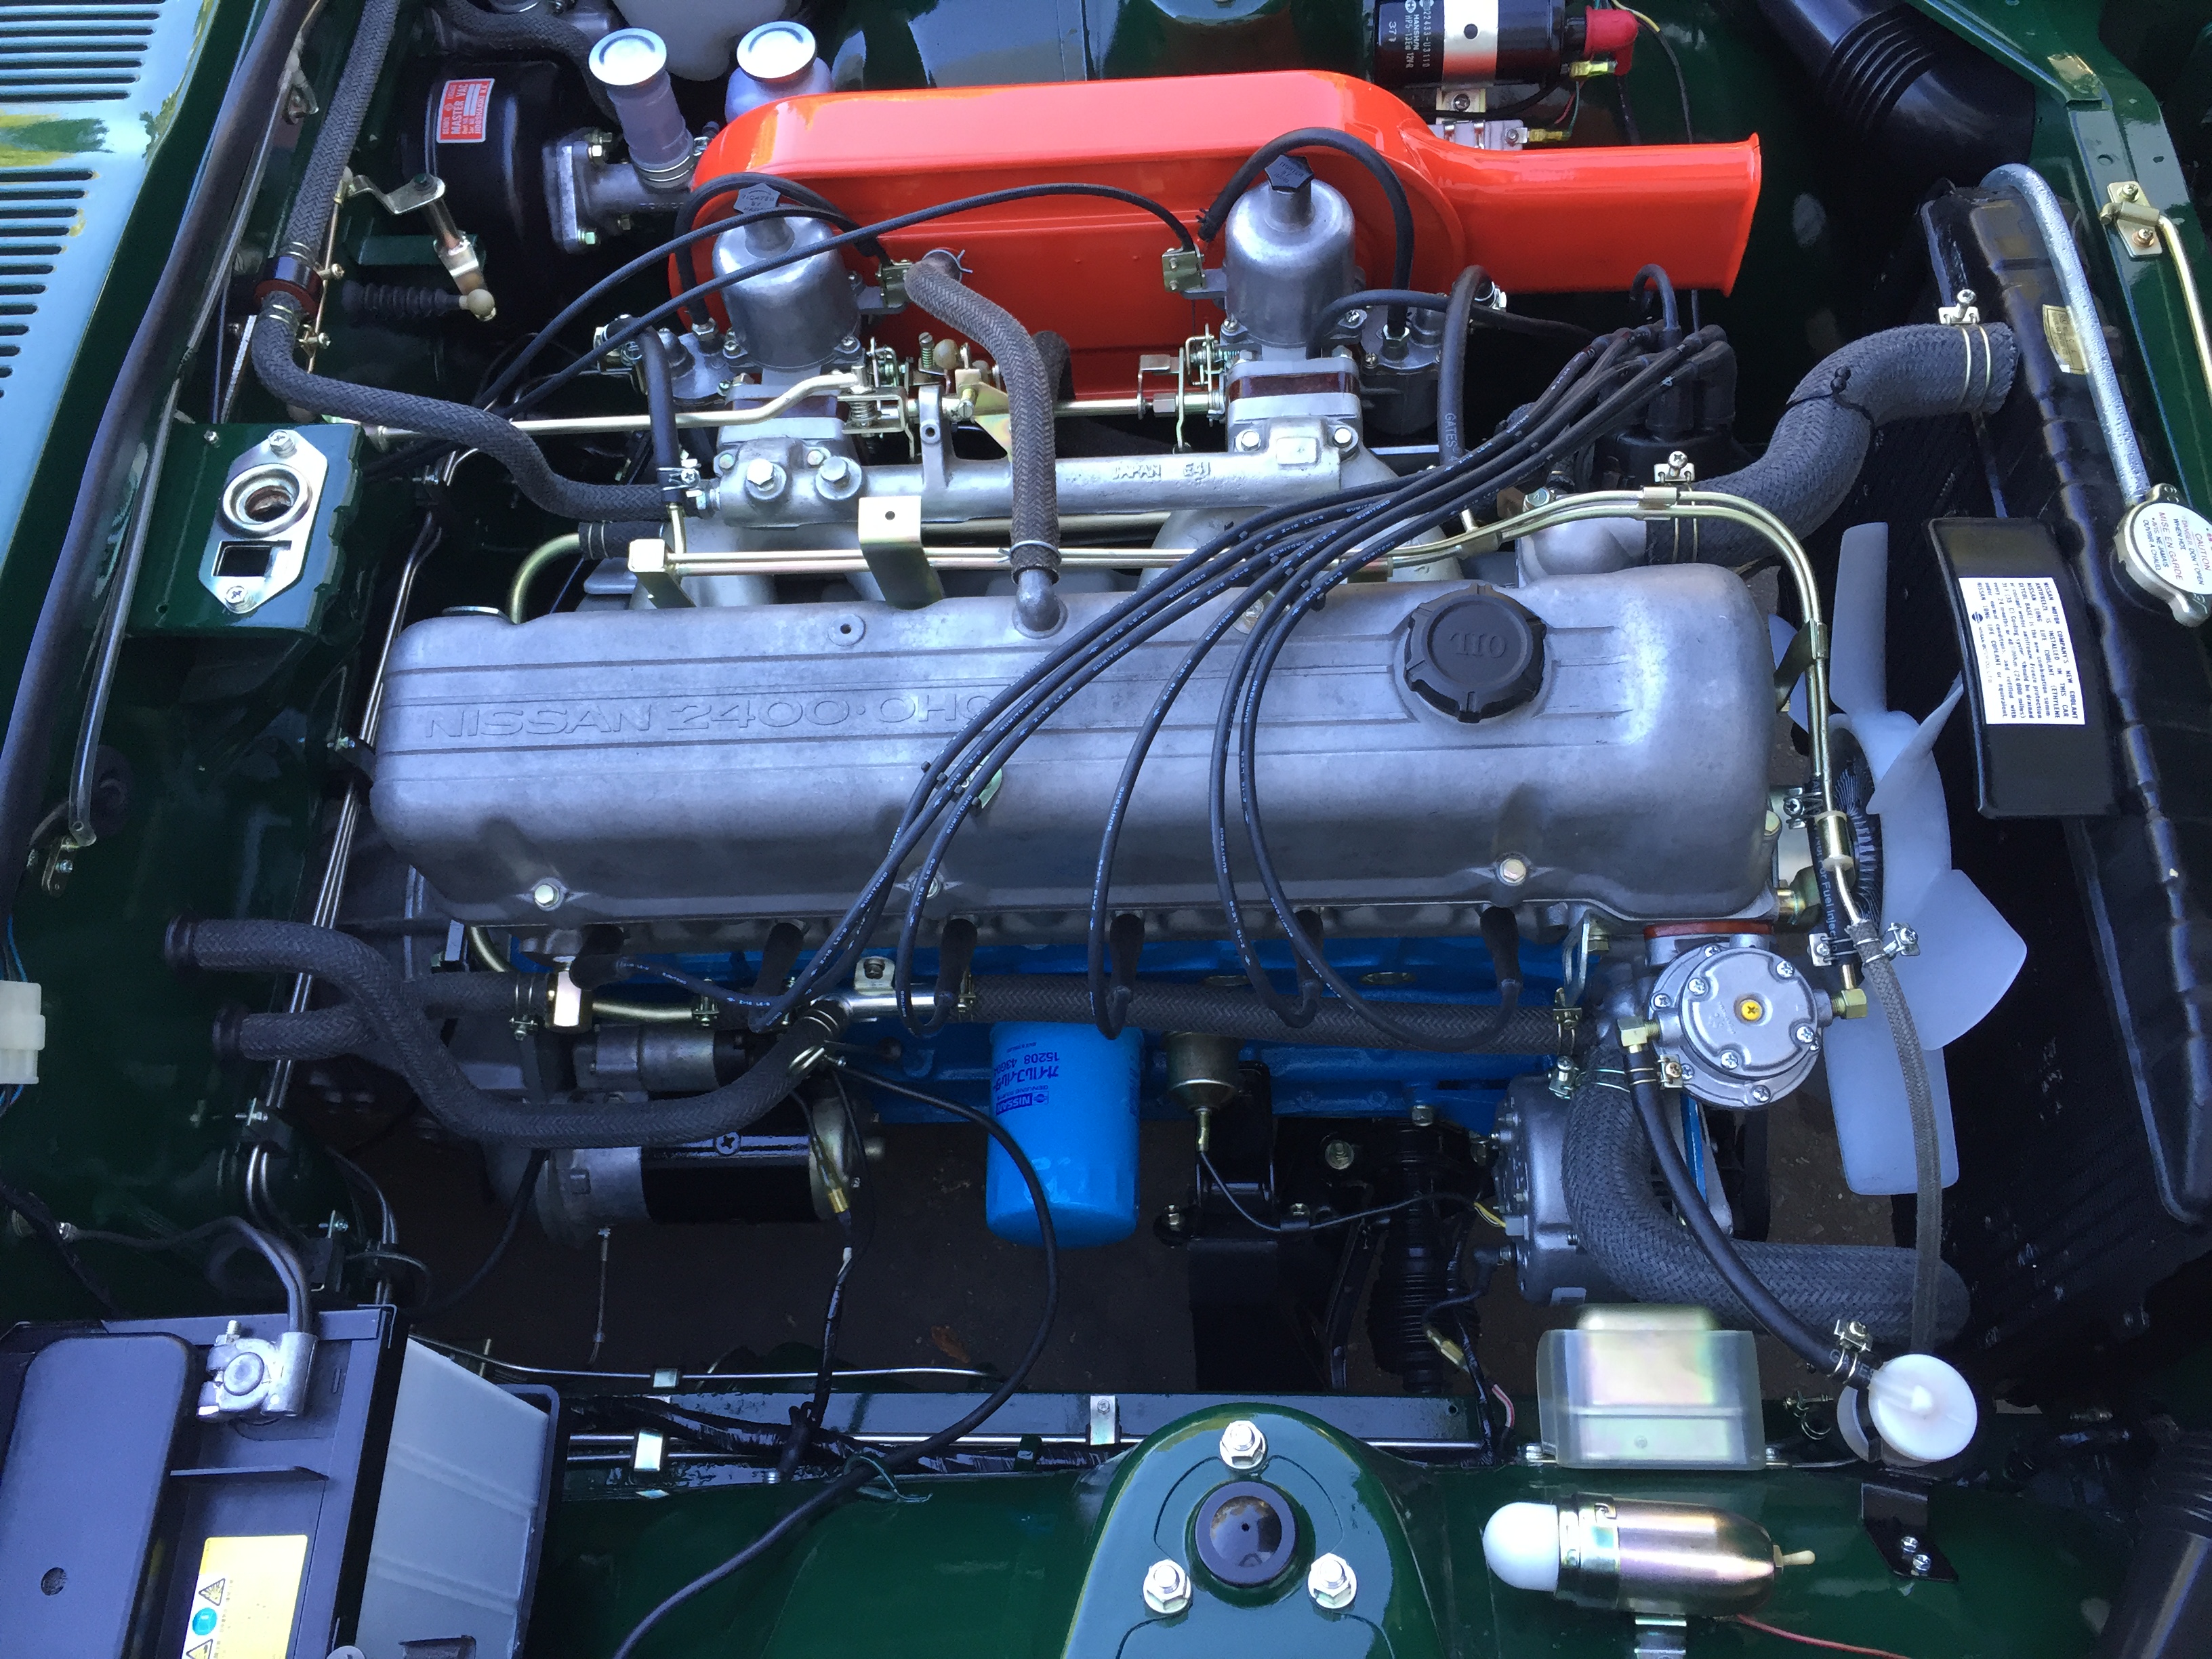
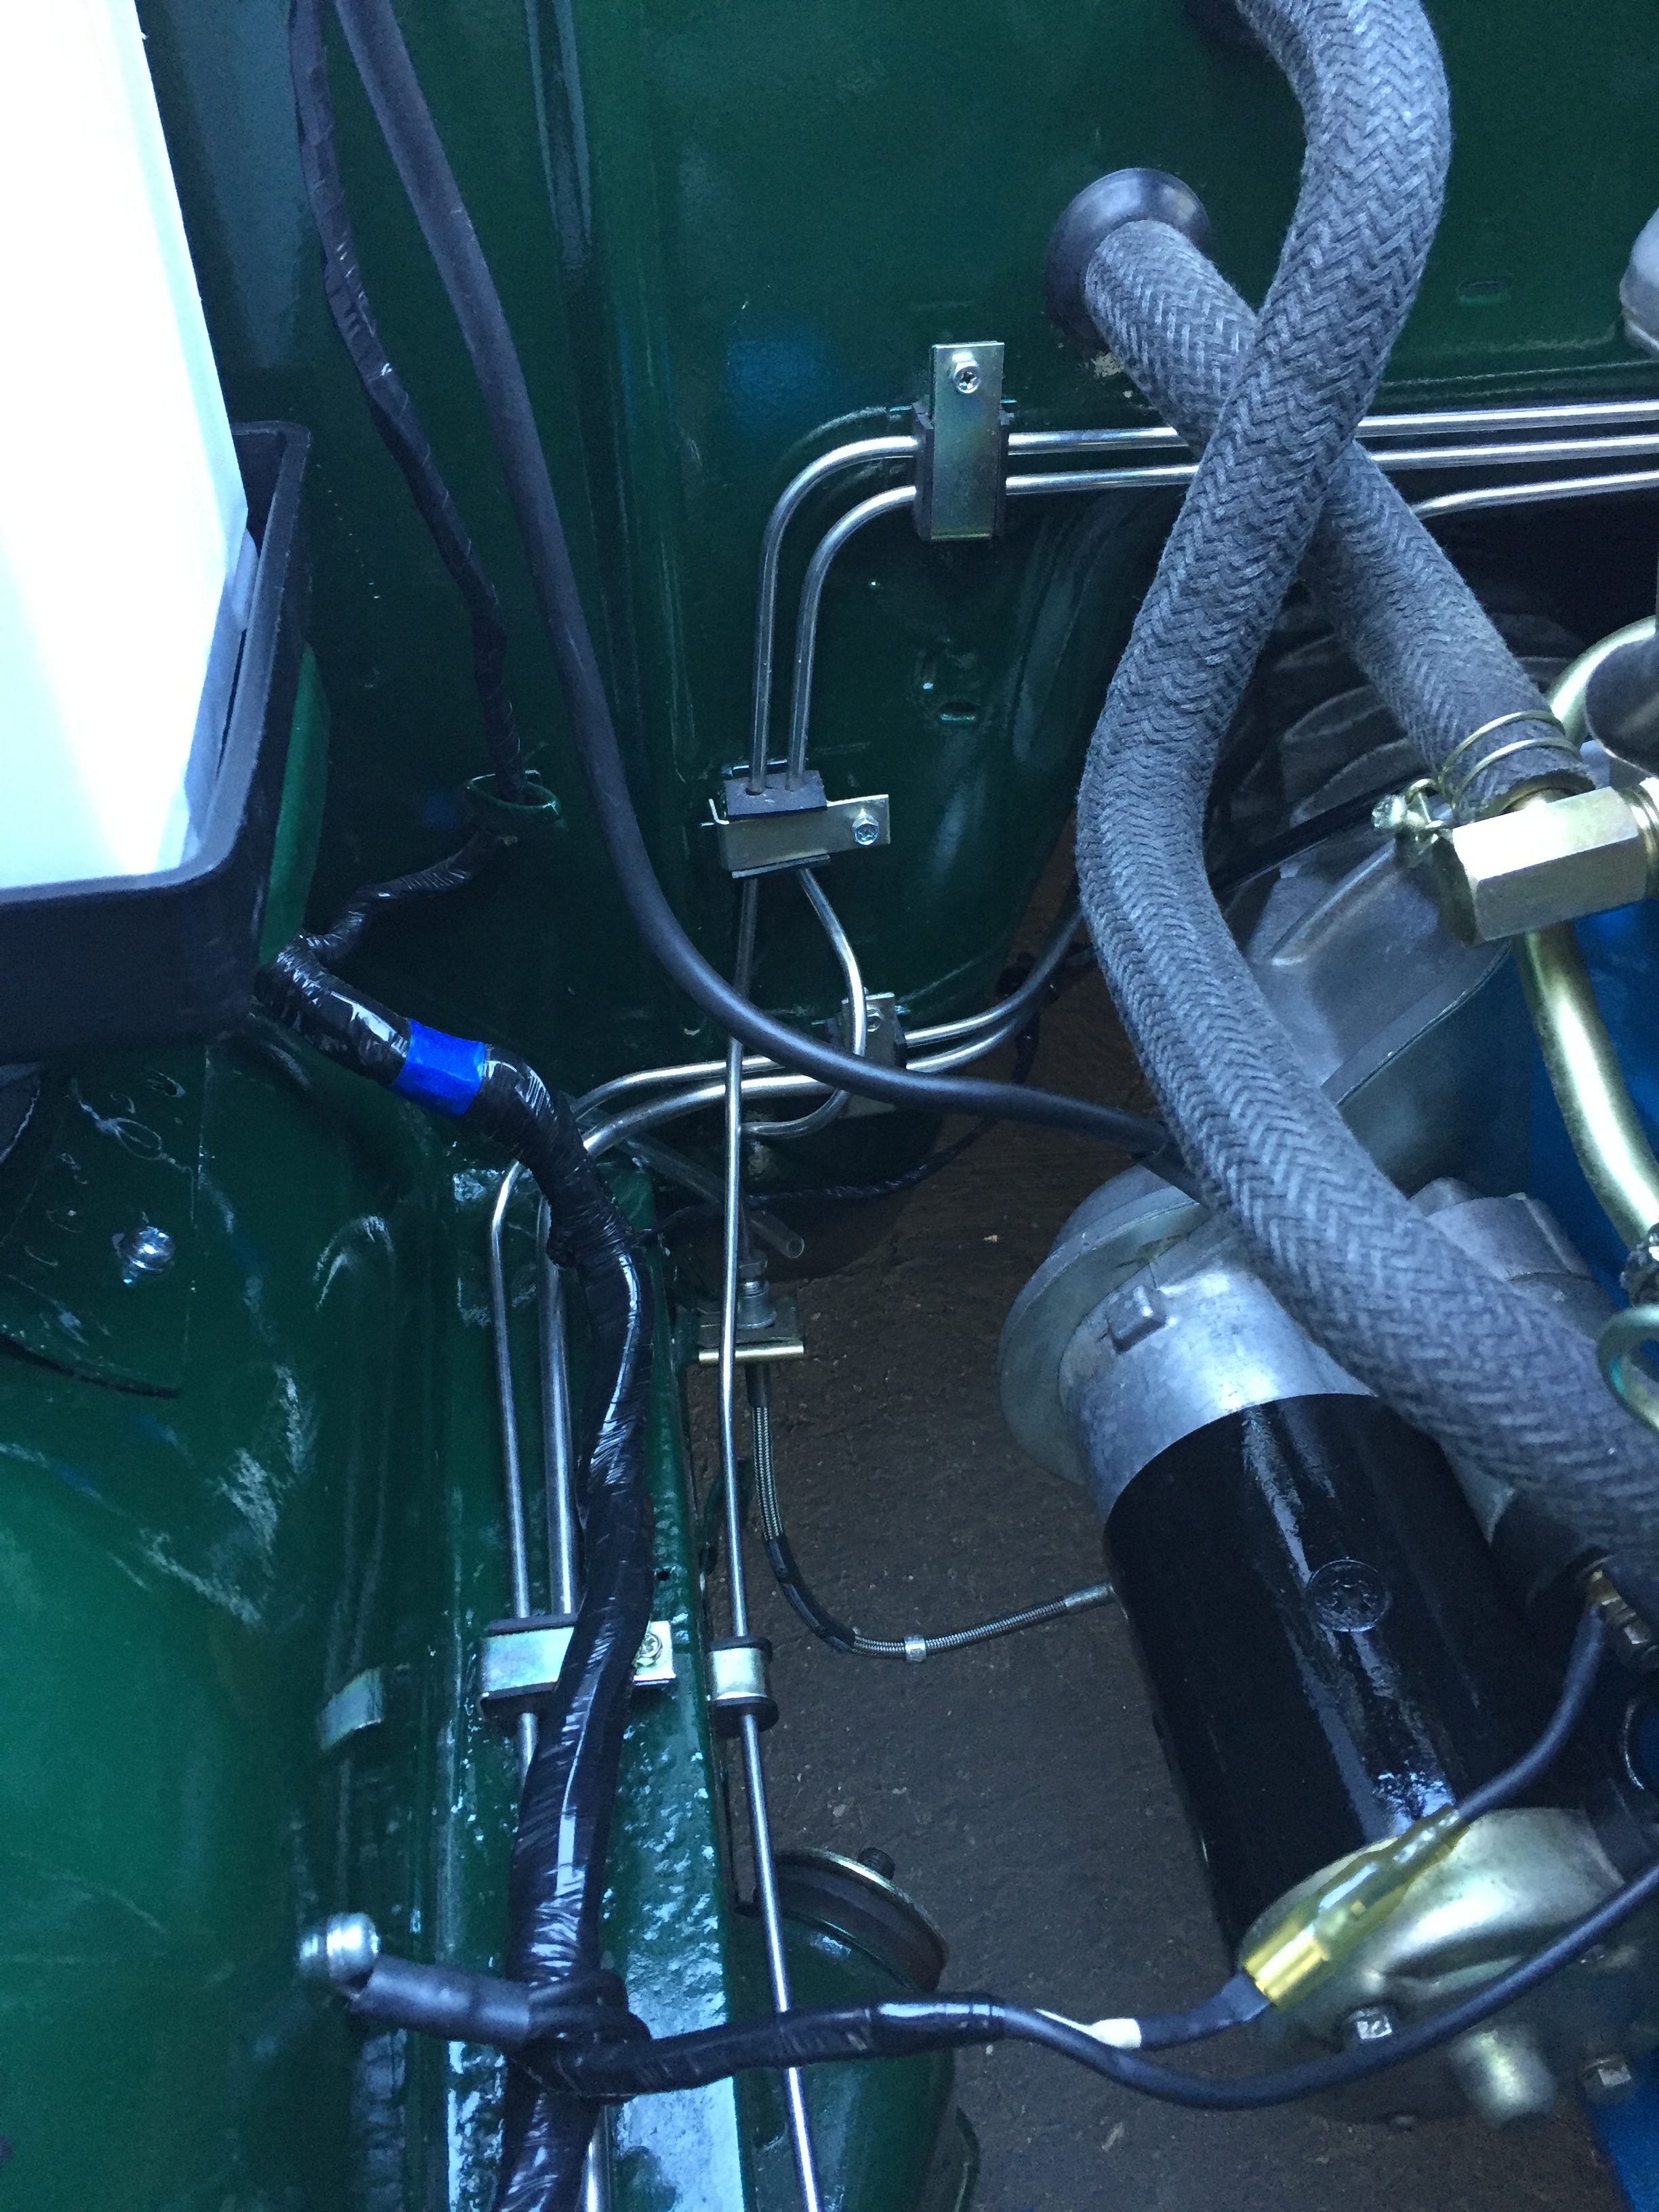
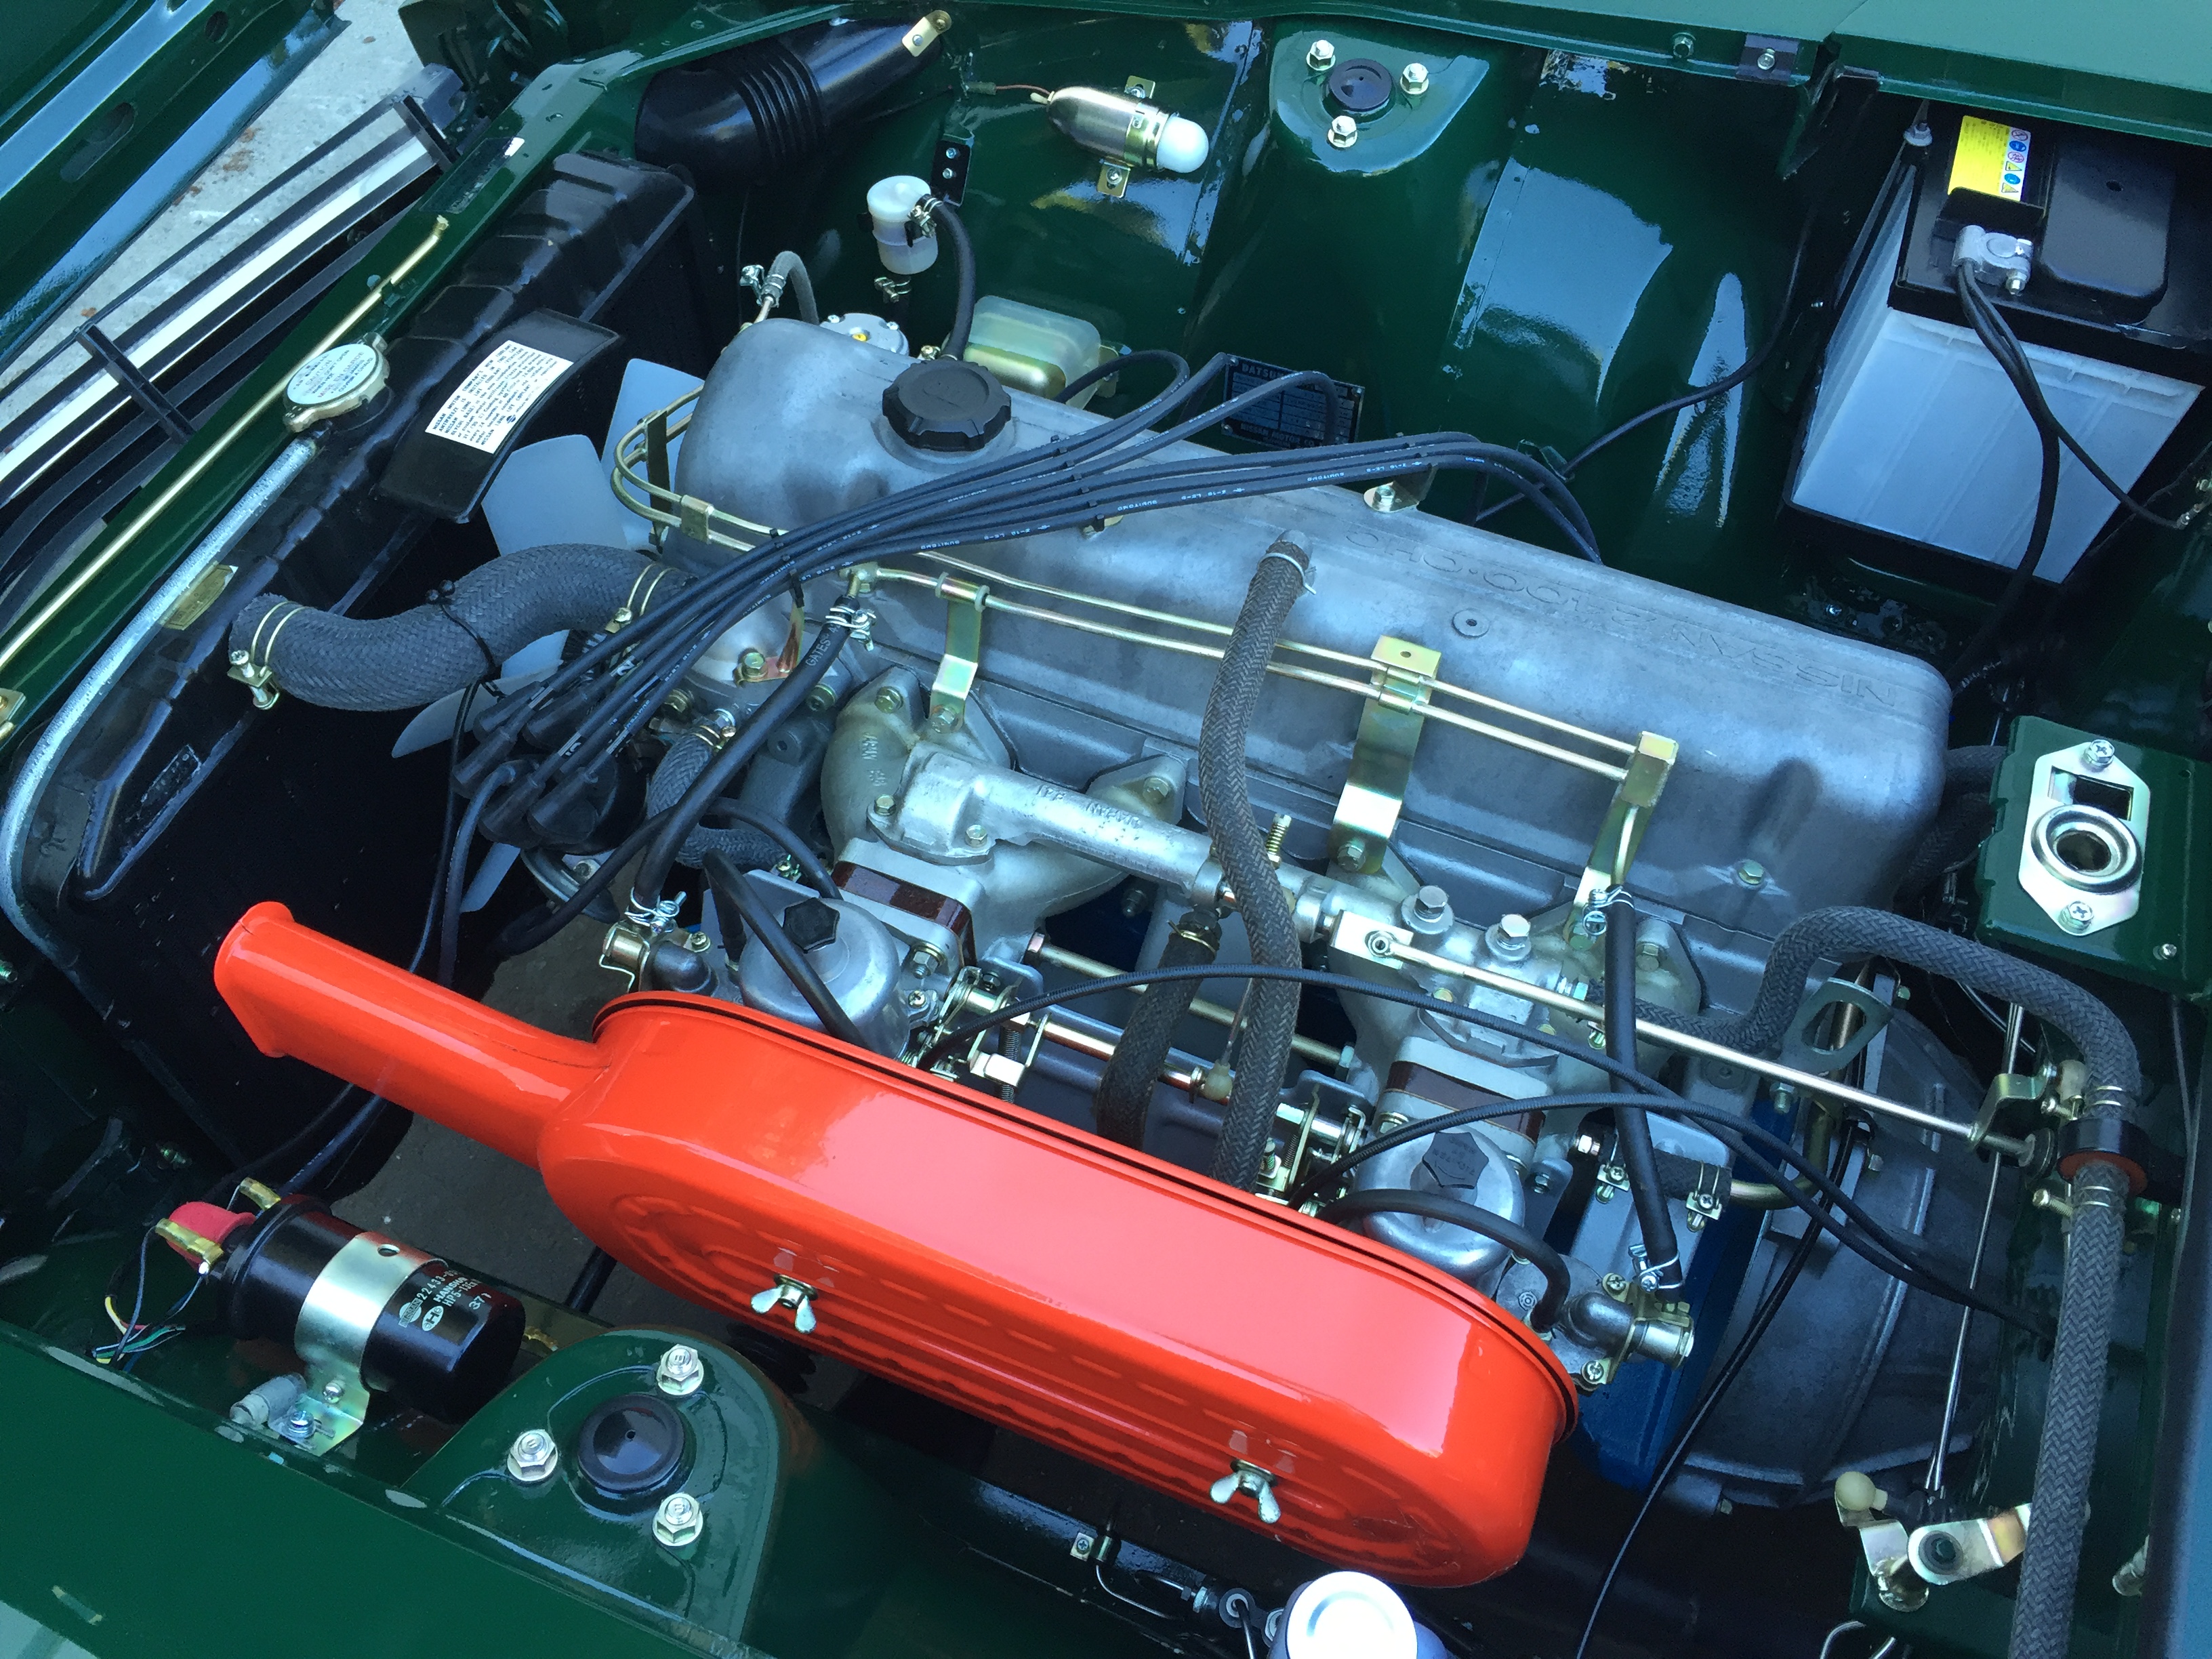
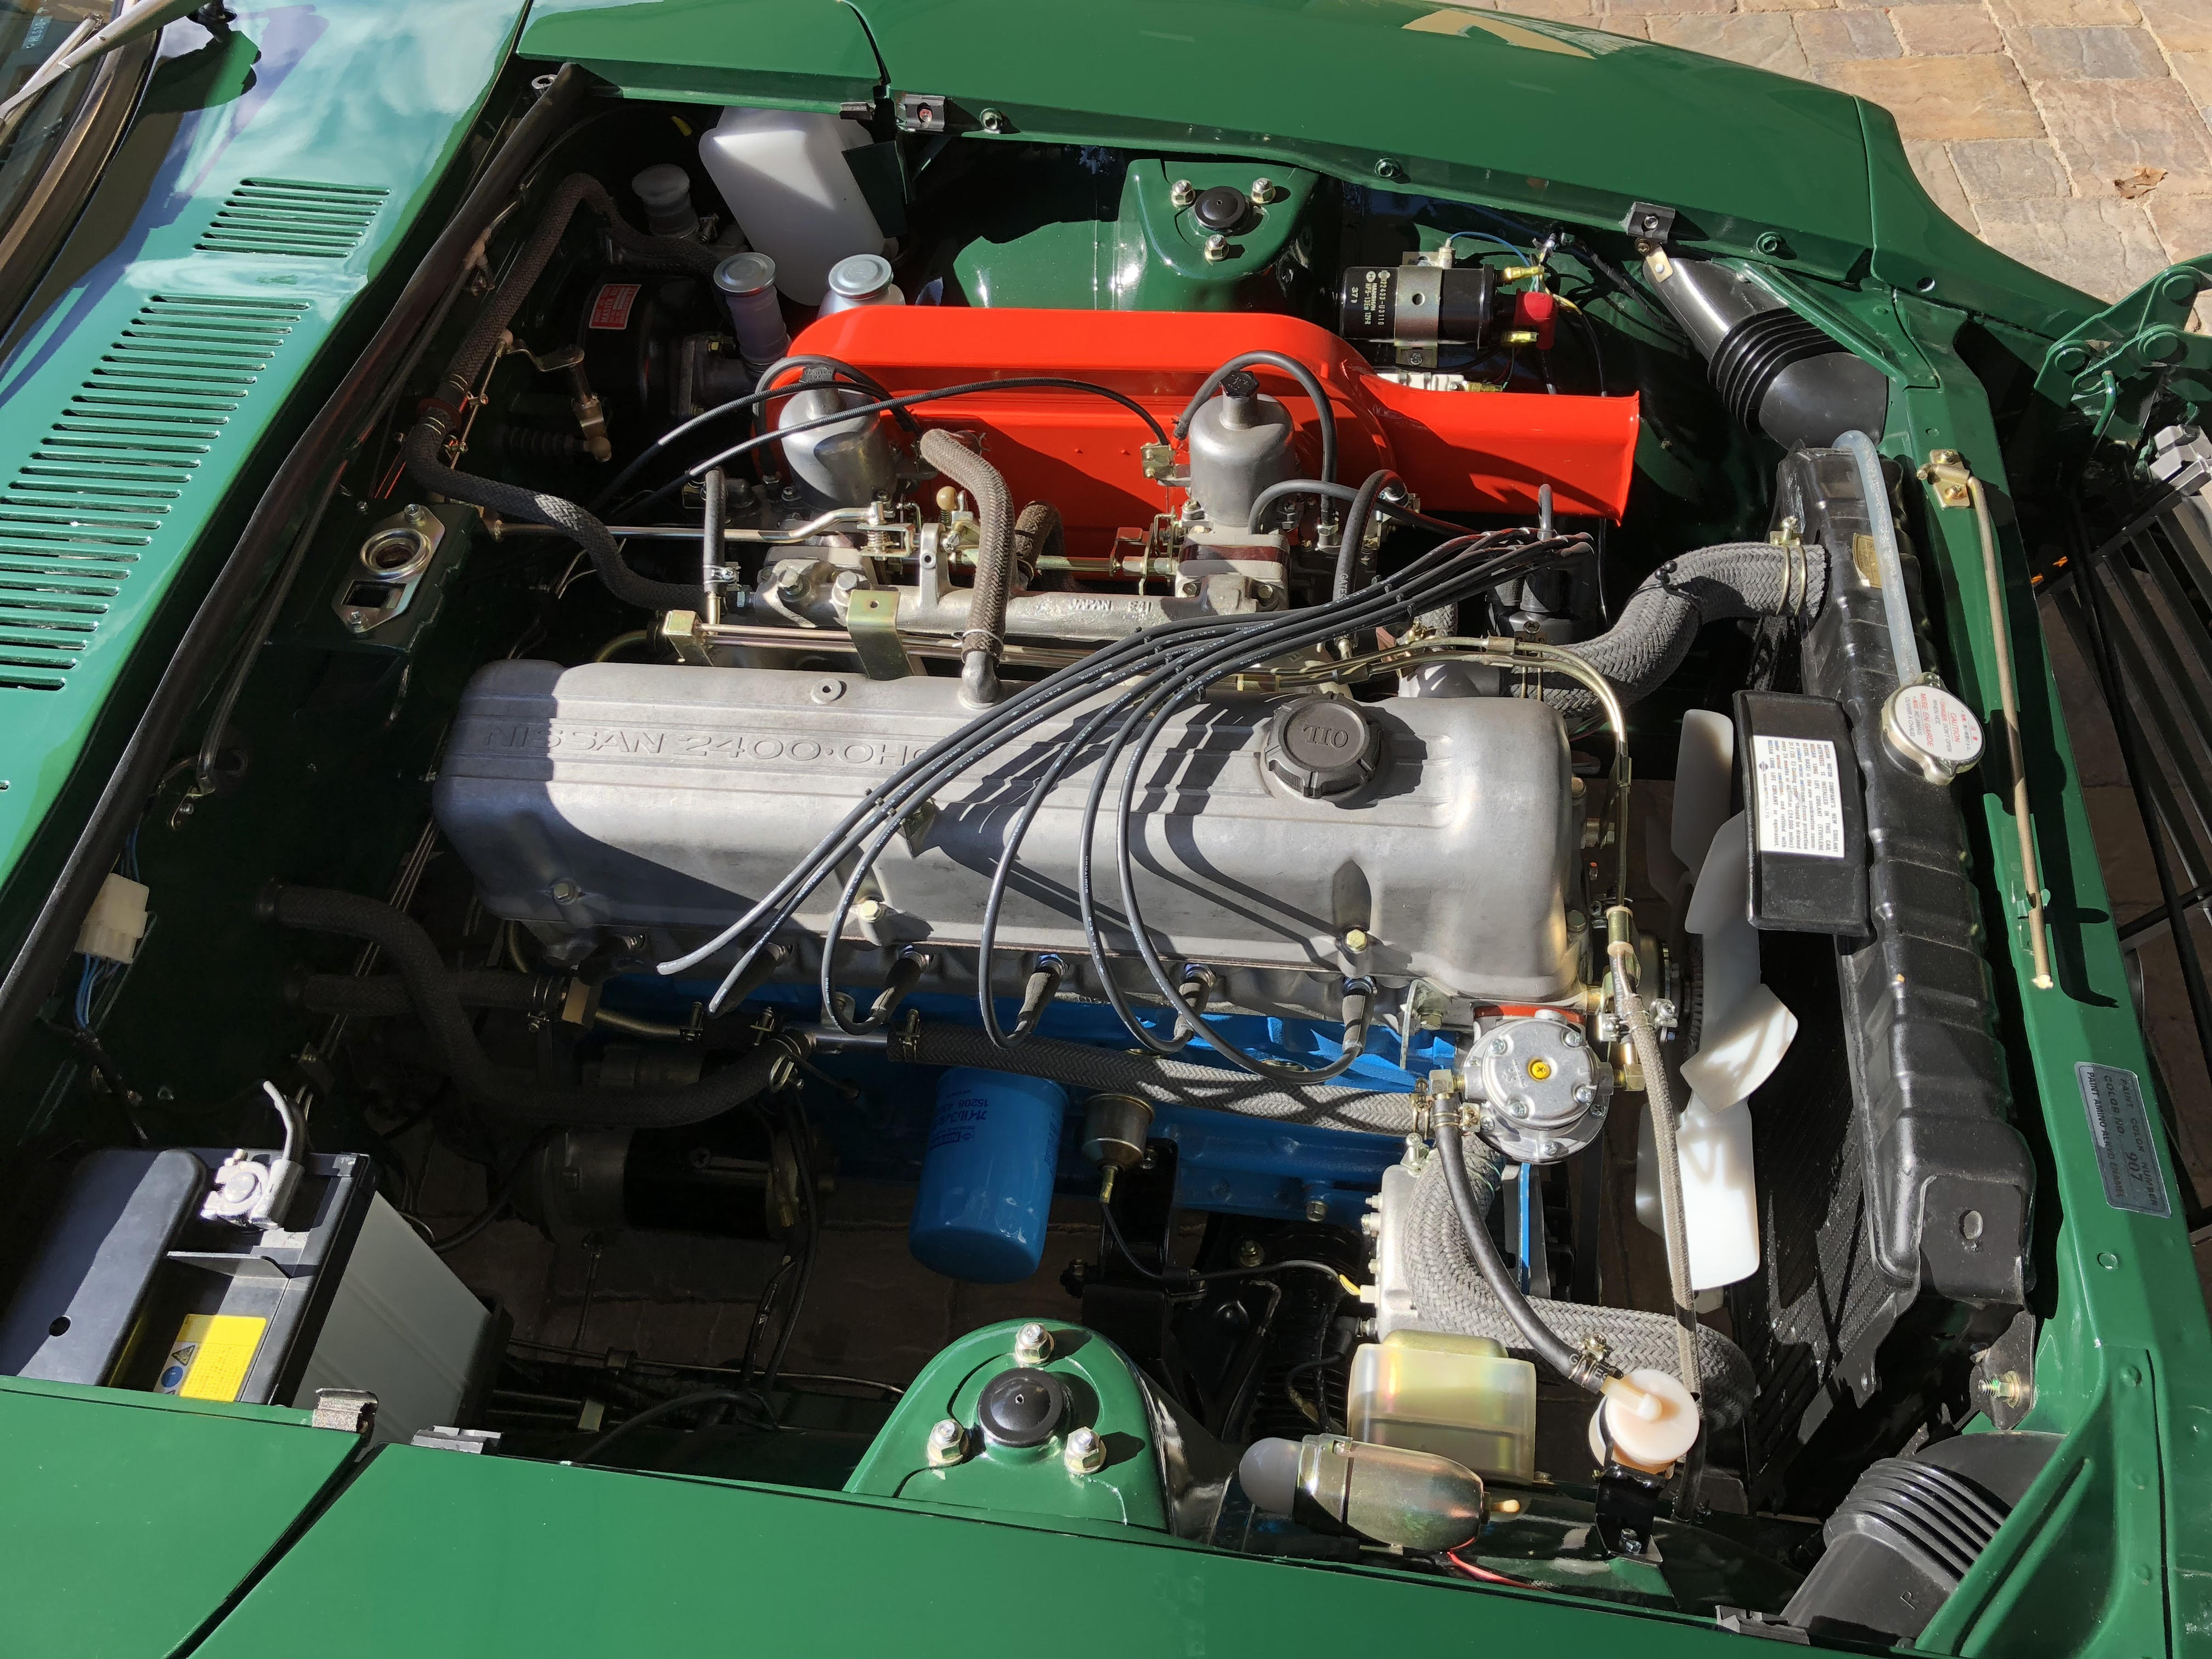
Engine
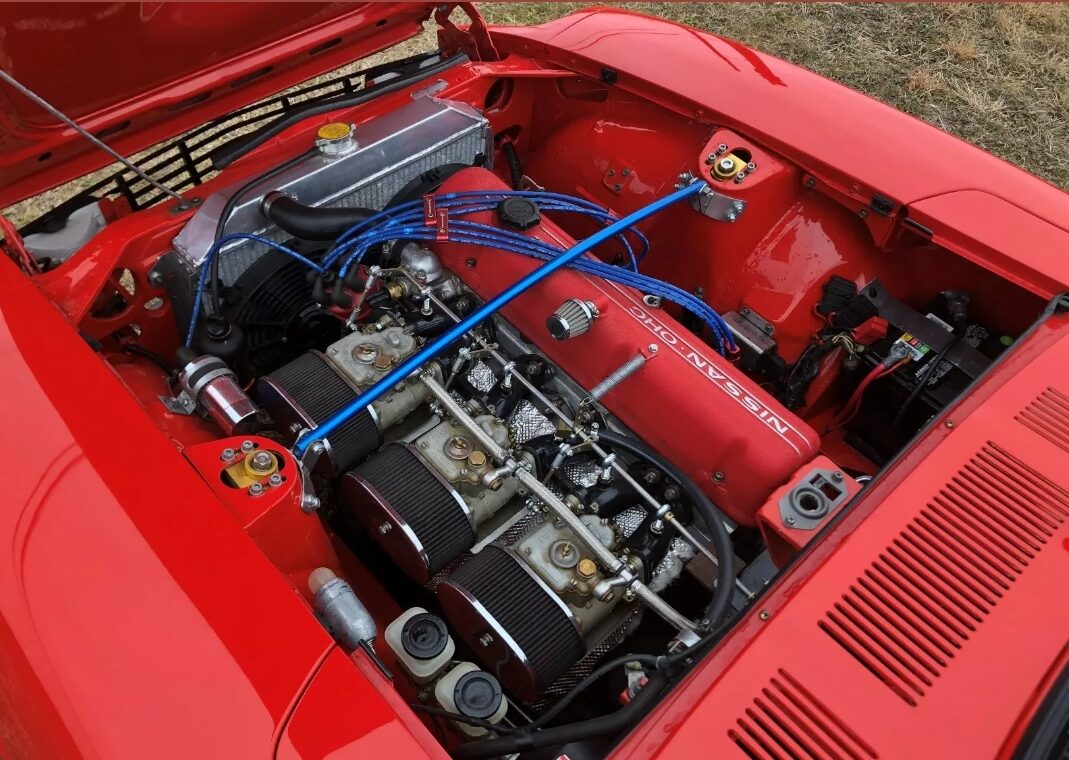
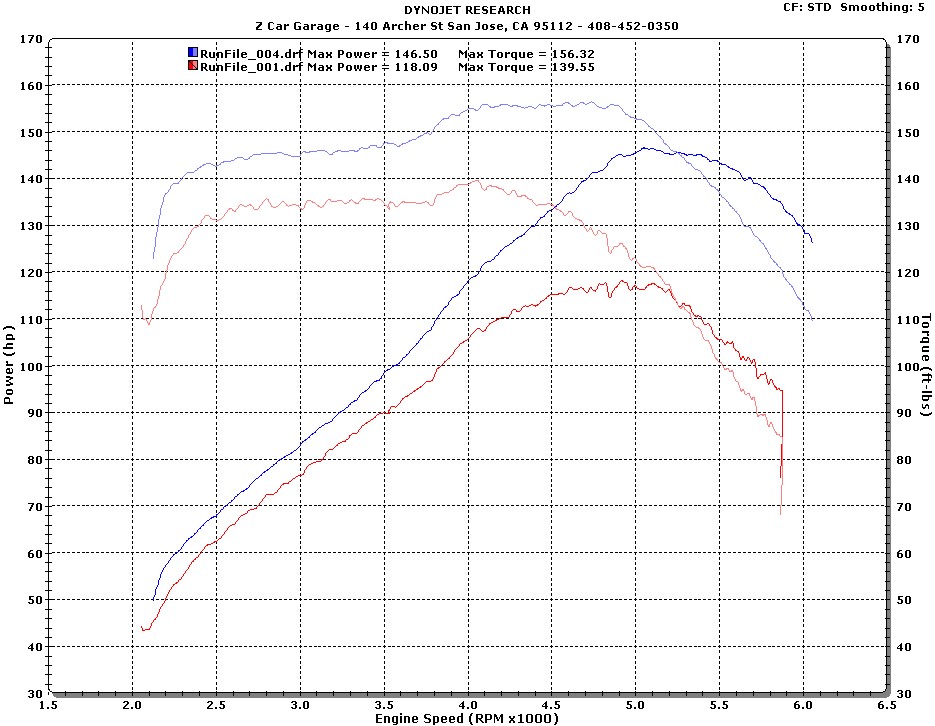
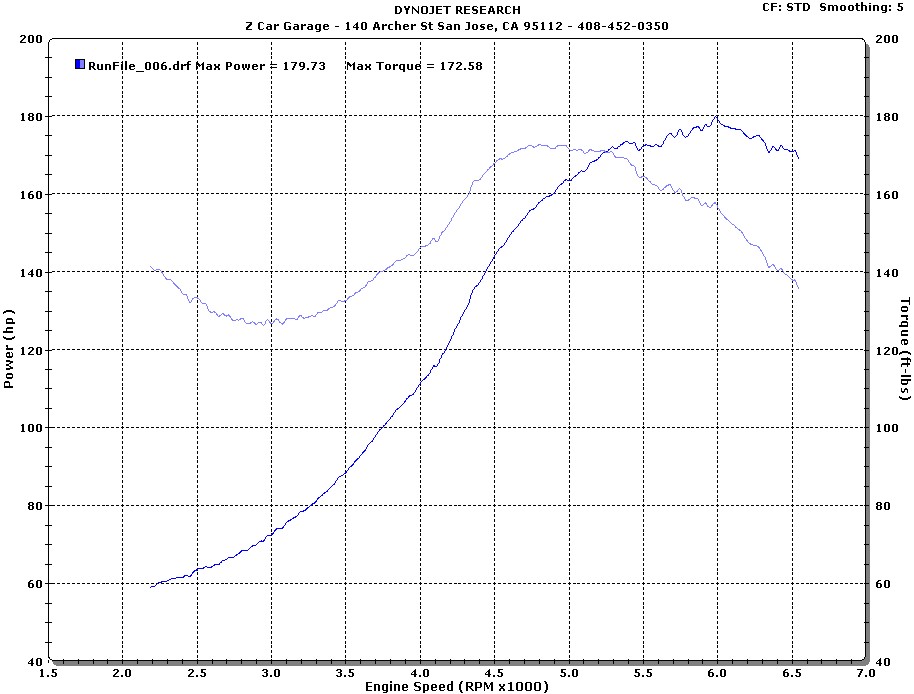
The triple-Weber L28 simply received an ignition timing set, making 161hp/160tq at the wheels:
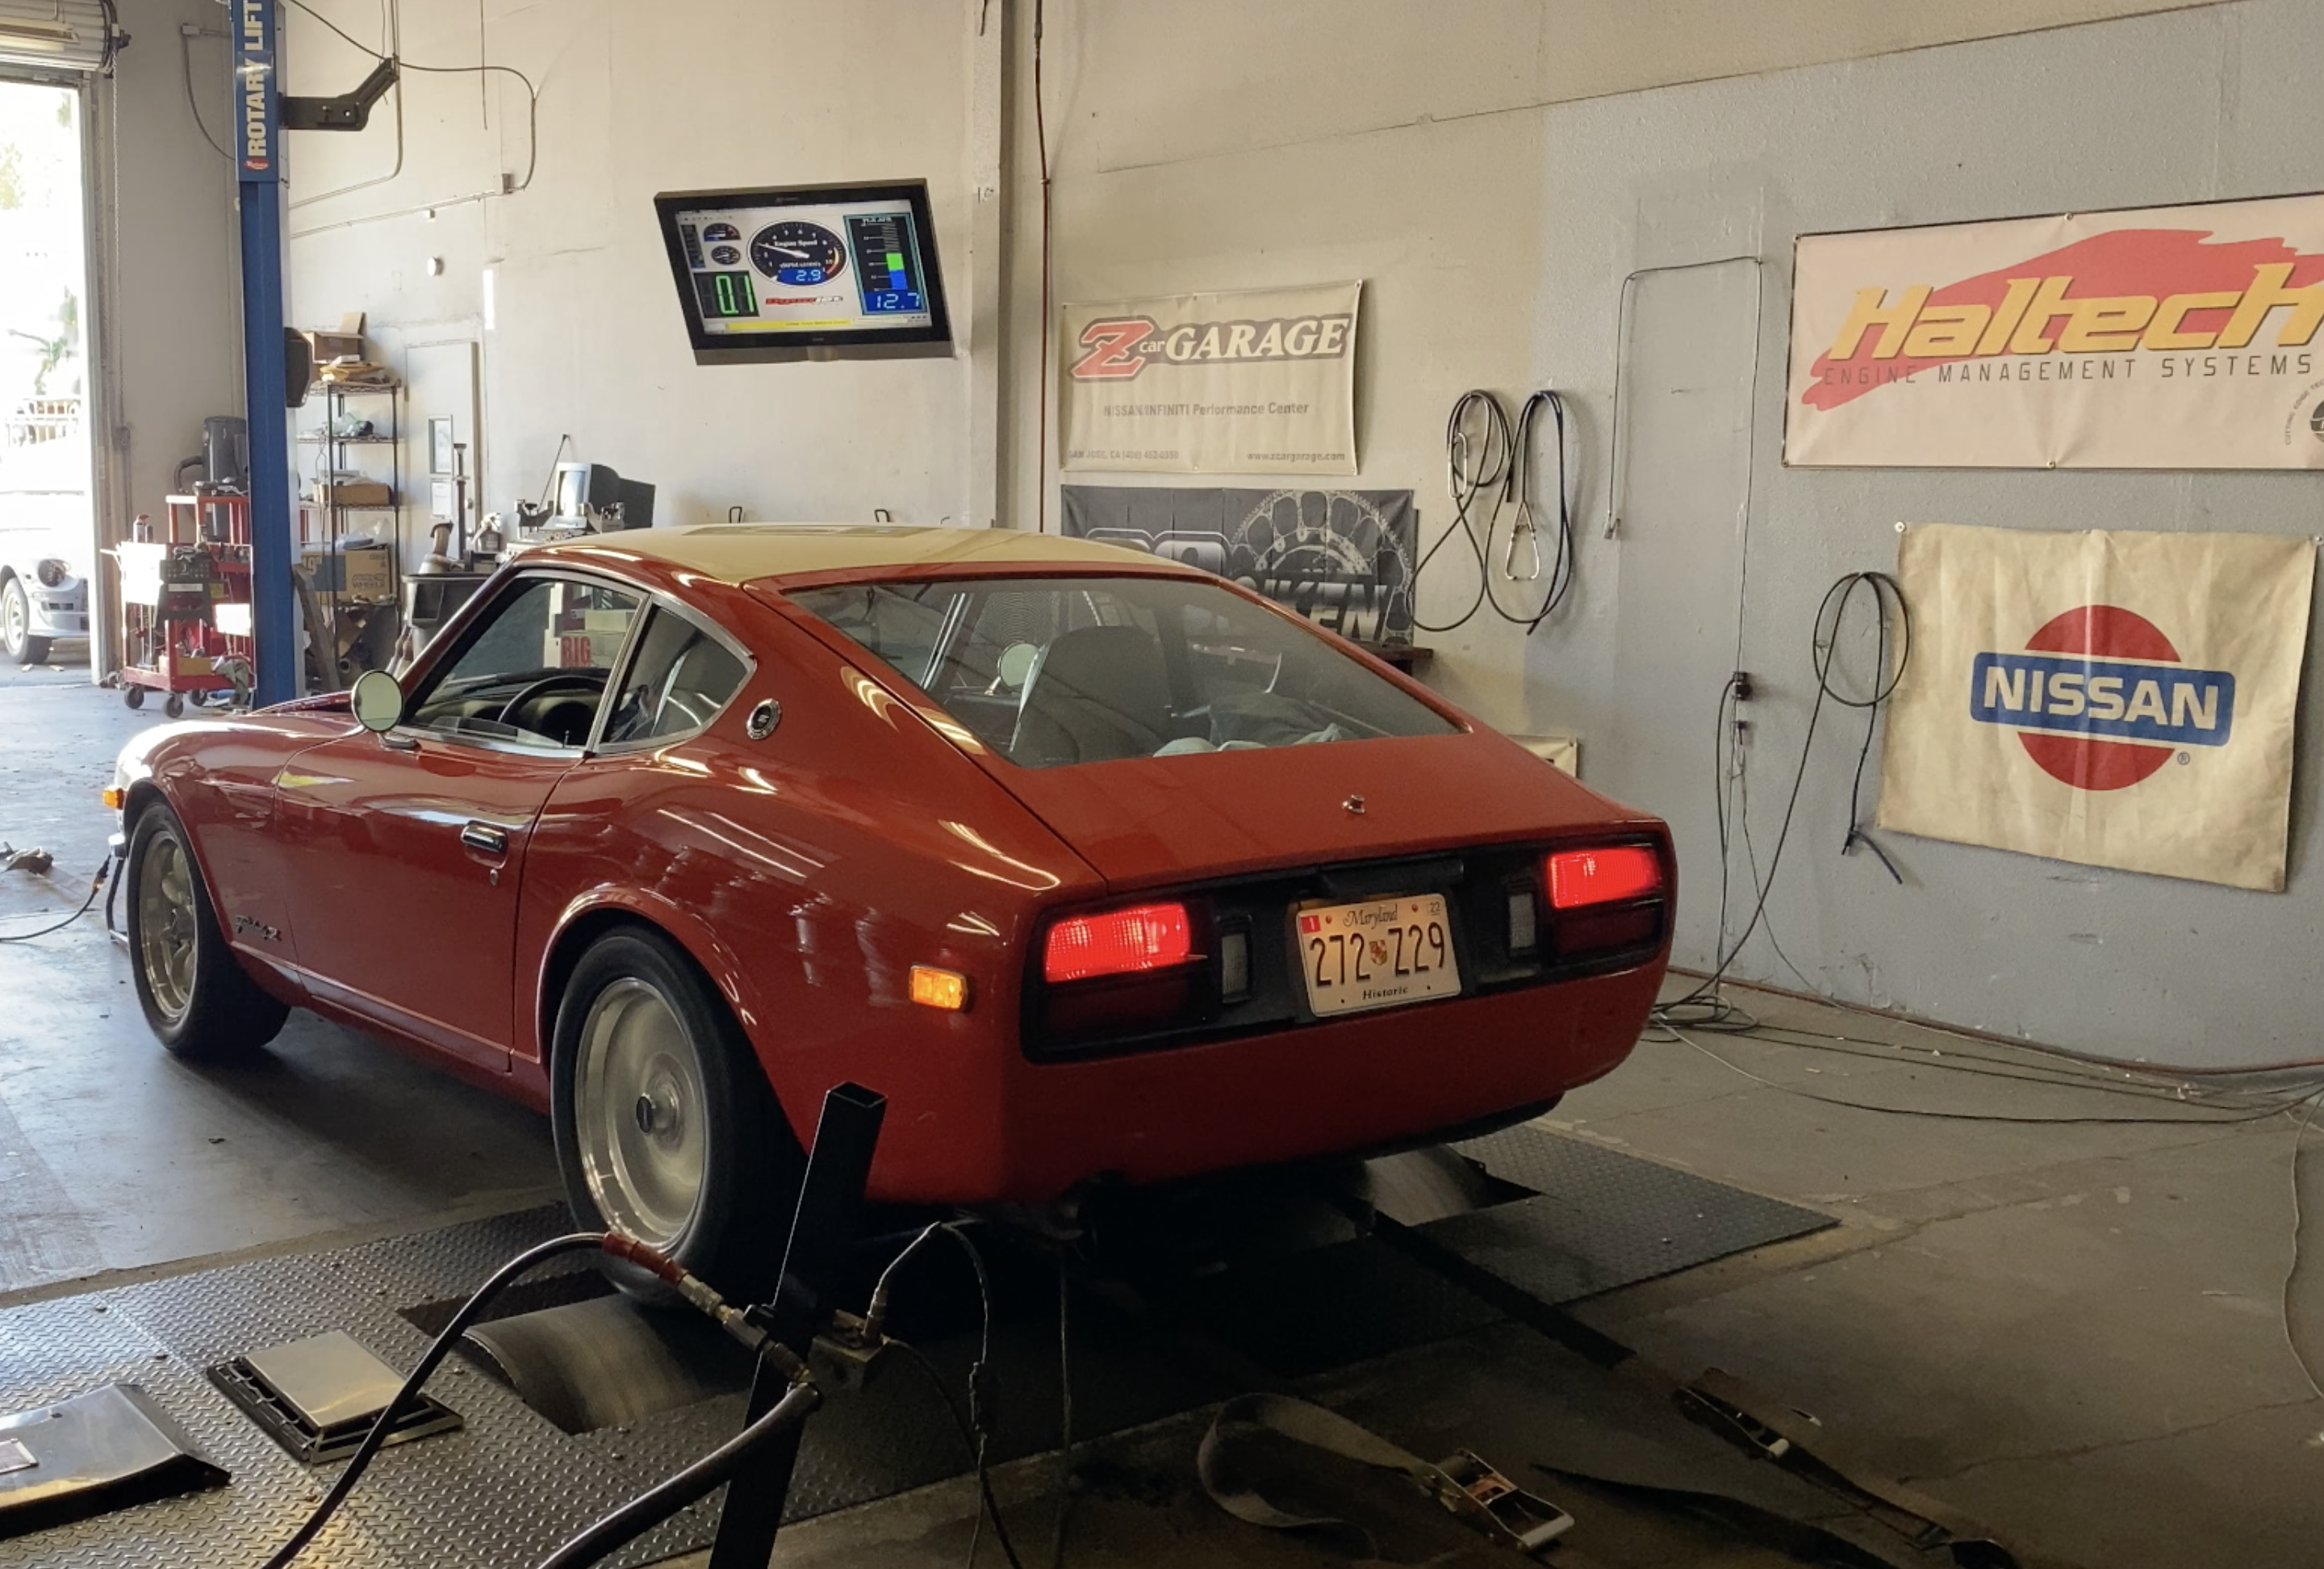

Enjoy this dyno video below with sweet L-series music:
Part Two
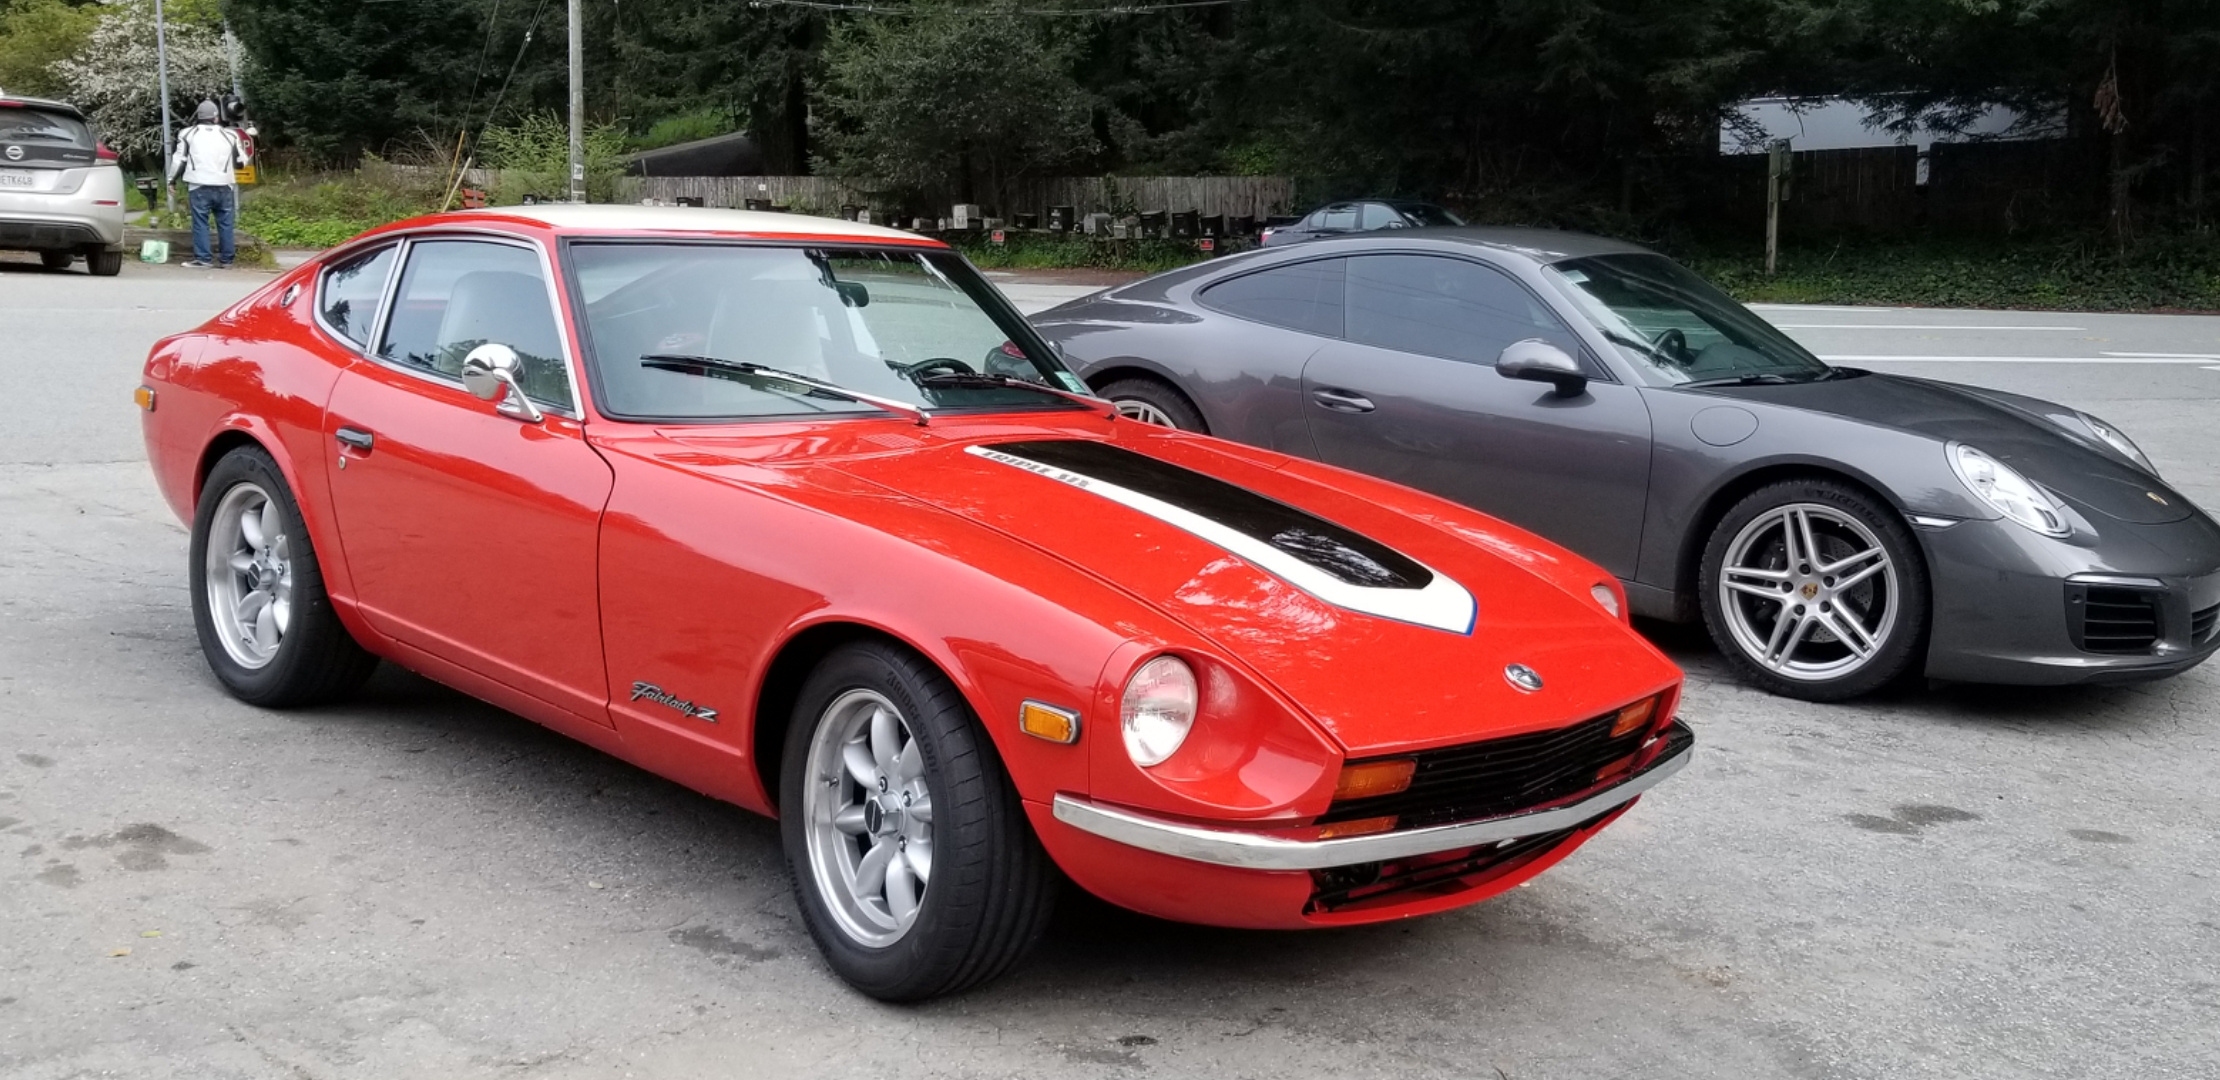
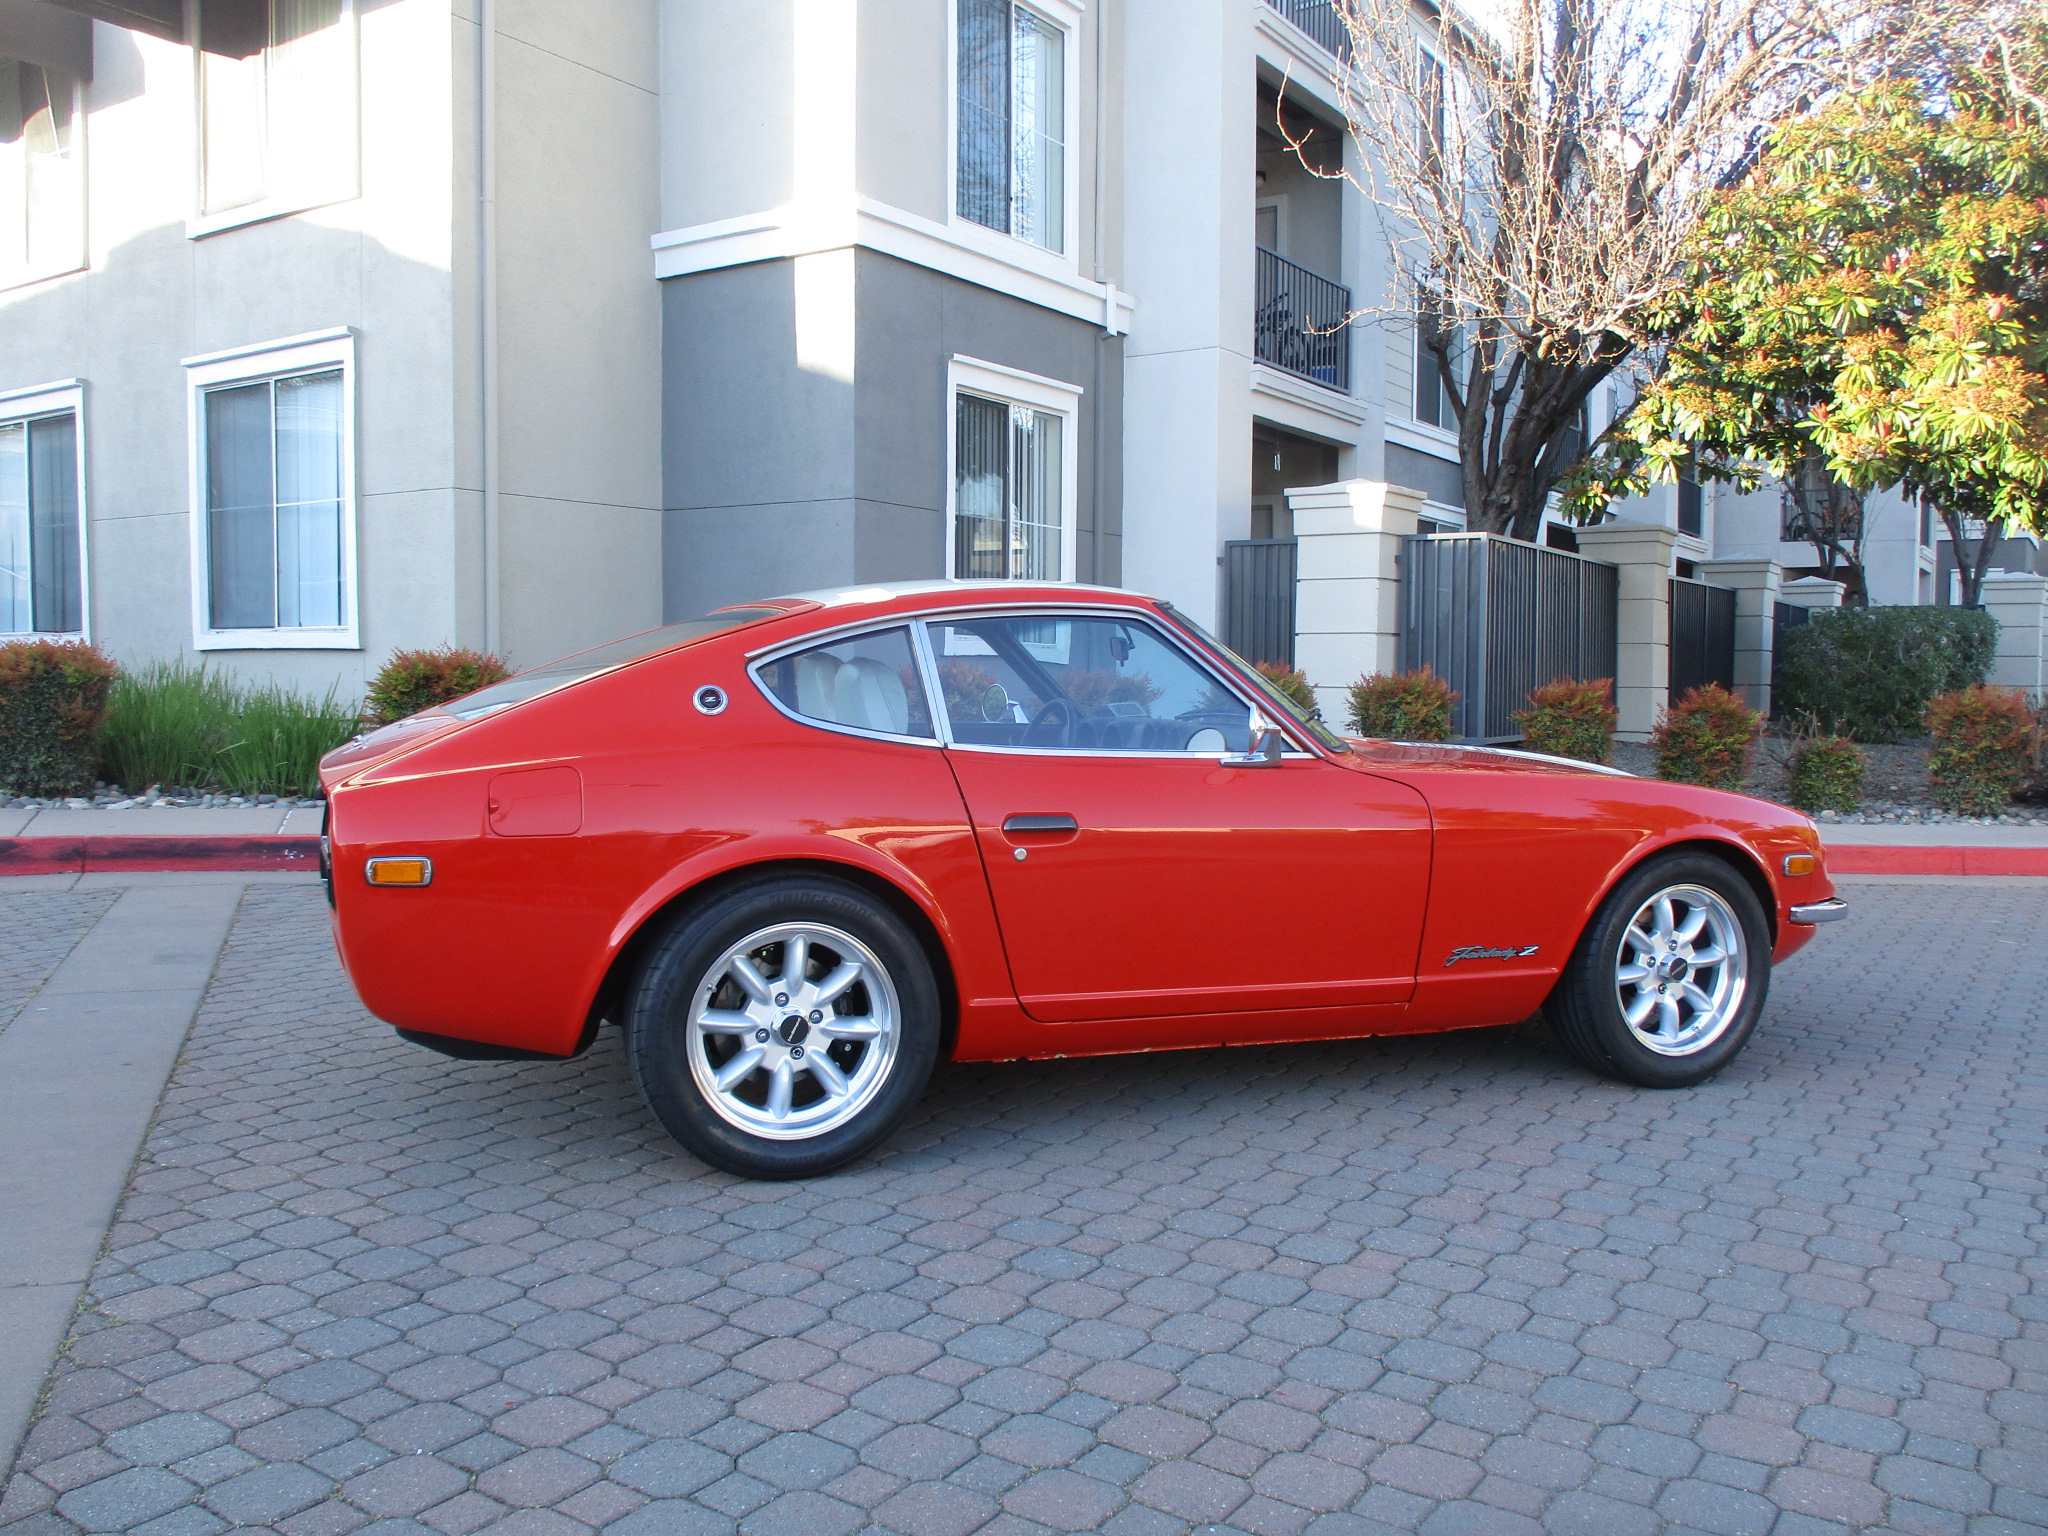
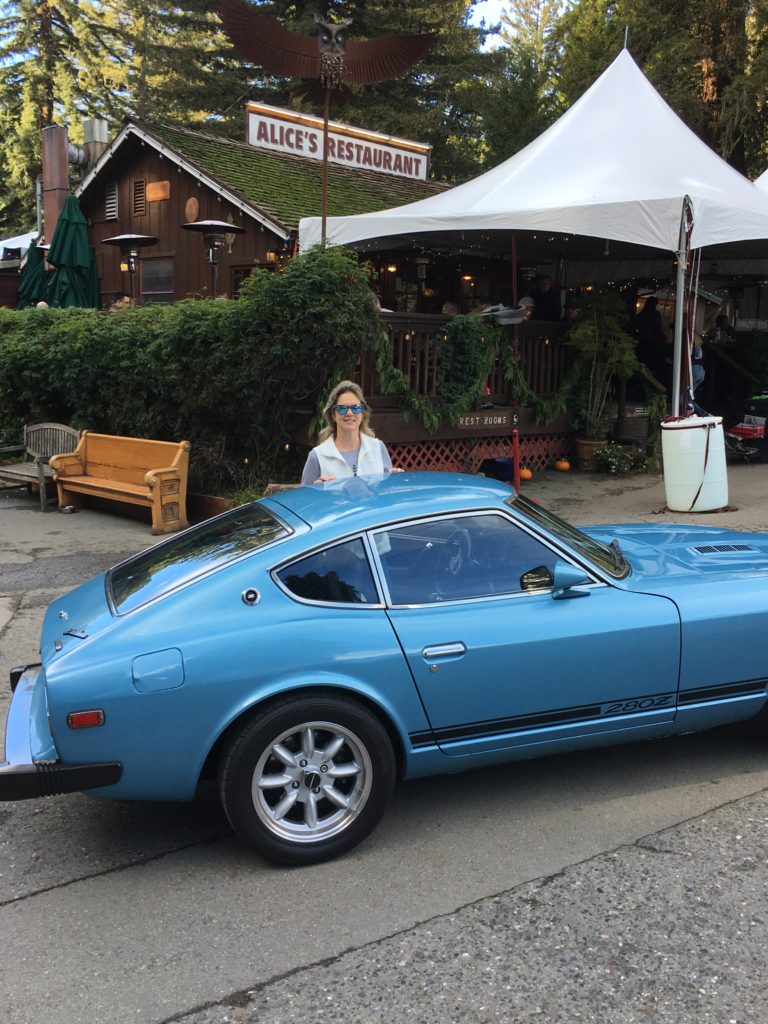
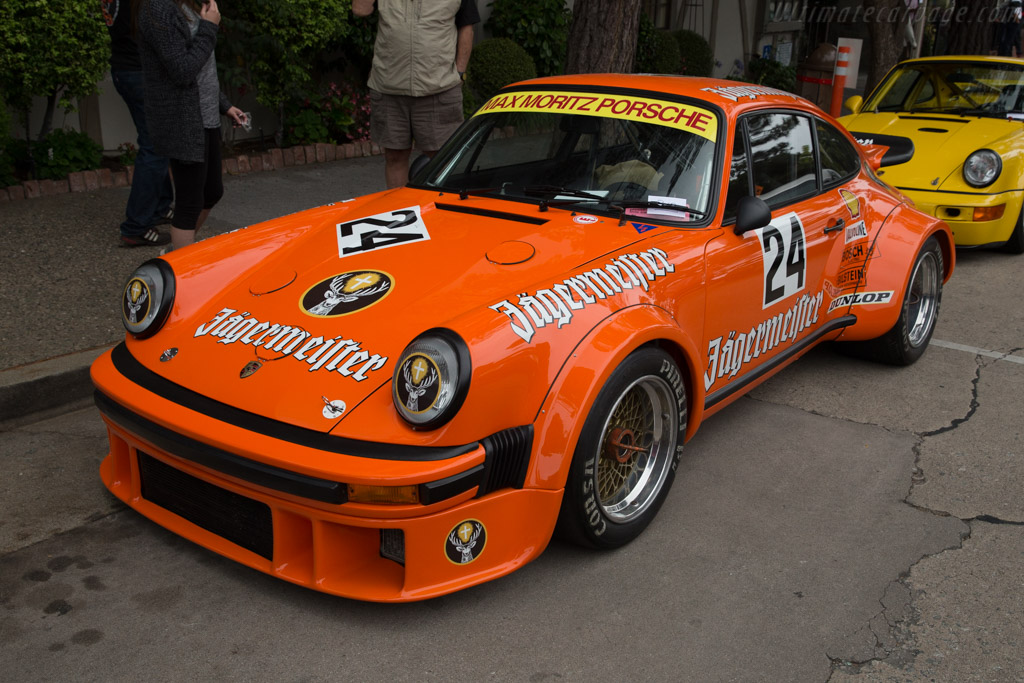
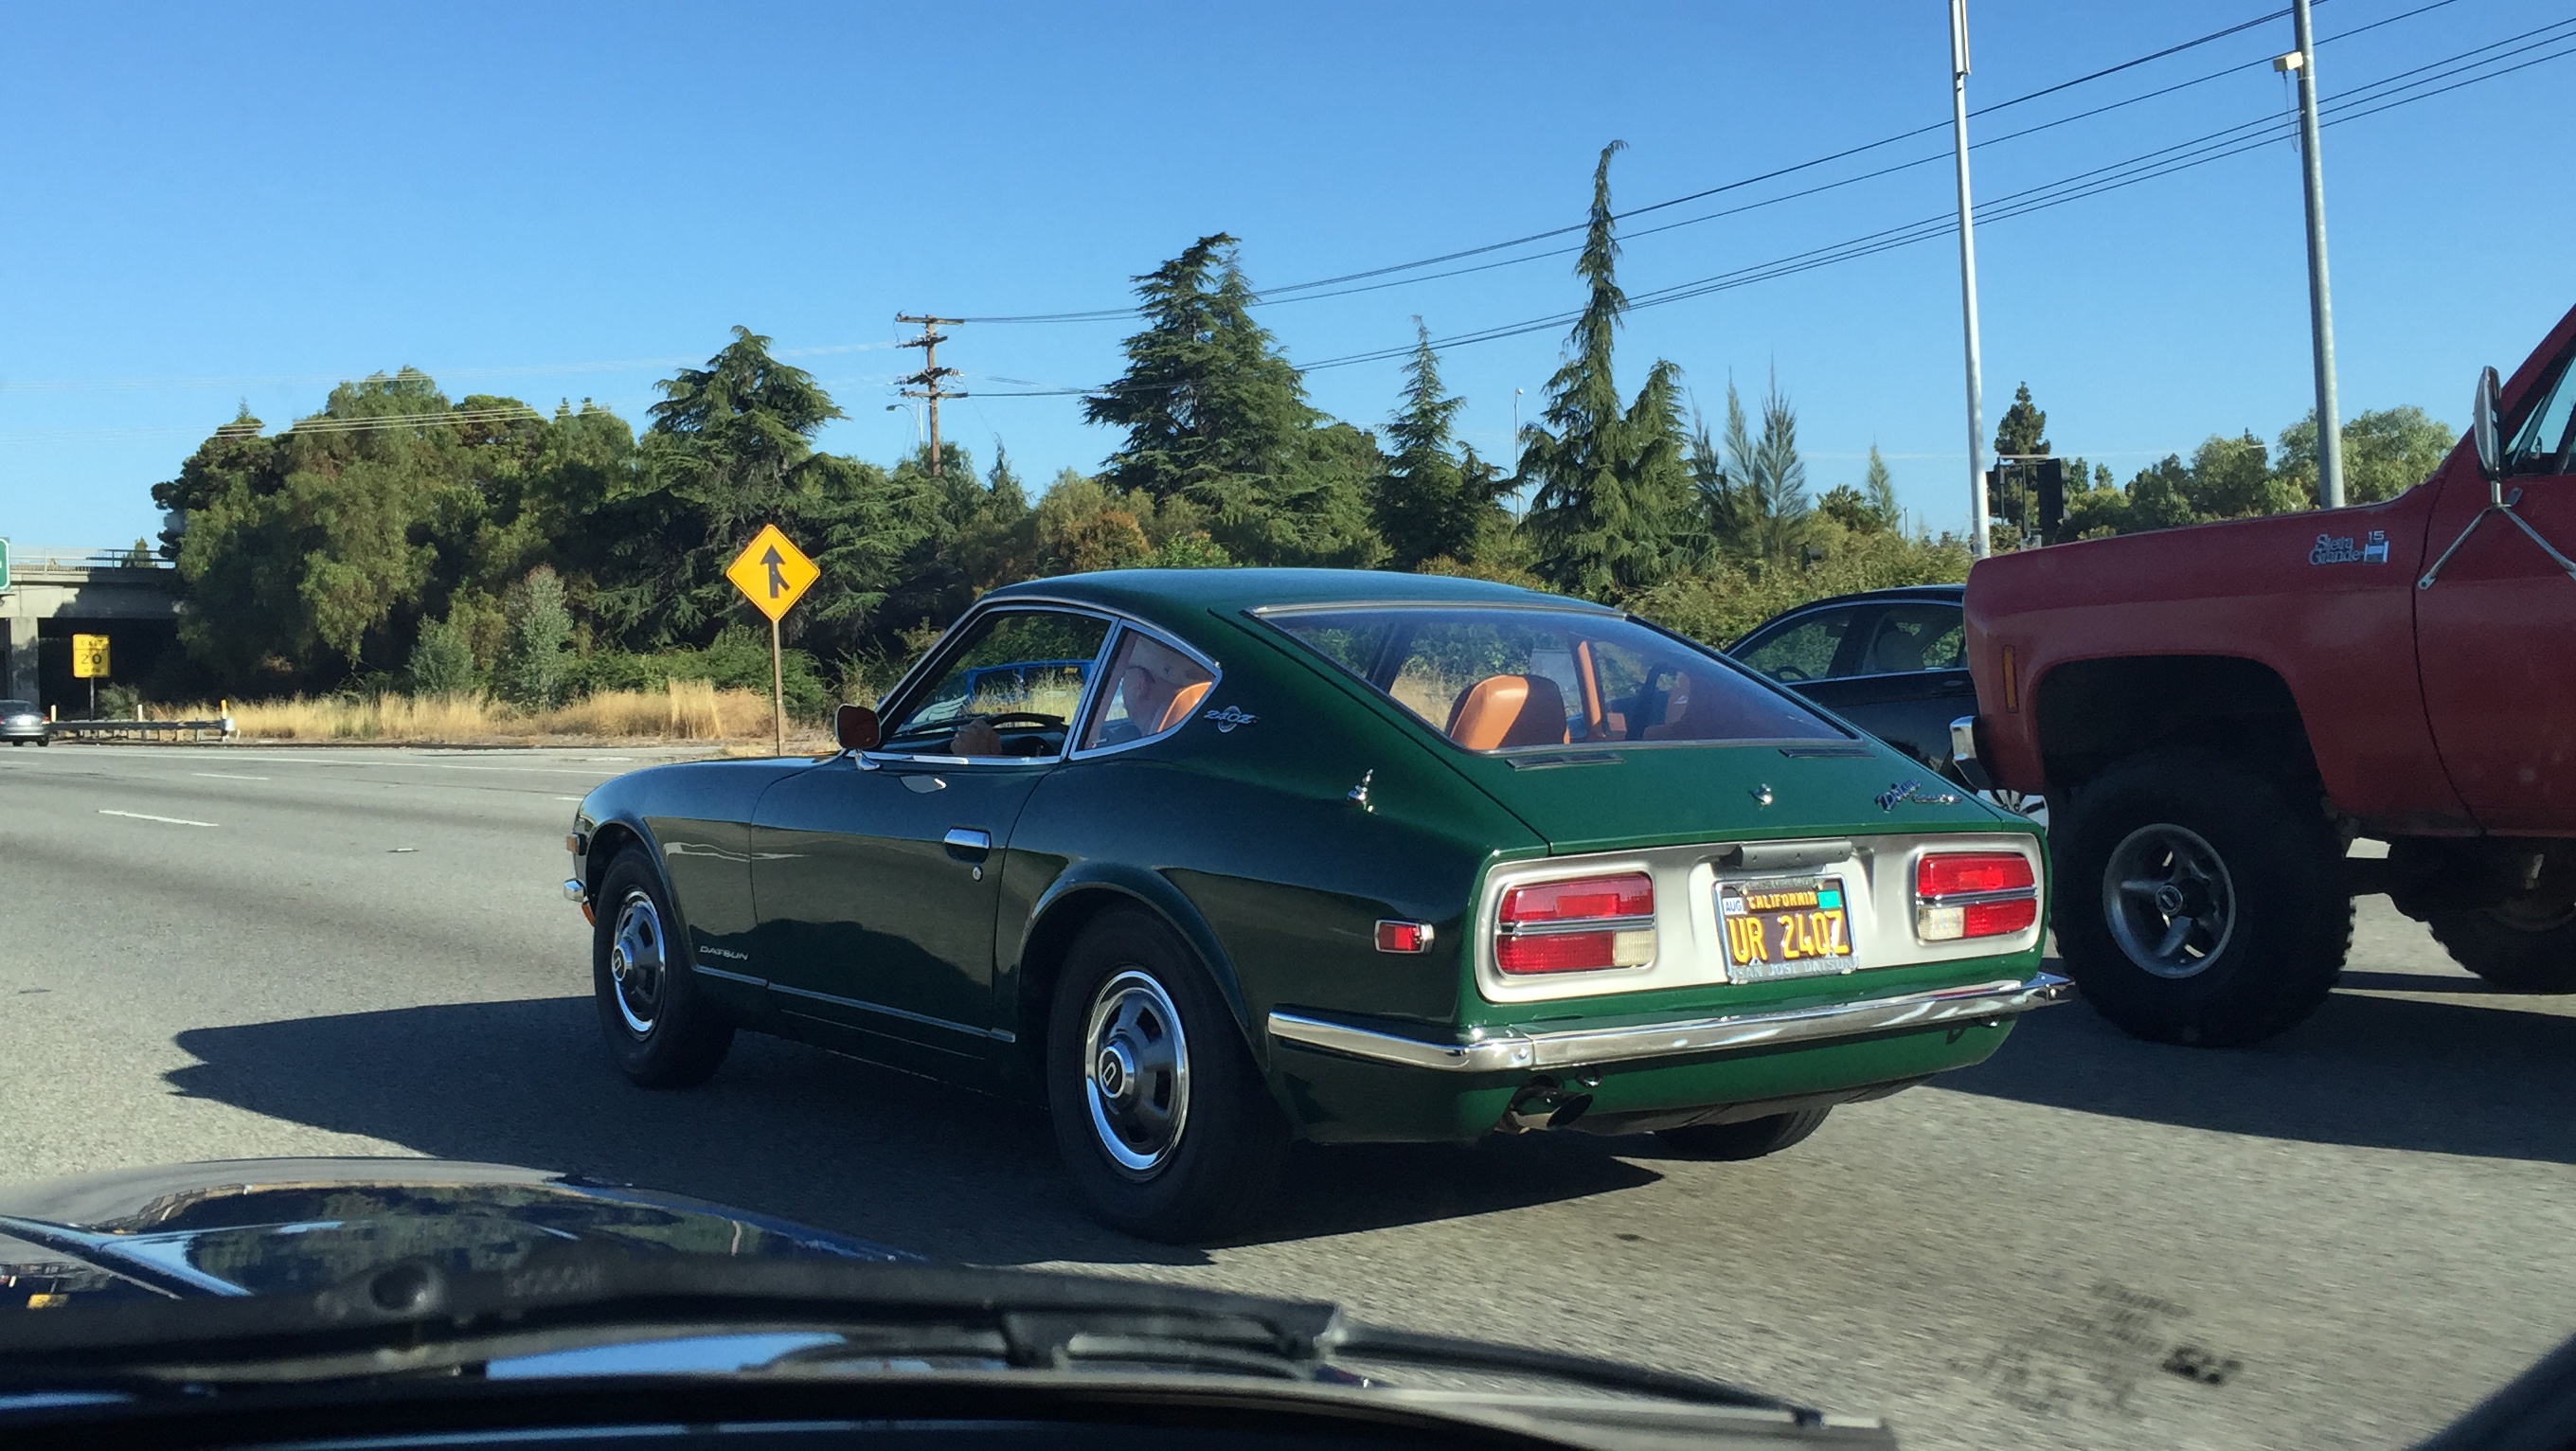
David reports that his Z went from junk to handling better than a 911. Here he is (above) Enjoying The Ride on Skyline near Alice’s Restaurant. What’s next for Triple Six? Full engine upgrade!
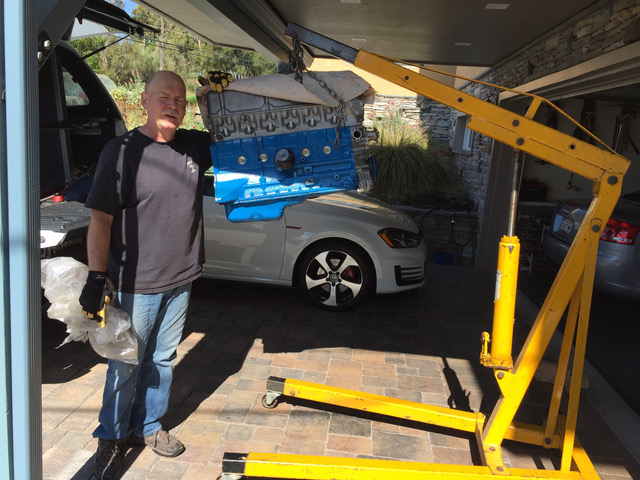
“The second stage, that we will be starting soon, will be the engine work. The goal is to get 300hp out of the old in-line six. Rob’s love the cars that he works on is evident in the quality of his builds. A true craftsman in every sense of the word.”
We look forward to working with you David, LONG LIVE THE Z!
More pictures in the gallery below:


